
Deleting files and folders is a routine task in Windows 11, but occasionally you might encounter stubborn files or folders that refuse to be deleted. This can be frustrating when you’re trying to free up space or organize your system. Fortunately, there are several methods to force delete files or folders when Windows isn’t cooperating.
Why Windows Might Prevent File Deletion
There are several reasons why Windows 11 might not allow you to delete a file or folder. Some common causes include:
- The file or folder is currently in use by another program or process.
- The file or folder is corrupted.
- The file or folder is set to read-only.
- The disk is corrupted.
- You’re trying to delete a system file or folder.
- The Recycle Bin is full.
Understanding these reasons can help you choose the appropriate method to force delete the file or folder.
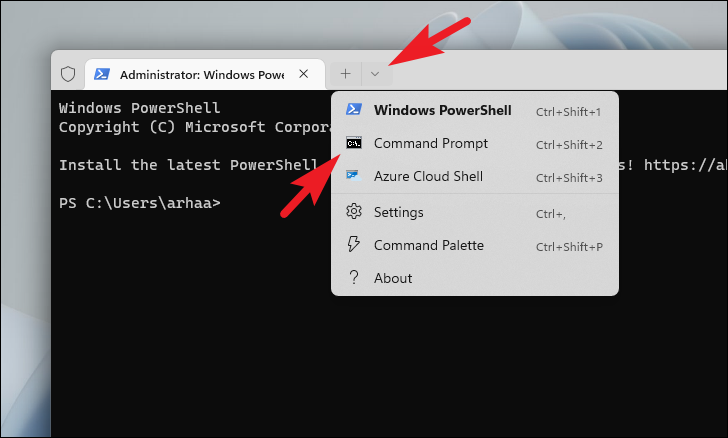
Method 1: Delete the File or Folder Using Terminal
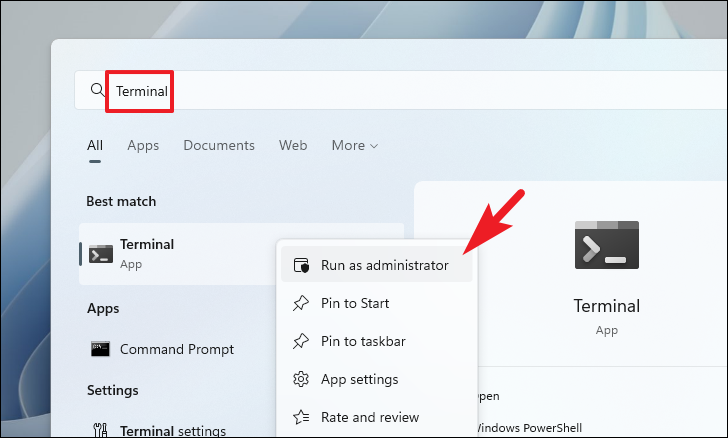
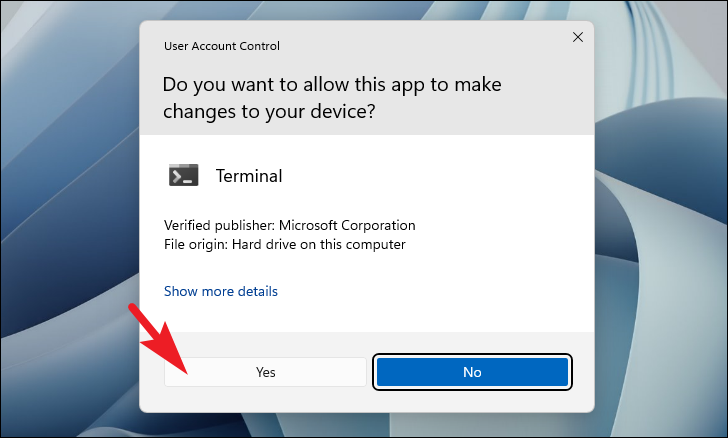
If you cannot delete a file or folder using File Explorer, you can force delete it using the Command Prompt in the Terminal. This method allows you to bypass any processes or permissions that might be preventing the deletion.
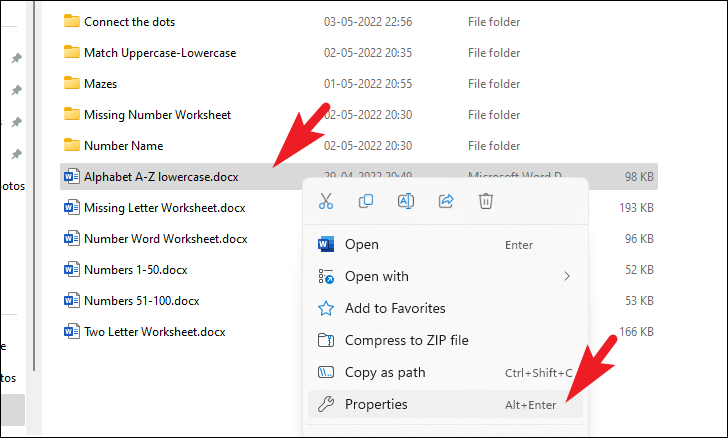
Ctrl+C to copy it. Keep this file path handy as you’ll need it in the next steps.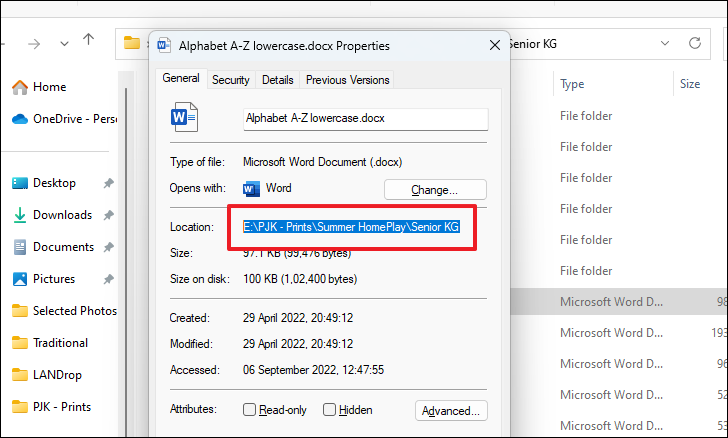
Enter. Replace <file path> with the path you copied earlier, and <filename.extension> with the actual file name and its extension.del <file path>\<filename.extension>
Enter. Again, replace <file path> with the copied path and <foldername> with the name of the folder you want to delete.RD /S /Q "<file path>\<foldername>"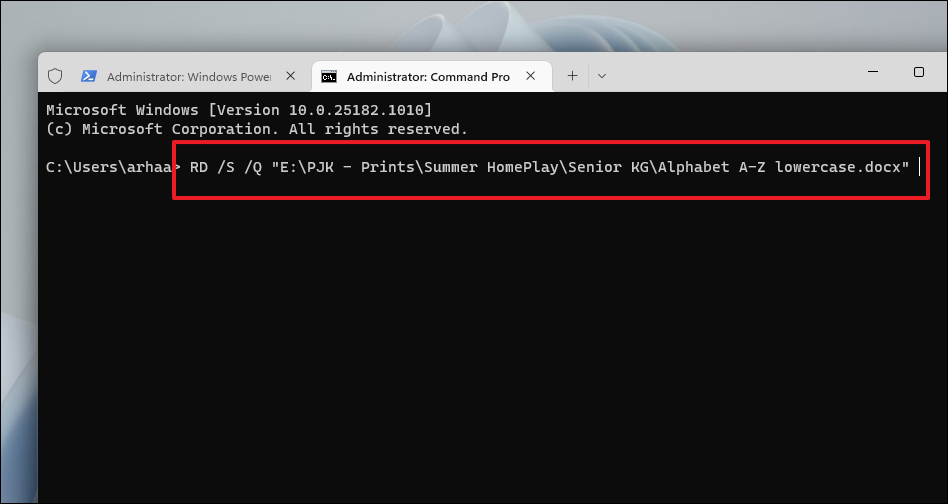
Method 2: Delete the File or Folder in Safe Mode
Sometimes, another program or service might be using the file or folder you’re trying to delete, preventing you from deleting it. Booting your PC in Safe Mode loads only essential system services and can help you delete stubborn files or folders.
Windows+I on your keyboard.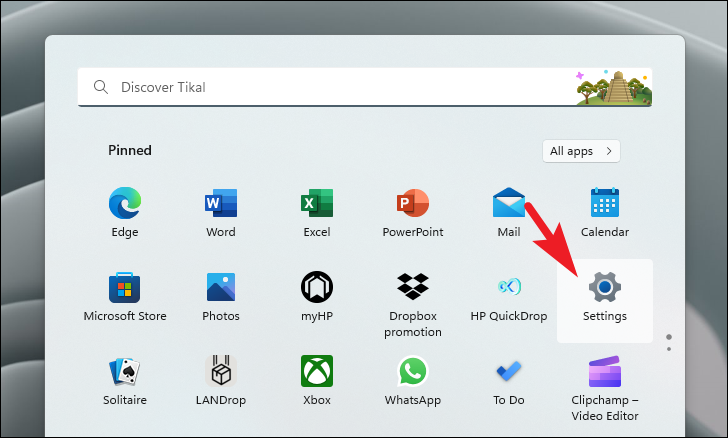

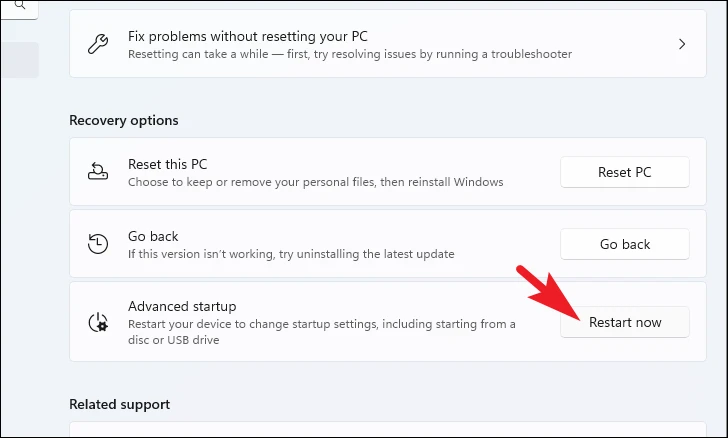
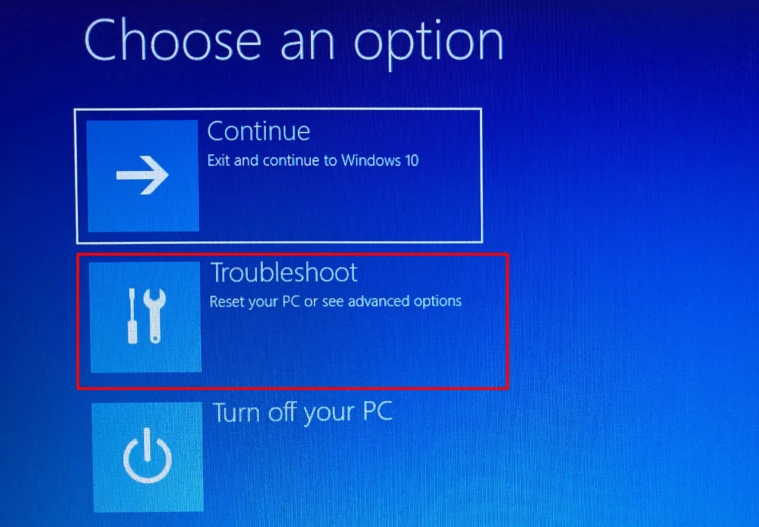
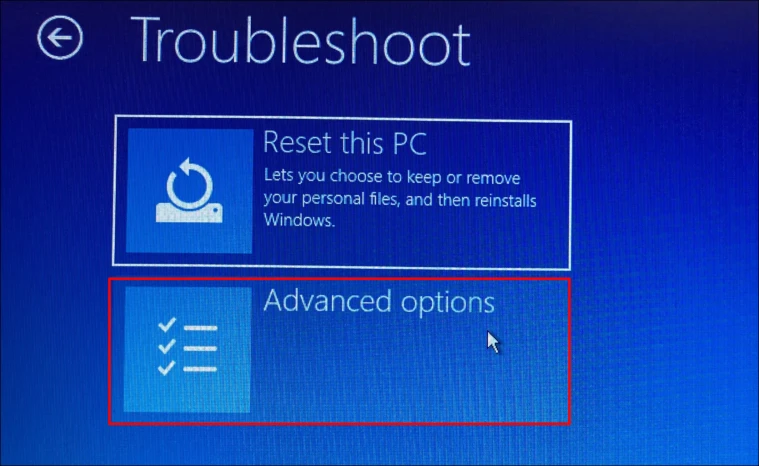
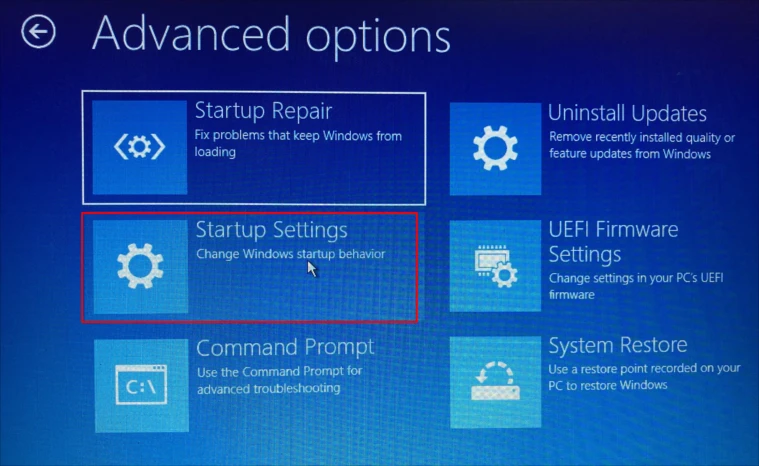

F4 to boot into Safe Mode. If you need network capabilities, press F5 instead.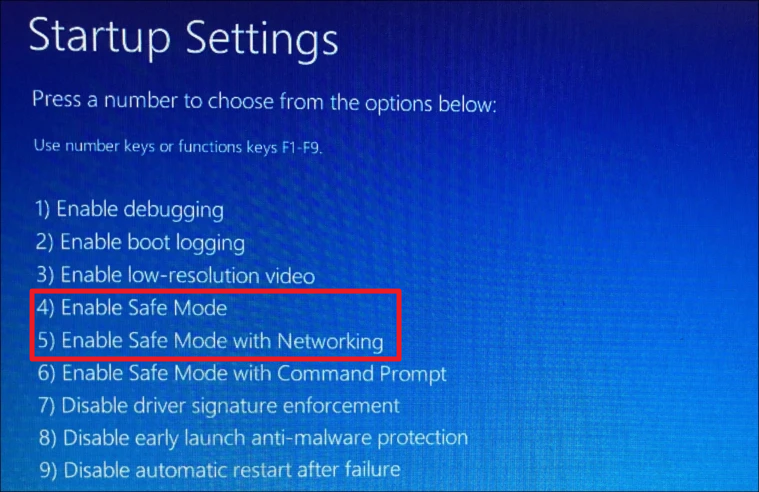
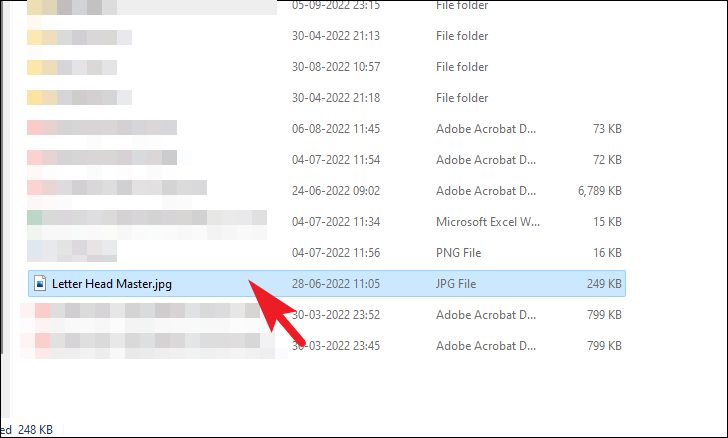
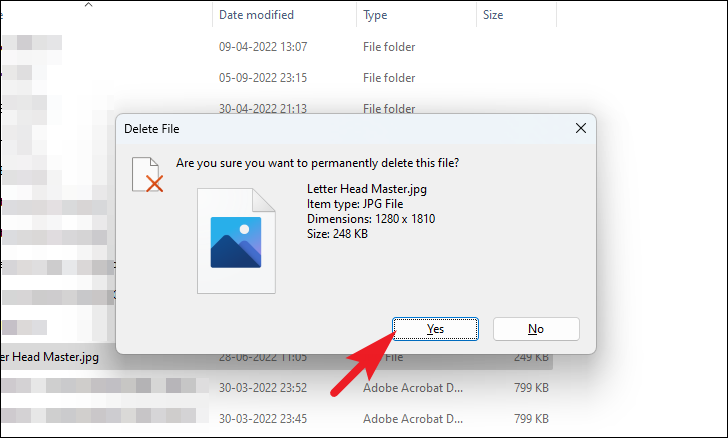
Method 3: Use the Shift Key to Permanently Delete
If you’re having trouble deleting a file because the Recycle Bin is full or the file is too large, you can bypass the Recycle Bin and permanently delete the file using the Shift key.
Using these methods, you should be able to force delete any stubborn files or folders on your Windows 11 PC that are resisting normal deletion methods.


