How to Fix Sysprep Was Not Able to Validate Error on Windows 11
Getting the 'Sysprep Was Not Able to Validate Error' on your Windows 11 PC? We have listed the fixes that'll make it go away in no time.
Getting the ‘Sysprep Was Not Able to Validate Error’ on your Windows 11 PC? We have listed the fixes that’ll make it go away in no time.
by Raj Kumar
The Sysprep tool is essential for preparing Windows images for deployment, especially in enterprise environments. However, encountering the error message “Sysprep was not able to validate your Windows installation” on Windows 11 can halt your deployment process and be quite frustrating. This error can stem from various underlying issues within the system. In this guide, we’ll explore several methods to resolve this error so you can successfully run Sysprep on your Windows 11 machine.
Disable the upgrade registry key entry
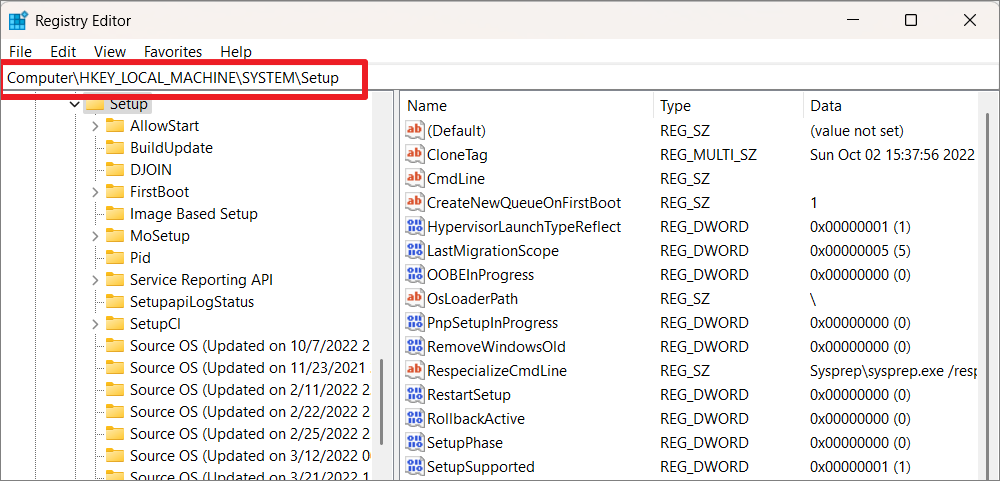
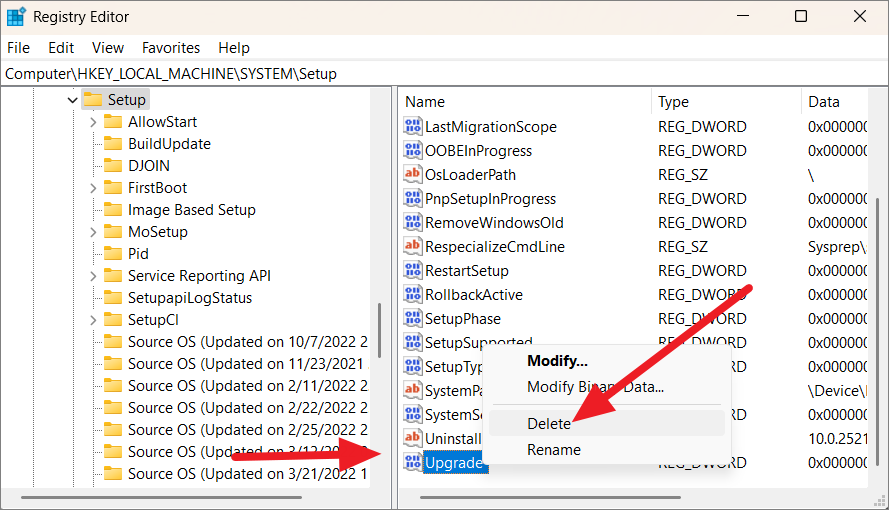
One common cause of the Sysprep validation error is the presence of an Upgrade registry key, especially after performing a Windows upgrade. Removing this key can often resolve the issue.
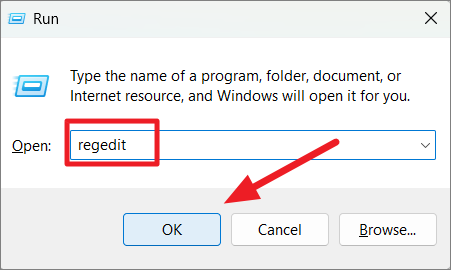
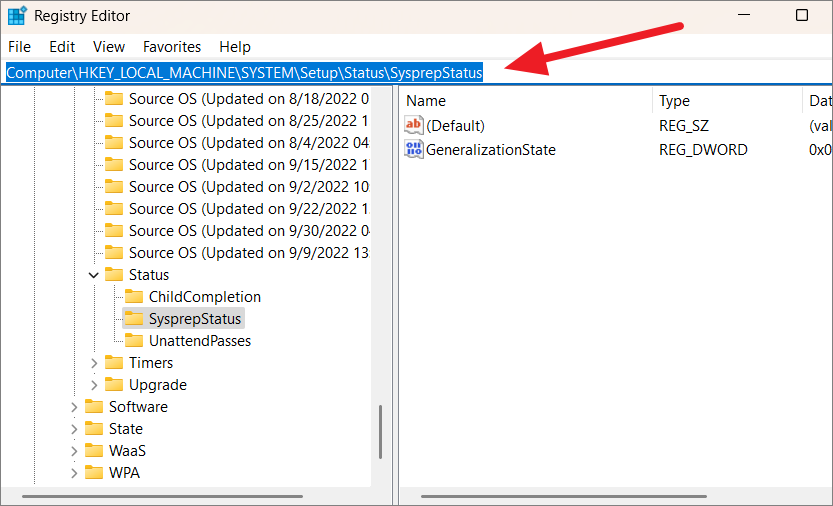
Open the Registry Editor by pressing Win + R to open the Run dialog, typing regedit, and pressing Enter. If prompted by User Account Control, click Yes.
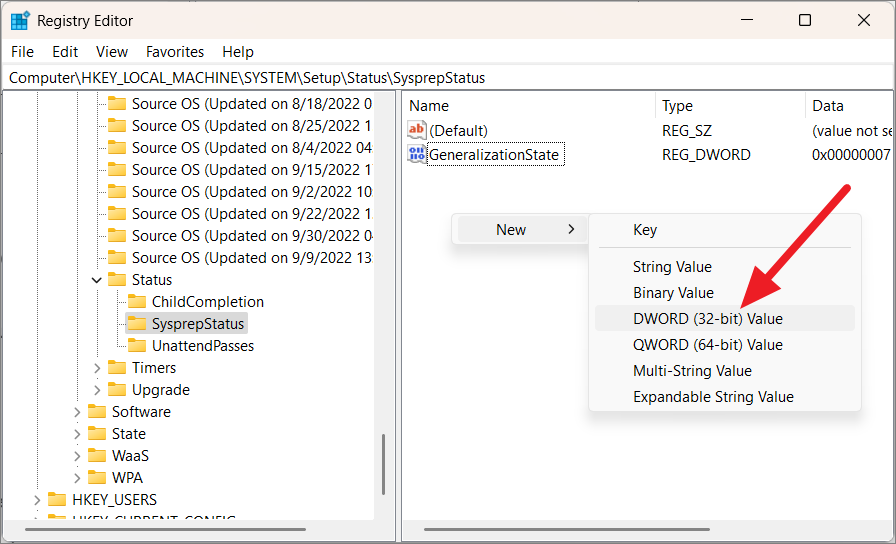
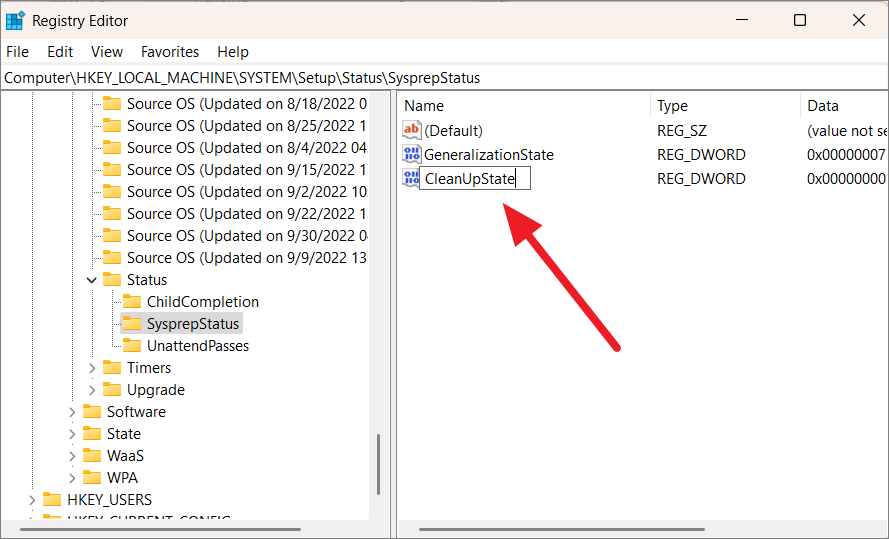
In the right pane, check for a DWORD value named CleanupState. If it doesn’t exist, you’ll need to create it. Right-click on an empty space, select New > DWORD (32-bit) Value, and name it CleanupState.
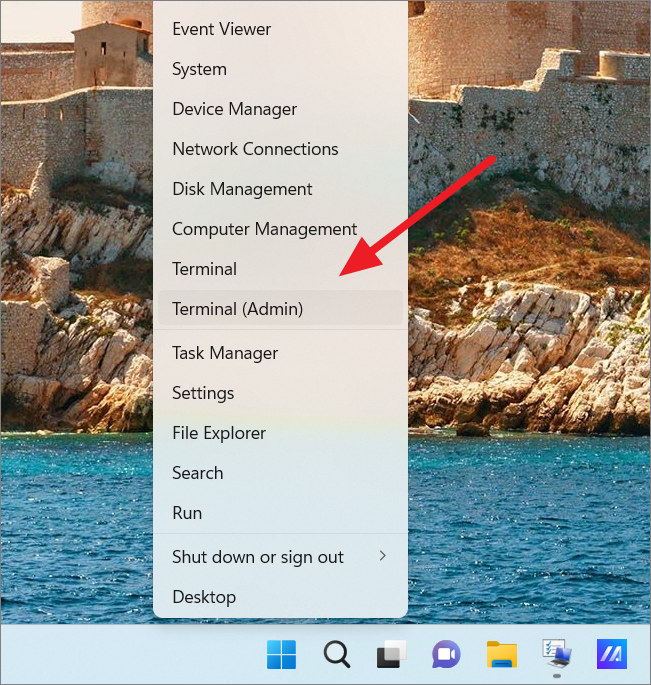
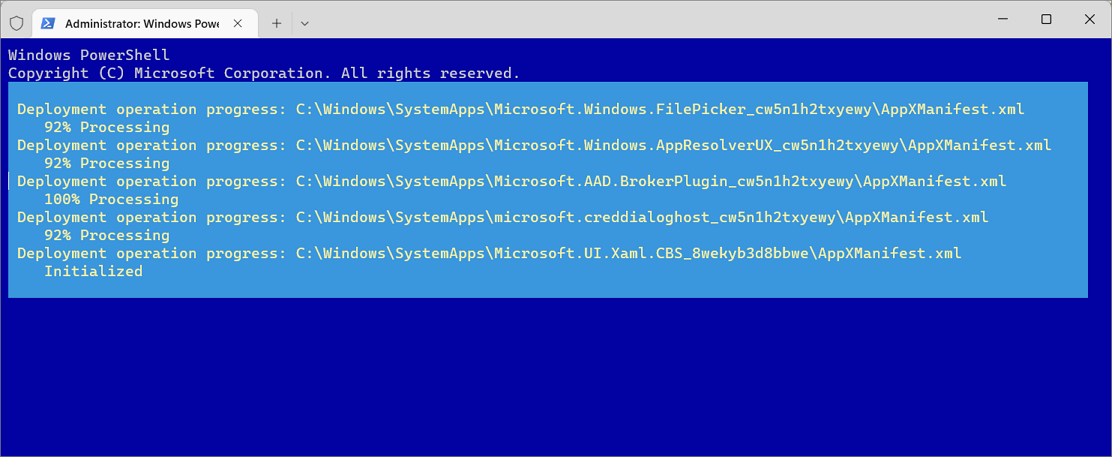
Open Windows PowerShell with administrative privileges. Right-click the Start menu and select Windows Terminal (Admin), which opens PowerShell by default.
Once it’s finished, restart your PC and try running Sysprep again.
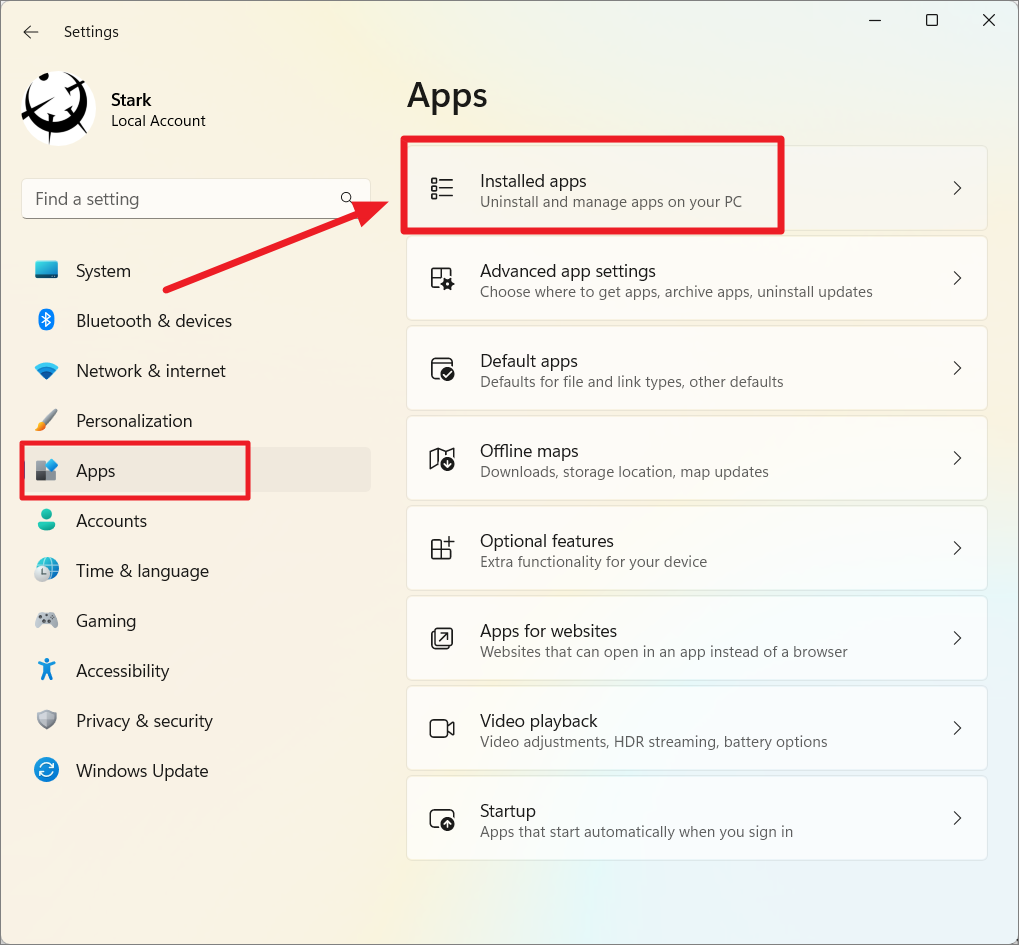
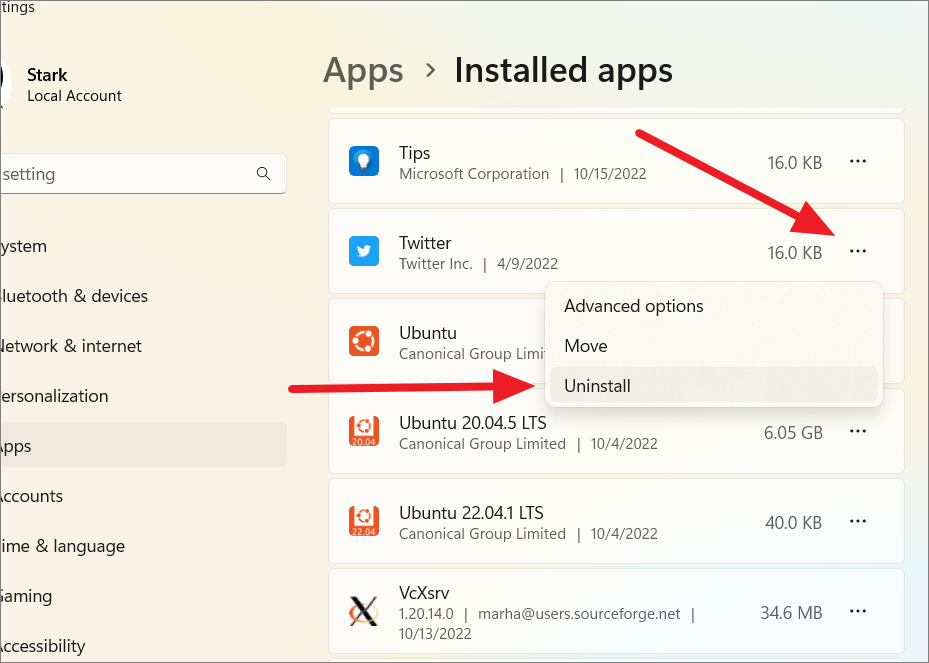
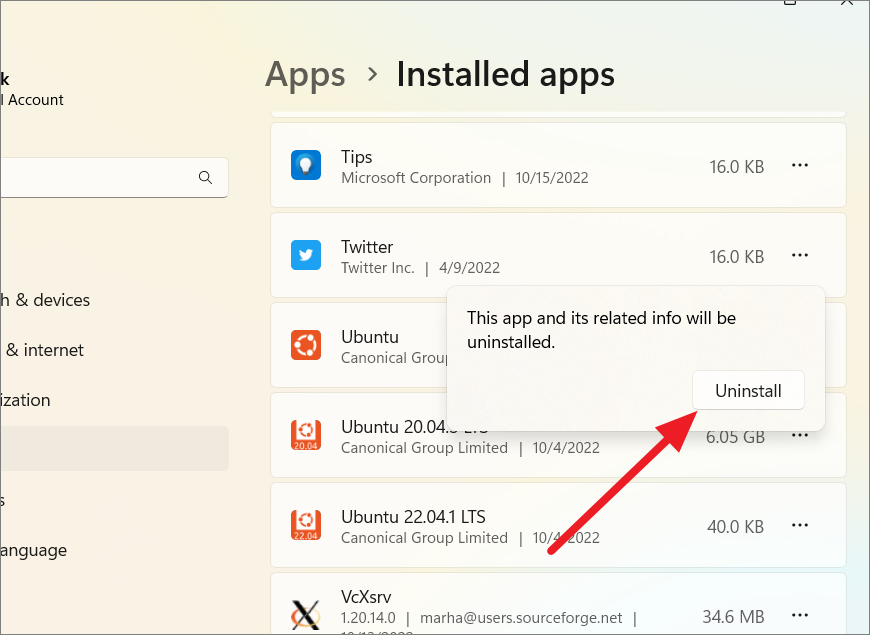
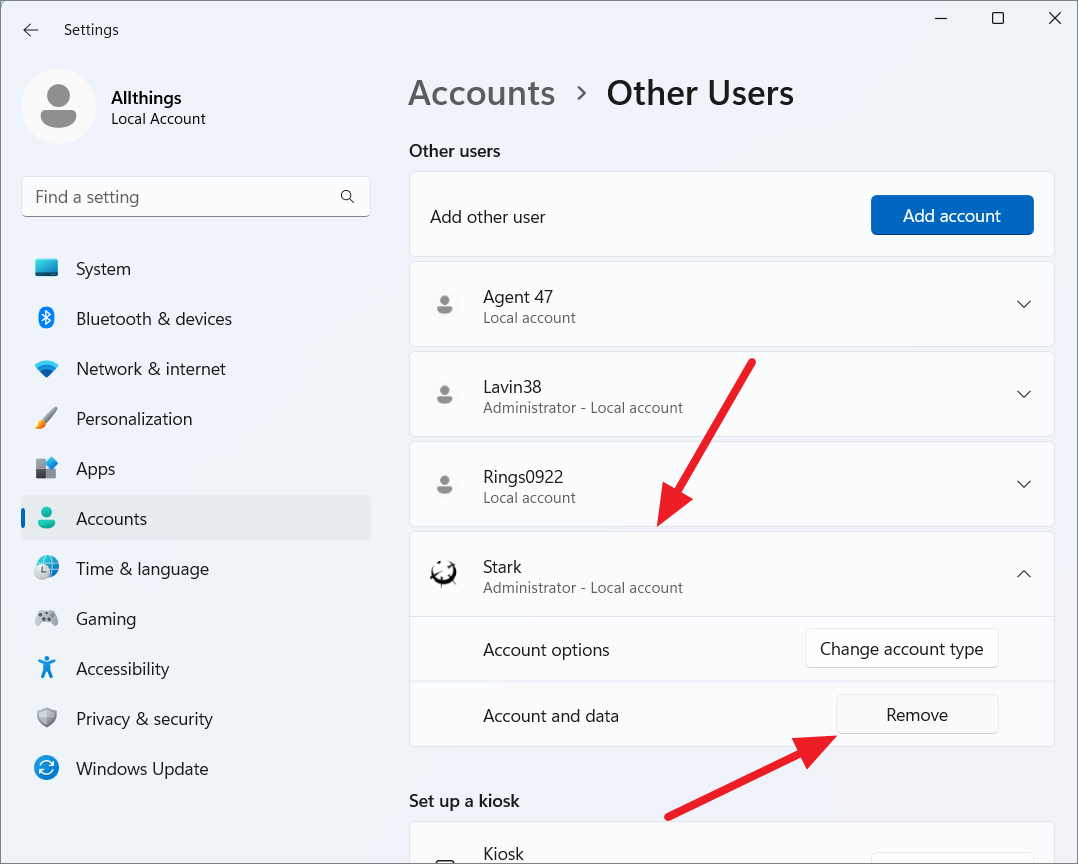
Uninstall problematic UWP apps
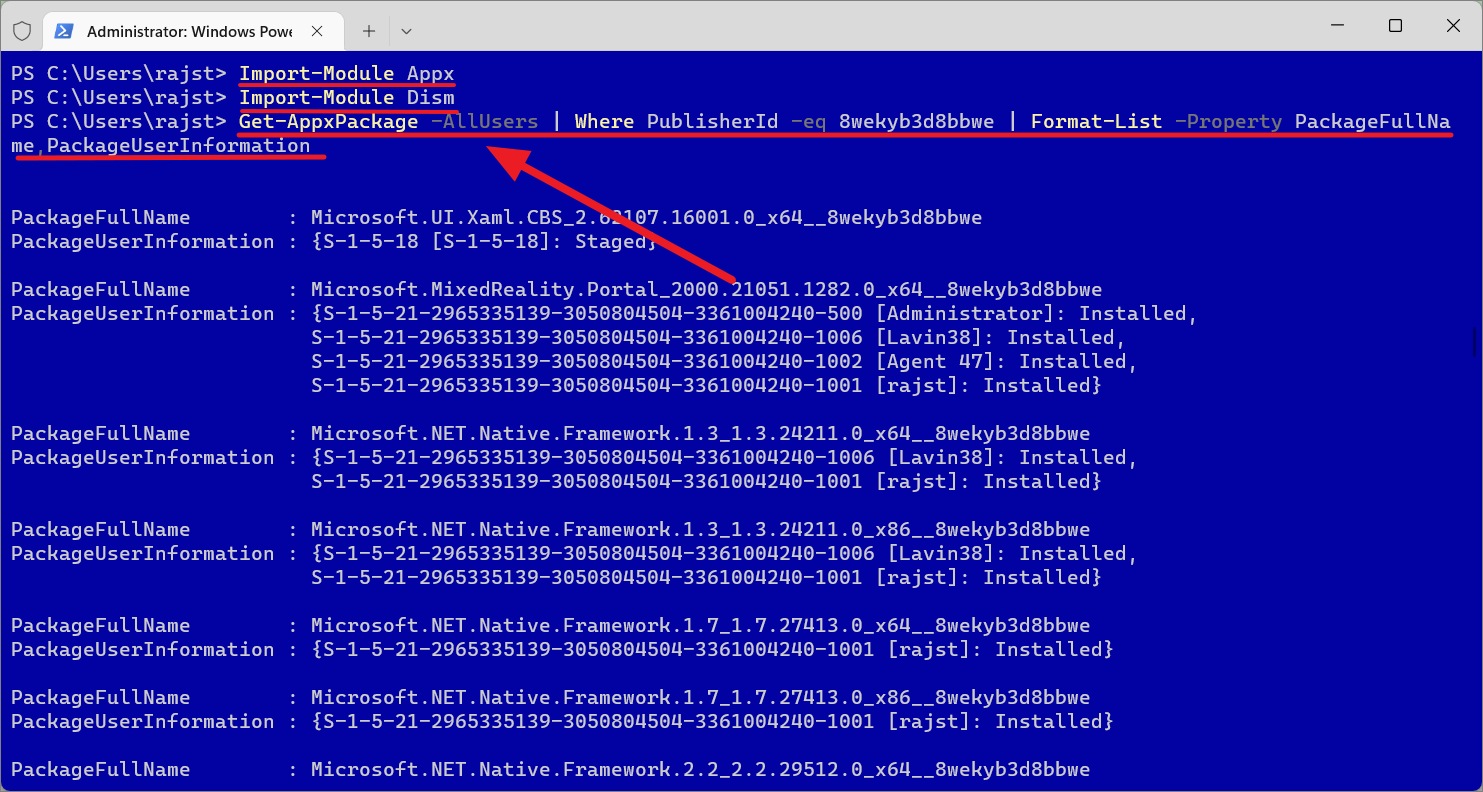
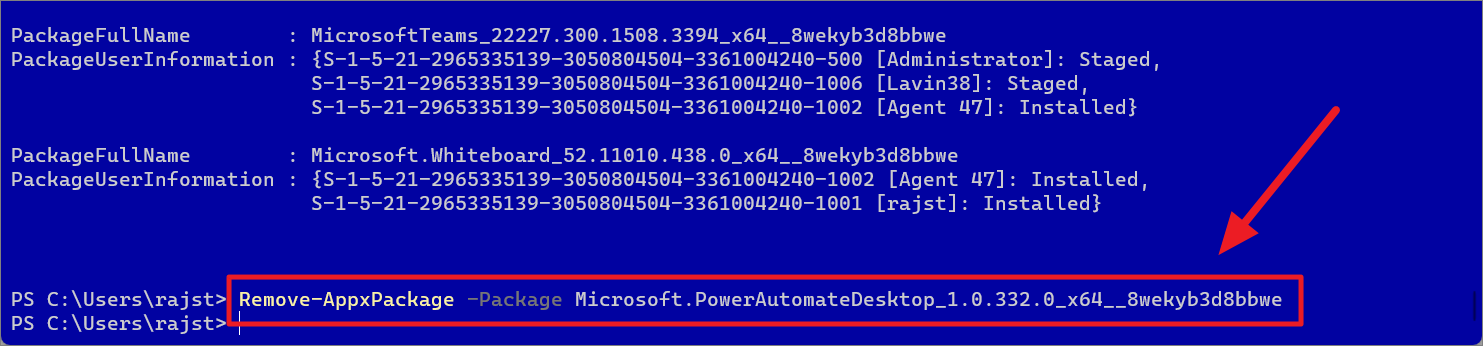
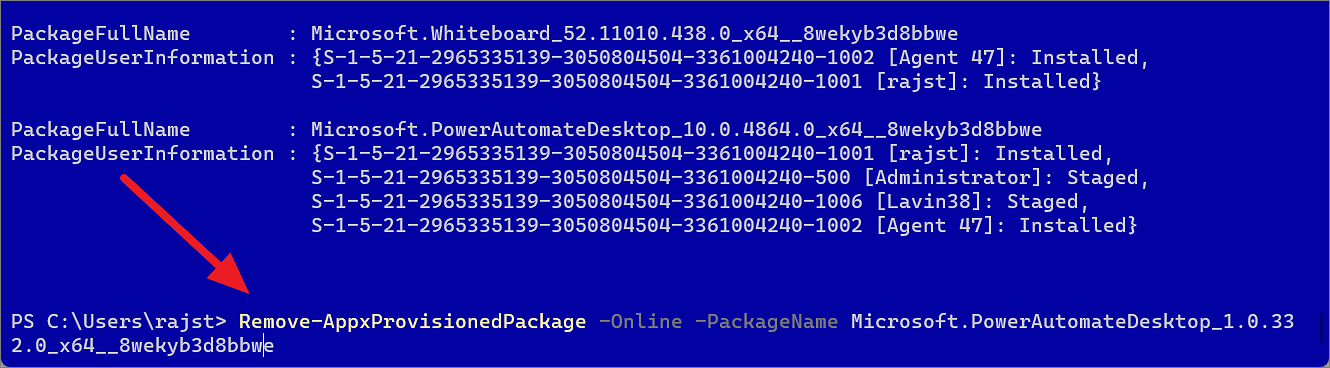
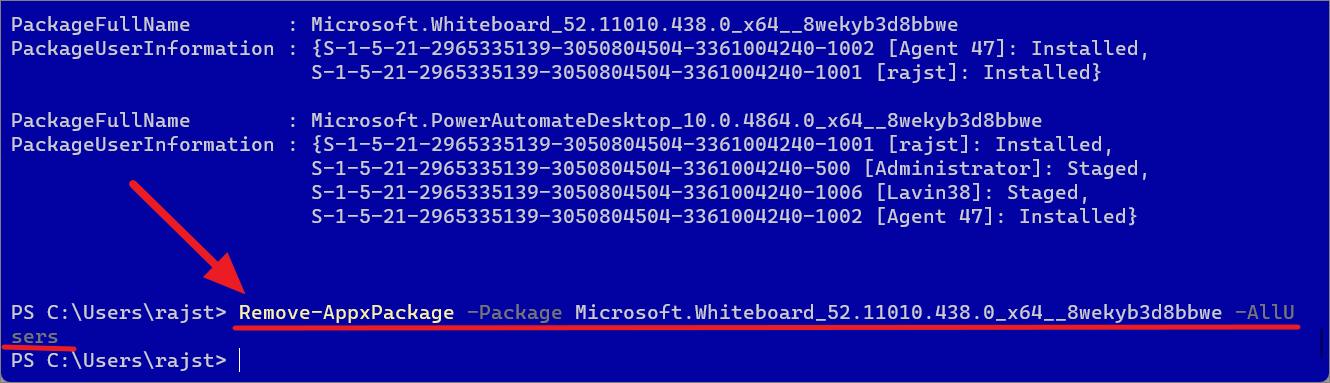
Universal Windows Platform (UWP) apps installed from the Microsoft Store can sometimes cause issues with Sysprep, especially if they aren’t provisioned properly. Removing these apps may resolve the error.
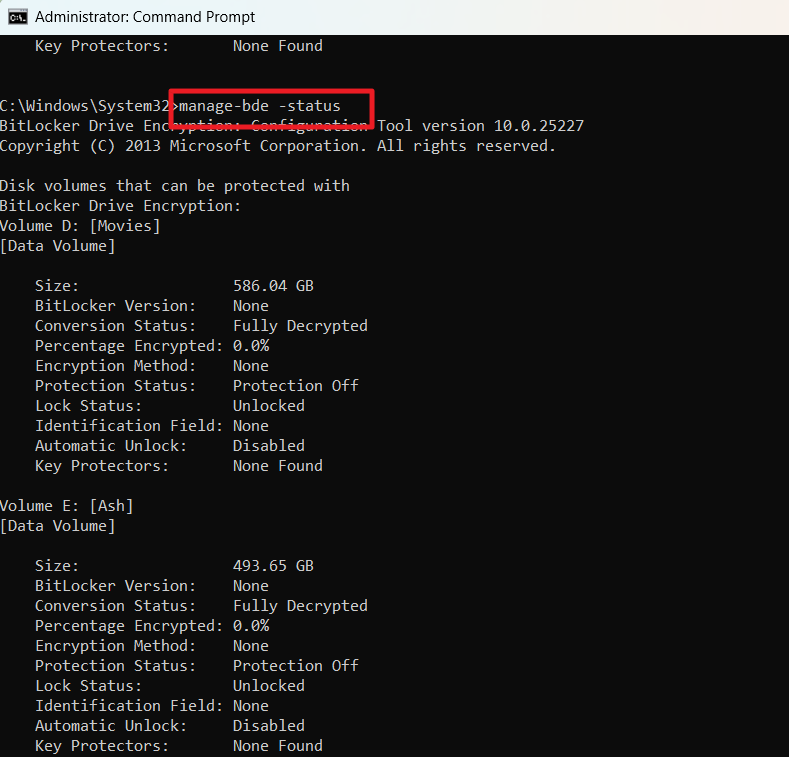
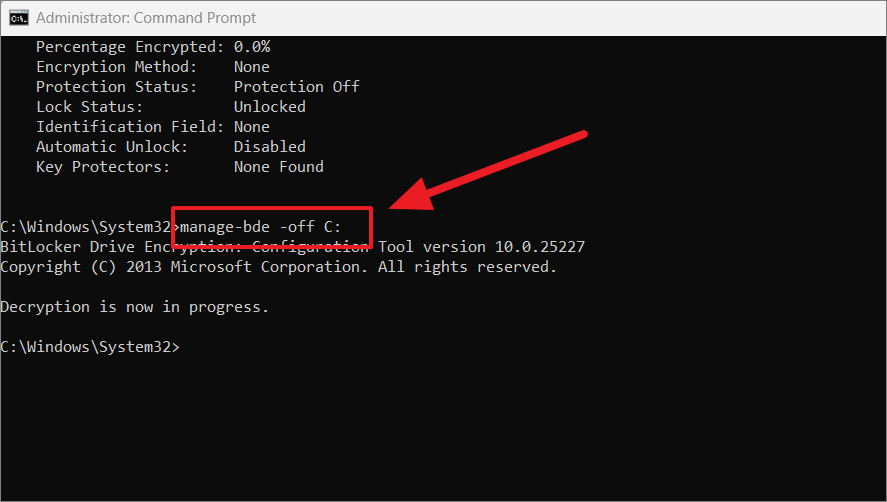
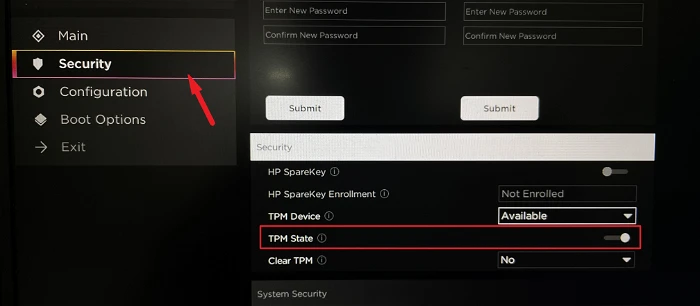
Sometimes, even after disabling BitLocker, the system assumes it’s still active due to TPM (Trusted Platform Module) or PTT (Platform Trust Technology). Disabling TPM/PTT in the BIOS can help.
Restart your computer and try running Sysprep again.
Perform DISM and SFC scans
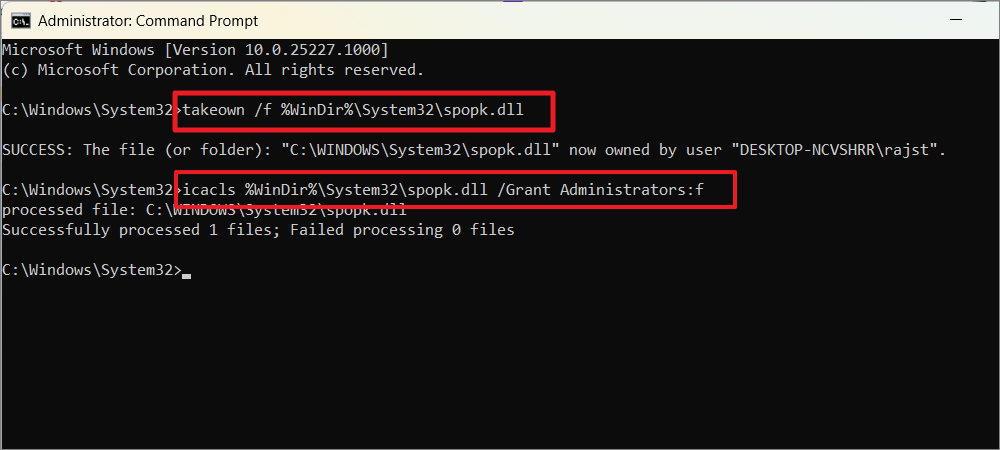
System file corruption can lead to Sysprep errors. Using the Deployment Image Servicing and Management (DISM) tool along with the System File Checker (SFC) can repair corrupted system files.
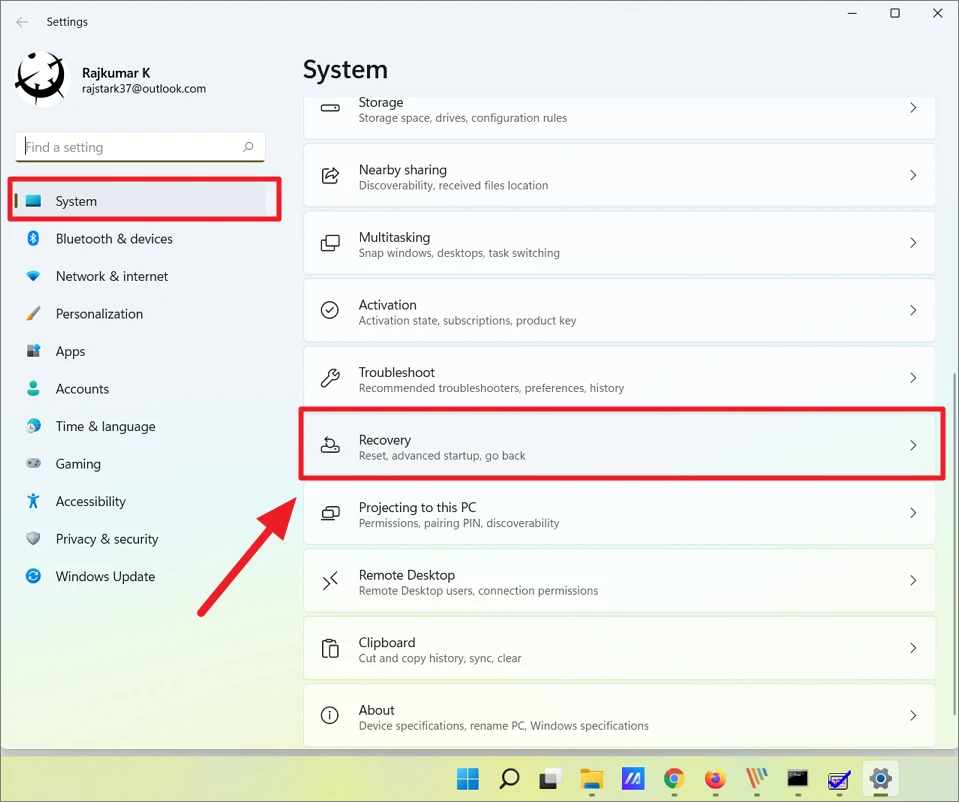
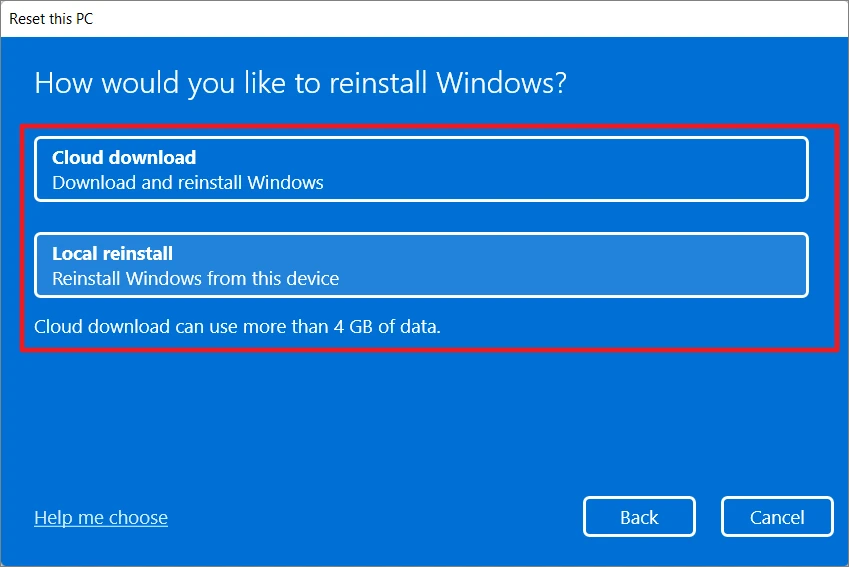
Select either Cloud download or Local reinstall. Cloud download will fetch the latest version of Windows 11 from Microsoft’s servers, while Local reinstall uses files already on your PC.
After the reset is complete, your system will have a fresh installation of Windows 11, and you can attempt to run Sysprep again.
By following these methods, you should be able to resolve the “Sysprep was not able to validate your Windows installation” error on your Windows 11 PC.