
Windows 11’s Widgets feature provides quick access to personalized content like news, weather updates, and more directly from the Taskbar. If you’re finding that Widgets aren’t working or are crashing when you try to open them, there are several steps you can take to resolve the issue.
1. Restart the Windows Explorer process
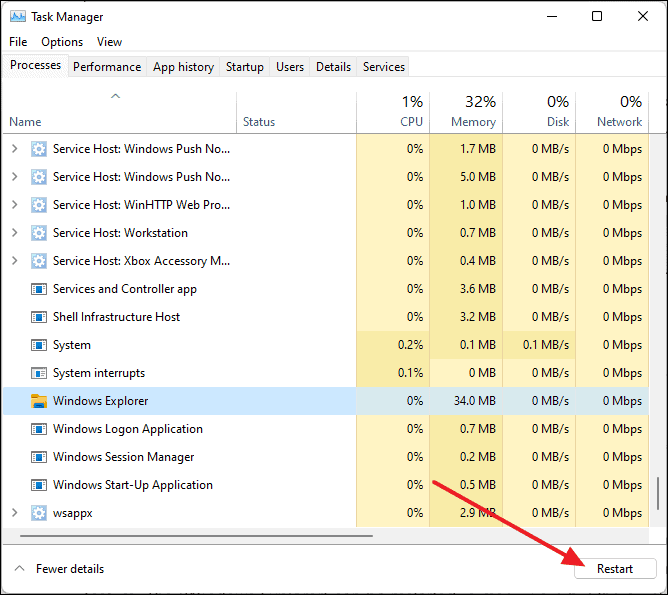
Since Widgets are integrated with the Windows Explorer process, restarting it can often fix issues related to Widgets not functioning properly.
- Press
Ctrl+Shift+Escto open the Task Manager. - In the Task Manager window, ensure you’re on the Processes tab.
- Scroll down and find Windows Explorer in the list.
- Click on Windows Explorer, then click the Restart button at the bottom-right corner of the window.
2. Kill the ‘Widgets’ process using Task Manager
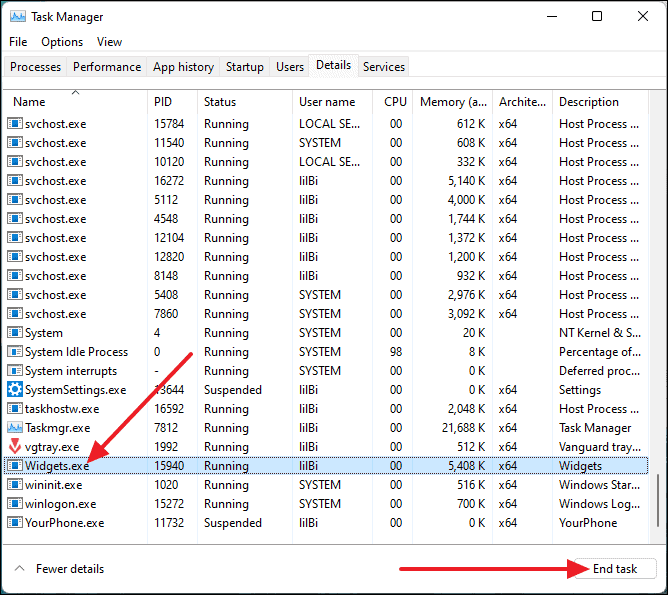
Another quick fix is to end the Widgets process, which will automatically restart it and may resolve any temporary glitches.
- Open Task Manager by pressing
Ctrl+Shift+Escor by searching for it in the Start menu. - Select the Details tab.
- Locate Widgets.exe in the list of processes.
- Click on Widgets.exe, then click the End task button at the bottom-right corner.
After ending the process, Widgets should automatically restart. If not, try reopening Widgets or restart your computer.
3. Restart your computer
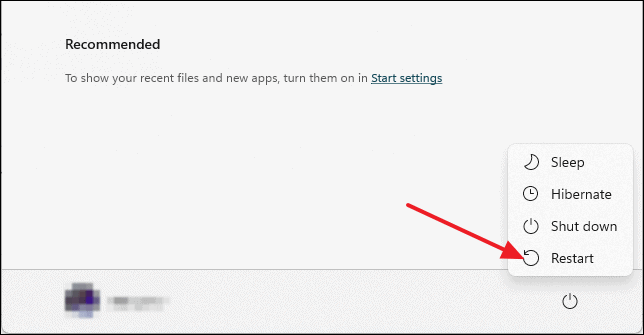
Sometimes, simply restarting your computer can resolve issues with Widgets not working, as it refreshes all background processes and services.
- Click the Start button or press the
Windowskey. - Click the Power icon.
- Select Restart from the menu.
4. Enable Widgets using Group Policy Editor
If Widgets are disabled in the Group Policy settings, you’ll need to enable them to get Widgets working again.
- Press
Windows+Rto open the Run dialog box. - Type
gpedit.mscand pressEnterto open the Local Group Policy Editor. - In the left pane, navigate to Computer Configuration > Administrative Templates > Windows Components > Widgets.
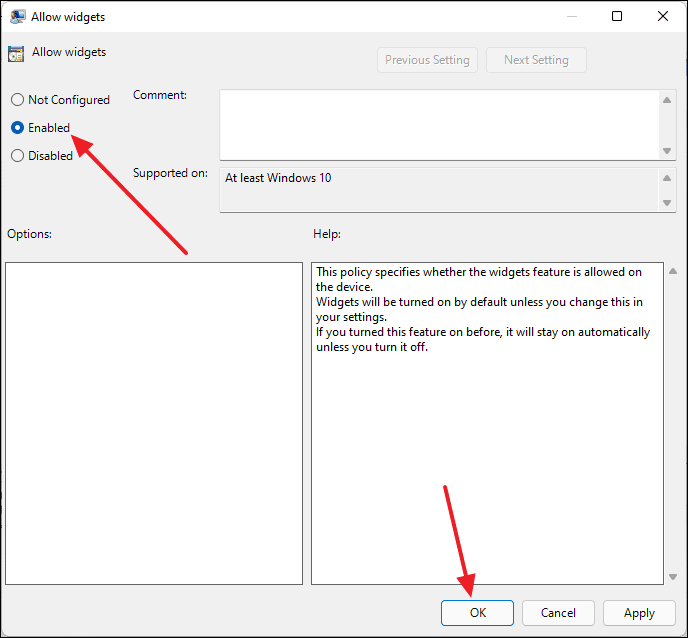
- Double-click on Allow widgets in the right pane.
- Set the policy to Enabled, then click OK.
5. Switch to a Microsoft account
Widgets may not work properly if you’re signed in with a local account. Switching to a Microsoft account can help resolve this issue.
- Open the Settings app by pressing
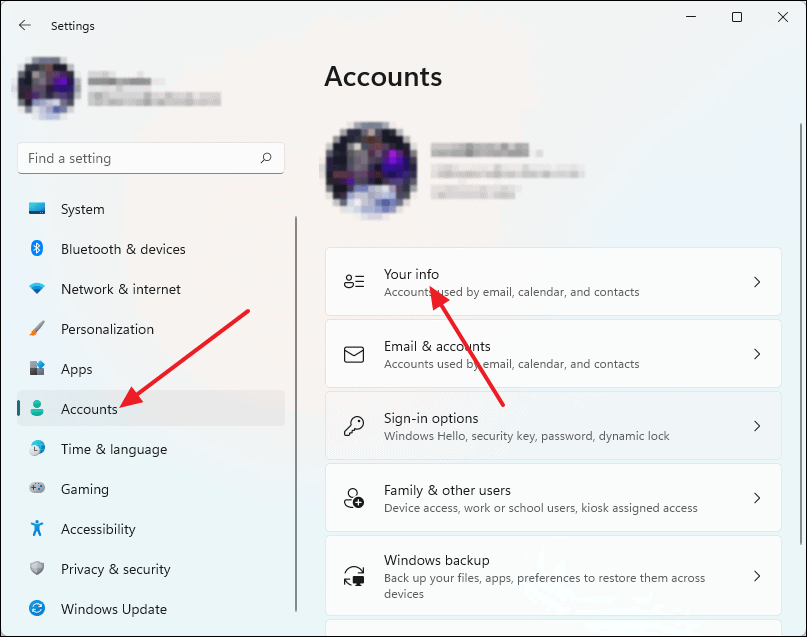
Windows+I. - Click on Accounts in the left pane.
- Select Your info from the right pane.
- Under Account settings, click on Sign in with a Microsoft account instead.
- Follow the on-screen instructions to sign in with your Microsoft account.
After signing in, restart your computer and check if Widgets are working.
6. Use Microsoft Edge as default browser
Since Widgets are integrated with Microsoft Edge, setting Edge as your default browser can sometimes fix issues with Widgets.
- Open Microsoft Edge by searching for it in the Start menu.
- Click on the three horizontal dots (Settings and more) in the top-right corner or press
Alt+F. - Select Settings from the dropdown menu.
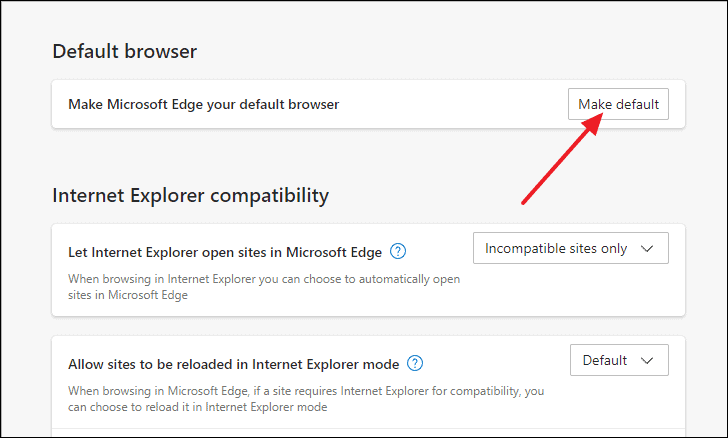
- In the left pane, click on Default browser.
- Click the Make default button under the Default browser section.
7. Disable built-in graphics driver
If your computer has both integrated and dedicated graphics cards, conflicts between their drivers might cause Widgets to malfunction. Disabling the integrated graphics driver may help.
- Right-click the Start button and select Device Manager from the context menu.
- In Device Manager, expand the Display adapters section.
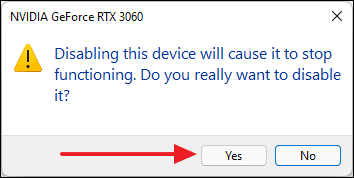
- Right-click on the integrated graphics driver (e.g., Intel HD Graphics) and select Disable device.
- Confirm any prompts by clicking Yes.
- Restart your computer.
By following these steps, you should be able to resolve issues with Widgets not working in Windows 11 and enjoy the personalized content they offer.


