
MySQL is a popular open-source relational database management system that is essential for storing and managing data in various applications. Installing MySQL on a Windows 11 machine allows you to develop, test, and run database-driven applications efficiently. This guide provides step-by-step instructions to install MySQL on your Windows 11 PC, including necessary prerequisites.
Download and install Microsoft Visual C++ Redistributable Package
Before installing MySQL, ensure that the Microsoft Visual C++ 2019 Redistributable Package is installed on your system, as it is a required component for MySQL to function properly.
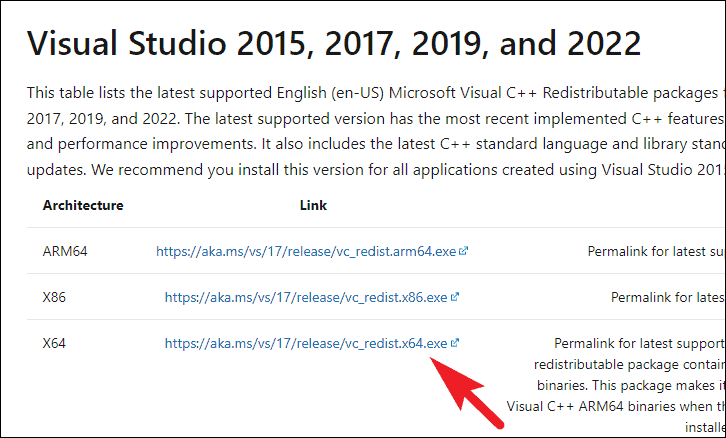
- Open your preferred web browser and navigate to the official Microsoft download page for the Visual C++ Redistributable Package: docs.microsoft.com/latest-supported-vc-redist. Scroll down to locate the download links, and click on the one that matches your system architecture (x86 or x64) to start the download.
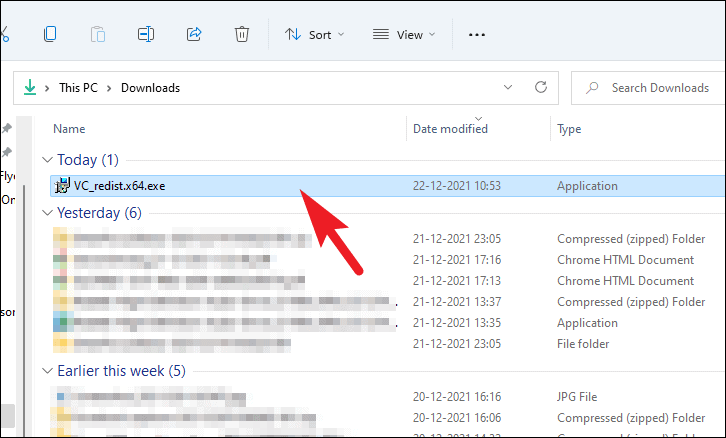
- Once the download is complete, navigate to your downloads folder and double-click the
.EXEfile to launch the installer.
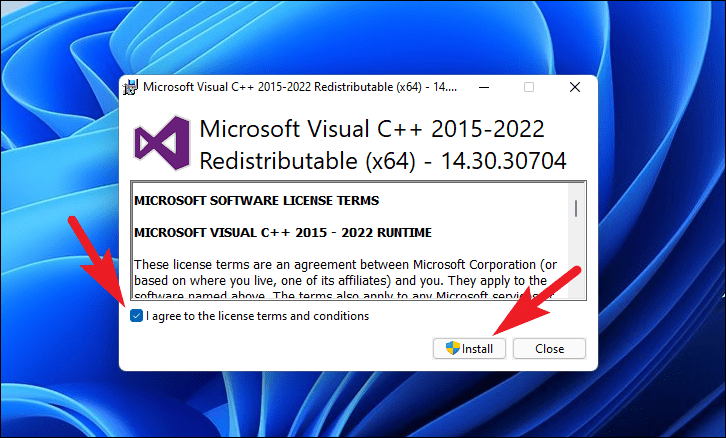
- In the installer window, accept the license terms by checking the box next to ‘I agree to the terms and conditions’, then click ‘Install’ to begin the installation.
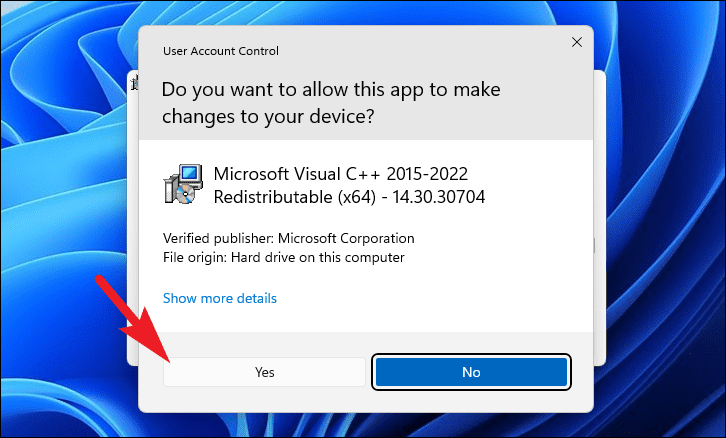
- If a User Account Control prompt appears, enter the administrator credentials if necessary, or click ‘Yes’ to proceed with the installation.
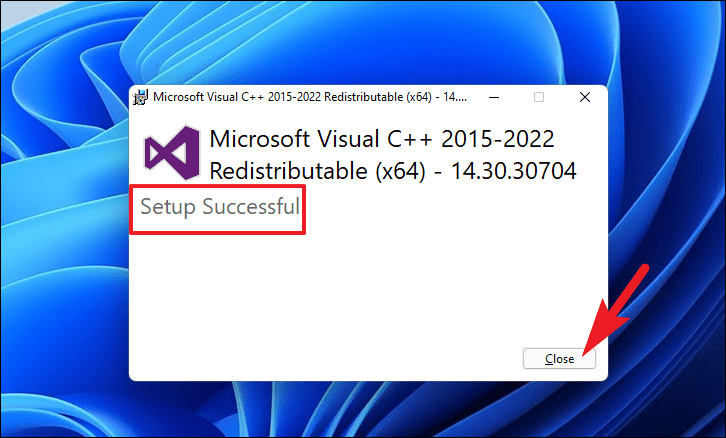
- Wait for the installation process to complete. Once it’s finished, you will see a confirmation message. Click ‘Close’ to exit the installer.
With the Microsoft Visual C++ Redistributable Package installed, you are now ready to install MySQL on your system.
Download and install MySQL on your PC
The recommended way to install MySQL on Windows 11 is by using the official MySQL Installer, which simplifies the installation and configuration process.
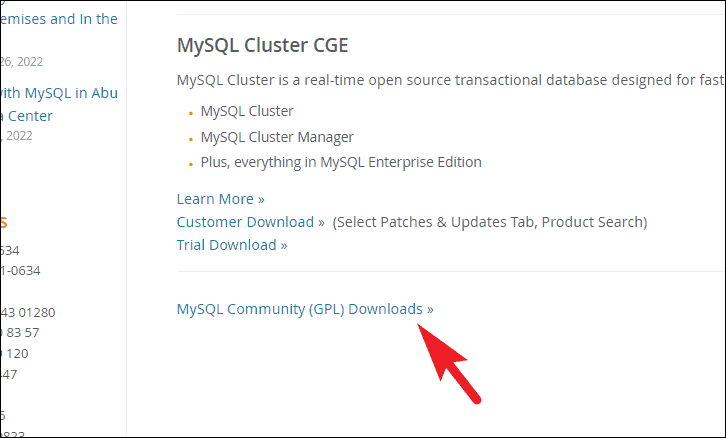
- Navigate to the official MySQL download page: mysql.com/downloads. Scroll down and click on the ‘MySQL Community (GPL) Downloads’ button to proceed.
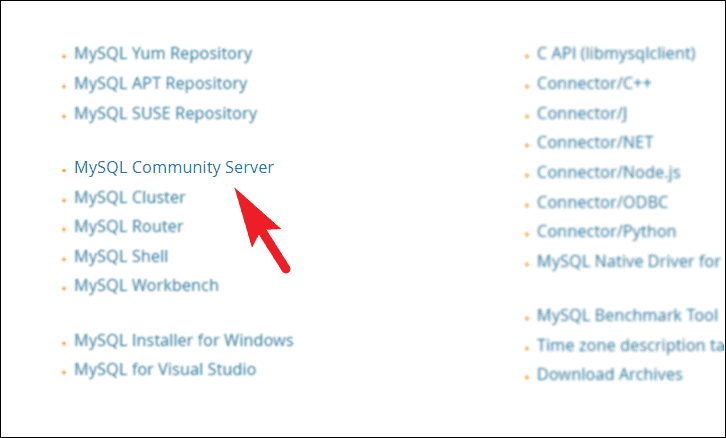
- On the ‘Community Downloads’ page, click on ‘MySQL Community Server’ to continue.
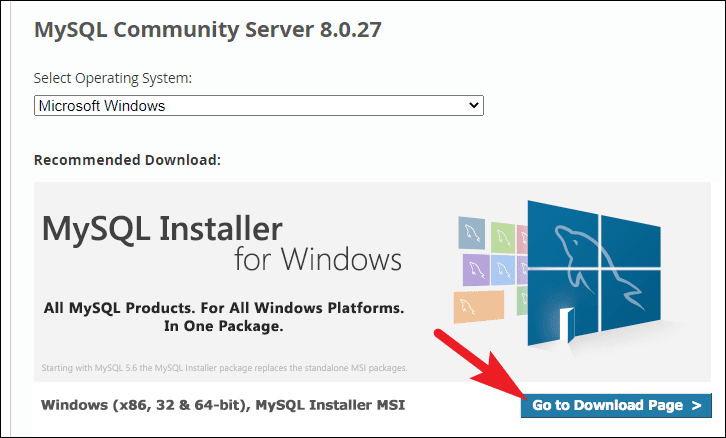
- Under the ‘Recommended Download’ section, click on ‘Go to Download Page’.
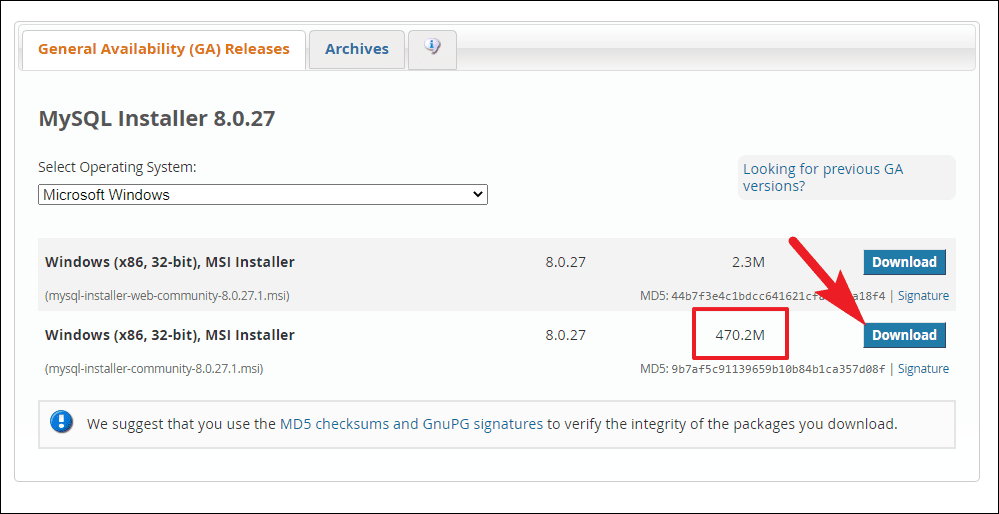
- Choose the appropriate installer based on your needs. Click the ‘Download’ button for the larger file size option to get the full installer package.
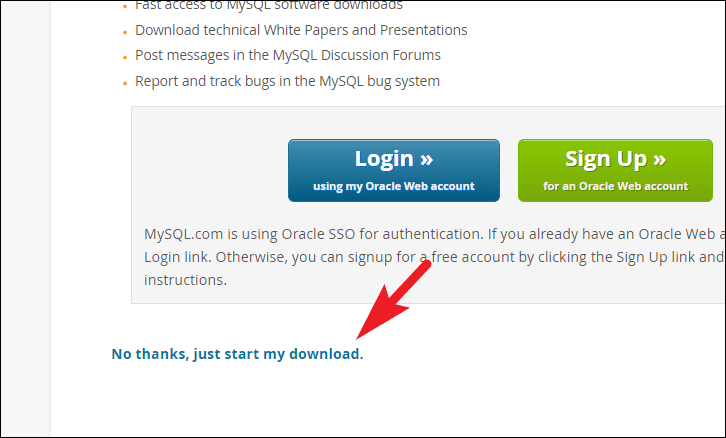
- On the next page, click ‘No thanks, just start my download.’ to begin downloading without signing in.
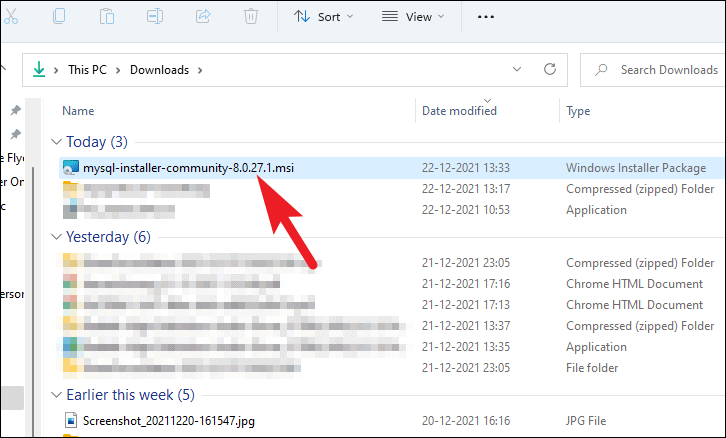
- After the download is complete, go to your downloads folder and double-click the
.MSIfile to start the installer.
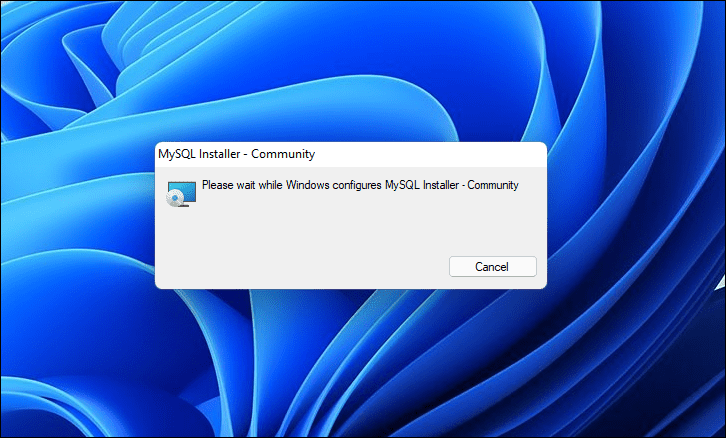
- Wait for the installer to initialize. This may take a few moments.
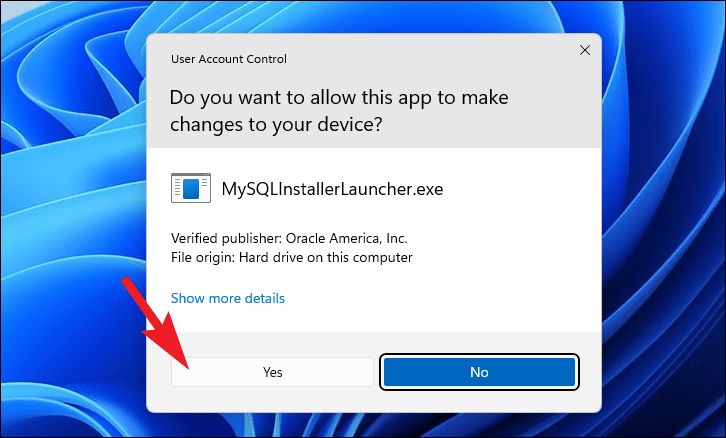
- If prompted by User Account Control, enter administrator credentials if required, or click ‘Yes’ to proceed with the installation.
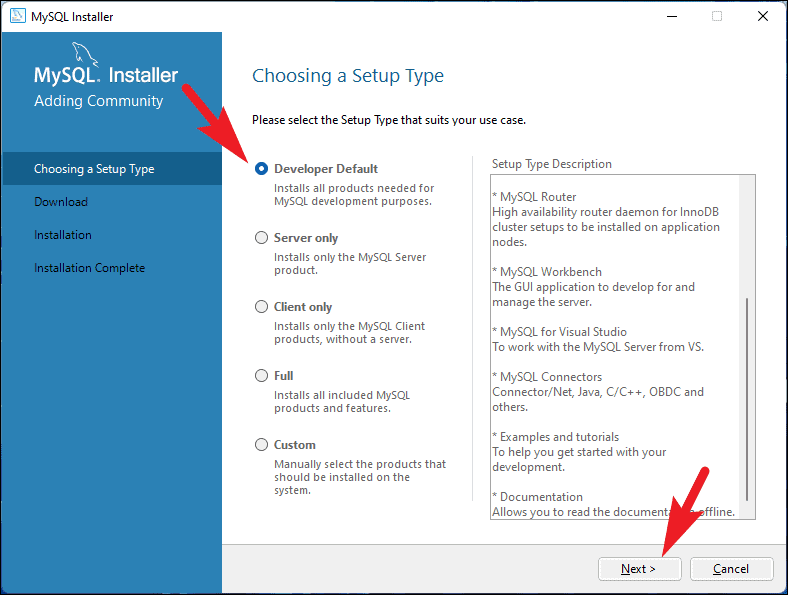
- In the MySQL Installer window, select the setup type that best suits your needs:Choose your preferred setup type by selecting the corresponding option, then click ‘Next’.
- Developer Default: Installs MySQL Server and all tools required for MySQL application development.
- Server Only: Installs only the MySQL Server.
- Client Only: Installs client programs and libraries without the server.
- Full: Installs all MySQL products, including documentation.
- Custom: Allows you to select individual components to install.
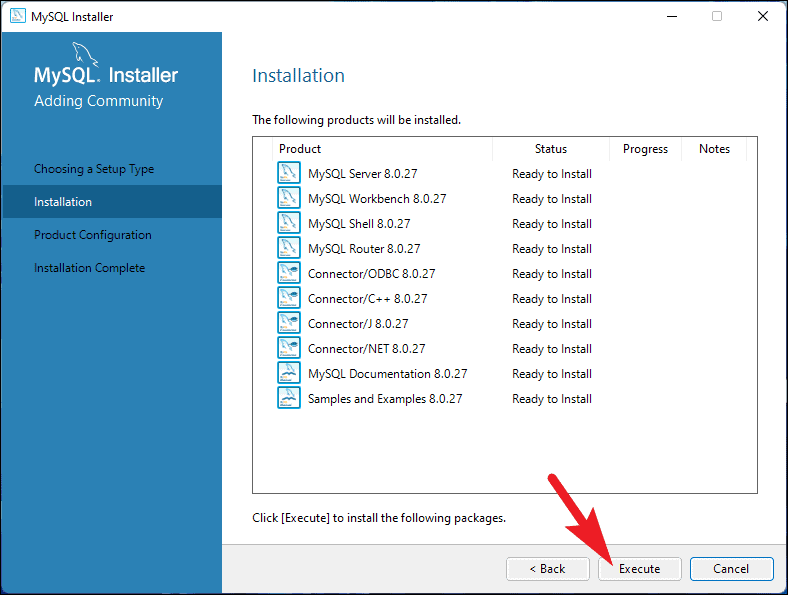
- Click ‘Execute’ to start the installation of the selected components.
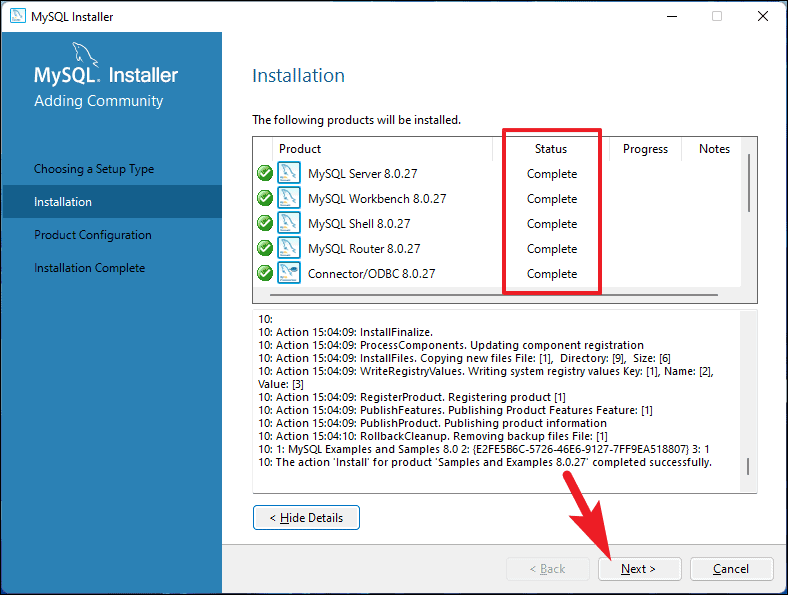
- Once all components are installed successfully, click ‘Next’ to proceed.
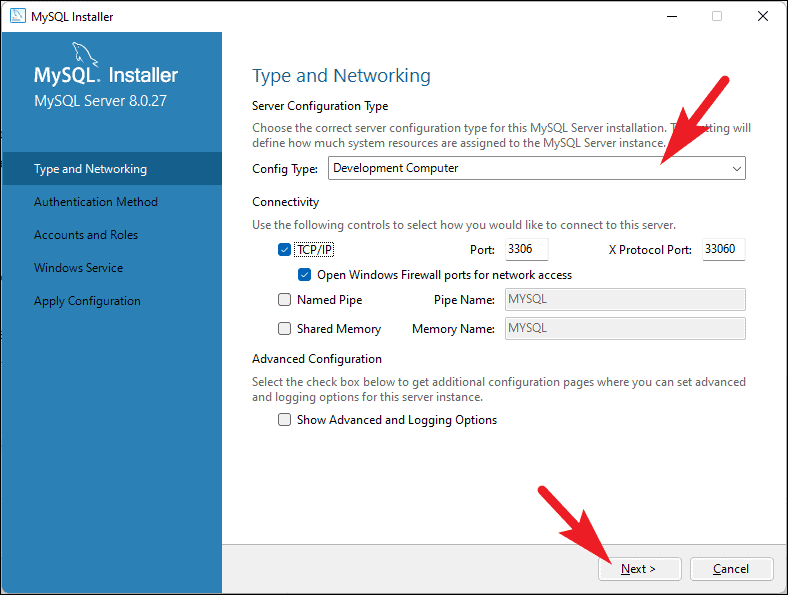
- On the ‘Type and Networking’ screen, select the configuration type that matches your usage:Choose the appropriate option from the drop-down menu. Adjust TCP/IP networking settings if necessary, then click ‘Next’.
- Development Computer: Suitable if you’re running multiple applications; MySQL uses minimal memory.
- Server Computer: Ideal for machines running dedicated services alongside MySQL; uses a moderate amount of memory.
- Dedicated Computer: Best for systems exclusively running MySQL; uses maximum available memory.
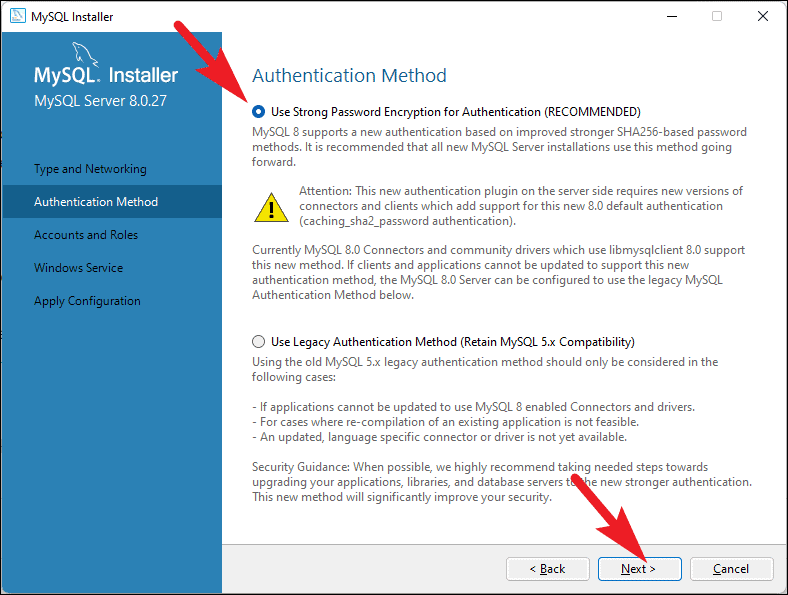
- In the ‘Authentication Method’ screen, select the authentication method:Select your preferred option and click ‘Next’.
- Strong Password Encryption: Recommended for new installations to enhance security.
- Legacy Authentication Method: Choose this if you have applications that require older authentication methods.
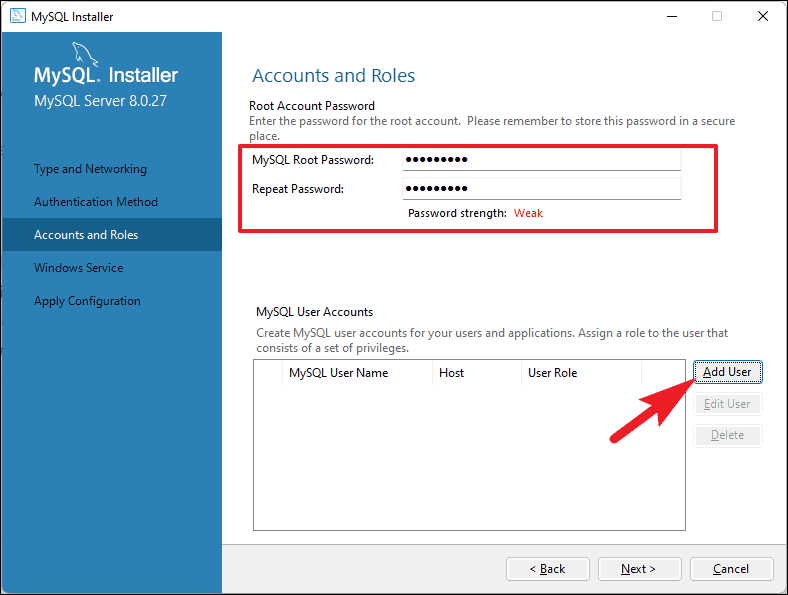
- On the ‘Accounts and Roles’ screen, set up a password for the root user by entering it in the ‘MySQL Root Password’ fields. If you wish to add additional user accounts, click ‘Add User’ and provide the required details. Click ‘Next’ when you are finished.
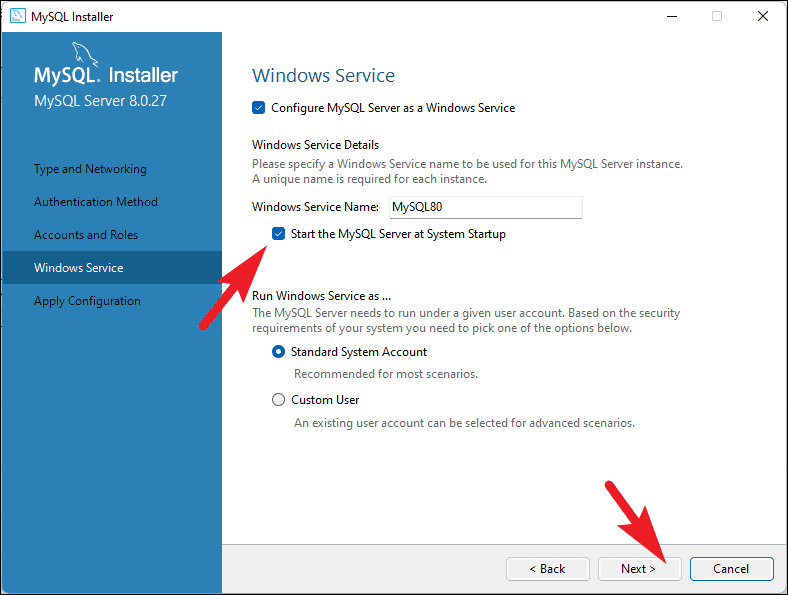
- In the ‘Windows Service’ screen, you can configure MySQL Server as a Windows service. The default settings are usually appropriate:After configuring, click ‘Next’.
- Ensure ‘Configure MySQL Server as a Windows Service’ is checked.
- Optionally, change the service name and select whether to start the service at system startup.
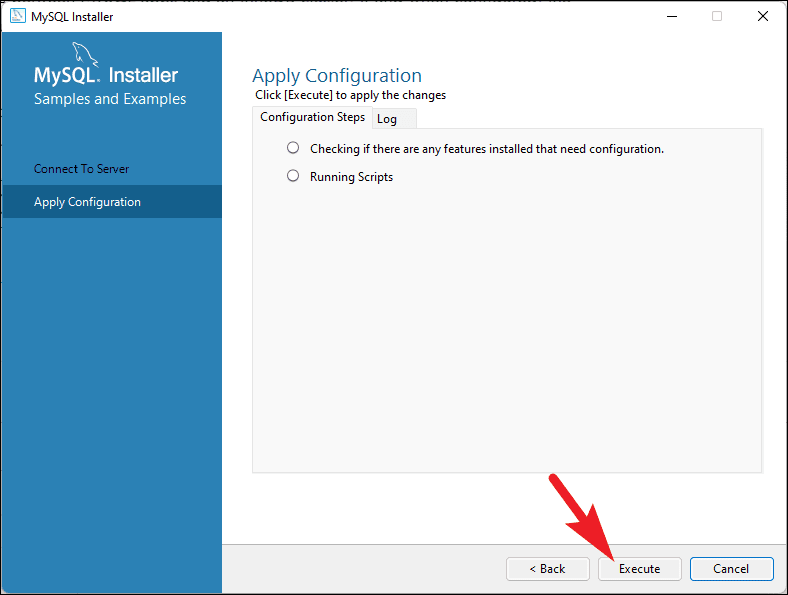
- Click ‘Execute’ to apply the configuration settings for MySQL Server.
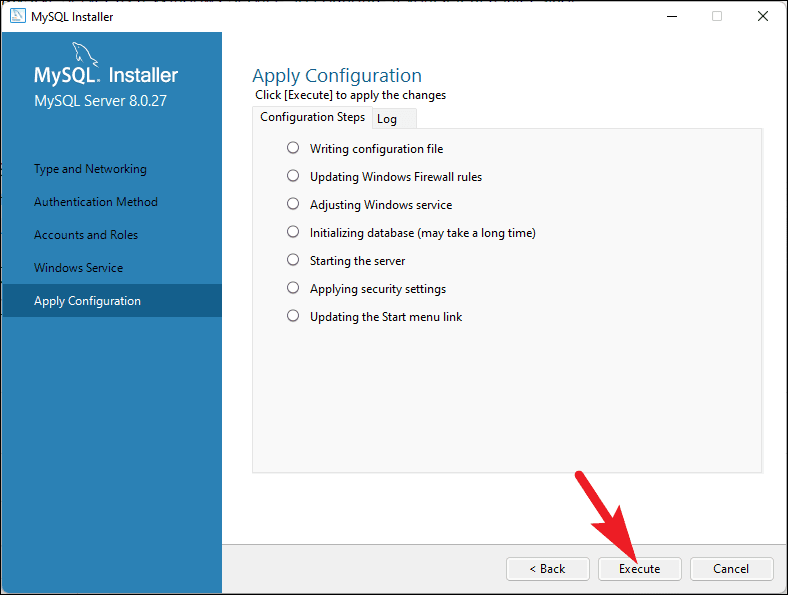
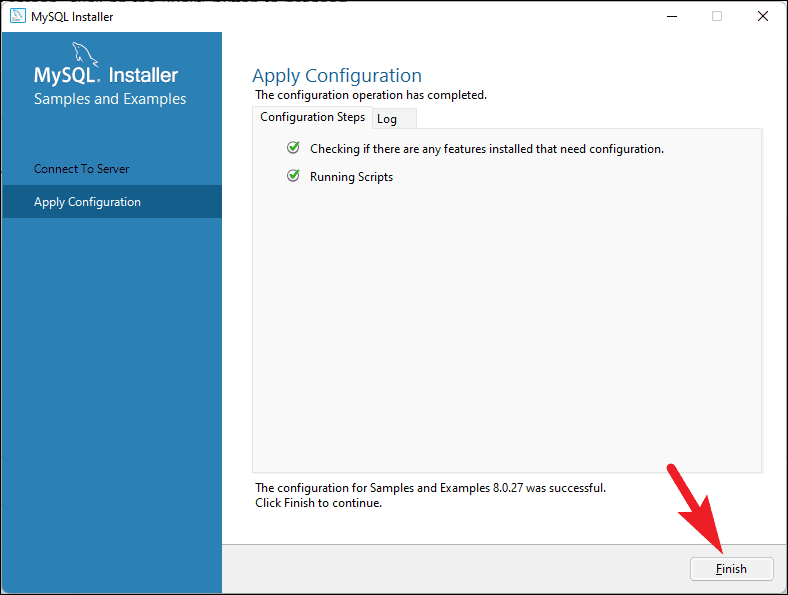
- Once the configuration is applied, click ‘Finish’ to complete the server configuration.
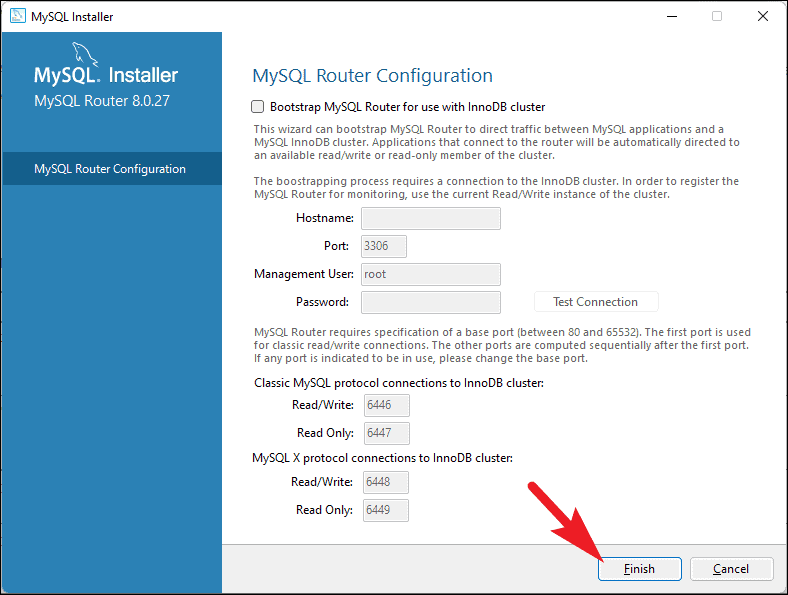
- If prompted to configure MySQL Router, you can skip this step if it’s not required for your setup by clicking ‘Finish’. If you need to configure it, check ‘Bootstrap MySQL Router for use with InnoDB cluster’ and follow the prompts.
- Click ‘Next’ on the following screen to proceed.
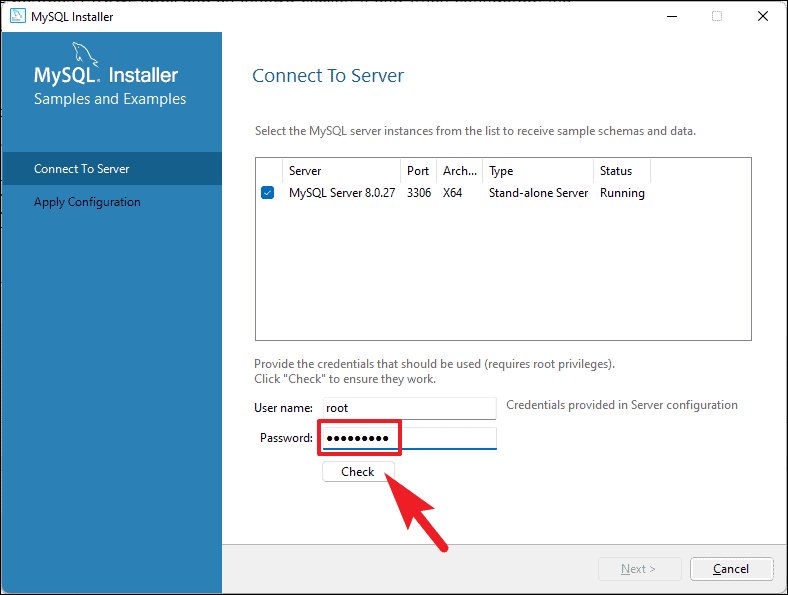
- On the ‘Connect to Server’ screen, enter the root password you set earlier and click ‘Check’ to verify the connection. Once the connection is successful, click ‘Next’.
- Click ‘Execute’ to apply configuration settings for MySQL Router, if applicable.
- After the configuration is complete, click ‘Finish’ to finalize the setup.
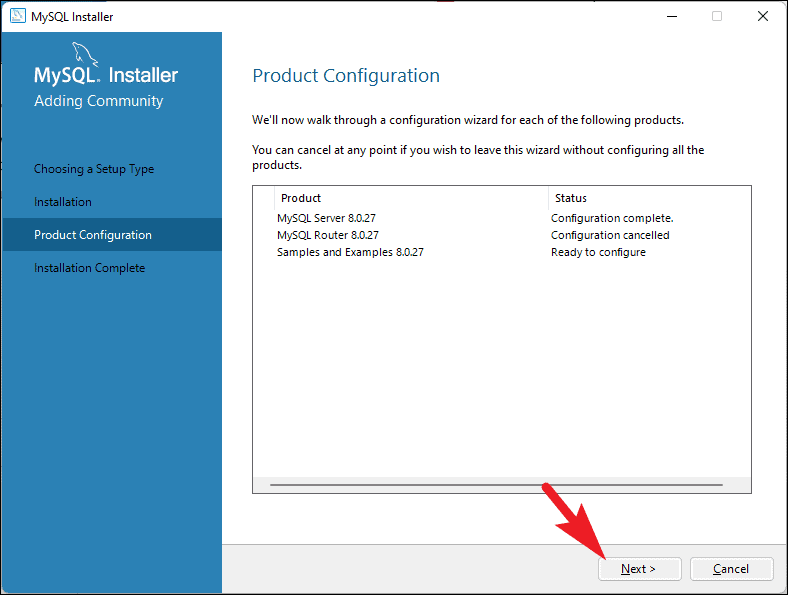
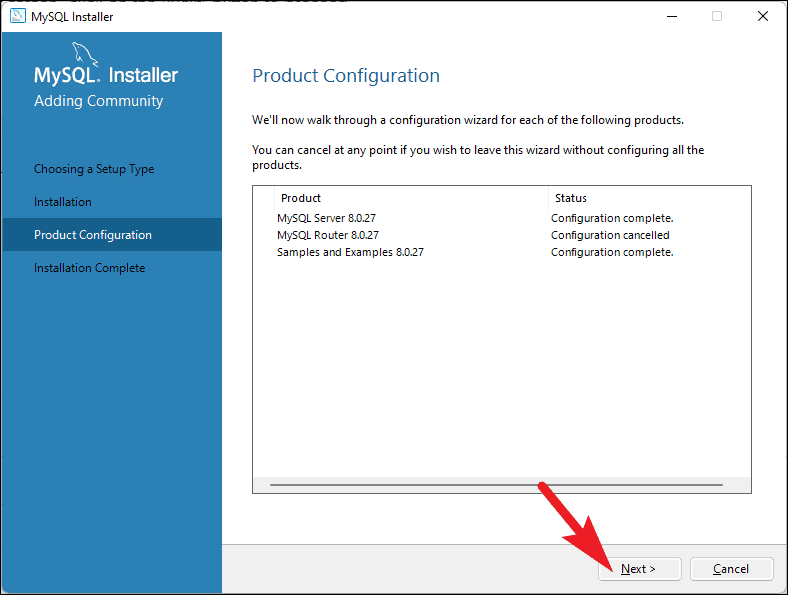
- On the ‘Product Configuration’ screen, click ‘Next’ to proceed.
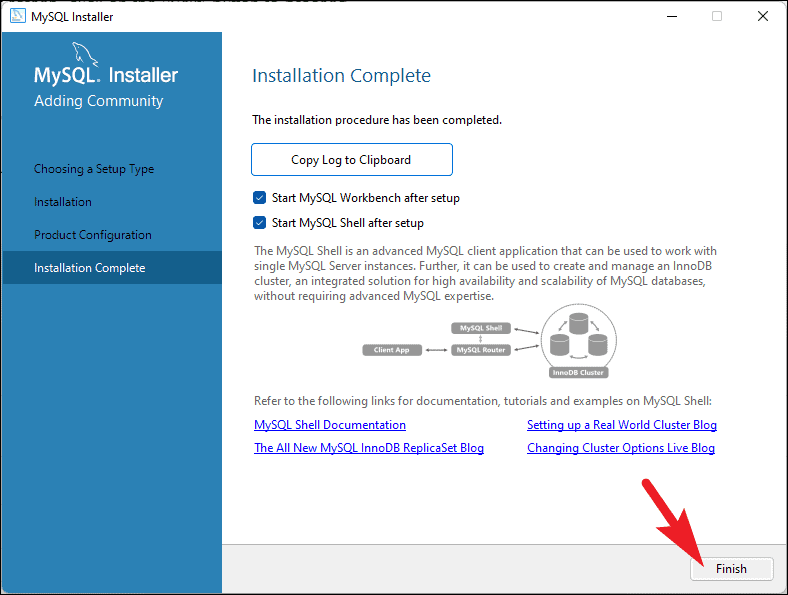
- The installation is now complete. You can explore documentation and resources by clicking the provided links. Click ‘Finish’ to exit the installer.
You have successfully installed MySQL on your Windows 11 PC. You can now start building and managing your databases using MySQL tools.


