How to Fix Windows 11 Error “The Instruction at 0x00007FF referenced memory 0x0000000. The memory could not be written”
9 fixes to resolve this annoying error on your PC.
9 fixes to resolve this annoying error on your PC.
by Pallav Pathak
Encountering the “The instruction at 0x00007FF referenced memory at 0x0000000. The memory could not be written” error on Windows 11 can be frustrating, especially when it interrupts your work or gaming sessions. This error is often related to memory issues or corrupted system files. In this guide, we’ll explore several methods to resolve this error and restore your system’s stability.
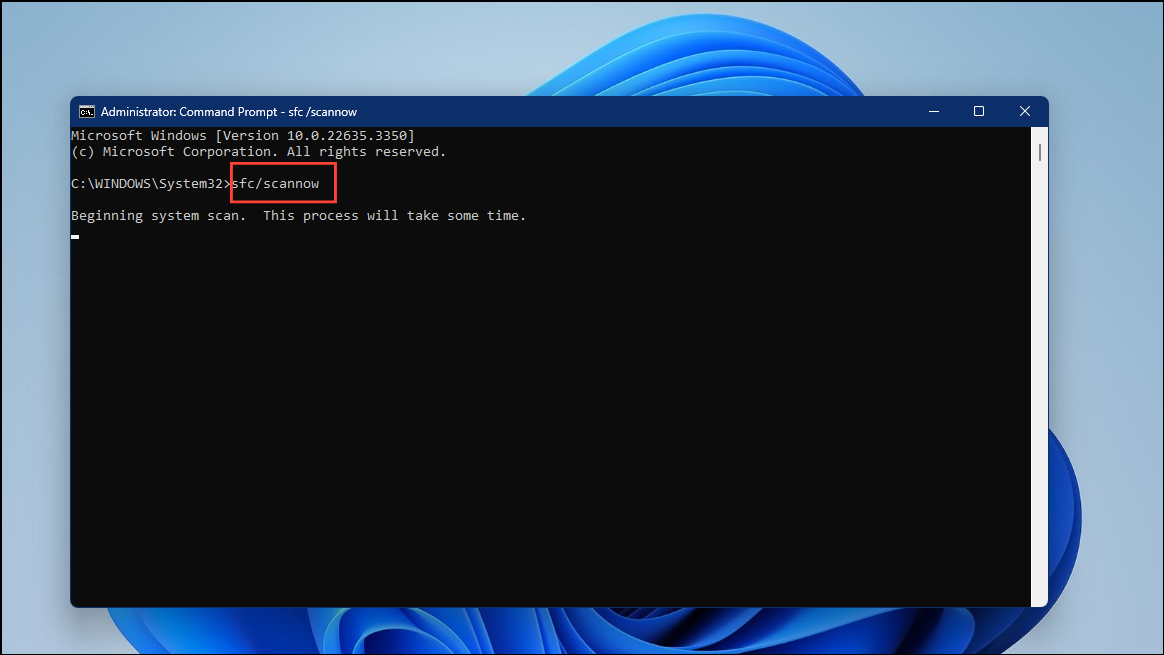
1. Repair system files with SFC and DISM scan
Corrupted or missing system files can trigger memory errors. Windows provides built-in tools like System File Checker (SFC) and Deployment Image Servicing and Management (DISM) to scan and repair these files.
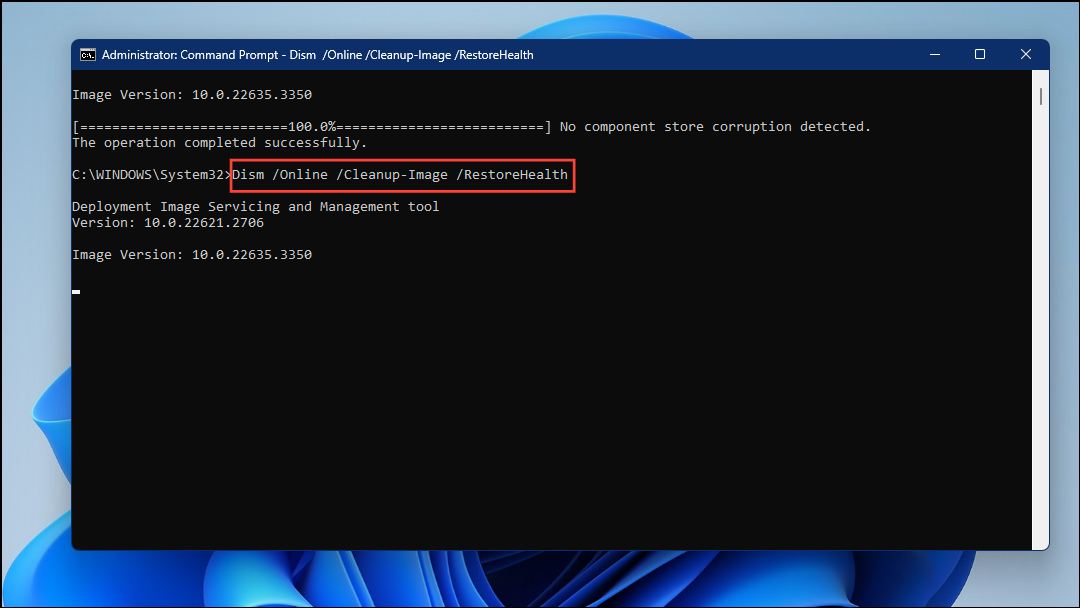
Once the SFC scan is complete, type DISM /Online /Cleanup-Image /RestoreHealth and press Enter to run the DISM tool, which will repair the system image.
After the DISM scan finishes, restart your computer to apply the repairs. Check if the error still persists. If it does, proceed to the next method.
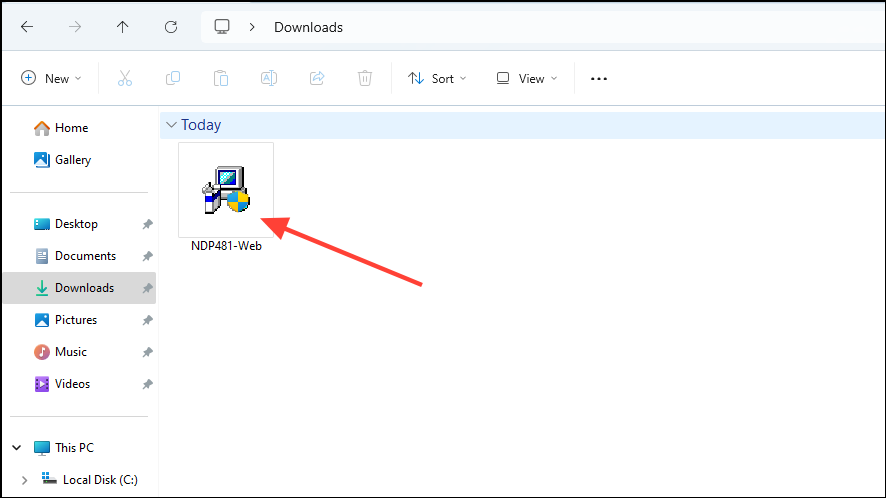
2. Update Microsoft .NET Framework
Outdated versions of Microsoft .NET Framework can cause memory-related errors, especially when running applications that rely on it heavily. Updating to the latest version can resolve these issues.
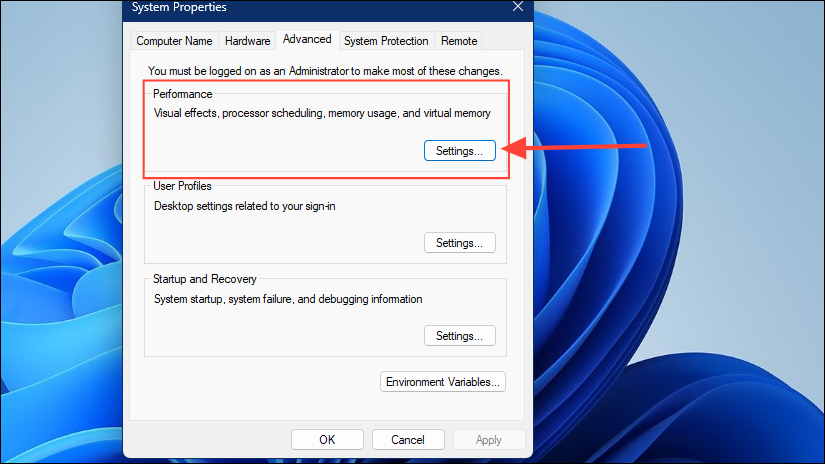
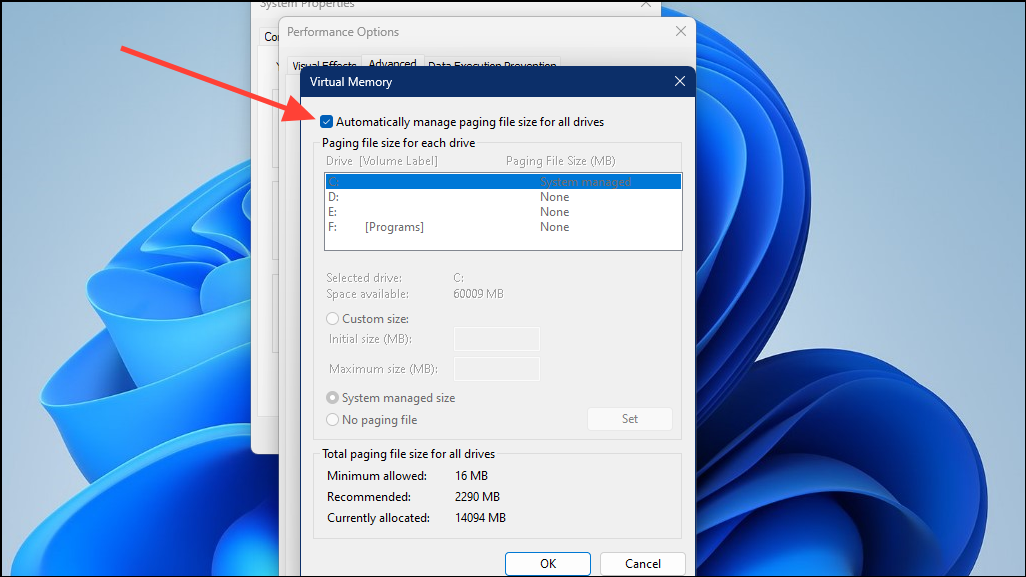
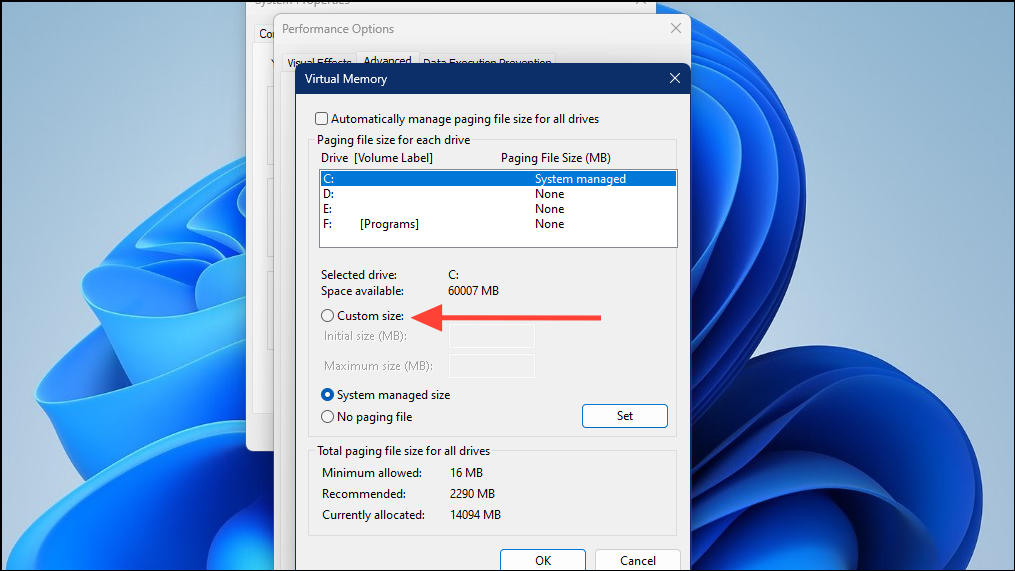
Select your system drive (usually C:) and choose ‘Custom size’. Set ‘Initial size’ and ‘Maximum size’ to 1.5 times your physical RAM (e.g., for 8GB RAM, set 12288 MB). Click ‘Set’, then ‘OK’.
Restart your computer to apply the changes. Check if the error persists.
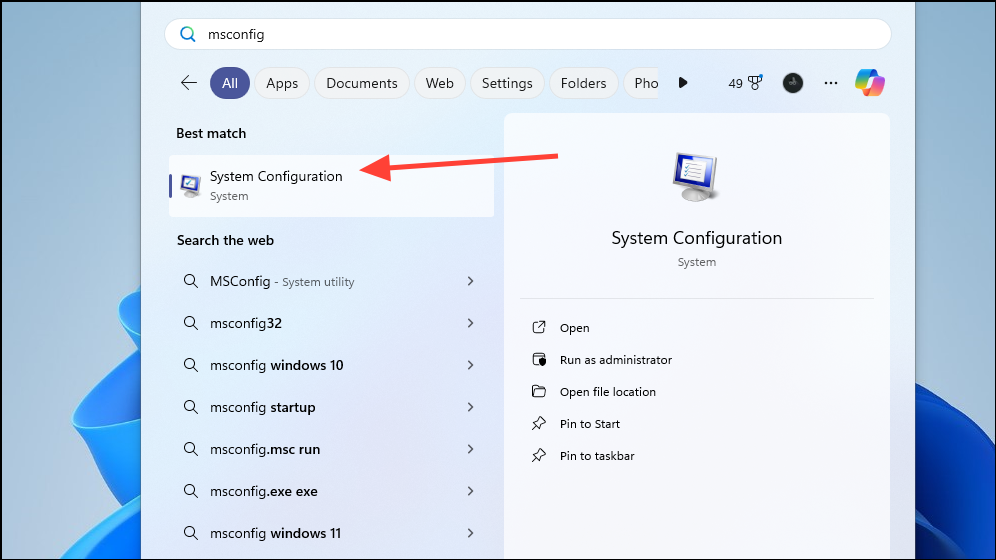
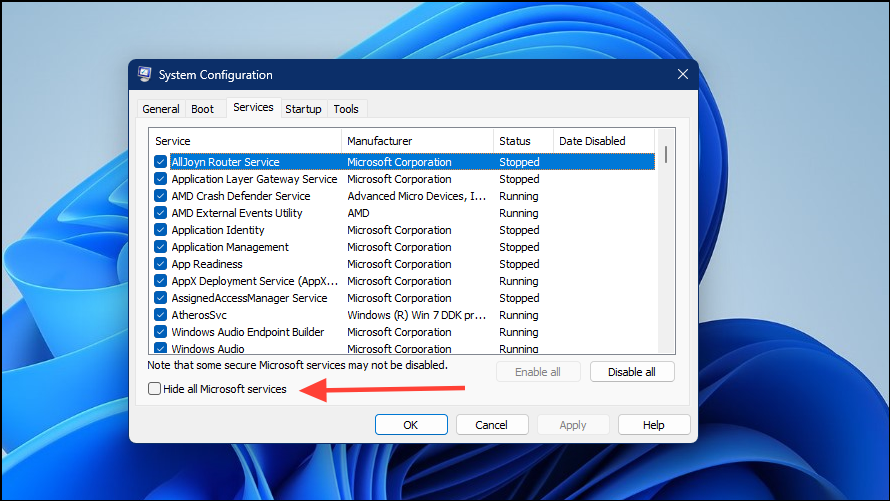
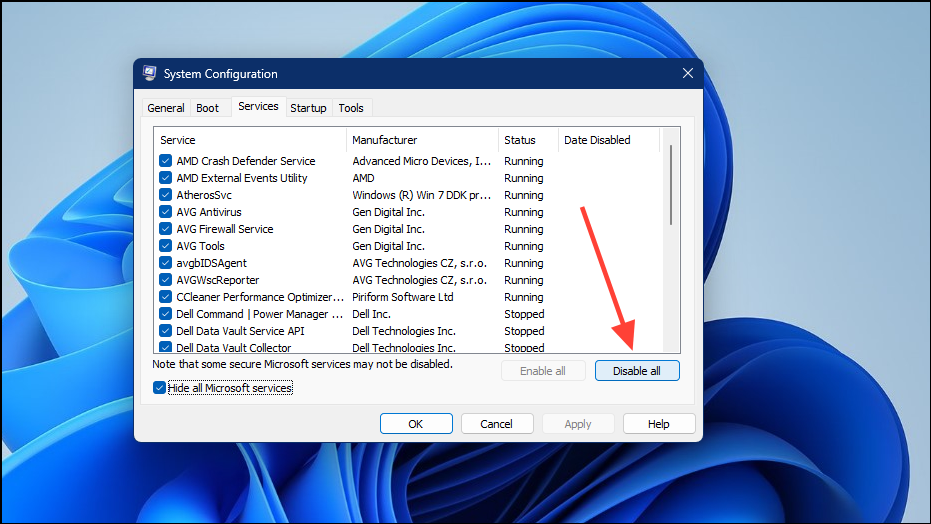
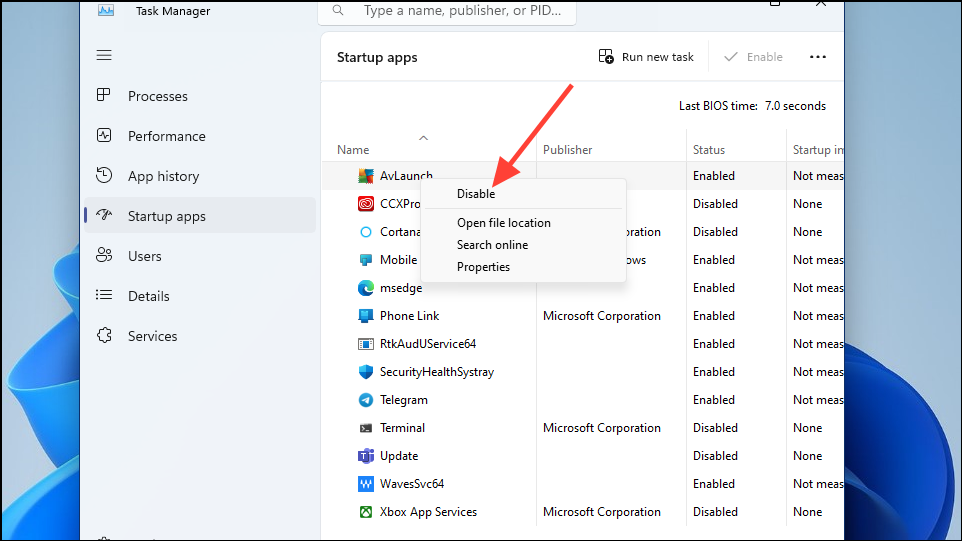
5. Perform a clean boot
Third-party applications or services may interfere with system processes. Performing a clean boot can help identify if an external program is causing the error.
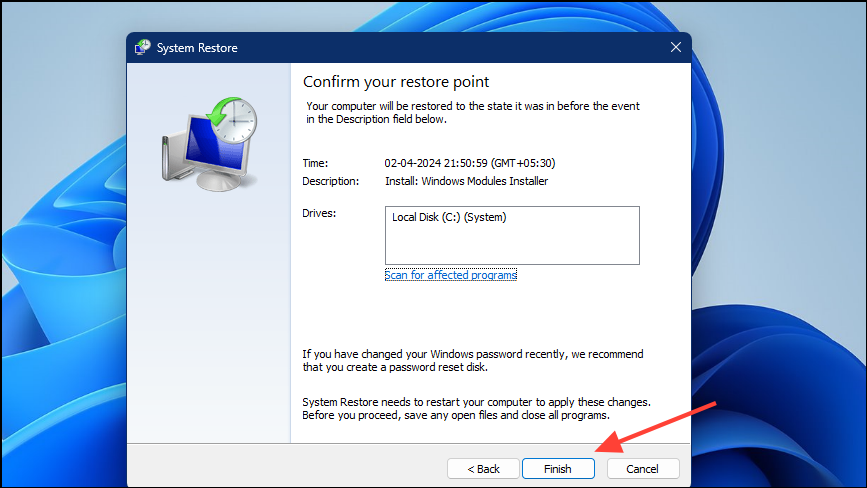
Confirm your restore point and click ‘Finish’. Your system will restart and restore to the selected point.
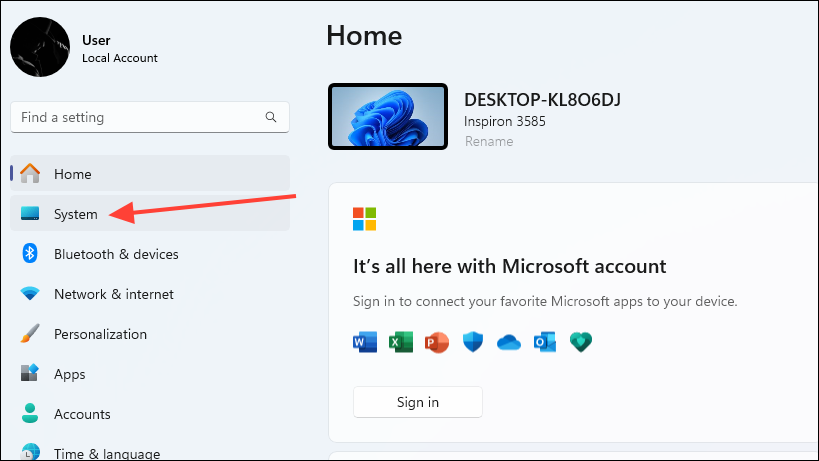
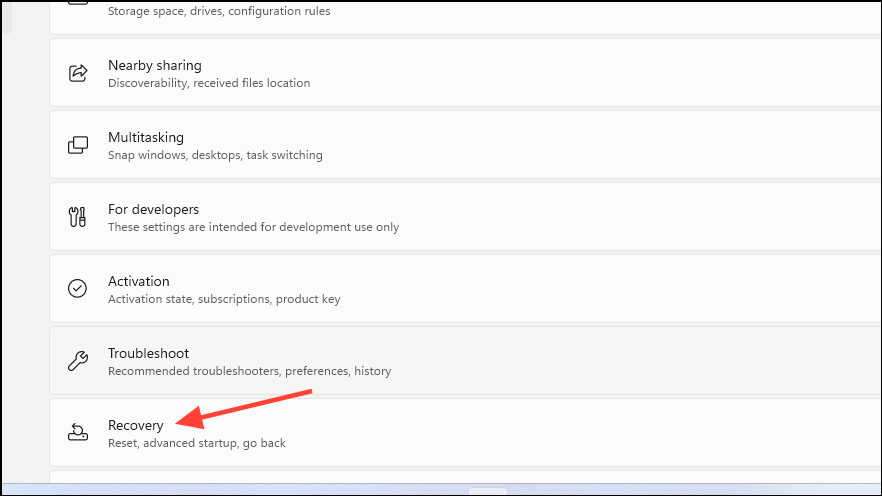
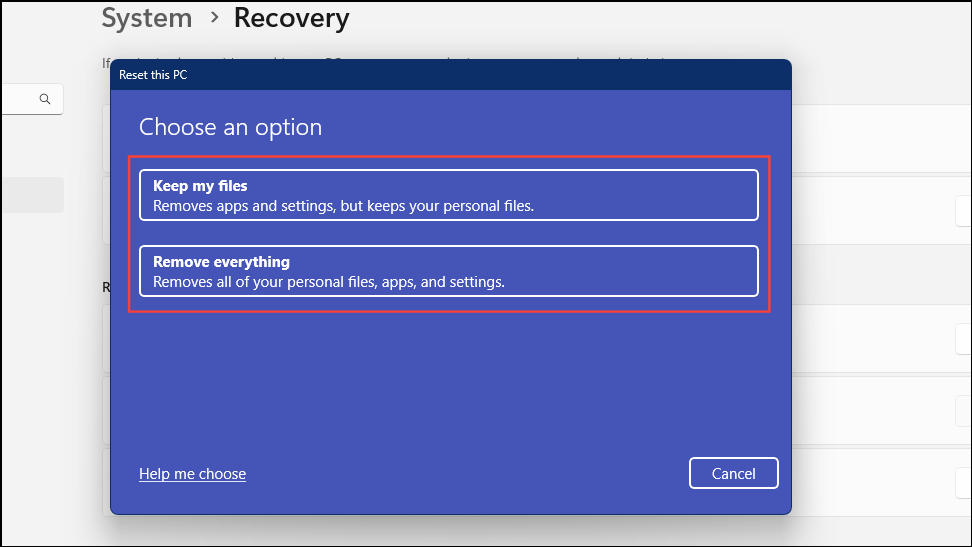
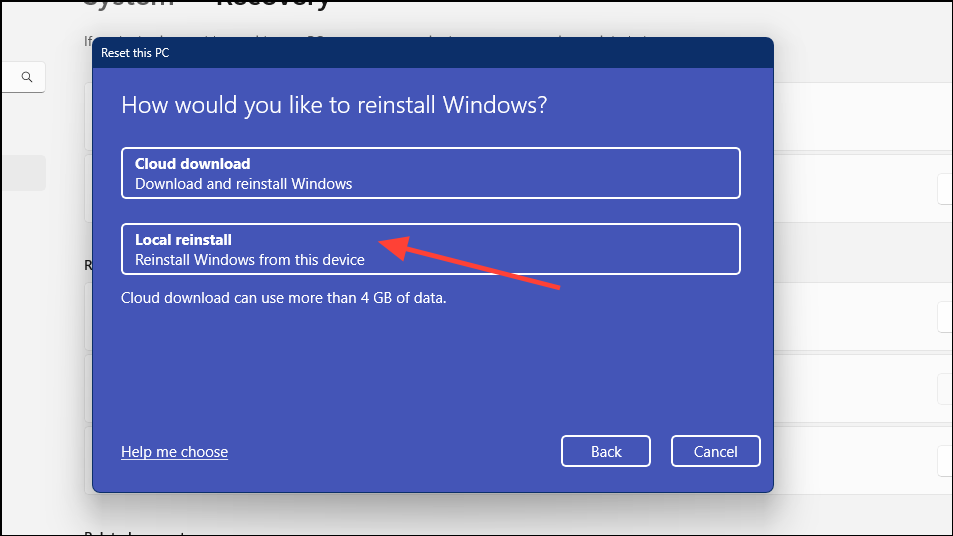
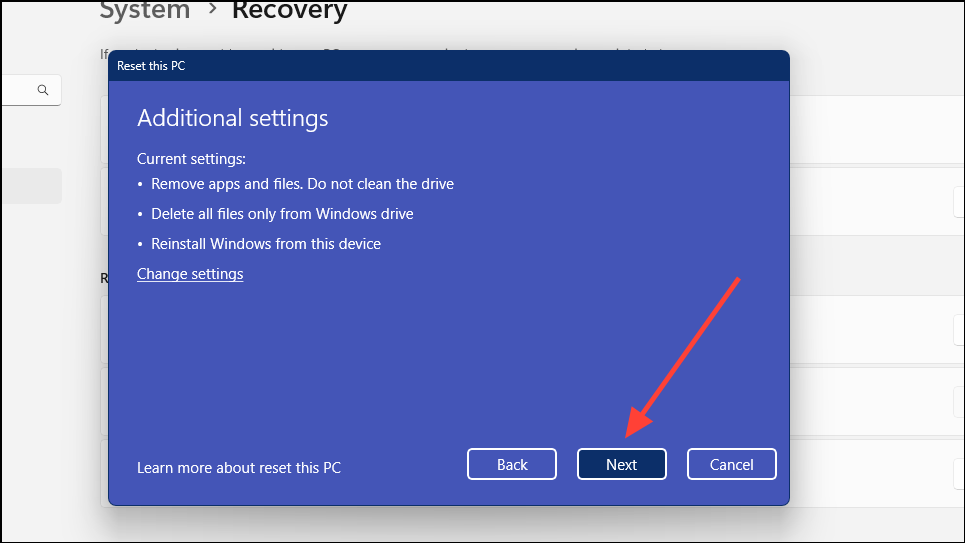
8. Reset your PC
If previous methods haven’t resolved the issue, resetting your PC reinstalls Windows and removes installed applications and settings. You can choose to keep your personal files.
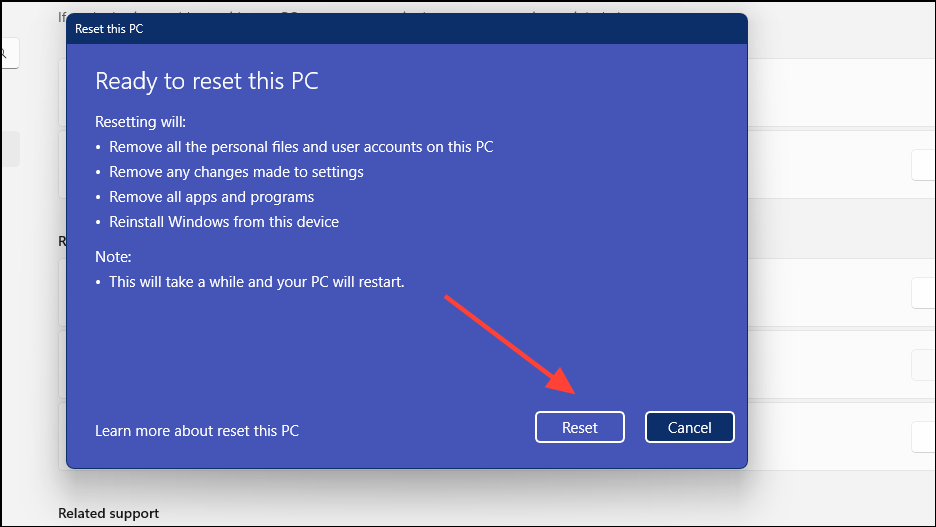
Click ‘Reset’ to begin. Your PC will restart and reset Windows 11.
By following these methods, you should be able to resolve the memory error on your Windows 11 system. Regular system maintenance and updates can help prevent such issues from occurring in the future.