
If you’re experiencing network connectivity issues or can’t access certain websites on your Windows 11 computer, an outdated or corrupted DNS cache might be to blame. Flushing the DNS cache forces your system to retrieve new DNS information, which can resolve these problems. In this guide, we’ll show you several effective methods to clear the DNS cache in Windows 11.
What is DNS Cache and How Does It Work?
The Domain Name System (DNS) acts like the internet’s phonebook, translating human-friendly domain names (like www.example.com) into IP addresses that computers use to identify each other on the network. When you visit a website, your system stores the DNS information in a temporary storage area called the DNS cache.
The DNS cache contains recent domain names and their corresponding IP addresses. This allows your computer to quickly resolve domain names without querying a DNS server each time, speeding up your browsing experience.
Why Should You Flush the DNS Cache?
Over time, the DNS cache can become cluttered with outdated or corrupted information. This can lead to connectivity issues, such as websites not loading correctly or not being accessible at all. Flushing the DNS cache removes all stored DNS entries, forcing your system to fetch up-to-date information from DNS servers. This can resolve many common network problems and improve your internet connection’s performance.
Method 1: Flush DNS Cache Using Command Prompt
One of the most straightforward ways to clear the DNS cache in Windows 11 is by using the Command Prompt.
- Click on the
Startbutton or press theWindows key, then typeCommand Promptorcmdin the search bar. - Right-click on Command Prompt from the search results and select Run as administrator on the right pane.

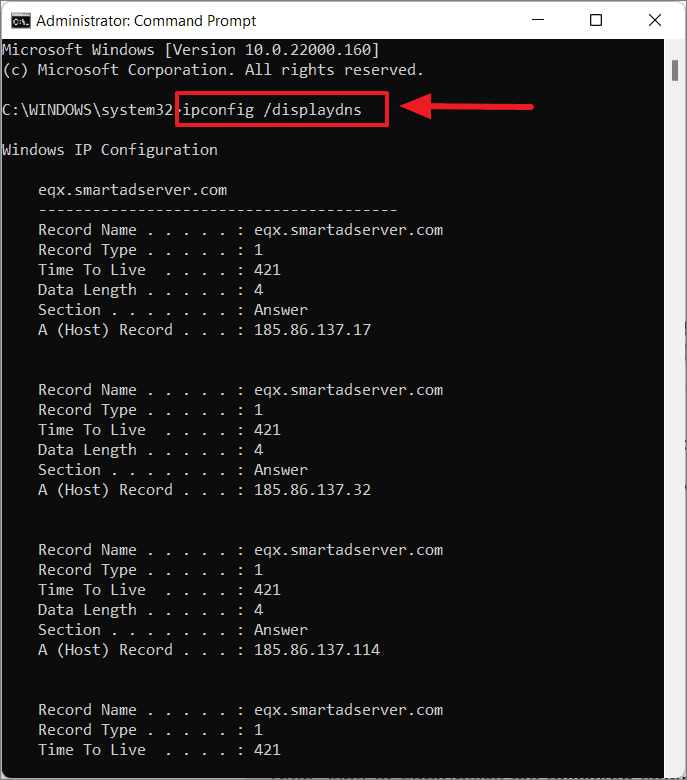
- Before flushing the DNS cache, you can view the current DNS entries by typing the following command and pressing
Enter:
ipconfig /displaydnsThis will display all the DNS information stored on your computer.
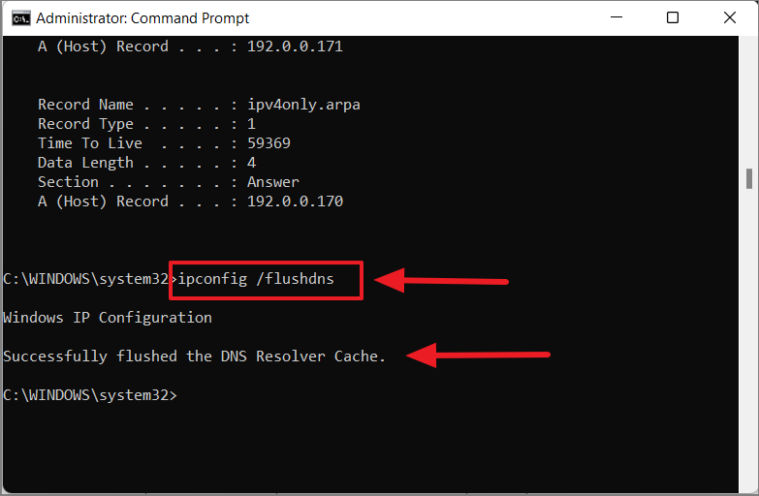
- To flush the DNS cache, enter the following command and press
Enter:
ipconfig /flushdnsAfter running this command, you should see a message stating that the DNS Resolver Cache has been successfully flushed.
- If you are experiencing issues with a specific website, you can temporarily stop the DNS Client service by typing:
net stop dnscache- To restart the DNS Client service, use this command:
net start dnscache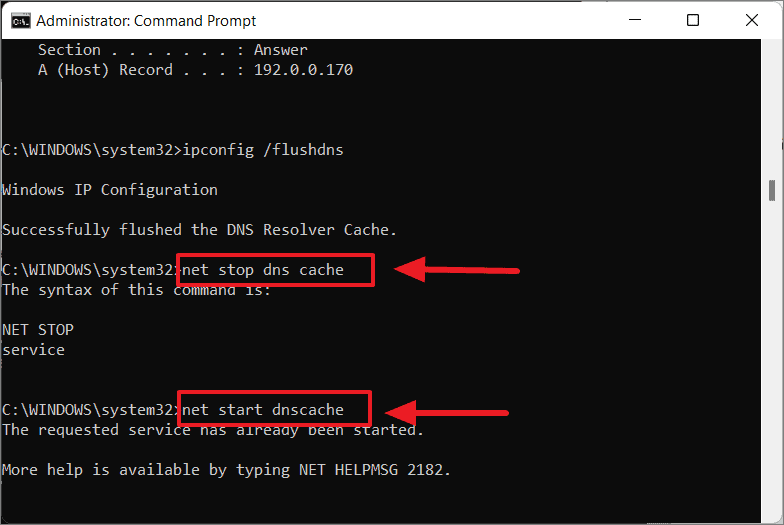
Method 2: Flush DNS Cache Using Windows PowerShell
You can also clear the DNS cache using Windows PowerShell.
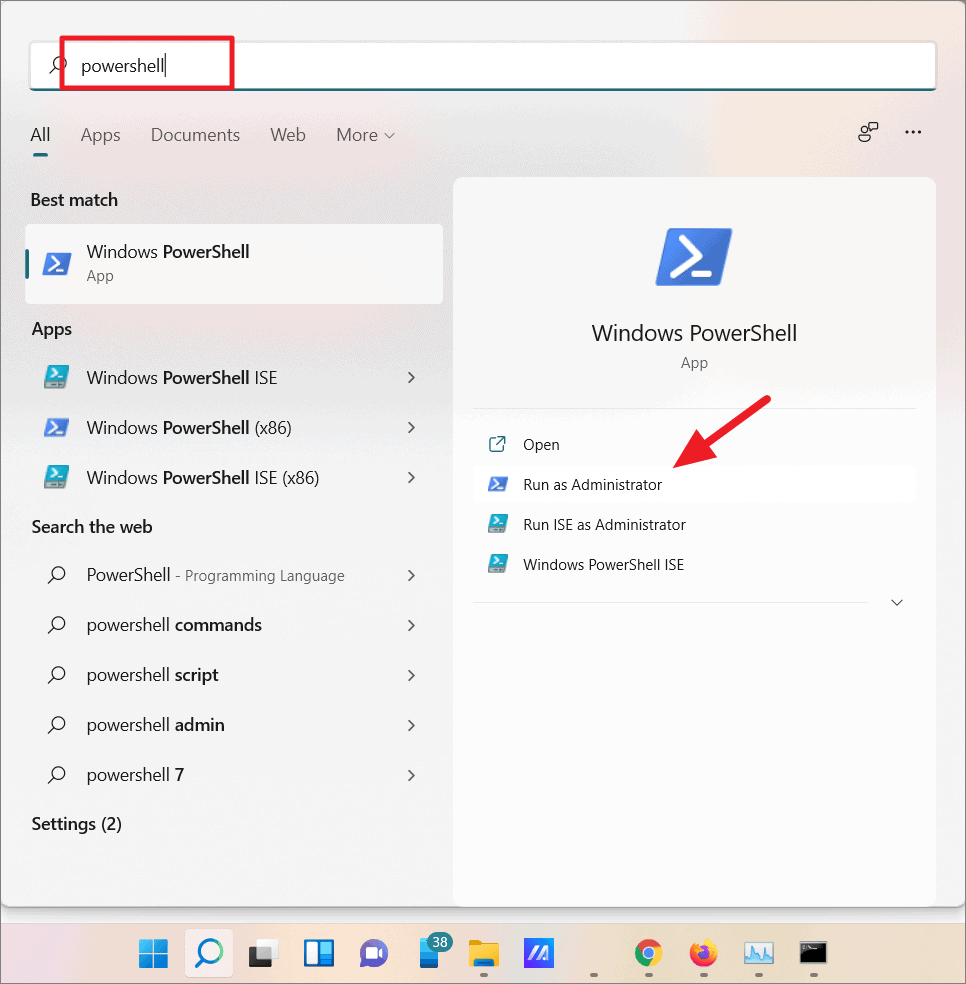
- Press the
Startbutton or press theWindows key, and search forPowerShell. - Right-click on Windows PowerShell in the search results and select Run as administrator.
- In the PowerShell window, type the following command and press
Enter:
Clear-DnsClientCache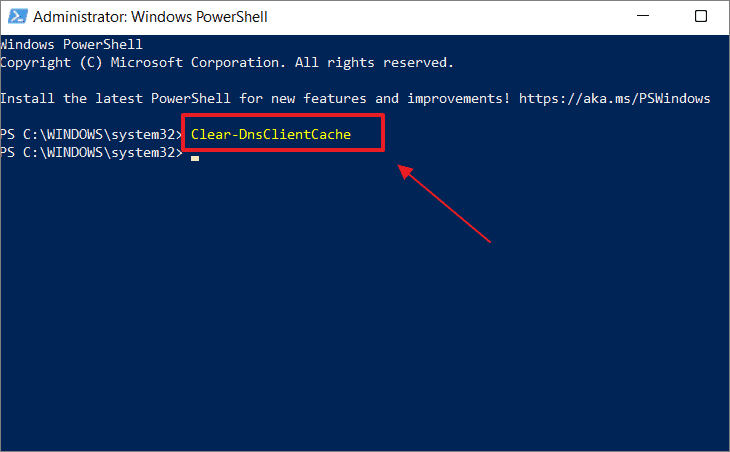
This command will immediately clear the DNS cache on your system.
Method 3: Flush DNS Cache Using Run Command
The Run dialog box offers a quick way to flush the DNS cache without opening Command Prompt or PowerShell.
- Press
Windows key + Rto open the Run dialog box. - Type or paste the following command into the Run box:
ipconfig /flushdns- Press
Enteror click OK to execute the command.

This will flush the DNS cache on your Windows 11 PC.
Method 4: Clear DNS Cache in Web Browsers
Some browsers maintain their own DNS cache separate from the operating system. If you’re experiencing issues with a website in a particular browser, clearing the browser’s DNS cache might help.
Clear DNS Cache in Google Chrome
- Open Google Chrome.
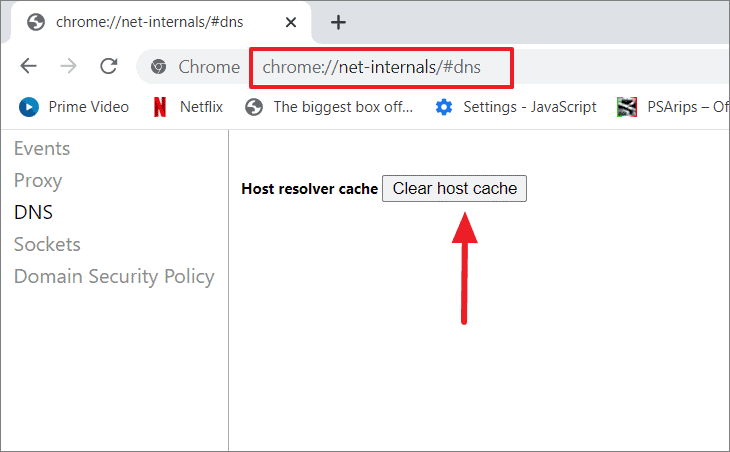
- Type the following address into the address bar and press
Enter:
chrome://net-internals/#dns- You’ll be taken to Chrome’s DNS internal page. Click on the Clear host cache button to flush the DNS cache.
Clear DNS Cache in Mozilla Firefox
- Launch Mozilla Firefox.
- In the address bar, type the following and press
Enter:
about:networking#dns- On the DNS page, click the Clear DNS Cache button to flush the browser’s DNS cache.

By flushing the DNS cache, you can resolve many common connectivity issues and improve your browsing experience. The methods outlined above provide simple ways to clear the DNS cache on your Windows 11 system and within your web browsers.


