
Formatting a hard drive on Windows 11 can be a useful solution when dealing with corrupted files, sluggish performance, or preparing a new drive for use. Whether you’re setting up a new hard drive, planning a clean installation of Windows, or wanting to switch to a different file system, formatting is a crucial step.
In this guide, we’ll walk you through several methods to format a hard drive on Windows 11, ensuring you have all the necessary steps to perform this task safely and effectively.
Note: Avoid formatting your system drive (usually the ‘C’ drive) where Windows is installed, as this will erase your operating system and could cause your computer to become inoperable.
Formatting a Hard Drive Using File Explorer
One of the simplest ways to format a hard drive is through File Explorer. Here’s how to do it:
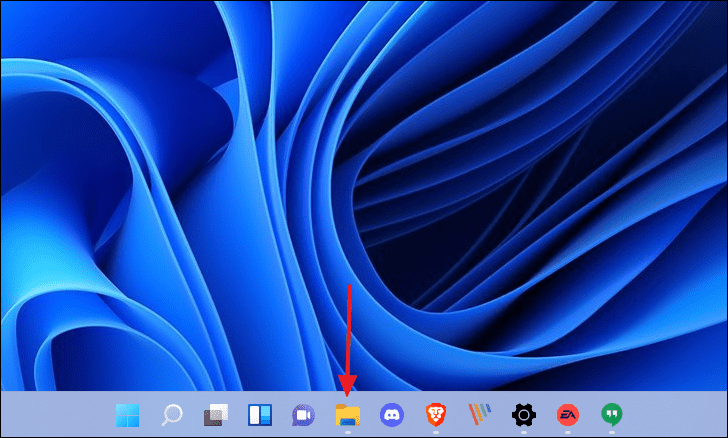
- Open File Explorer by pressing
Windows+Eor by searching for it in the Start menu. - In the File Explorer window, select This PC from the left sidebar to view all your drives.
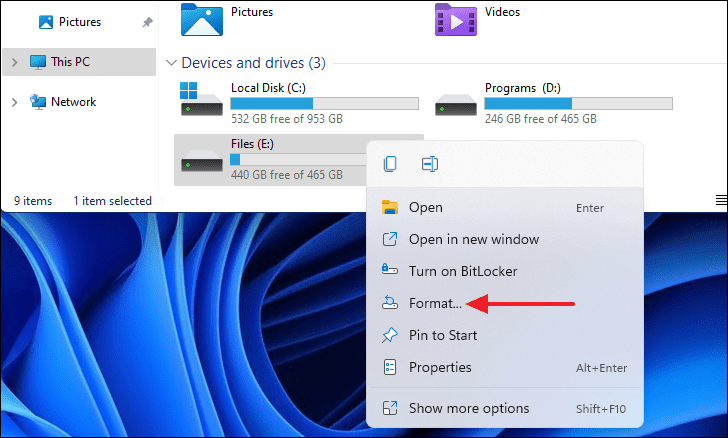
- Right-click on the drive you wish to format and select Format… from the context menu.
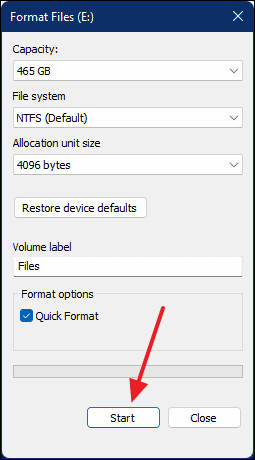
- In the Format window, you can assign a new name to the drive by entering it in the Volume label field. Keep the other settings at their default values unless you have specific requirements.
- Click on Start to begin the formatting process.
Note: The time required to format the drive depends on its size and the amount of data stored on it.
Using Storage Settings to Format a Hard Drive
Another method involves using the Storage Settings in Windows 11:
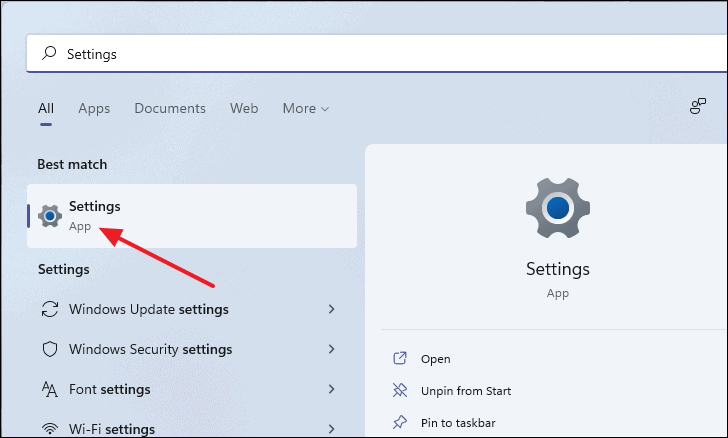
- Open the Settings app by pressing
Windows+Ior searching for it in the Start menu.
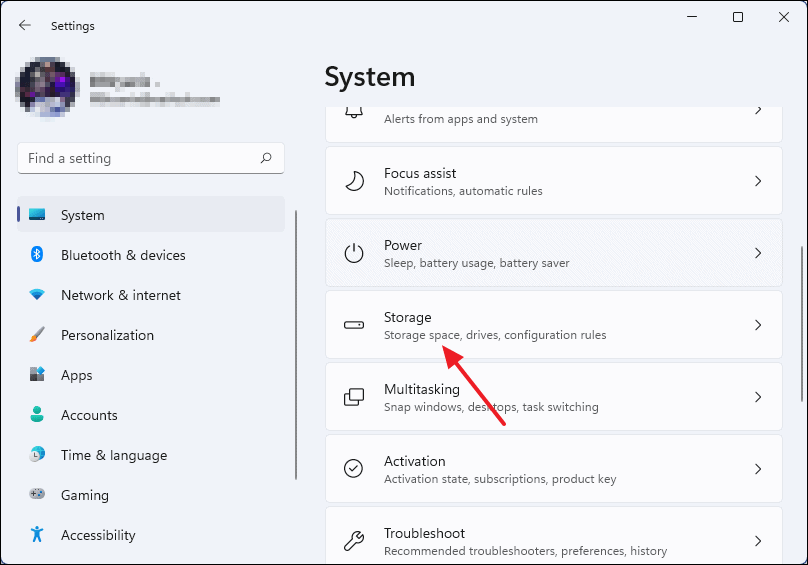
- In Settings, scroll down and click on Storage.
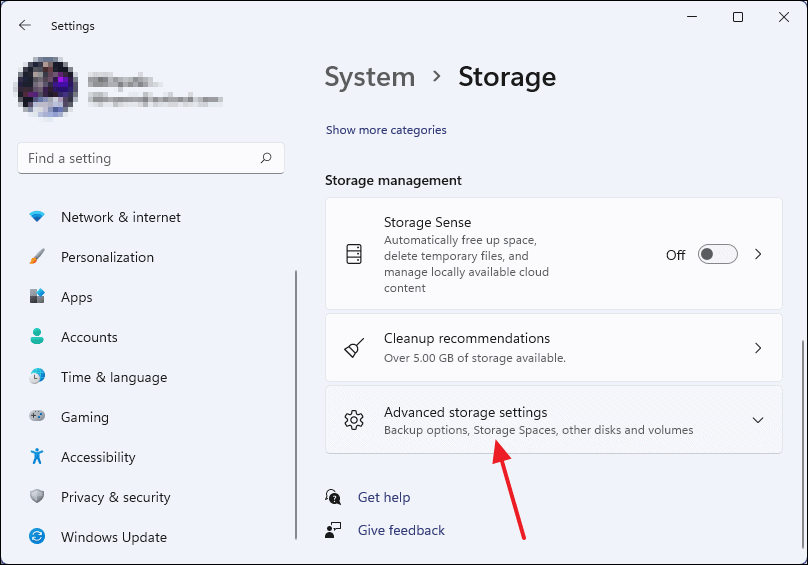
- Under the Storage management section, click on Advanced storage settings.
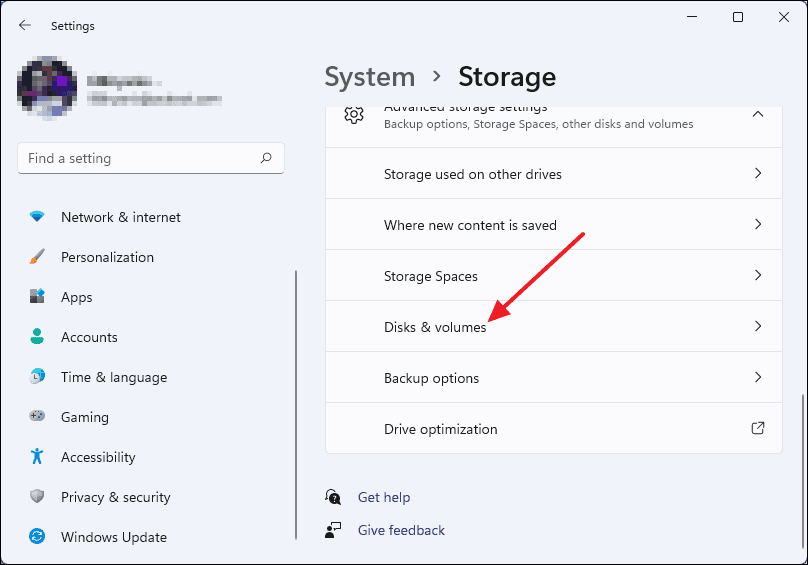
- Select Disks & volumes from the expanded options.
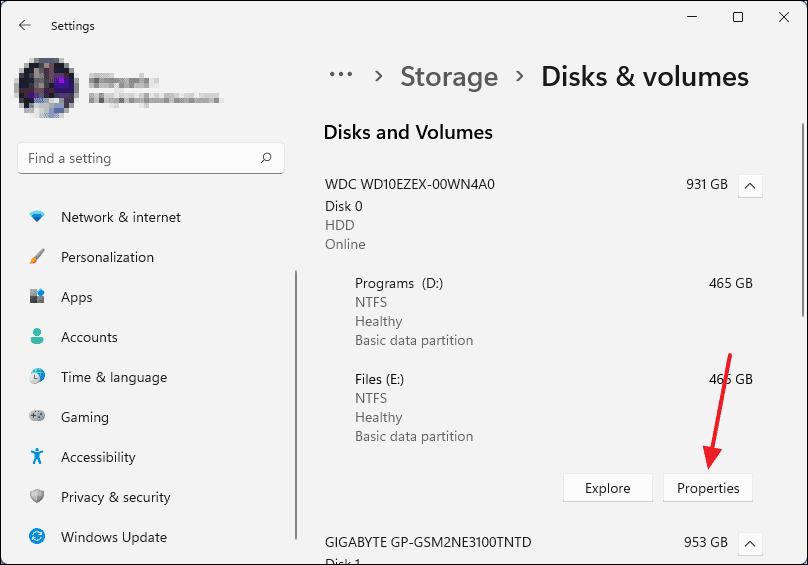
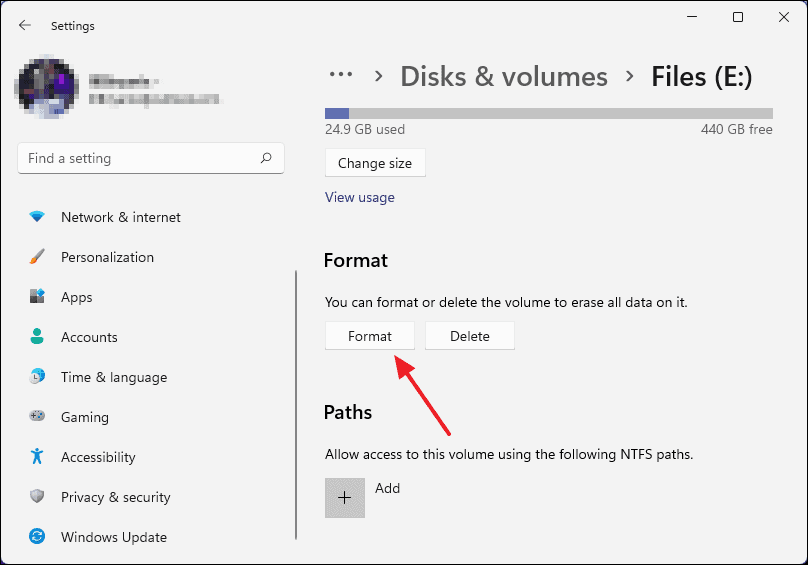
- You’ll see a list of all the storage drives connected to your computer. Click on the drive you want to format, then click on Properties.
- Scroll down in the Properties window and click on the Format button.
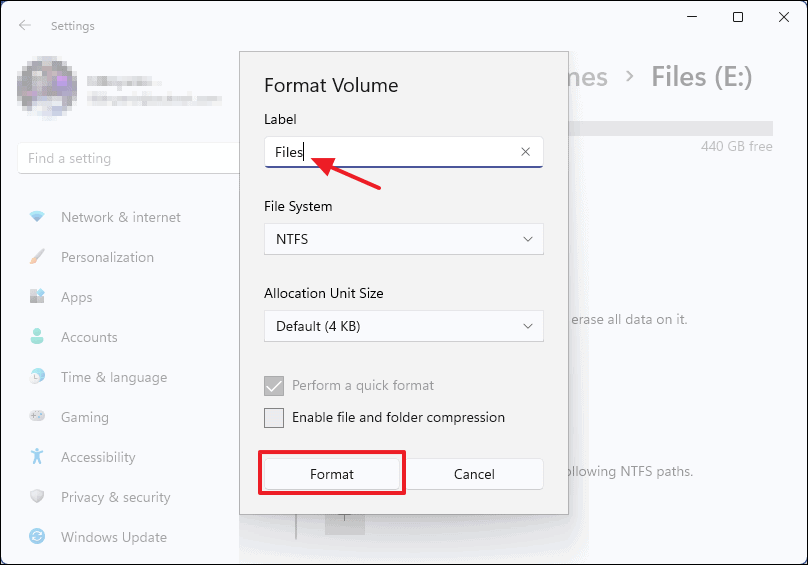
- In the Format Volume dialog box, you can rename the drive by entering a new label in the Label field. Leave the other settings as they are unless you need to change the file system or allocation unit size.
- Click on Format to start formatting the drive. Wait for the process to complete.
Formatting Using Disk Management
The Disk Management tool provides a more detailed view of your drives and partitions. Here’s how to use it:
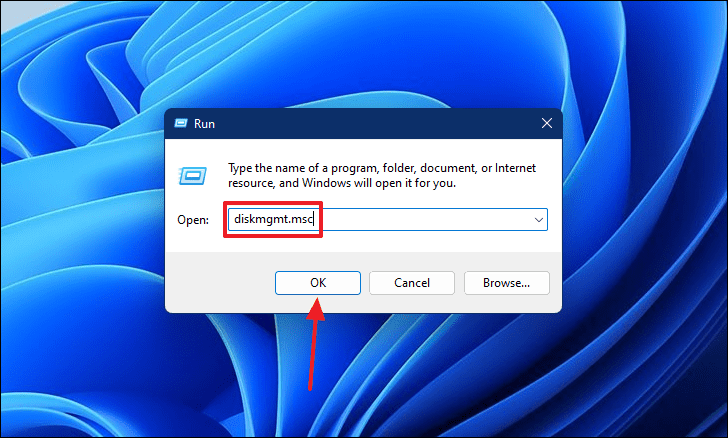
- Press
Windows+Rto open the Run dialog box. Typediskmgmt.mscand pressEnterto launch Disk Management.
- In the Disk Management window, you’ll see all your disks and their partitions displayed at the bottom.
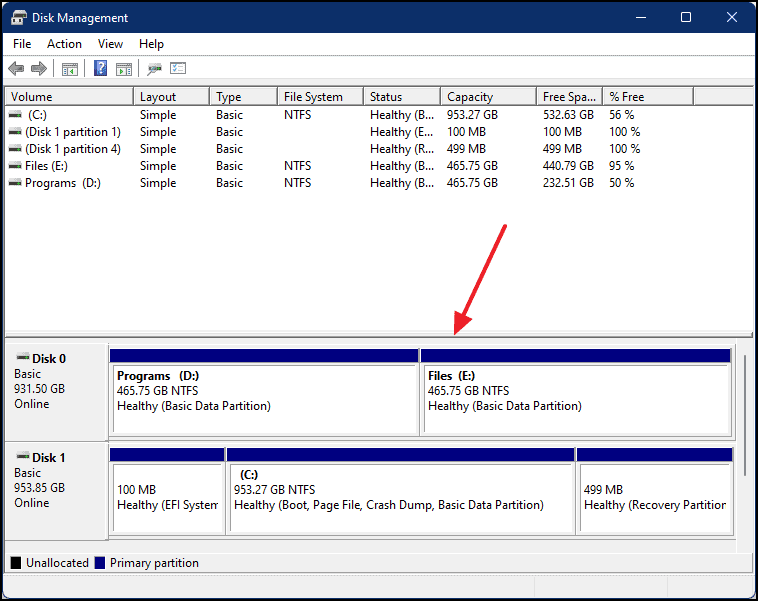
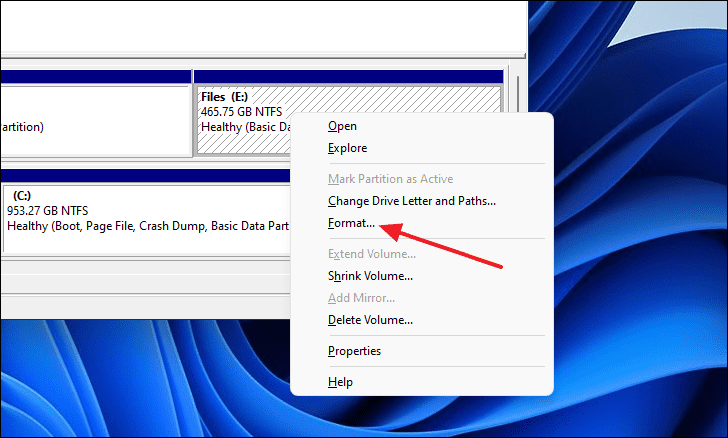
- Right-click on the partition of the drive you want to format and select Format… from the context menu.
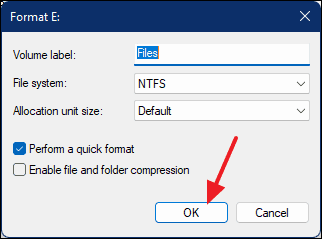
- In the Format dialog box, you can change the Volume label to rename the drive. Keep the other settings at their defaults unless specific changes are needed.
- Click on OK to proceed.
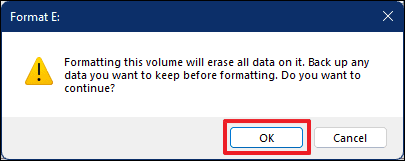
- A warning message will appear, informing you that formatting will erase all data on the partition. Click OK to confirm and begin the formatting process.
These methods can be used to format any type of hard drive, including HDDs, SSDs, and NVMe SSDs, ensuring your storage devices are ready for use or free from unwanted data.


