
Changing the appearance of your mouse cursor can enhance your user experience in Windows 11. Whether you prefer a cursor that stands out more or want to add a personal touch with a custom color, Windows 11 makes it easy to customize your cursor. In this guide, we’ll show you how to change your mouse cursor to black or any color you like.
Changing the mouse pointer style and color in Windows Accessibility settings
One of the simplest ways to customize your cursor is through the Accessibility settings. Follow these steps:
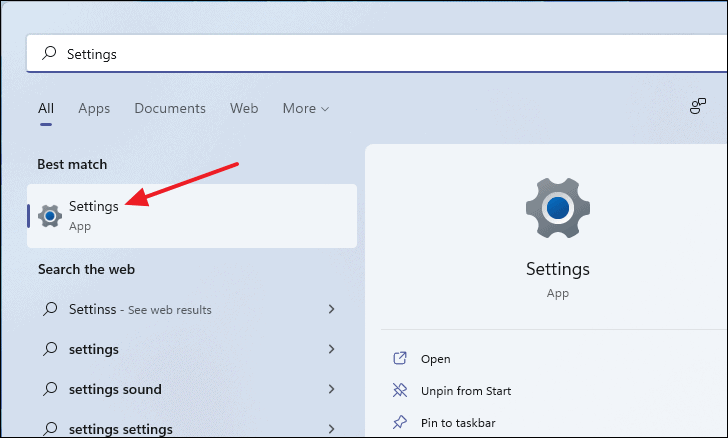
- Open the Settings app by pressing
Windows + Ion your keyboard or by searching for Settings in the Start menu.
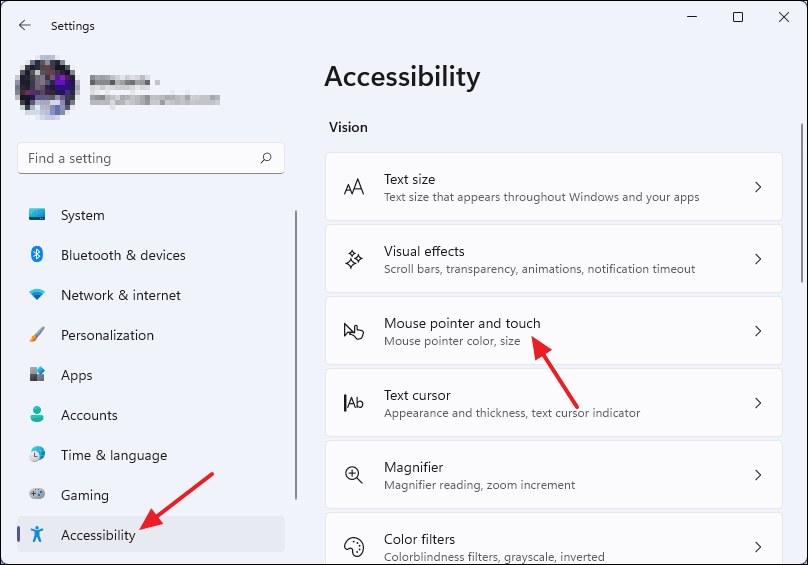
- In the Settings window, select Accessibility from the left sidebar, then click on Mouse pointer and touch under the “Vision” section.
- Under the Mouse pointer style section, select the Black cursor style to change your cursor to black.
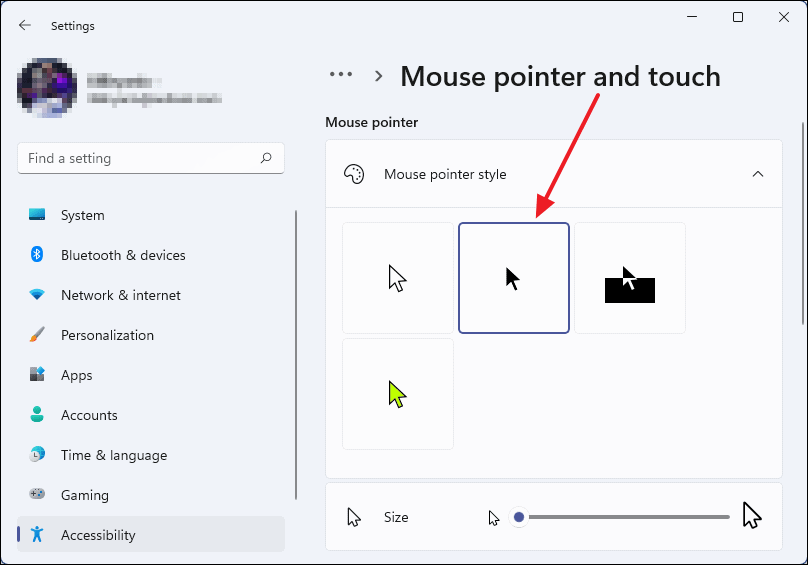
Note: You can also choose the Inverted cursor style, which changes the cursor color based on the background. Additionally, you can adjust the cursor size using the Size slider.
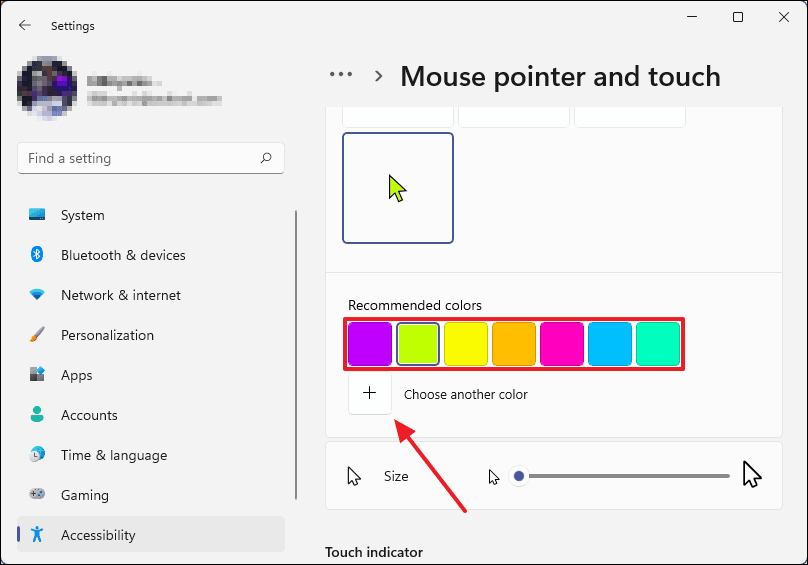
- If you prefer a different color, select the Custom option.
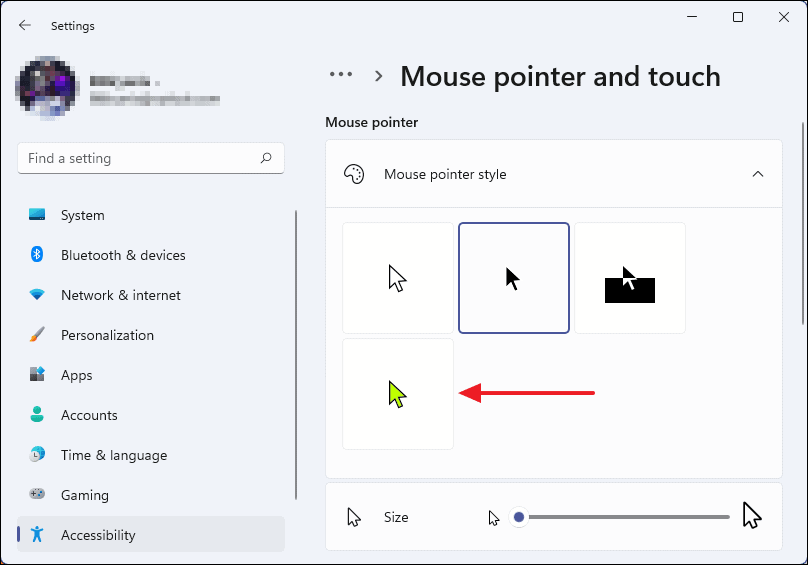
- Choose a color from the Recommended colors or click the + button to select a custom color.
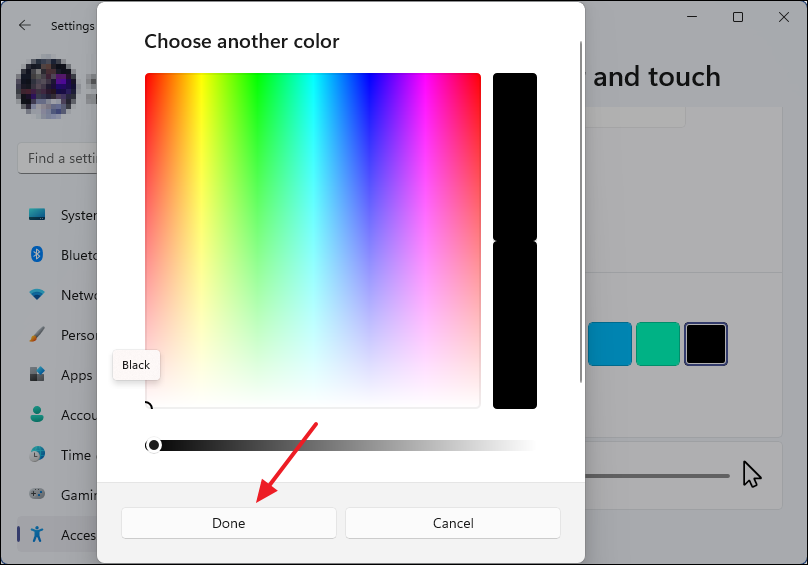
- Use the color picker to select your desired color, then click Done.
Changing the pointer scheme in Mouse Properties
You can also change your cursor color through the Mouse Properties window. Here’s how:
- Open the Settings app by pressing
Windows + Ior searching for Settings in the Start menu.
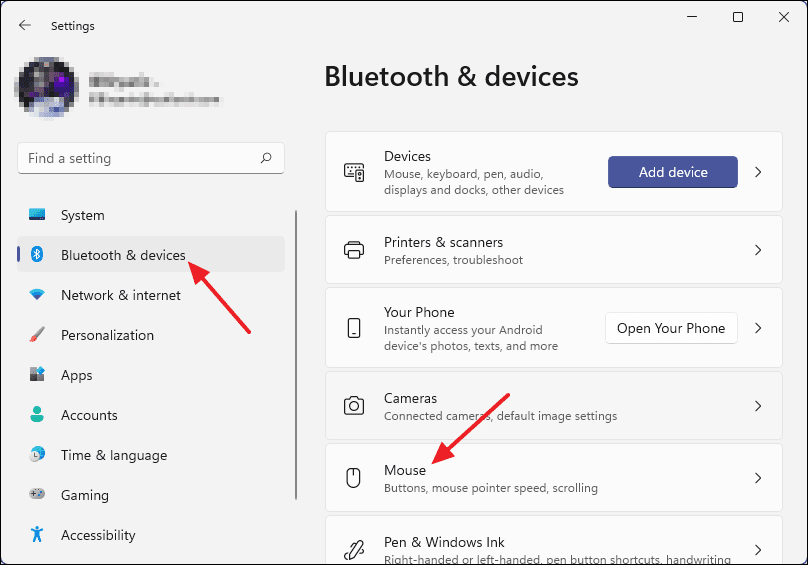
- In the Settings window, select Bluetooth & devices from the left sidebar, then click on Mouse on the right.
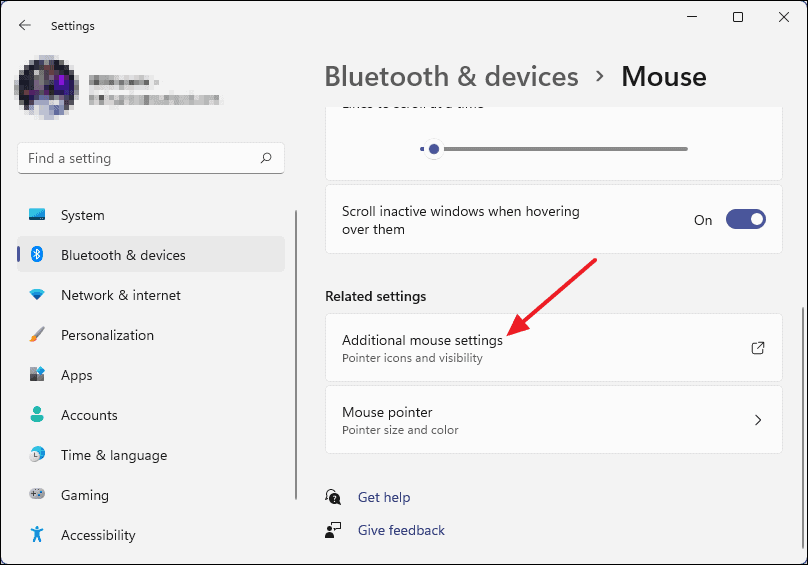
- On the Mouse settings page, scroll down and click on Additional mouse settings.
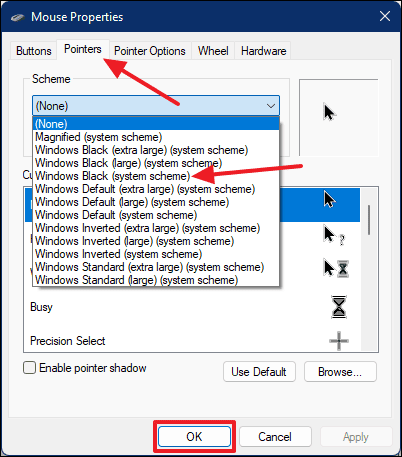
- In the Mouse Properties window, go to the Pointers tab. Under the Scheme dropdown menu, select Windows Black (system scheme), then click OK to apply the changes.
These methods allow you to personalize your mouse cursor in Windows 11, making it easier to see and adding a personal touch to your desktop experience.


