
Windows 11 has introduced a new look for the File Explorer, featuring a redesigned ribbon that aligns with the system’s modern aesthetic. While this sleek design appeals to many, some users prefer the classic ribbon from previous versions. If you’re among those who miss the traditional interface, here are several methods to restore the classic File Explorer ribbon in Windows 11.
1. Use the Command Prompt
One of the simplest ways to bring back the classic ribbon is by using the Command Prompt.
Terminal in the search bar. Right-click on the Terminal app from the results and select Run as administrator.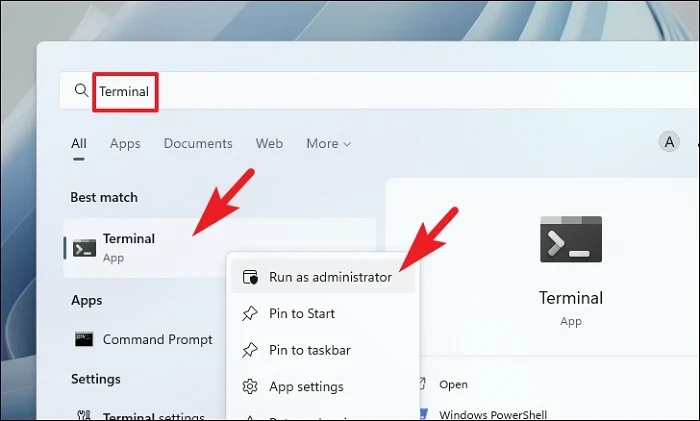
Yes to continue. If not, enter the administrator credentials.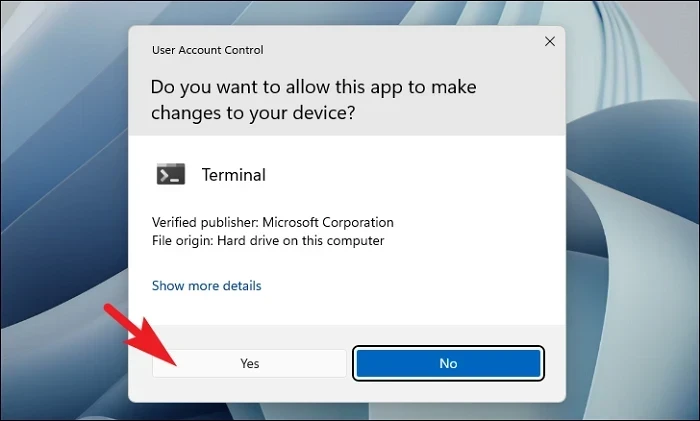
Command Prompt from the dropdown menu.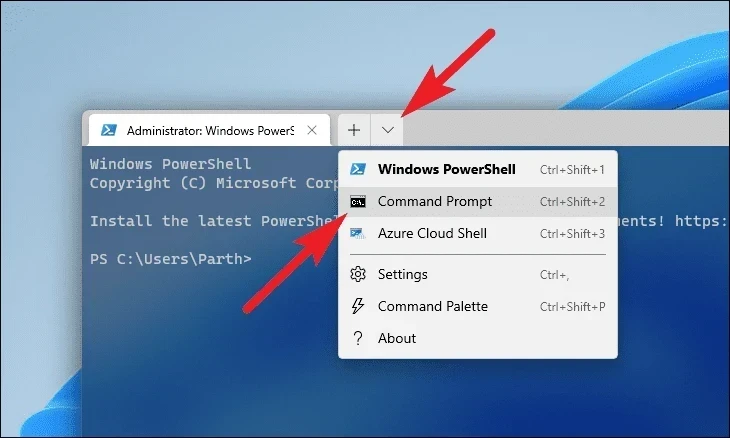
reg delete "HKCU\Software\Classes\CLSID\{d93ed569-3b3e-4bff-8355-3c44f6a52bb5}" /f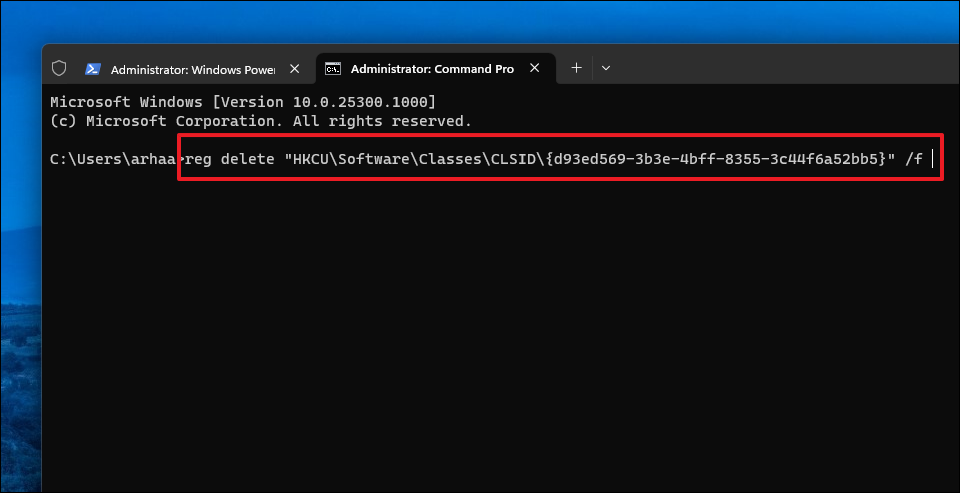
2. Use the Registry Editor
Using the Registry Editor allows you to modify system settings to restore the classic File Explorer ribbon. Be cautious when making changes to the registry, and consider backing it up beforehand.
Registry Editor. Click on the Registry Editor app in the search results.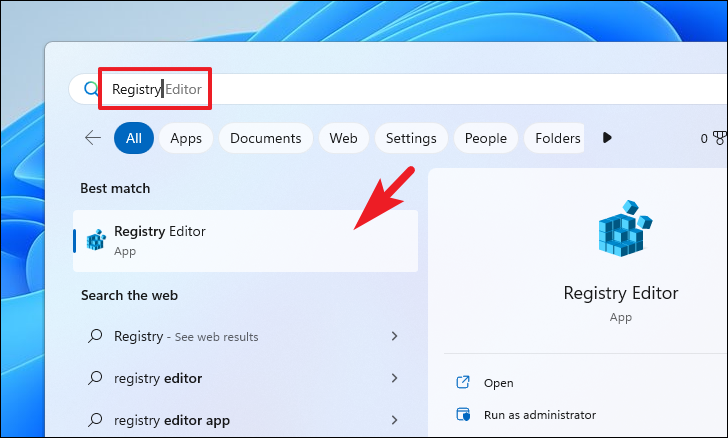
File in the top menu, then select Export.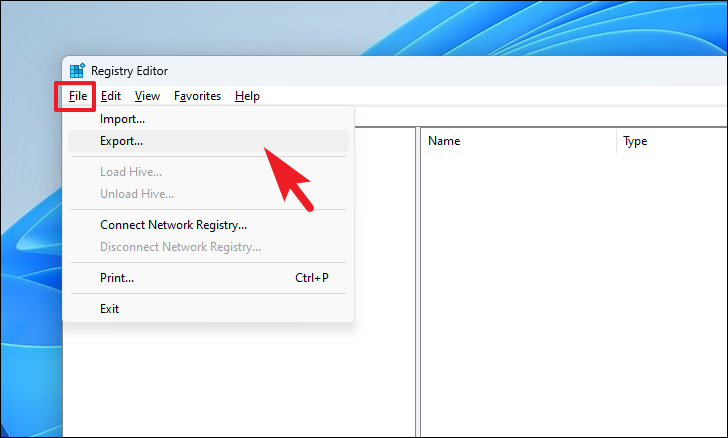
All is selected under ‘Export range’, then click Save.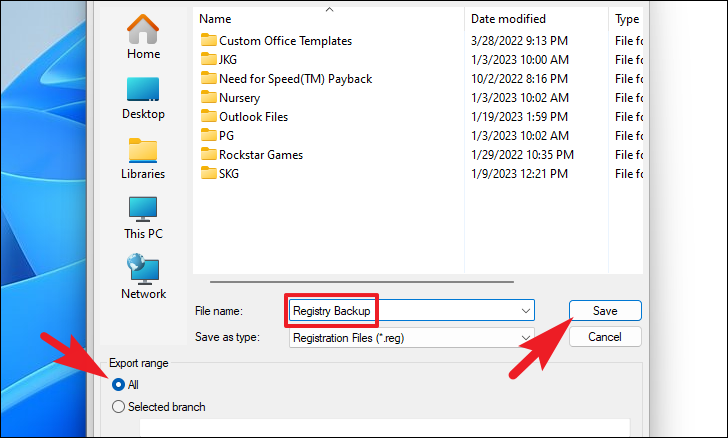
Enter:Computer\HKEY_LOCAL_MACHINE\SOFTWARE\Microsoft\Windows\CurrentVersion\Shell Extensions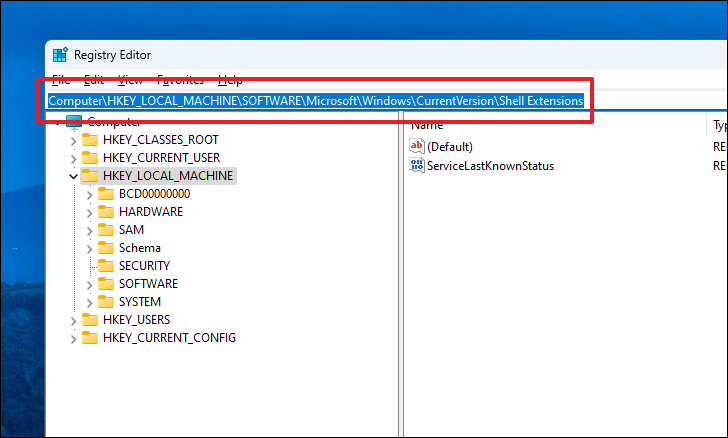
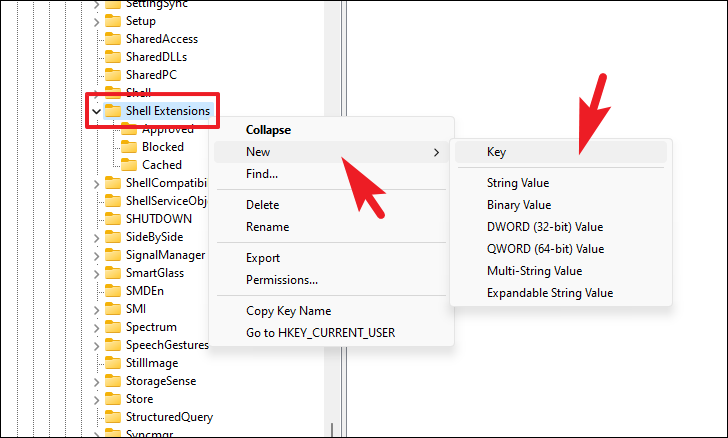
Blocked key. In the right pane, right-click on an empty space, hover over New, and select String Value.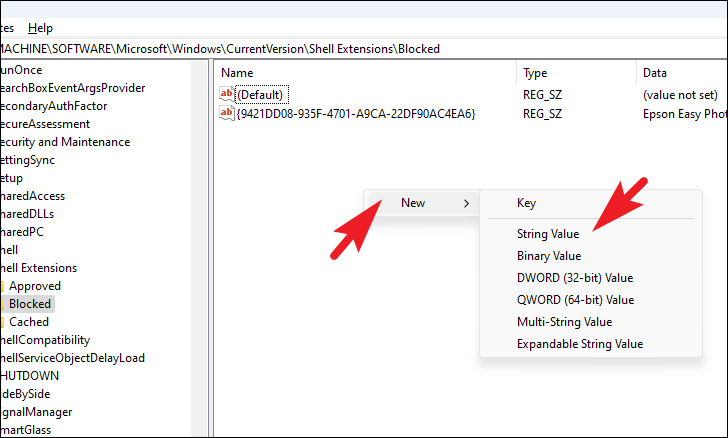
{e2bf9676-5f8f-435c-97eb-11607a5bedf7}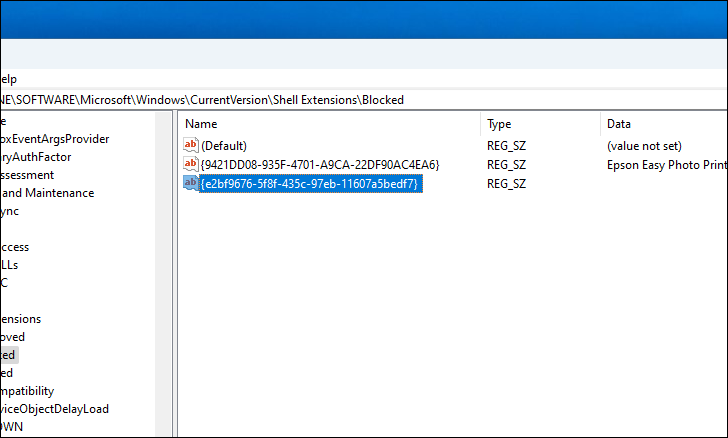
3. Use the Control Panel
This method is applicable if you haven’t installed the cumulative update of Windows 11 (version 10.0.22000.71).
Control Panel in the search bar. Click on the Control Panel app from the results.
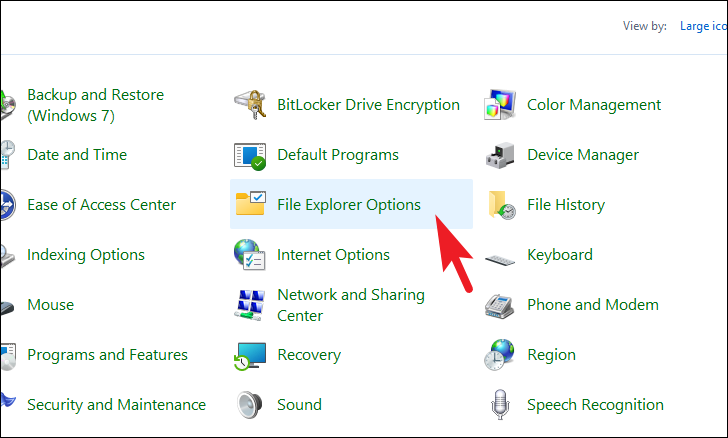
View tab. Scroll down and check the box next to Launch folder windows in a separate process. Click Apply, then OK to save the changes.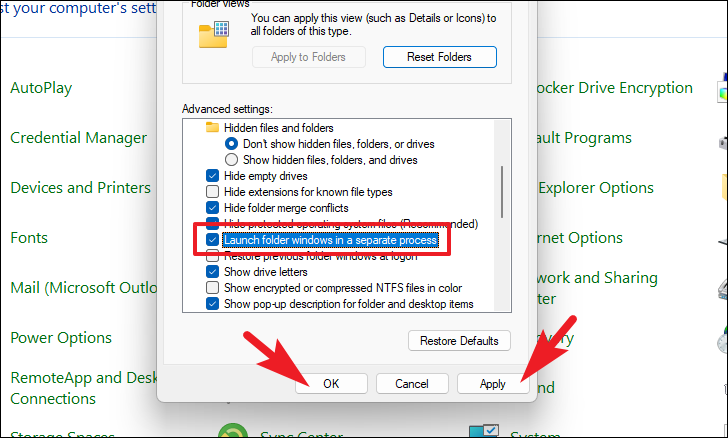
By following these methods, you can restore the classic File Explorer ribbon in Windows 11 and enjoy the familiar interface you’re comfortable with.


