
Windows 11 is designed to deliver an exceptional audio and entertainment experience. However, sometimes you might notice that the sound quality on your PC isn’t up to par. This could be due to outdated audio drivers, misconfigured settings, or hardware issues. In this guide, we’ll cover several methods to enhance the sound quality on your Windows 11 PC.
Update Your Audio Drivers to Improve Sound Quality
An outdated or faulty audio driver can often lead to poor sound quality on your Windows 11 PC. Keeping your audio drivers up-to-date ensures compatibility and optimal performance. Windows 11 can automatically update drivers, but you might need to check for updates manually sometimes.
Update Drivers through Windows Update
- Press
Windows+Ito open the Settings app. - In the left pane, select Windows Update, then click Check for updates on the right.
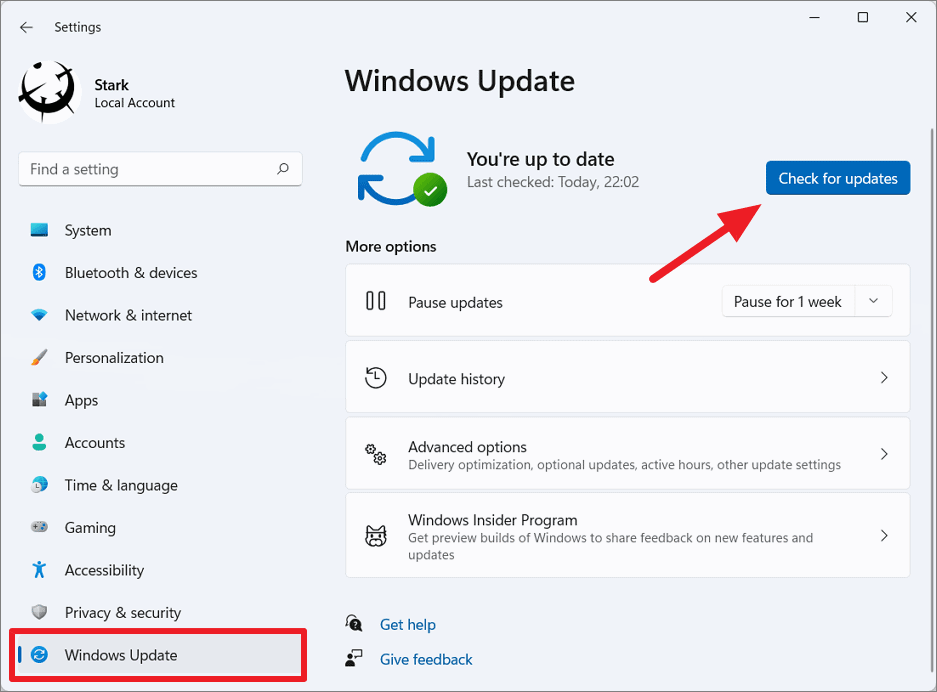
- If updates are available, Windows will download and install them automatically.
- If no driver updates are found, click on Advanced options.
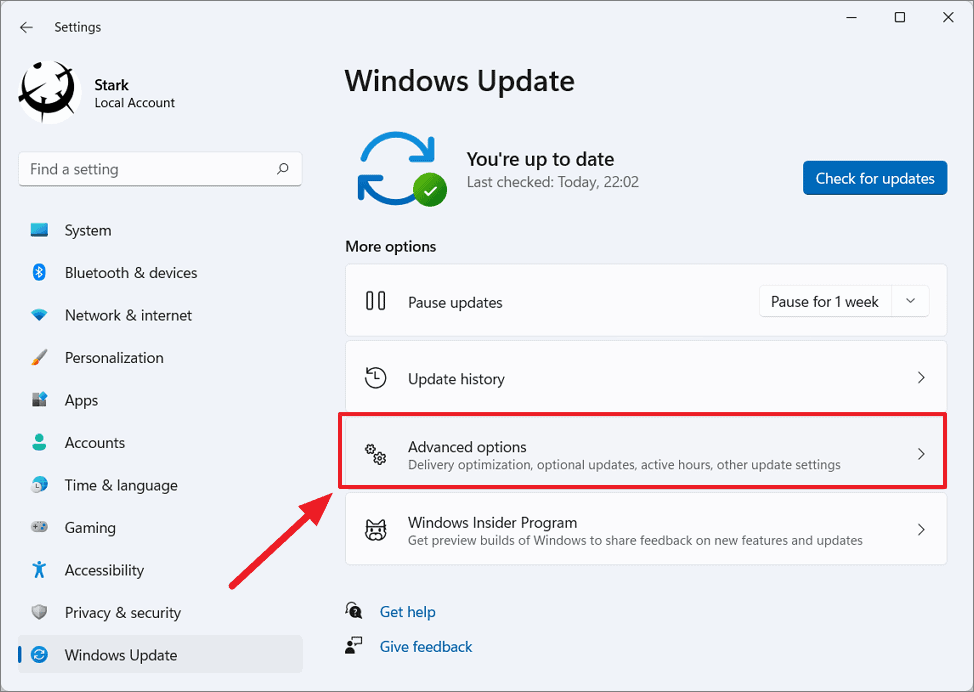
- Under Additional options, select Optional updates.
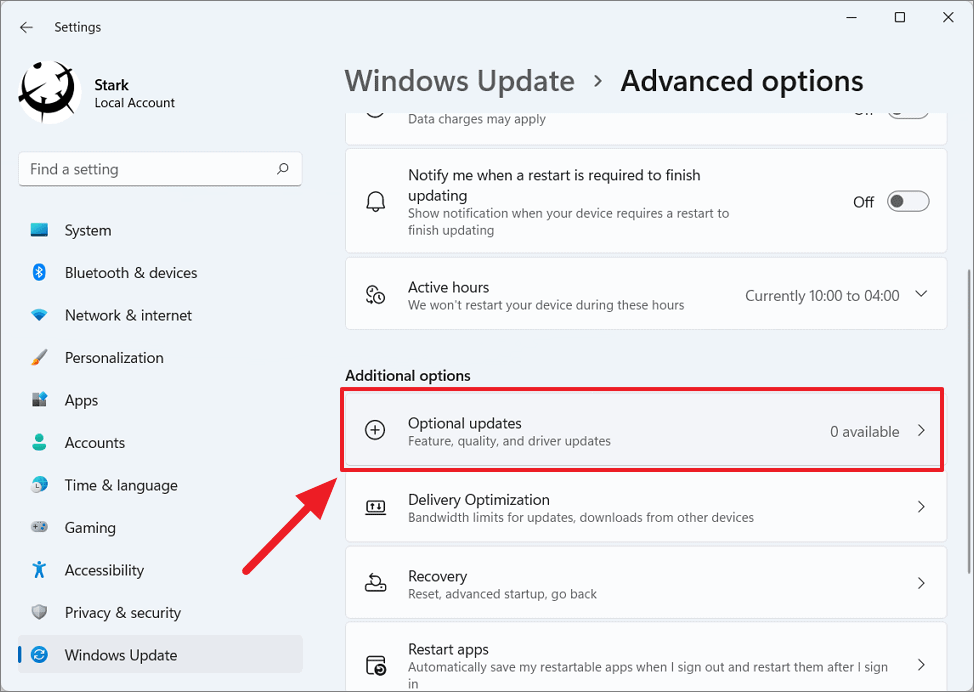
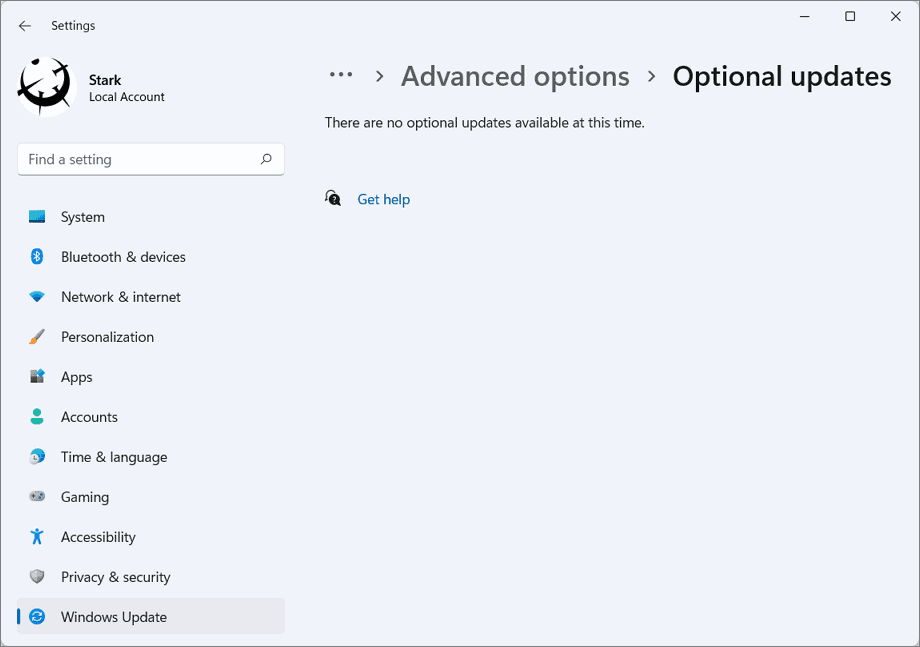
- If there are driver updates available, check the relevant boxes and click Download & install.
Update Drivers through Device Manager
If Windows Update doesn’t find any driver updates, you can try updating through Device Manager:
- Press
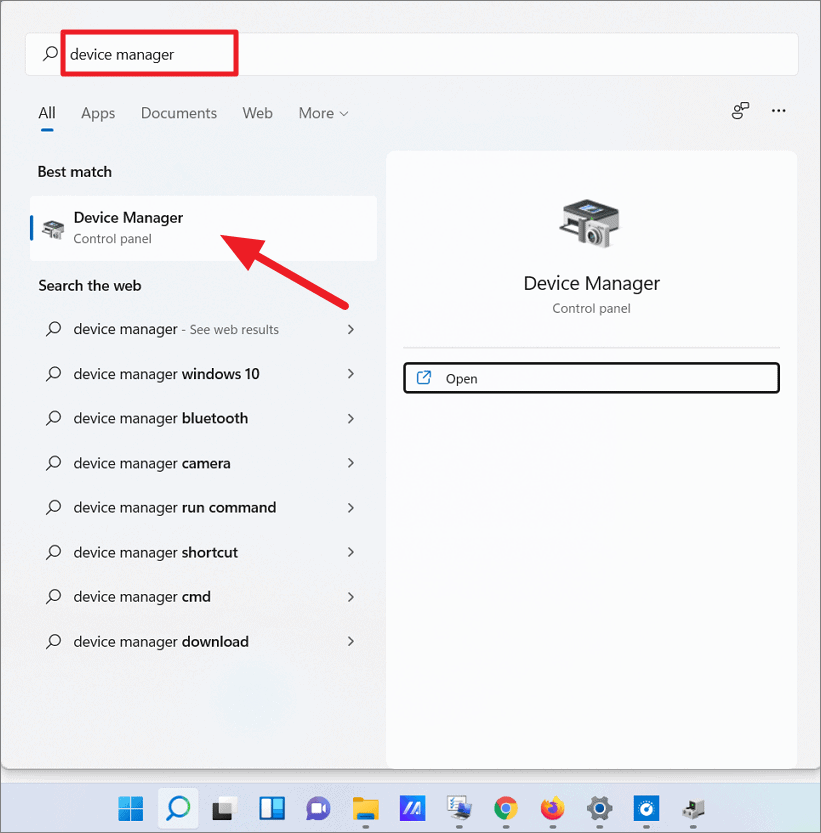
Windows+Xand select Device Manager from the menu.
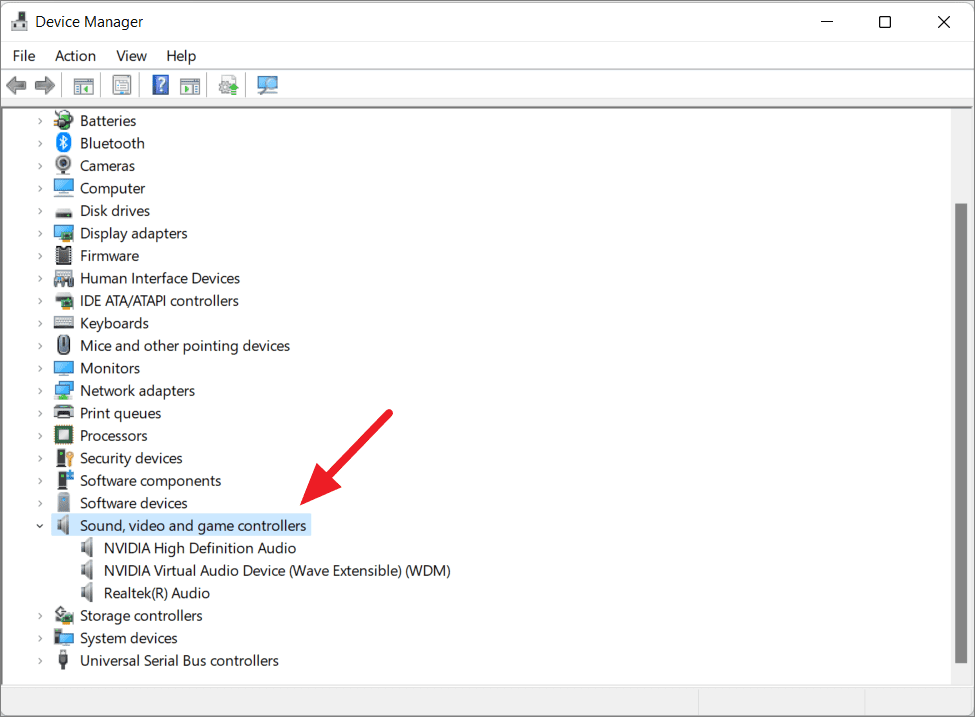
- In Device Manager, expand the Sound, video and game controllers category.
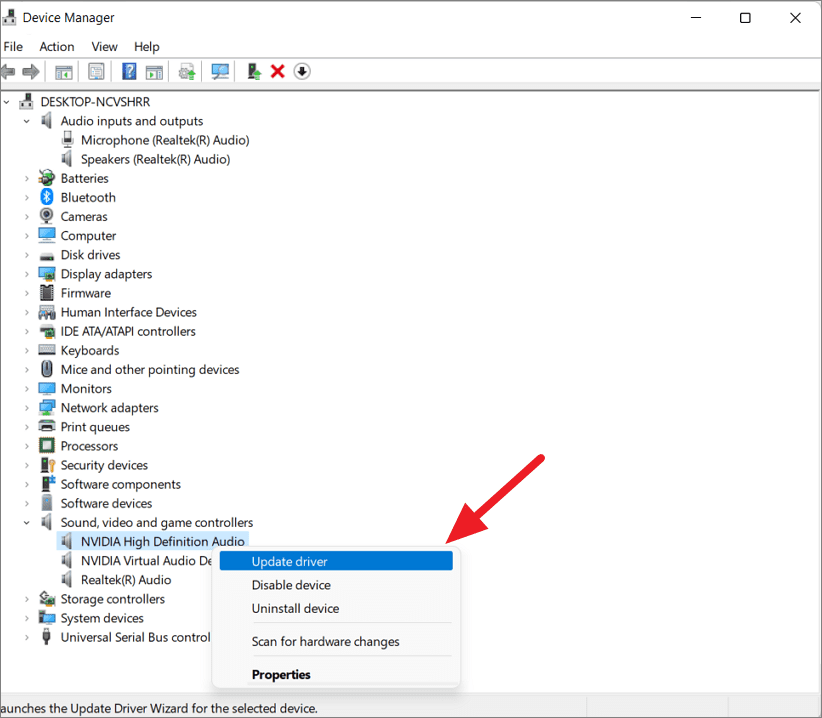
- Right-click on your audio device (e.g., NVIDIA High Definition Audio) and select Update driver.
- In the Update Drivers window, choose Search automatically for drivers.
- If no updates are found, you can visit the manufacturer’s website to download the latest drivers manually.
- If you’re still experiencing issues, consider uninstalling and reinstalling the driver:
- Right-click on the audio device and select Uninstall device.

- Restart your PC. Windows will reinstall the driver automatically.
Turn On Enhance Audio Feature to Improve Sound Quality on Windows 11
Windows 11 includes an Enhance audio feature that applies various audio enhancements to improve sound quality. This includes bass boost, virtual surround, room correction, and loudness equalization. You can enable this feature for speakers, headphones, and microphones.
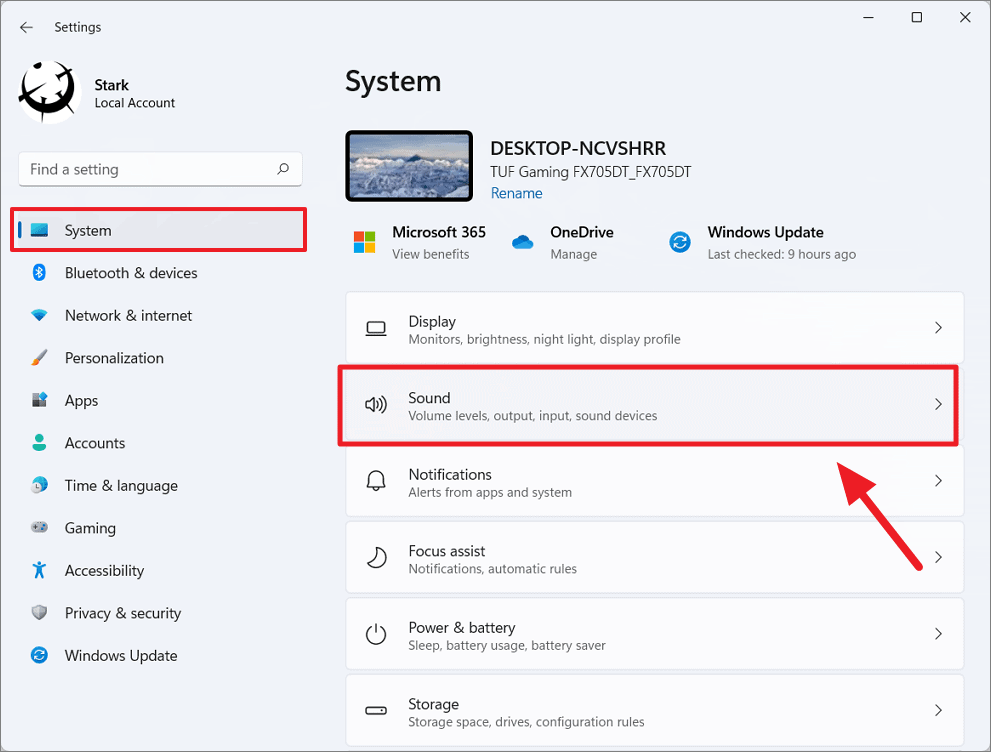
- Press
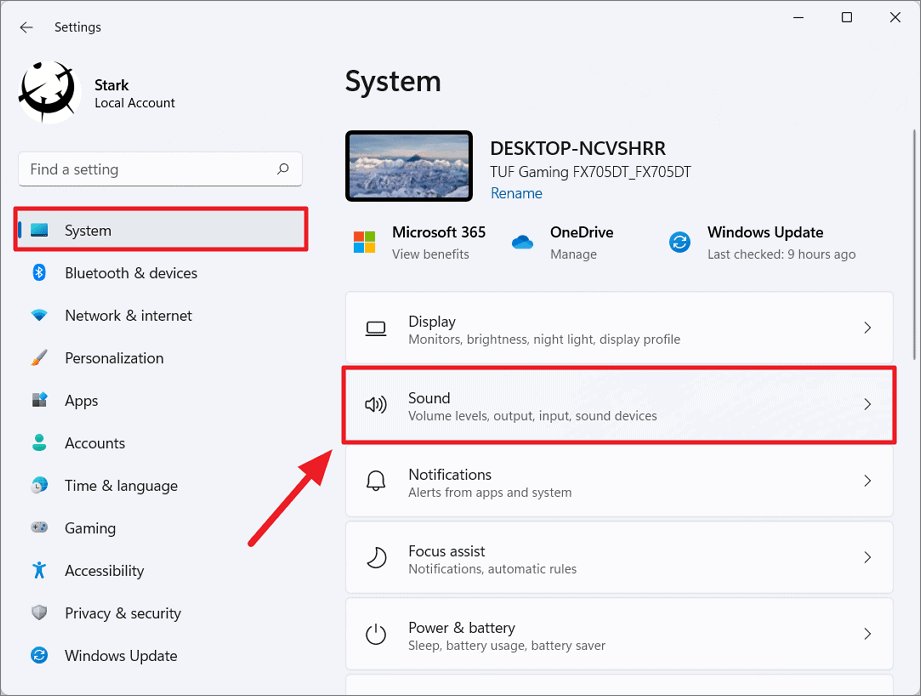
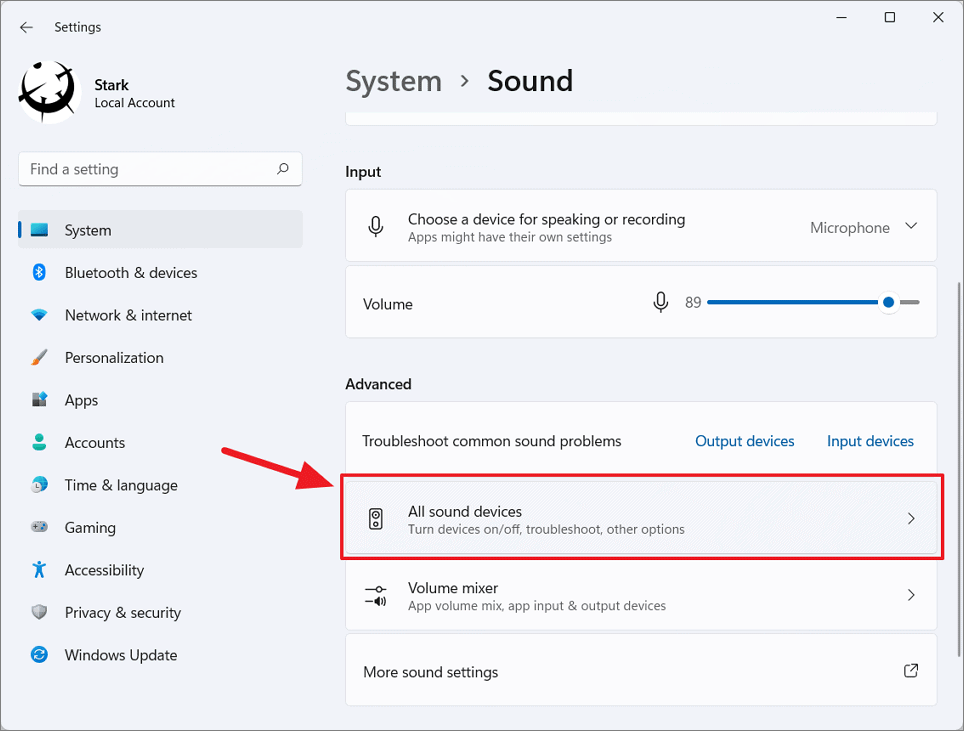
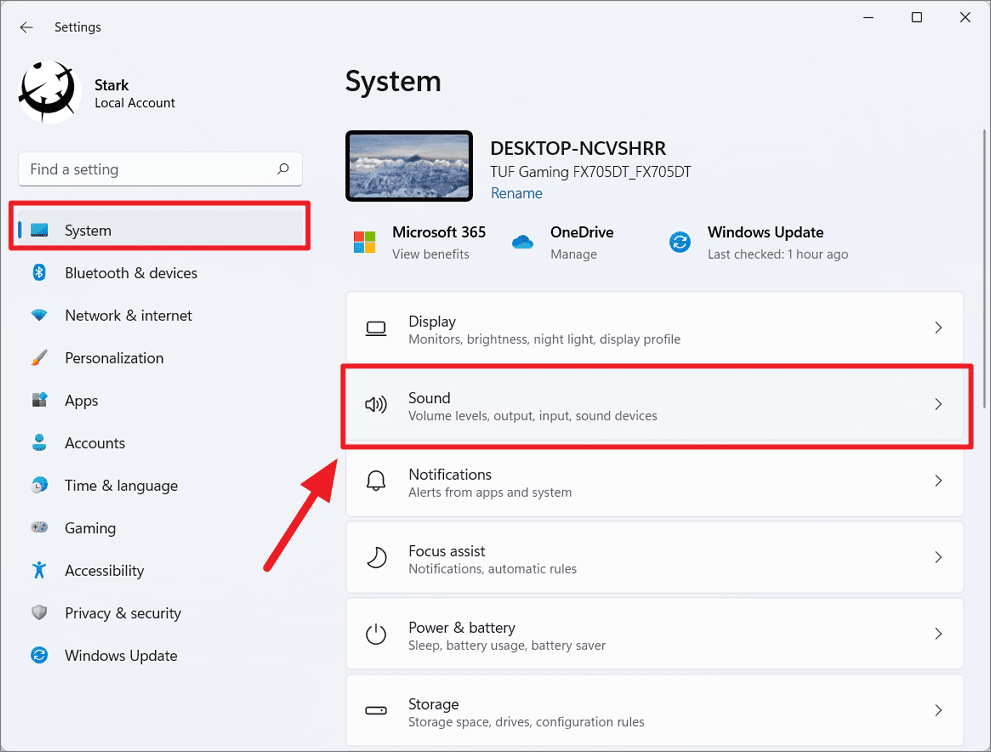
Windows+Ito open Settings. - Click on System in the left pane, then select Sound on the right.
- Scroll down to the Advanced section and click on All sound devices.
Enhance Speaker Audio Quality
To improve the sound from your speakers:
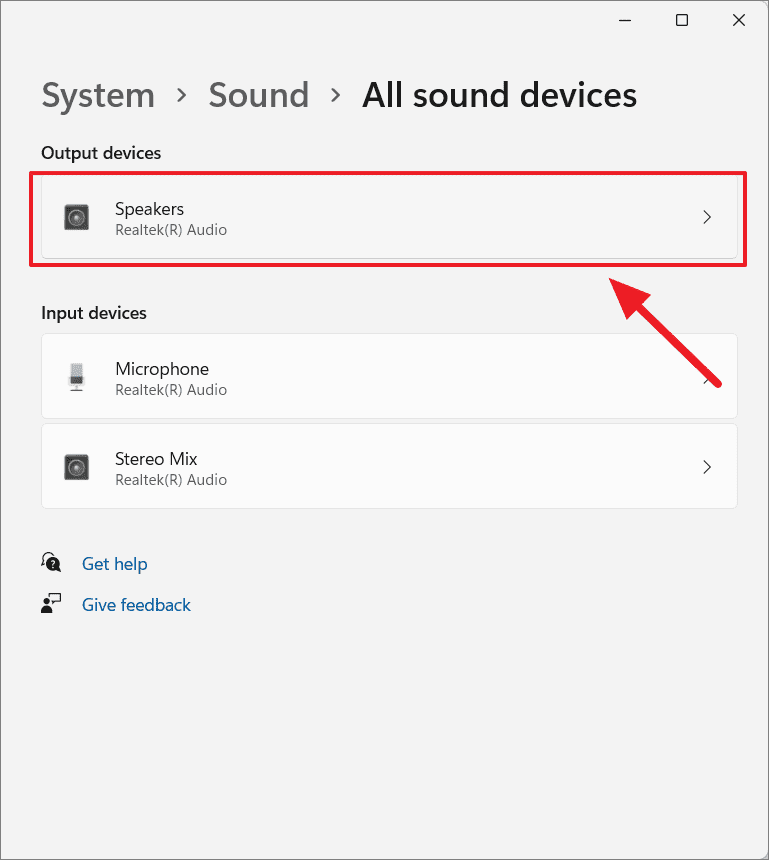
- Select your output device (e.g., Speakers) from the list of output devices.
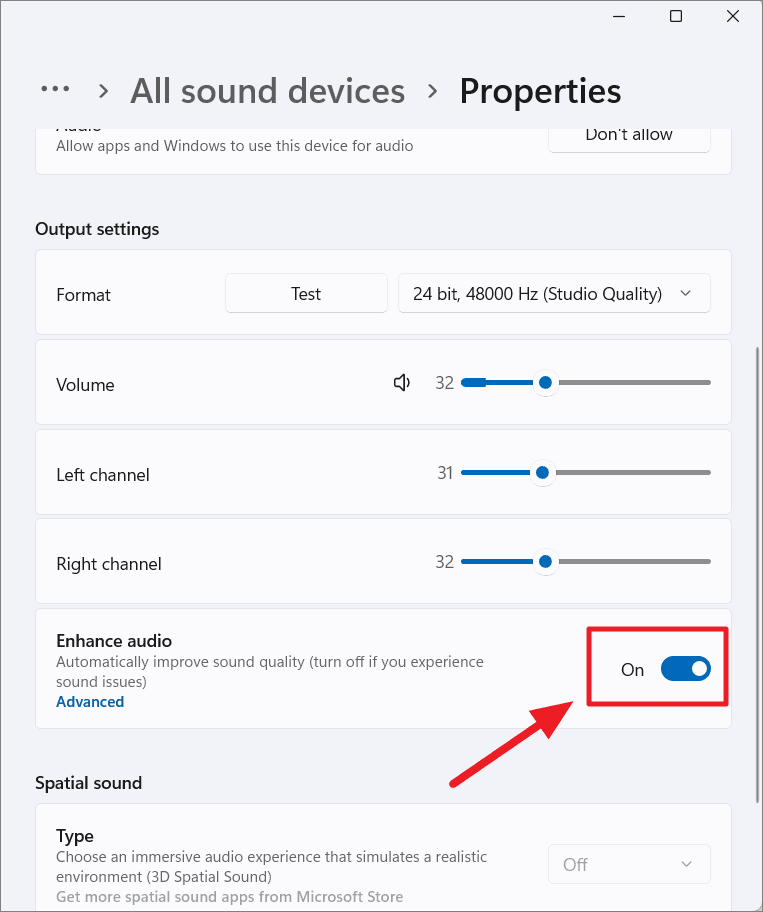
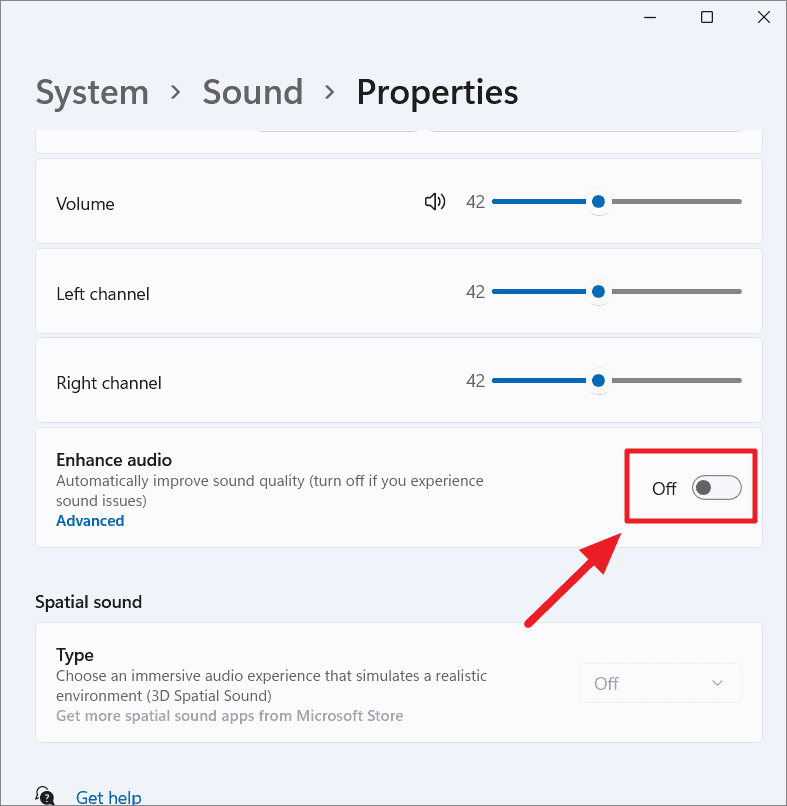
- Under Output settings, toggle the switch next to Enhance audio to On.
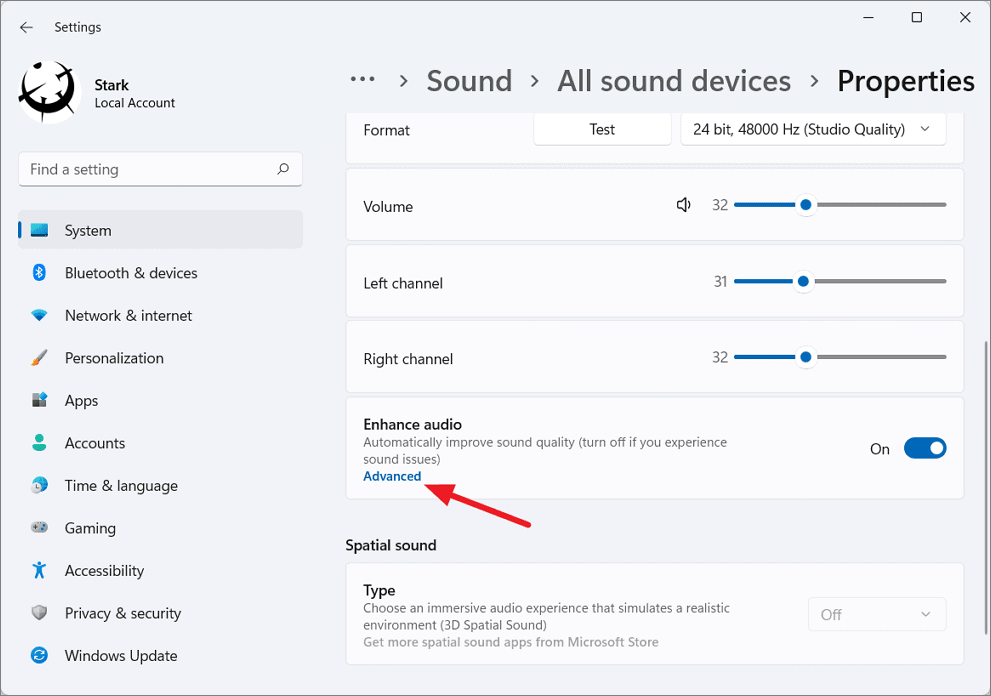
- To access more options, click on Advanced under the Enhance audio toggle.
You can adjust individual channel volumes and change the audio format:
- Under Output settings, adjust the volume sliders for each channel to balance the sound.
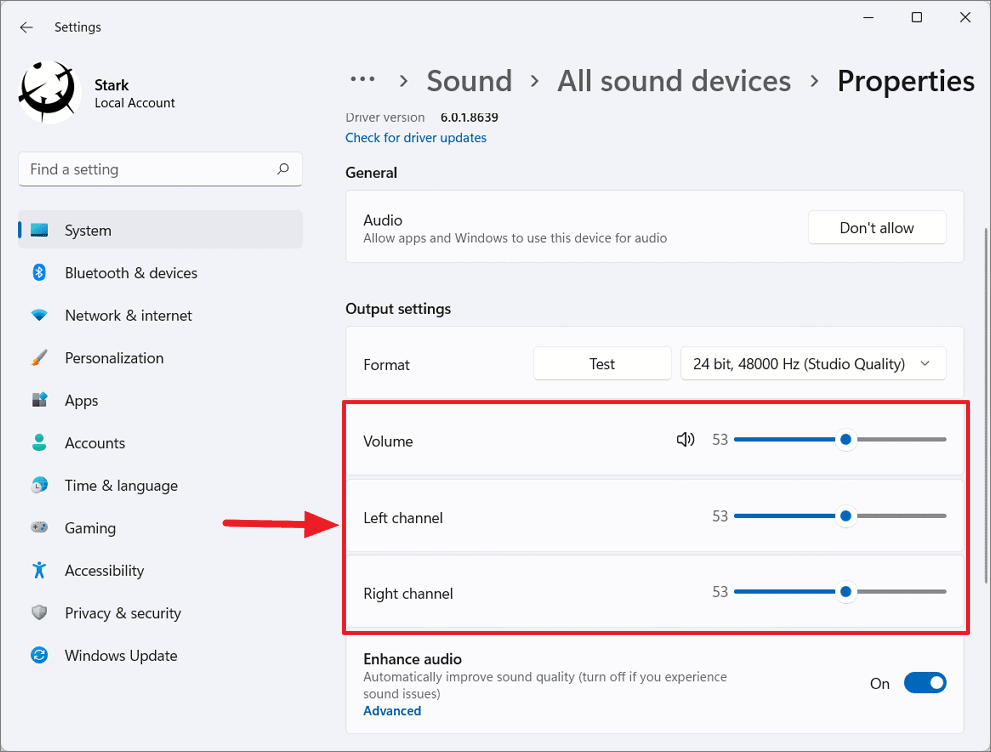
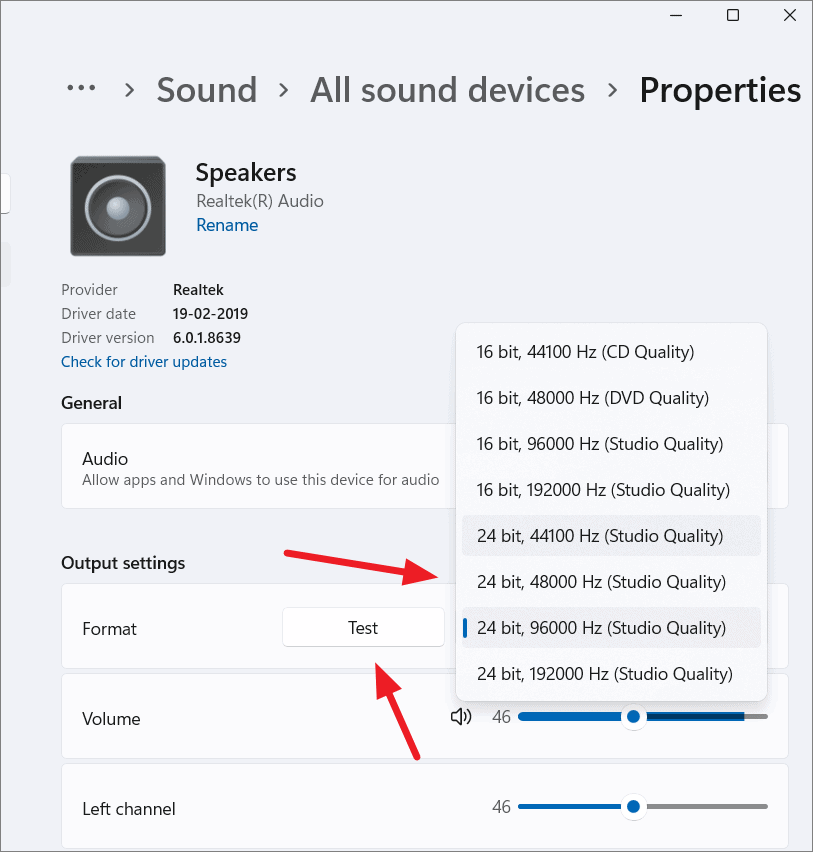
- From the Format drop-down menu, select a higher sample rate and bit depth for better audio fidelity. Click Test to verify the sound quality.
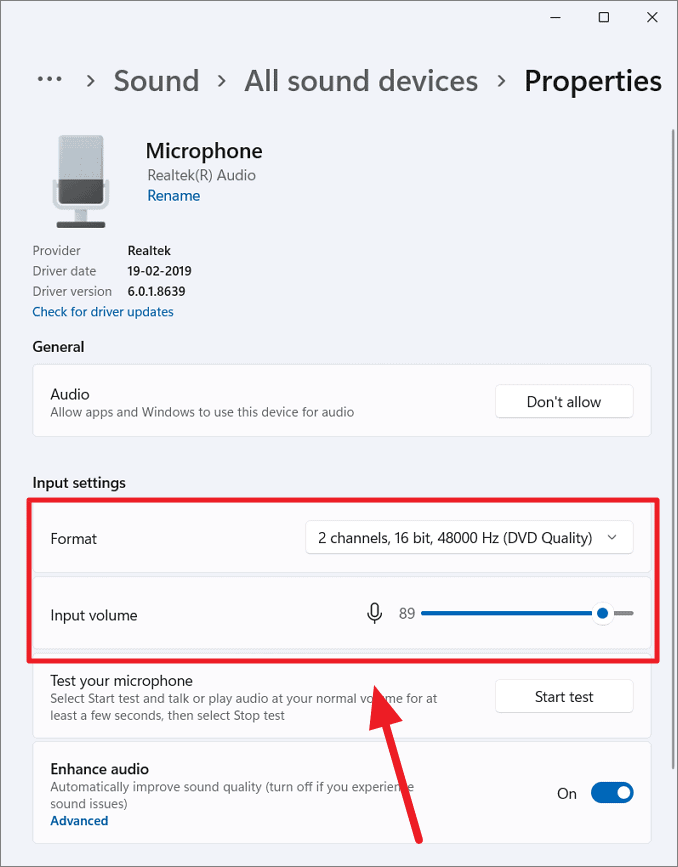
Enhance Microphone Audio Quality
To improve the sound from your microphone:
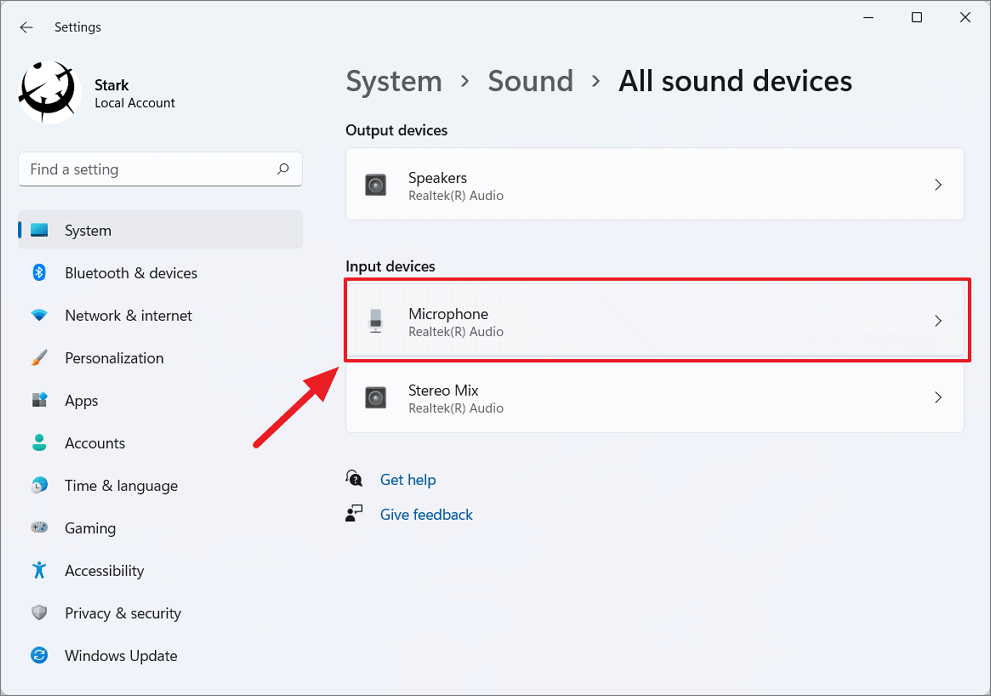
- Return to the All sound devices page.
- Select your input device (e.g., Microphone) under Input devices.
- Toggle the switch next to Enhance audio to On.
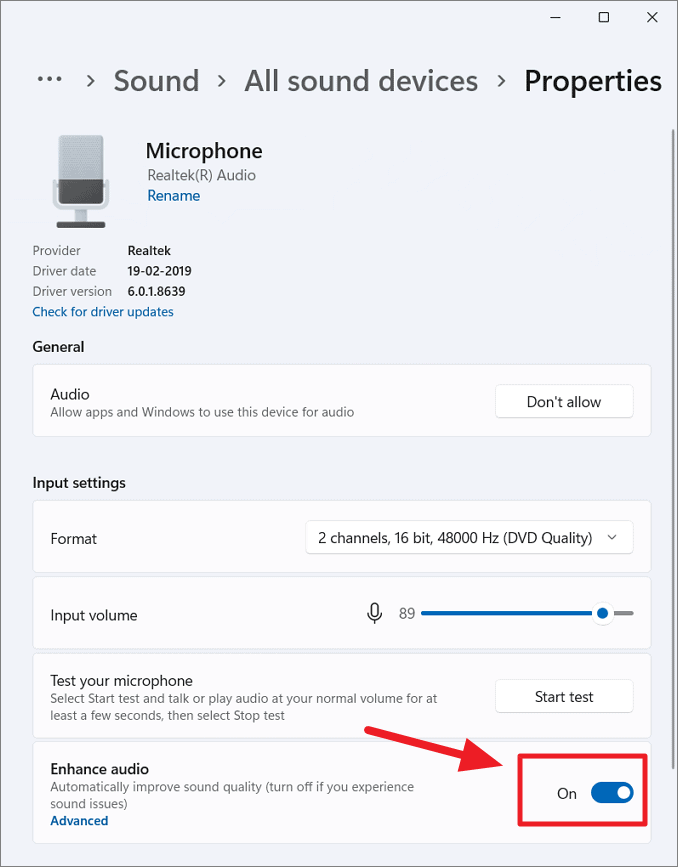
- Adjust the input volume and format as needed.
- Click Start test, speak into the microphone, then click Stop test to see the input volume level.
If enabling ‘Enhance audio’ doesn’t improve the quality, try toggling it off.
Enable Spatial Sound in Windows 11
Spatial sound provides an immersive audio experience by simulating a 3D environment. Windows 11 supports formats like Windows Sonic for Headphones, DTS Sound, and Dolby Atmos. Here’s how to enable spatial sound:
- Open Settings by pressing
Windows+I. - Click on System and select Sound.
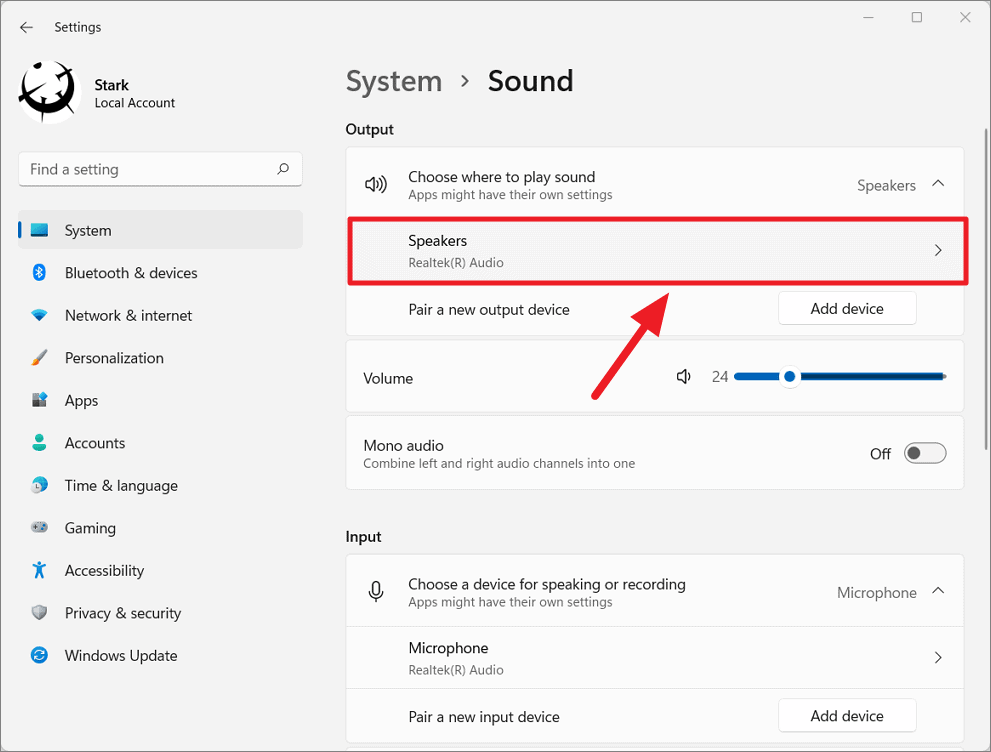
- Under Output, expand the drop-down next to Choose where to play sound to see all connected output devices.
- Select the audio device you want to configure.
- Scroll down to the Spatial Sound section. If the option is available, select a spatial sound format from the Type drop-down menu.
If ‘Windows Sonic for Headphones’ is available, you can select it. For other formats like DTS Sound or Dolby Atmos, you need to install the respective applications from the Microsoft Store.
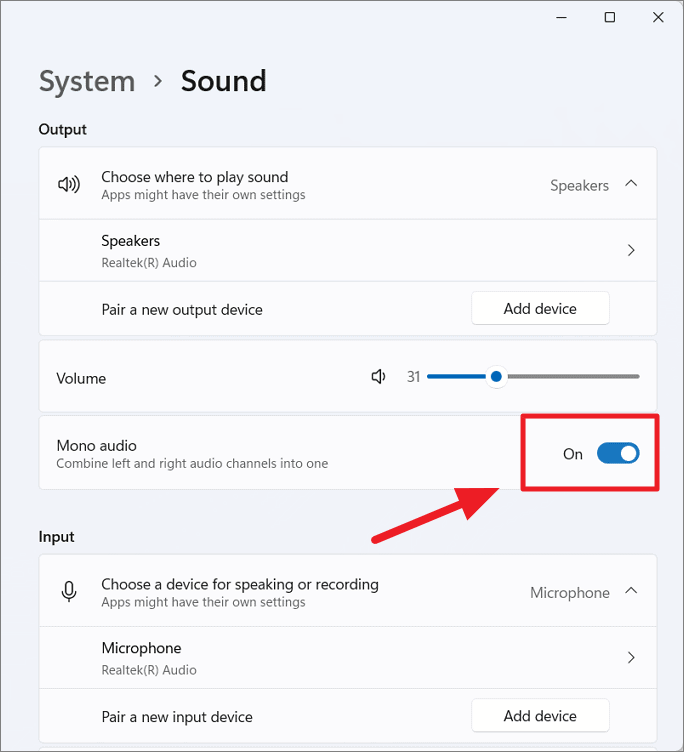
Enable Mono Audio in Windows 11
Mono audio combines the left and right audio channels into one, sending the same sound to both speakers or both sides of your headphones. This can be helpful if you have hearing impairments or are using a single speaker.
- Open Settings by pressing
Windows+I. - Select System and then click on Sound.
- Under the Output section, toggle the switch next to Mono audio to turn it on.
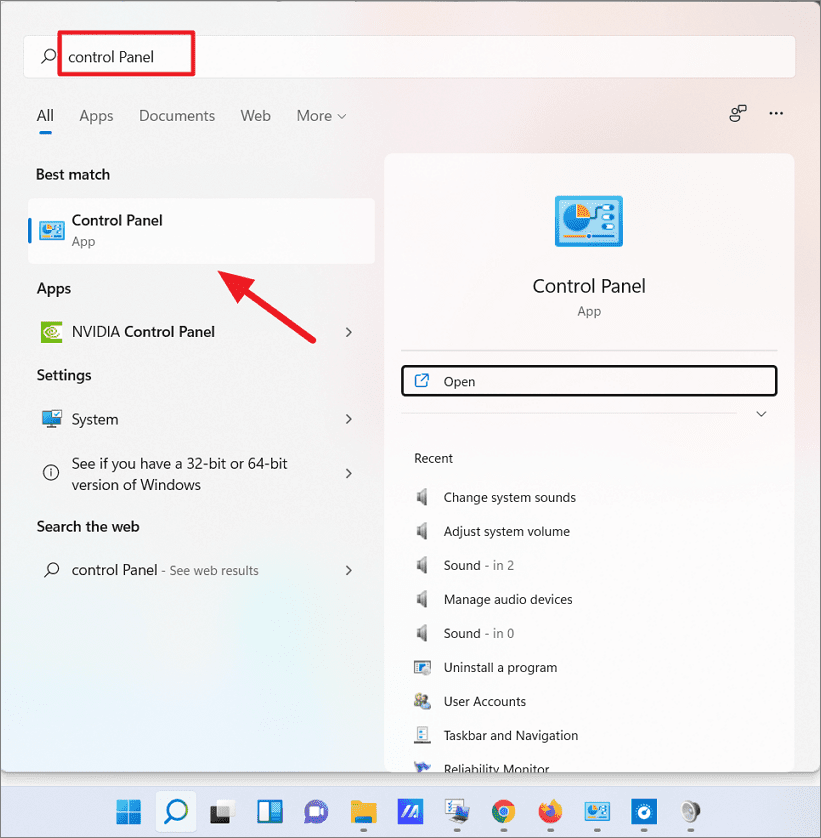
Improve Sound Quality from the Control Panel
You can also adjust sound settings through the Control Panel to enhance audio quality.
- Search for Control Panel in the Windows search bar and open it.
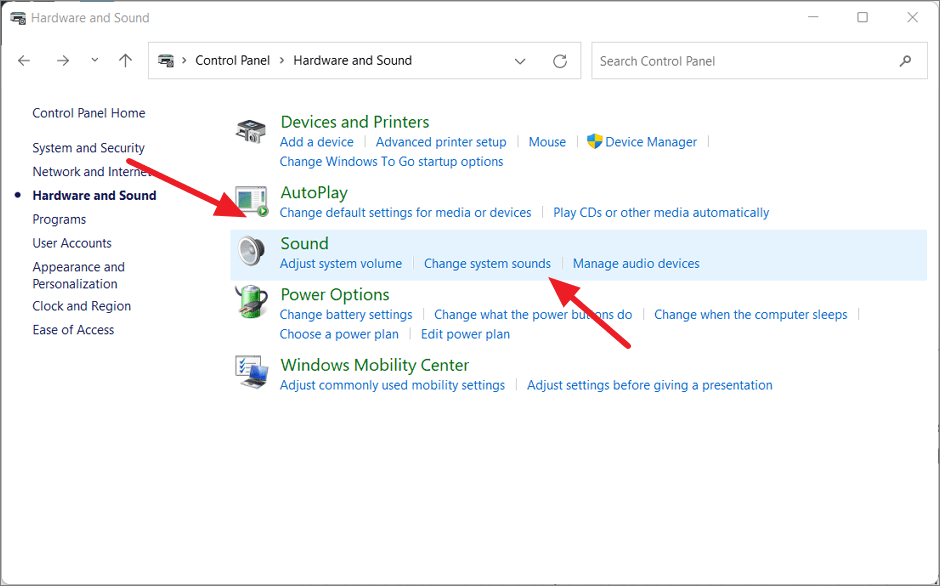
- In the Control Panel, click on Hardware and Sound.
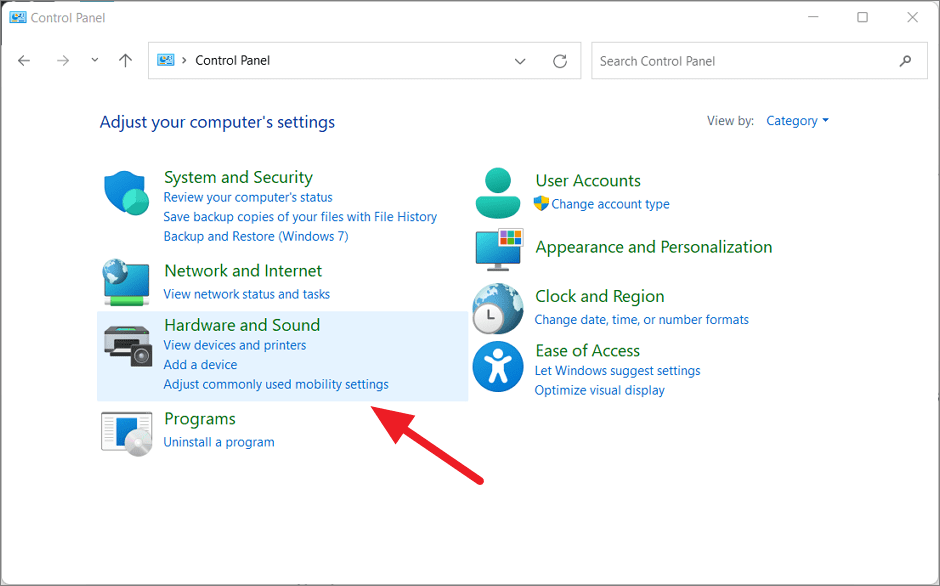
- Under the Sound section, click on Sound or Change system sounds to open the Sound dialog box.
Alternatively, you can press Windows+R, type mmsys.cpl, and press Enter to open the Sound dialog.
Configuring Playback Device Properties
To adjust your playback device settings:
- In the Sound dialog box, go to the Playback tab.
- Select your output device (e.g., Speakers) and click Properties.

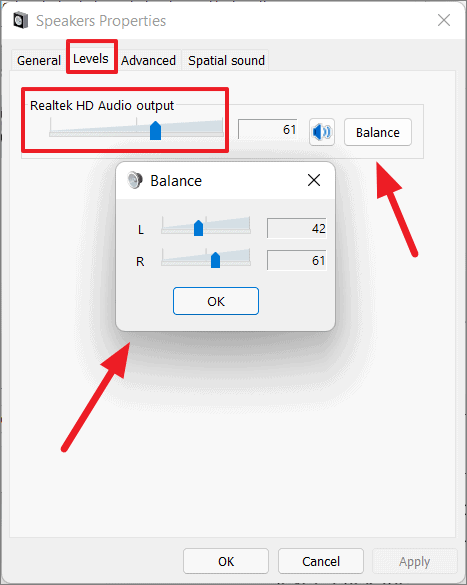
- Under the Levels tab, adjust the overall volume and balance using the sliders. Click on Balance to adjust individual channel volumes.
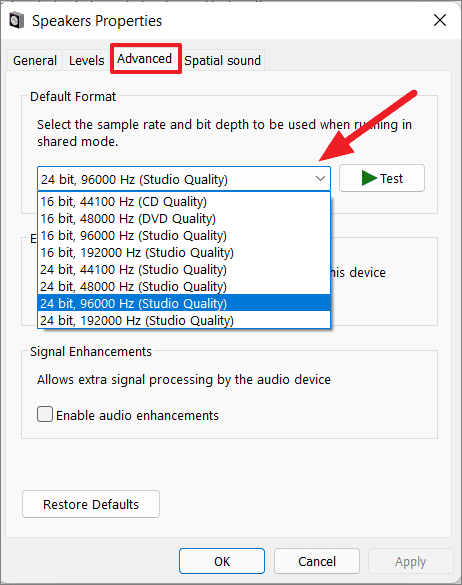
- Switch to the Advanced tab. From the Default Format drop-down, select a higher sample rate and bit depth for improved audio quality. Click Test to hear the changes.
- Check the box next to Enable audio enhancements under the Signal Enhancements section.
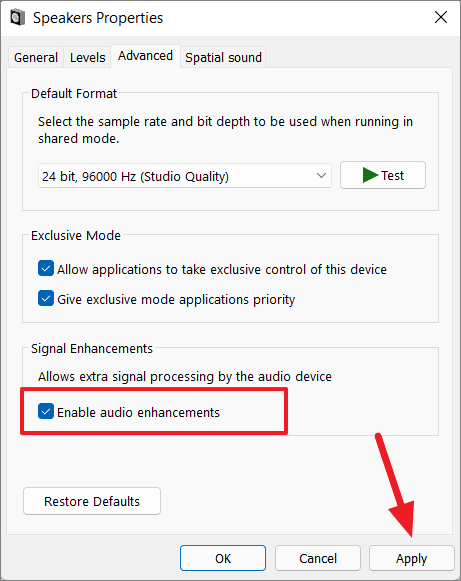
- Under Exclusive Mode, you can allow applications to take exclusive control of the device by checking the respective boxes.

- Click Apply and then OK to save the changes.
Configuring Recording Device Properties
To adjust microphone settings:
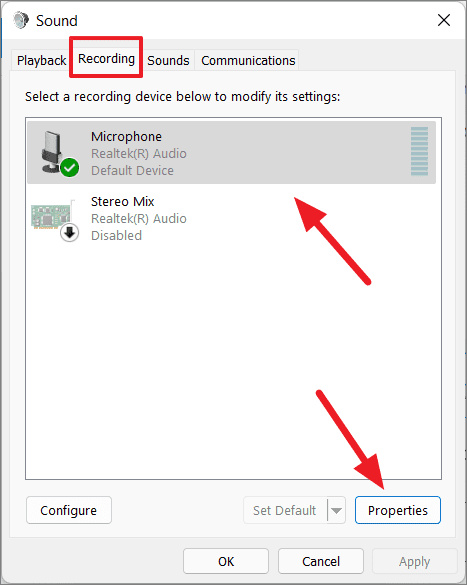
- In the Sound dialog box, navigate to the Recording tab.
- Select your input device (e.g., Microphone) and click Properties.
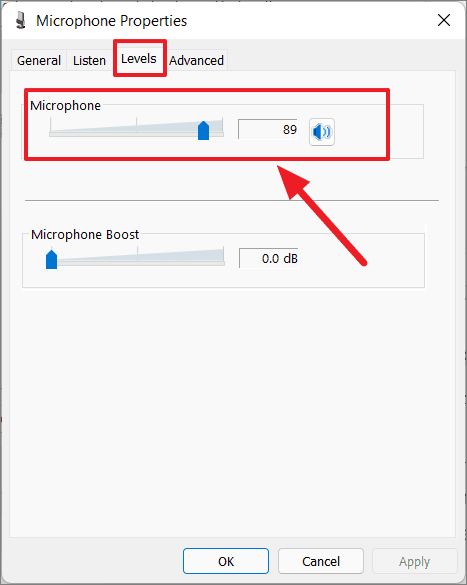
- Under the Levels tab, adjust the microphone volume slider. If needed, use the Microphone Boost slider to increase the input volume further.
- Switch to the Advanced tab and select a higher sample rate and bit depth from the Default Format drop-down.
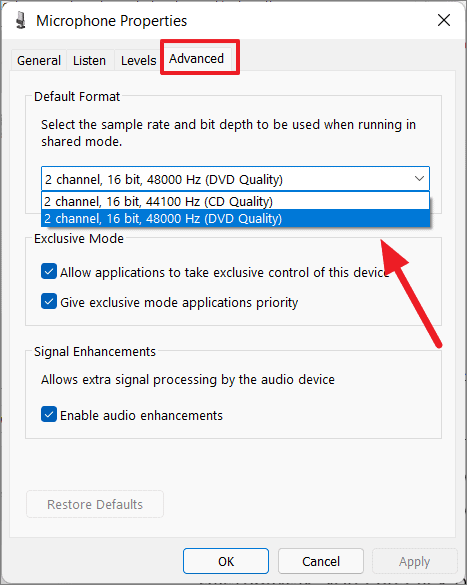
- If you experience issues, uncheck Allow applications to take exclusive control of this device under Exclusive Mode.
How to Hear Instant Audio Feedback
To test your microphone settings and hear how you sound:
- Go to the Listen tab in the microphone properties.
- Check the box next to Listen to this device.
- From the Playback through this device drop-down, select your output device.
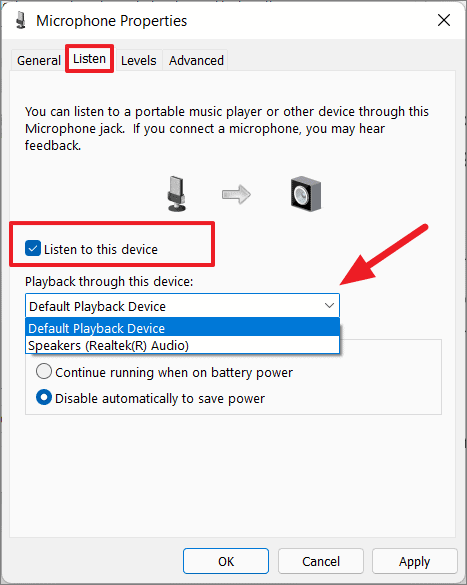
- Under Power Management, choose whether to disable this feature when on battery power.
- Click Apply and then OK.
Improve Sound by Controlling Individual App Volume
Adjusting the volume for individual applications can help improve your overall sound experience.
- Right-click the speaker icon in the taskbar and select Open Volume mixer.
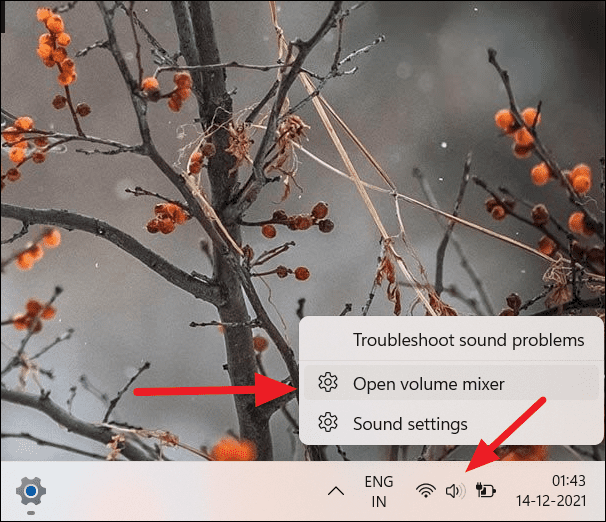
- Adjust the volume sliders for each application as needed.
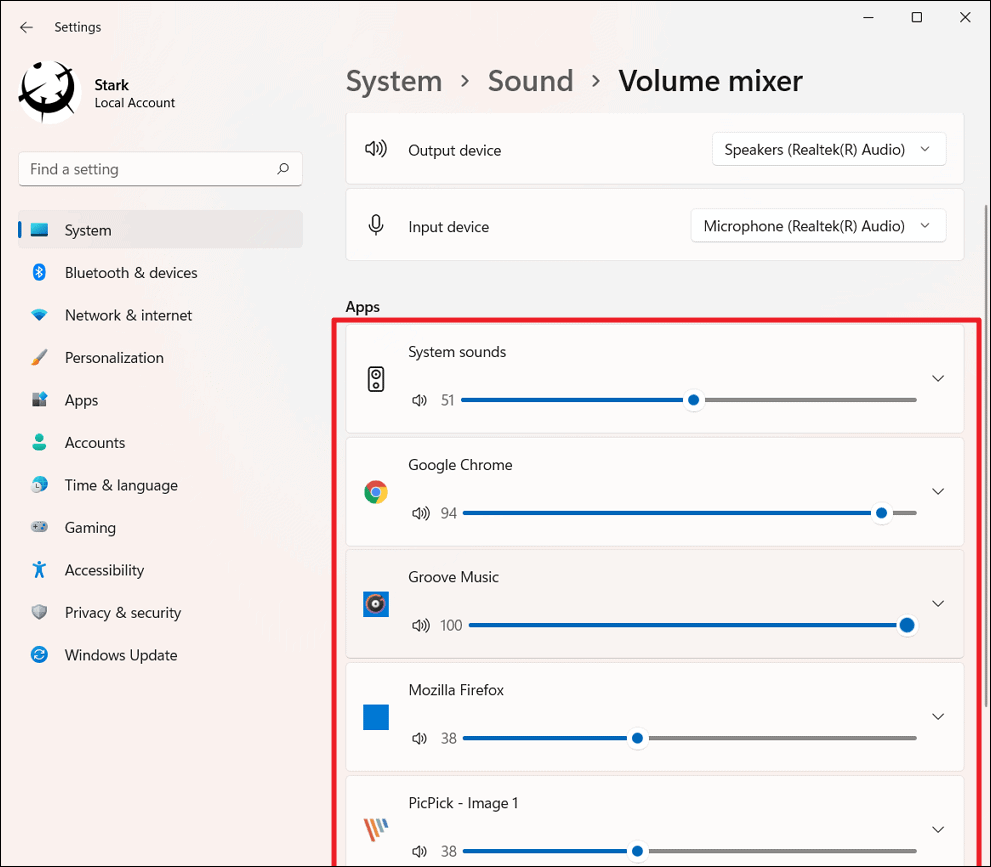
To reset all volumes to default, click on Reset at the bottom.
Alternatively, you can access the Volume Mixer via the Control Panel:
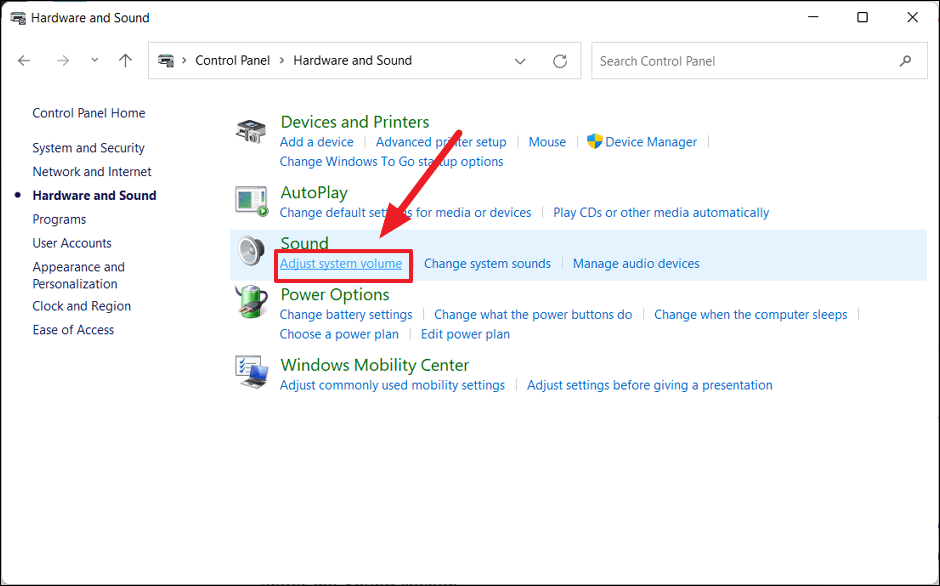
- Open Control Panel and select Hardware and Sound.
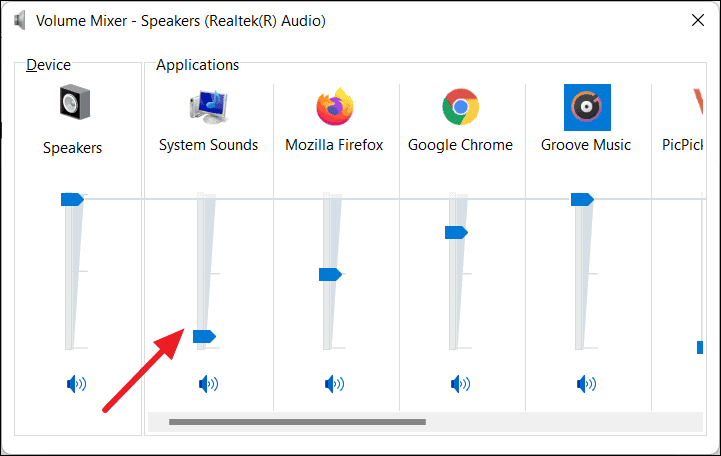
- Click on Adjust system volume under the Sound section.
- Adjust the sliders for each application as desired.
Use Third-Party Audio Enhancement Software
If you want more control over your audio settings, consider using third-party audio enhancement or equalizer software. These tools can help you fine-tune your sound settings for better quality.
Popular Audio Enhancement Software:
Popular Microphone Booster Software:
Use Built-in Realtek Audio Manager/Console to Improve Sound
Many Windows PCs come with a Realtek sound card and the Realtek Audio Console app, which allows you to configure advanced audio settings.
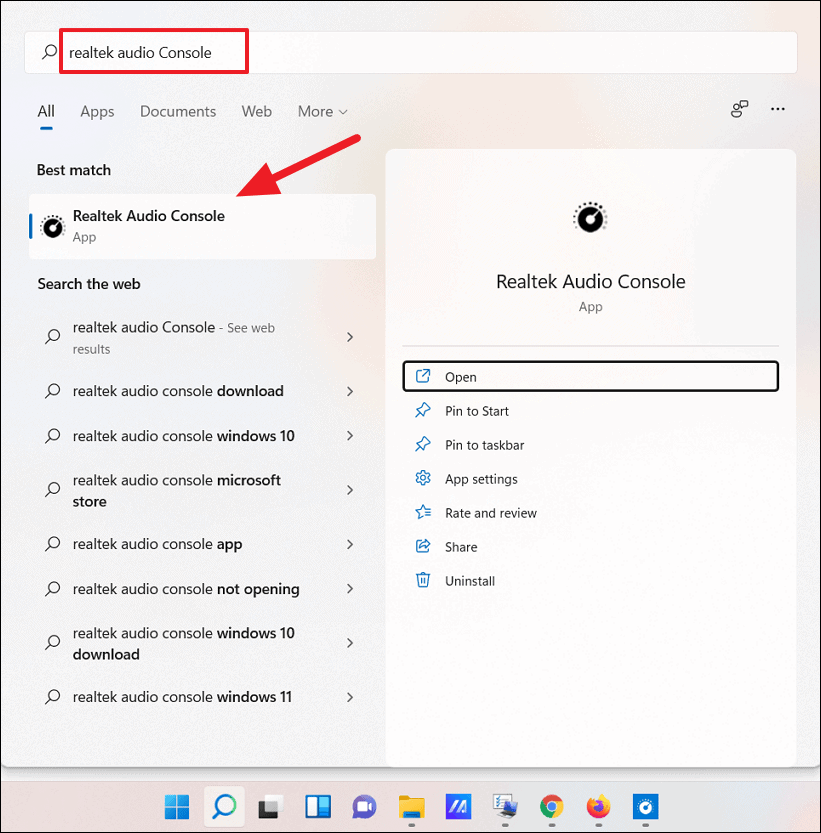
To open Realtek Audio Console:
- Search for Realtek Audio Console in the Windows search bar and open the app.
Configure Speakers/Headphones to Improve Sound Quality
In the app, you can adjust various settings for your speakers or headphones:
- Under Playback devices, select your output device.
- Adjust the Main Volume and balance using the sliders.
- Under Sound Effects, you can select an Equalizer preset or create a custom one.
- Select an Environment effect for simulated surround sound.
- Enable options like Loudness Equalization or Voice Cancellation if desired.
- Under Default Format, choose a higher sample rate and bit depth.
- Enable Headphone Virtualization to simulate surround sound in stereo headphones.
Configure Microphone to Improve Sound Quality
You can also adjust your microphone settings:
- Under Recording devices, select your microphone.
- Adjust the Main Volume and use Microphone Boost if needed.
- Under Microphone Effects, choose an effect that suits your needs, such as Enhance Voice Recognition or High-Quality Record.
- Enable Acoustic Echo Cancellation (AEC) to reduce feedback.
- Enable Far Field Pickup to capture sound from a distance.
- Under Default Format, select a higher sample rate and bit depth.
Troubleshooting Sound Problems
If you’re still experiencing issues, Windows 11 offers built-in troubleshooters to help identify and fix sound problems.
- Open Settings and select System, then click on Sound.
- Under the Advanced section, click on Output devices or Input devices next to Troubleshoot common sound problems.

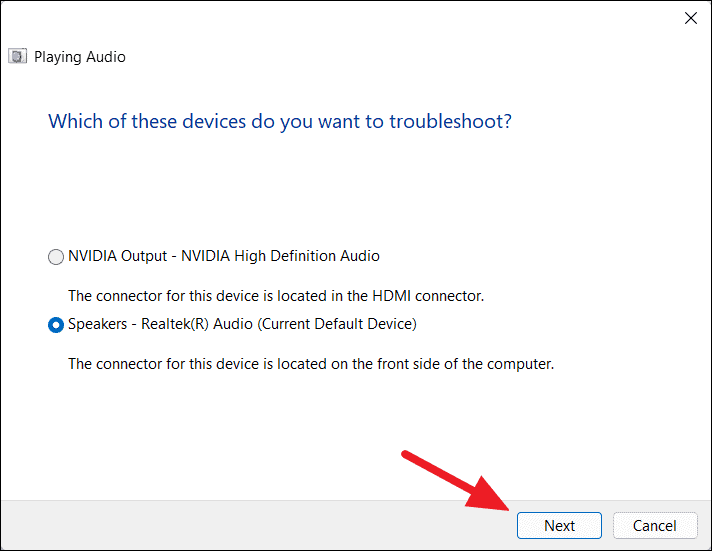
- Select the device you want to troubleshoot and click Next.
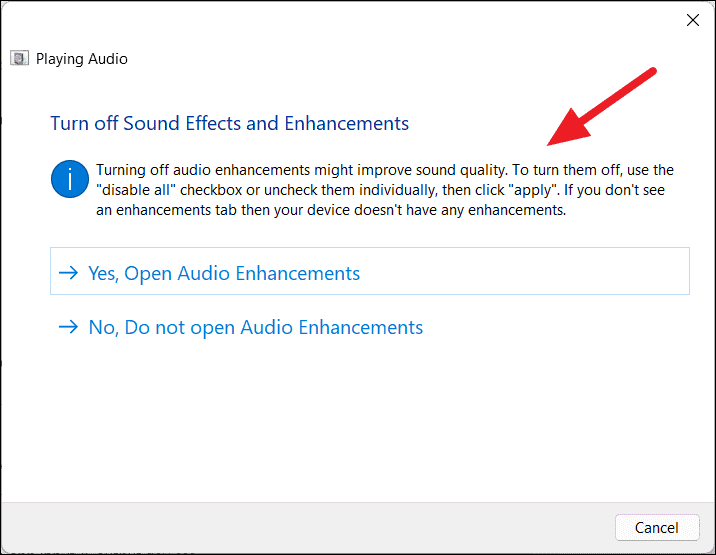
- Follow the on-screen instructions to identify and resolve any issues.
By following these methods, you should be able to enhance the audio quality of your Windows 11 PC and enjoy a better sound experience.


