
Adding fillable text fields in Microsoft Word streamlines data collection, document automation, and form creation. Whether you need users to type responses, complete forms electronically, or insert dynamic fields, Word offers several methods to insert text fields—each suited to different scenarios. The most robust approach uses Content Controls via the Developer tab, but you can also use text boxes or field codes, depending on your requirements.
Insert a Fillable Text Field Using Content Controls (Developer Tab)
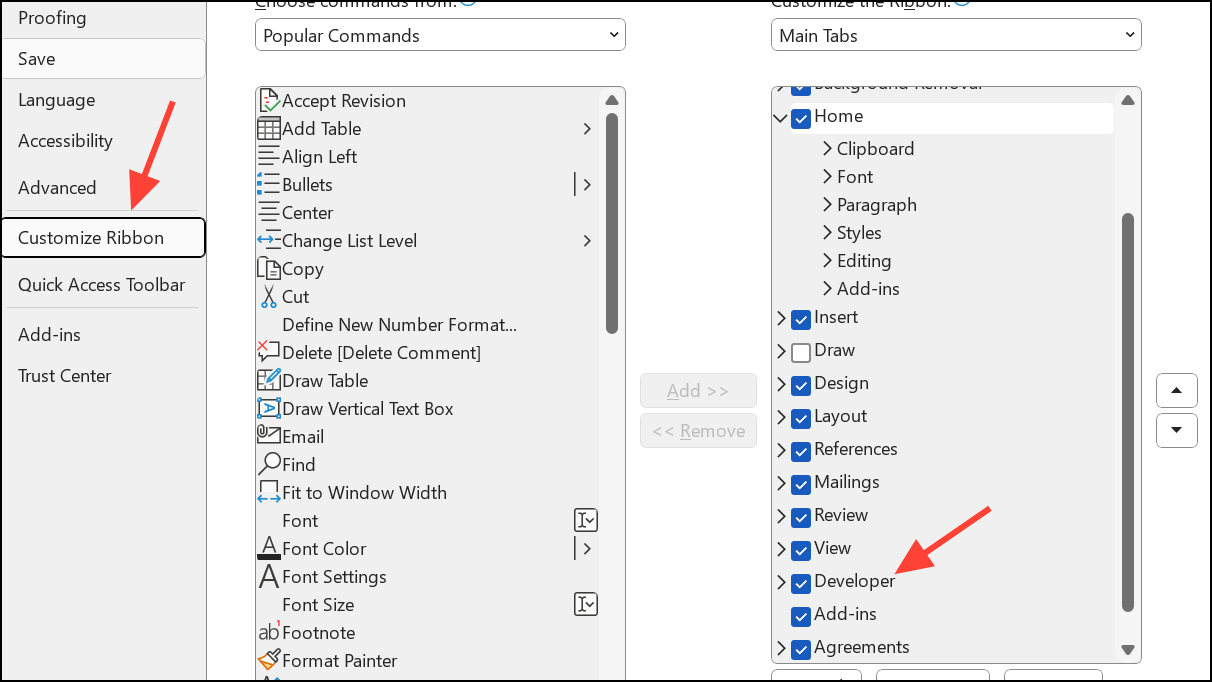
Step 1: Display the Developer tab if it’s not already visible. Click the File tab, select Options, then choose Customize Ribbon. In the right-side list, check the Developer box and click OK. This adds the Developer tab to your main ribbon, unlocking advanced tools for form creation and automation.
Step 2: Place your cursor where you want the text field to appear in your document. This could be within a table, a form layout, or any section where user input is needed.

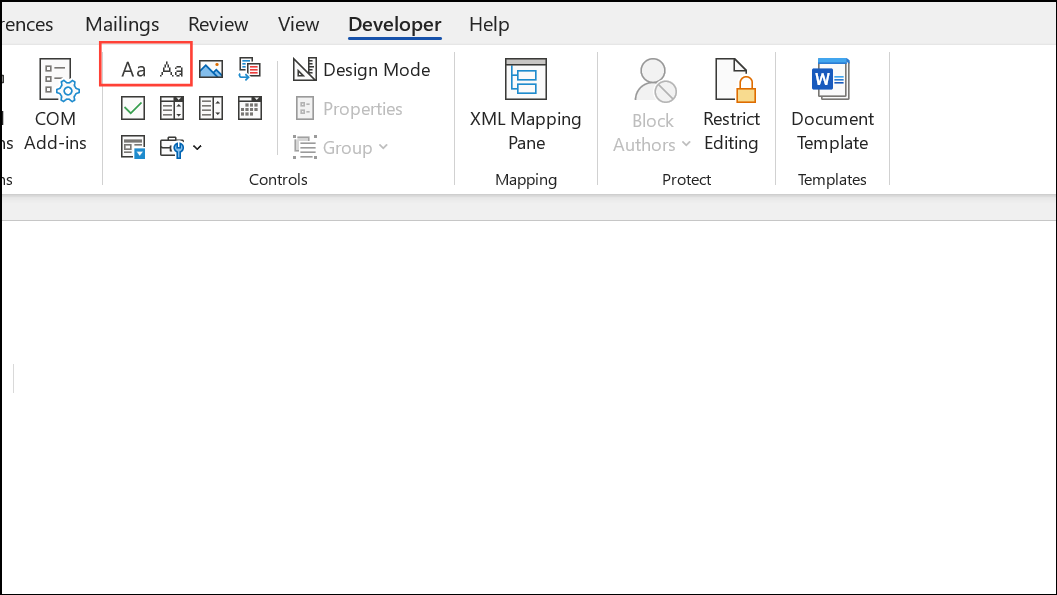
Step 3: Go to the Developer tab and locate the Controls group. Here, you’ll find two main options for text fields: Rich Text Content Control and Plain Text Content Control. The rich text control allows users to apply formatting (like bold or italics) and enter multiple paragraphs, while the plain text control restricts input to unformatted text.
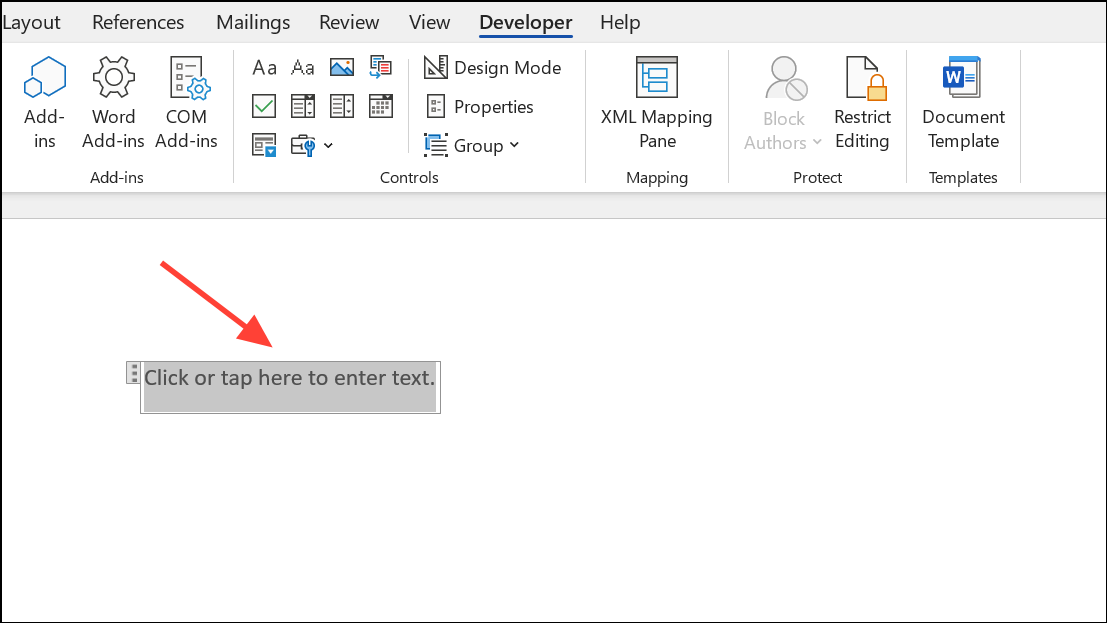
Step 4: Click either the Rich Text Content Control or Plain Text Content Control button. The selected control will be inserted at your cursor’s position, displaying a placeholder that users can click to enter information.
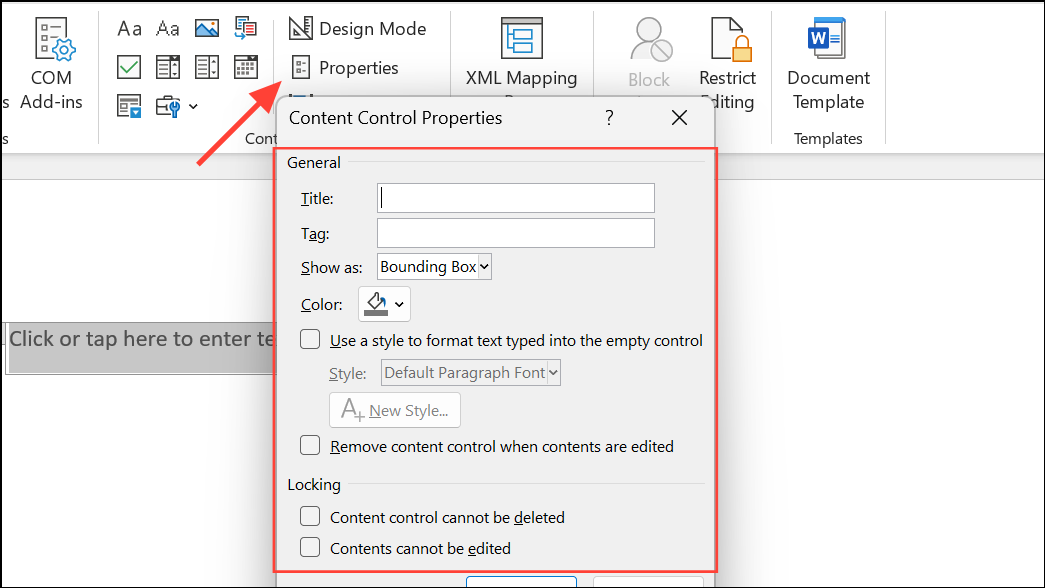
Step 5: To adjust properties, such as default text, maximum length, or formatting rules, select the inserted control and click Properties in the Controls group. Here you can set options like instructional placeholder text, restrict formatting, or assign a bookmark name for automation or mail merge purposes.
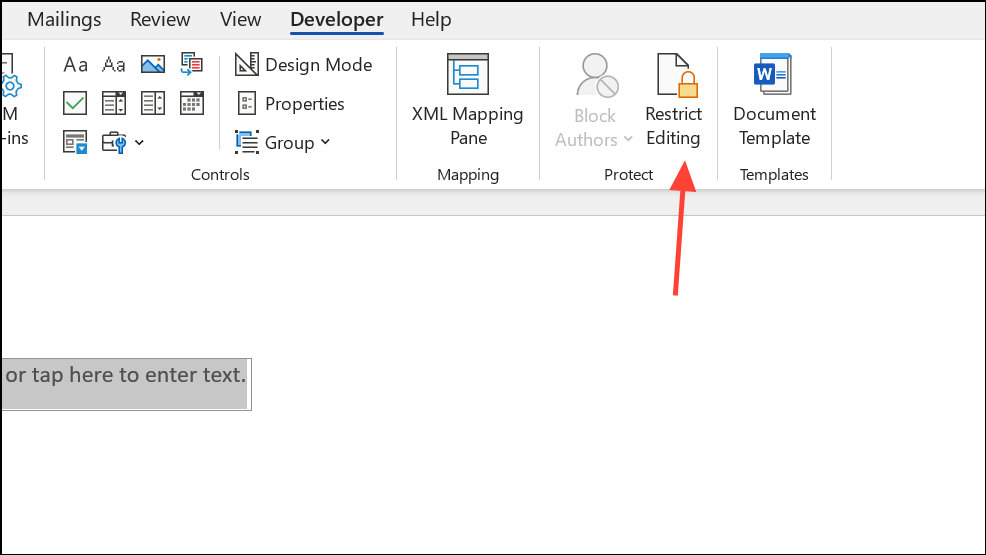
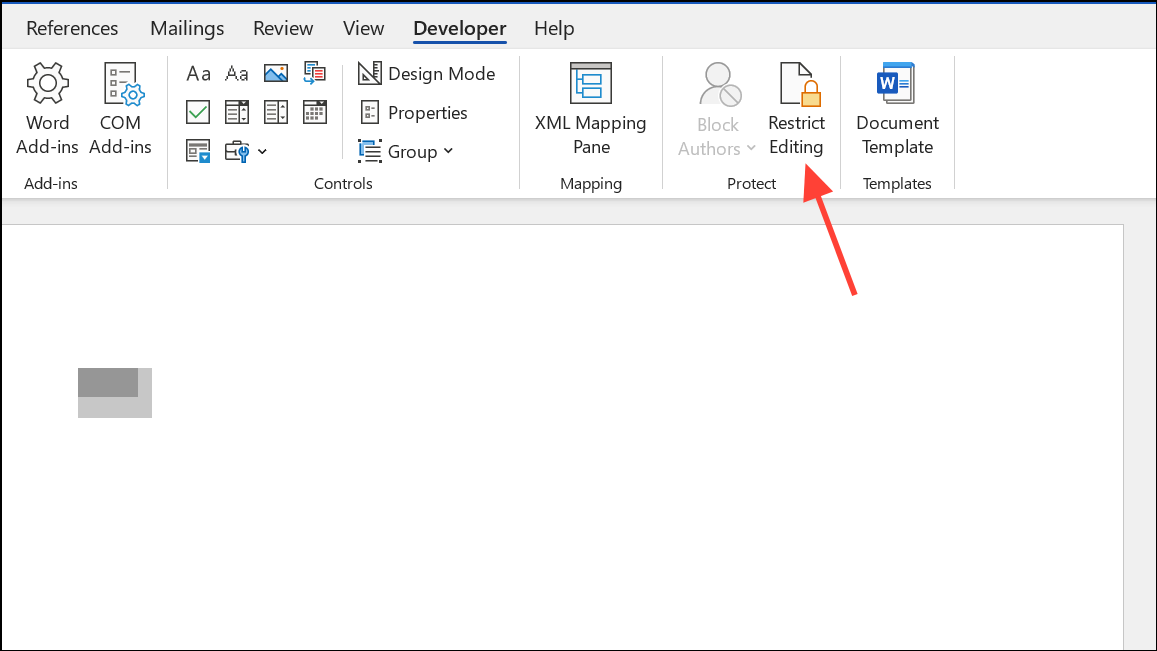
Step 6: For form protection, return to the Developer tab and select Restrict Editing.
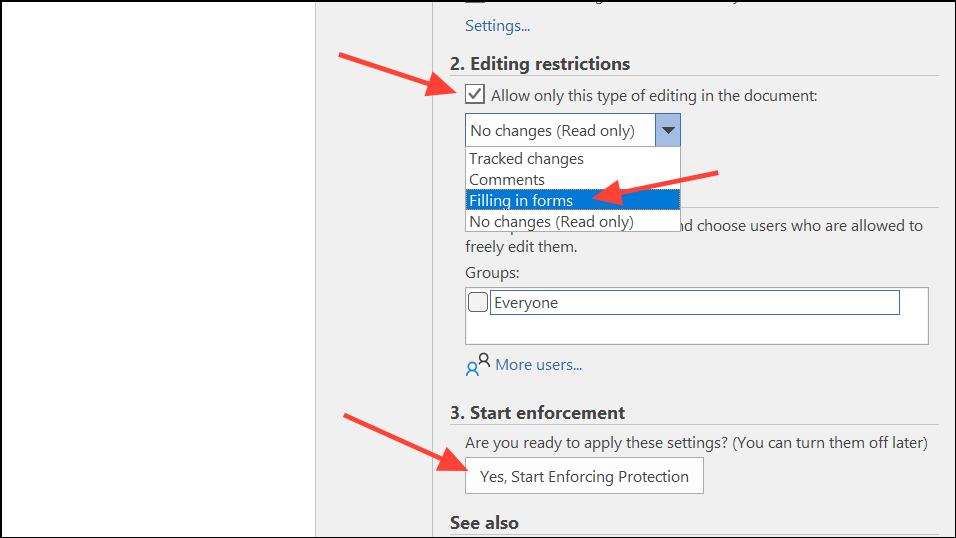
Step 7: In the Restrict Editing panel, check Allow only this type of editing in the document and choose Filling in forms. Click Yes, Start Enforcing Protection and set a password if you want to prevent unauthorized changes to the form structure.
Insert a Text Box for User Input
Text boxes offer a quick way to let users type anywhere on the page, ideal for visually highlighting responses or moving text independently of the main document flow.
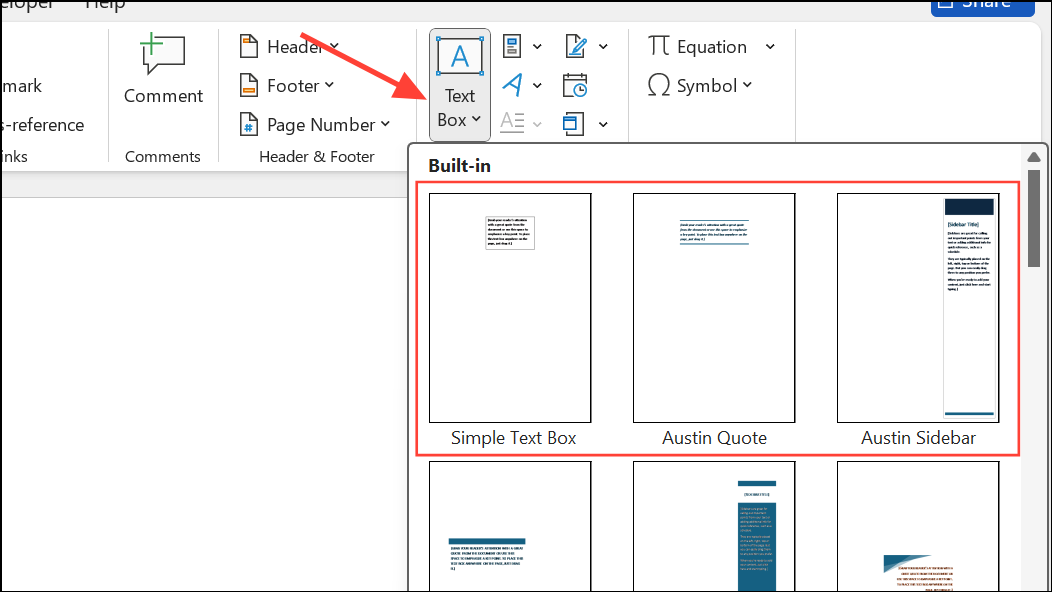
Step 1: Click the Insert tab, then select Text Box in the Text group. Choose a pre-designed text box style or select Draw Text Box to create a custom-sized box by clicking and dragging on the page.
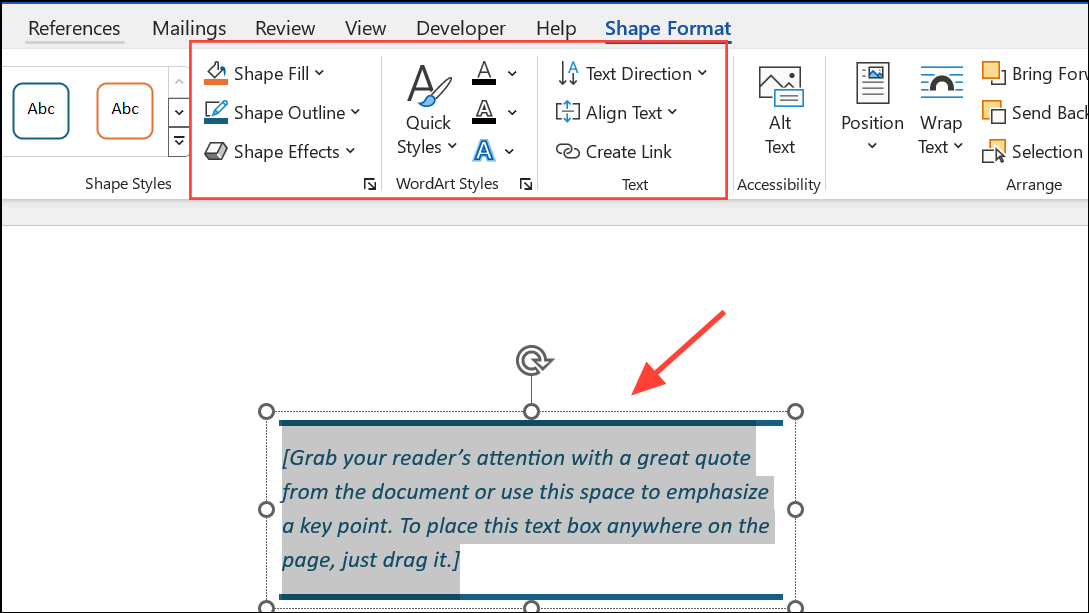
Step 2: Click inside the text box and type or paste your text. The box can be repositioned by dragging its border, and formatting can be applied both to the text inside and the box itself using the Shape Format tab.
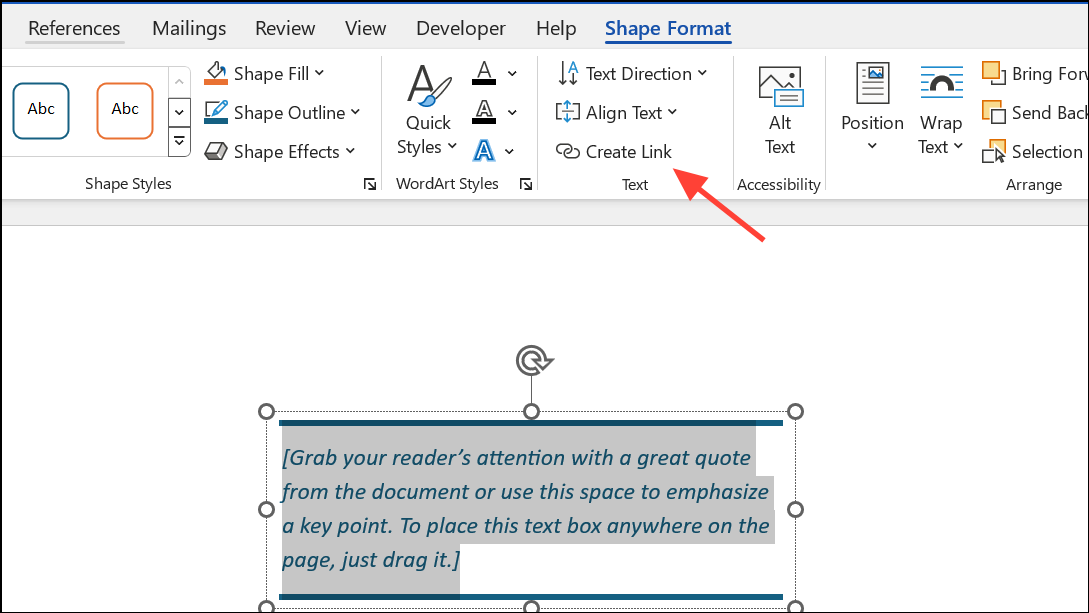
Step 3: For advanced layouts, link multiple text boxes so text flows from one to another. Select a text box, go to Shape Format, and click Create Link in the Text group. Then click another empty text box to connect them.
Text boxes are not typically used for traditional fillable forms but are useful for layout flexibility or standalone input areas.
Insert a Legacy Text Form Field (for Compatibility)
Legacy form fields support older Word versions and some advanced automation scenarios. They are especially useful when integrating with systems that require Word’s classic form fields or when performing mail merges with bookmarks.
Step 1: Ensure the Developer tab is enabled, as described earlier.
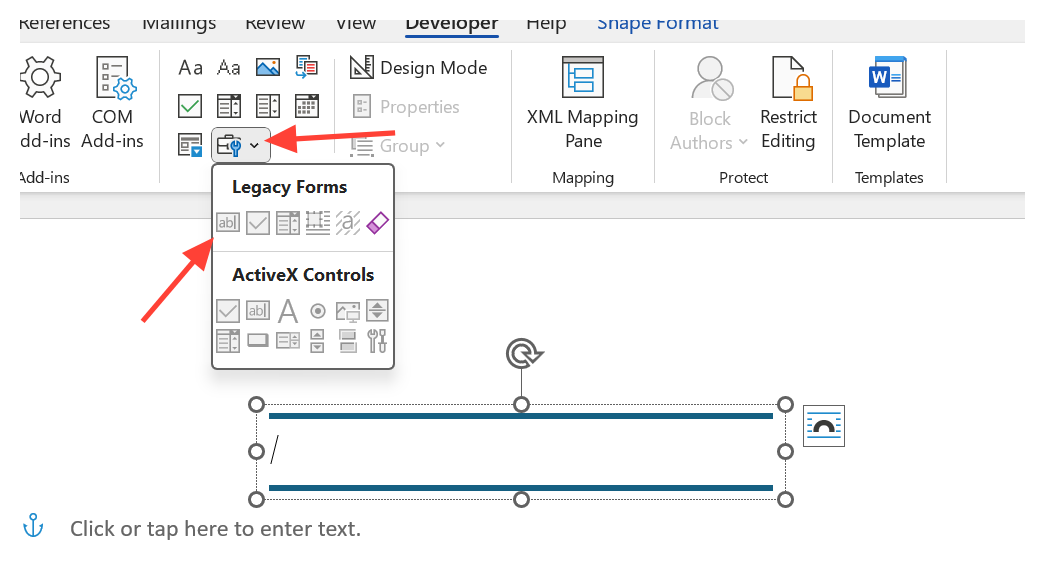
Step 2: Place your cursor where you want the field. On the Developer tab, click Legacy Tools in the Controls group. Under Legacy Forms, select the Text Form Field button (usually depicted as ab|).
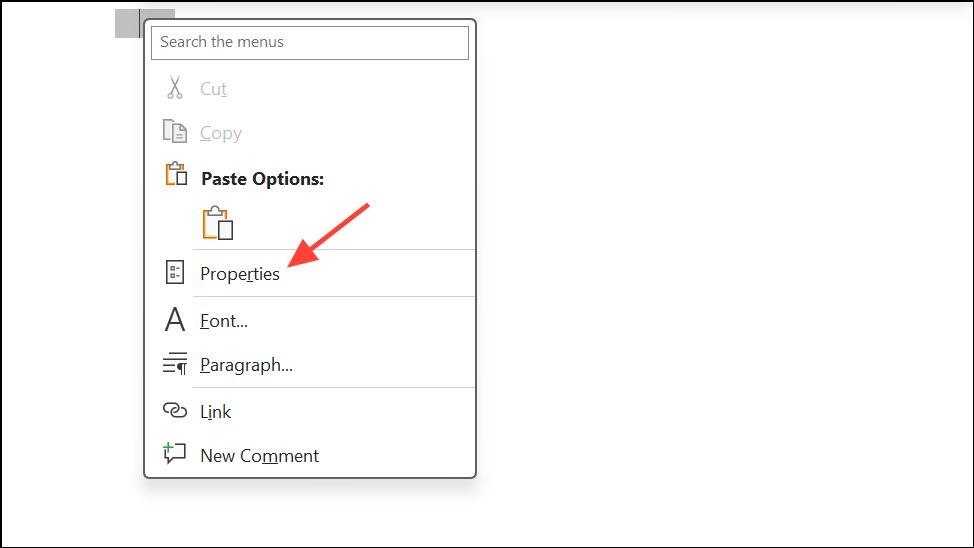
Step 3: The field will appear as a small gray box. Right-click it and select Properties to set options such as default text, maximum length, and assign a bookmark name for mail merge or automation.
Step 4: To protect the form, click Protect Form on the Developer tab. This limits editing to only the form fields, preventing accidental changes elsewhere in the document. If you do not have this option available, you can use the Restrict Edition option as before.
Legacy fields are ideal for compatibility with older workflows or when integrating with third-party systems that require classic Word form fields.
Insert a Field Code for Dynamic Content
Field codes enable dynamic content, such as displaying the author’s name, document properties, or calculated values. They can be inserted using the interface or keyboard shortcuts.
Step 1: Place the cursor at the desired location. Go to the Insert tab, click Quick Parts in the Text group, and select Field. Choose the field type (for example, Author or MergeField) and configure any properties or formatting options, then click OK.

Step 2: Alternatively, use the shortcut Ctrl + F9 to insert a blank field. Type the field code inside the curly brackets, such as { AUTHOR }, and press F9 to update and display the result.

Field codes are best for displaying automatically updated information or for advanced document automation, not for general user input in forms.
Choosing the right method for inserting a text field in Word depends on your specific needs—whether you want fillable forms, flexible layouts, or dynamic document content. For most interactive forms, Content Controls on the Developer tab provide the smoothest user experience and are compatible with modern Word features.