
Fonts significantly influence the look and feel of your documents and creative projects. Whether you're aiming to enhance a project's appearance or personalize your content with unique typography, Windows 11 makes it easy to install and manage fonts. This guide will walk you through the steps to install and uninstall fonts on your Windows 11 computer.
Installing Fonts from the Microsoft Store
The Microsoft Store offers a convenient way to browse and install new fonts. Here's how you can add fonts directly from the store:
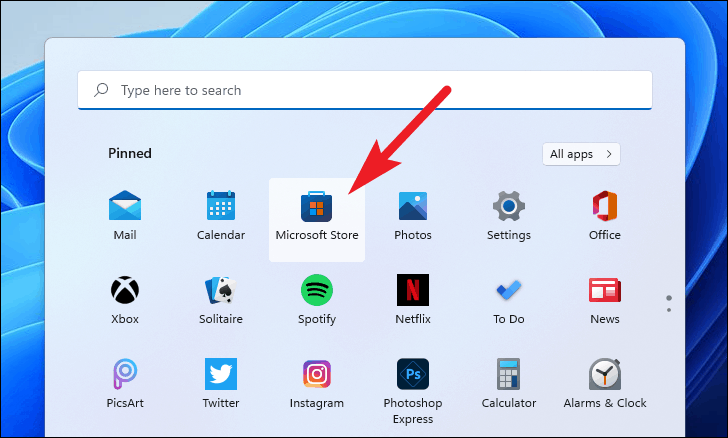
- Open the
Microsoft Storefrom the Start Menu.
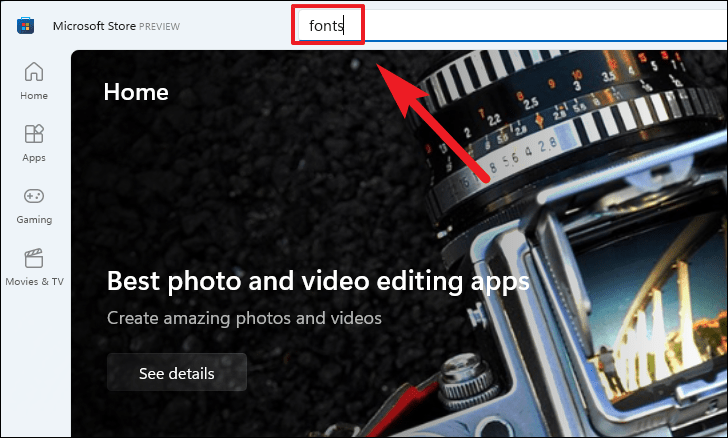
- In the Microsoft Store, click on the search bar at the top, type
Fonts, and pressEnteron your keyboard.
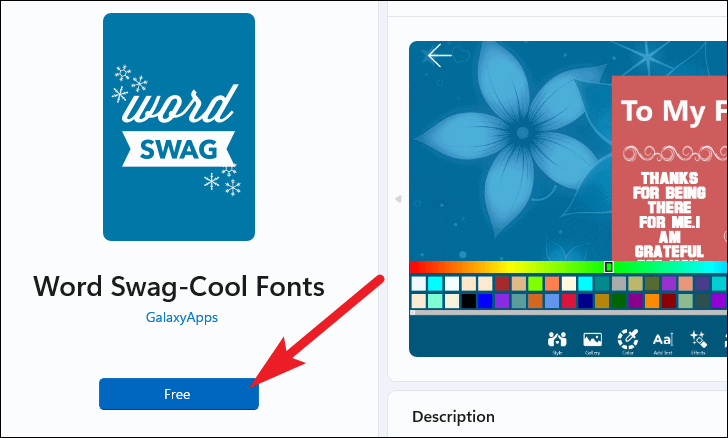
- Browse through the available fonts and select one that catches your eye.

- Click on the blue button under the font's name, which may say
Freeor display a price, to initiate the download.
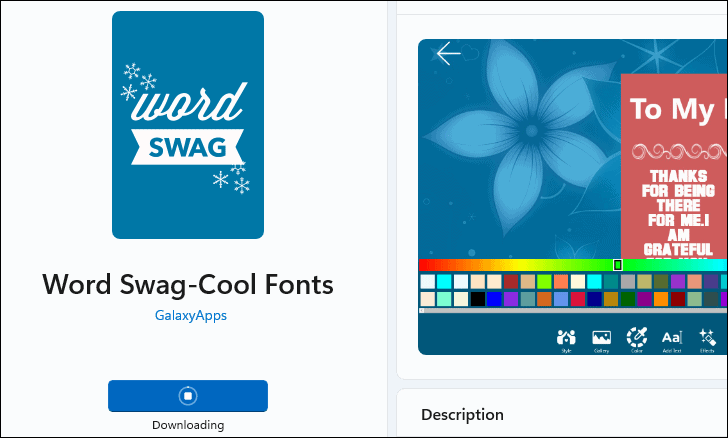
- After the download completes, the font will install automatically on your system.
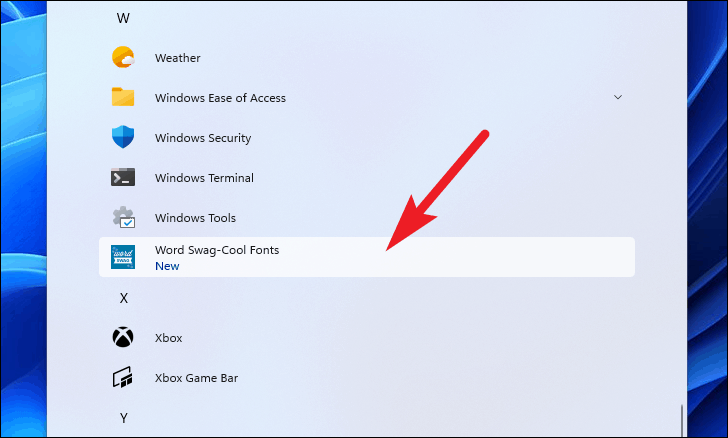
- You can find the newly installed font in the
All appssection of the Start Menu.
Installing Downloaded Fonts on Windows 11
If you've downloaded fonts from the internet, you can install them on your Windows 11 computer by following these steps:
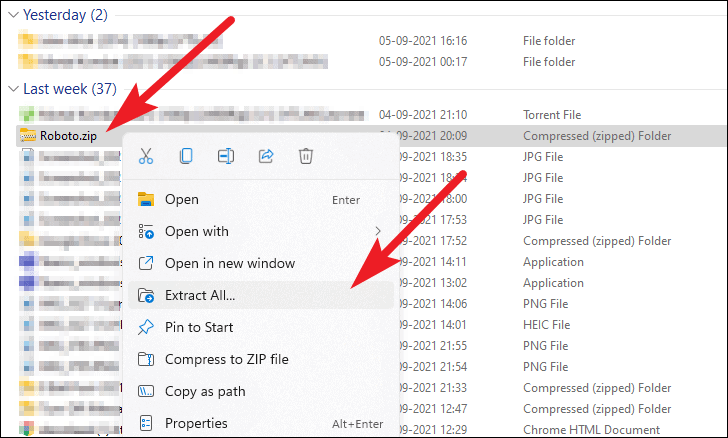
- Right-click on the downloaded zipped font folder and select
Extract Allfrom the context menu. This will open an extraction window.
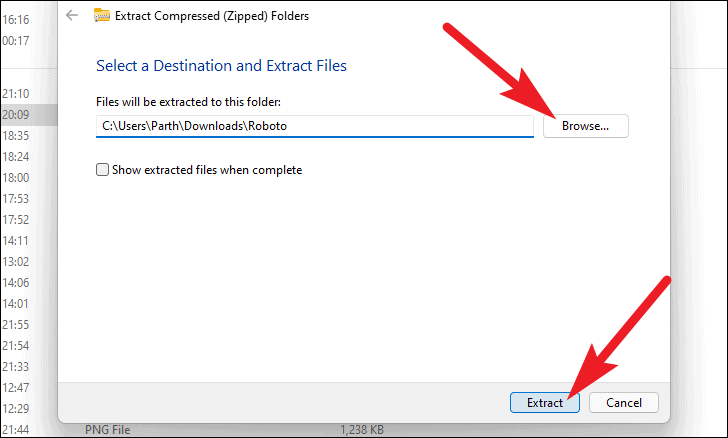
- Choose the destination for the extracted files by clicking
Browse, or keep the default location. - Click
Extractto unzip the font files.
Once the fonts are extracted, you can install them using either the Settings app or the Font Preview app.
Installing Extracted Fonts Using the Settings App
To install fonts via the Settings app:
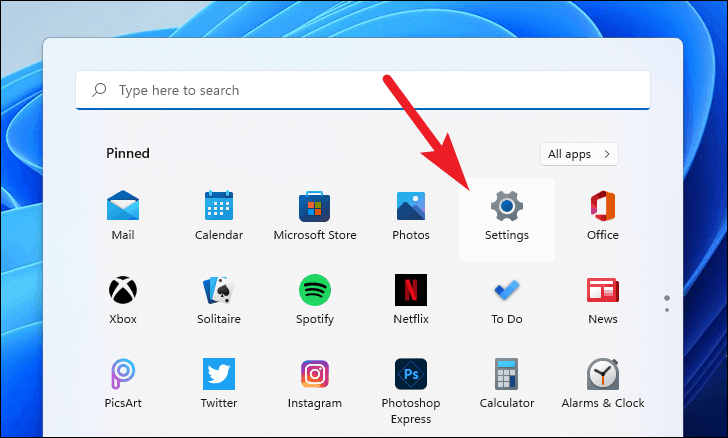
- Open the
Settingsapp from the Start Menu.
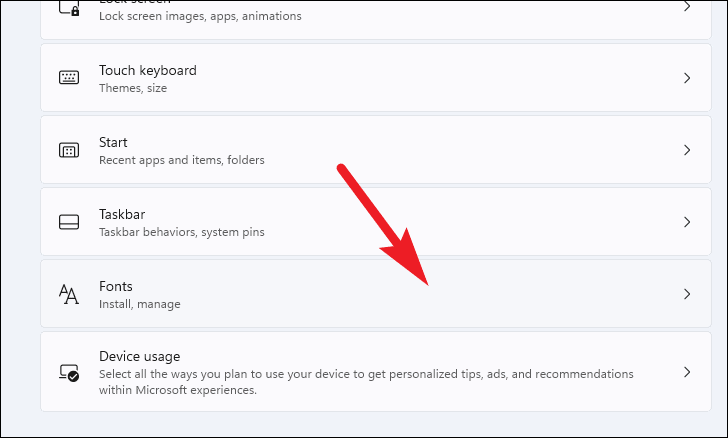
- Click on
Personalizationin the left sidebar.
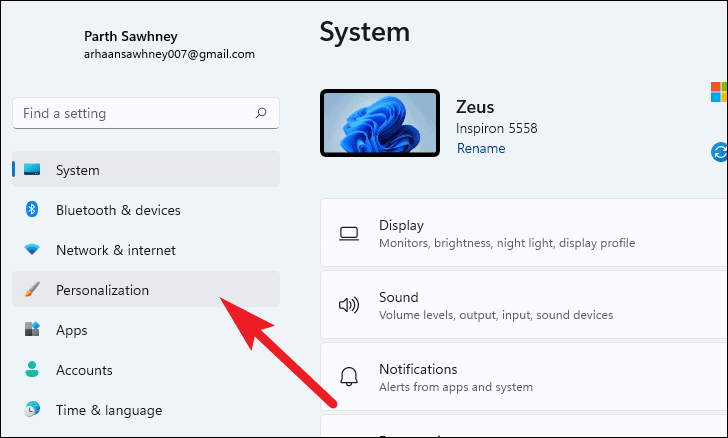
- Scroll down and select
Fonts.

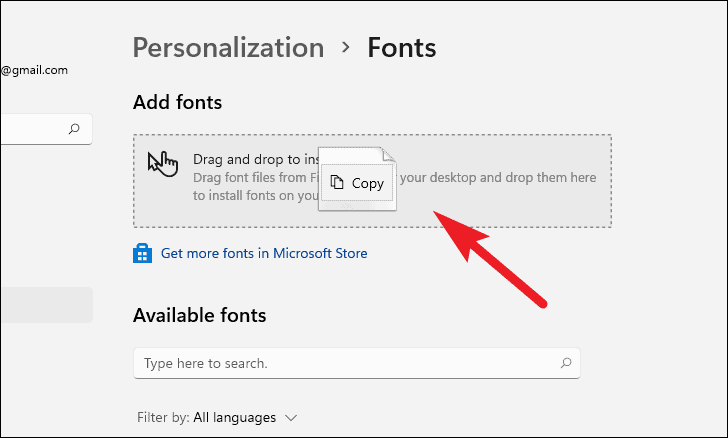
- In the Fonts settings, you'll see a section labeled
Drag and drop to install. - Open the folder containing your extracted font files. Drag and drop the
.TTFfile into the designated area in the Settings app.
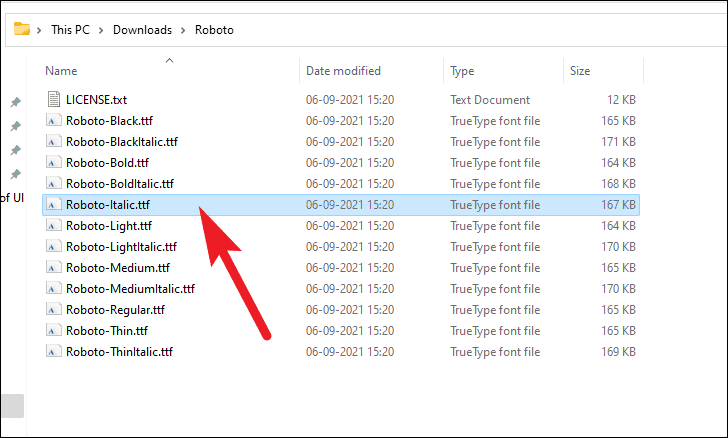
Note: The .TTF file is located in the folder you just extracted.
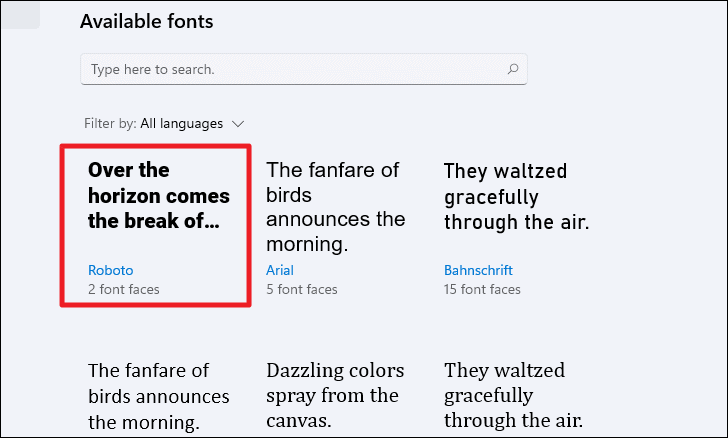
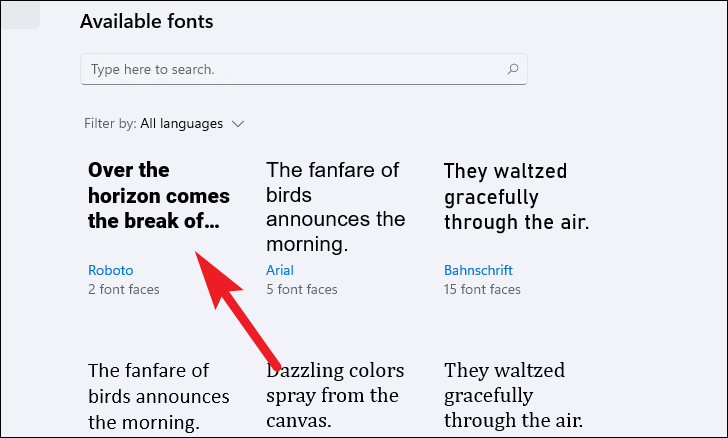
- The font will install immediately and appear under the
Available fontssection.
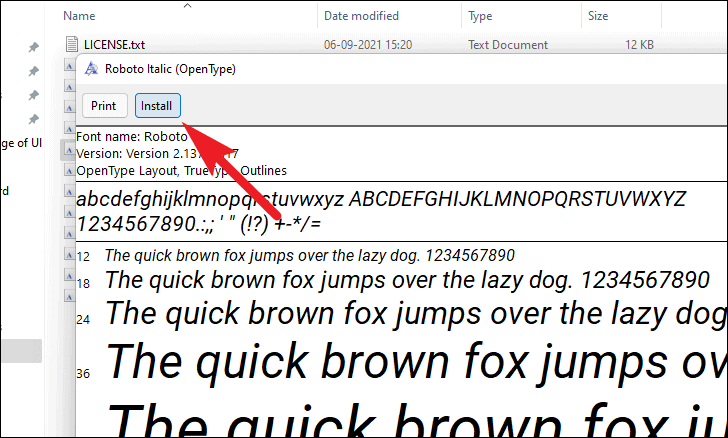
Installing Extracted Fonts Using the Font Preview App
You can also install fonts using the Font Preview app:
- Navigate to the folder where you extracted the font files.

- Double-click on the
.TTFfile of the font you wish to install. This will open the Font Preview window.
- In the Font Preview window, click on the
Installbutton at the top left corner to install the font.
Uninstalling Fonts on Windows 11
If you need to remove installed fonts from your Windows 11 computer, you can do so using the following methods:
Uninstalling Fonts Using the Settings App
To uninstall fonts via the Settings app:
- Open the
Settingsapp from the Start Menu.

- Click on
Personalizationin the left sidebar.

- Scroll down and select
Fonts.
- Under the
Available fontssection, find and click on the font you wish to uninstall.
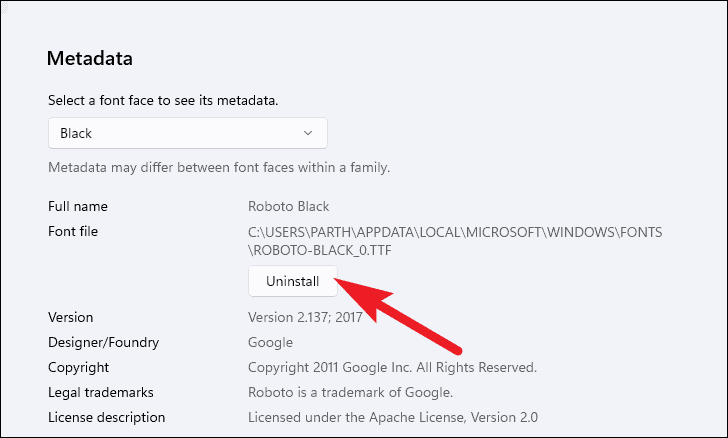
- Click the
Uninstallbutton to remove the font from your system.
Uninstalling Fonts Using the Control Panel
You can also uninstall fonts through the Control Panel:
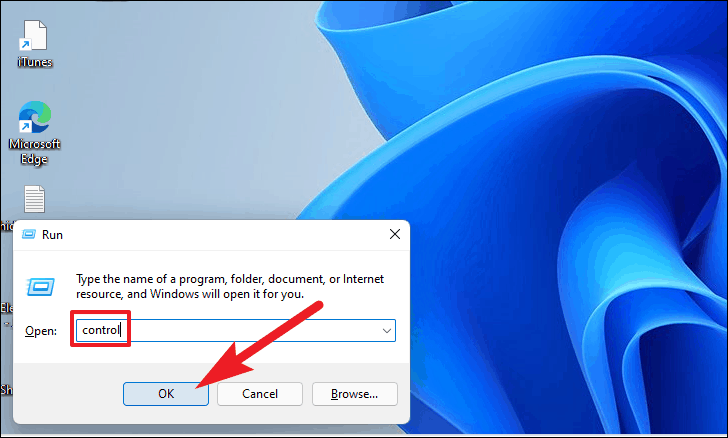
- Press
Windows+Rto open the Run dialog box. - Type
controland pressEnterto open the Control Panel.
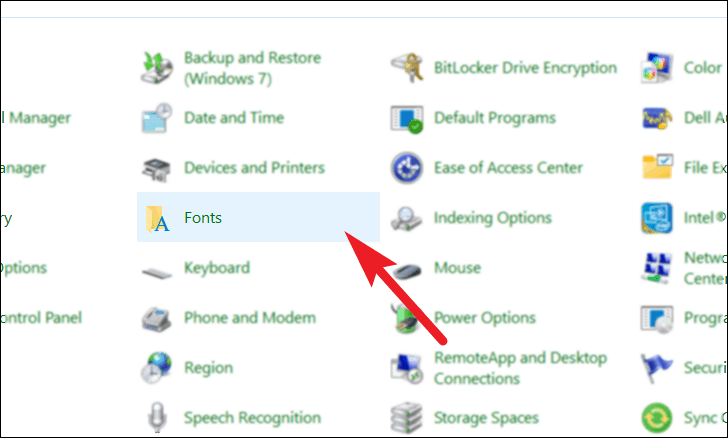
- In the Control Panel, click on
Fonts.
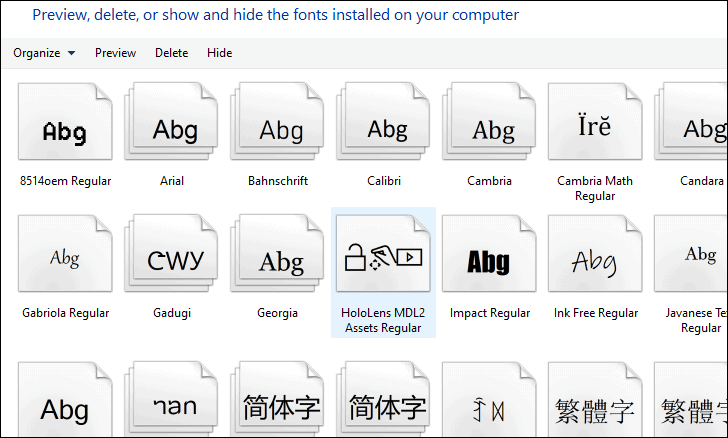
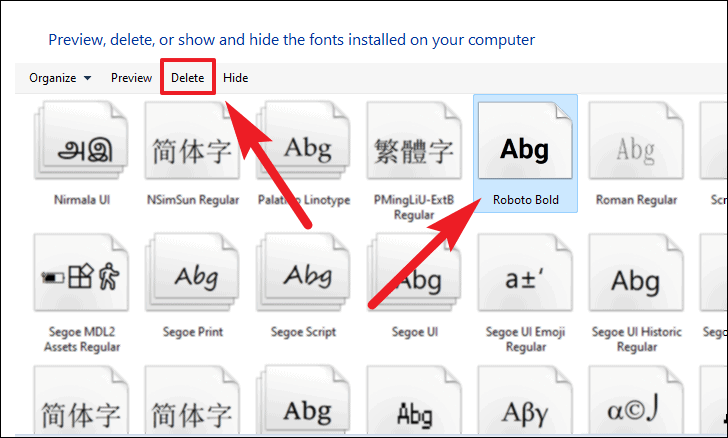
- Locate the font you want to remove from the list of installed fonts.
- Click on the font to select it, then click the
Deleteoption at the top of the window to uninstall the font.
Managing fonts on Windows 11 is straightforward, whether you're enhancing your projects with new fonts or removing those you no longer need. With these methods, you can customize your font library to suit your personal or professional style.