Windows 11 offers a modern interface and enhanced features that many users are excited to try. If you’re interested in upgrading your PC to Windows 11, one effective method is to install it from a bootable USB drive. This guide will help you create a bootable Windows 11 USB drive and walk you through the installation process.
Create a bootable Windows 11 USB drive
Before you start, ensure you have the following:
- A USB drive with at least 8 GB of storage.
- The Windows 11 Preview ISO file downloaded to your computer.
- Secure Boot and TPM 2.0 enabled in your BIOS settings.
We’ll use the Rufus utility to create the bootable USB drive. Follow these steps:
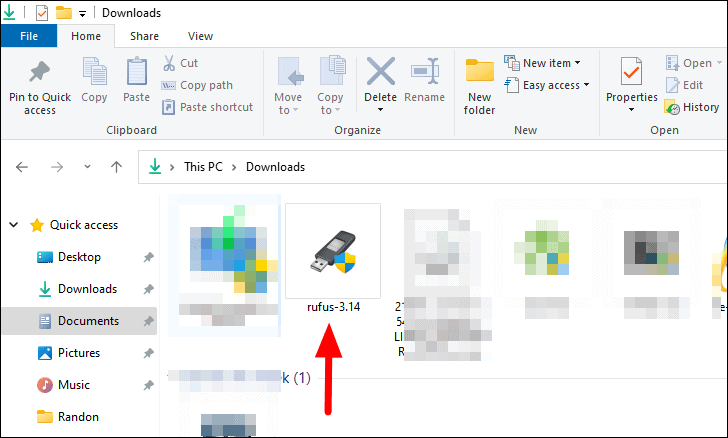
- Visit rufus.ie to download the Rufus program, then launch it.
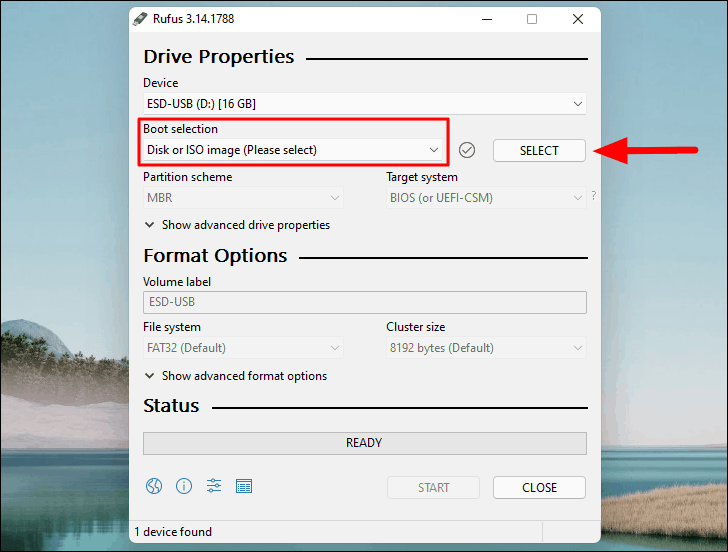
- If you have only one USB drive connected, it will automatically appear under the Device section. If multiple drives are connected, select the correct one from the drop-down menu.

- Ensure Disk or ISO image is selected under Boot selection, then click SELECT to browse for the Windows 11 ISO file.
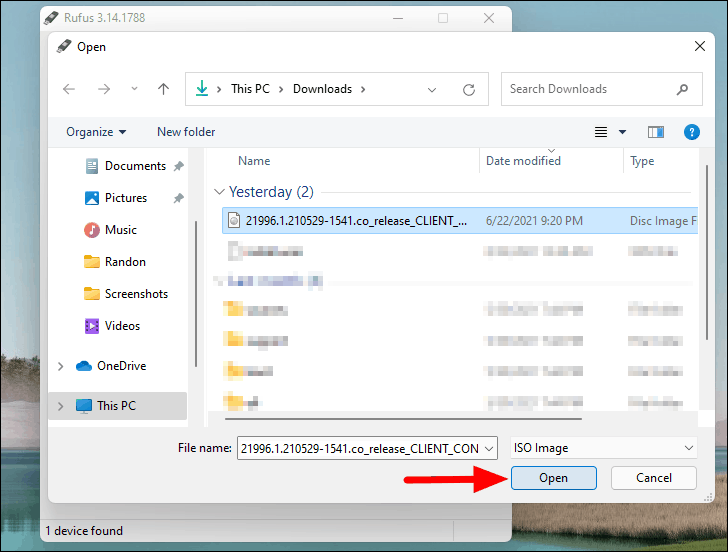
- In the File Explorer window that opens, locate and select the Windows 11 ISO file, then click Open.
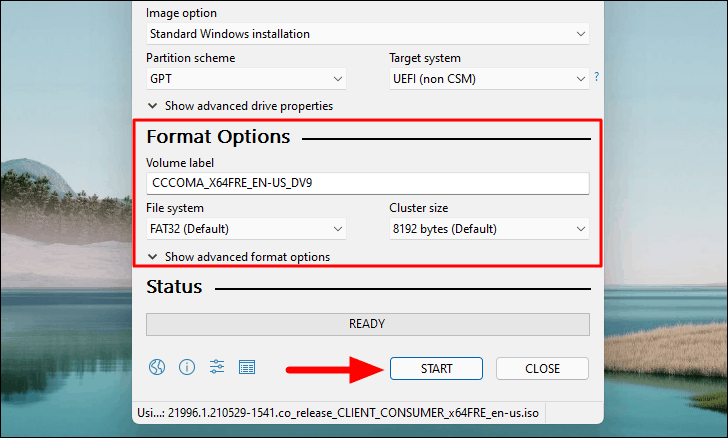
- Under Image option, leave it set to Standard Windows installation. Rufus will automatically select the appropriate Partition scheme based on your system (GPT for UEFI or MBR for BIOS).
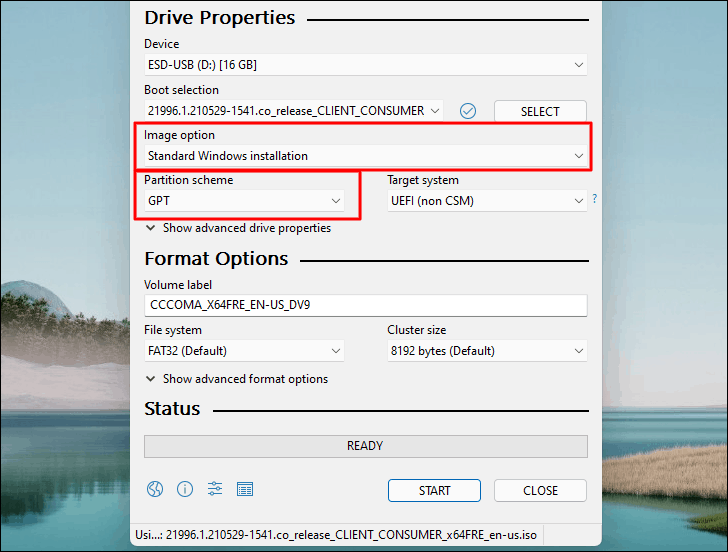
- Keep the default settings under Format Options. You may change the Volume label if you wish. Leave the Show advanced format options as is for a straightforward process. Click START to begin creating the bootable USB drive.
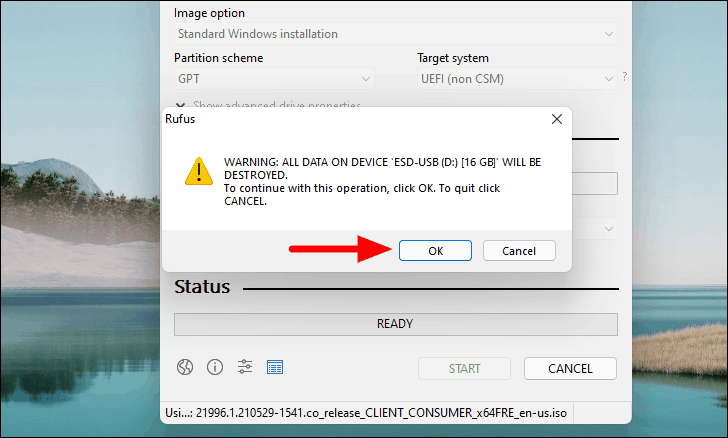
- A warning will appear indicating that all data on the USB drive will be destroyed. Click OK to proceed.
The creation process will begin and may take several minutes. Once completed, unplug the USB drive. You’re now ready to install Windows 11 from the USB drive.
Install Windows 11 from USB drive
With your bootable USB drive ready, follow these steps to install Windows 11:
- Turn off the computer where you want to install Windows 11, and insert the bootable USB drive.
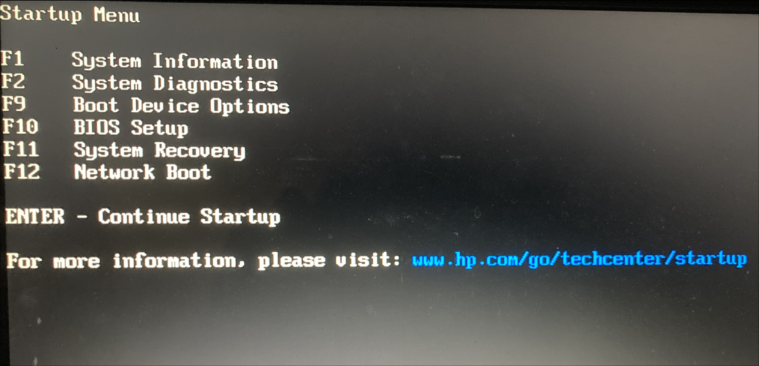
- Power on the computer and immediately press ESC (or the key specific to your system) to access the Startup Menu.
Note: The key to access the Startup Menu may vary depending on your computer’s manufacturer. Consult your user manual or search online for the correct key for your system.
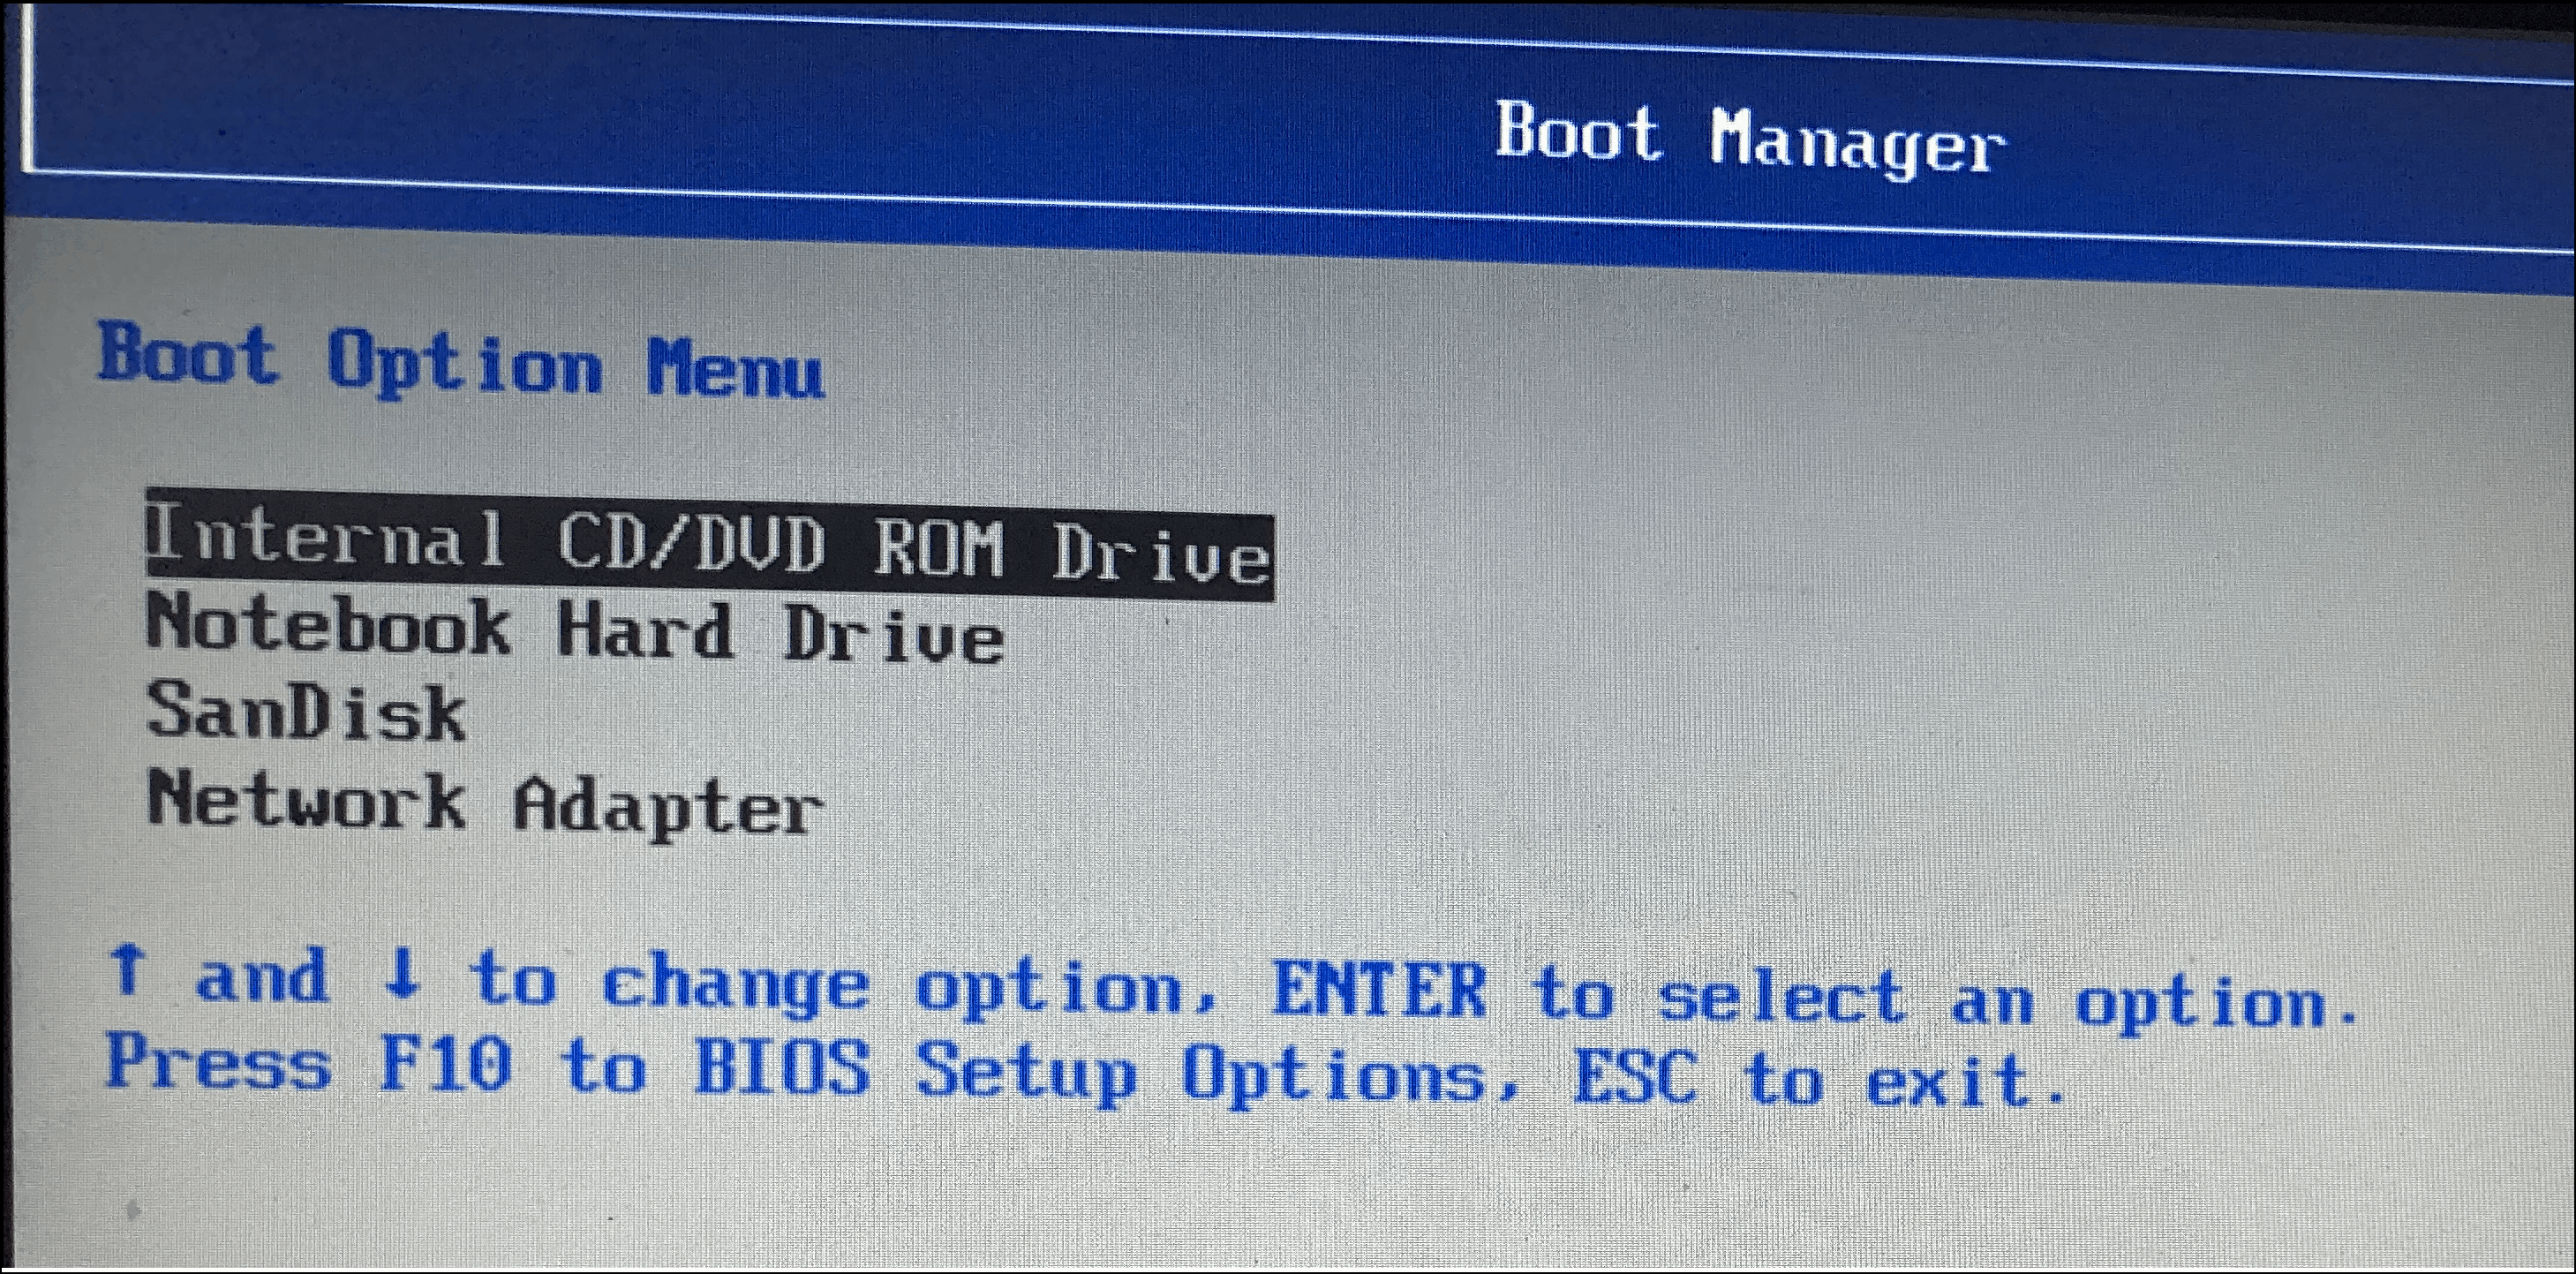
- In the Startup Menu, press F9 to open the Boot Option Menu.
- Use the arrow keys to select your USB drive from the list of boot options, then press ENTER.
- Wait for the system to load the Windows Setup files. This may take a few minutes.
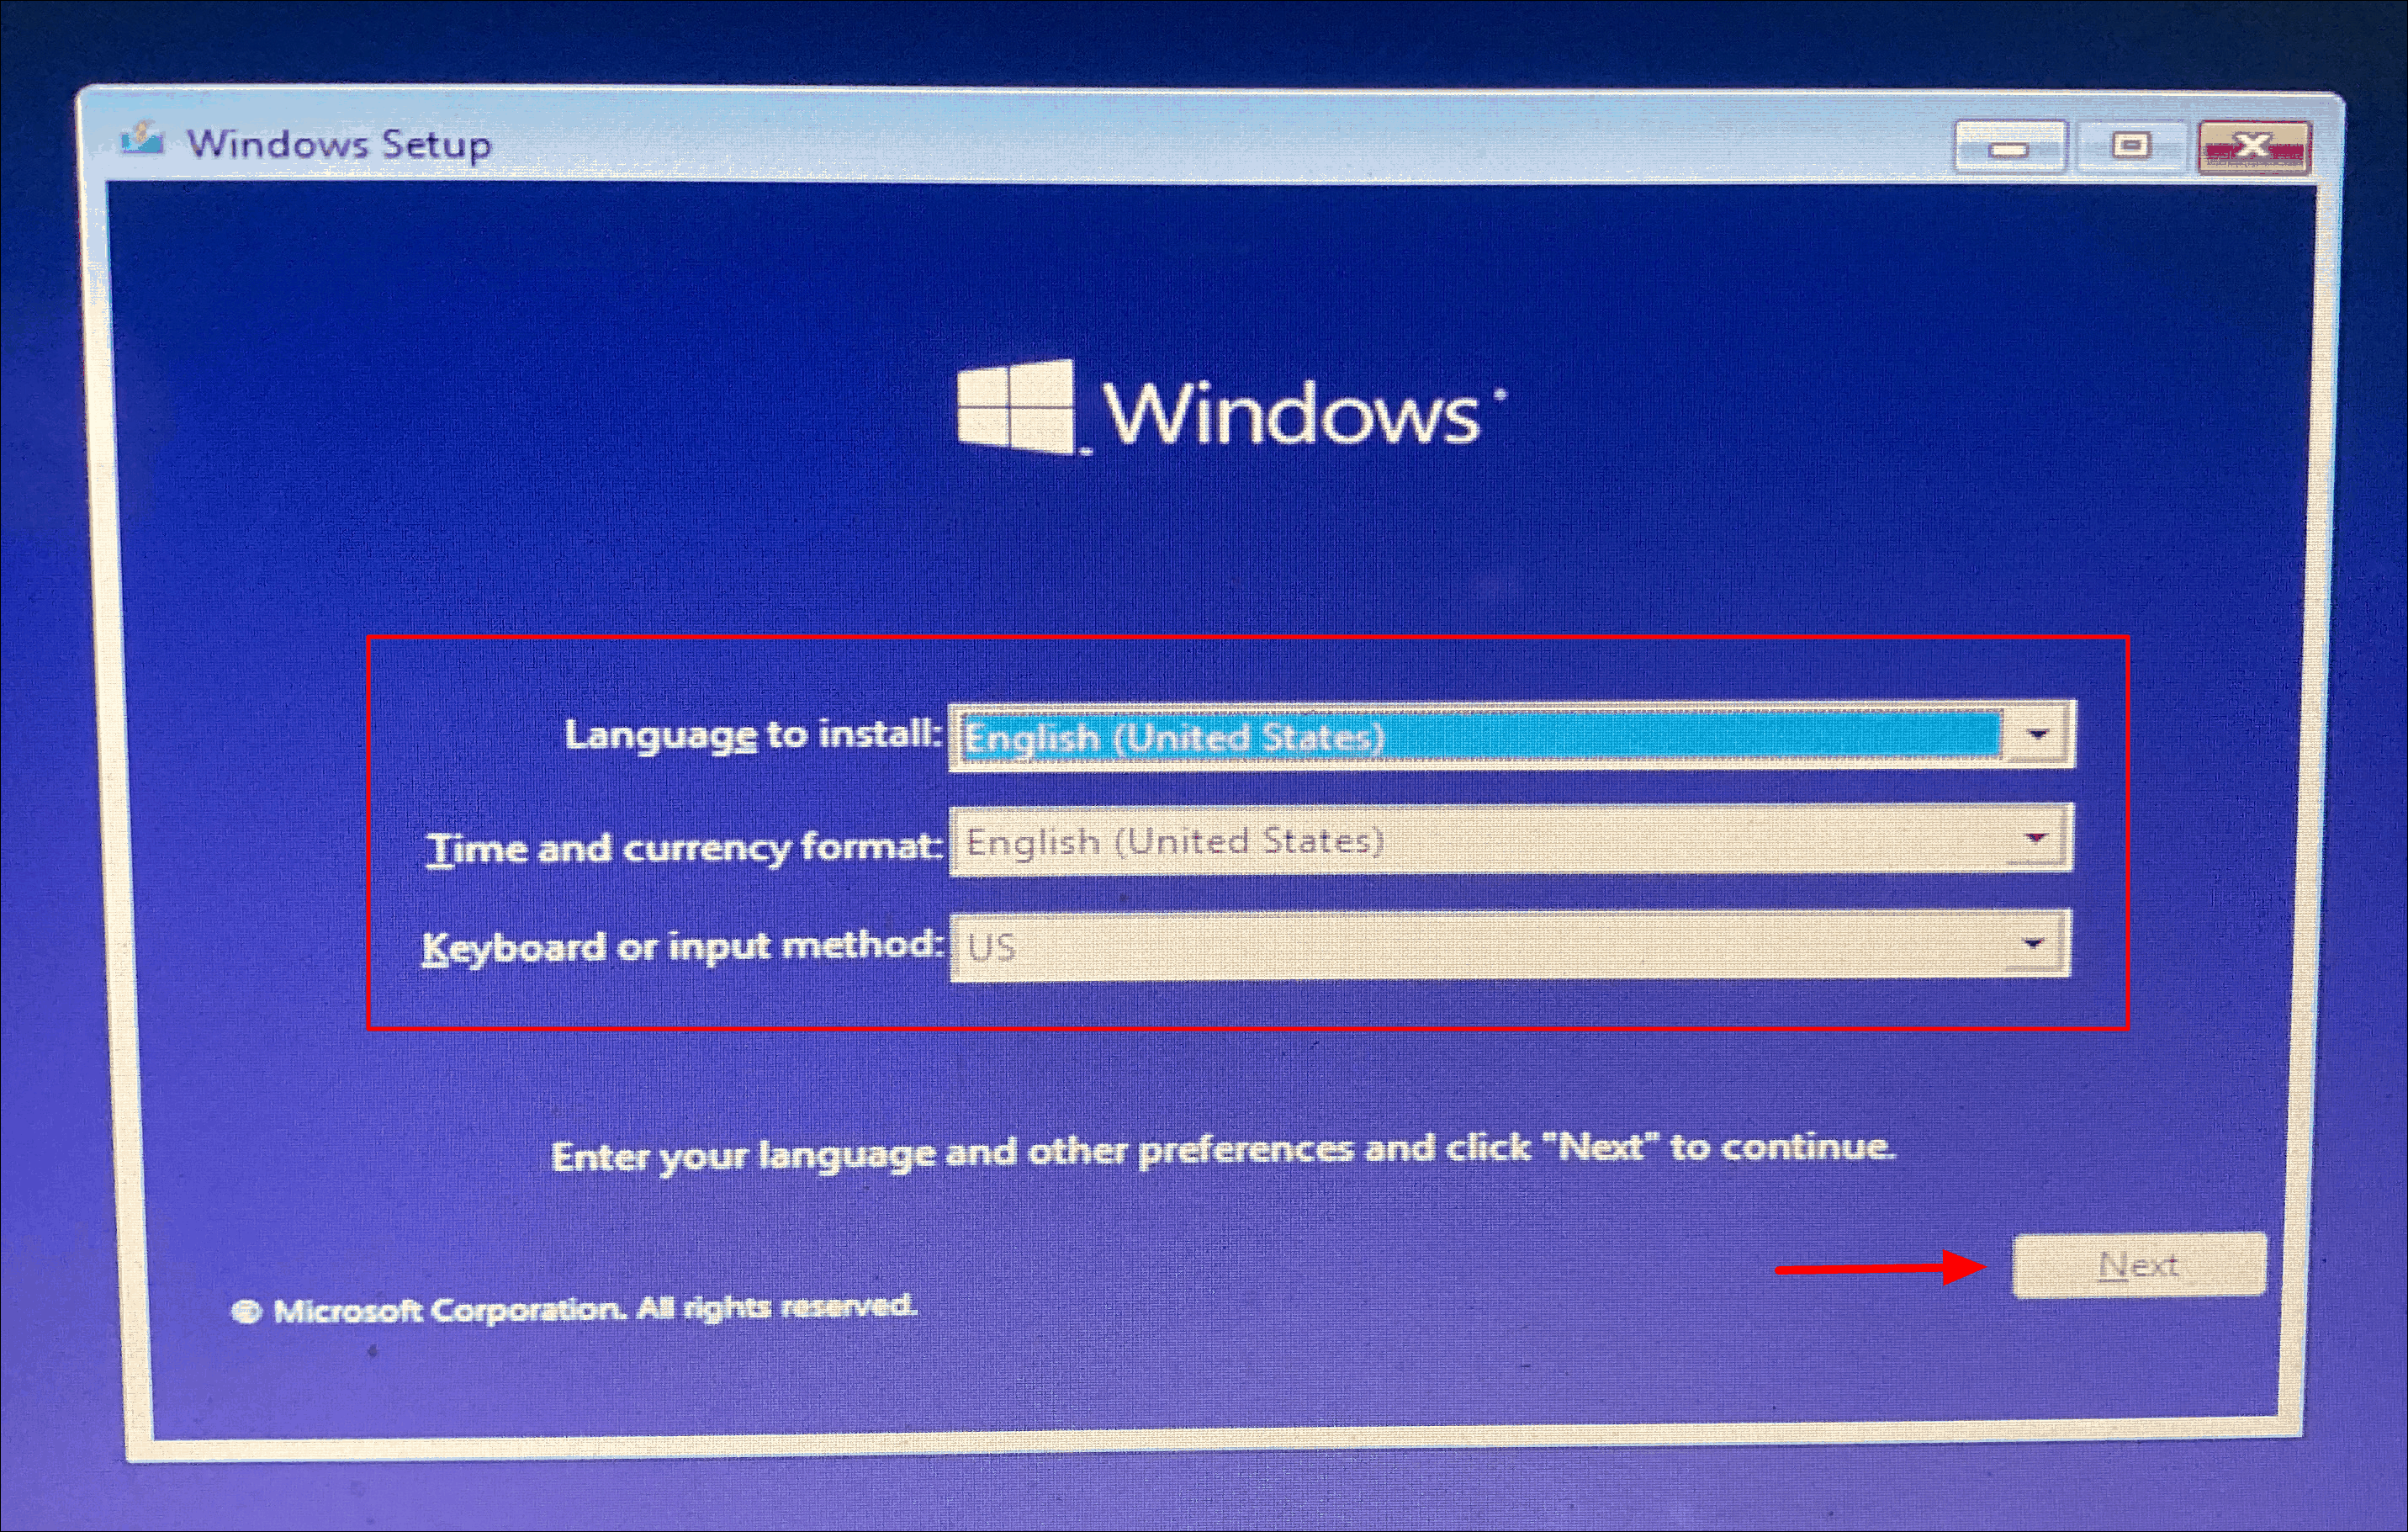
- When the Windows Setup screen appears, select your preferred Language, Time and currency format, and Keyboard or input method. Click Next to continue.
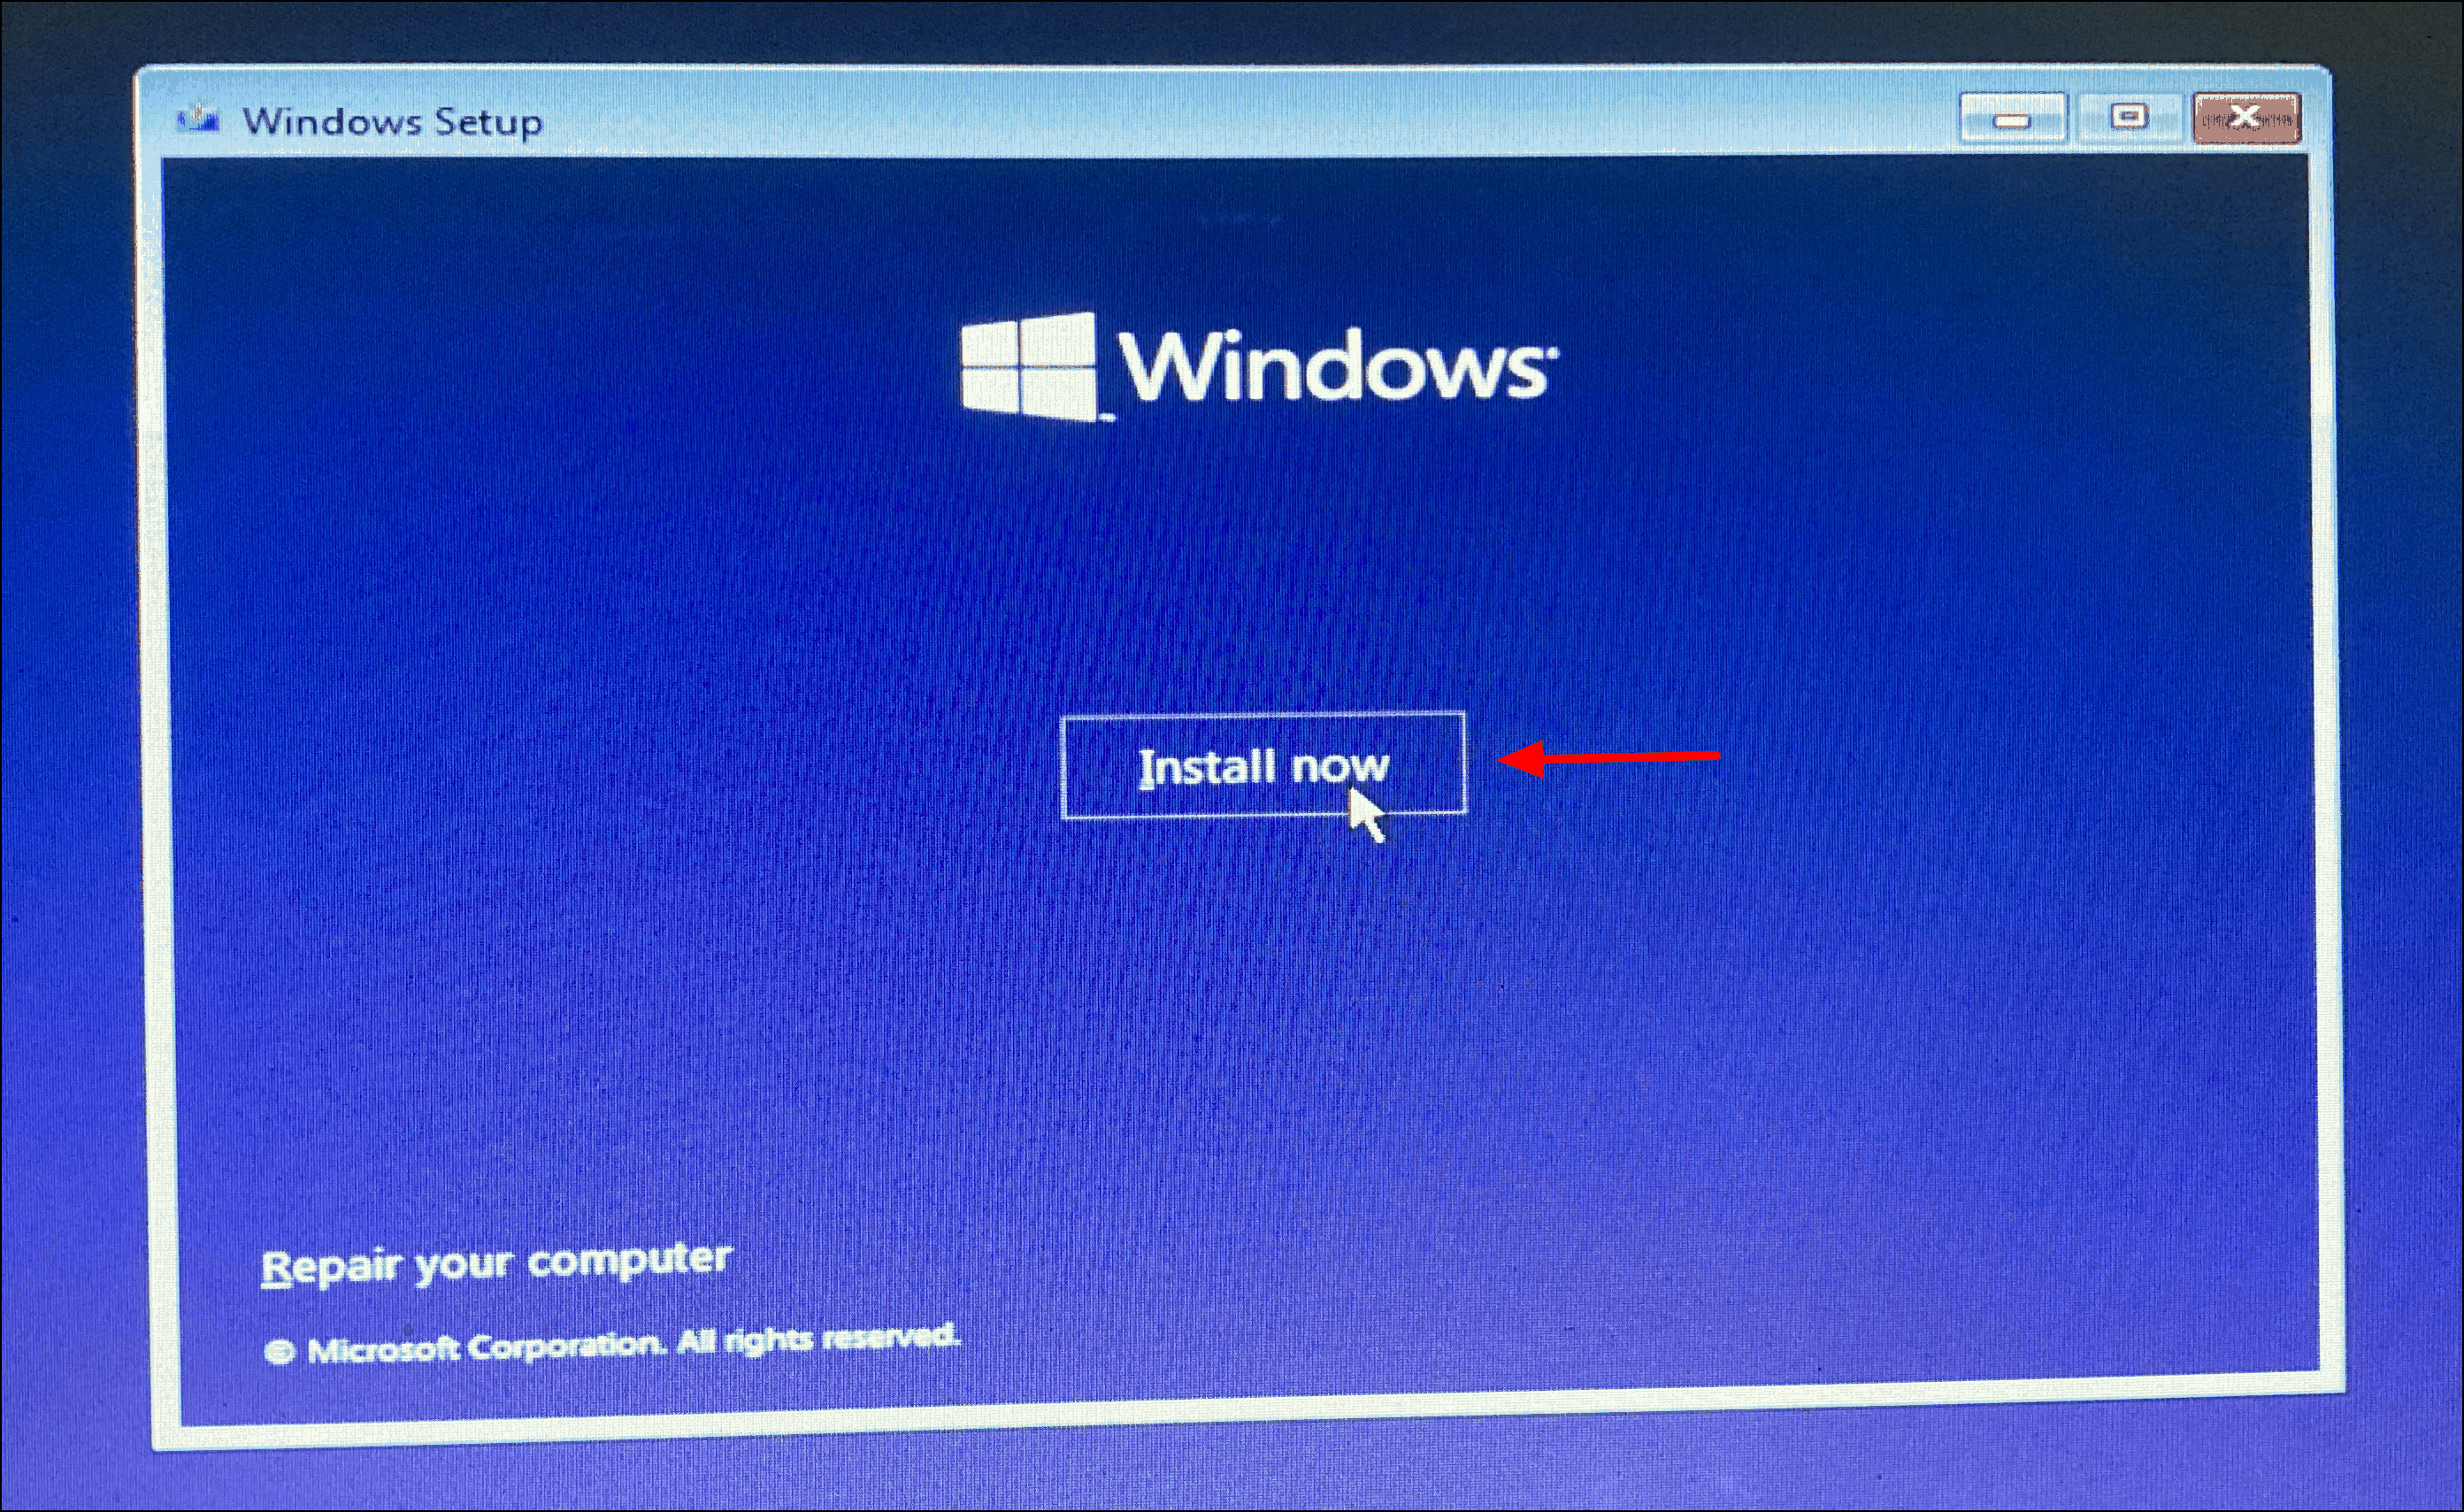
- Click on Install now to begin the installation process.
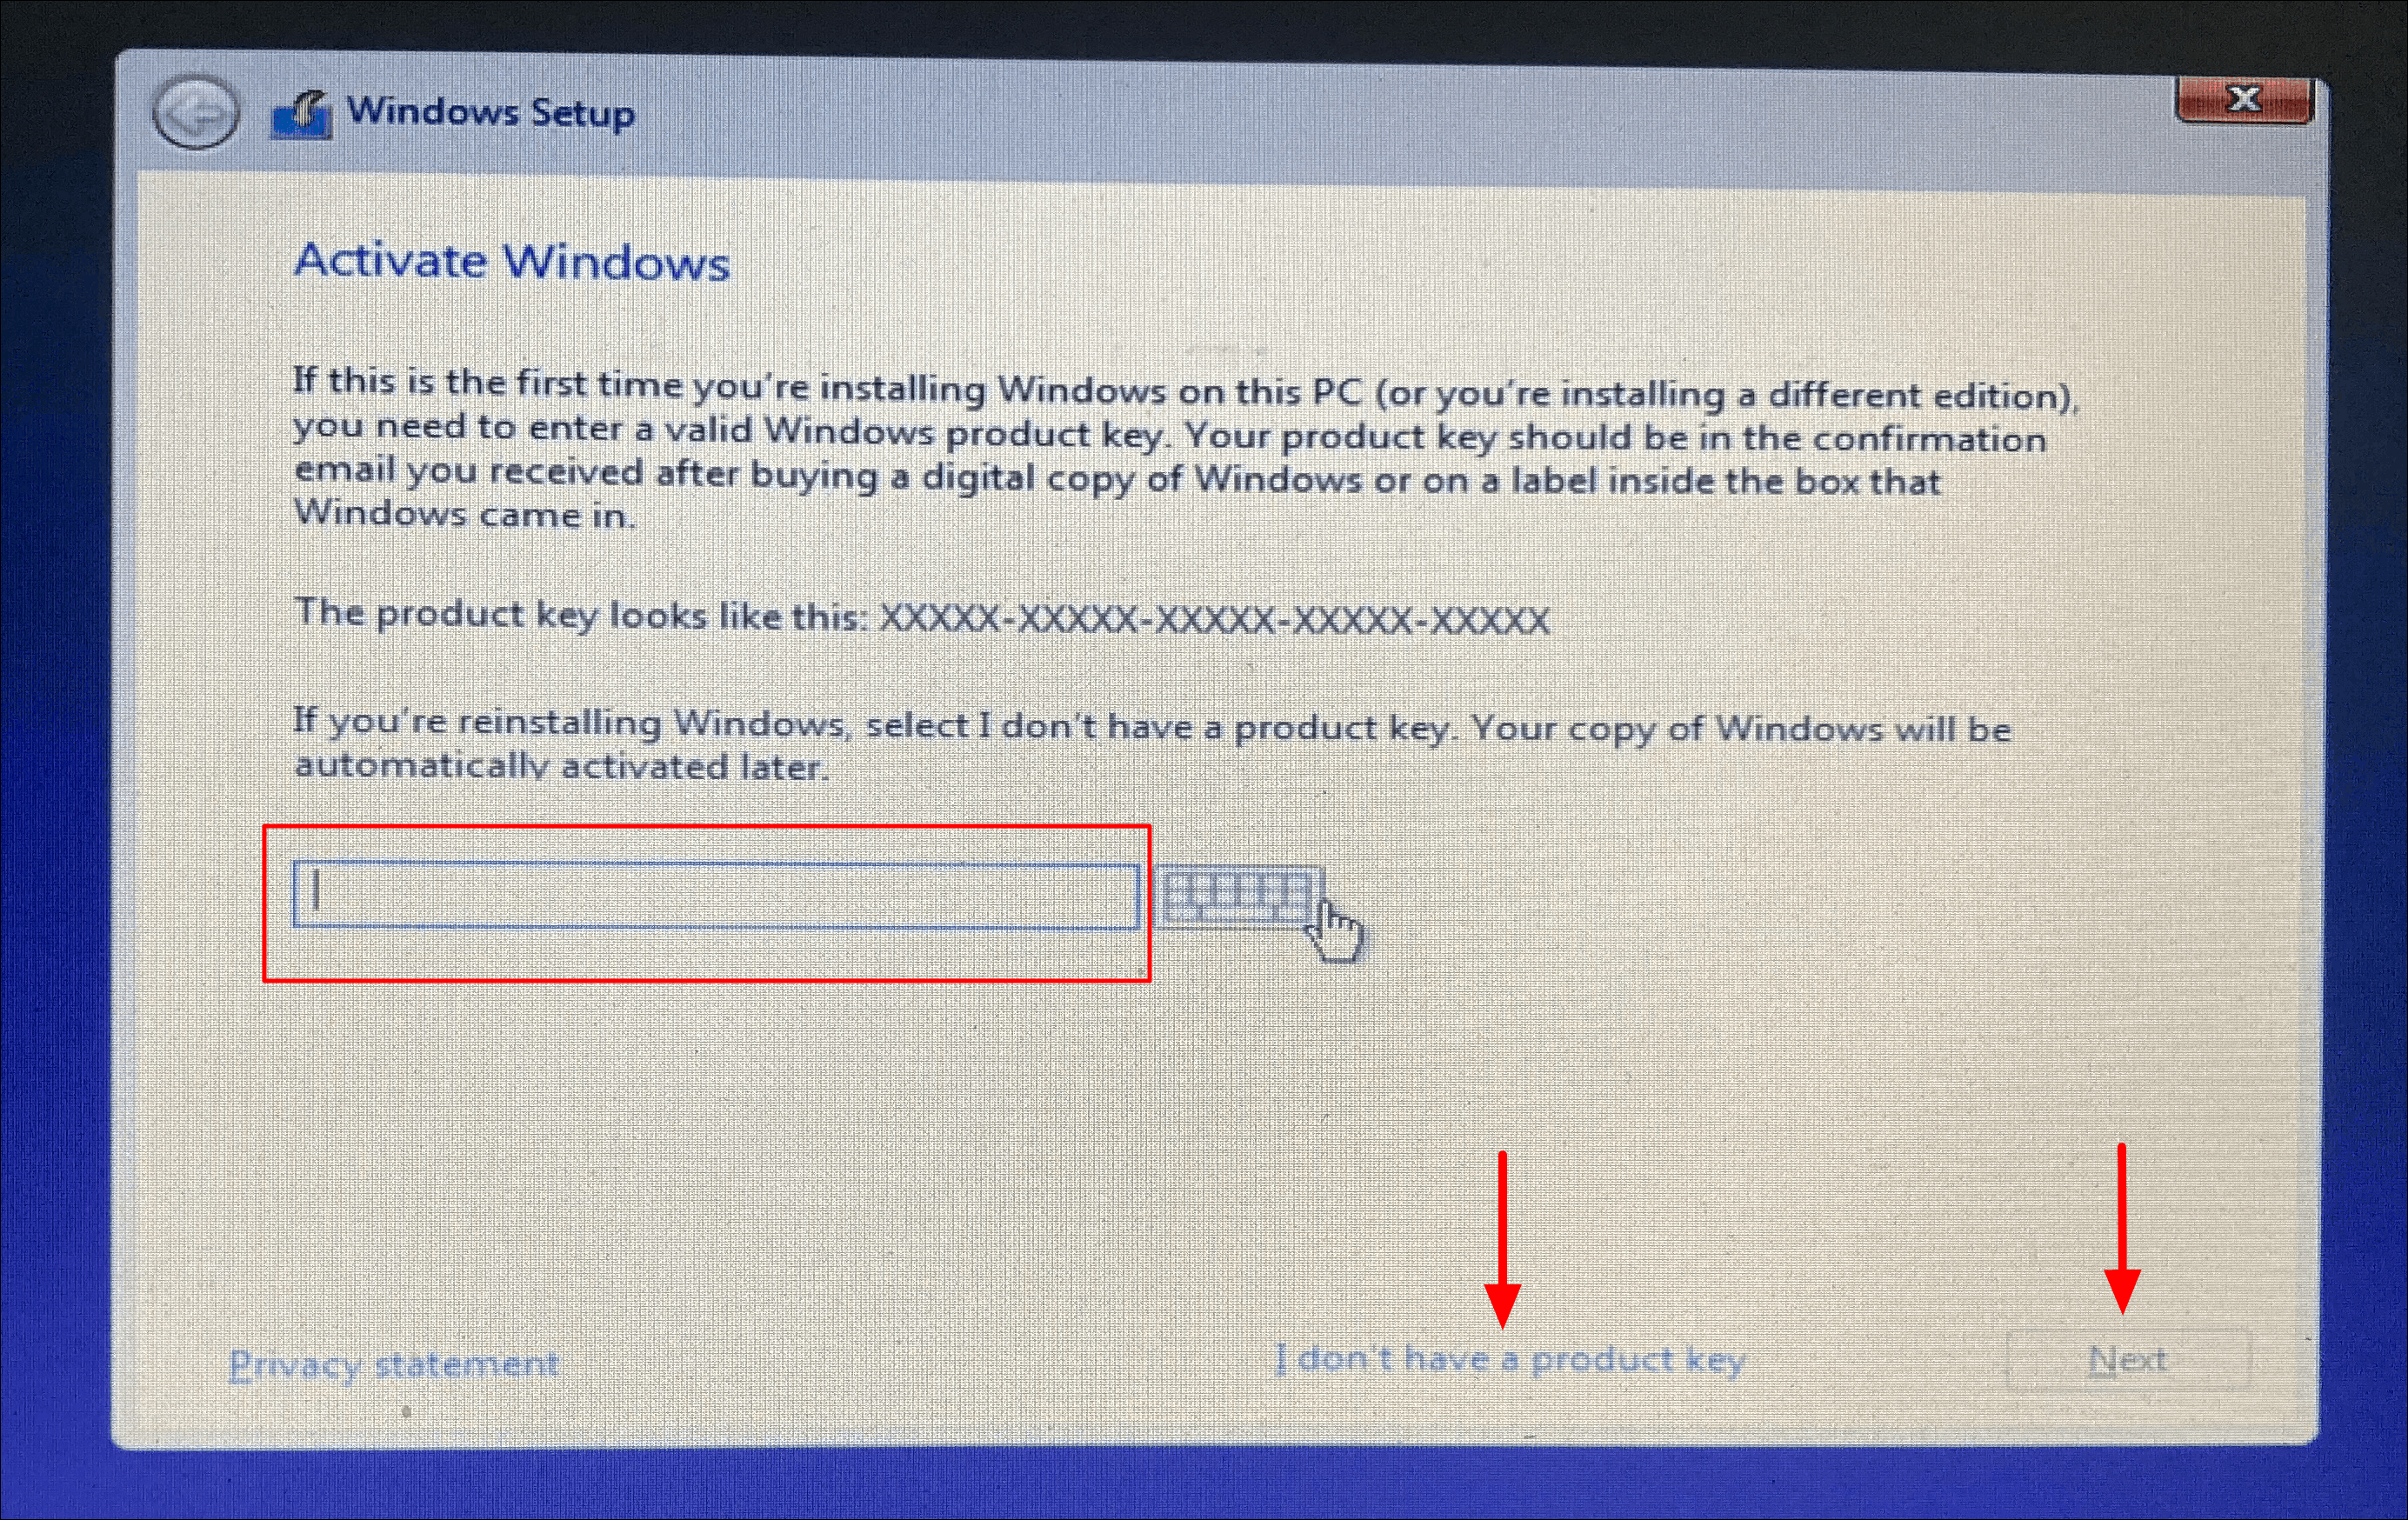
- When prompted to activate Windows, enter your product key and click Next. If you prefer to enter the product key later, click on I don’t have a product key to proceed without it.
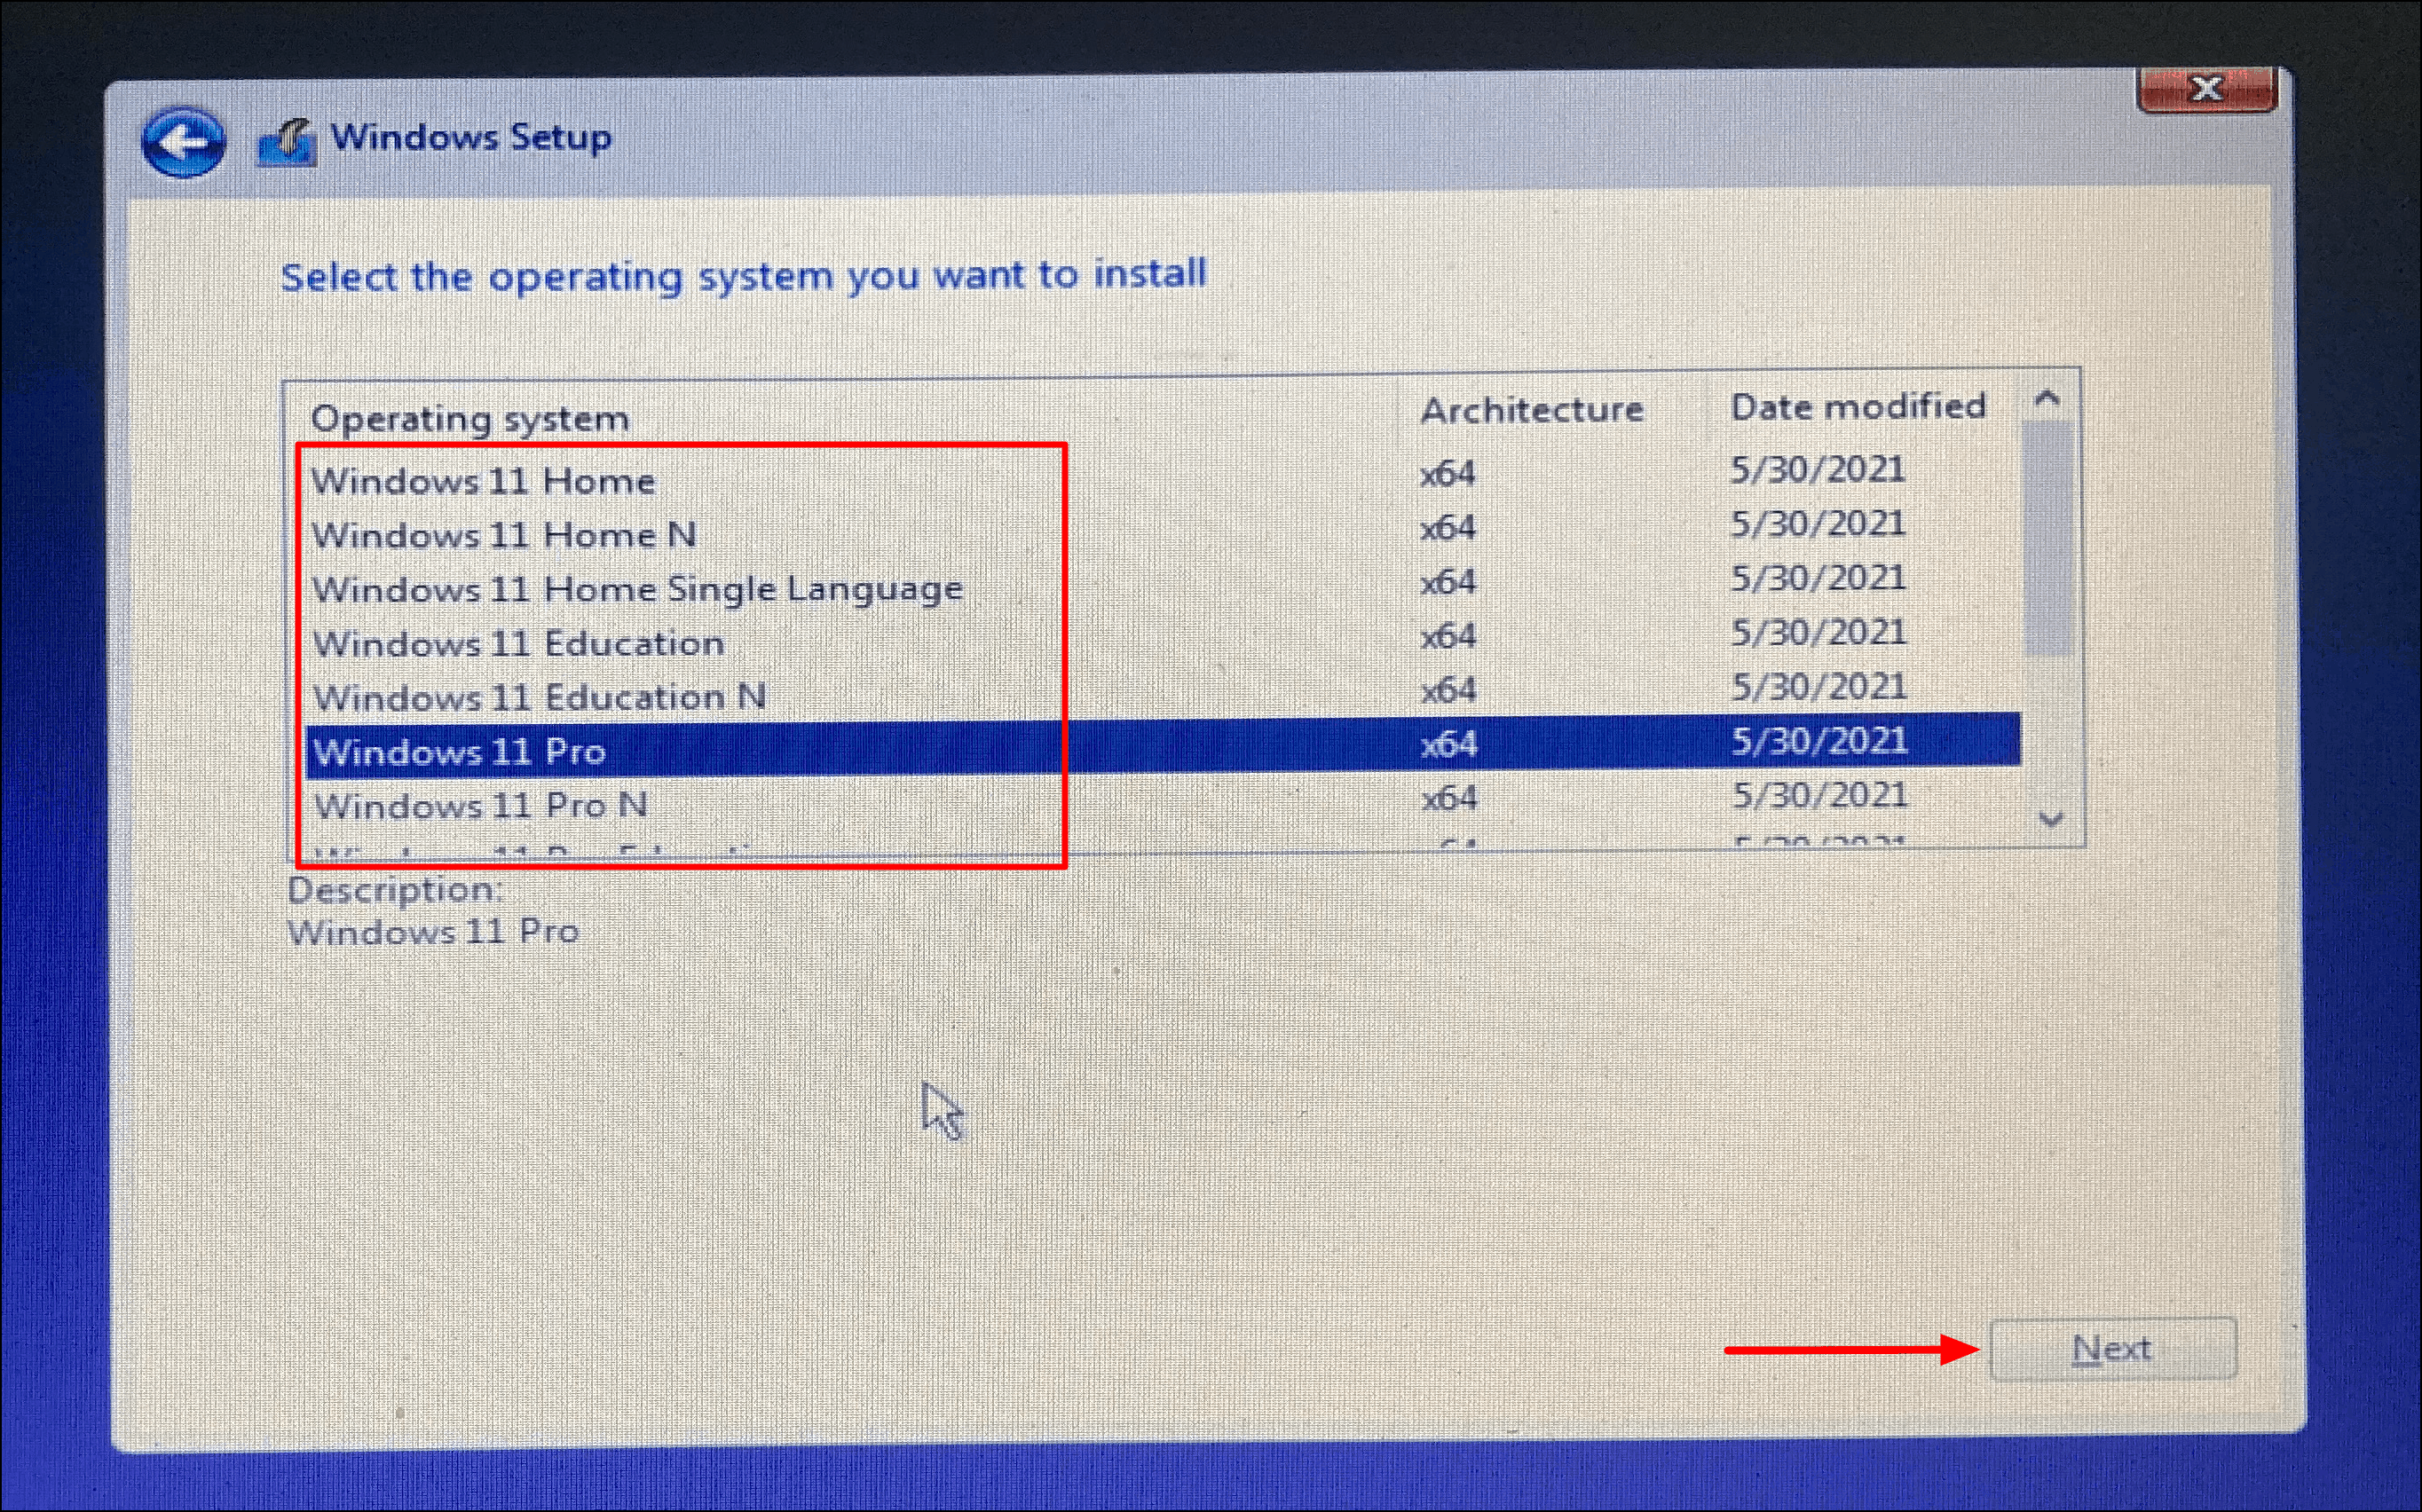
- Select the edition of Windows 11 you wish to install (e.g., Windows 11 Pro) from the list, then click Next.
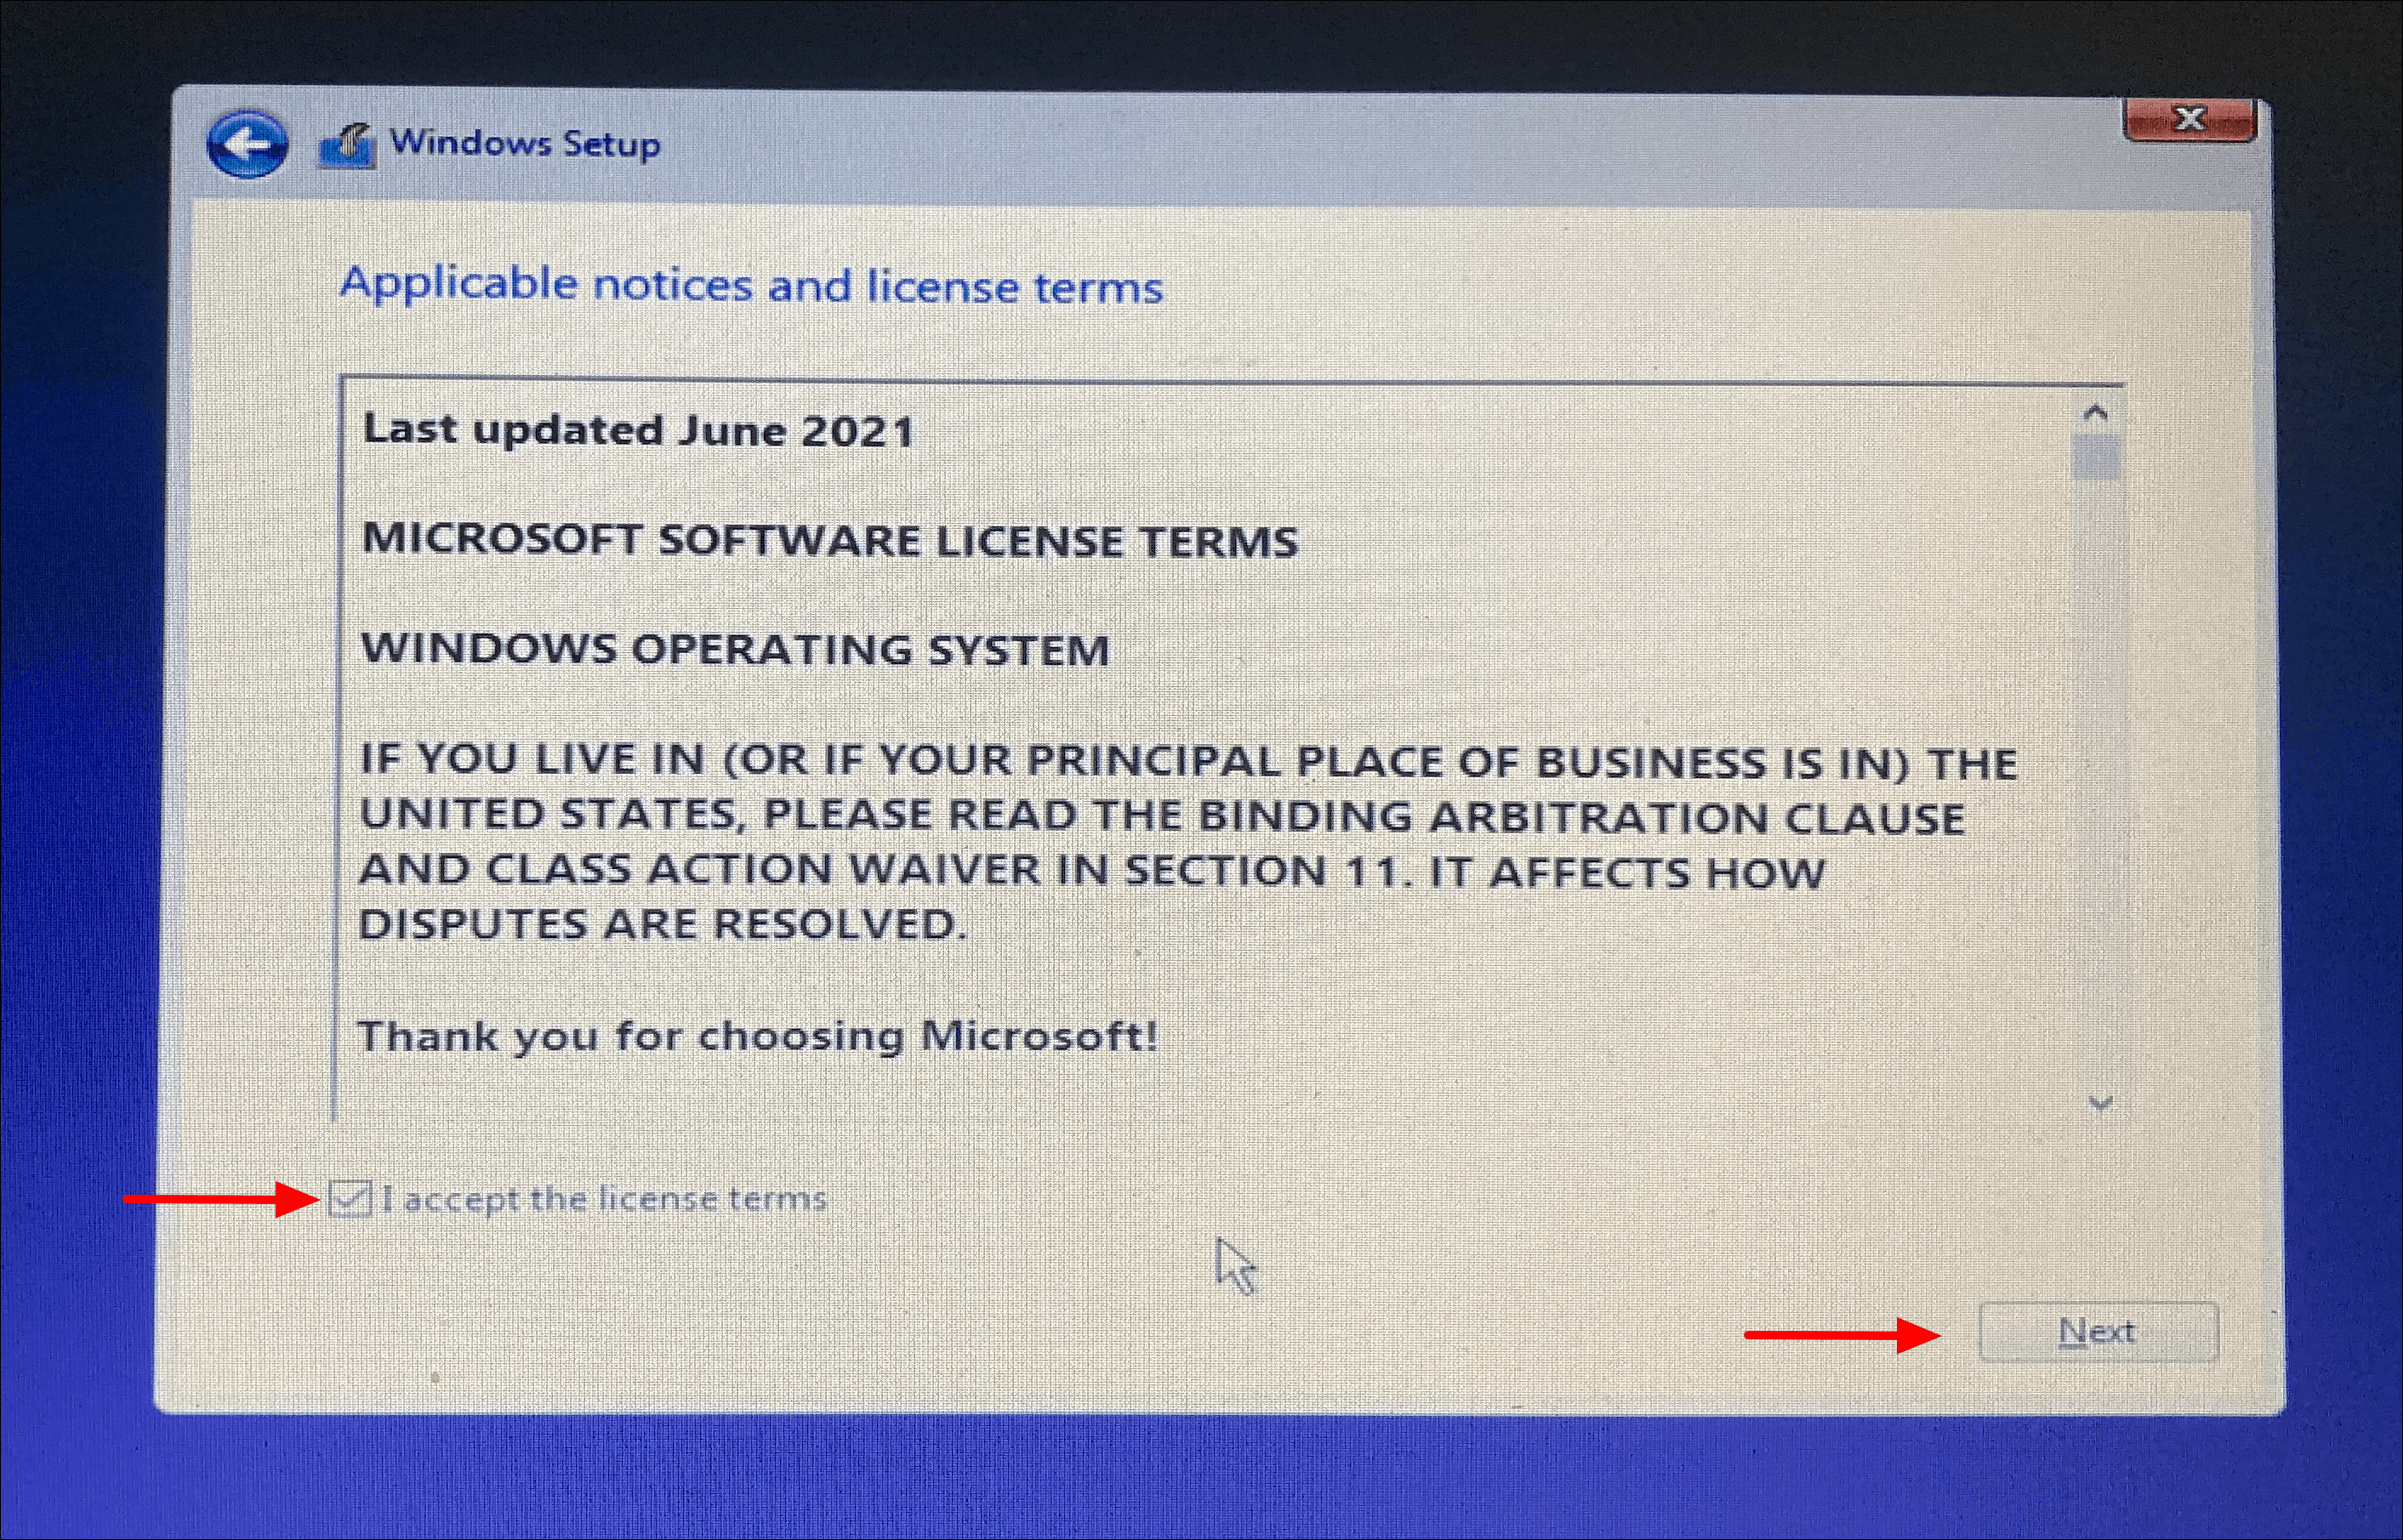
- Read the license terms, check the box for I accept the license terms, and click Next.
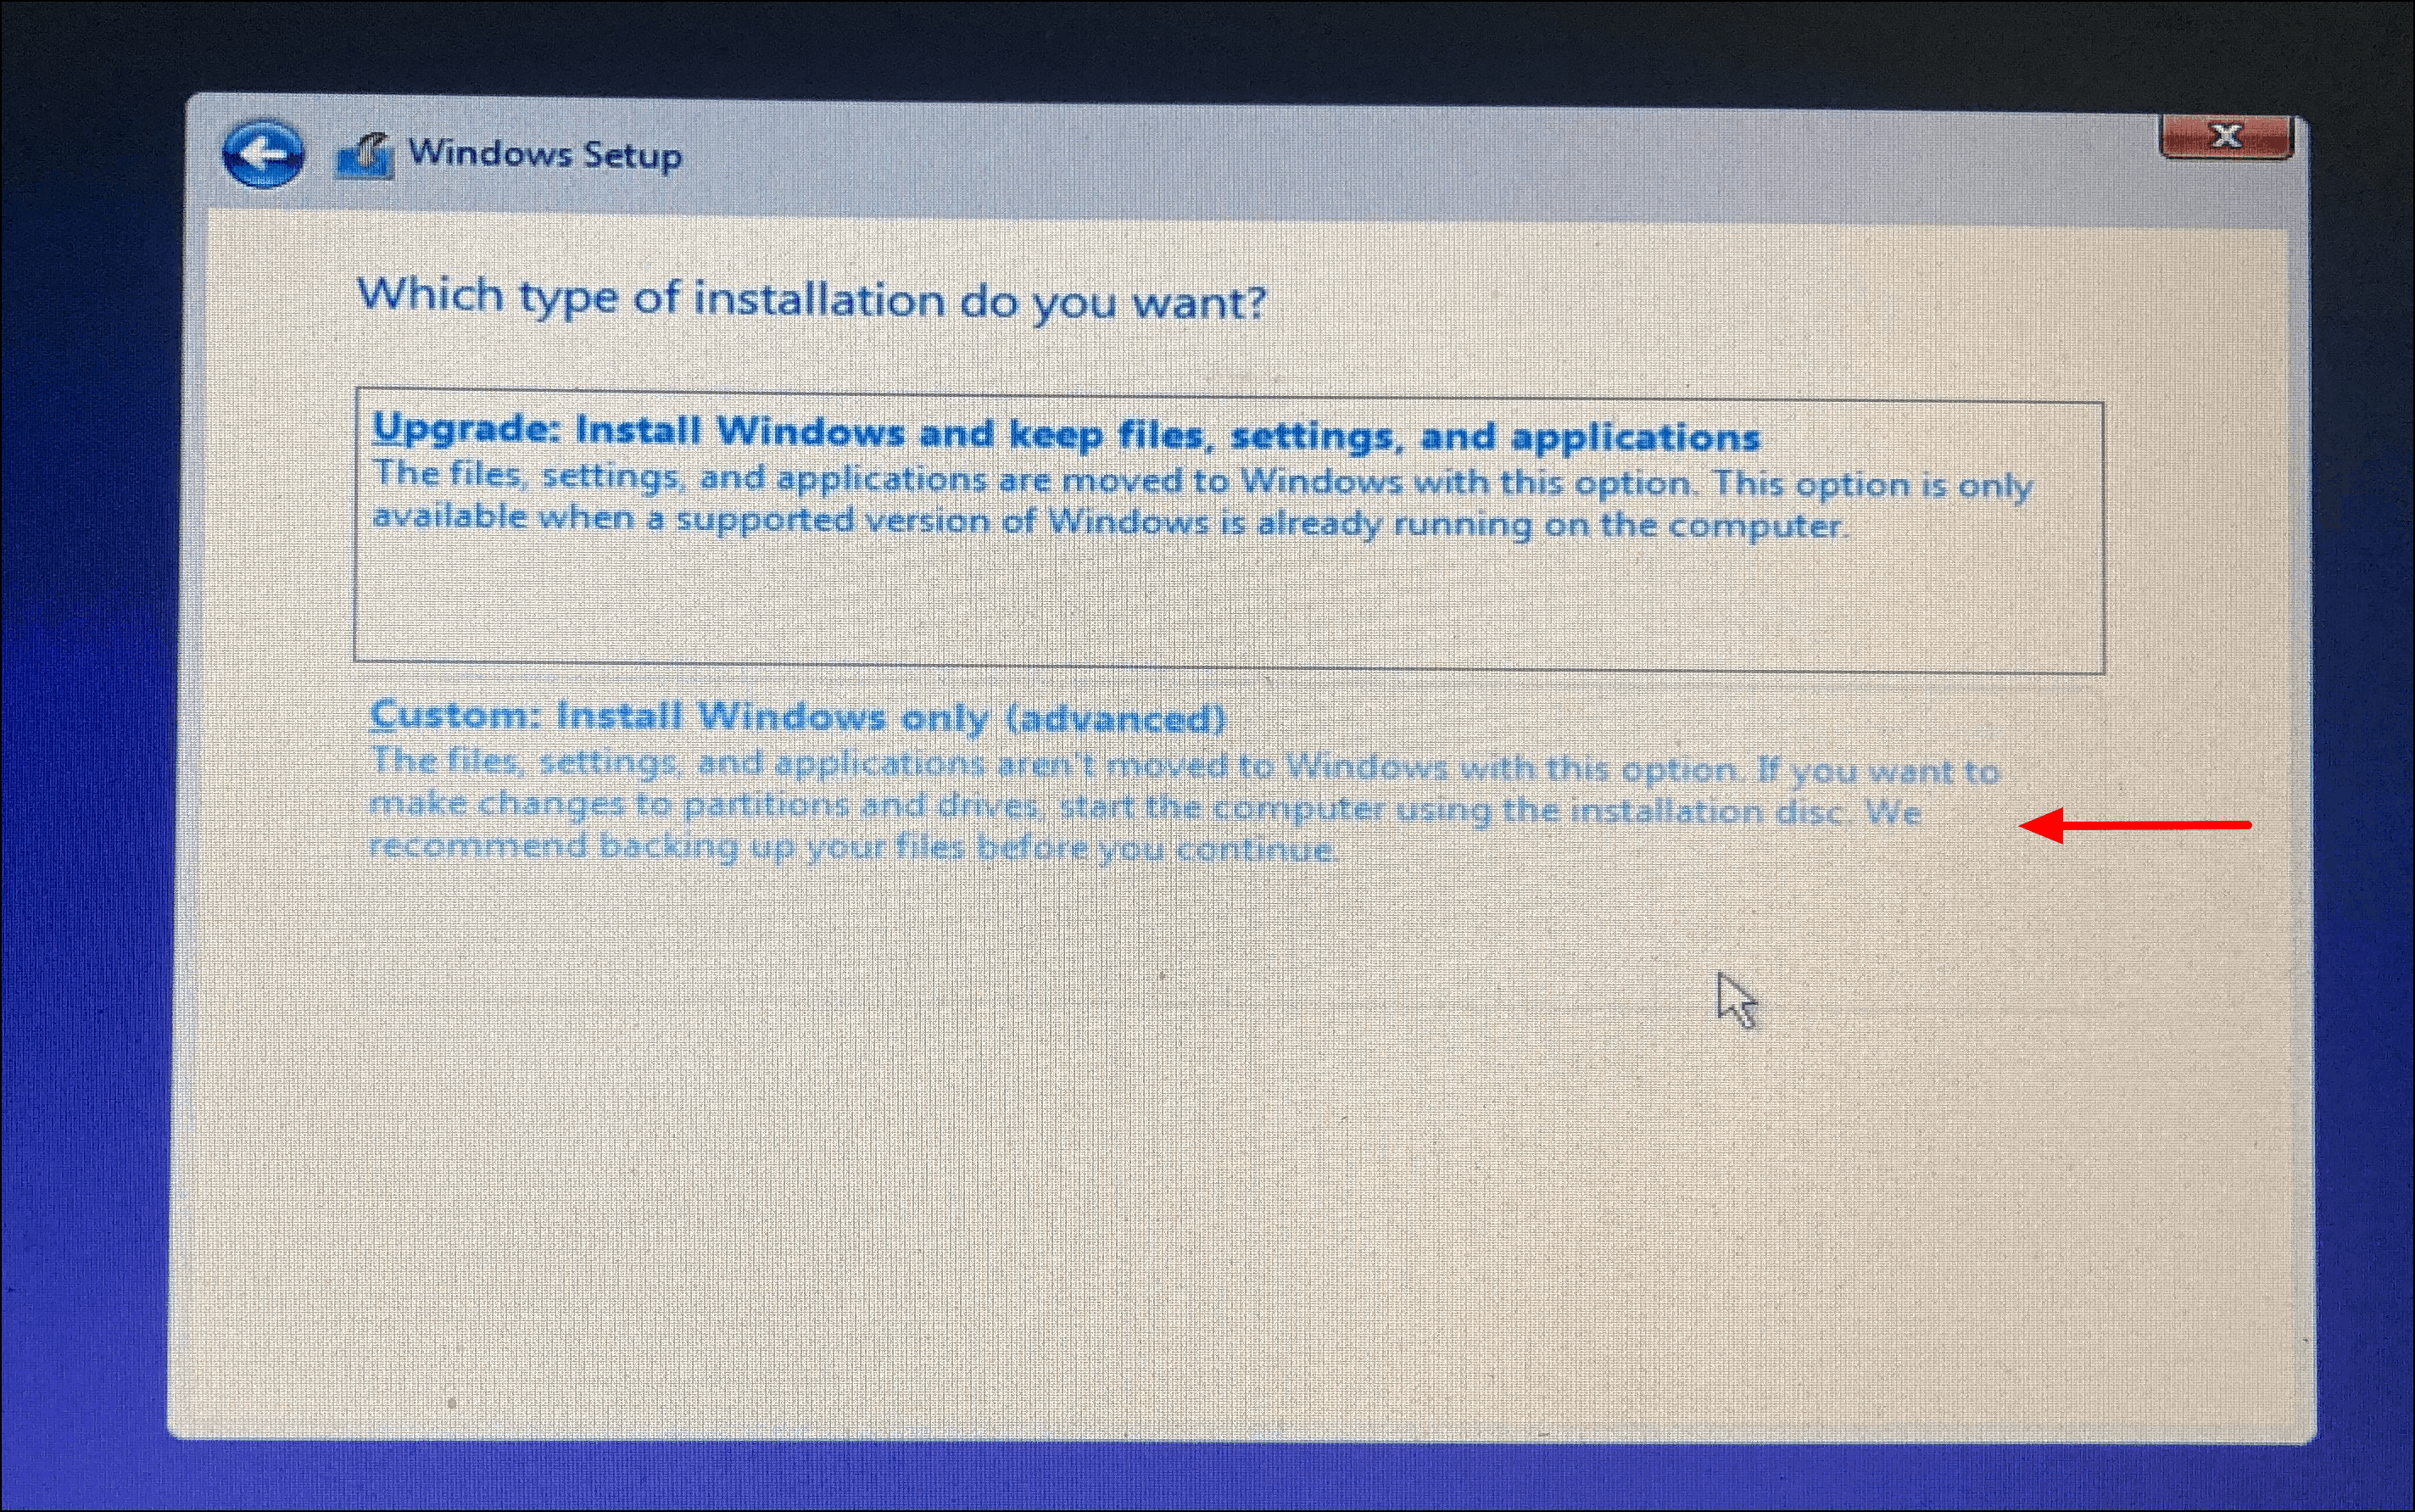
- Choose the type of installation:
- Upgrade: Install Windows and keep files, settings, and applications (may not always work).
- Custom: Install a fresh copy of Windows, removing all files and applications.
Note: Opting for the Custom installation will erase all data on the selected drive. Ensure you have backed up any important files before proceeding.
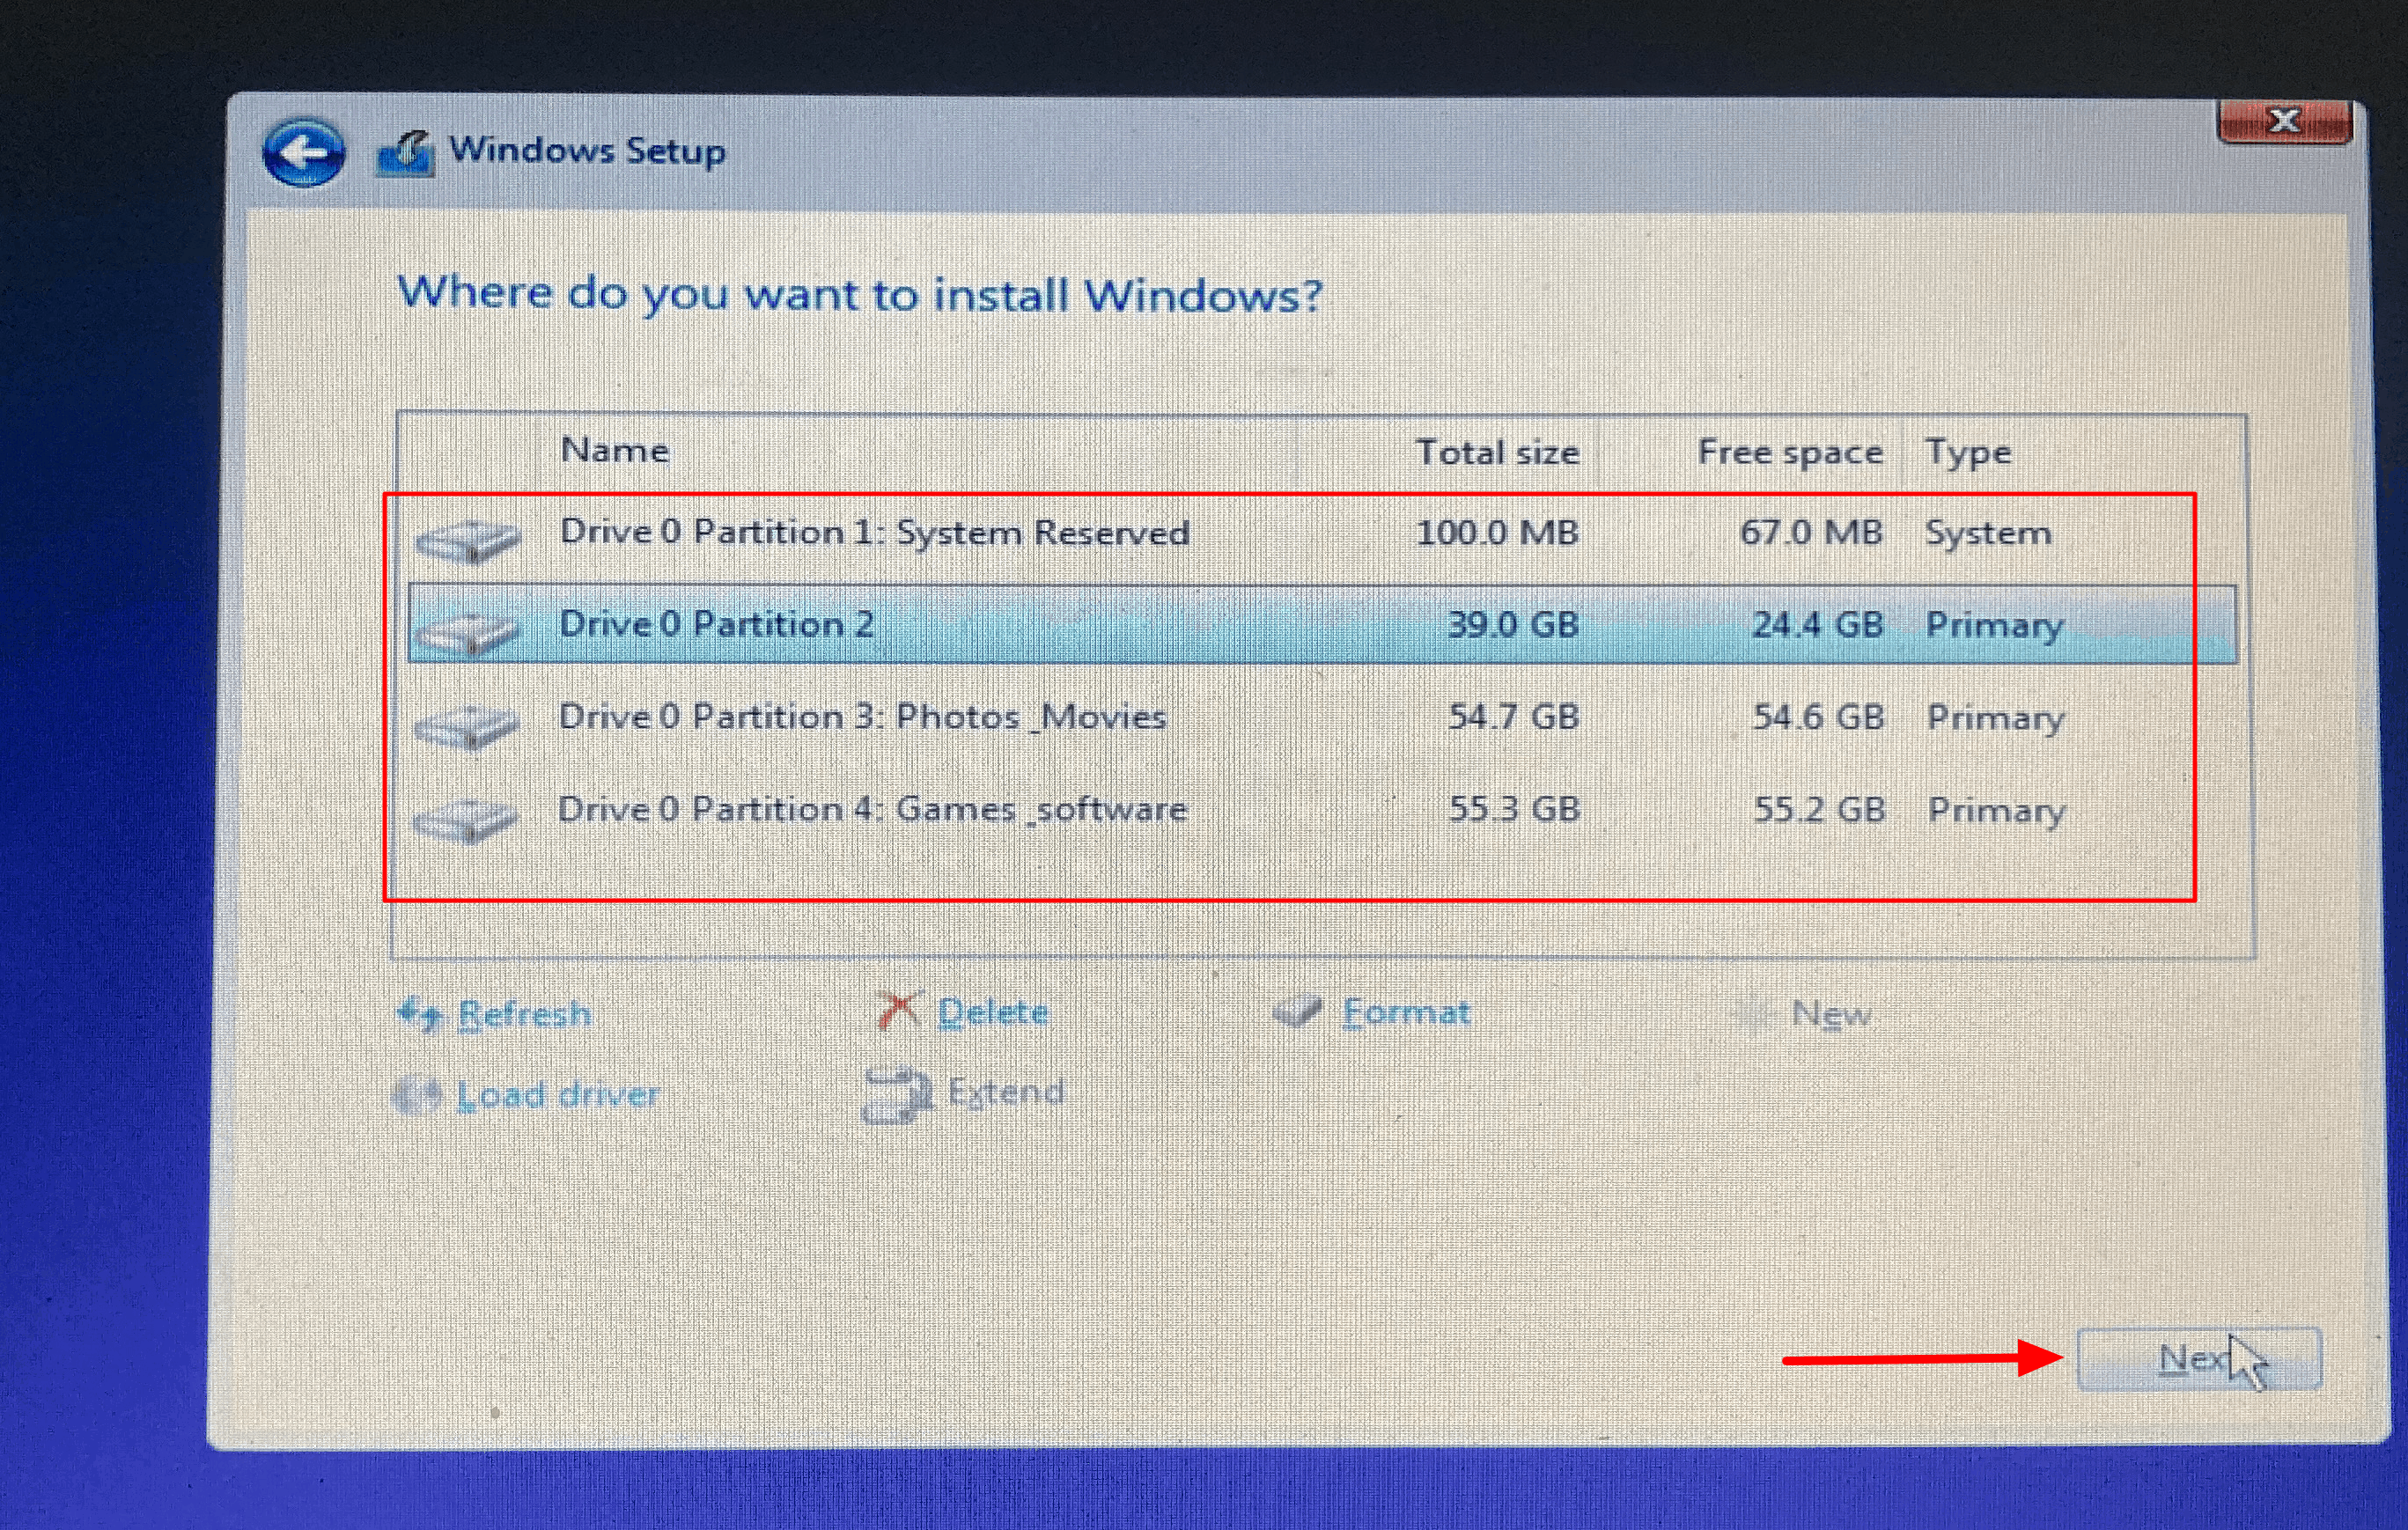
- Select the drive where you want to install Windows 11 and click Next.
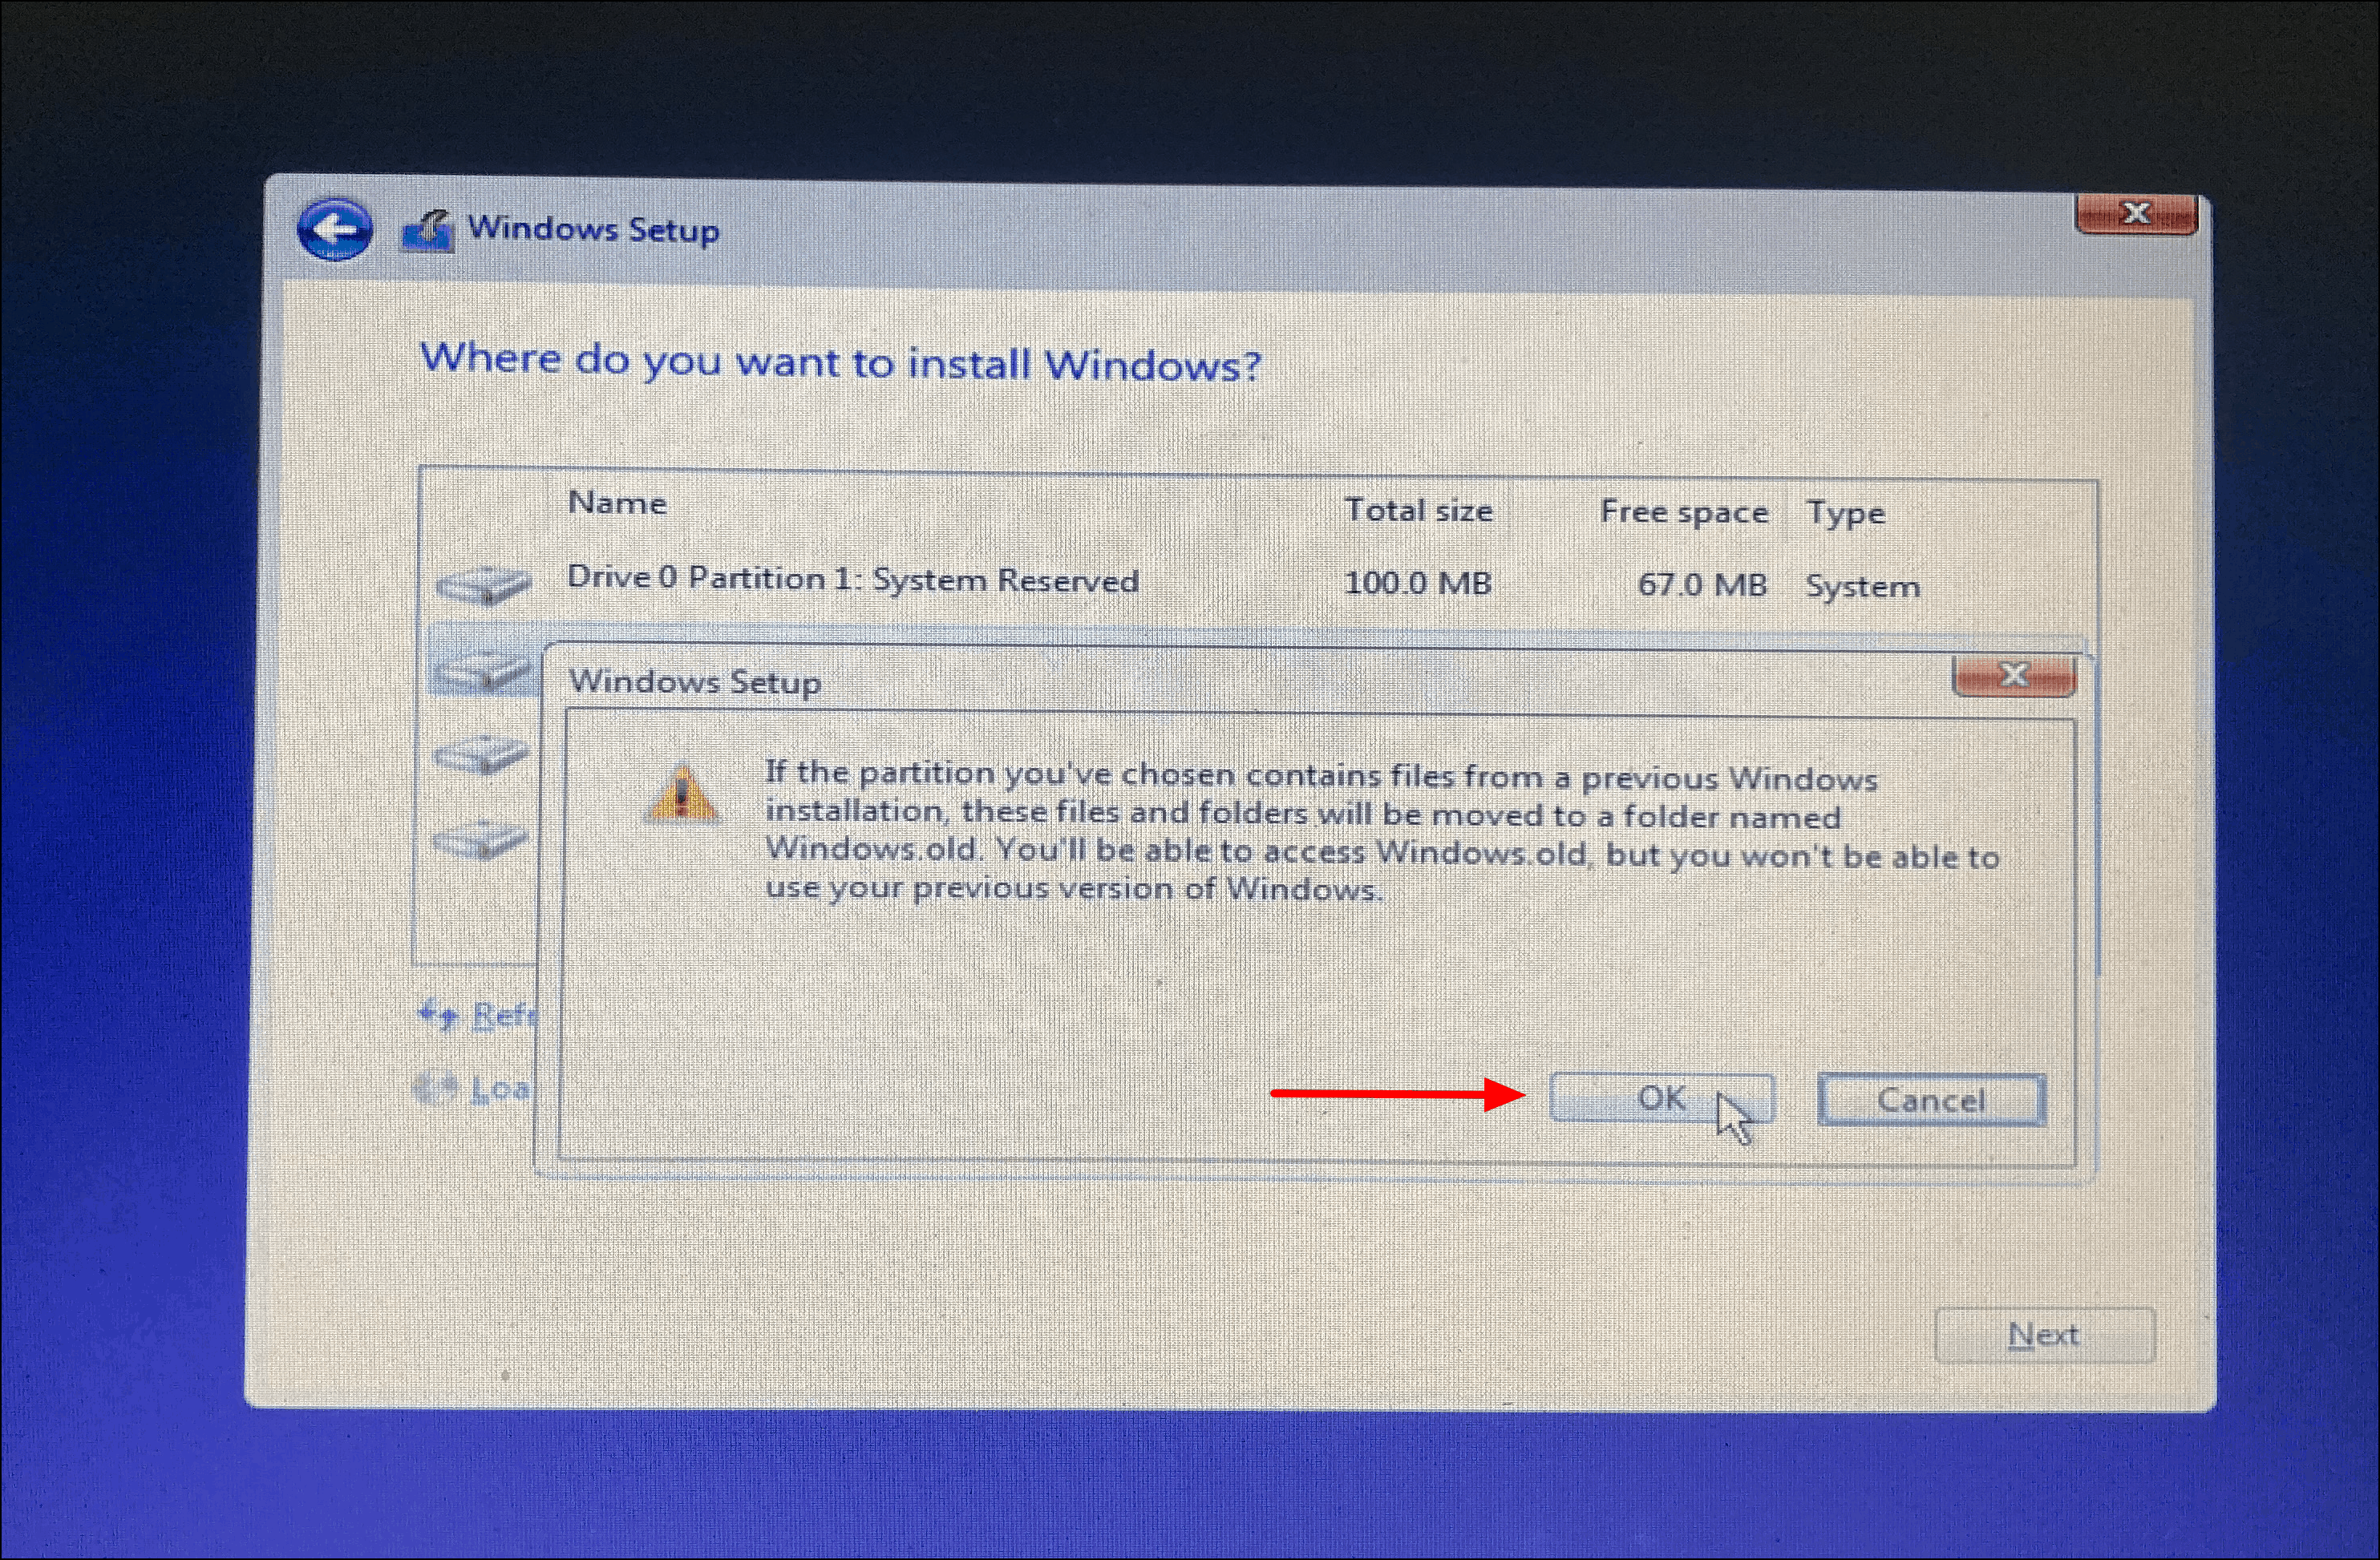
- If a warning appears about existing files being moved or overwritten, click OK to confirm and continue.
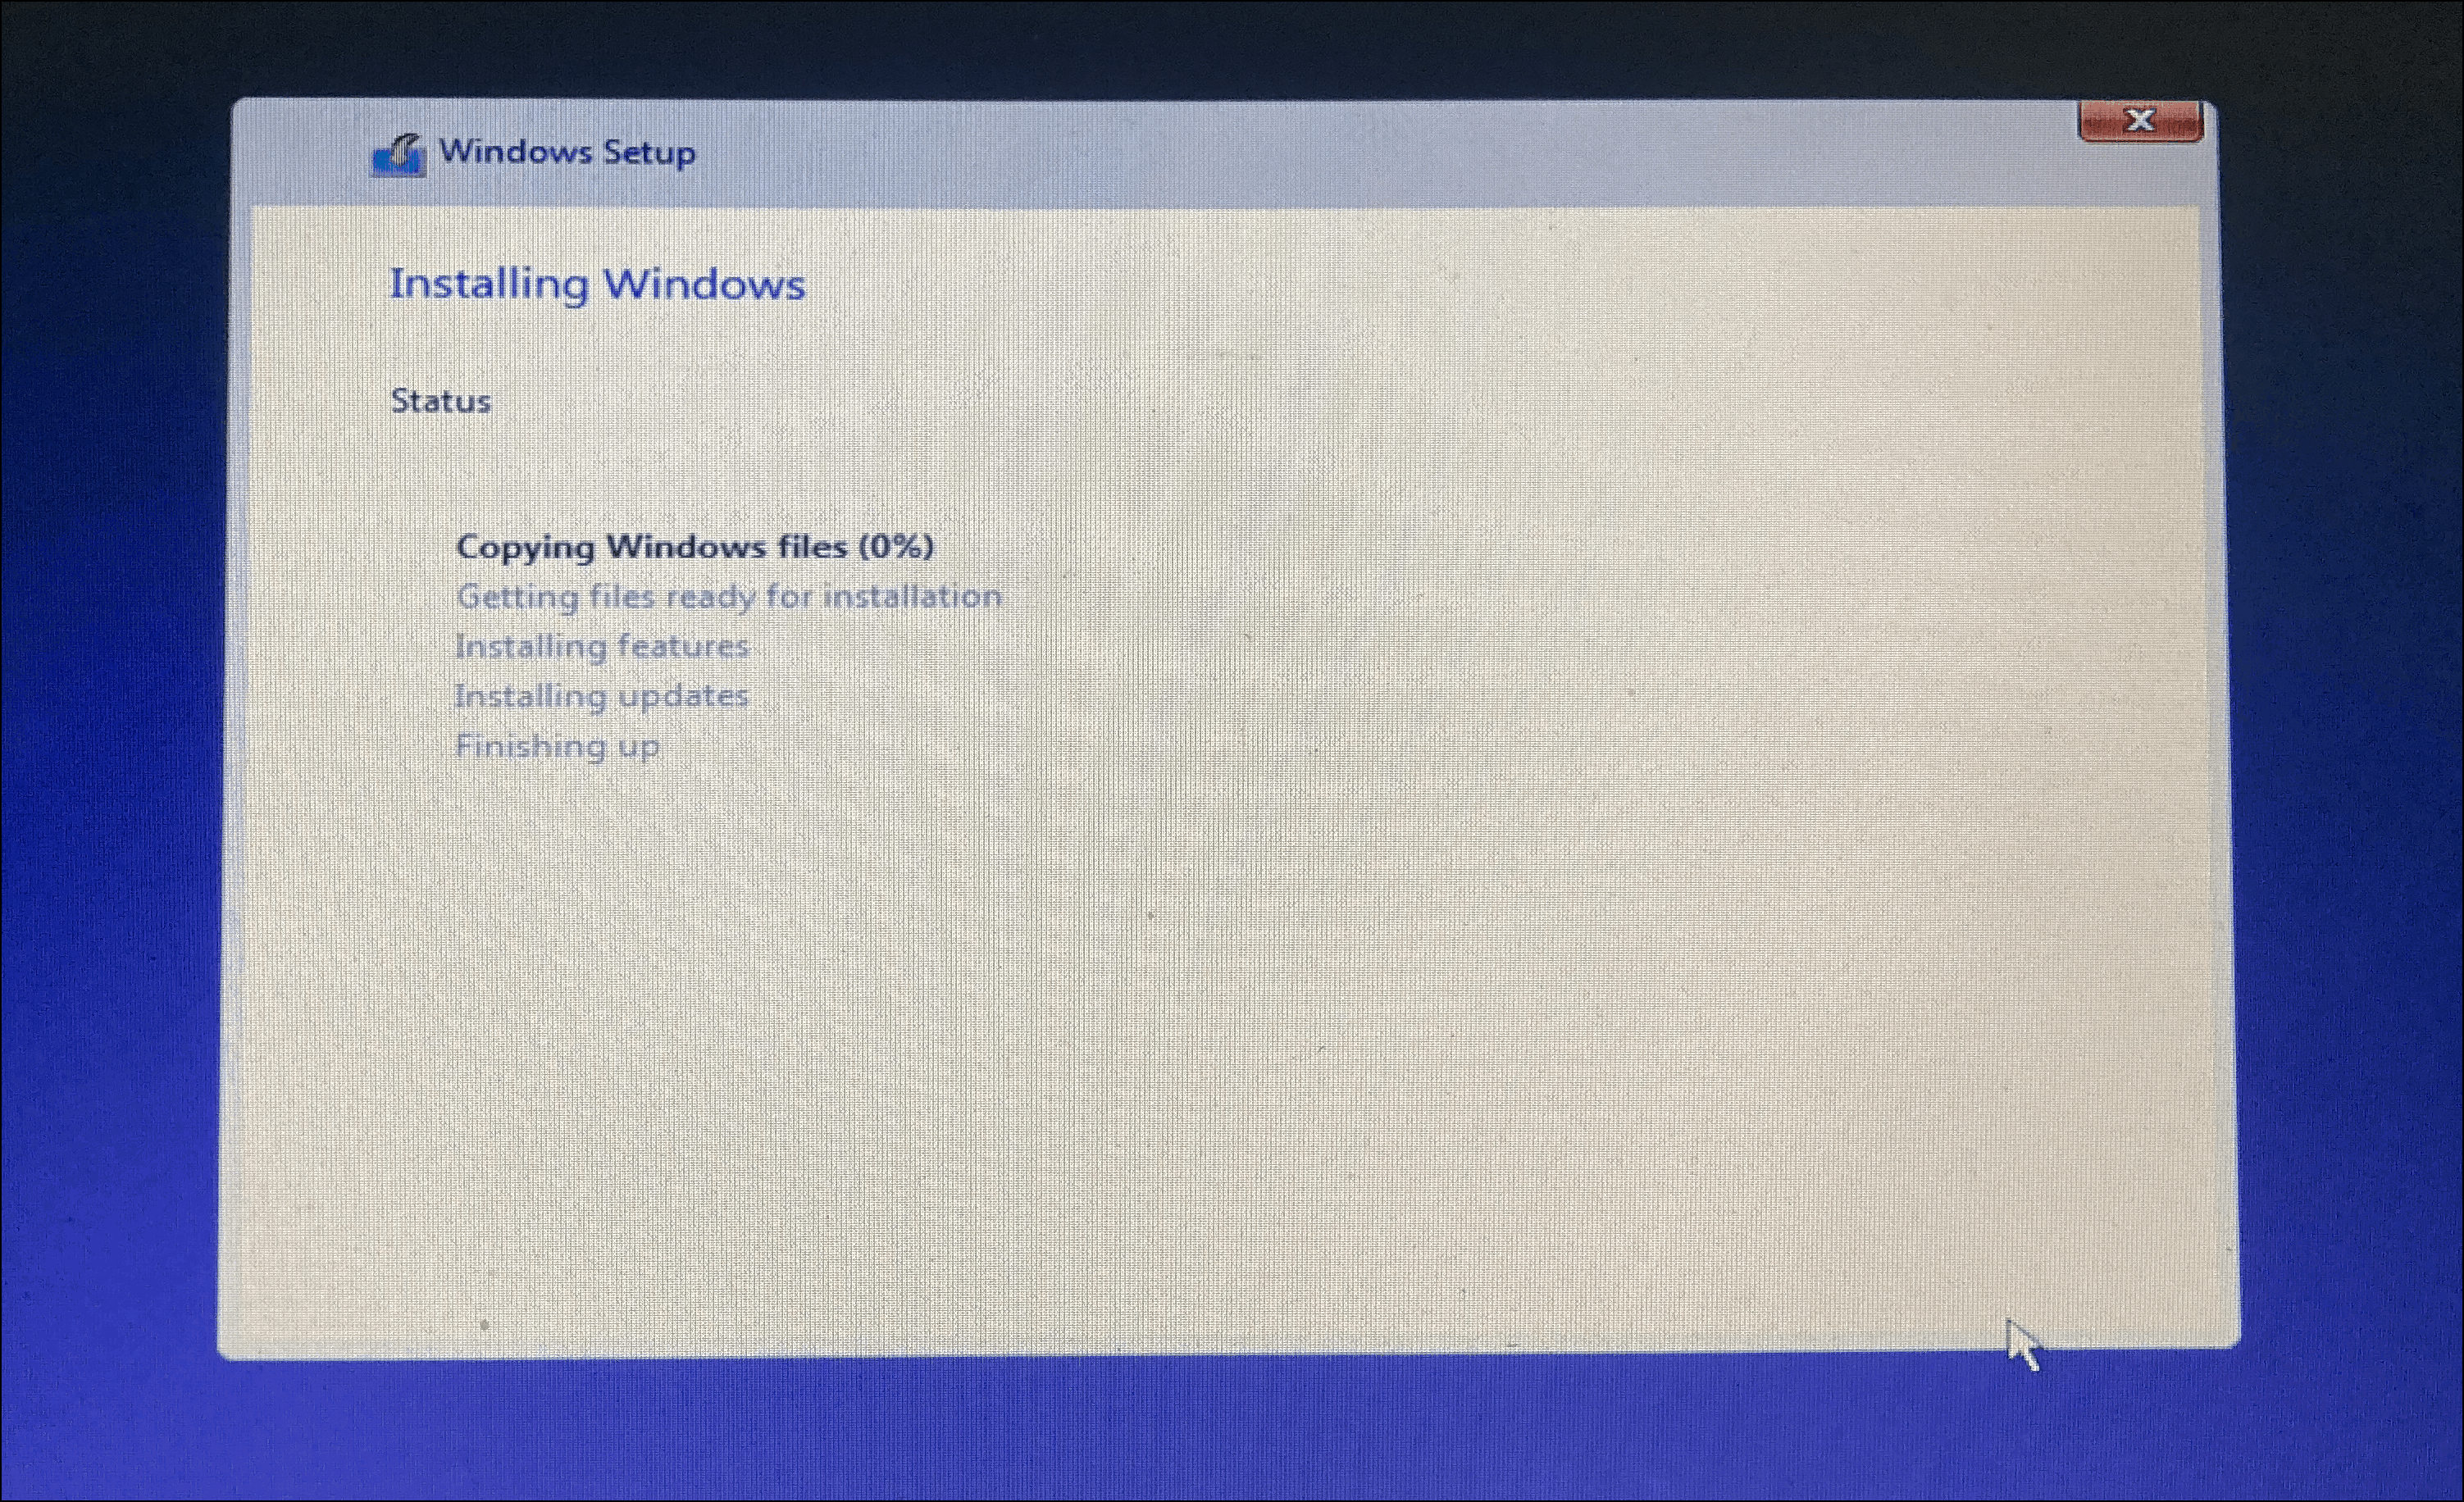
- The installation of Windows 11 will begin. Wait for the process to complete, and ensure the computer remains powered on.
After the installation finishes and the system restarts, follow the on-screen instructions to set up Windows 11 according to your preferences.
By following these steps, you can successfully install Windows 11 on your PC using a bootable USB drive. Enjoy exploring the new features and interface that Windows 11 has to offer.


