The release of Windows 11 has generated excitement worldwide, thanks to its refreshing interface and user-friendly features. However, many users face challenges when trying to install the new operating system. This guide will help you navigate common compatibility errors and provide solutions to ensure a smooth installation process.
Understanding Windows 11 Compatibility Errors
If you’ve encountered the ‘This PC can’t run Windows 11’ error using the PC Health Check app, you’re not alone. Below are common errors users face and explanations to help you address them effectively.
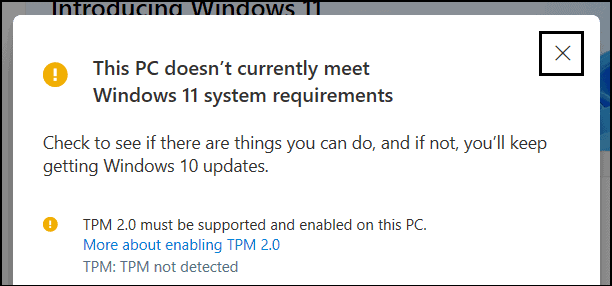
⚠️ TPM 2.0 Must Be Supported and Enabled on This PC
If you receive a TPM 2.0 compatibility error, it’s likely that TPM is either disabled or not supported on your system. Most modern hardware includes TPM 2.0 support, but it may need to be enabled in your BIOS settings.
Read → What is TPM 2.0 Requirement in Windows 11
⚠️ The Processor Isn’t Supported for Windows 11
Windows 11 requires an 8th generation Intel processor or newer. Processors older than the 8th generation are not supported. You can check the list of supported processors for your hardware manufacturer here: AMD | Intel | Qualcomm.

⚠️ The PC Must Support Secure Boot
Secure Boot is a security feature that ensures your PC boots only with trusted software from the manufacturer. Windows 11 requires Secure Boot to be enabled. Most modern PCs support Secure Boot, but it might be disabled in your BIOS settings. You can verify and enable Secure Boot by accessing your system’s BIOS security settings.

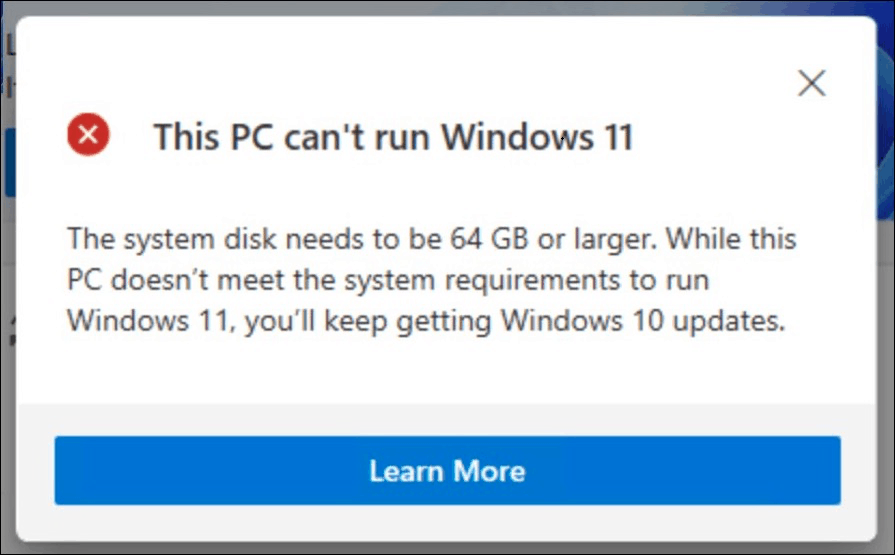
⚠️ The System Disk Needs to Be 64 GB or Larger
Your system’s primary partition must have at least 64 GB of free space for Windows 11. If your current partition is smaller, consider expanding it or installing Windows 11 on a different partition with sufficient space. Refer to these guides for creating a bootable USB drive: Windows (Bootable USB), Mac.
Enabling Secure Boot
If you encounter the error stating ‘The PC must support Secure Boot’, you’ll need to enable this feature in your BIOS settings. Here’s how you can do it:
What Is Secure Boot?
Secure Boot is a security protocol that ensures your PC boots using only software trusted by the manufacturer. It helps prevent unauthorized software and malware from loading during the startup process.
Steps to Enable Secure Boot in BIOS Settings
- Shut down your computer completely.
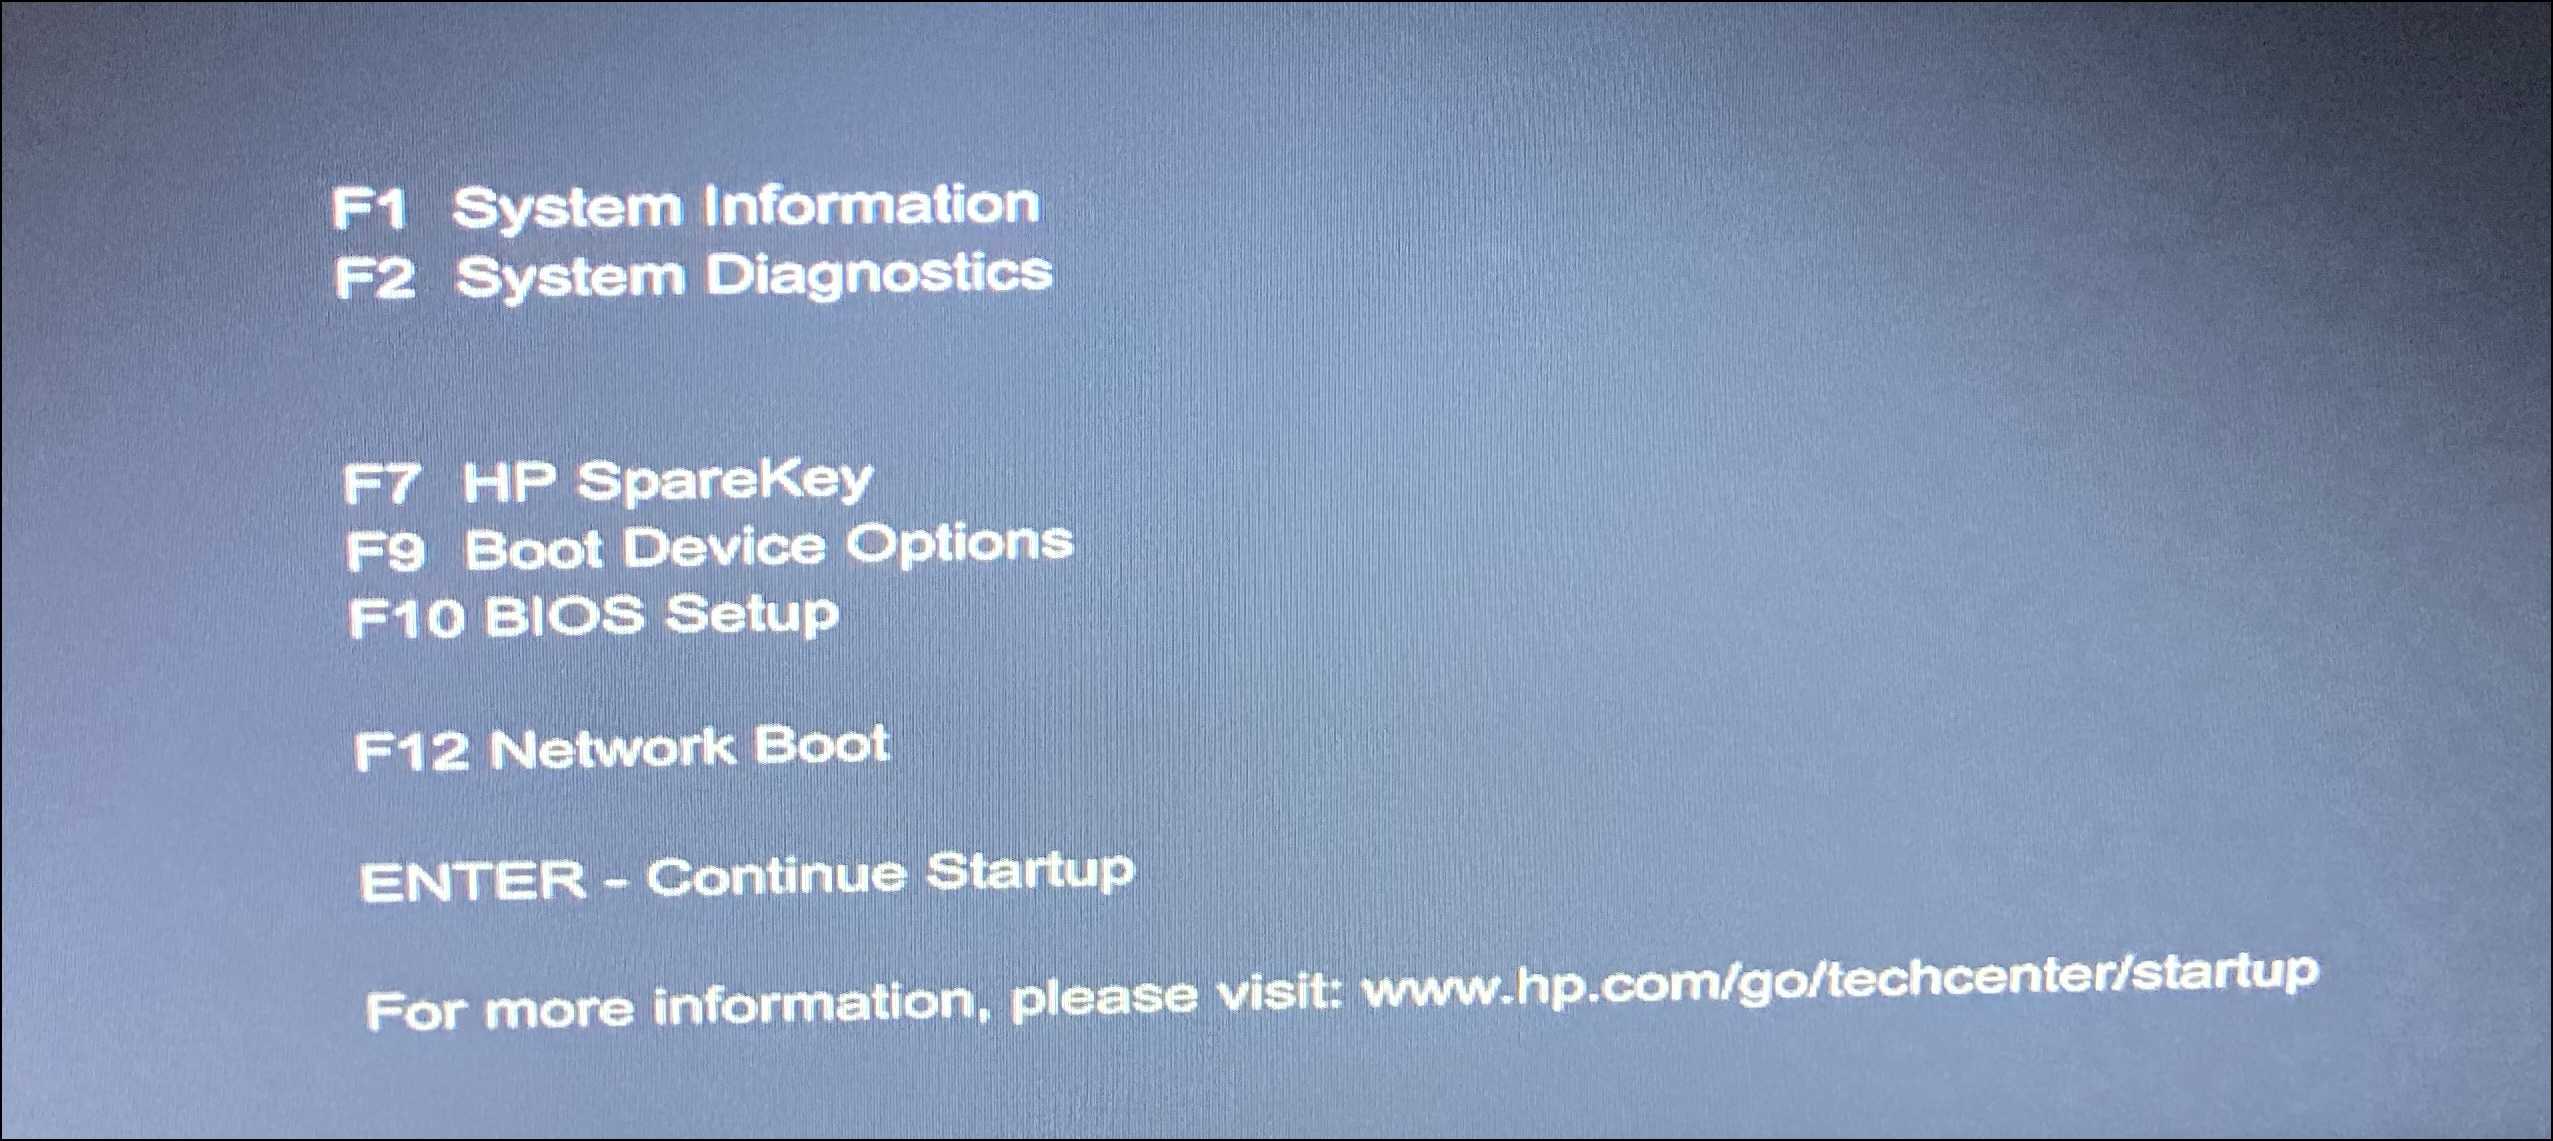
- Start your PC and immediately press the
ESCkey (your system might require a different key; check your manufacturer’s instructions) to access the Startup Menu. - Press the key corresponding to ‘BIOS Setup’ (often
F10). - Navigate to the ‘Boot’ or ‘Security’ tab using the arrow keys.
- If ‘Secure Boot’ is greyed out, switch the ‘Boot Mode’ to ‘UEFI Native (Without CSM)’.
- Enable ‘Secure Boot’ by selecting it and choosing ‘Enable’ or checking its box.
- Accept any confirmation prompts that appear.
- Save your changes and exit BIOS Setup. Your system will restart with Secure Boot enabled.
Note: The exact steps can vary depending on your PC’s manufacturer. Consult your user manual or support website for specific instructions.
Enabling TPM 2.0
Trusted Platform Module (TPM) 2.0 is another requirement for Windows 11. If your PC supports TPM 2.0 but it’s not enabled, follow these steps to activate it.
Checking TPM Status
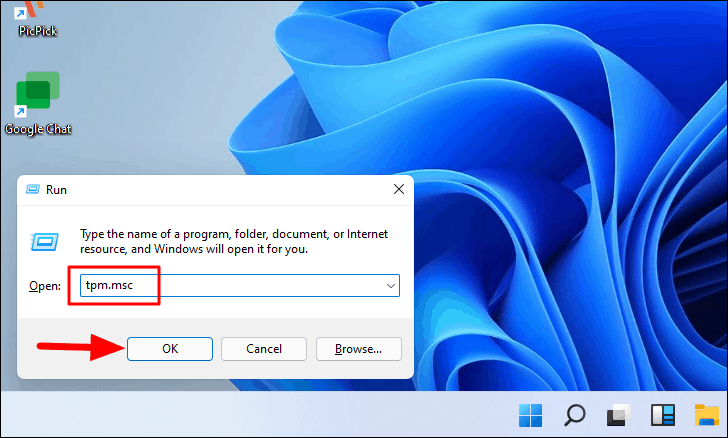
- Press
Windows + Rto open the Run dialog box. - Type
tpm.mscand pressEnter.
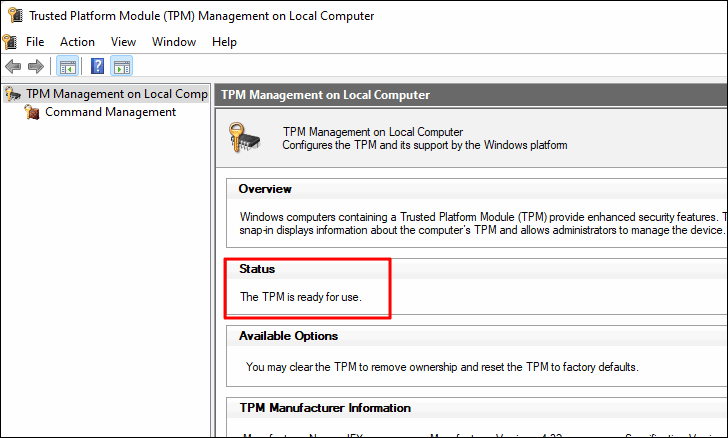
- In the TPM Management window, check the ‘Status’ section:
- If it says ‘The TPM is ready for use’, TPM is enabled.
- If it says ‘Compatible TPM cannot be found’, you’ll need to enable it in BIOS.
Steps to Enable TPM 2.0 in BIOS Settings
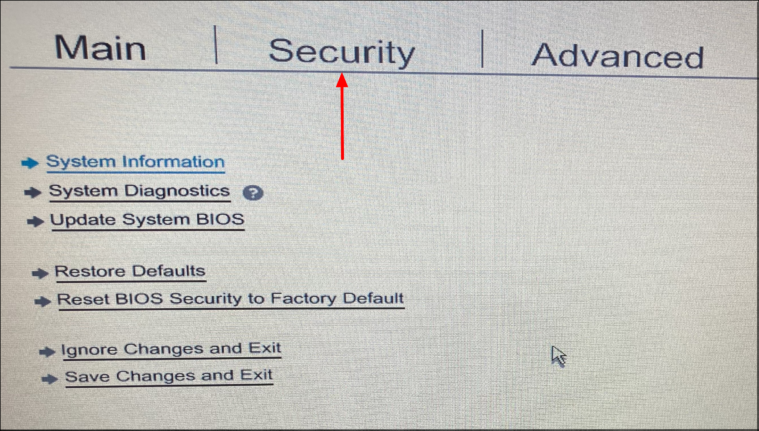
- Restart your computer and press the key to enter the BIOS Setup (commonly
ESC,F2,F10, orDelete). - Navigate to the ‘Security’ tab in BIOS.
- Find the ‘TPM’ setting (it might be labeled as ‘TPM Device’, ‘Intel PTT’, or ‘AMD PSP fTPM’).
- Set TPM to ‘Enabled’ or ‘Available’.
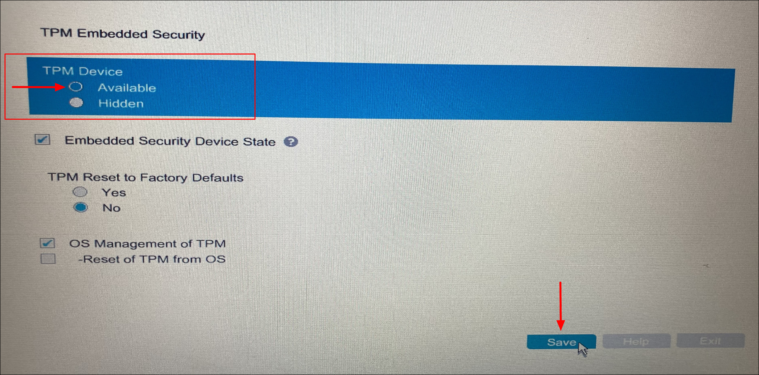
- If the option is greyed out, you may need to set a BIOS administrator password to access it.
- Save your changes and exit BIOS Setup. Your computer will restart with TPM enabled.
Note: BIOS interfaces vary by manufacturer. If you’re unsure, refer to your PC’s documentation or support resources.
With these settings enabled, your PC should meet the necessary requirements to install Windows 11. Enjoy the new features and enhanced user experience that Windows 11 has to offer!


