
Accidental edits or deletions in crucial Excel worksheets can compromise significant work, especially when complex formulas and essential data are involved. To prevent unintended modifications, Excel offers robust features to lock and protect specific cells, sheets, or even entire workbooks.
Locking cells ensures that their content cannot be formatted, altered, or deleted. In this guide, we’ll explore various methods to lock cells in Excel to safeguard your data effectively.
Locking All Cells in Excel
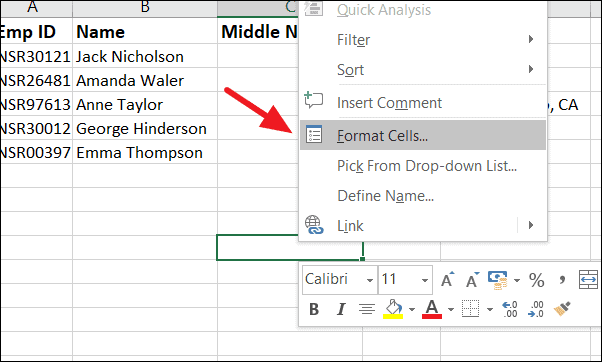
By default, all cells in an Excel worksheet are set to be locked. You can verify this by right-clicking any cell and selecting Format Cells. Under the Protection tab, you’ll notice that the Locked option is checked. However, this lock only becomes active when the worksheet is protected.
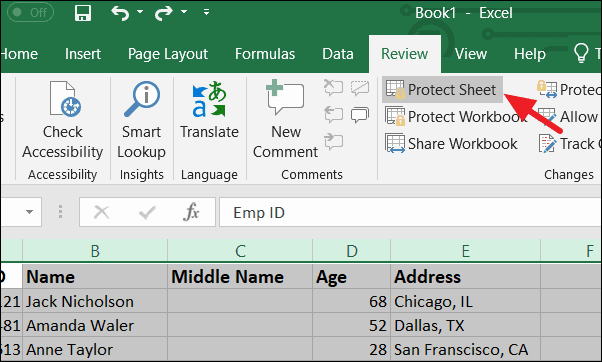
To protect all cells in the worksheet, you need to enable sheet protection. Here’s how:
CTRL+A or by clicking the arrow icon at the top-left corner of the worksheet.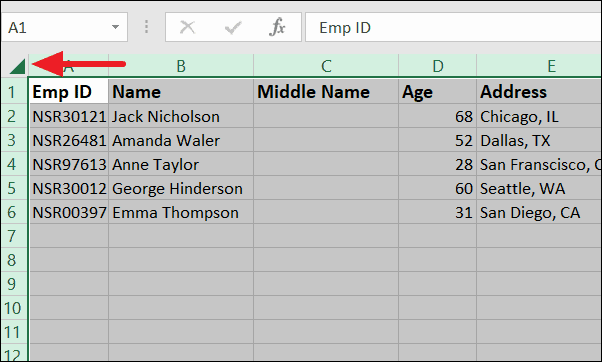
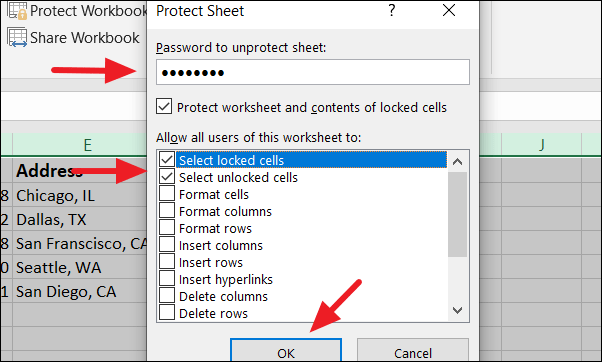
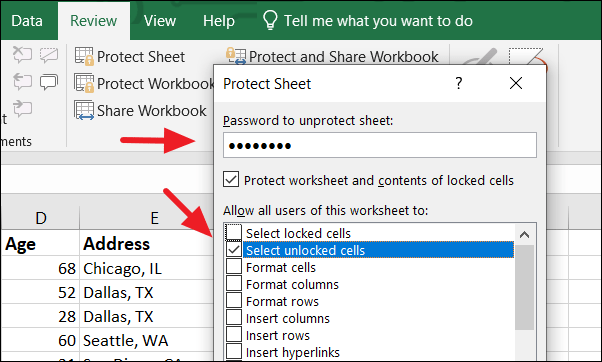
OK.If you choose not to set a password, anyone can unprotect the sheet by clicking Unprotect Sheet under the Review tab. Additionally, you can specify the actions users are allowed to perform by selecting or deselecting options in the dialog box before finalizing the protection.
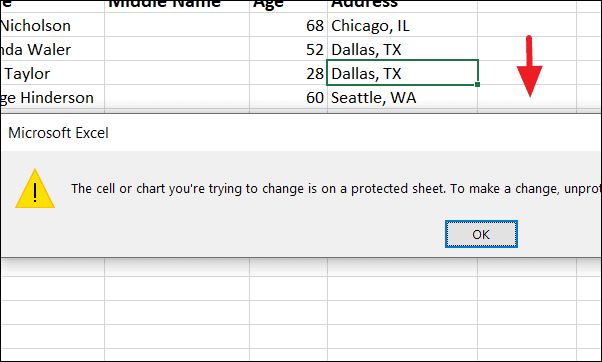
By default, users can select both locked and unlocked cells but cannot make changes to them. If someone attempts to edit a locked cell, they will receive an error message indicating that the cell is protected.
Locking Specific Cells in Excel
In scenarios where you want users to edit certain cells but protect others, you can lock specific cells while leaving the rest of the worksheet editable. For instance, if you’re sharing an employee details sheet and you want employees to update their personal information but not their Employee IDs, you can lock the cells containing the IDs.
CTRL+A, right-click, and choose Format Cells. In the Protection tab, uncheck the Locked option and click OK.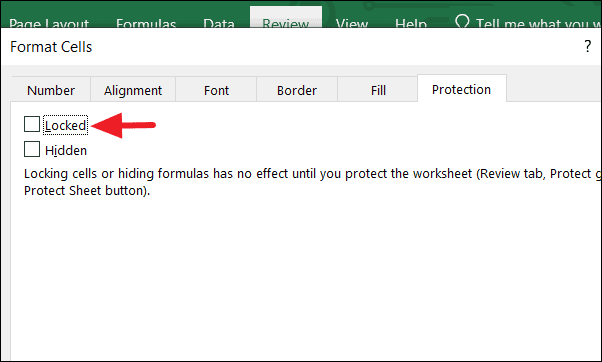
Format Cells.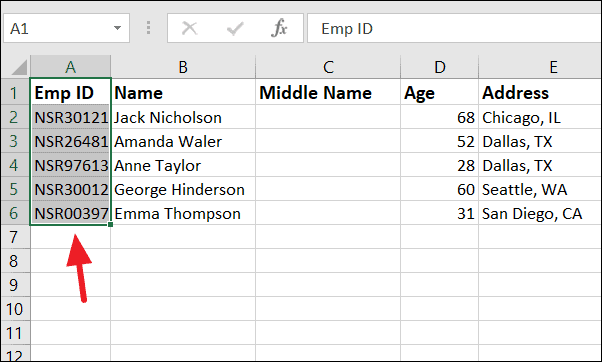
Protect Sheet. Enter and confirm a password if desired.Before finalizing, consider unchecking the Select locked cells option in the dialog box. This prevents users from even selecting the locked cells, enhancing the protection. If you leave this option checked, users can select but not modify the locked cells.
Unlocking Protected Cells
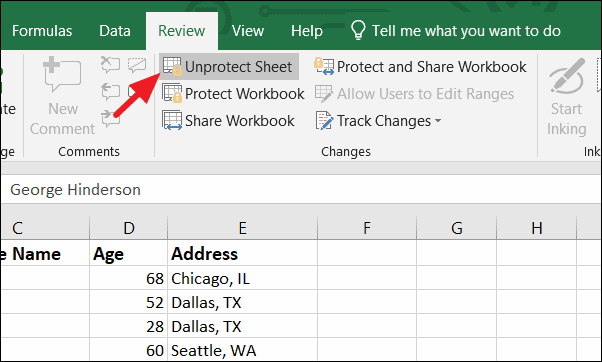
If you need to make changes to the locked cells later, you can unlock them by unprotecting the worksheet.
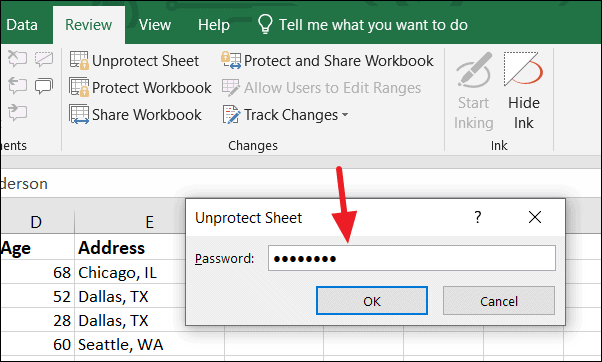
Once unprotected, all cells become editable again, and you can modify the content as needed.
Locking Cells Containing Formulas
Protecting cells that contain formulas is essential to prevent accidental alterations that could affect your calculations. Here’s how to lock all formula cells in your worksheet:
Find & Select option on the right side of the Ribbon. Click on it and select Go To Special from the dropdown menu.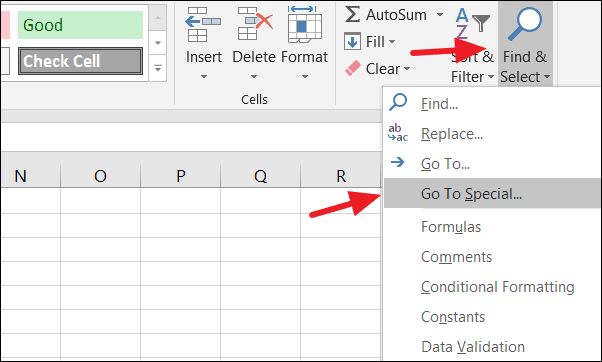
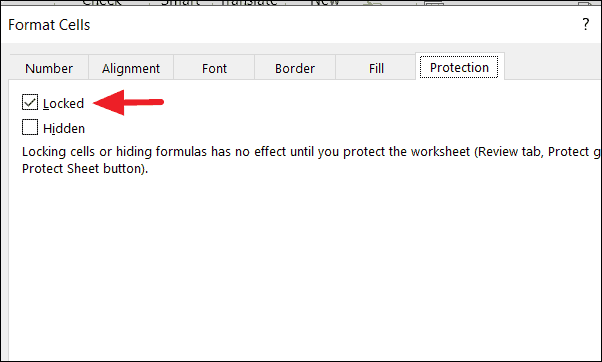
Formulas option and click OK. This action highlights all cells in the worksheet that contain formulas.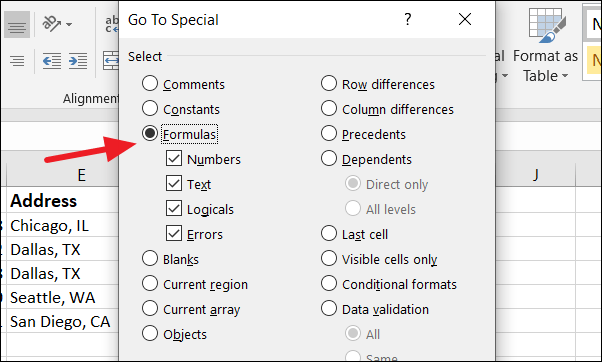
Format Cells. In the Protection tab, ensure the Locked option is checked, then click OK.Protect Sheet under the Review tab. Set a password if desired and configure any additional options before clicking OK.
Now, your formula cells are protected from any accidental edits, ensuring the integrity of your calculations.
By following these detailed steps, you can effectively lock cells in Excel to protect essential data and formulas, allowing users to interact with the worksheet without compromising critical information.


