Microsoft Teams is is a powerhouse of collaboration. Organizations worldwide use this app to make collaboration seamless, whether employees are working remotely, from different offices, or in the same office.
You can stay on top of everything with Microsoft Teams. But sometimes, the constant notifications can become a bit distracting when you’re trying to concentrate on work. Now, while these notifications are important to stay updated, it’s equally important to focus on work.
From notifications for chat, channels, @mentions, Teams, likes, replies, meetings, etc., it can get too overwhelming. The solution? Muting your Teams notifications, temporarily or permanently – that’s up to you. And the best thing is, Microsoft Teams offers control over every aspect of your notification.
Use DND to completely mute all Teams Notifications
This is surely the quickest way to temporarily mute all your Teams notifications. Status is not just an indicator for other people in Microsoft Teams. It’s for your benefit too. And setting your status as Do Not Disturb will mute notifications for everything except for urgent messages or notifications from your priority contacts.
To set your status, open the desktop app and go to the ‘Profile icon’ on the Title Bar.
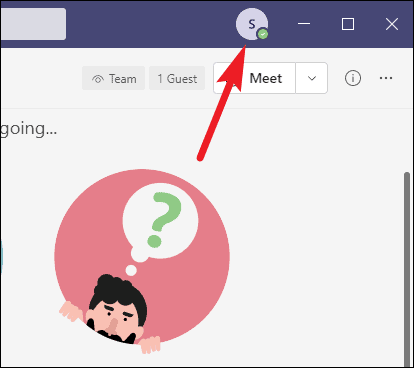
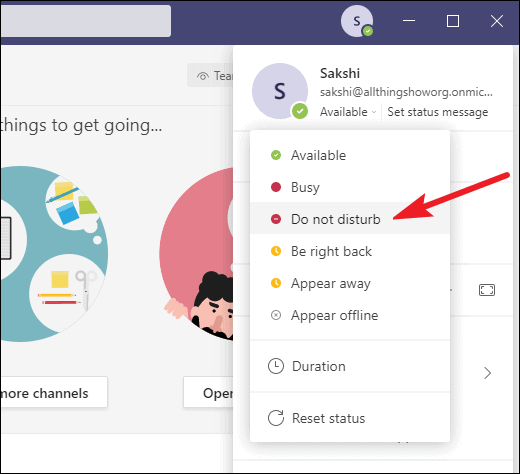
Then, click on your current status next to the Profile picture.
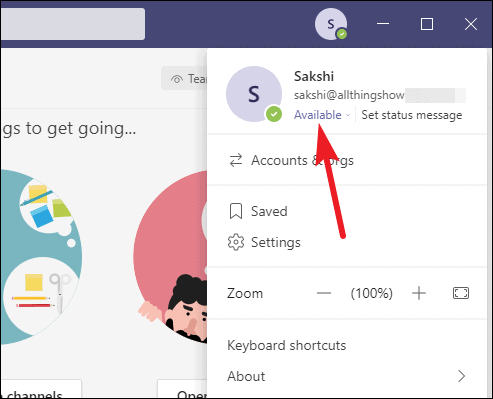
A drop-down menu will open. Select ‘Do not disturb’ from the options.
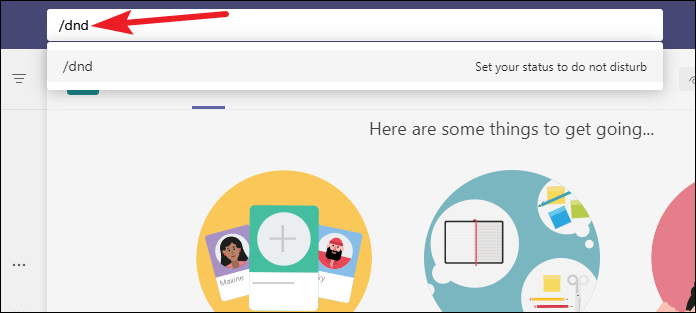
You can also type /dnd in the Command Bar and press the enter key to change your status in one go. Any notifications you miss while in DND will be available in your Activity Feed.
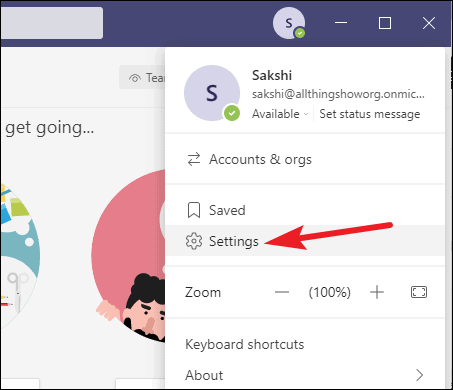
To make someone a priority contact so you can receive notifications from them even during DND, click the profile icon and go to Settings.
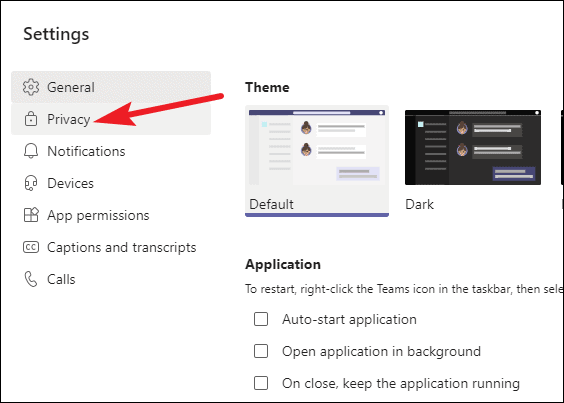
Then, go to ‘Privacy’ from the navigation menu on the left.
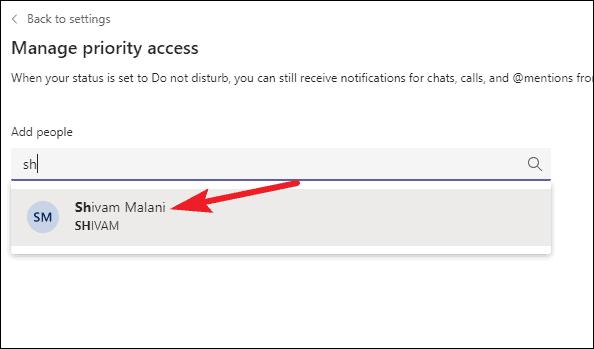
Now, click on ‘Manage Priority Access’ option.

Enter the name of the people you want to give priority access to. Now, you’ll receive notifications for chat, calls, and @mentions from these contacts on your desktop even during DND.
Managing Notifications in Teams
DND is a good solution for when you temporarily want to mute your notifications, but what about for the long-term? None of us want the unnecessary notifications that come our way but also don’t want to miss out on the important ones.
And sometimes we want to receive notifications, so we’re aware of them but don’t want those notifications to distract us. This way, we don’t have to open Teams to find out what we’ve missed, as is the case with DND. But still have the freedom to check them at our convenience. Teams has got your back. With a lot of provisions for whichever way you want to manage your notifications, you can handle your work like a pro.
Silence Sound for All Notifications
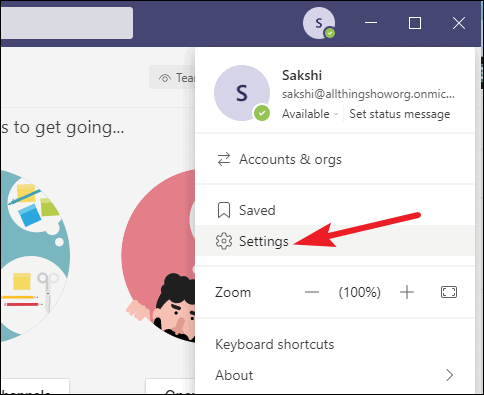
To manage your Teams notifications individually, go to your Profile icon and select ‘Settings’ from the menu.
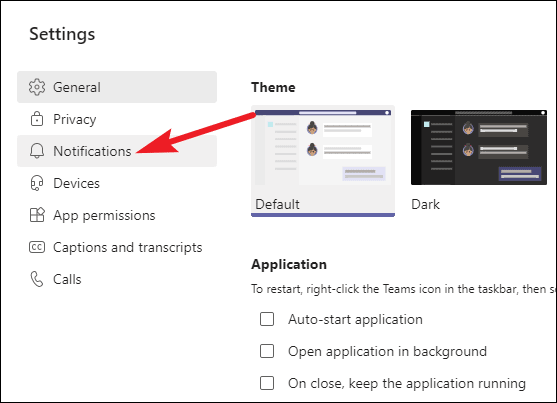
Then, go to ‘Notifications’ from the navigation menu on the left.
In Teams, you have two options to stop notifications from distracting you. First, you can turn off the sound for all notifications so your momentum isn’t ruined. Second, you can turn off previews for them to stop them from disrupting your concentration. You can also turn off both for complete silence and achieve laser-like focus.
To cease notification sound, turn off the toggle for ‘Play sound for incoming calls and notifications’.
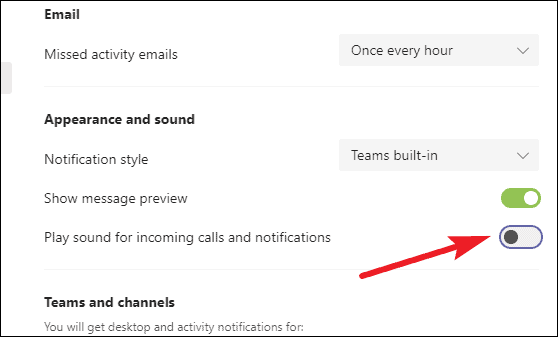
To stop previews, turn off the toggle for ‘Show message preview’.
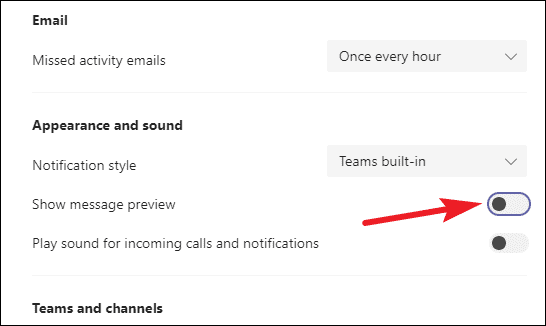
With these settings on, Teams notifications won’t make a sound, neither show you the content of the notification. With these two settings, banners will show on your desktop, but they’ll be as silent as a cat.
Mute Select Notifications
You can also mute only certain Teams notifications. Consider the scenario when you don’t want to receive any notifications for messages or calls in Teams and channels but want notifications for personal chats and meetings to still reach you? For such situations, DND is too drastic. And silencing all notifications isn’t gonna cut it either.
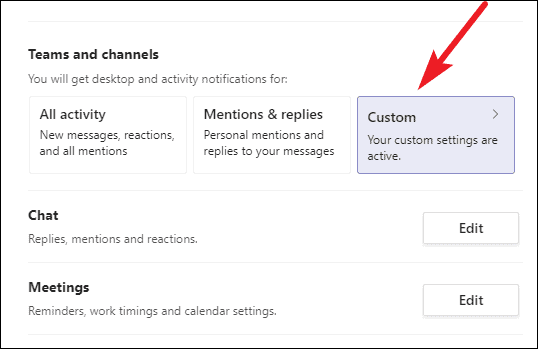
In the Notification settings, go to ‘Teams and Channels’ and choose what notifications you want to receive. By default, it is set to ‘All activity’, where you will receive notifications for every message, reaction, or mention in a channel.
You can switch to ‘Mentions and replies’ where you’ll only get notified for personal mentions and replies to the messages you posted. Or you can choose ‘Custom’ and decide what particular notifications you want.
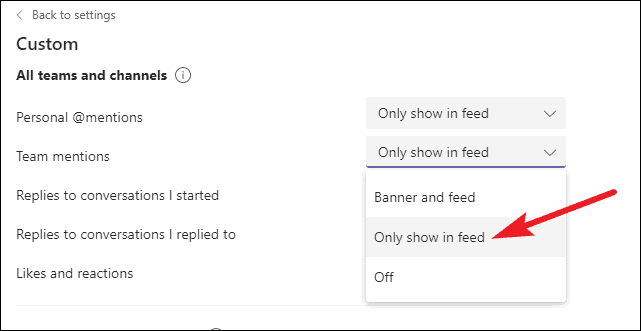
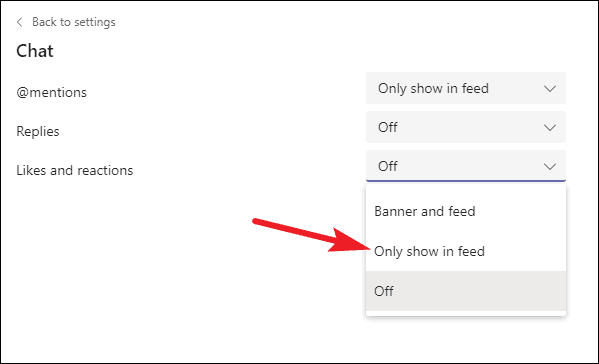
Now, if you want to mute notifications for your Teams and channels from appearing on the desktop, but want them only in the app, select ‘Only show in Feed’ instead of ‘Banner and Feed’. This option delivers your notifications in the ‘Activity’ tab of Microsoft Teams. For most of the options, there’s also an option to turn them entirely off.
Similarly, you can change notifications for Chat and Meetings too. Click the ‘Edit’ button for each and select whether you want to receive notifications in banner, feed, or none at all.
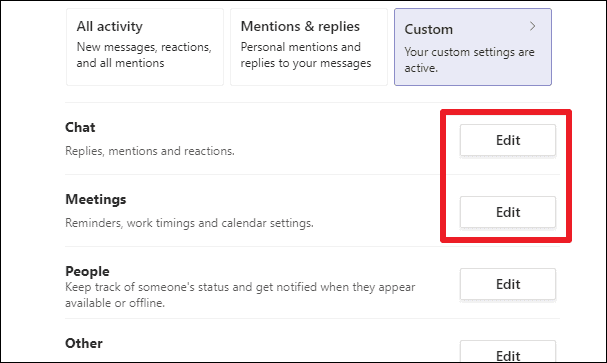
For chat, you can set individual notification system for replies, @mentions, and reactions.
For meetings, you can tweak notifications you get when the meeting is started and for meeting chat.

There are a lot of things to consider when muting your Teams notifications. With the variety of options available as each person’s need is different, Microsoft Teams endeavors to make your experience as pleasant as possible.