In the world of virtual meetings and online classes, platforms like Google Meet have become indispensable for seamless communication. However, unintended background noises from our home environments can disrupt these sessions. To maintain professionalism and minimize distractions, it's important to know how to mute your microphone when necessary.
Muting Your Microphone in Google Meet:
When you're in a Google Meet session, you'll need to access the control bar located at the bottom of your screen. If you don't see it immediately, move your cursor downward or hover over the bottom area to make it appear.
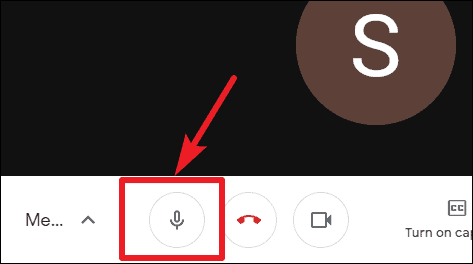
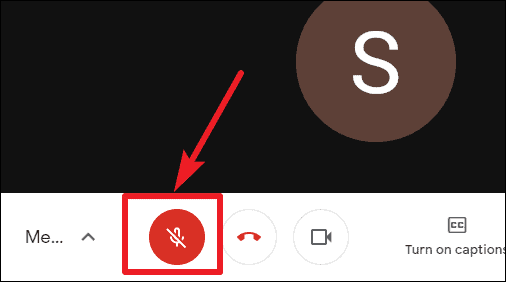
On the control bar, you'll notice three round icons. Click on the microphone icon—the first one on the left—to mute yourself. Once muted, the icon will turn red and display a diagonal line across it. This visual cue indicates that your microphone is off, and other participants will also receive a notification that you've muted your mic.

When your microphone is active and unmuted, the icon will appear white without any lines through it.
To unmute yourself, simply click the microphone icon again. The icon will revert to white, signifying that your microphone is on and participants can hear you speak.

Quick Tip: You can also use the keyboard shortcut Ctrl + D to quickly mute or unmute your microphone without clicking the icon.
Muting your microphone during meetings or classes helps prevent unintended sounds—such as conversations, pet noises, or other household distractions—from interrupting the session. This practice not only spares you potential embarrassment but also shows courtesy to presenters or teachers by allowing them to communicate without unnecessary interruptions.
For additional microphone control, you might want to explore the Google Meet Enhancement Suite Chrome extension. This tool provides features like Push to Talk, which keeps your microphone muted by default and lets you unmute only when you need to speak.

