Disk Management is a powerful built-in tool in Windows 11 that allows users to perform advanced storage tasks. With this utility, you can initialize new drives, extend or shrink volumes, change drive letters, and more. Whether you’re a tech enthusiast or a casual user, knowing how to access Disk Management can be incredibly useful for managing your computer’s storage.
In this guide, we’ll explore several methods to open Disk Management in Windows 11, starting with the most efficient approaches.
Using the Quick Access menu
The Quick Access menu provides one of the fastest ways to open Disk Management:
- Right-click on the Start button or press
Windows + X. - Select “Disk Management” from the list of options.
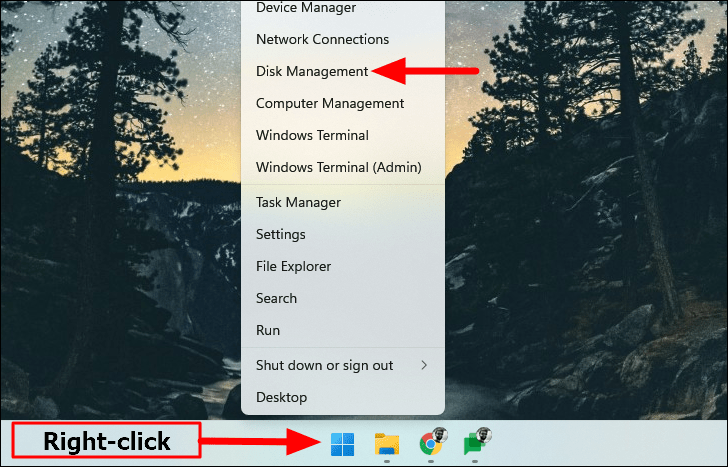
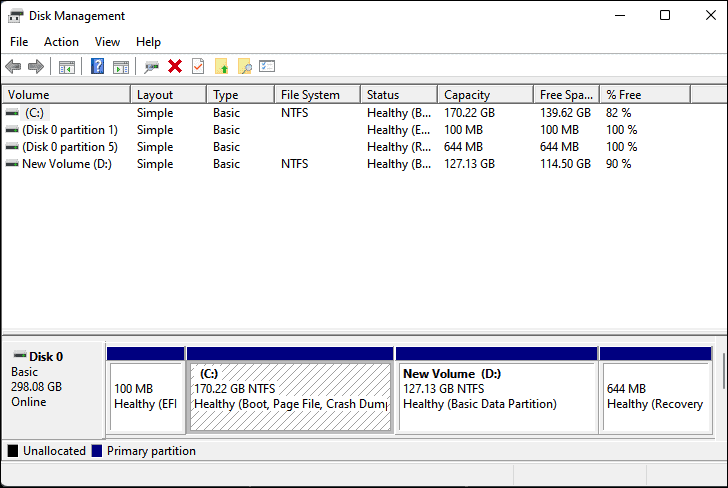
The Disk Management tool will immediately launch, displaying your computer’s storage devices and partitions.
Utilizing the Windows search function
Another quick method to access Disk Management is through the Windows search:
- Press
Windows + Sto open the search menu. - Type “Create and format hard disk partitions” in the search bar.
- Click on the matching result to open Disk Management.
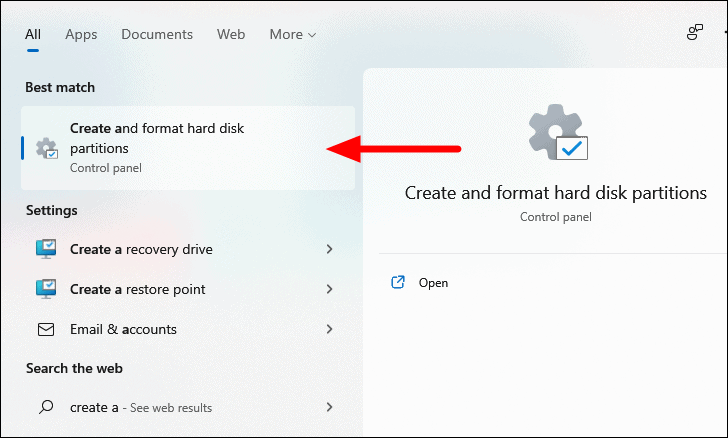
You don’t need to type the entire phrase; Windows will start showing results as you type.
Opening via Run command
For those who prefer keyboard shortcuts:
- Press
Windows + Rto open the Run dialog. - Type “diskmgmt.msc” and press Enter or click OK.
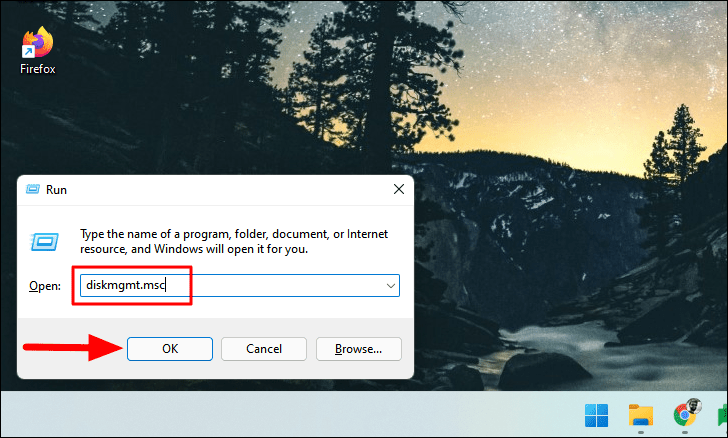
This method quickly launches the Disk Management tool without navigating through menus.
Using PowerShell or Command Prompt
For command-line enthusiasts:
- Open Windows Terminal (search for it in the Start menu).
- In PowerShell or Command Prompt, type “diskmgmt” and press Enter.

This method works in both PowerShell and Command Prompt tabs within Windows Terminal.
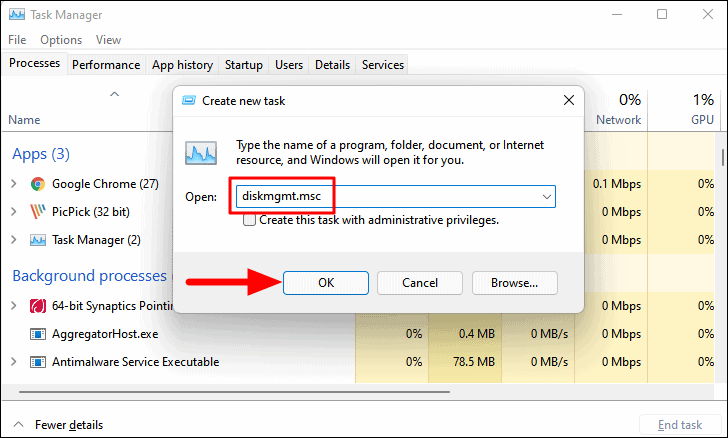
Accessing through Task Manager
Task Manager offers another route to open Disk Management:
- Press
Ctrl + Shift + Escto open Task Manager. - Click on “File” and select “Run new task”.
- Type “diskmgmt.msc” and click OK.
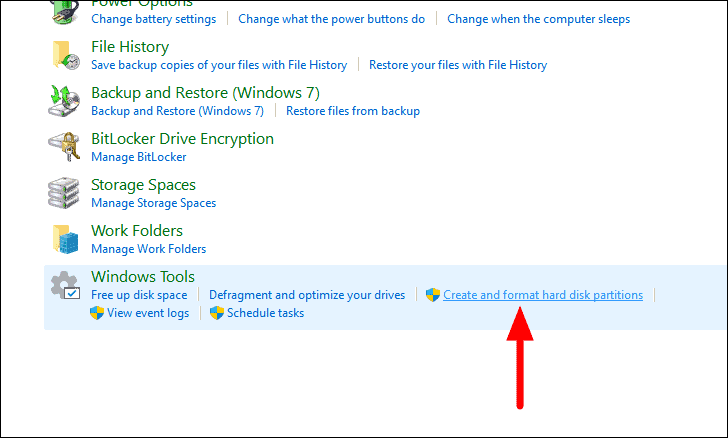
Opening from Control Panel
While not the quickest method, you can still access Disk Management through Control Panel:
- Open Control Panel (search for it in the Start menu).
- Go to “System and Security”.
- Click on “Create and format hard disk partitions” under “Administrative Tools”.
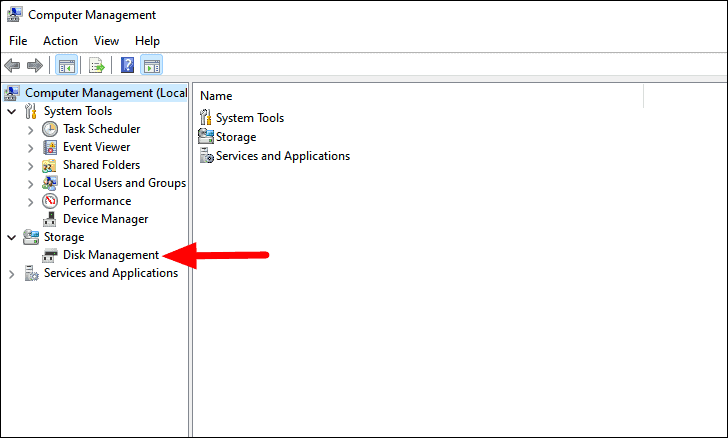
Using Computer Management
Computer Management provides access to various system tools, including Disk Management:
- Search for “Computer Management” in the Start menu and open it.
- In the left pane, expand “Storage” and click on “Disk Management”.
Each of these methods will successfully open the Disk Management tool in Windows 11. Choose the one that best fits your workflow or preferences. Remember, Disk Management is a powerful tool, so use it carefully when making changes to your storage devices.
Have you tried any of these methods to access Disk Management? Which one do you find most convenient? Feel free to share your experiences or ask questions in the comments below.