
Whether you’re a gaming enthusiast or simply want smoother visuals, adjusting your monitor’s refresh rate can significantly enhance your viewing experience. Even if you’re not heavily into gaming, experimenting with different refresh rates might give you a more fluid interaction with your computer.
What is monitor refresh rate and why it matters
A monitor’s refresh rate refers to how many times per second the display updates its image, measured in Hertz (Hz). For example, a 60Hz refresh rate means the screen refreshes 60 times every second. While 60Hz is the standard for most displays, some monitors offer higher refresh rates like 120Hz, 240Hz, or even 360Hz.
Higher refresh rates can make motion appear smoother and reduce eye strain, which is beneficial not just for gaming but for everyday use as well. However, keep in mind that increasing the refresh rate may consume more power, which is an important consideration for laptop users concerned about battery life.
How to change monitor refresh rate in Windows 11 settings
Windows 11 provides a built-in option to adjust your screen’s refresh rate. Here’s how you can change it:
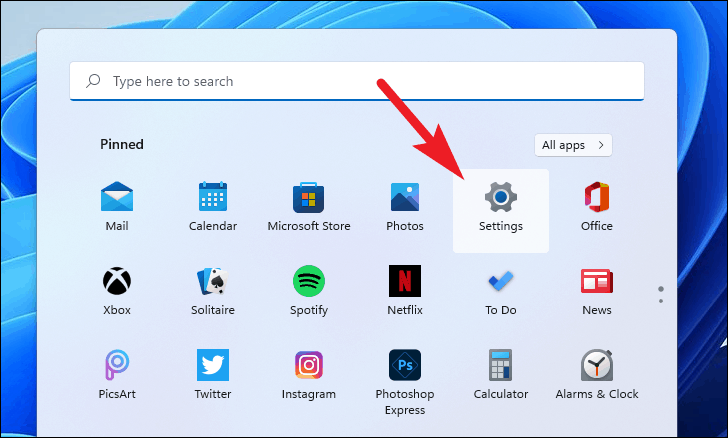
- Open the
Settingsapp by clicking on the Start Menu icon on the taskbar or by pressingWindows+Ion your keyboard.
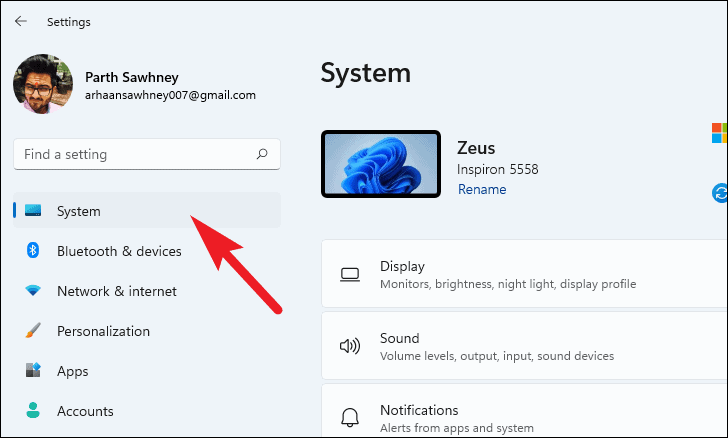
- In the Settings window, select the System tab from the left sidebar.
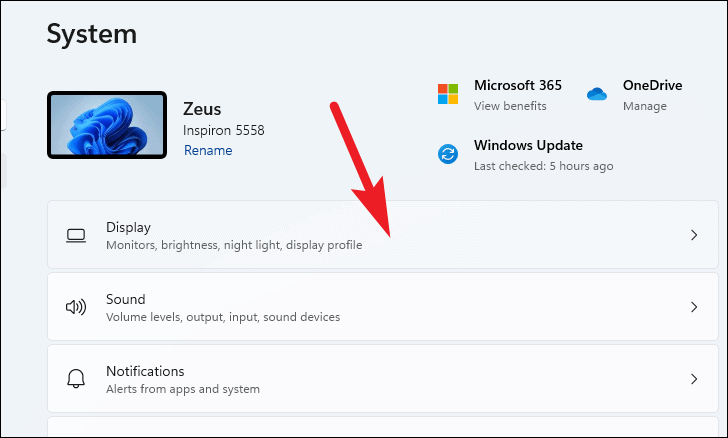
- On the right side, click on the Display option.
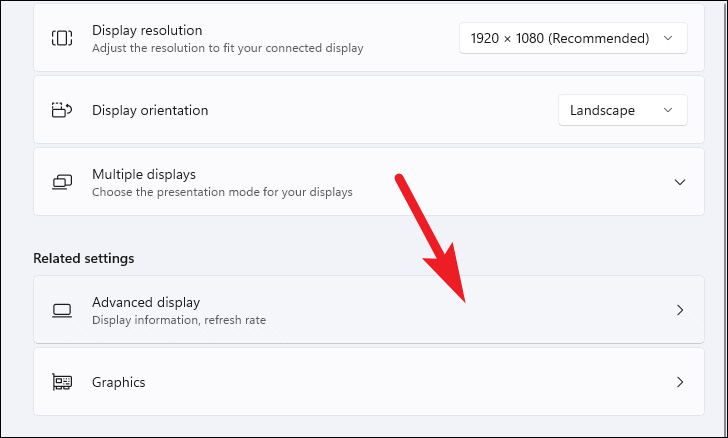
- Scroll down and click on Advanced display to access additional display settings.
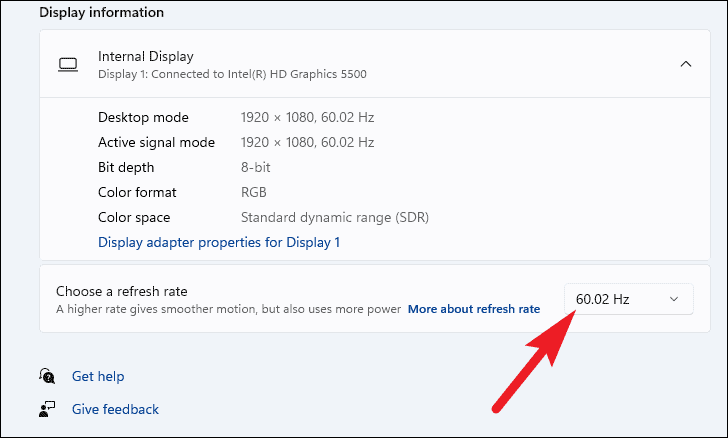
- Under the Choose a refresh rate section, click the drop-down menu.
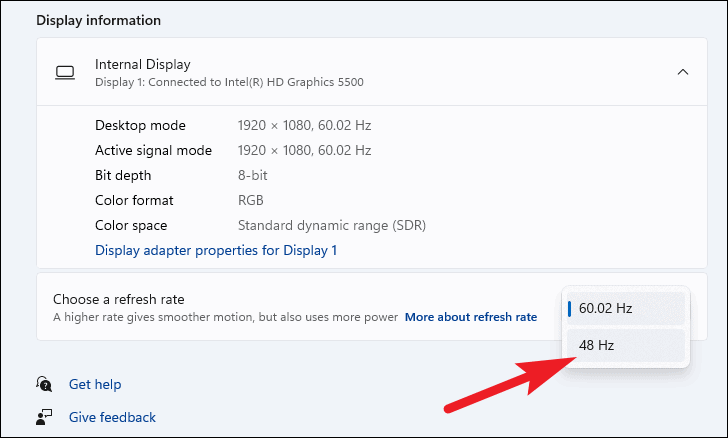
- Select your desired refresh rate from the available options. Your screen may flicker as the new setting is applied.
Note: The refresh rates you can choose depend on your monitor’s capabilities. You may see more or fewer options based on your specific hardware.
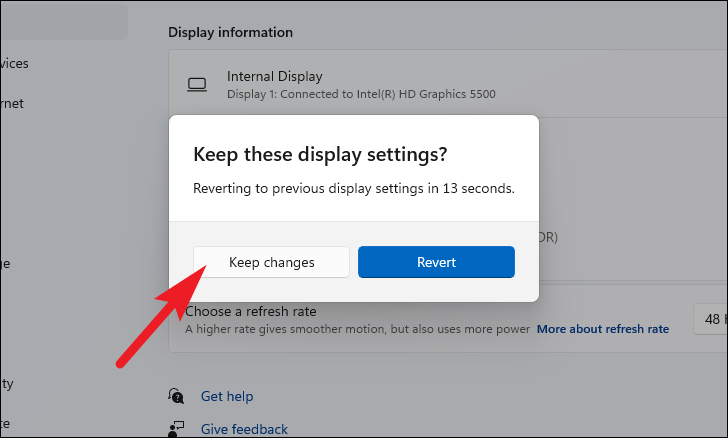
- A confirmation prompt will appear. Click Keep changes to apply the new refresh rate, or select Revert to go back to the previous setting.
Note: If you don’t respond within a few seconds, Windows will automatically revert to the previous refresh rate to ensure your display remains usable.
By following these simple steps, you can adjust your monitor’s refresh rate in Windows 11 to optimize your viewing experience.


