Quickly open and extract RAR files on Windows 11 with native support or using 7-Zip. Learn the simple steps to handle compressed files without the need for additional software.
Quickly open and extract RAR files on Windows 11 with native support or using 7-Zip. Learn the simple steps to handle compressed files without the need for additional software.
by Shivam Malani
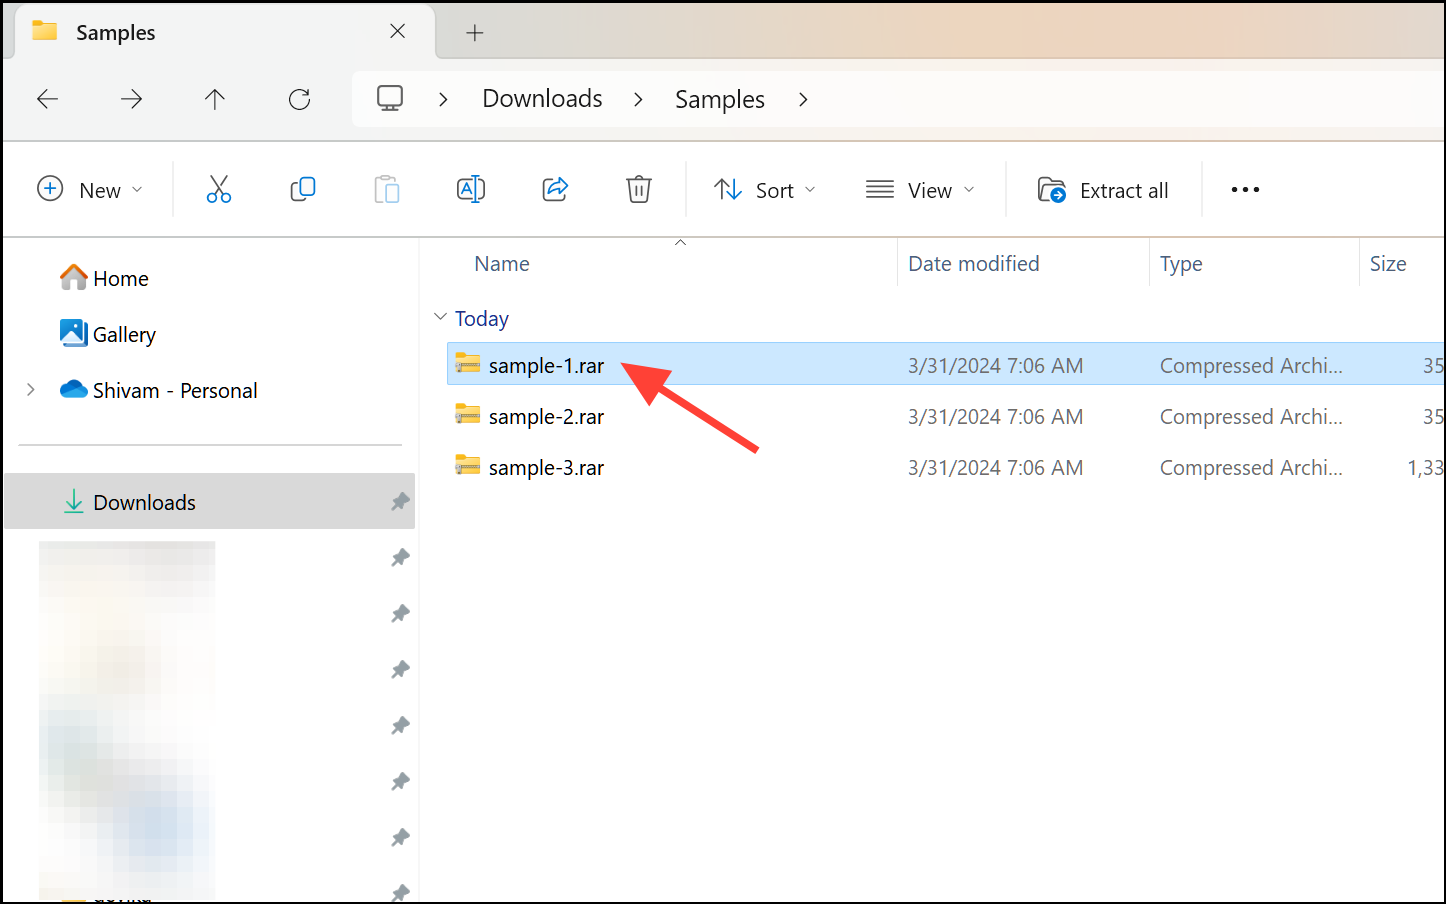
Accessing and extracting RAR files on Windows 11 has become significantly easier thanks to the operating system’s latest update. The native support for RAR archives means you no longer need third-party applications for basic file extraction tasks. This guide will show you how to open and extract RAR files using Windows 11’s built-in features and, for those needing additional functionalities, how to use 7-Zip.
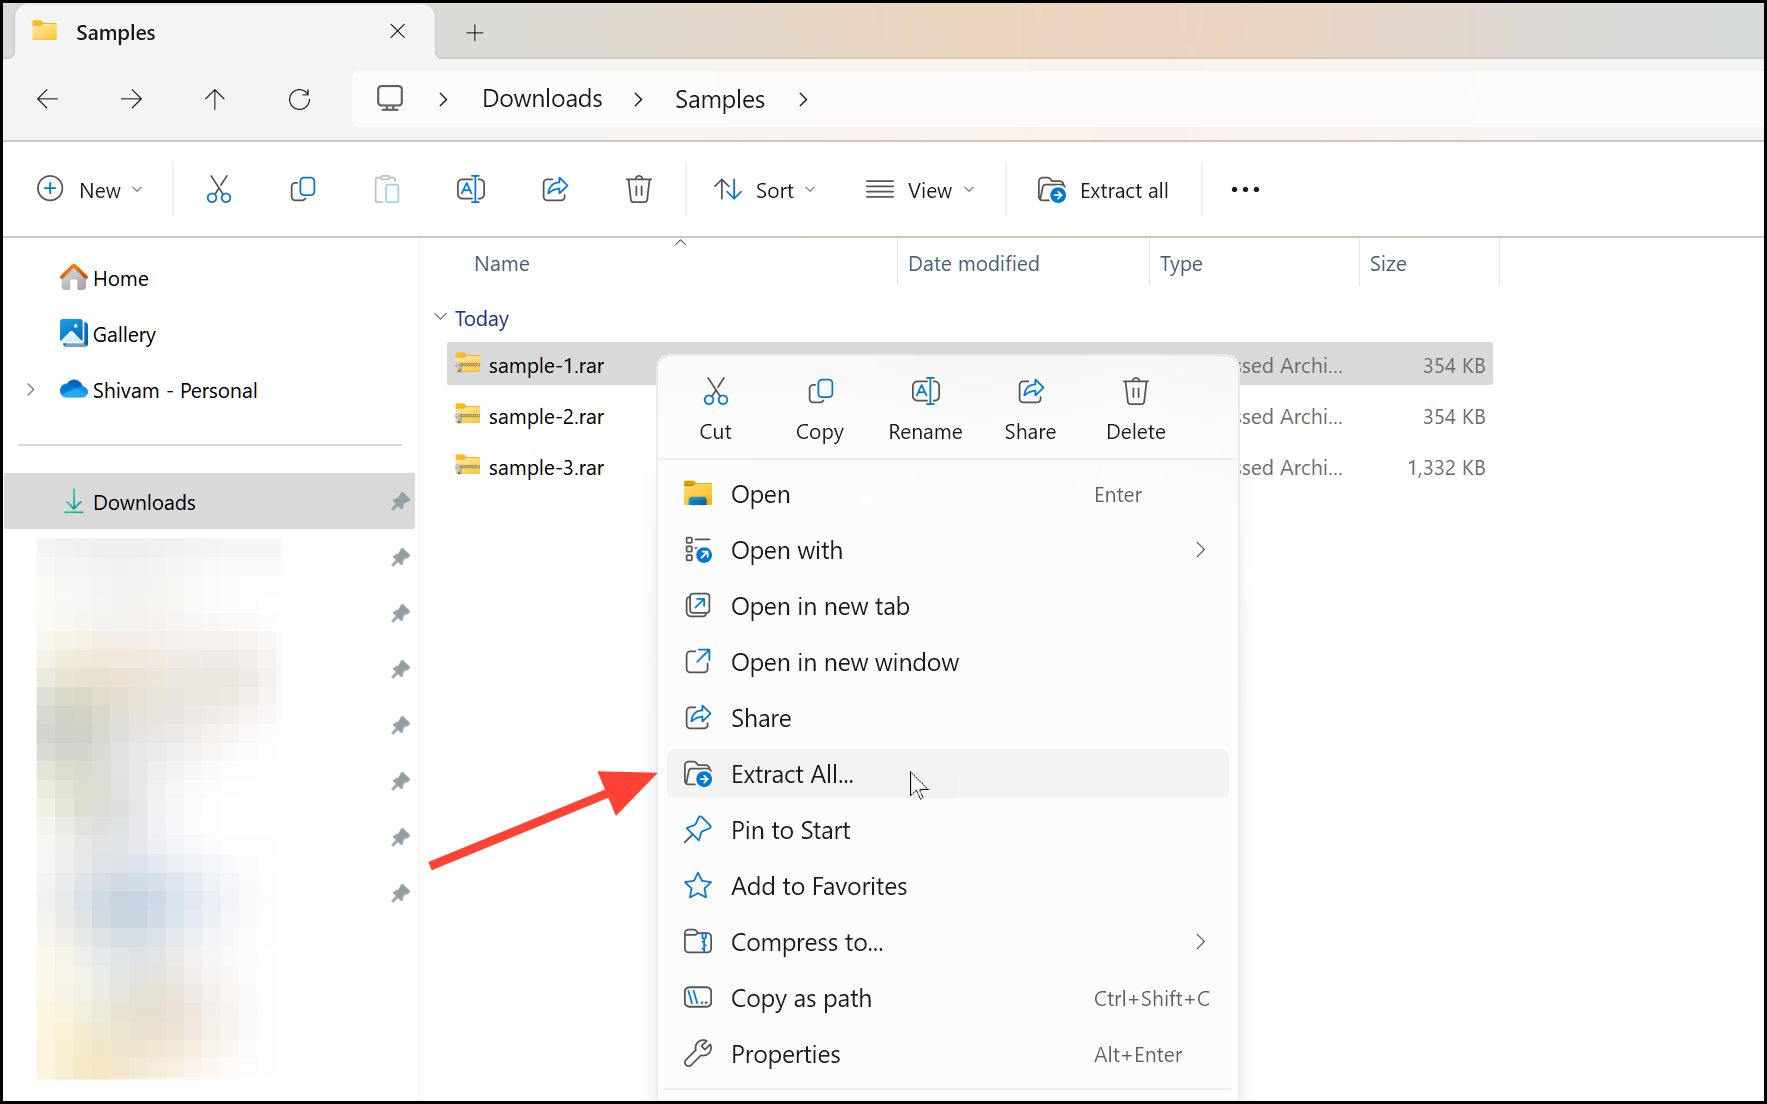
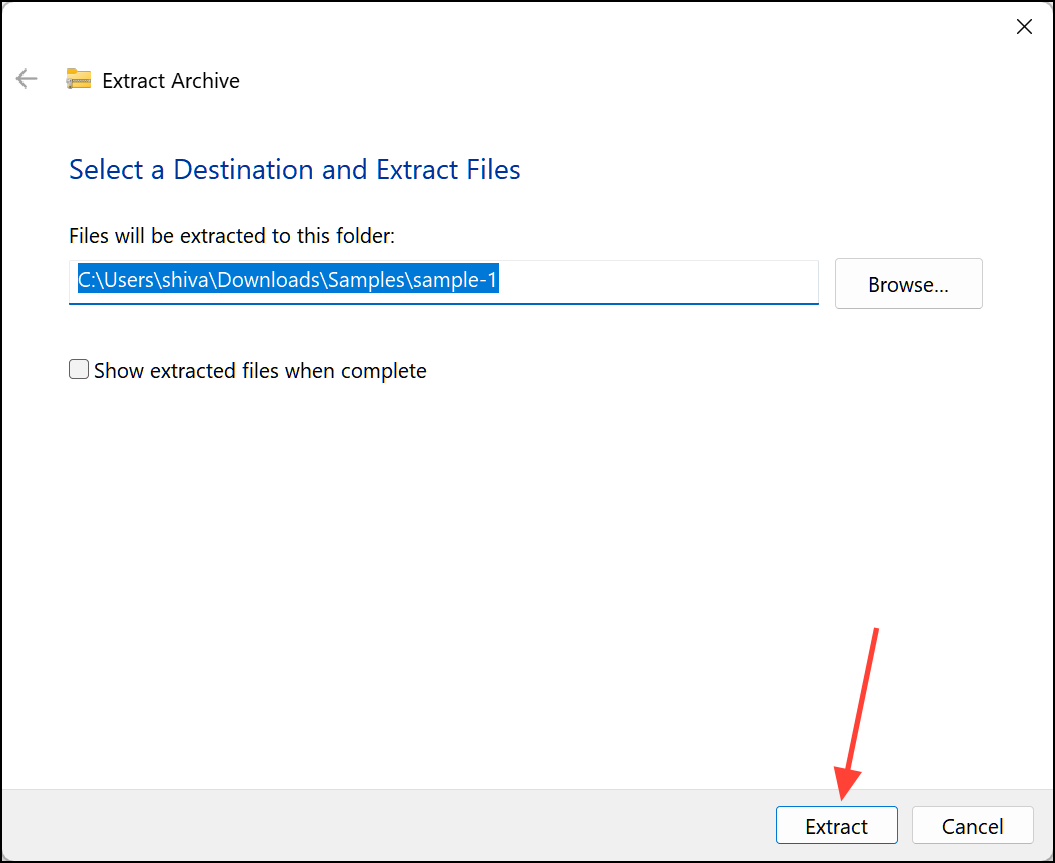
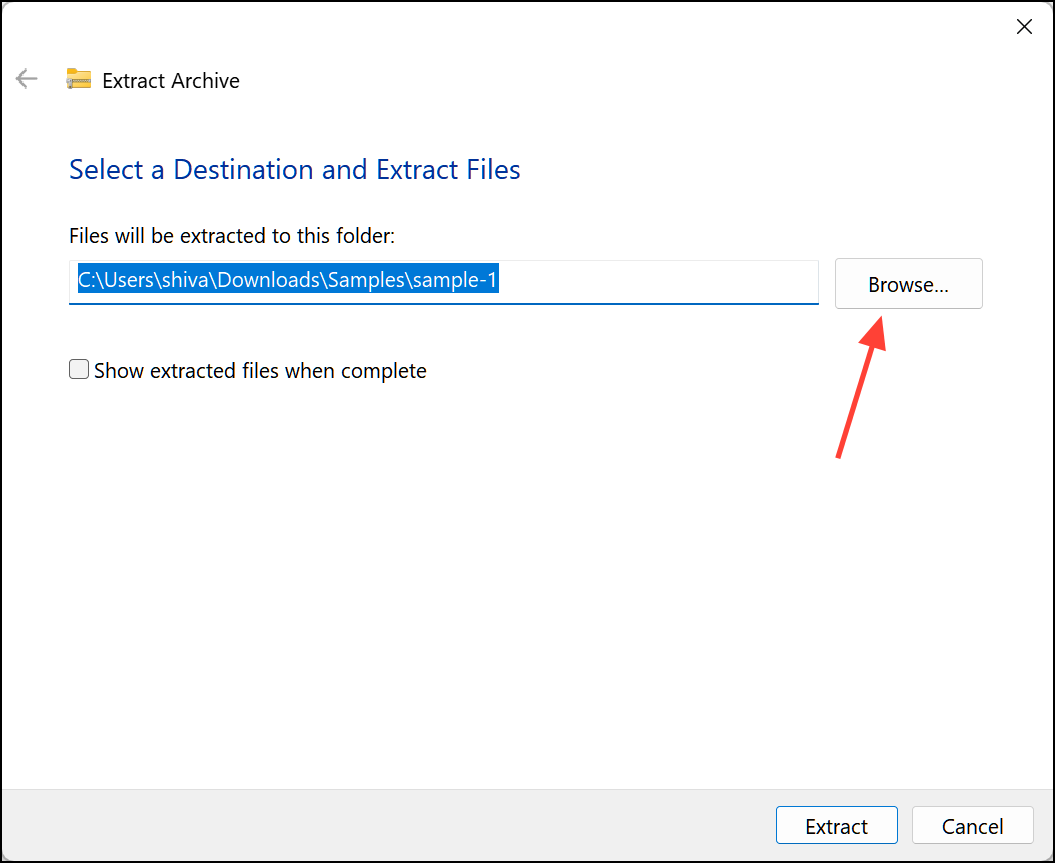
In the Extract Archive window that appears, click on Extract to proceed. By default, the files will be extracted to a new folder with the same name as the RAR file, located in the same directory.
If you prefer to choose a different destination for the extracted files, click on the Browse button. Select your desired folder and click Select Folder to confirm.
Click Extract to begin the extraction process. The files from the RAR archive will be extracted to your chosen location.
Using 7-Zip for additional features
While Windows 11’s native support is adequate for basic extraction tasks, you might require more advanced options offered by third-party tools like 7-Zip. Here’s how to use 7-Zip to open and extract RAR files:
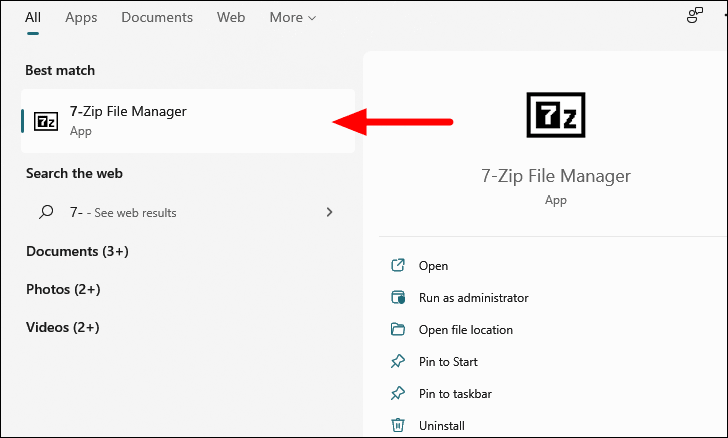
Download and install 7-Zip from the official website at https://www.7-zip.org/. Choose the 32-bit or 64-bit version based on your system’s specifications.
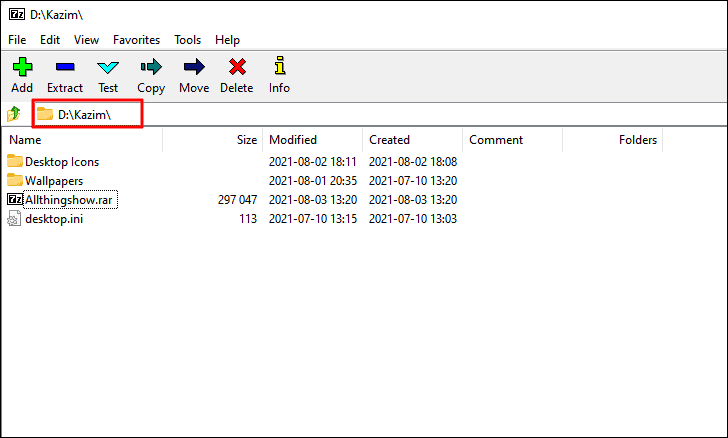
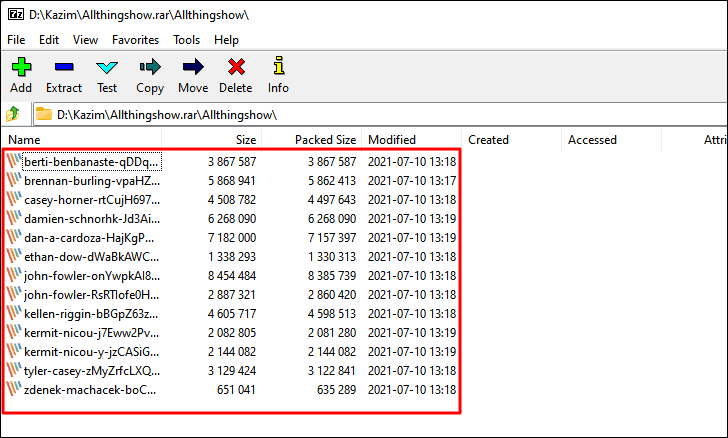
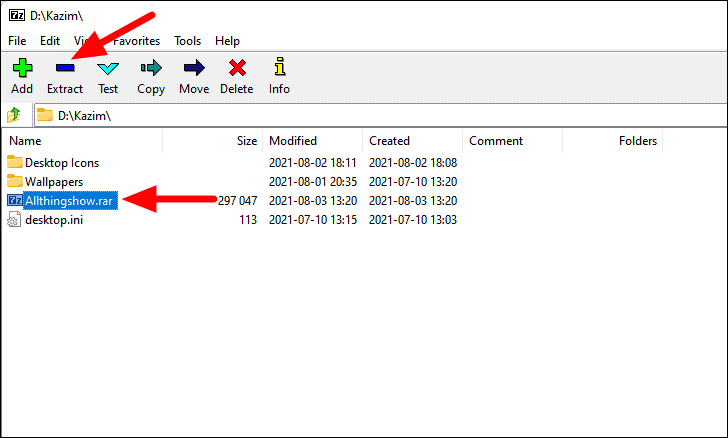
In the 7-Zip File Manager, navigate to the folder containing the RAR file. You can also paste the file’s path into the address bar at the top and press Enter to go directly to it.
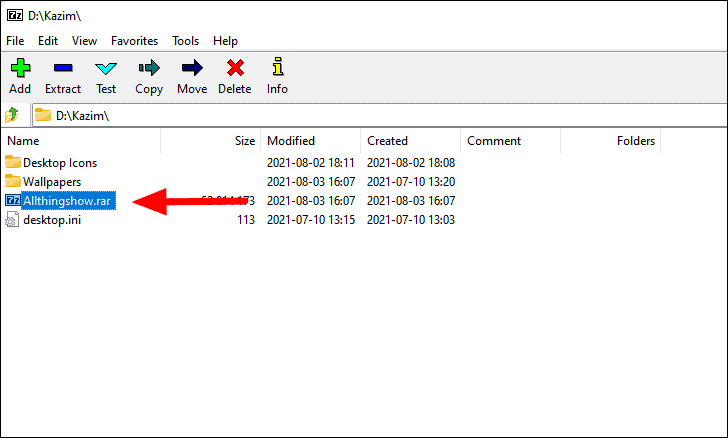
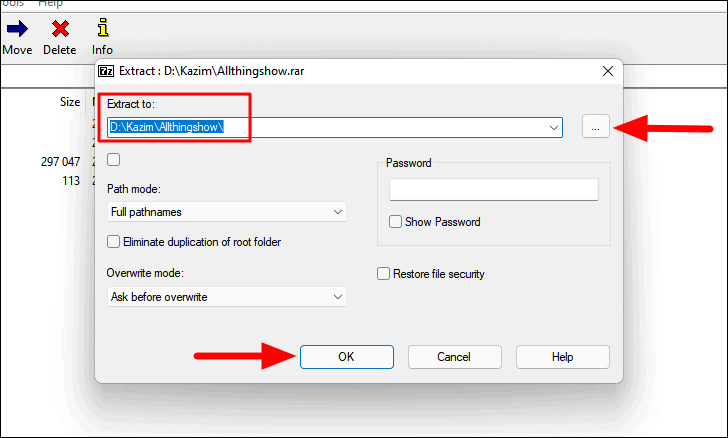
In the extraction window, verify the destination path under Extract to. If you wish to change it, click the ellipsis (…) next to the path and select a new location. Click OK to start extracting the files.
Note: You can extract individual files or folders by selecting them before clicking Extract. This allows for more precise control over what you extract from the archive.
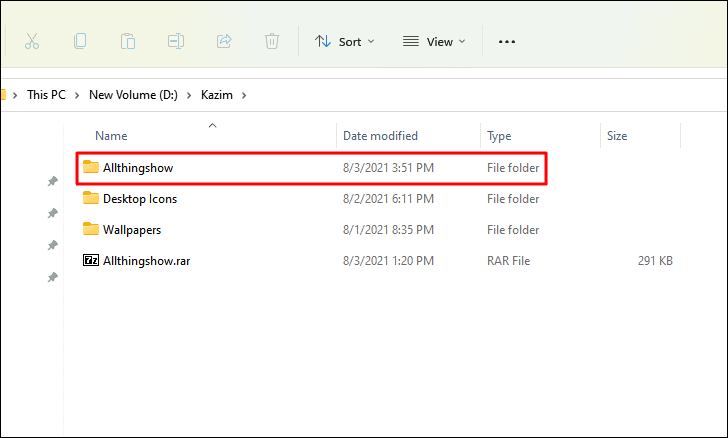
Once the extraction is complete, navigate to the chosen destination folder to access the extracted files.
Whether you choose Windows 11’s native functionality or a tool like 7-Zip, extracting RAR files is straightforward. The built-in support is sufficient for most users, but third-party applications offer additional features for those who need them.