Performing a clean installation of Windows 11 can resolve persistent system issues, enhance performance, and provide a fresh start for your PC. Whether you’re troubleshooting frequent crashes, combating malware infections, or preparing your device for a new owner, reinstalling Windows 11 ensures your system is in optimal condition. This guide will walk you through various methods to clean install Windows 11, along with steps to back up your data to prevent any loss.
Prepare your PC for a clean installation of Windows 11
Before initiating a clean installation, it’s crucial to back up your important data to avoid any potential loss. This section outlines how to create backups of your entire system and personal files using different methods.
Create a backup
Creating a recent backup ensures that you can recover your data if anything goes wrong during the installation process. Here are some ways to back up your system and files:
Backup entire system:
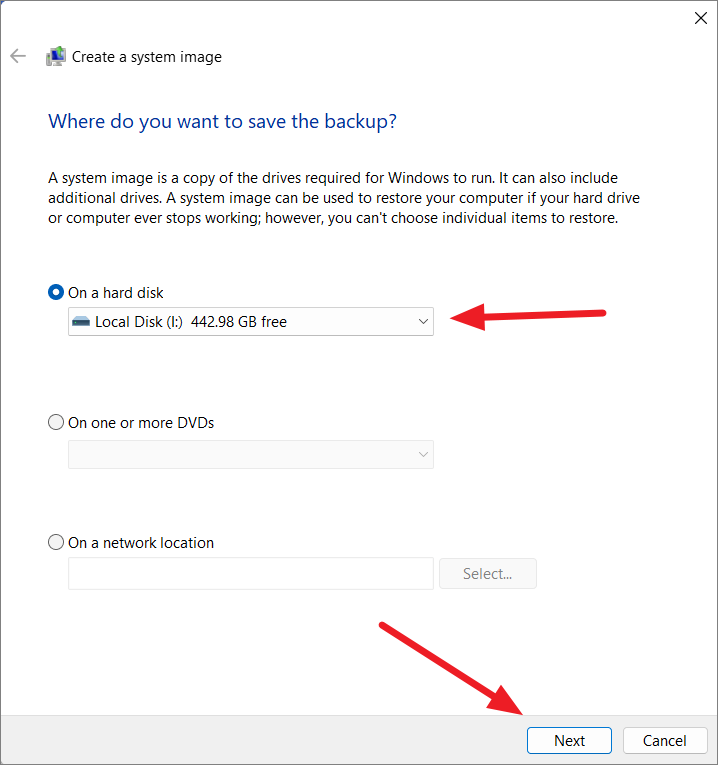
If you want to preserve your current Windows installation for future use, creating a system image is the optimal choice. A system image is a complete snapshot of your hard drive, including the operating system, programs, files, and settings. It allows you to restore your computer to a previous state in case of system failure or corruption.
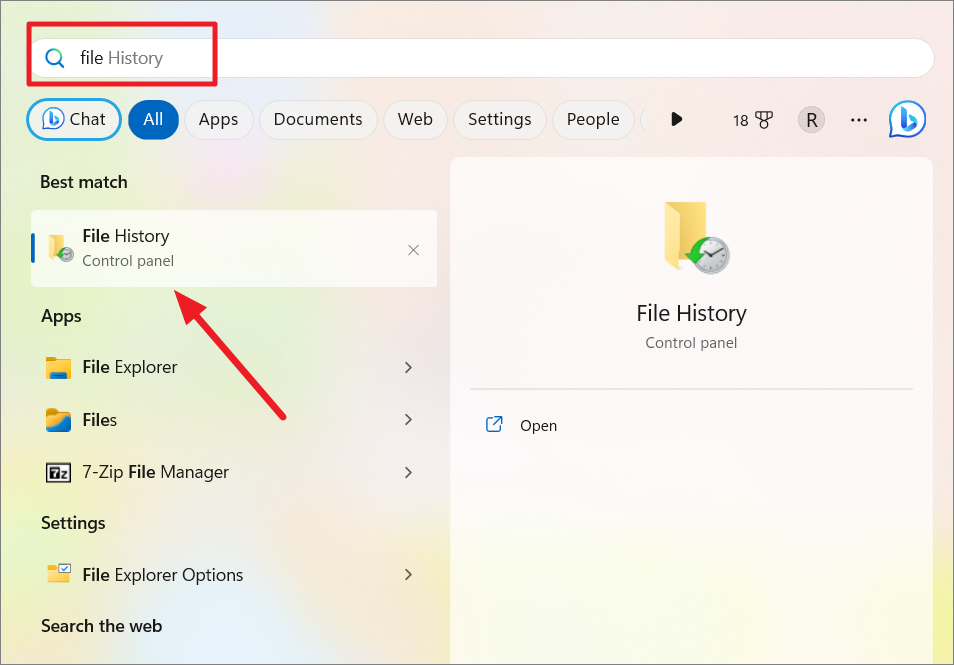
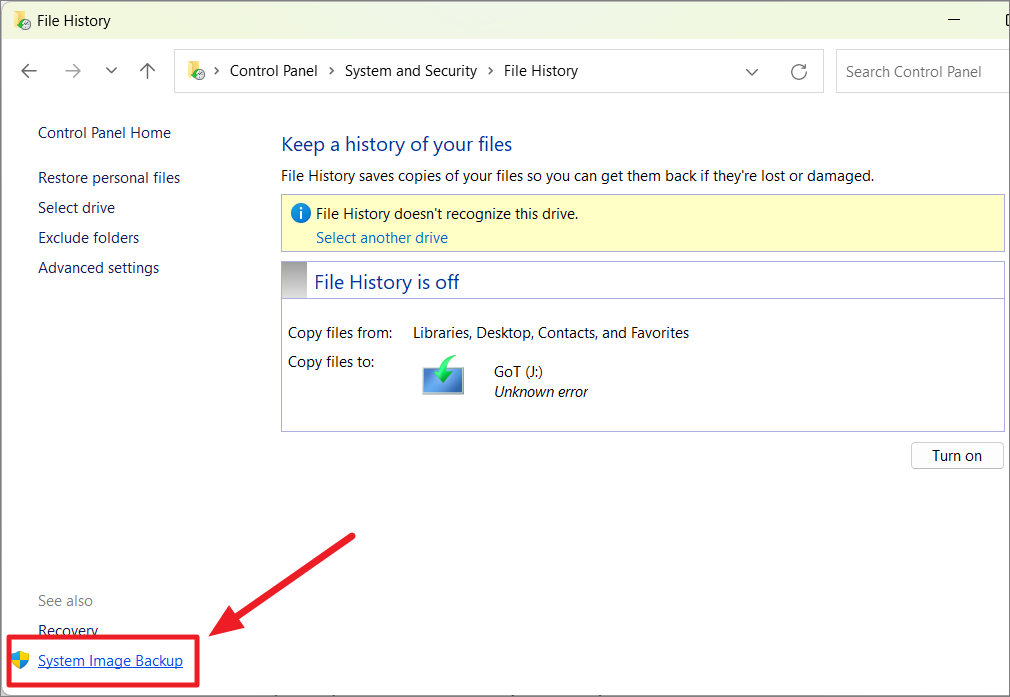
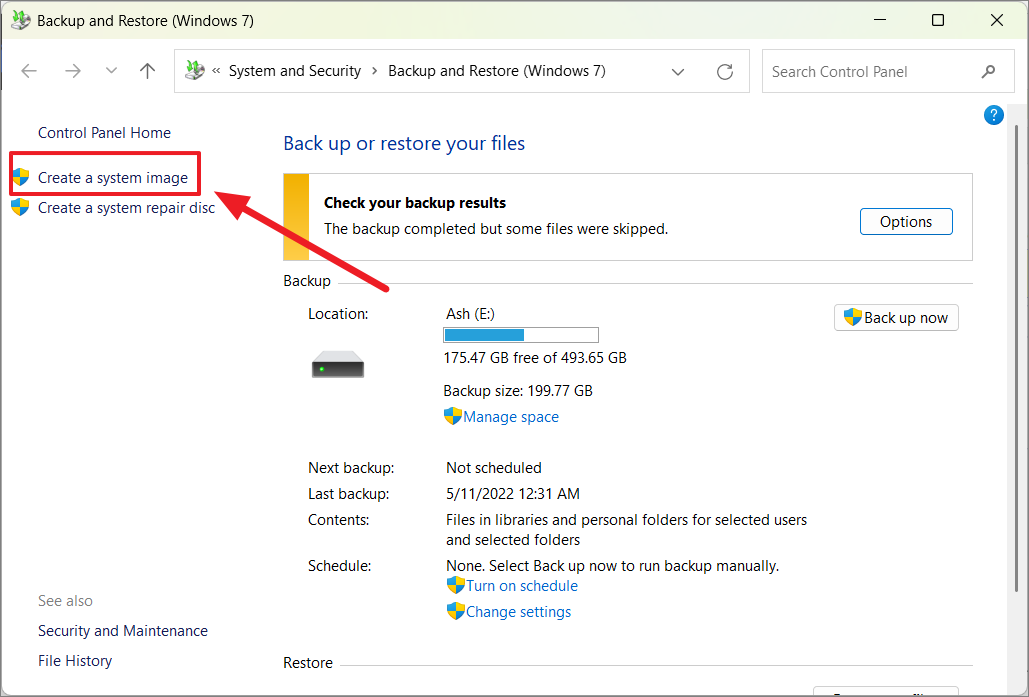
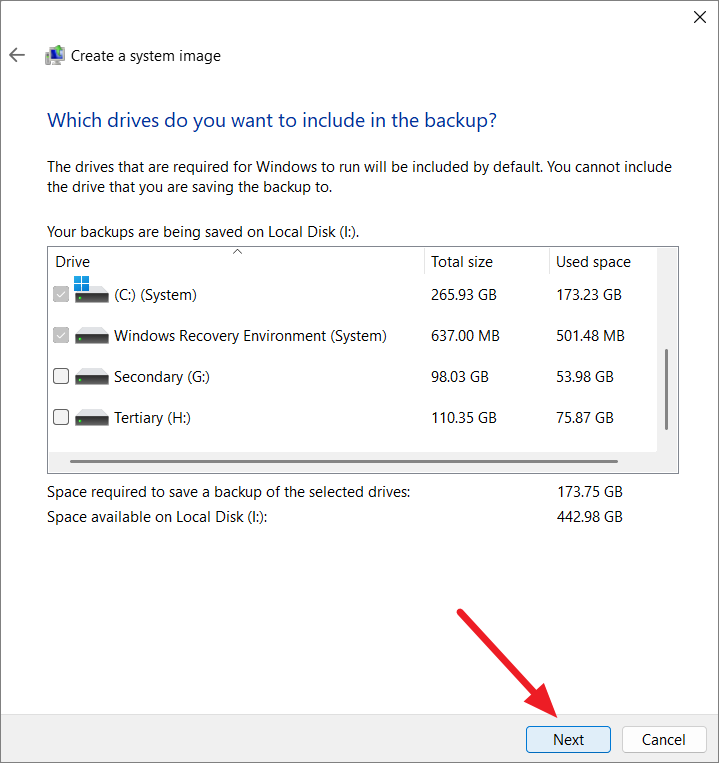
You can create a system image using the built-in Backup and Restore feature in Windows. Here’s how:
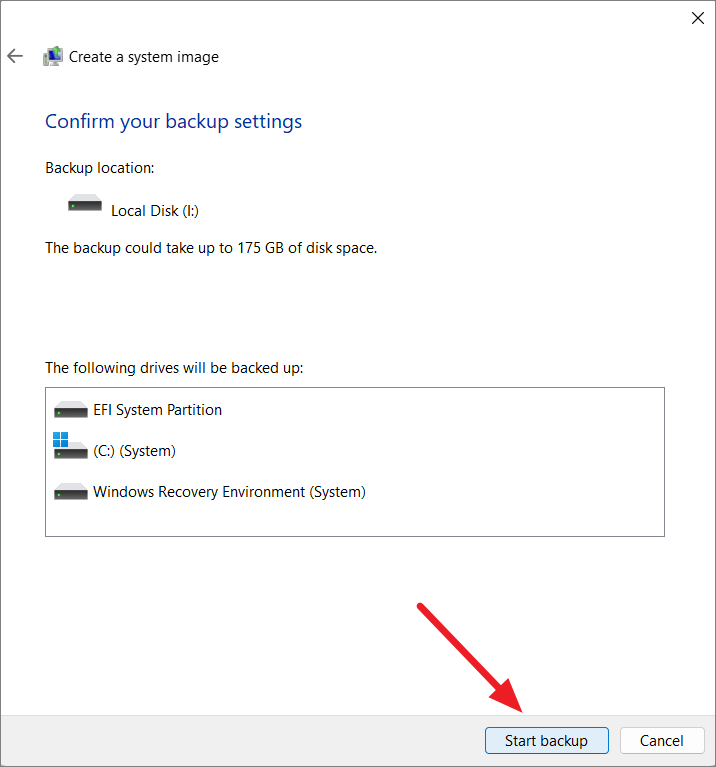
Once the backup is complete, your entire system is safely stored and can be restored if needed.
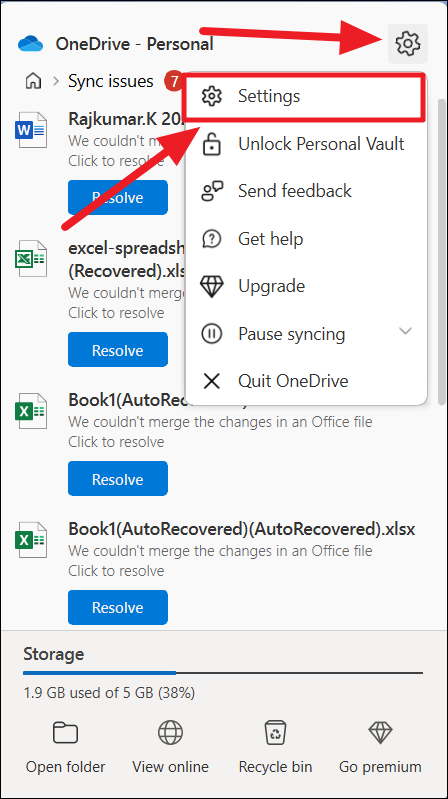
Backup files to OneDrive:
Uploading your important documents and files to OneDrive ensures they are securely stored in the cloud. Here’s how to configure OneDrive backup:
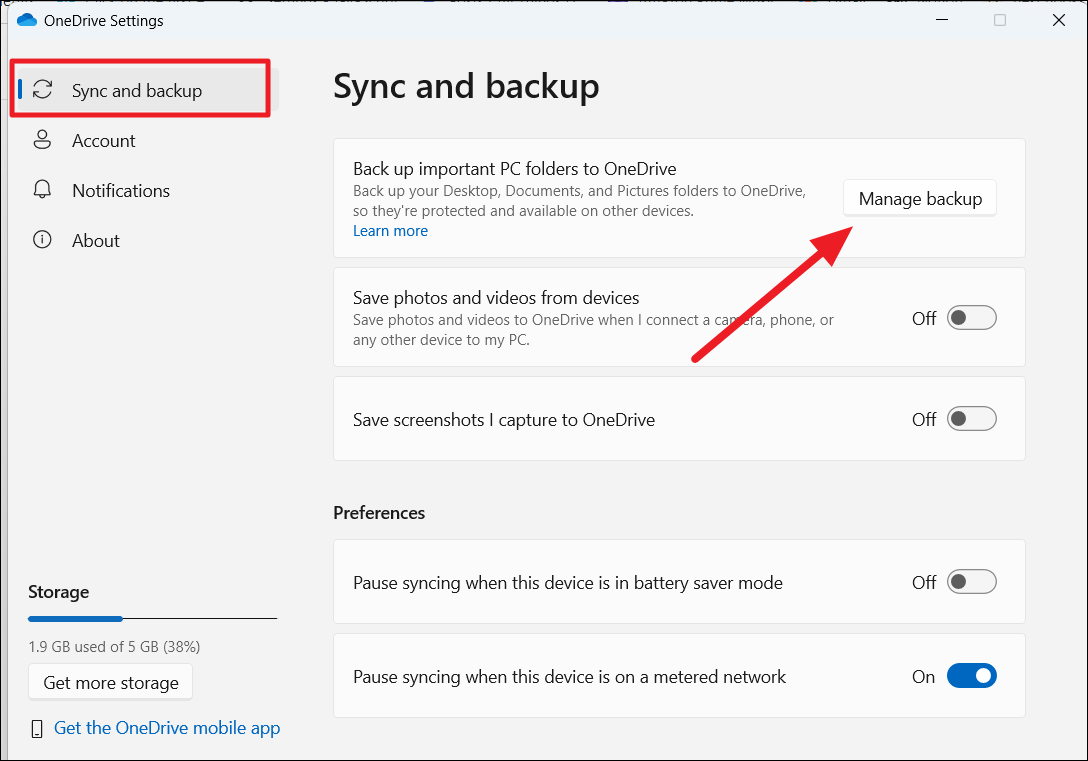

OneDrive will now automatically back up these folders to the cloud and sync them across your devices.
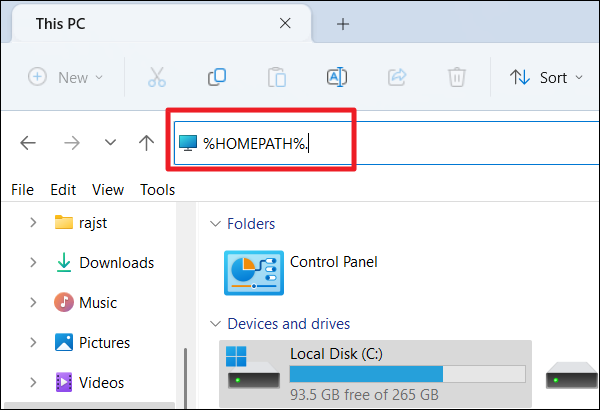
Backup files to external storage:
If you have a large volume of files, it’s advisable to copy them to an external USB drive. Here’s how to manually back up your files:
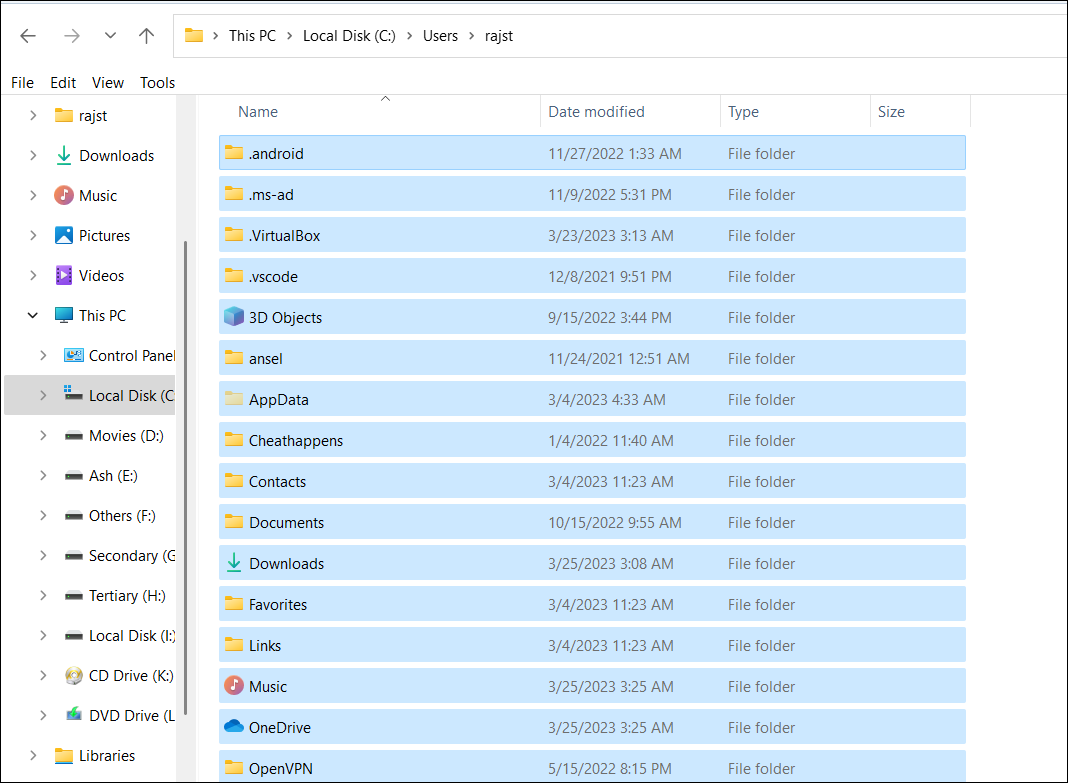
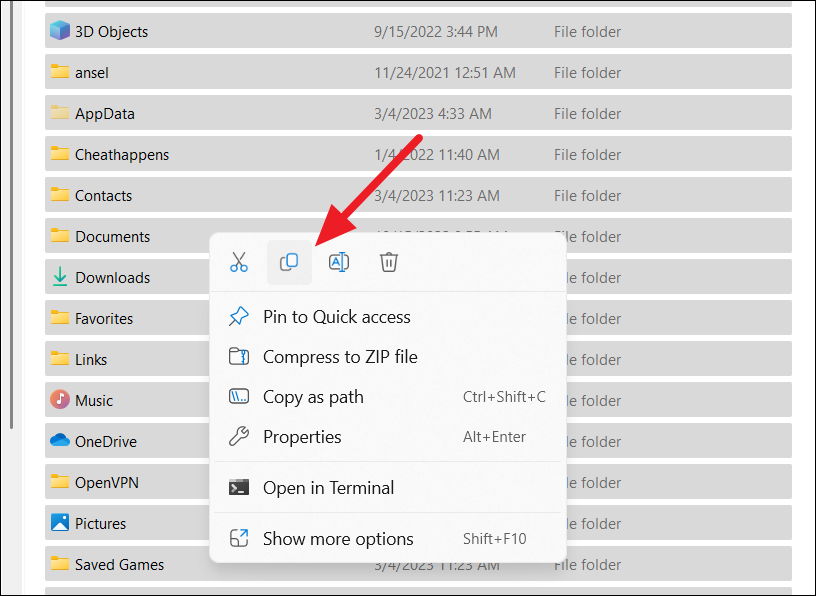
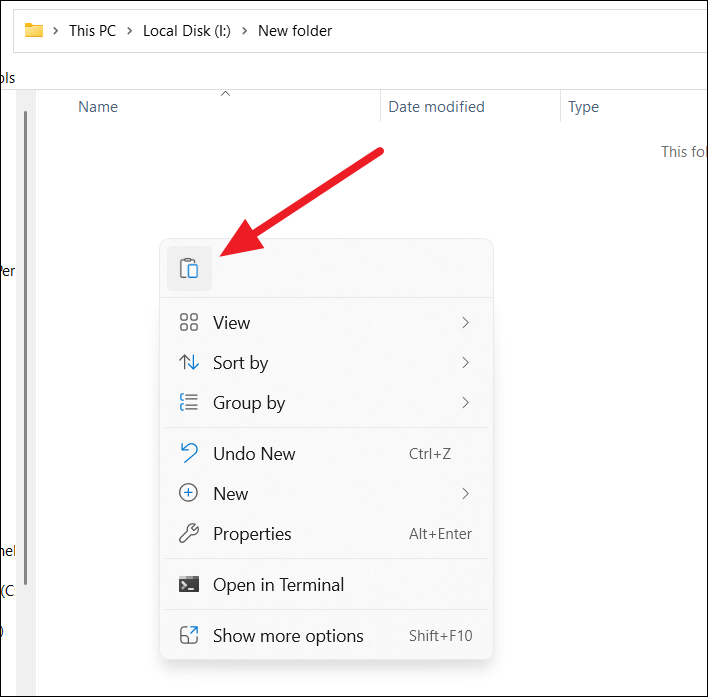
Repeat these steps for any additional user accounts on your PC to ensure all important data is backed up.
Create a list of installed programs
Documenting your installed programs and their product keys (if applicable) helps you reestablish your work environment after the clean installation. Make a list of all applications you use regularly.
With your data safely backed up and a list of programs at hand, you’re ready to proceed with the clean installation of Windows 11.
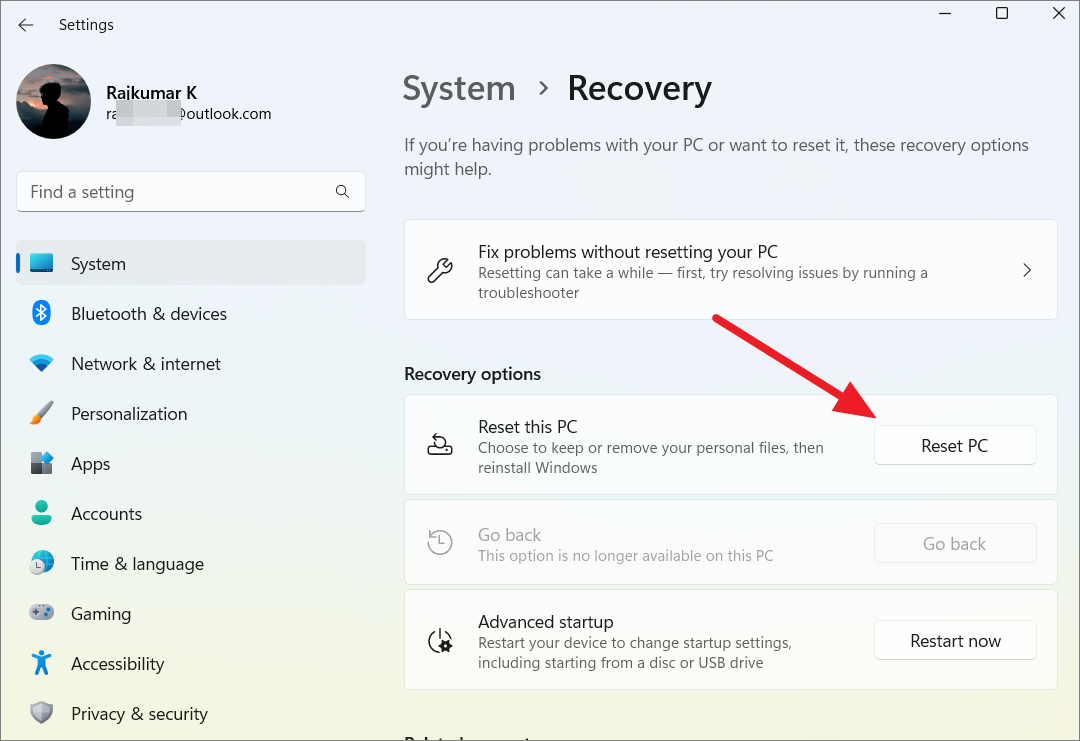
Clean install Windows 11 by resetting the PC from Windows Settings
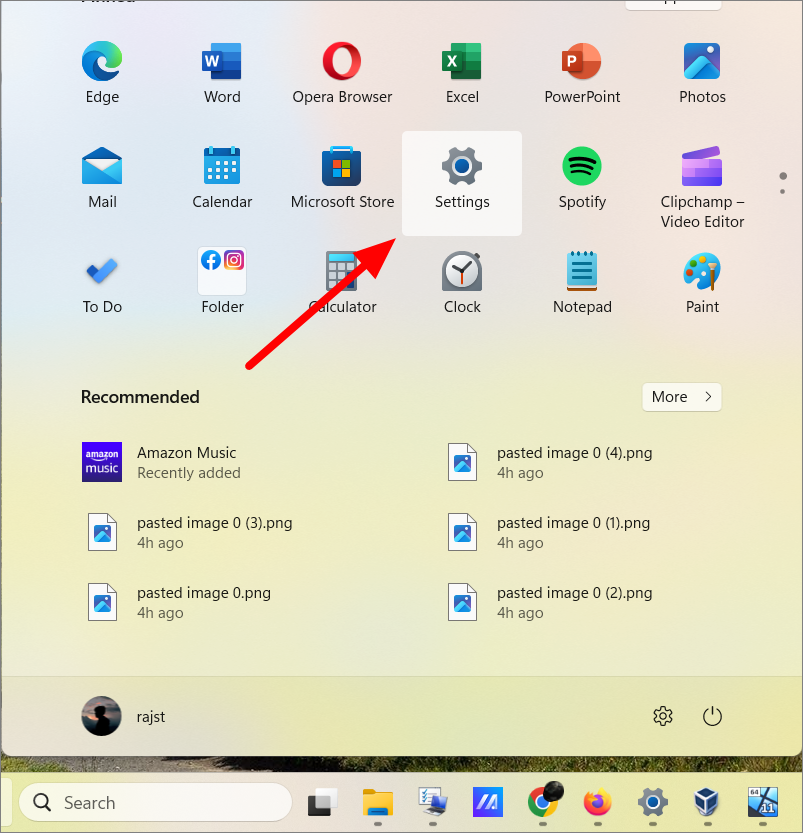
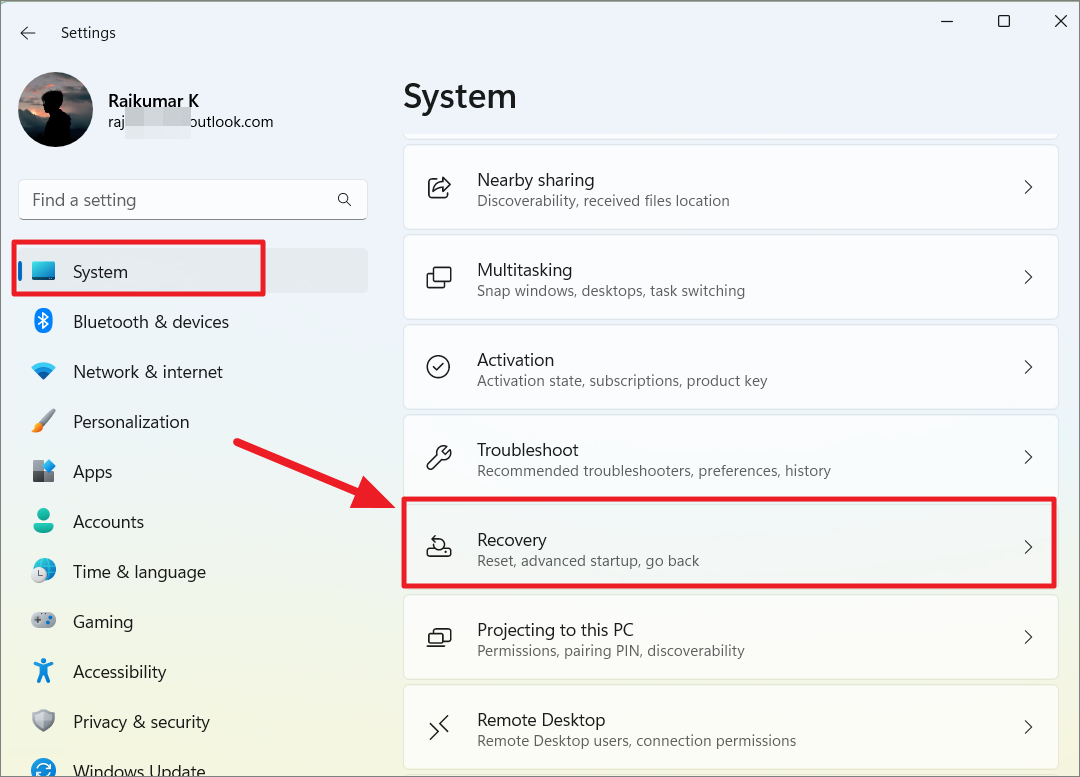
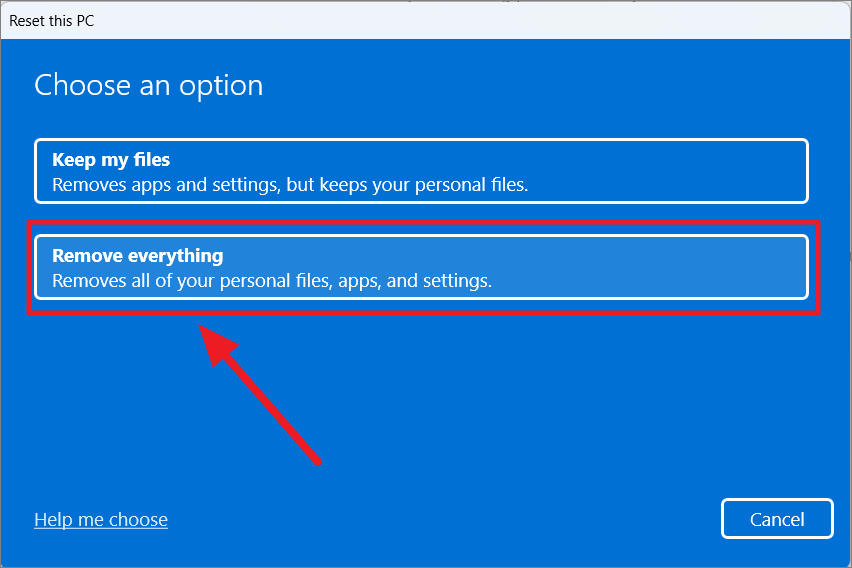
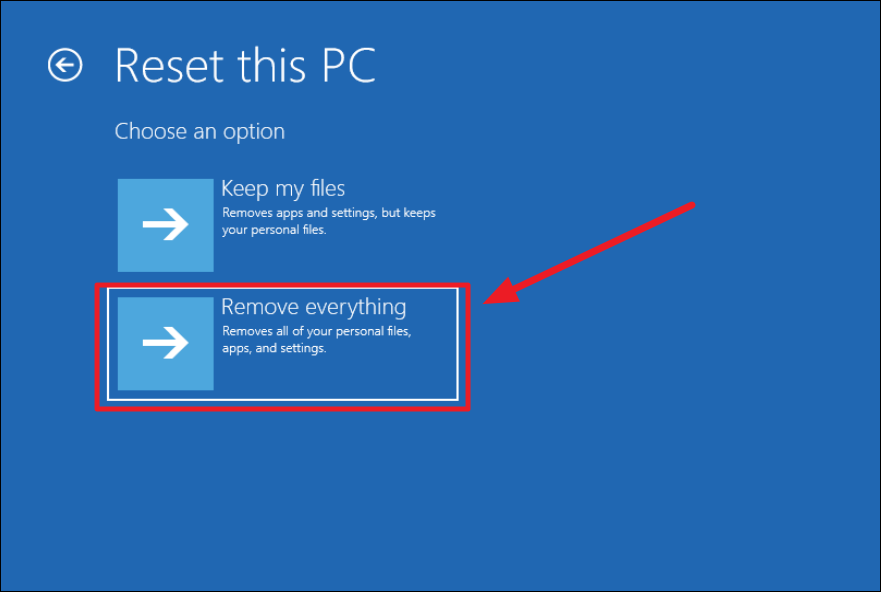
Resetting your Windows 11 PC reinstalls the operating system, providing a fresh start. You can remove all personal files, apps, and settings for a complete clean installation. Here’s how to reset your PC using Windows Settings:
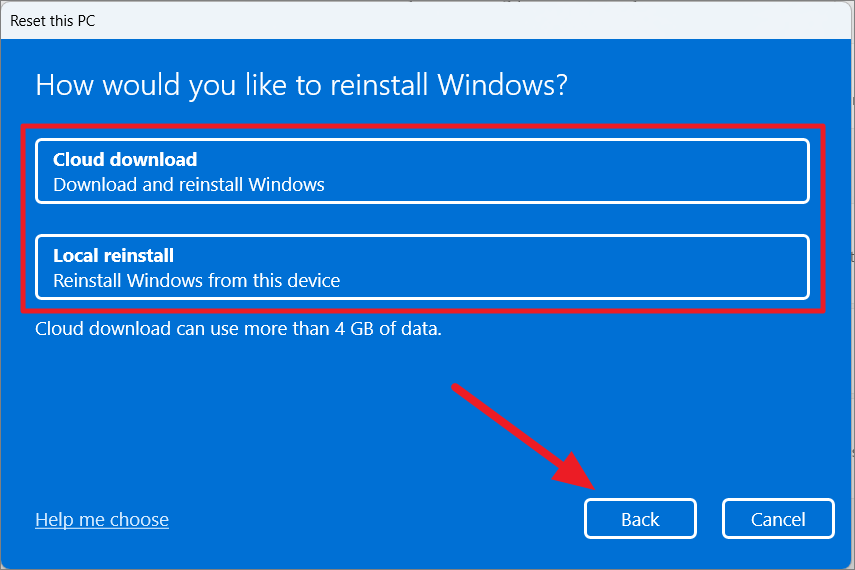
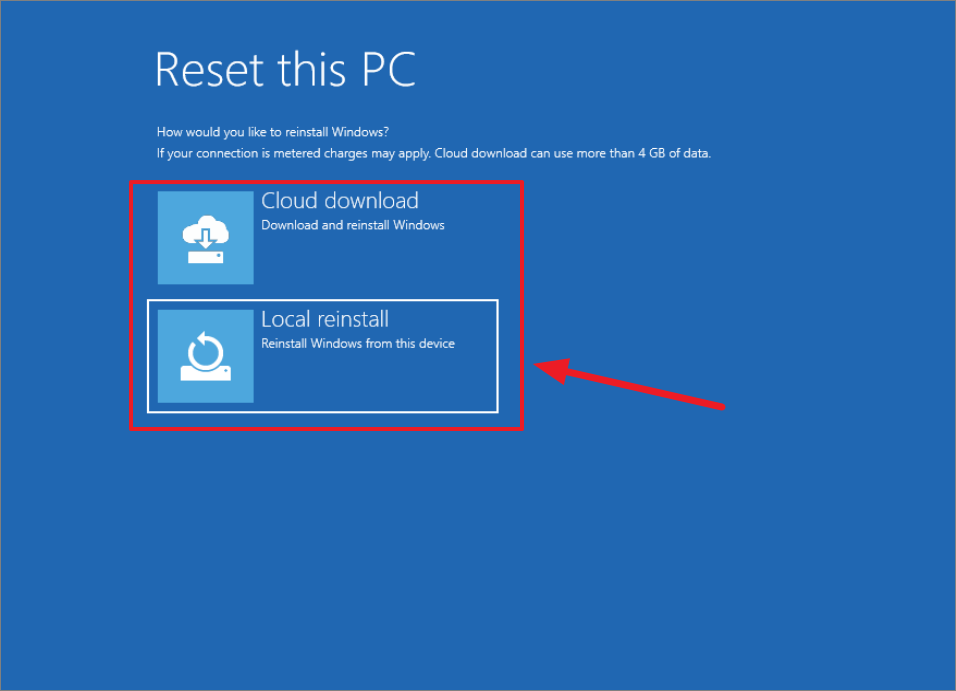
- Cloud download: Downloads a fresh copy of Windows 11 from Microsoft’s servers (requires an internet connection and approximately 4 GB of data).
- Local reinstall: Reinstalls Windows from the files on your device (may not resolve issues caused by corrupted system files).
Choosing ‘Cloud download’ is recommended for a clean and updated installation.
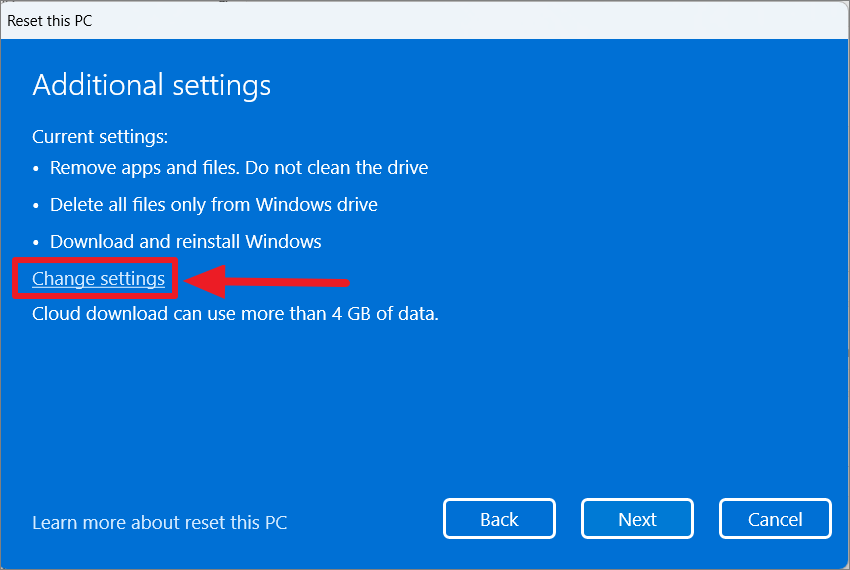
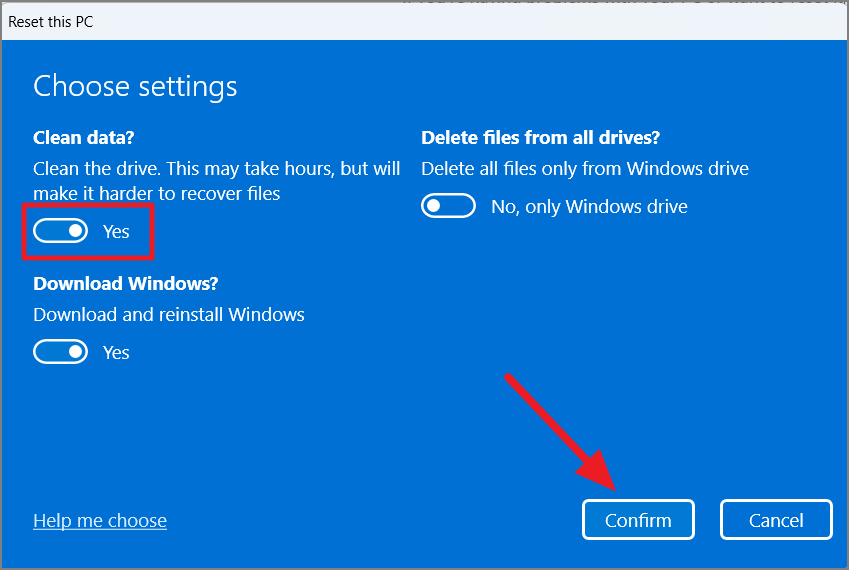
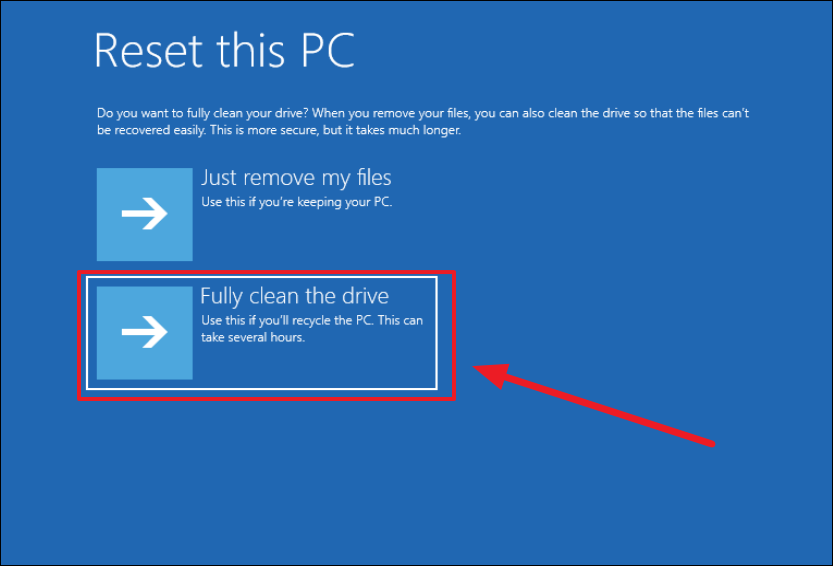
- Enable ‘Clean data’ to thoroughly erase your drive (recommended if you’re disposing of or selling your PC).
- Turn on ‘Delete files from all drives’ if you have multiple drives and want to erase everything.
- Enable or disable ‘Download Windows’ depending on your previous selection.
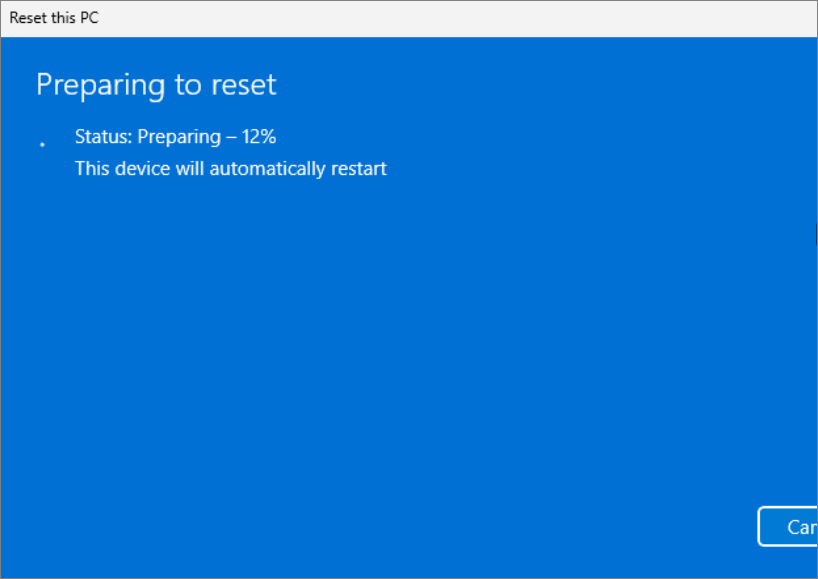
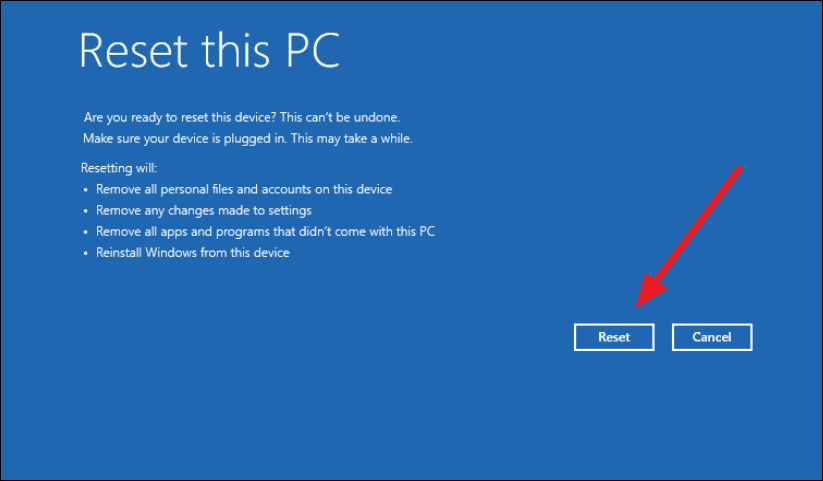
Adjust the settings as needed and click ‘Confirm’.
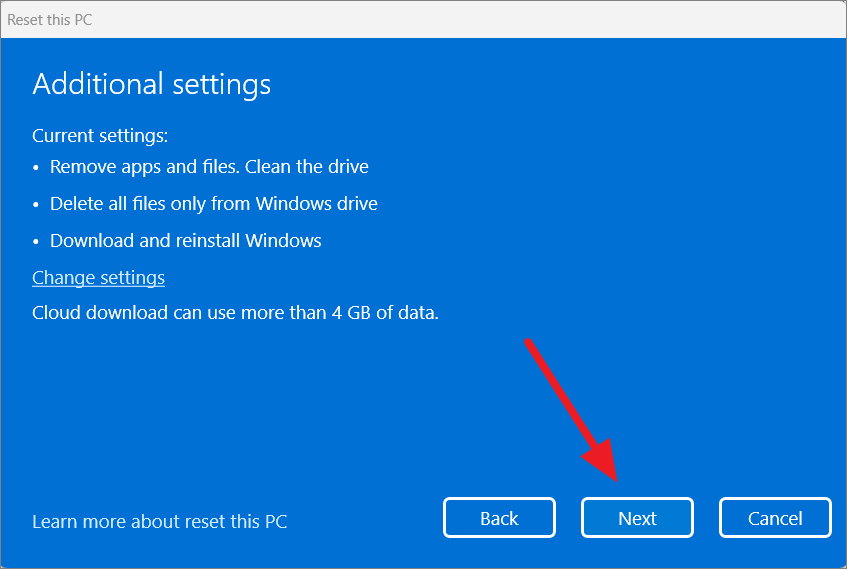
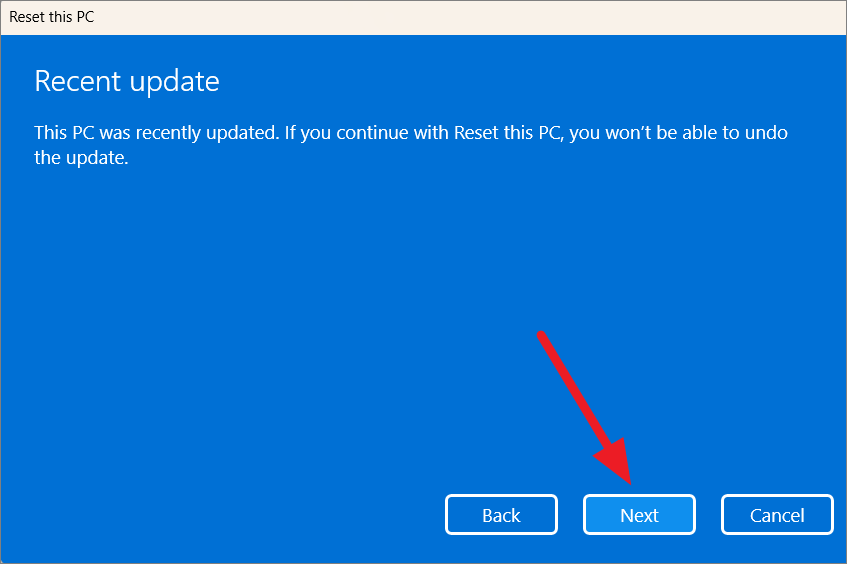
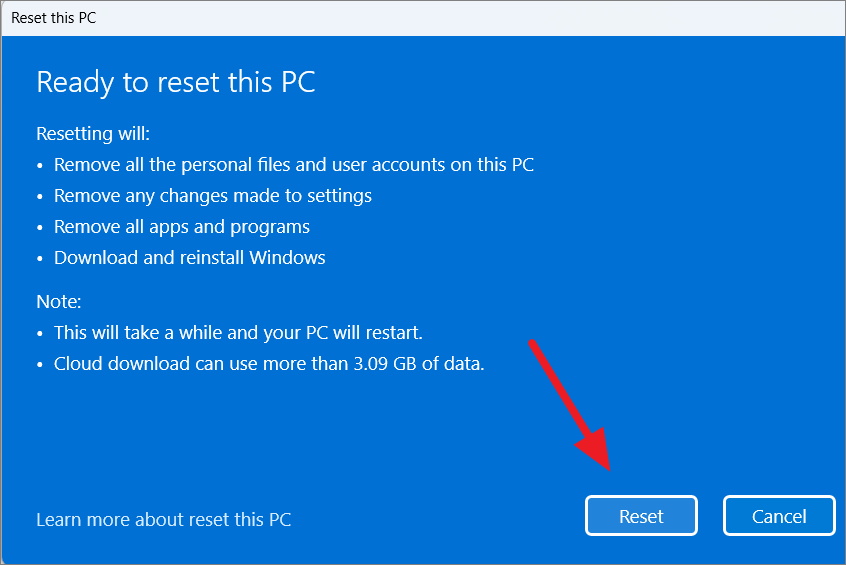
Your PC will restart and begin reinstalling Windows 11. This process may take some time and will involve several restarts.
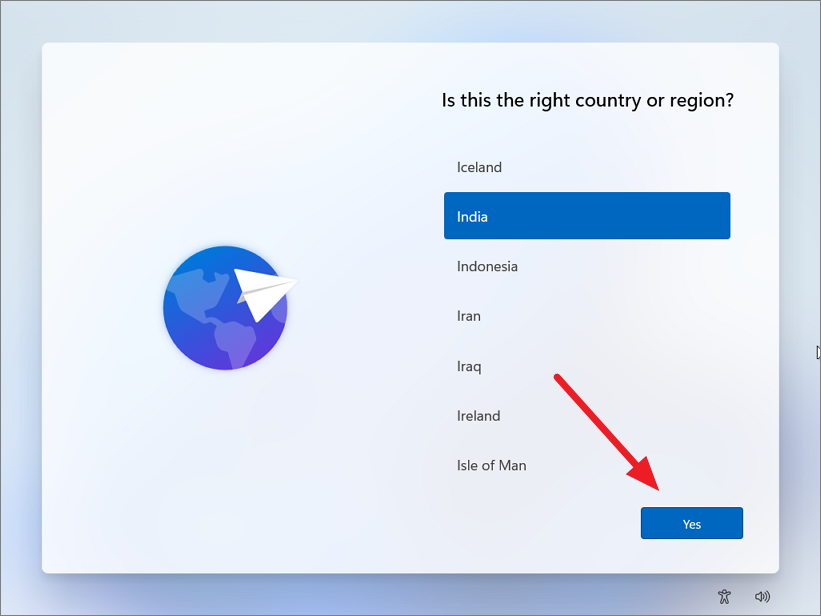
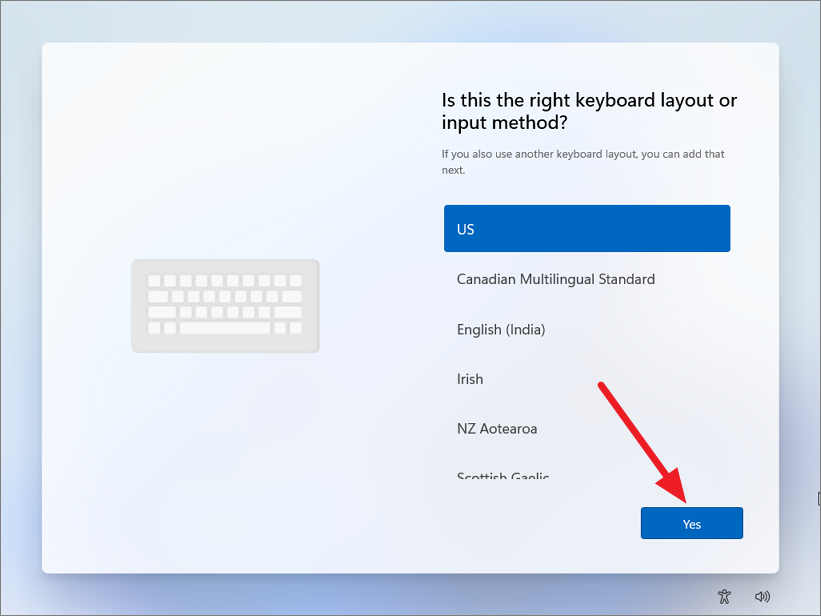
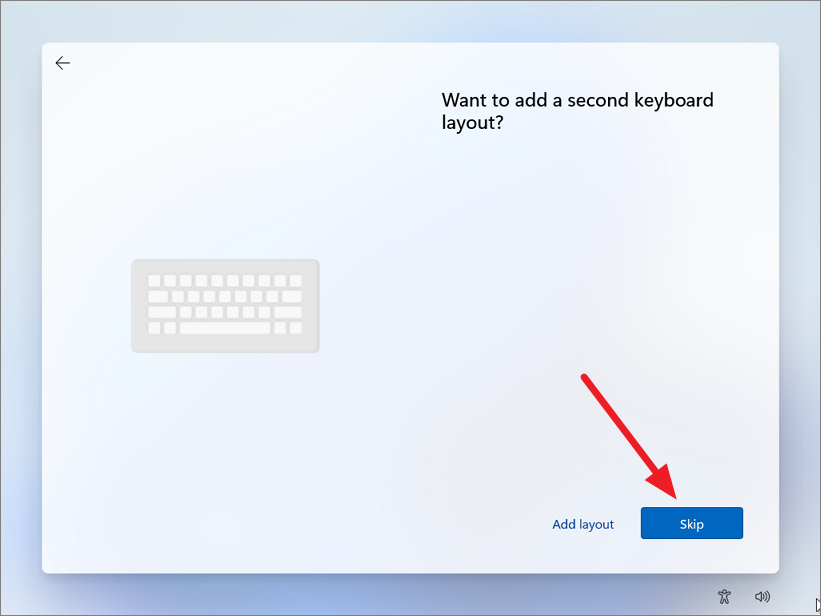
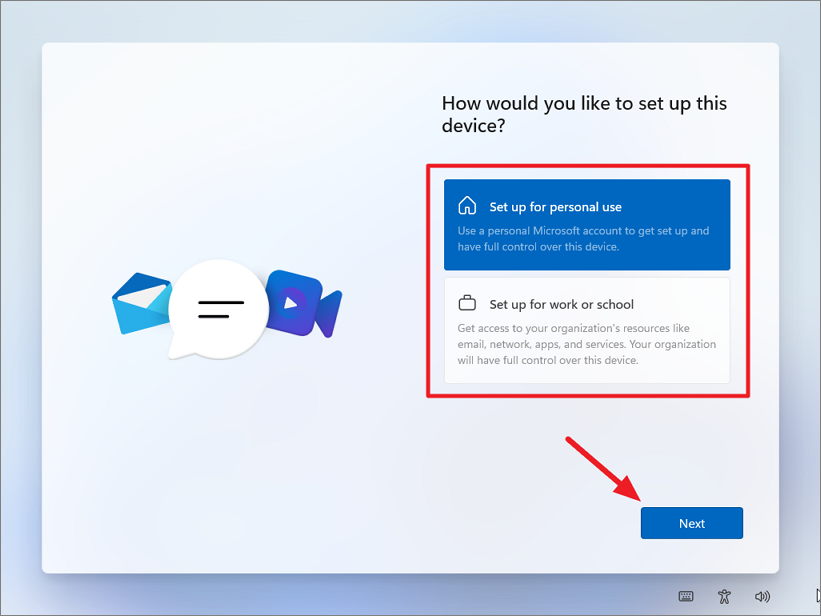
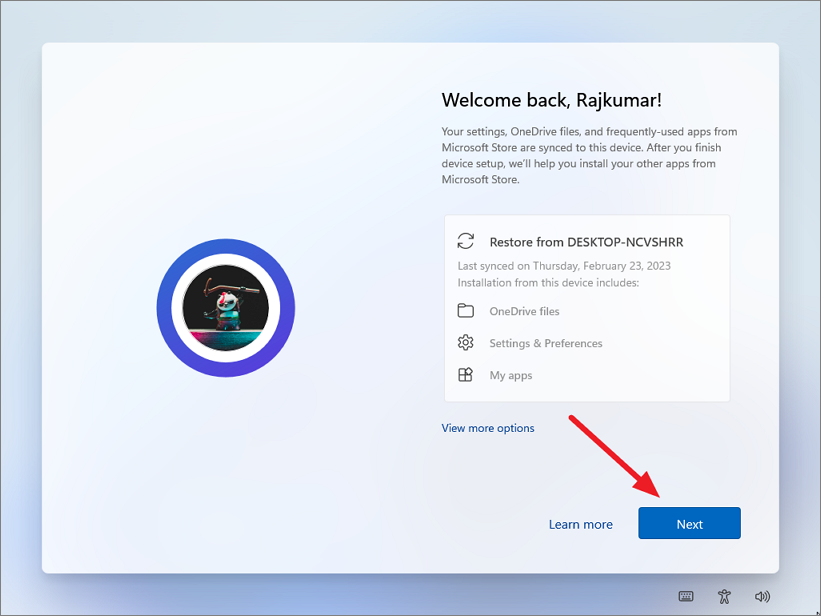
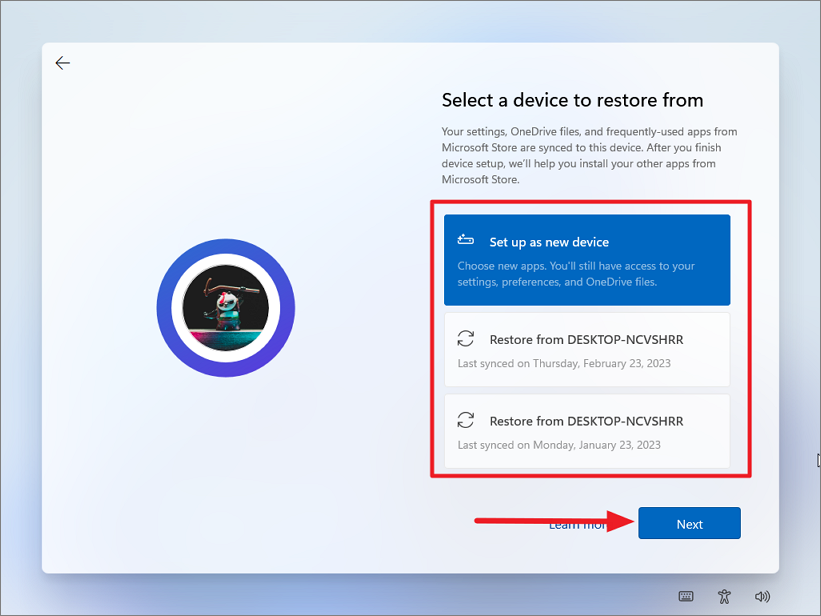
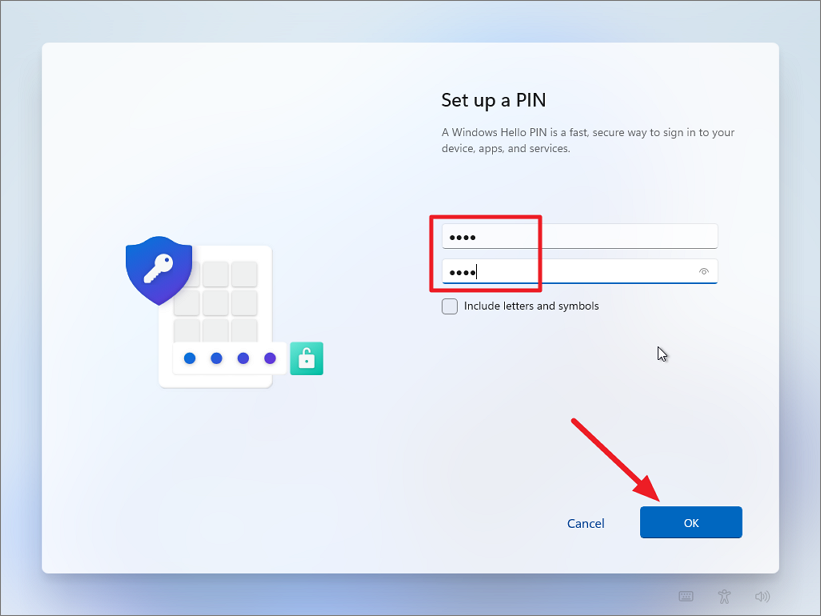
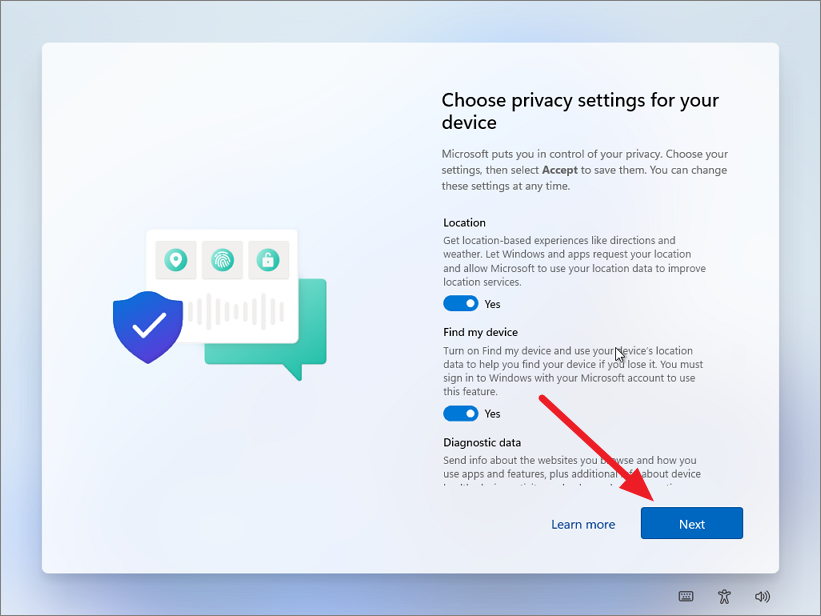
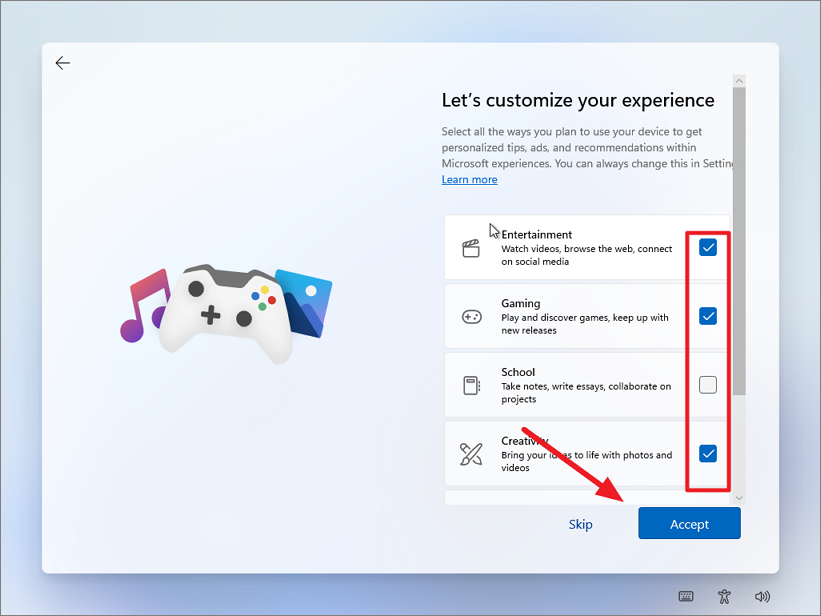
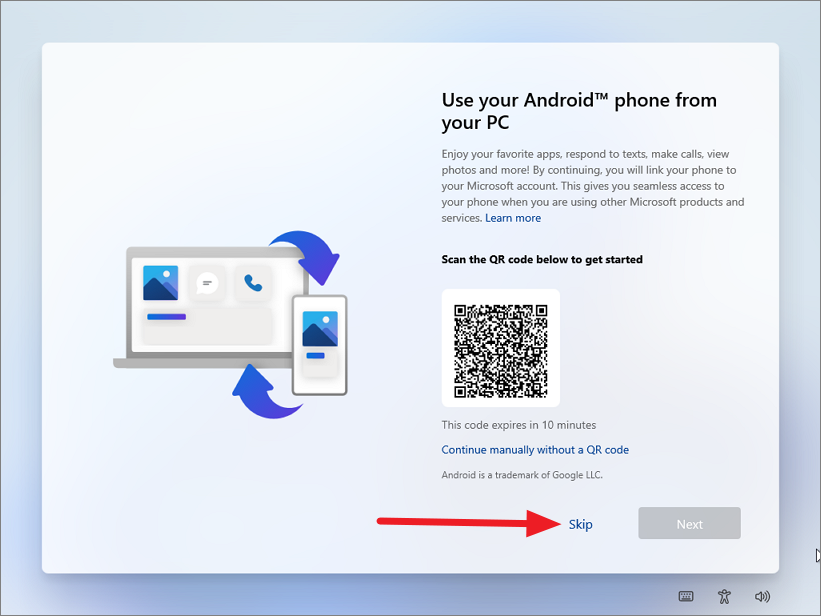
Out-of-the-box Experience (OOBE) configuration
After the installation, you’ll need to complete the initial setup to configure your settings. Here’s how:


Note:
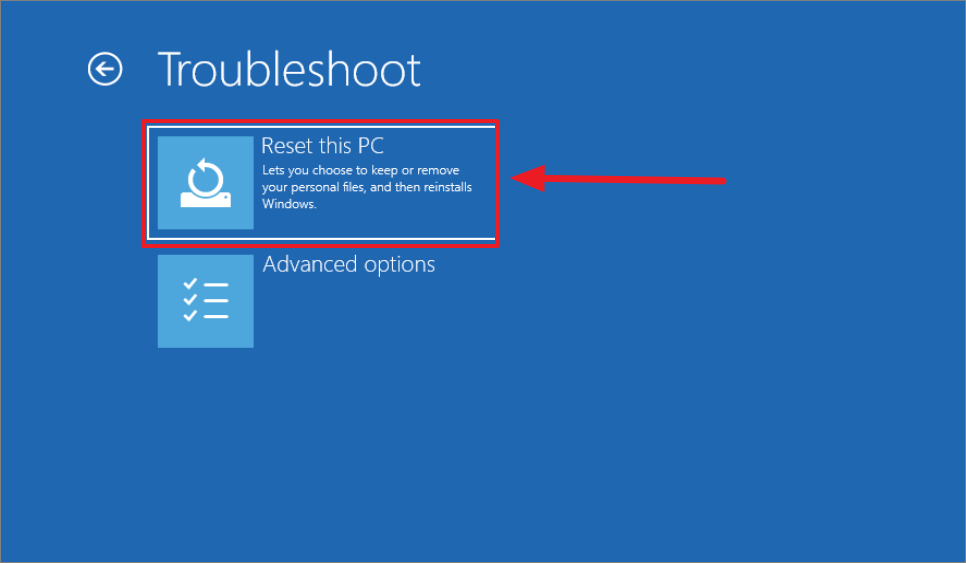
Reset Windows 11 via Recovery Mode
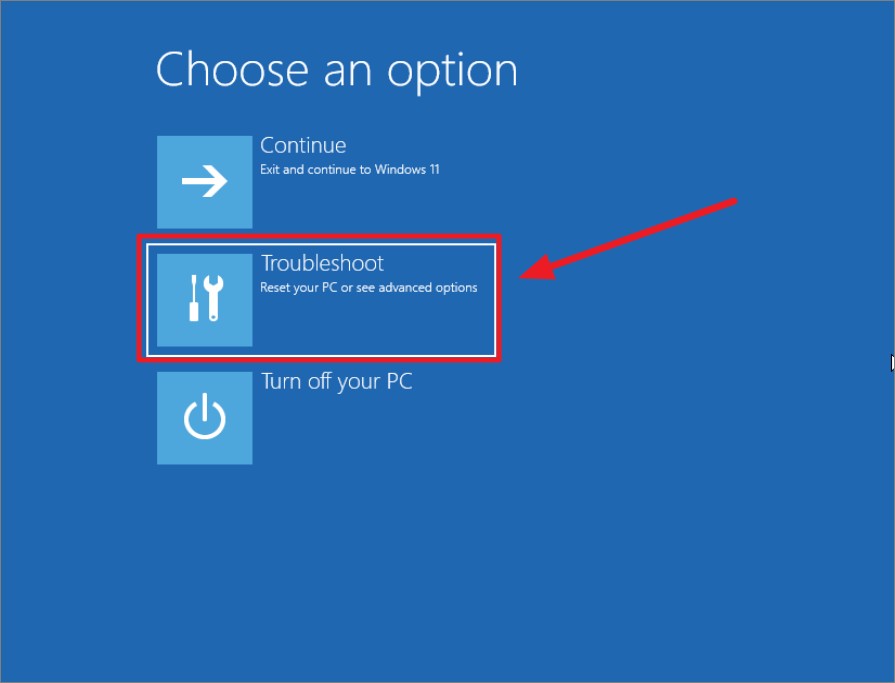
If you’re unable to access Windows Settings or sign in to your account, you can reset your PC using Recovery Mode. This method allows you to reinstall Windows 11 without needing to boot into the system. Follow these steps:
Shift key, and select ‘Restart’. This will boot your PC into the Windows Recovery Environment (WinRE).
- Cloud download: Downloads a fresh copy of Windows 11 from Microsoft’s servers.
- Local reinstall: Reinstalls Windows from the existing system files on your PC.
It’s recommended to choose ‘Cloud download’ for the most up-to-date installation.
After the reset is complete, your PC will restart, and you’ll need to go through the initial setup as described earlier.
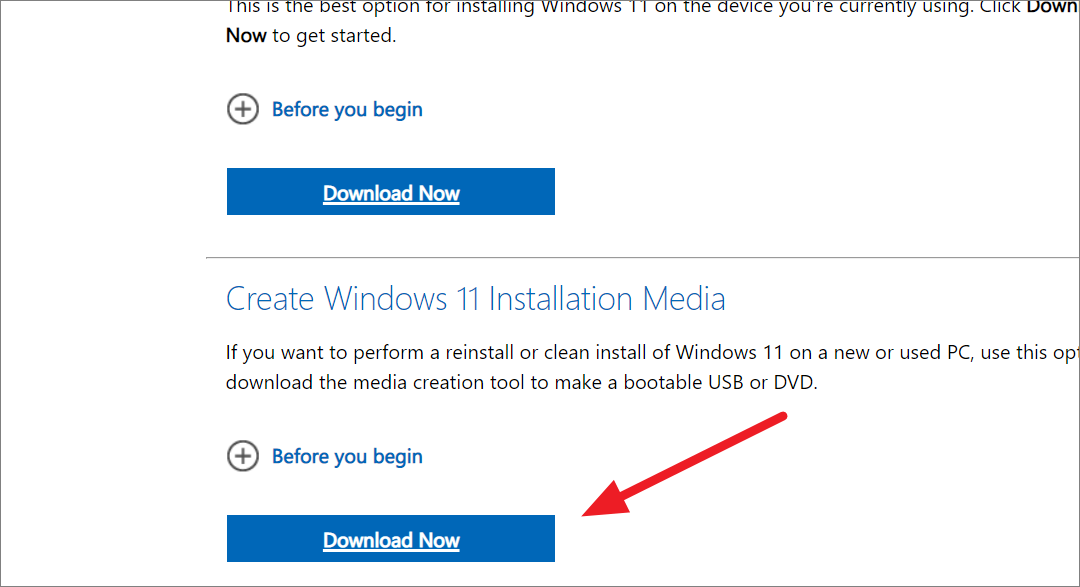
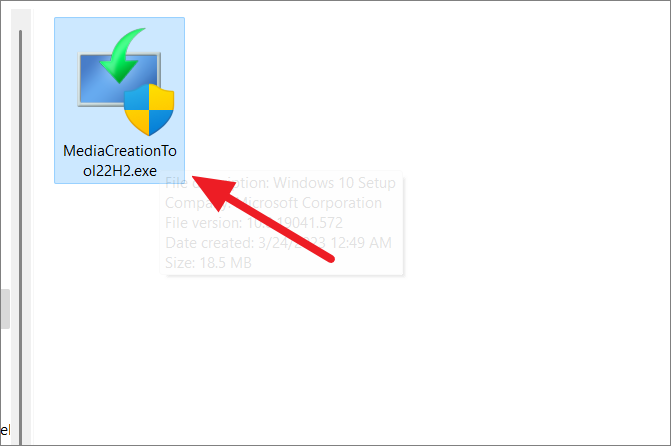
Repair-upgrade Windows 11 using an installation media (DVD or USB)
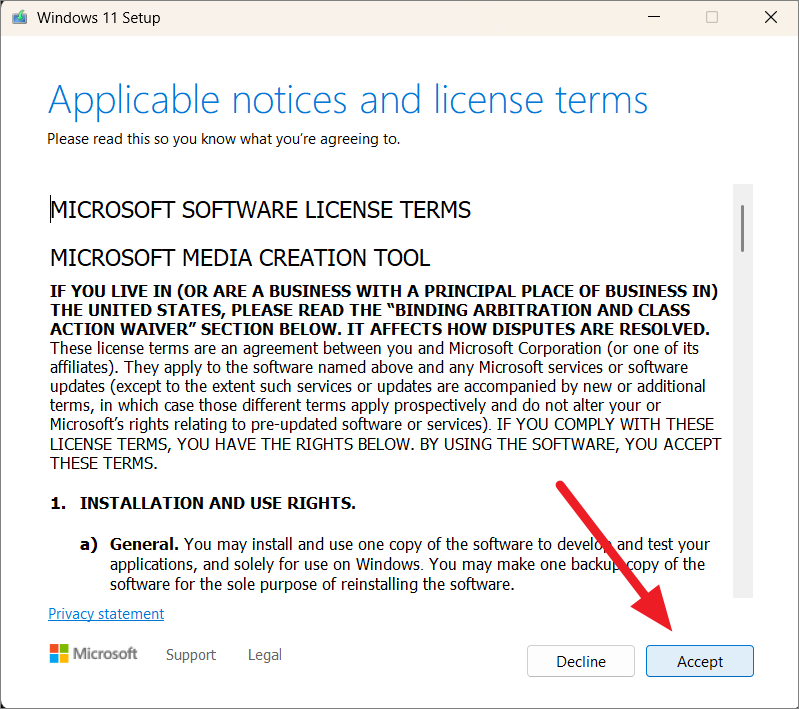
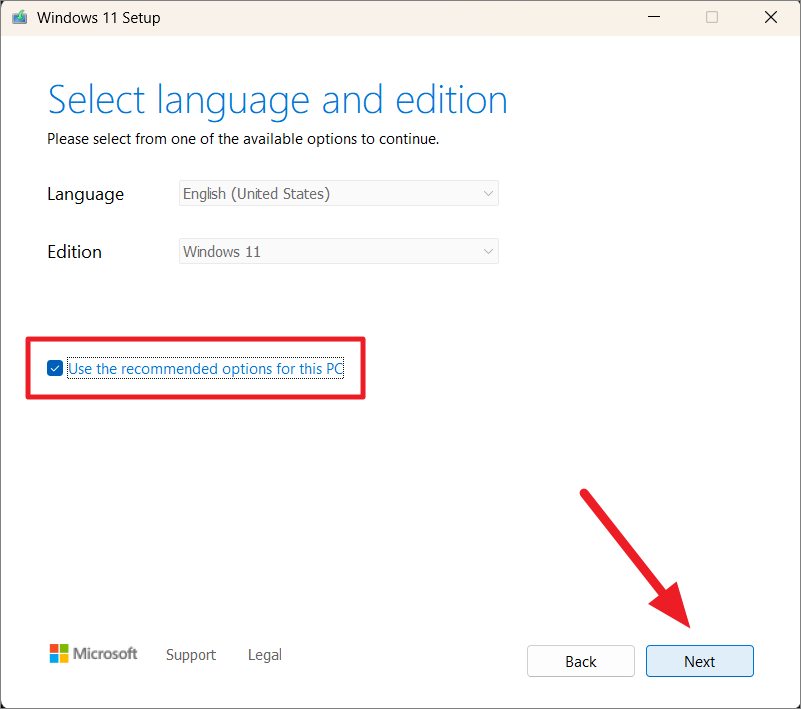
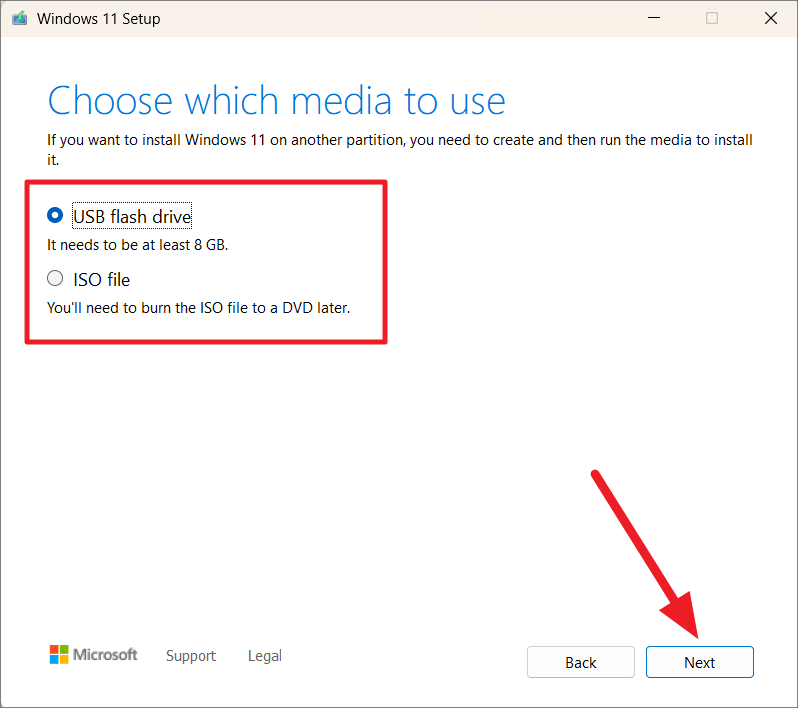
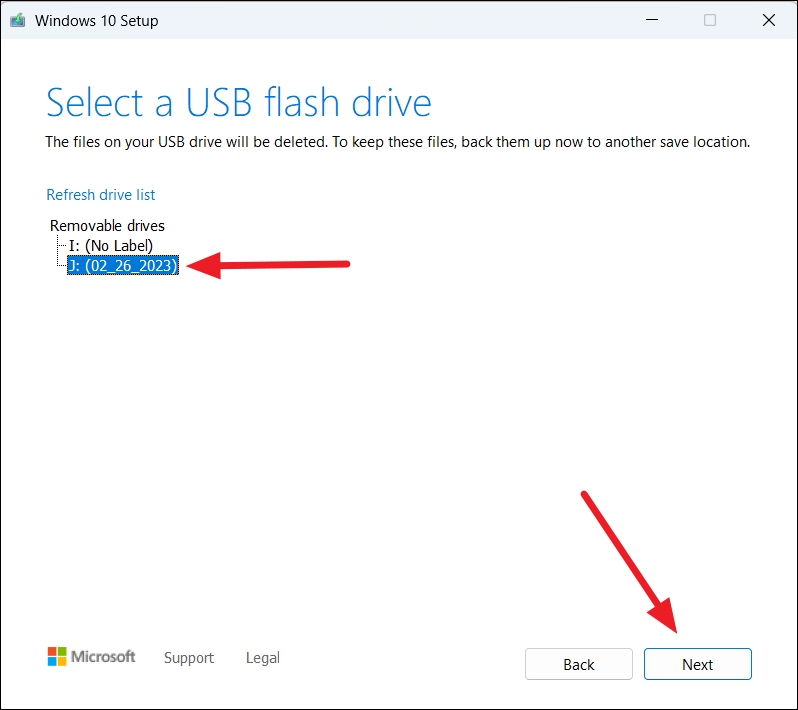
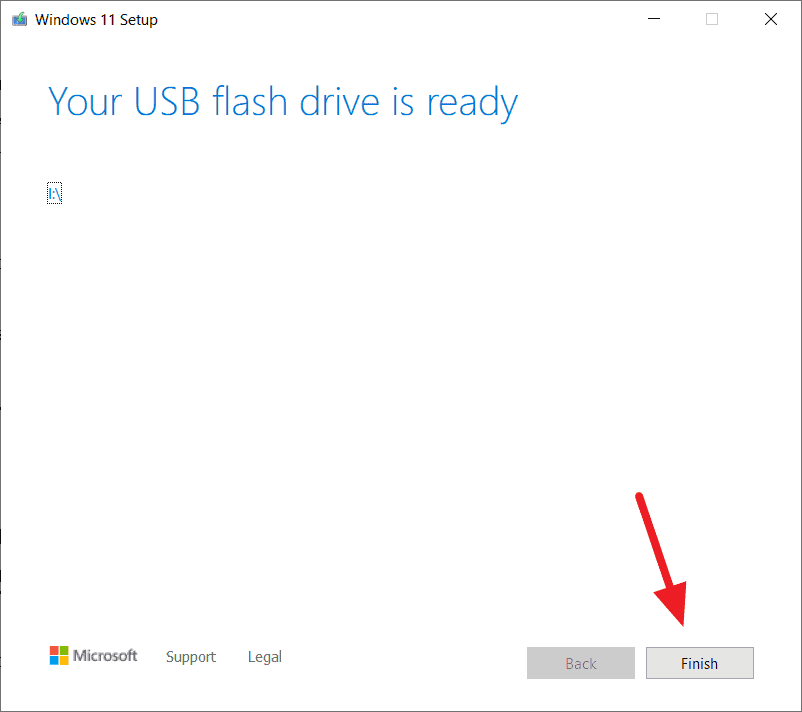
If you’re unable to reset Windows 11 or if your system files are corrupted, you can perform a repair-upgrade using a bootable USB drive or DVD. Here’s how to create installation media and use it for a clean install:
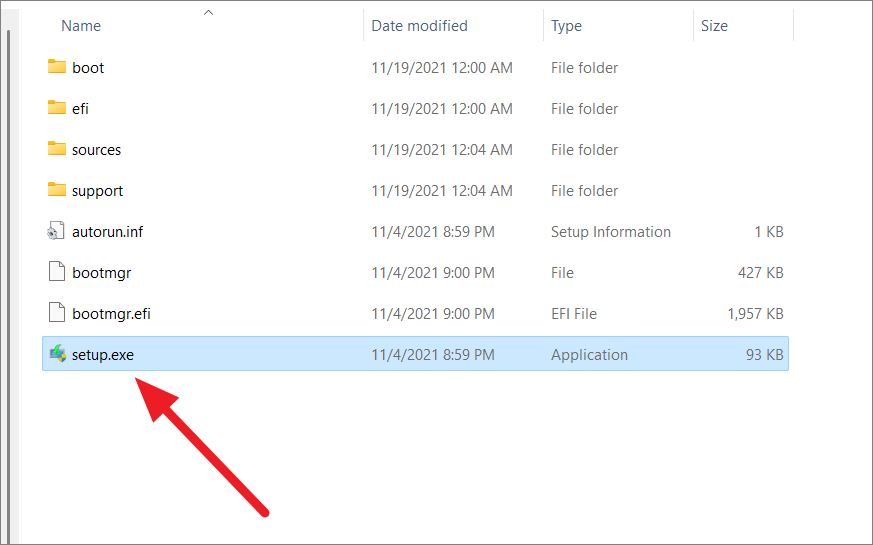
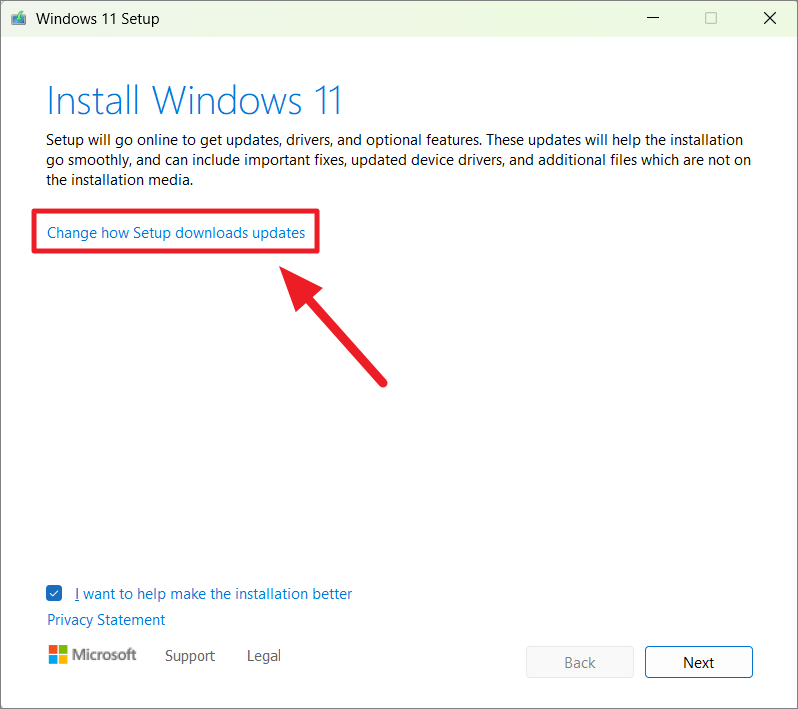
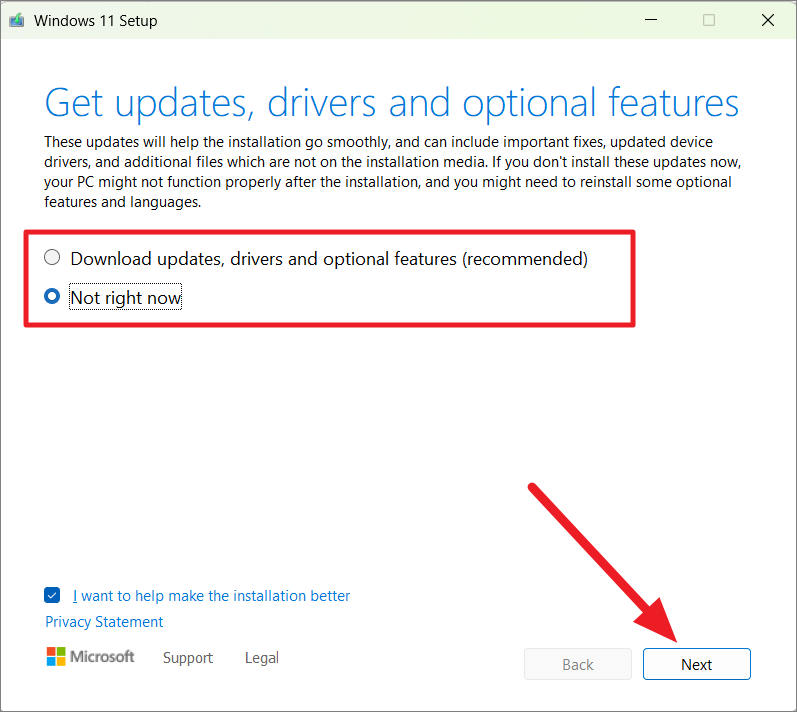
Reinstall Windows using the repair-upgrade method
You can reinstall Windows 11 without deleting your files and applications using the repair-upgrade method. Here’s how:

- Keep personal files and apps: Retains all your data and installed applications.
- Keep personal files only: Keeps your files but removes apps and settings.
- Nothing: Removes everything for a clean install.
Select ‘Nothing’ to perform a clean installation and click ‘Next’.

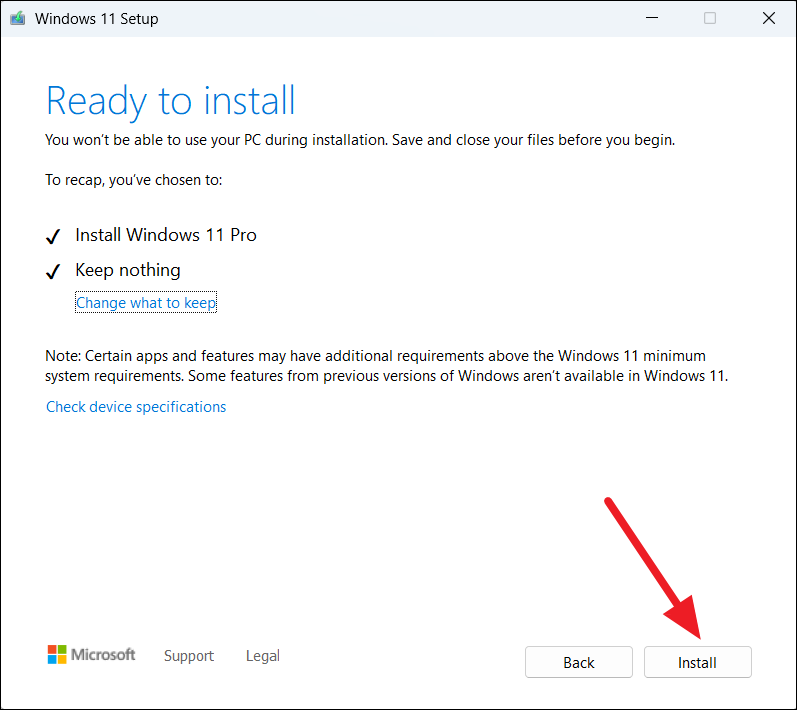
After installation, you’ll need to complete the initial setup as previously described.
Clean install Windows using a bootable USB drive or DVD
To perform a clean installation by booting from the installation media, follow these steps:
Esc, F2, F9, F10, or F12), and select the USB drive or DVD as the boot device.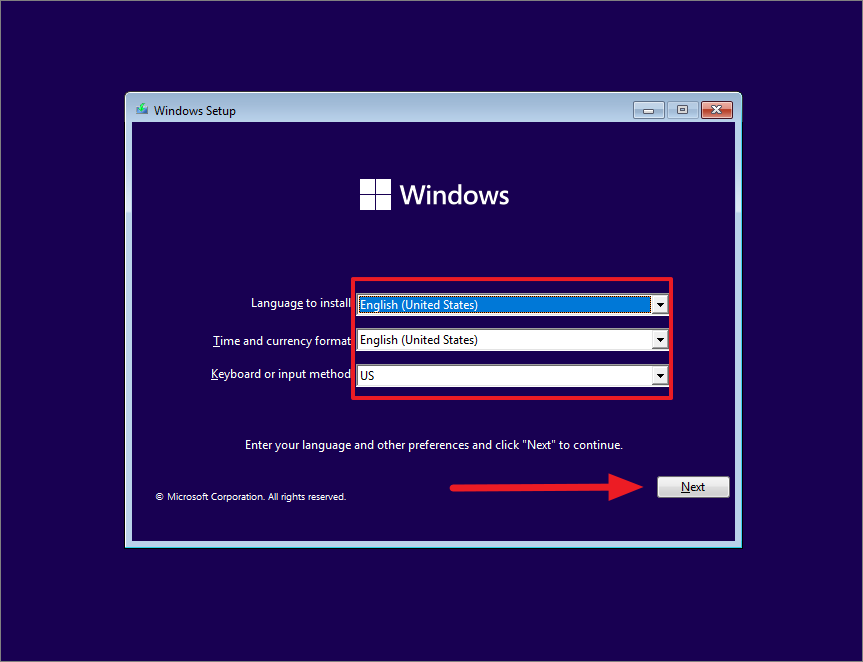
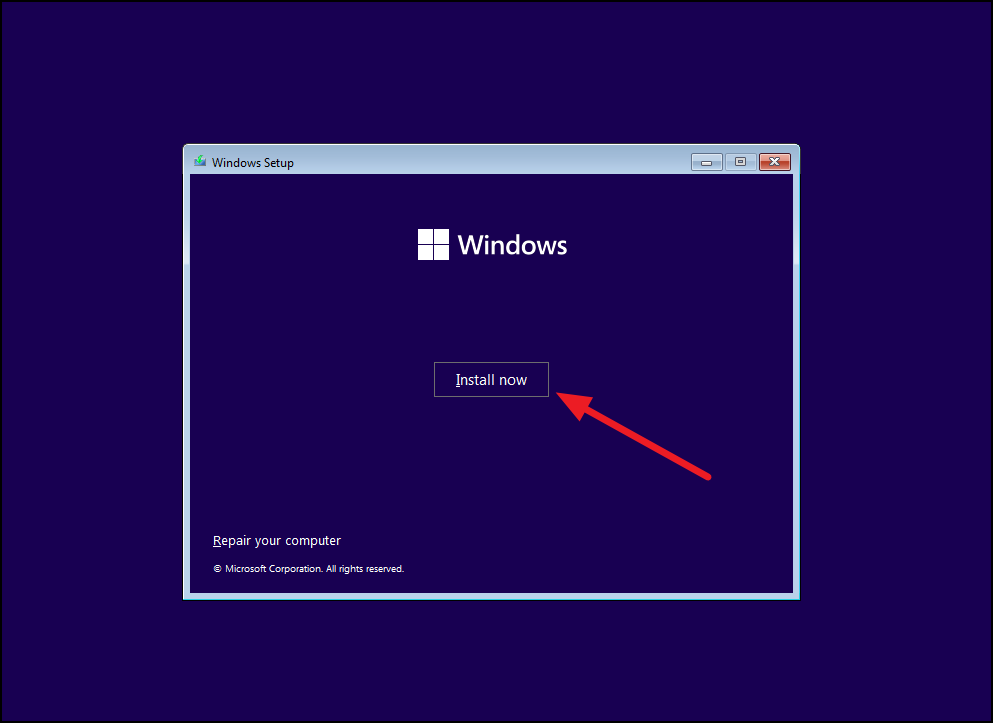
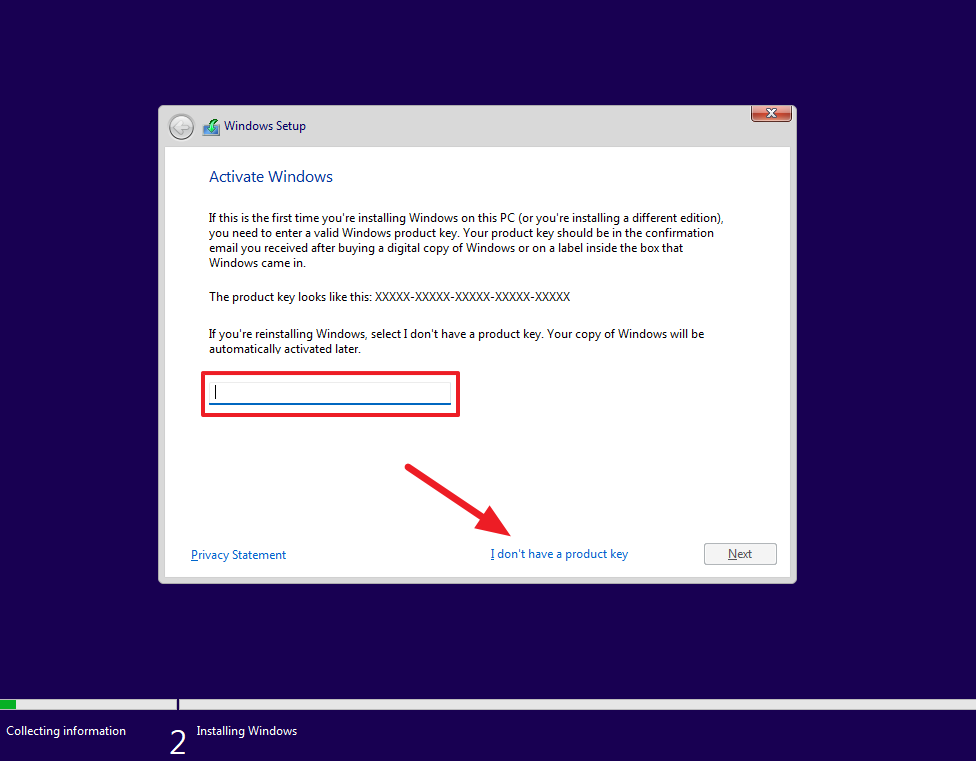
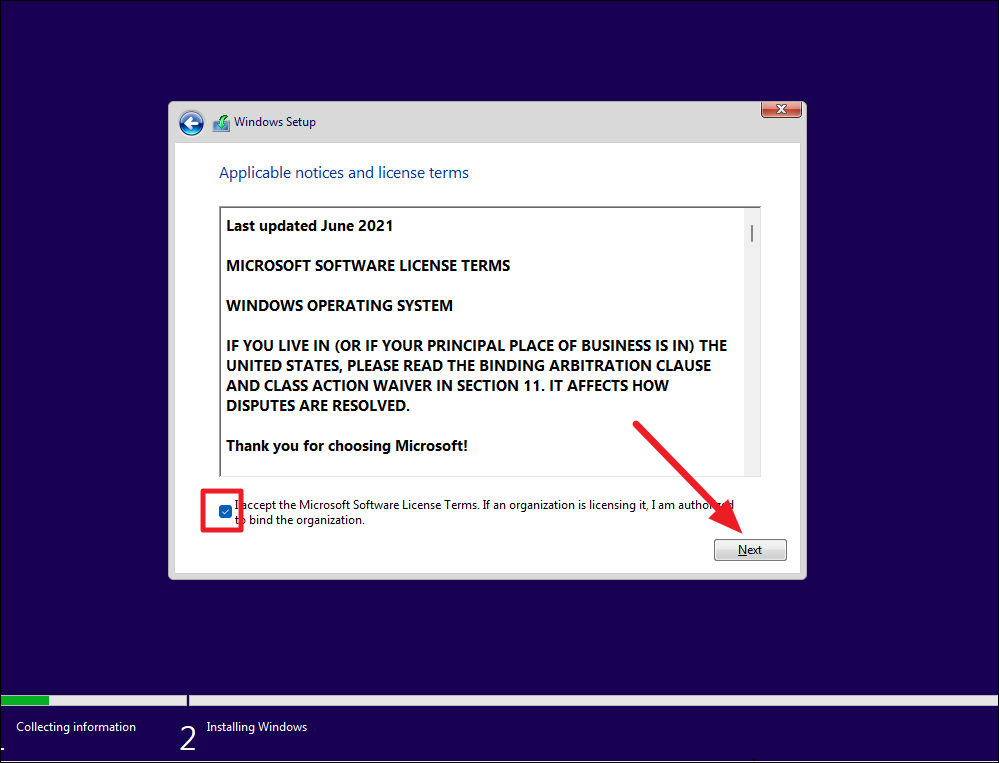
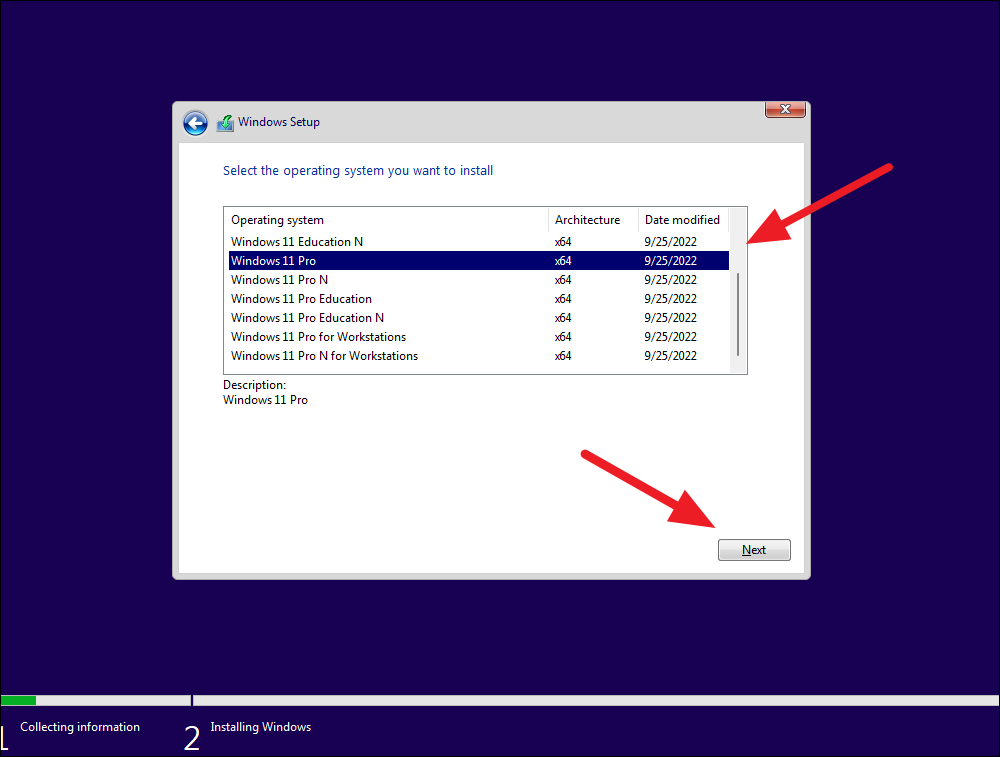

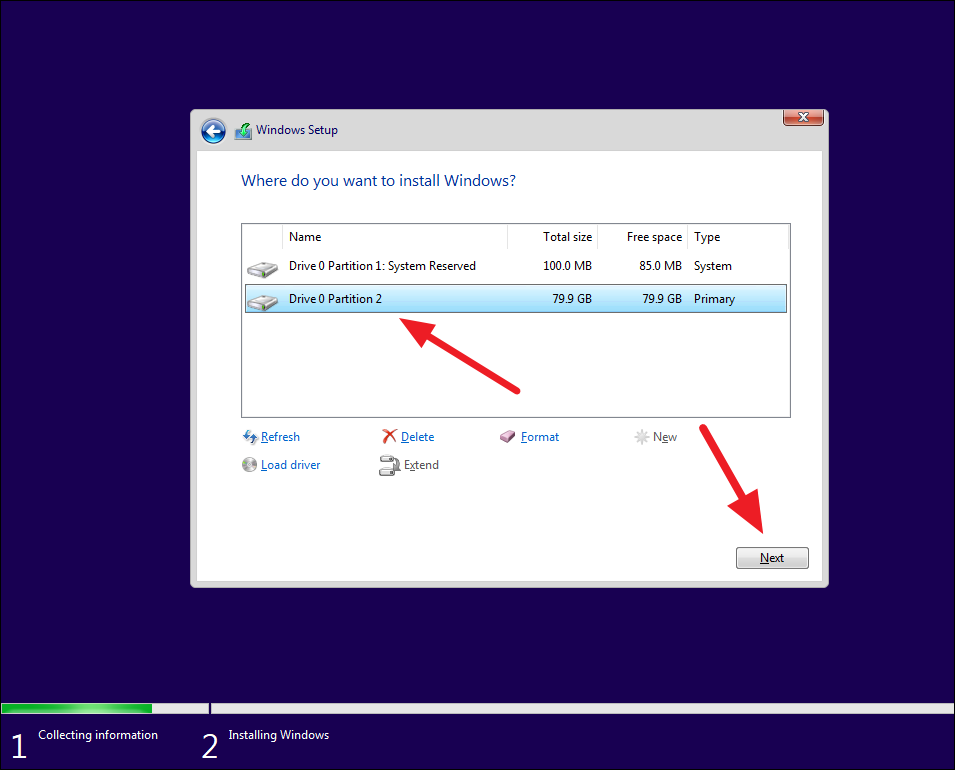
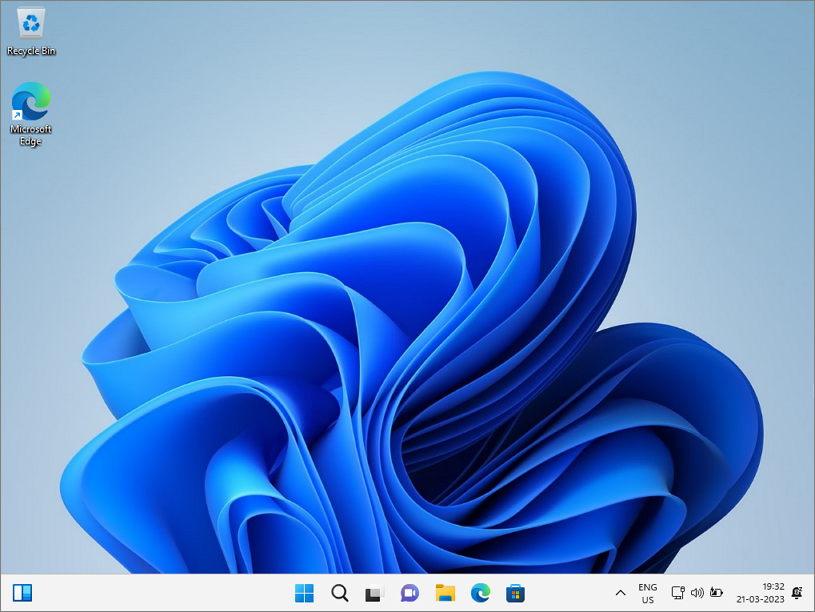
Your computer will start installing Windows 11. Once complete, you’ll need to go through the initial setup as previously described.
By following these methods, you can successfully perform a clean installation of Windows 11, ensuring your system runs smoothly and efficiently.


