Lakefalls Medical: GP Simulator puts you inside a busy UK community practice, where the job is to see patients one at a time, ask the right questions, run checks, and decide what happens next. The opening tutorial runs through seven objectives, and the first four teach the loop you will repeat for the rest of your shift.
Quick answer: Press E on the computer in any free room and hit “Claim Room”, walk to the waiting area and press E on a seated patient, then lead them back to your room and press E to begin the consultation.
Roles and setup in Lakefalls Medical: GP Simulator
The experience is built by Coda Games and runs on 8-player servers, so you will usually share the practice with other staff. You can roleplay as a Nurse, GP, Receptionist, Manager or Patient, and claiming a room also unlocks free customisation for that space. Your job title sits on a blue ID badge on your avatar’s chest, so a nurse shows up in-world as “Nurse” followed by their username.
Blue arrows and waypoint markers point you at the next objective, and completed tasks get a green checkmark, which makes the tutorial hard to lose track of even in a crowded lobby.
The first three tutorial objectives
| Objective | On-screen instruction |
|---|---|
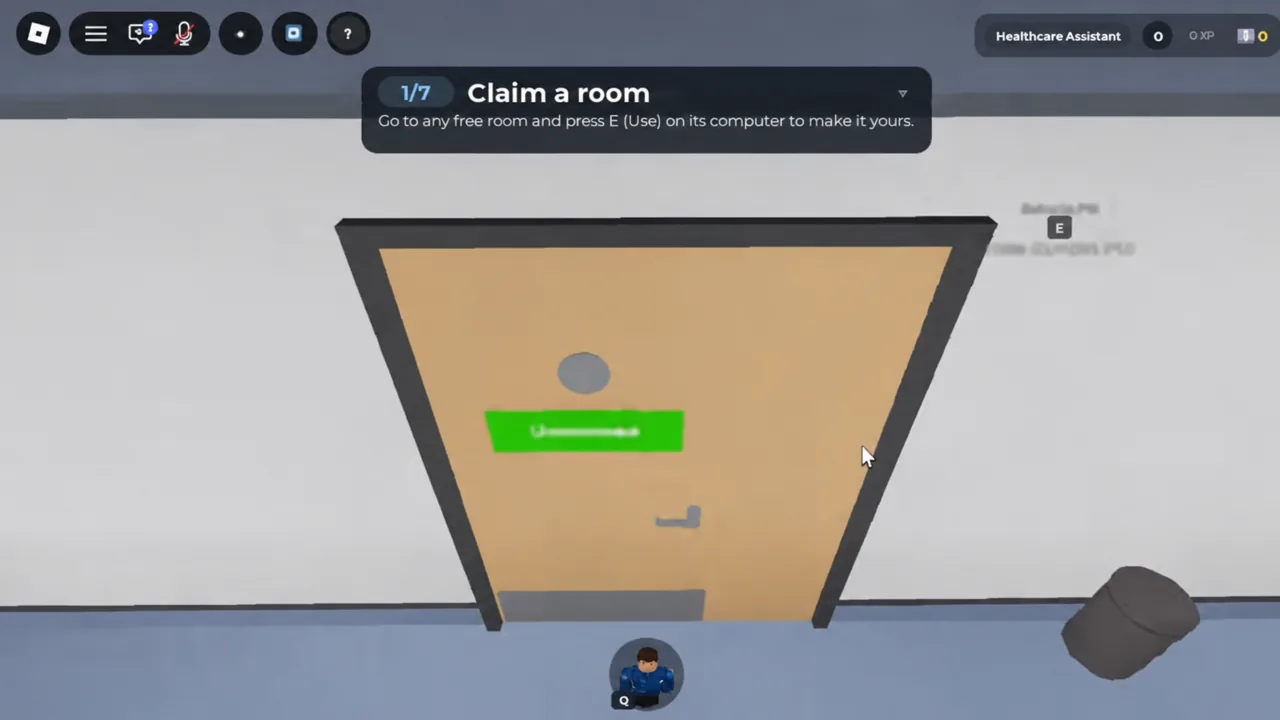
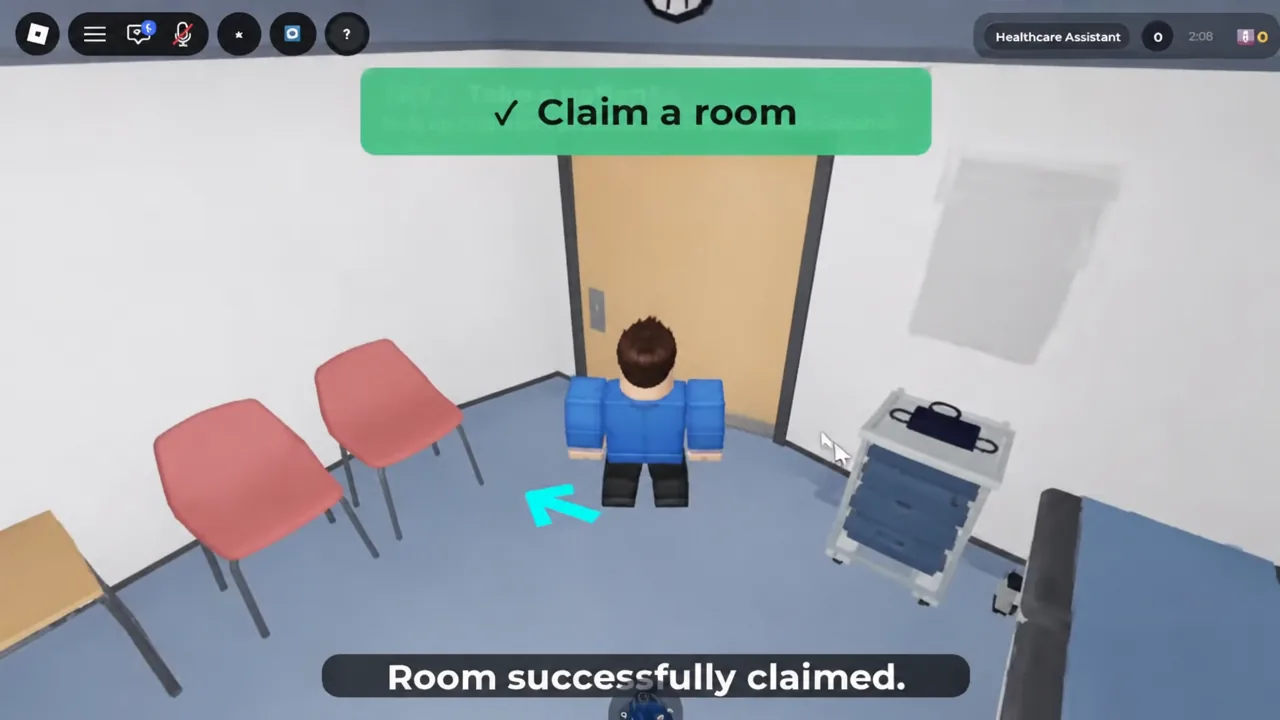
| 1/7 Claim a room | “Go to any free room and press E [Use] on its computer to make it yours.” |
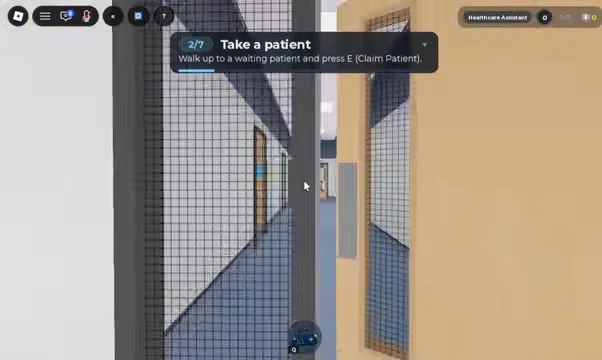
| 2/7 Take a patient | “Walk up to a waiting patient and press E [Claim Patient].” |
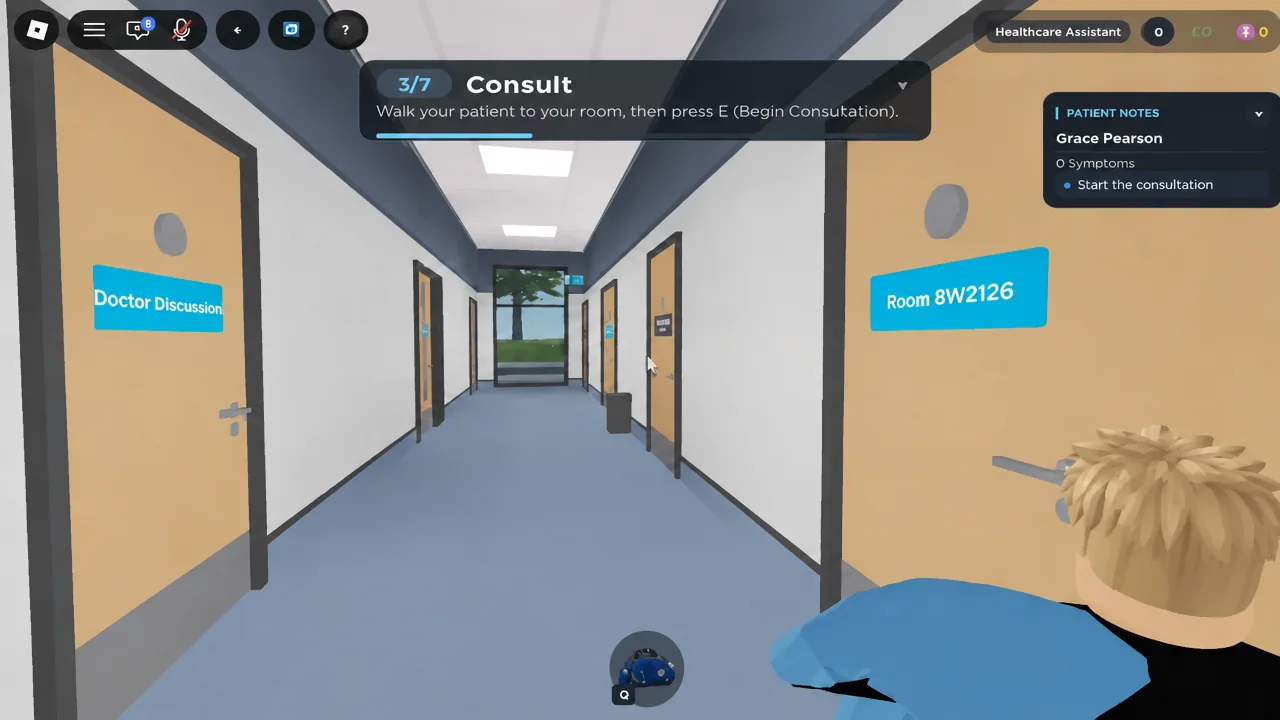
| 3/7 Consult | “Walk your patient to your room, then press E [Begin Consultation]” |
How to claim a room
How to take a patient from the waiting area
How to start and run the consultation
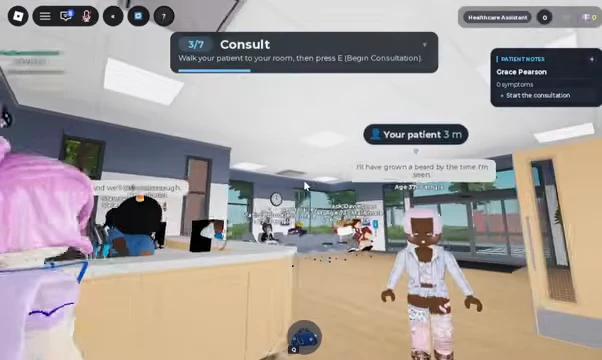
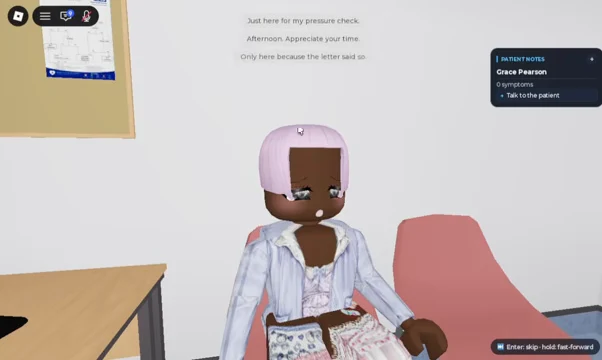
Note: dialogue plays out line by line. Press Enter to skip a line, or hold it to fast-forward through longer replies.
How to pass the blood pressure mini-game
Once the questioning is done, the notes panel offers “Take blood pressure”. Selecting it fits a cuff on the patient and hands you an analogue gauge to work with.
How to confirm each step registered
Every objective gives you a visible confirmation, so there is no guesswork about whether an action counted.
| Action | Confirmation |
|---|---|
| Claiming a room | “Room successfully claimed.” appears on the workstation, and the objective gets a green checkmark |
| Claiming a patient | The patient stands up and follows you, and the waypoint switches to your room |
| Starting the consultation | Dialogue options open and the PATIENT NOTES panel becomes active |
| Gathering information | The counter updates, for example “1 symptom • 1 history • 0 obs” |
| Blood pressure check | The second tap ends the bouncing sequence and the cuff can be removed with Backspace |
Mistakes that stall the tutorial
- Interacting with a room that another player already owns. Only rooms marked as unclaimed can be taken at the workstation.
- Pressing E before you are in range of the patient. The prompt only fires within a few metres.
- Closing the conversation early with “That’s all for now, thank you” before you have asked about symptoms, history, medication and allergies.
- Letting go of the pump before the needle reaches the green zone, or tapping before the pointer starts bouncing.
Badges that track your patient count
Progress is measured by how many patients you get through, and three badges mark the milestones.
| Badge | Requirement |
|---|---|
| First Shift | Treat 5 patients |
| Ward Favourite | Treat 100 patients |
| Senior Partner | Treat 600 patients |
After the blood pressure check, the same loop keeps going with harder cases, more equipment and emergencies, and decisions about whether a patient goes home or gets sent to hospital. A recent update added 20 new patient cases along with extra mini-games, investigations and a new emergency, and a further update focused on customisation is scheduled for September 12.