
Printing labels from an Excel spreadsheet can streamline mass mailings to your contacts. By leveraging Microsoft Word’s Mail Merge feature, you can seamlessly transform your Excel data into printable labels.
Create and Prepare Your Excel Mailing List
Begin by organizing your contact information in Excel. Ensure each piece of data is in its own column with appropriate headers. For mailing labels, typical column headers might include:
- First Name
- Last Name
- Street Address
- City
- State
- ZIP Code
For example, your spreadsheet should look like this:

Ensure there are no empty rows or columns in your data, as this could disrupt the mail merge process. Once your data is organized, save the workbook.
Assign a Name to Your Data Set
To simplify the mail merge, it’s helpful to name your range of data:

Customer_Mailing_List) without spaces or hyphens, and click OK.
Configure Word to Recognize Excel Data
To ensure Word can connect to your Excel file, you may need to adjust a setting:

Advanced. Scroll down to the General section and check the box next to Confirm file format conversion on open. Click OK.
Set Up Your Label Document in Word
Now, prepare your Word document to receive the Excel data:
Mailings tab and click on Start Mail Merge, then select Labels from the dropdown menu.3M as the vendor if you’re using their labels.
Details to adjust the label dimensions and margins to match your labels. After making adjustments, click OK.
After setting up, your Word document will display a grid representing your labels:

Link Your Excel Data to Word Labels
Connect your Excel mailing list to the Word labels:


Customer_Mailing_List) or the worksheet containing your data, and click OK.
You’ll notice that your label grid now displays «Next Record» placeholders, indicating that Word is ready to merge your data.

Modify Your Recipient List (Optional)
If you need to refine who will receive labels:

OK when finished.
Insert Merge Fields into Labels
Now, add the placeholders to your labels that will be replaced with your Excel data:
Mailings tab and click on Address Block in the Write & Insert Fields group.
OK.If some address elements aren’t showing correctly, you may need to match your Excel columns to the required fields:
Match Fields. Ensure each required field matches the appropriate column from your Excel file. Use the dropdowns to adjust as necessary. Click OK when done.

Update Labels in the Mailings tab. This copies the format to every label on the page.Note: Ensure that «Next Record» appears before the «AddressBlock» in all but the first label. This tells Word to use the next recipient’s data for each subsequent label.
Preview and Complete the Mail Merge
Before finalizing, preview how your labels will look:
Preview Results in the Mailings tab. You can navigate through the records using the arrow buttons next to the preview option.
Home tab. To ensure all labels have the same formatting, click Update Labels again after making changes.Finish & Merge in the Mailings tab and select Edit Individual Documents from the dropdown.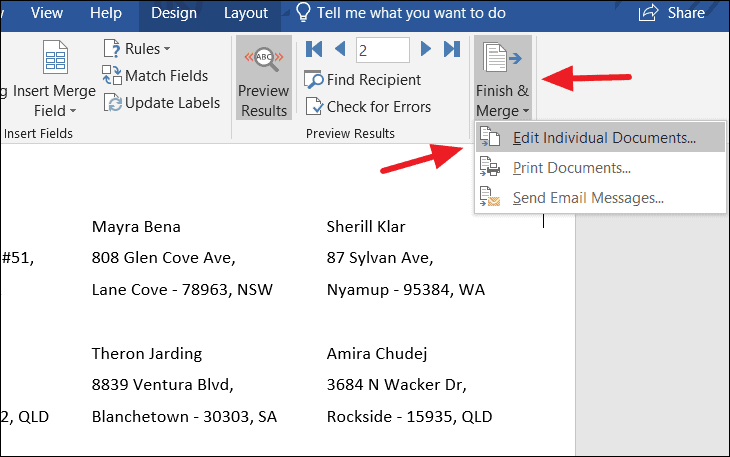
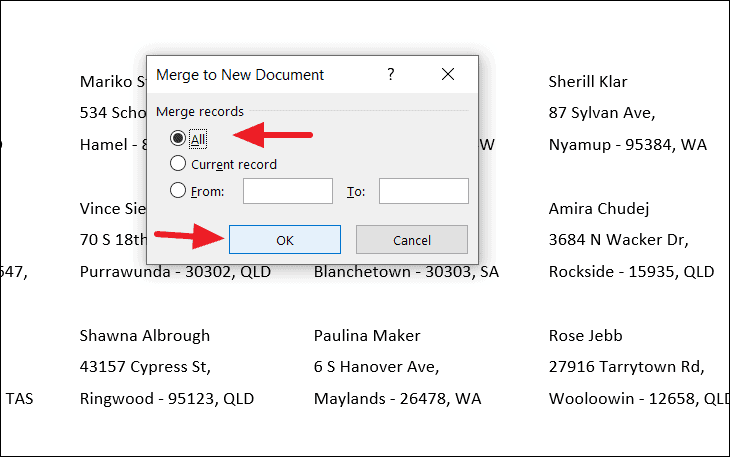
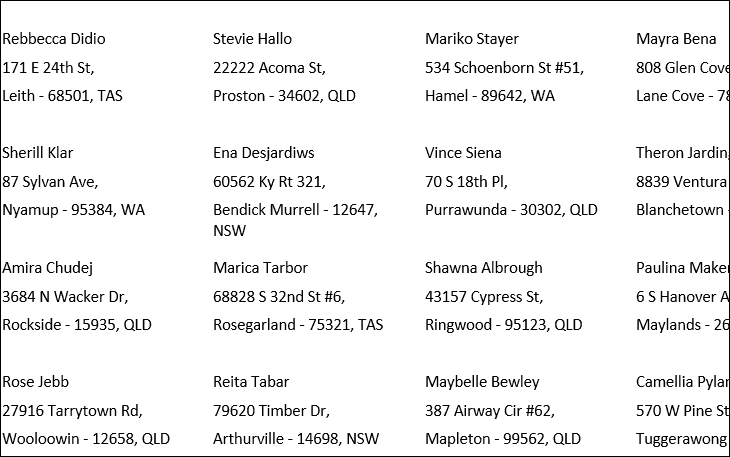
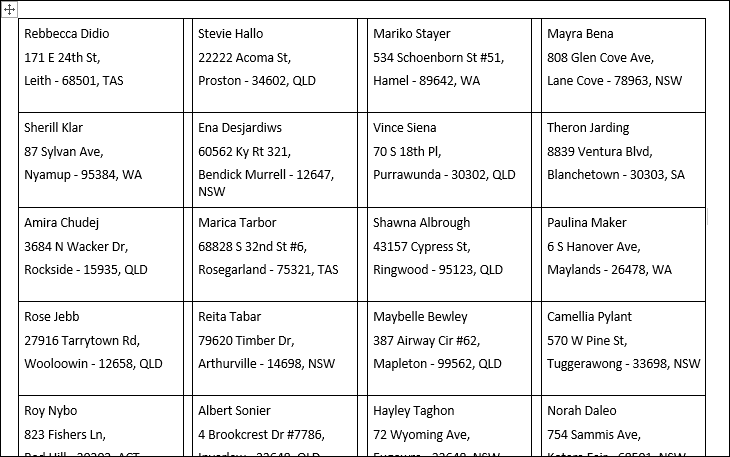
Word will generate a new document containing all your labels populated with the data from your Excel spreadsheet. You can make final adjustments here if needed.
Add Borders to Your Labels (Optional)
Adding borders can make it easier to cut out your labels:
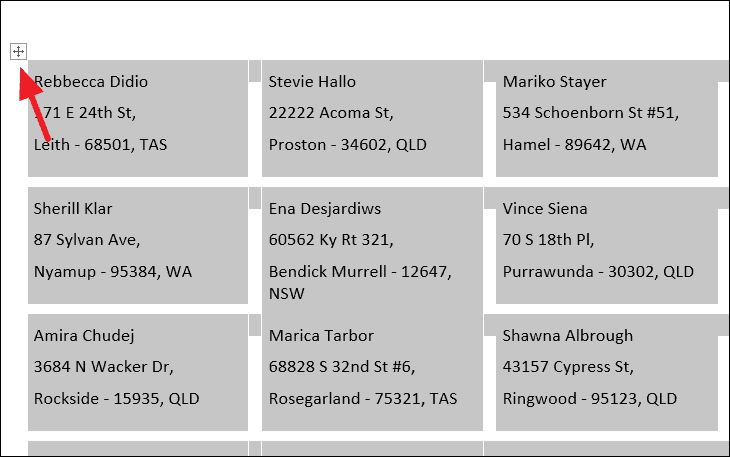
Home tab. Click on the Borders icon in the Paragraph group and select All Borders from the dropdown menu.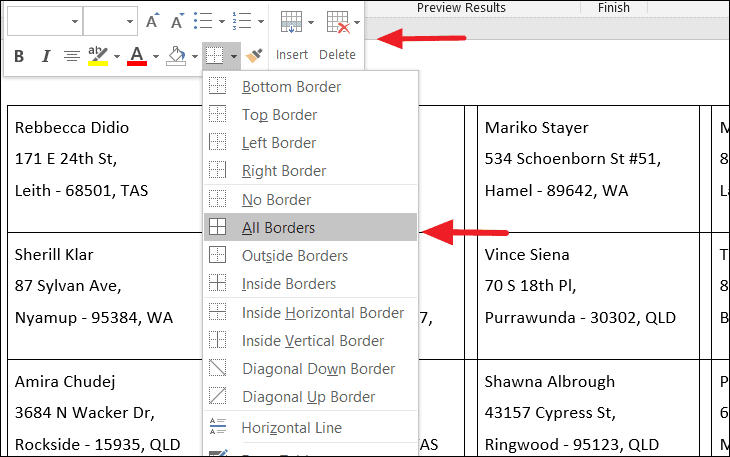
Your labels will now display borders, making them easier to cut.
With your labels finalized, you’re ready to print them out, apply them to your mailings, and send them off.


