Canva is a great tool to design. Whether you’re working on a design for your business, website, YouTube channel, or personal projects, Canva has a whole lot of tools at your disposal.
One such great tool that Canva offers is the option to remove background from an image. Whether you simply want to layer an image over another in your design or want to get creative with the applications, Canva makes it utterly easy.
But the functionality to remove the background from images is only available for Canva Pro and Enterprise accounts. Canva Free accounts do get 5 free attempts to remove the background, but that’s the whole scope of it. After that, you can either get a 30-day free trial or upgrade to a Pro account.
Removing the Background of an Image
While creating your design, there are going to be plenty of times you’ll need to layer an image over another image or design element. Whether you’re placing a logo over your design or creating thumbnails that stand out, layering images with backgrounds still intact will result in unprofessional images. And in some cases, you’ll find yourselves completely unable to layer an image at all.
Thankfully, Canva makes it extremely easy to remove the background of an image with a single click.
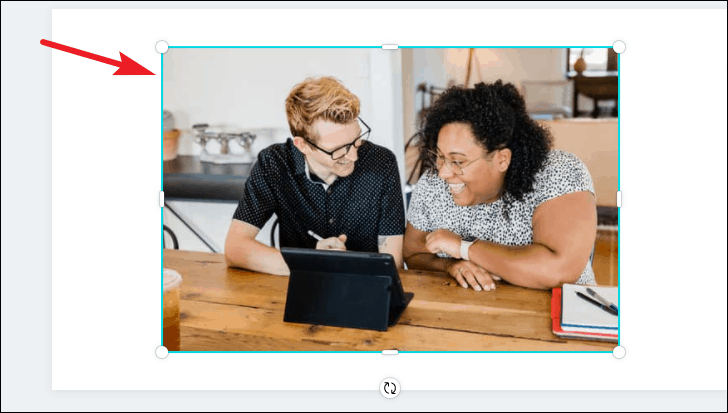
Add the image you want to remove the background from to your Canva design. It can be your own photo or a photo from Canva’s library.
Then, select the photo element. When the photo is selected, a blue outline will appear around it.
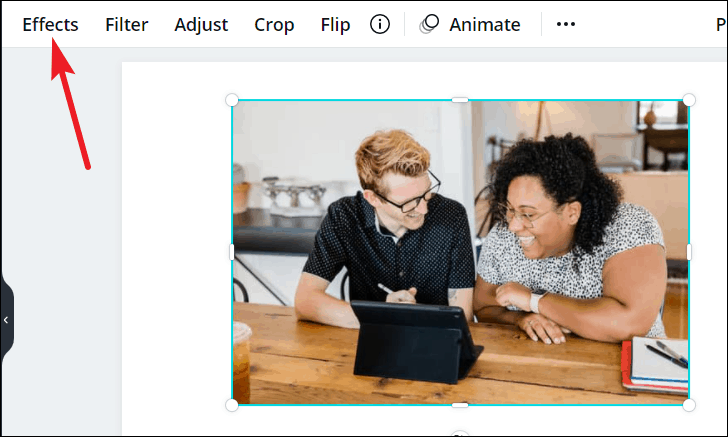
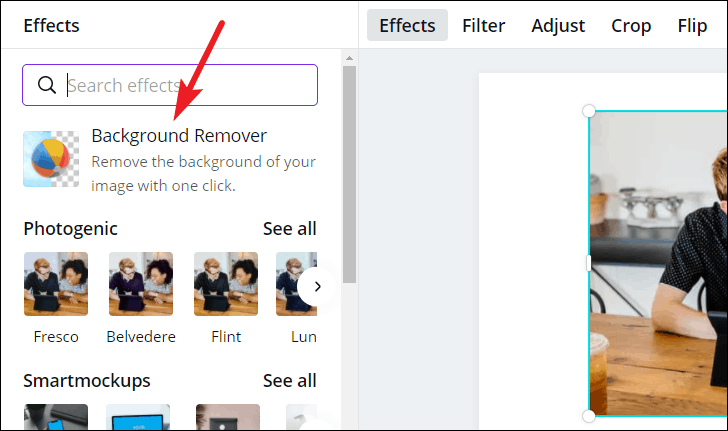
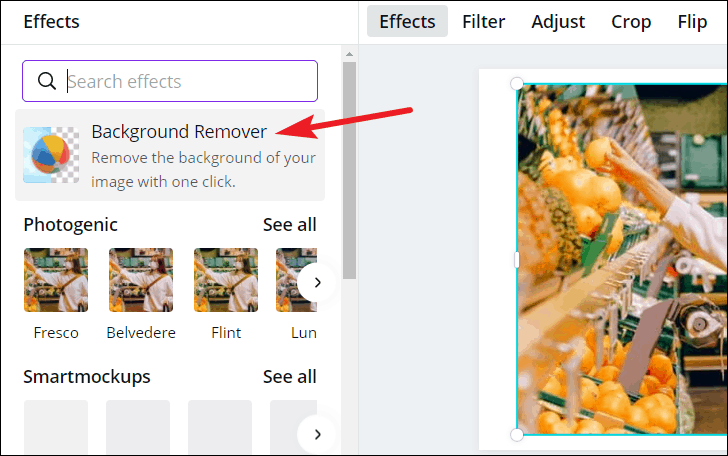
Go to the toolbar that appears at the top of the design page when the image is selected and click the ‘Effects’ option from the left corner.
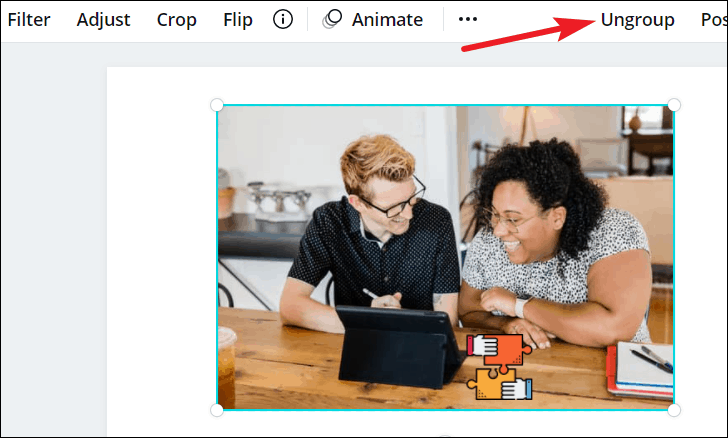
Note: The photo should not be a part of any group, otherwise, you cannot remove the background. If the ‘Effects’ option is not appearing, look for an ‘Ungroup’ option towards the right. Ungroup the elements and select the photo once again.
The Effects panel will appear on the left. Click the ‘Background Remover’ button at the top.
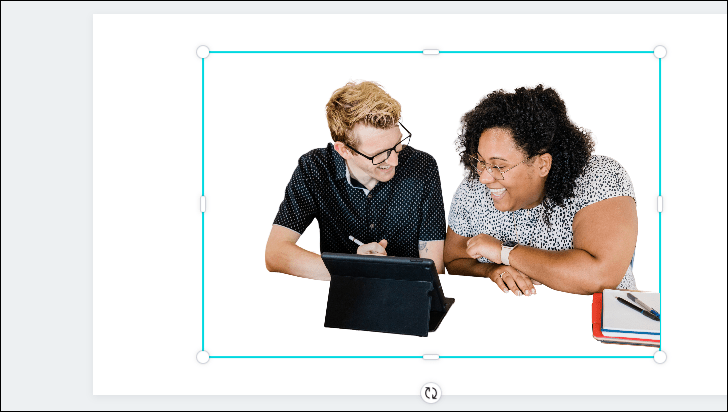
It’ll take a couple of seconds and the background will be removed. Although Canva does a pretty good job of removing the background, you can make manual adjustments as well.
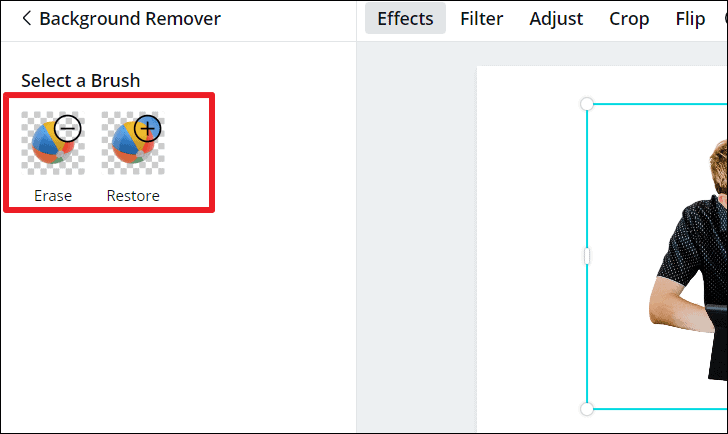
Two brushes – Erase & Restore – will appear in the left panel. Using the ‘Erase’ brush, you can erase parts of the background that Canva might have missed. The ‘Restore’ brush helps restore parts of the image Canva might have removed along with the background. Just select the brush and drag it along the image parts you want to erase or restore.
Some Tips to Use Background Remover
You can use the background remover in a variety of ways other than just placing logos or cropping unwanted elements from the background of your photo. Experimenting with the background remover feature can turn out some great designs in Canva.
You can get images with the background blurred out, gradient background, with shapes or other photos, or with an out-of-bounds effect without having to switch to other apps.
Layering Photos over Other Photos & Shapes
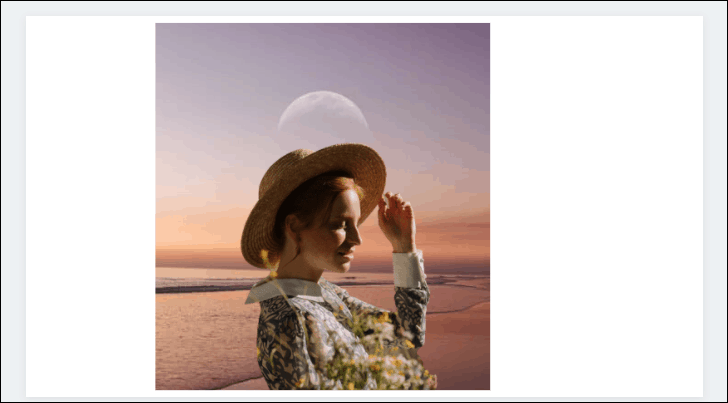
It’s the most common way to use the background remover tool. You can create beautiful aesthetics by placing your photos on top of other photos or shapes or both.
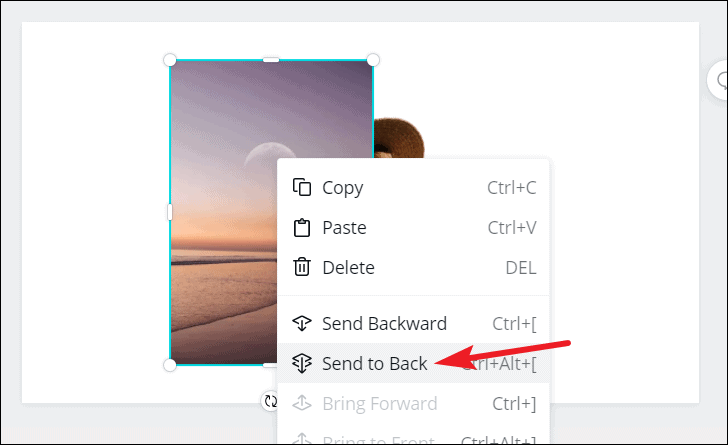
After removing the background from the image, add the image you want to layer it over. Resize the image as changing its size later will get difficult. Then, right-click over it and select ‘Send to Back’ to make sure the image with the removed background rests on top. The concept is simple. To layer various elements, you send elements to the back depending on where their position should be in the design.
The two images will appear like an organic whole.
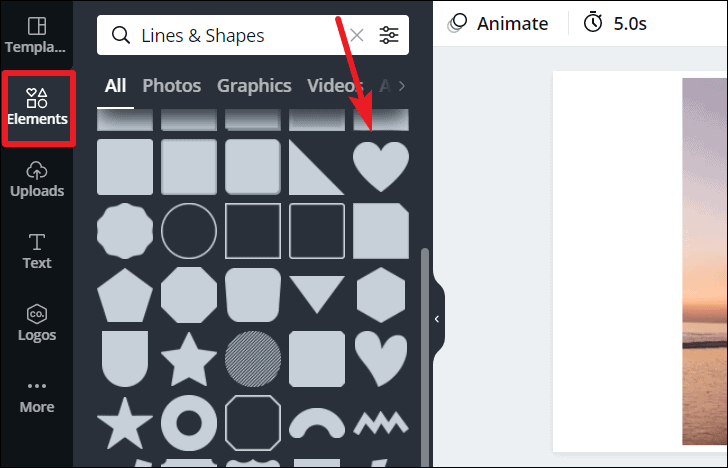
To add a shape or object, go to the ‘Elements’ option from the toolbar and add the shape you want.
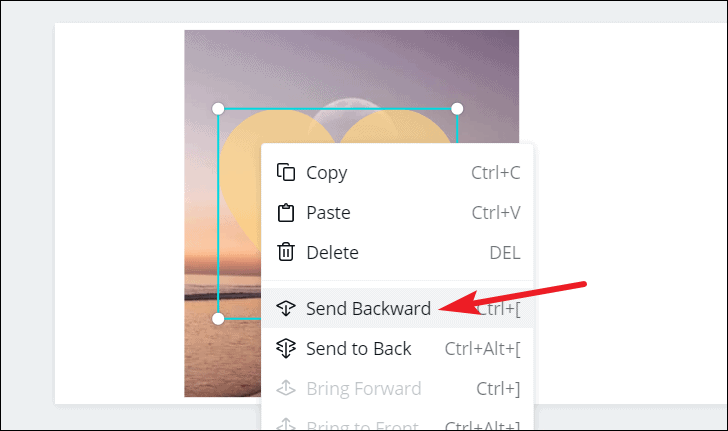
Arrange the position of the shape on your design. Then, right-click it and click ‘Send Backward’ again. This sends it back from the image with the removed background but keeps it on top of the previous image. If you instead click ‘Send to Back’, it’ll make it the very last layer.
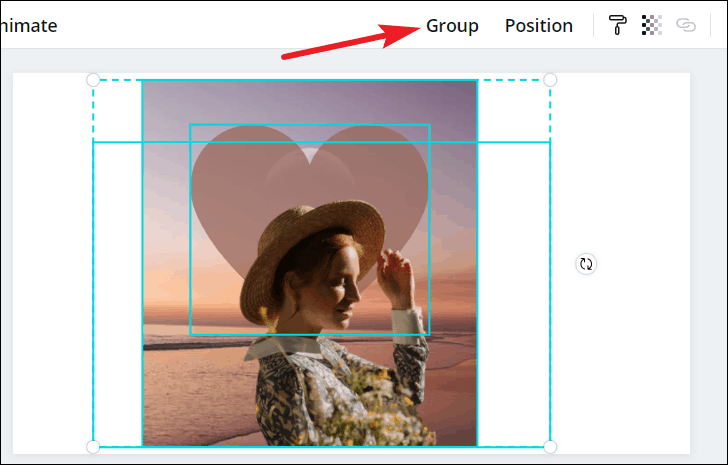
Group all your elements together in the end.
Blurring Background
Using background remover, you can blur the background of any photo. It’s a pretty neat trick actually and only takes a couple of minutes.
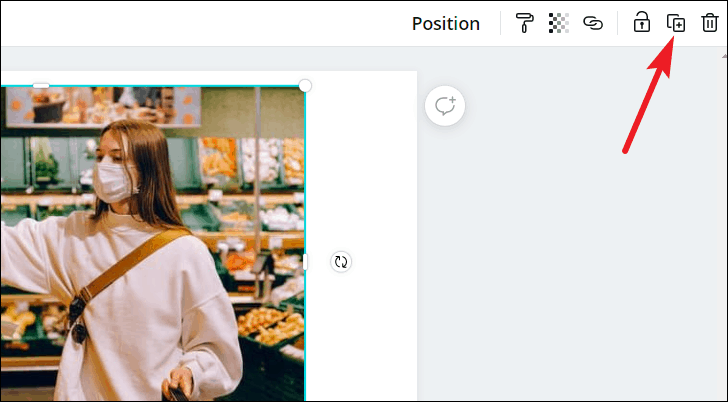
Add the image you want to blur the background for to your design and resize and position it where you want. Then, click the ‘Duplicate’ button in the right corner of the element-specific toolbar while the image is selected.
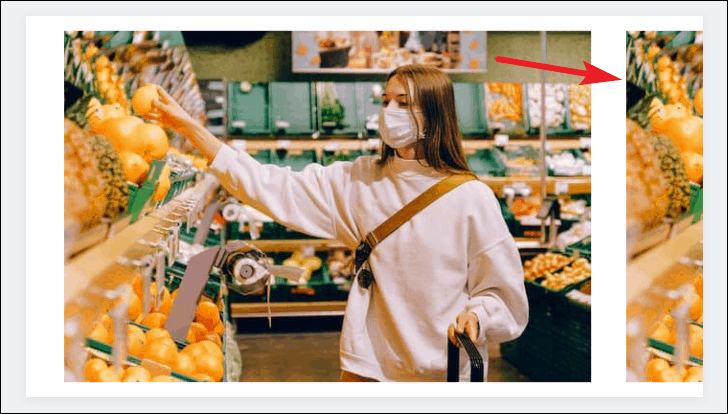
Drag and place the copy away from the first image but you should be able to drag it back to your design. If the image is readily available to you, let’s say, you added it from your uploads, you can add another copy later instead of duplicating it. But if you resized the first image, duplicating prevents the hassle of getting the dimensions right with the copy.
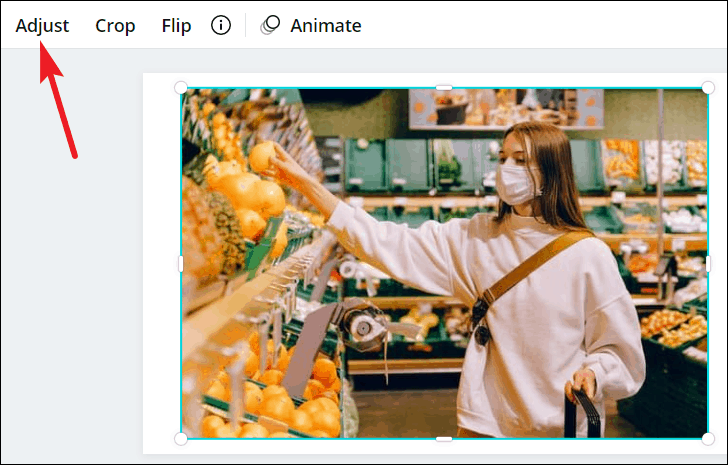
Now, select the first image and click the ‘Adjust’ option from the toolbar at the top.
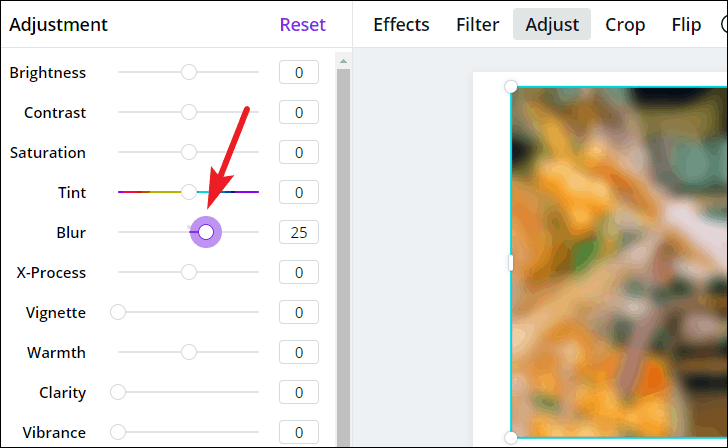
The panel for adjustments will open on the left. Go to the ‘Blur’ option and drag the slider to a value of your choosing.
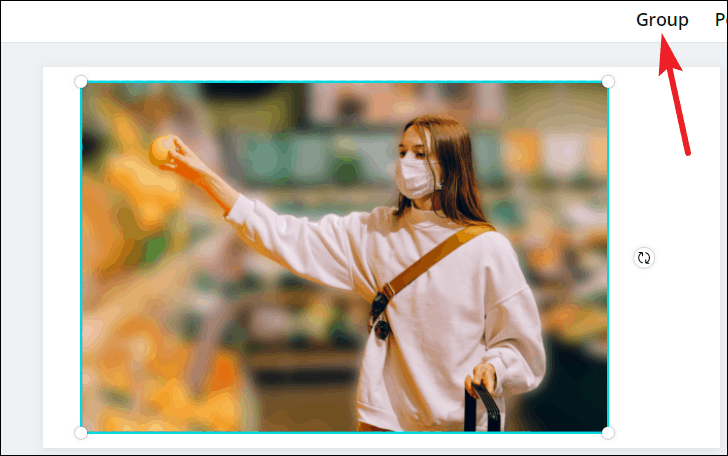
Now, go back to the duplicate image we tucked aside and drag it back onto the first image making sure they’re perfectly aligned. While this duplicate is selected, go to the ‘Effects’ panel and click the ‘background Remover’ button.
And voila! You have an image with a blurred background. Just select both images and click the ‘Group’ button so you can move them as a unit.
Adding a Fading Gradient to the Background
Another fun trick that includes the use of the background remover from Canva involves adding a gradient effect to your background. Everyone loves gradients as they can lend a flash of subtle brilliance to the object in question.
And with a little bit of toying with a certain gradient effect and background remover can elevate your images. Add your image to an empty design page and adjust its position and size. Now similar to the previous trick, you can either duplicate the image and drag it away for later use or add it later; it depends on you.
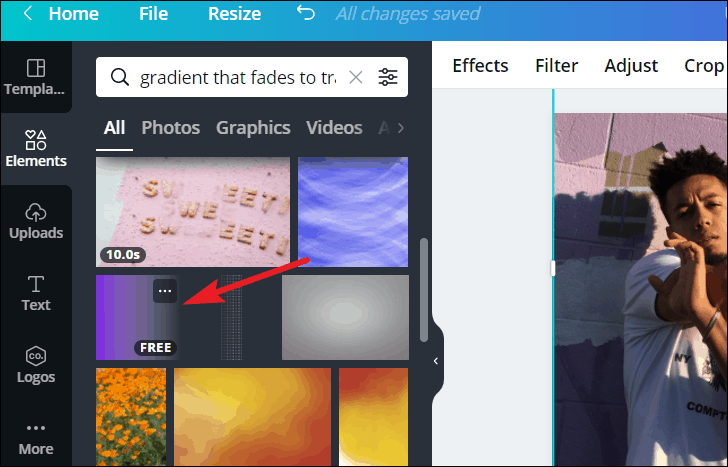
Go to ‘Elements’ from the toolbar on the left and search for ‘Gradients’. We’re looking for a particular gradient that fades to transparency. It’s a purple gradient that is fading to what looks like a dark gray color as the color of the elements panel is coming through. If you can’t find it, search for ‘Gradient that fades to transparency’. Add the gradient to your design.
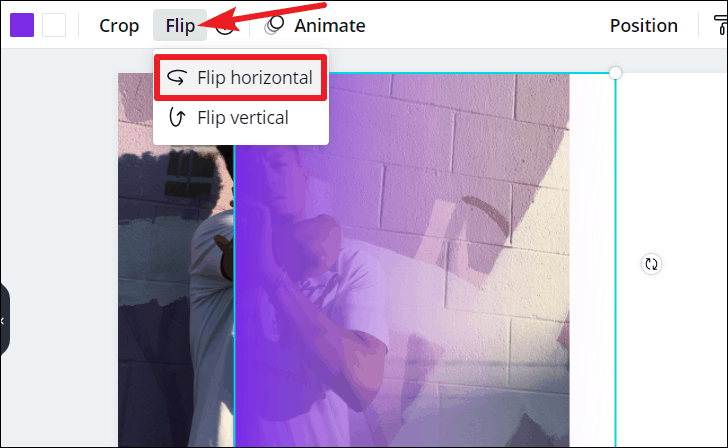
Now, if you want to add the gradient effect on the right side of the image, we’ll need to flip the element. Select it and click ‘the ‘Flip’ option from the toolbar at the top and select ‘Flip horizontal’ from the options that appear. There’s no need to flip if you want to fade the photo from right to left. For this guide, we’re adding the fading effect from left to right.
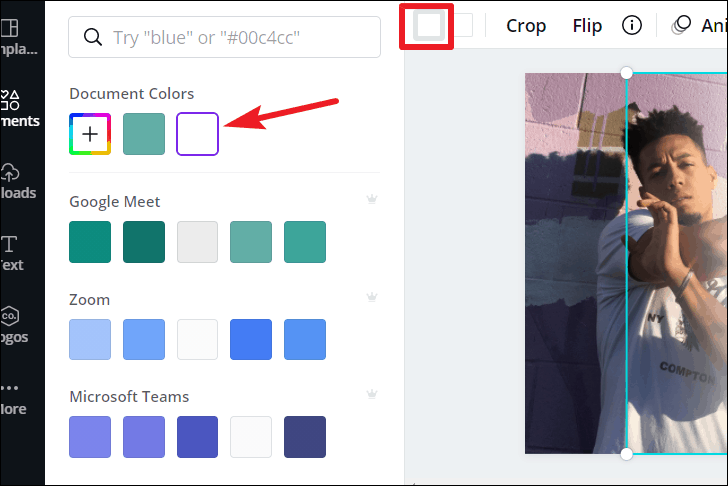
You can also change the purple color to some other color. Click the ‘Purple square’ from the toolbar and select the new color from the color panel. For this guide, we’re selecting white color. Leave the second square untouched as we need it to be transparent.
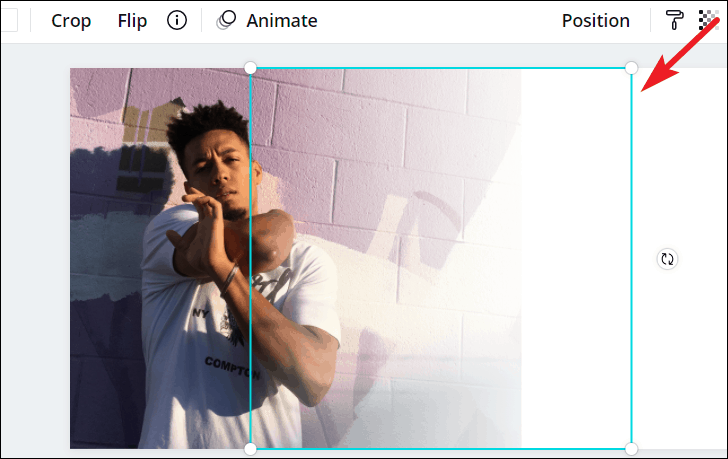
Resize the gradient element so it’s the same height as your image. Then, place it to the right of the image so that some part of the gradient element overlaps with the photo but not all.
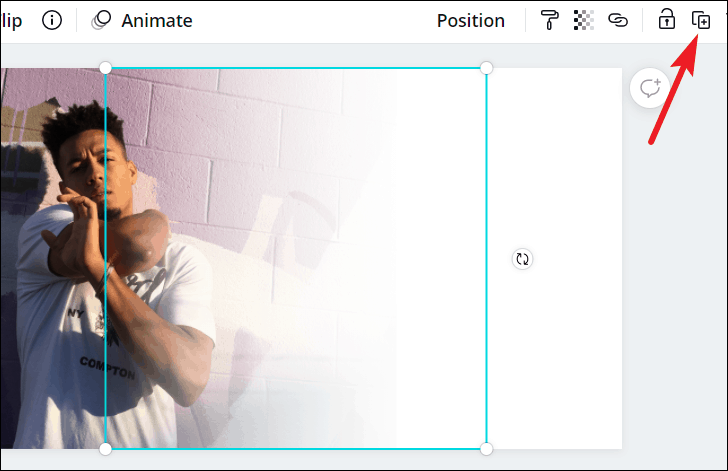
Now, click the ‘duplicate’ option to duplicate your gradient and move the duplicate slightly to the left than the previous element.
Duplicate the gradient element a few more times and each time, place the copy slightly to the left. You’ll notice a fading effect coming into place. Duplicate the gradient until you’re happy with the fading effect.

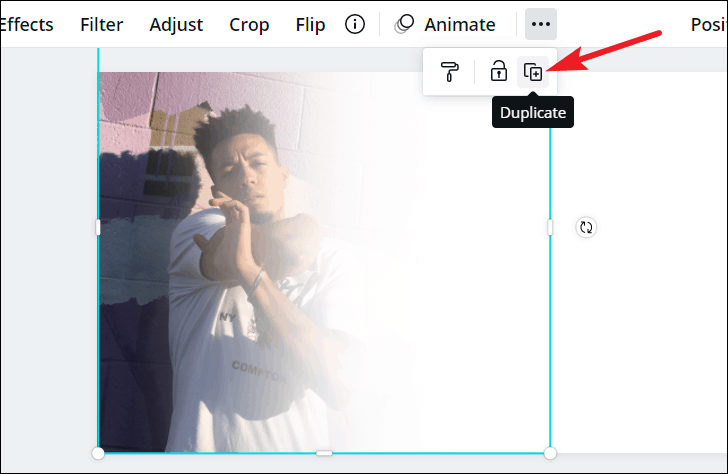
Now, the fading effect will gradually also take over the photo and not just the background. It’s no cause for concern. Select your original photo and click the ‘duplicate’ icon.
Place the copy exactly above the original. Then, click the ‘Background Remover’ option from the Effects panel. And your photo now has a fading gradient effect in the background while the main subject is still in focus. In the end, select all the elements of your design (photos and gradient elements) and group them together.
Creating an Out-of-Bounds Effect
An Out-of-Bounds effect is an effect where a part of an image appears to be emerging from the rest of the image and pop-out from the frame. Canva might not have a straight way to do this, but this trick with the background remover feature helps you attain a similar effect.
We’ll need to use the Frame element from Canva to get the desired effect. Frames in Canva are used to crop images to a certain shape. So, if you want your image to be rectangular shaped, choose a rectangle frame.
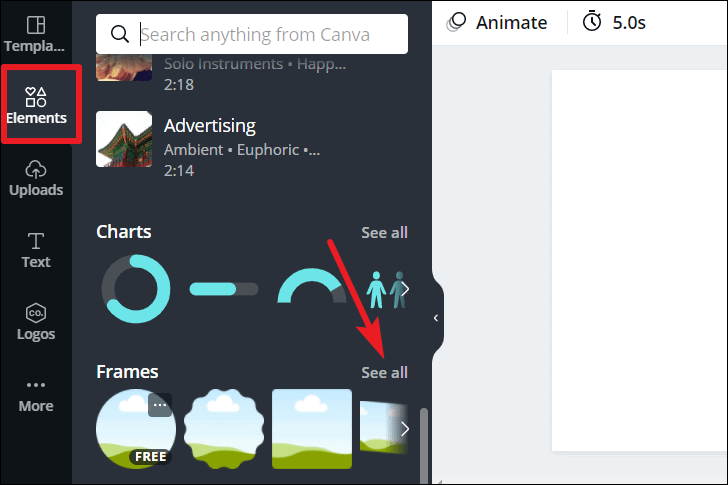
Add the image to your design and go to ‘Elements’ from the toolbar on the left. Scroll down to ‘Frames’ and click ‘See all’.
Canva offers many frames and you have to choose the Frame you’d like your image to be in the shape of. For this guide, we are using a circular frame. Clicking the frame will add it to your design.
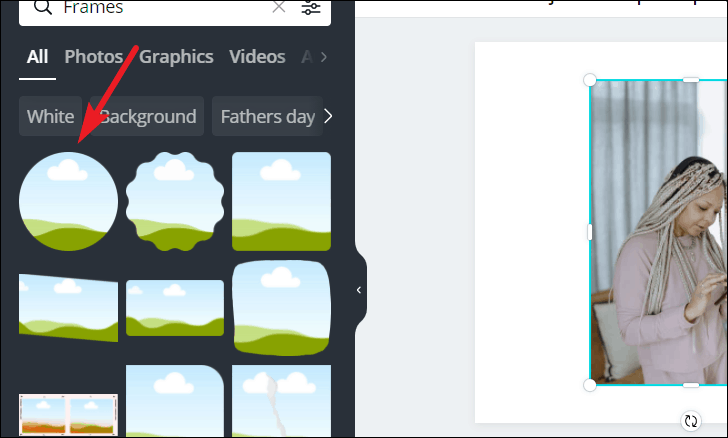
Now, select the photo and drag it onto the frame element to add it to the frame.
You can drag the corners and resize the frame and image both.
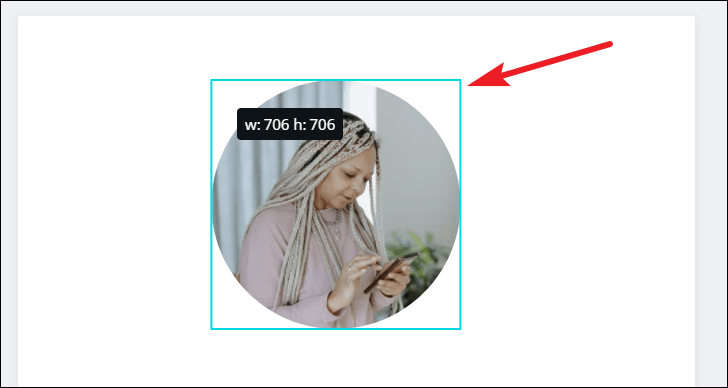
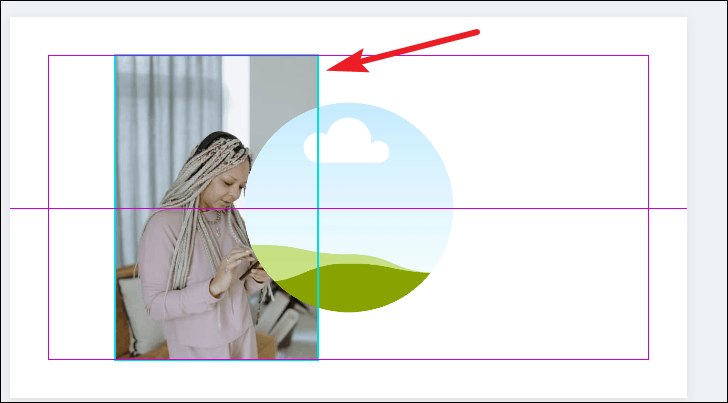
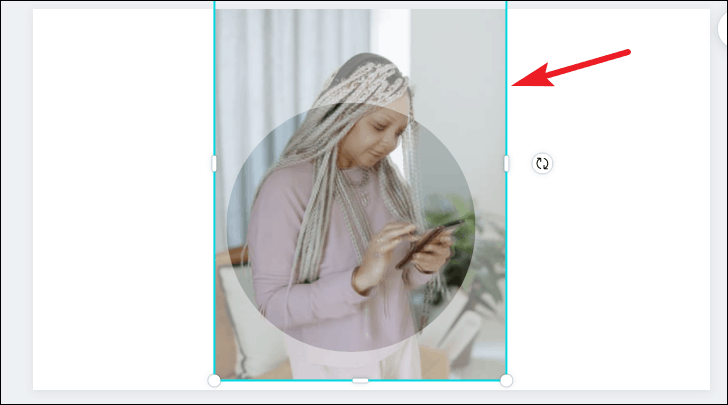
The next thing you need to do is resize the image within the frame. Double-click the image and the resizer tool will become active. Click and drag the white circular dots to resize the image.
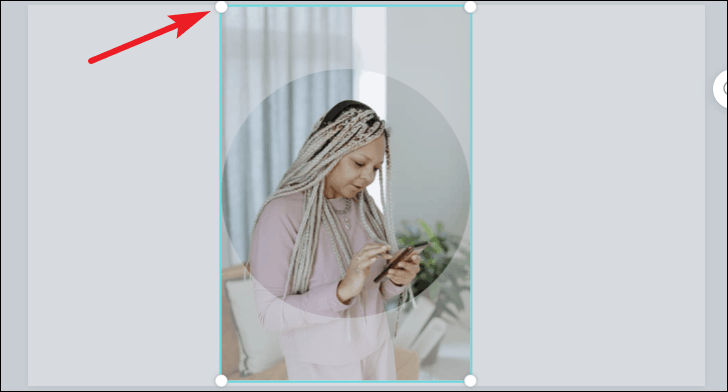
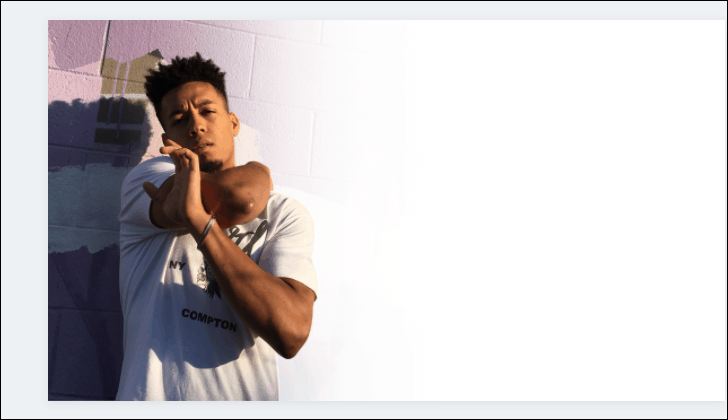
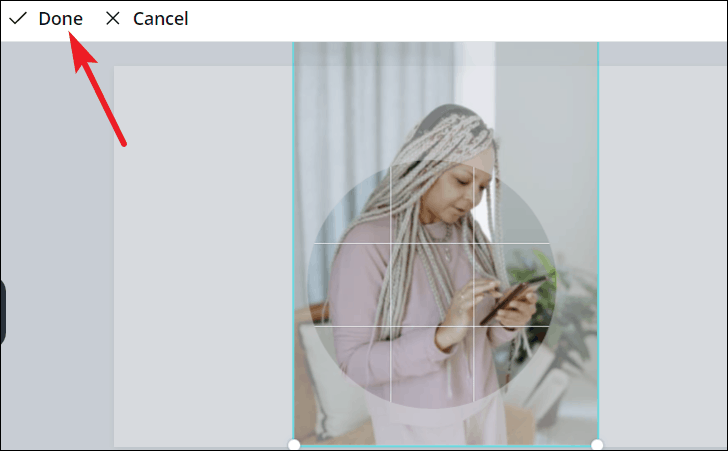
Now, coming on to the actual size. Resize the photo so that the part of the photo you want to pop out of the frame is out of the frame.
Add another copy of the photo we’re trying to create the out-of-bounds effect for to the design page. Before placing this image on top of the frame, select the frame and click the ‘Lock’ icon so that the second photo doesn’t replace the photo in the frame.
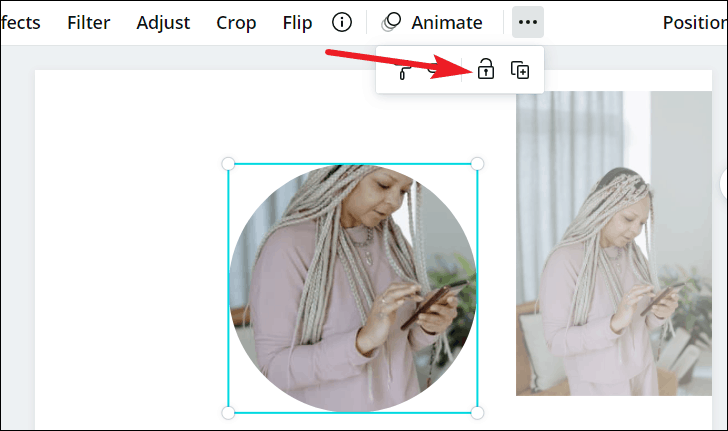
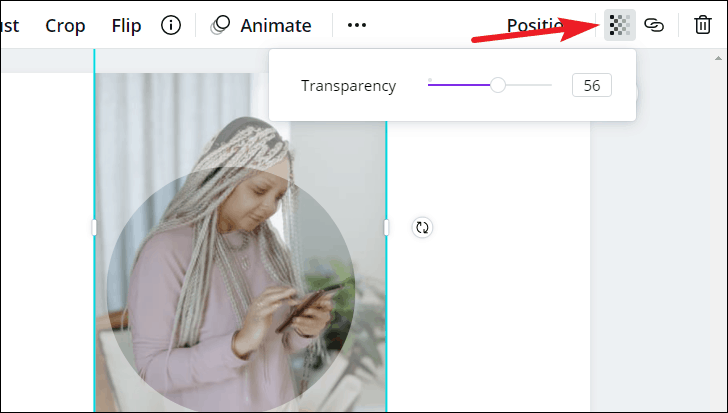
Now place the second photo on top of the frame and make sure it is perfectly aligned with the photo in the frame. You can decrease its transparency temporarily to align it with the photo underneath.
To change the transparency of an element, click the ‘Transparency’ icon from the toolbar at the top. Once the photos are aligned, change the transparency back to 100.
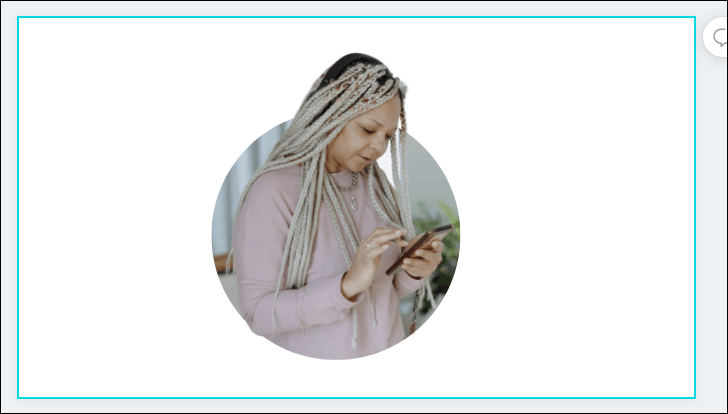
Now, select the photo on the top and remove its background. And there you have it – a photo with an out-of-bounds effect. Group all the elements together in the end.
There you go! Not only you now know how to remove the background of a photo, you have some creative things to do with this feature.