
Cortana has been a part of the Windows operating system since Windows 8.1, serving as Microsoft’s cloud-based digital assistant. While it offers features like searching files, managing calendars, setting reminders, web searches, and adjusting settings through voice commands, not everyone finds it useful. Many users feel that Cortana consumes system resources, invades privacy by collecting personal data, and doesn’t always provide helpful results. In Windows 11, Microsoft has shifted Cortana from being an integrated search assistant to just another app that’s pre-installed but not active by default. If you’re looking to disable or remove Cortana from your Windows 11 PC, whether temporarily or permanently, here are the methods you can follow.
Disable Cortana from Startup in Windows 11 (Temporary)
By default, Cortana launches automatically when you start your computer. To prevent Cortana from running at startup and only use it when you manually activate it, you can disable it from the startup programs.
- Open Settings by pressing Win + I or by clicking the Start menu and selecting Settings.
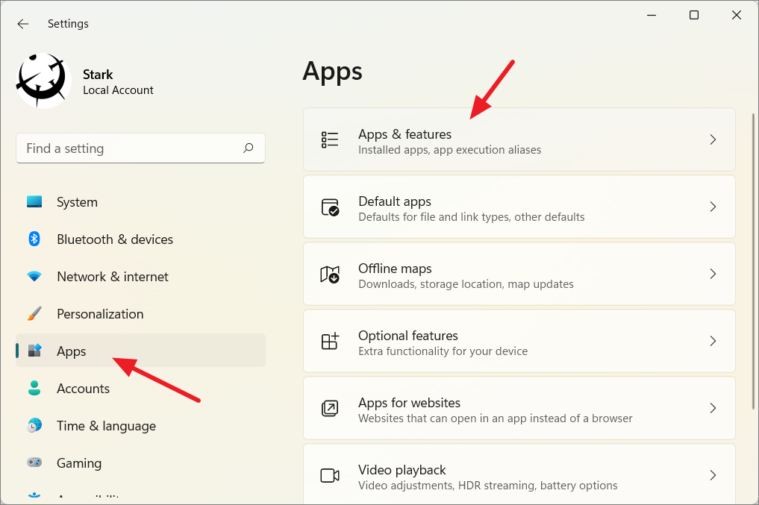
- In the Settings window, select the Apps tab on the left sidebar, then click on Apps & features on the right.
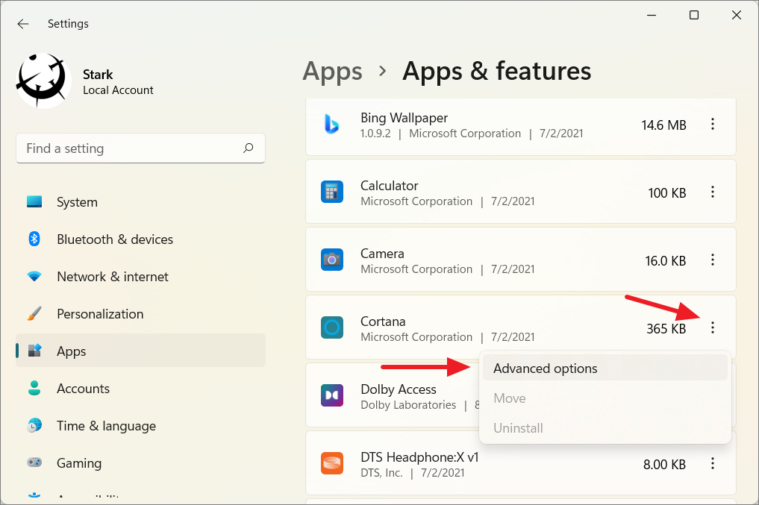
- Scroll through the list of apps to find Cortana. Click on the three-dot menu next to it and select Advanced options.
- In the Advanced options, scroll down to the Runs at log-in section and toggle it off.
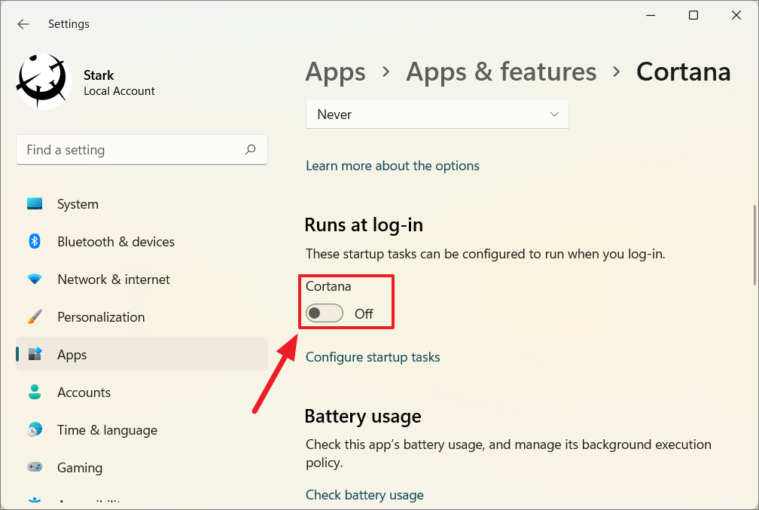
Restart your computer to apply the changes. Cortana will no longer start automatically with your system.
Disable Cortana from Startup via Task Manager
You can also disable Cortana from starting up using the Task Manager:
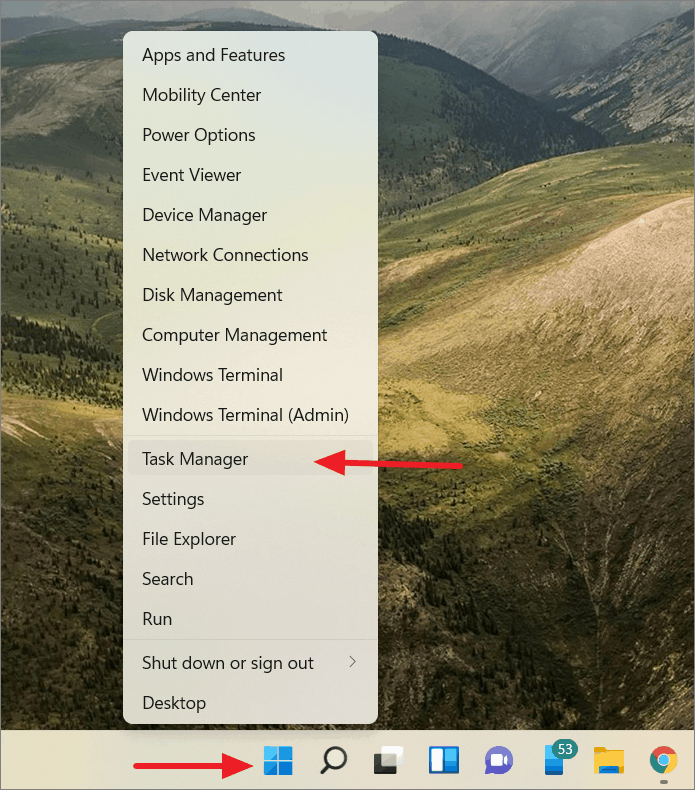
- Right-click on the Start button and select Task Manager, or press Ctrl + Shift + Esc to open it directly.
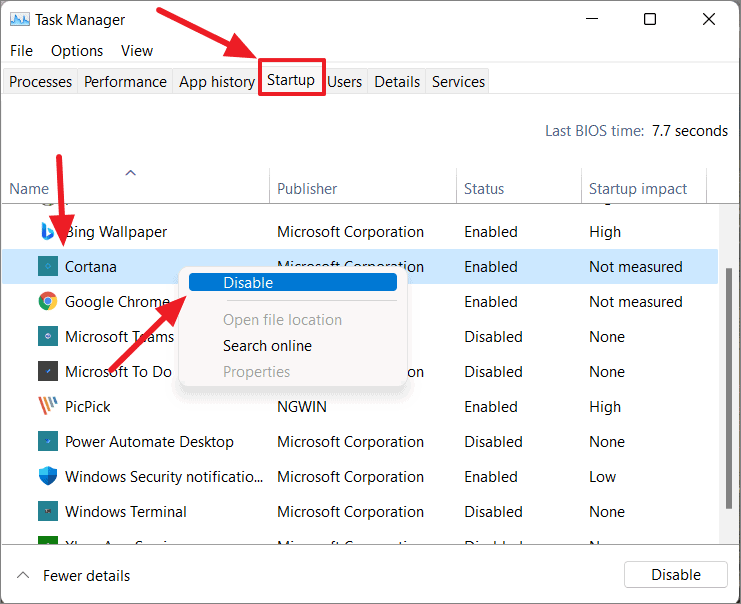
- In the Task Manager window, click on the Startup tab.
- Locate Cortana in the list of startup items.
- Right-click on Cortana and select Disable.
Now, Cortana won’t run when you start your PC, but you can still launch it manually from the Start menu or by pressing Win + C.
Disable Cortana Activation Methods (Temporary)
If you want to prevent Cortana from activating accidentally through voice commands or keyboard shortcuts, you can disable its activation methods:
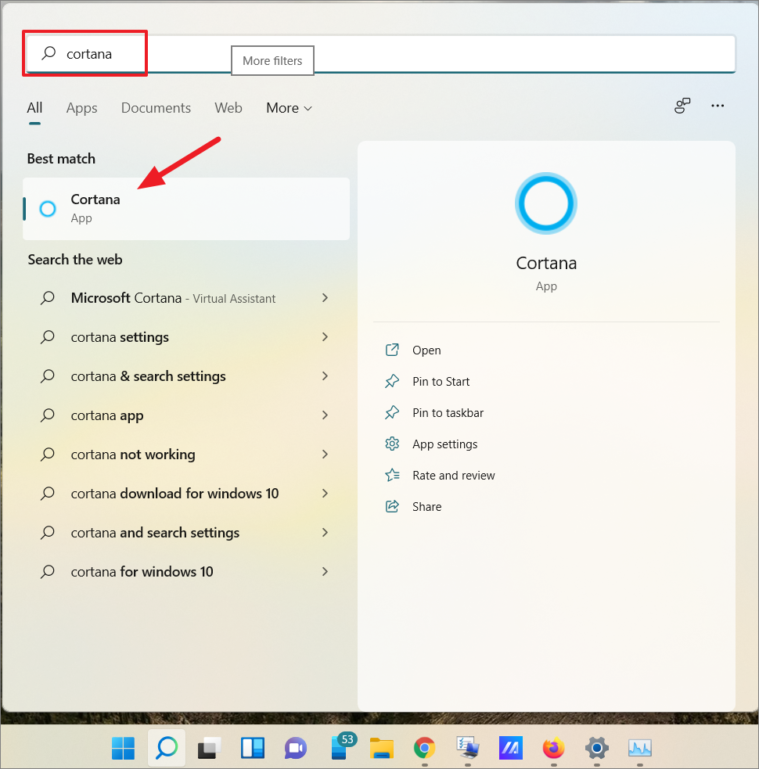
- Open Cortana by searching for it in the Windows search bar and clicking on the app.
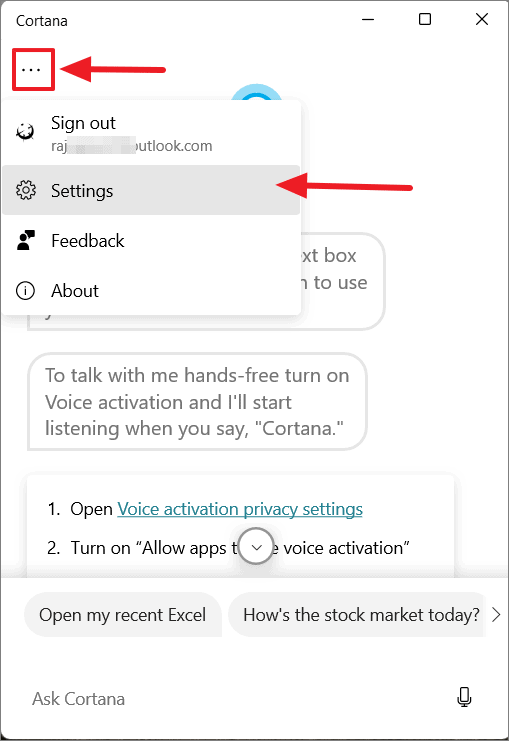
- Click on the three-dot menu in the top left corner and select Settings.
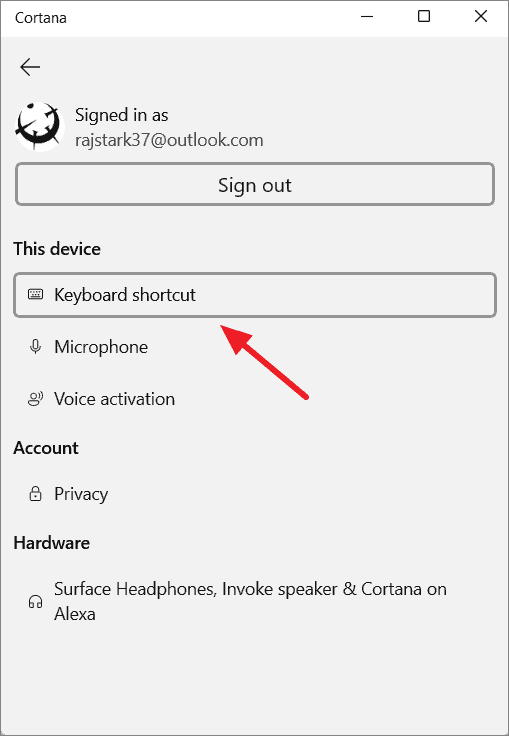
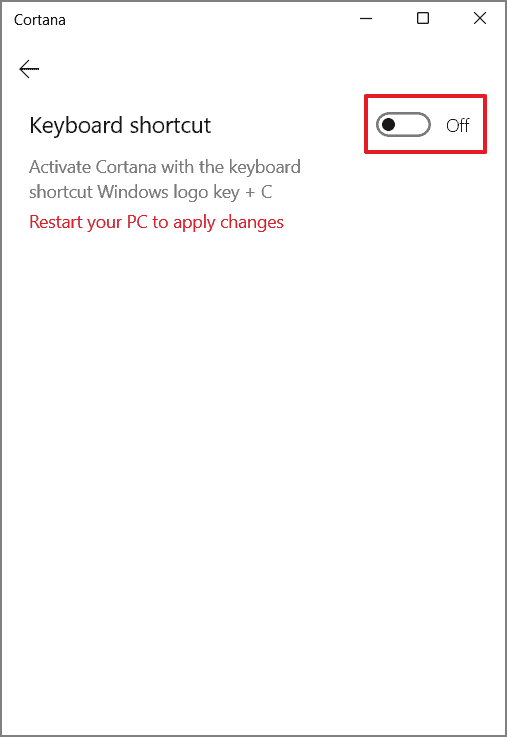
- Under the This device section, click on Keyboard shortcut.
- Toggle off the option for the keyboard shortcut to prevent accidental activation via keys.
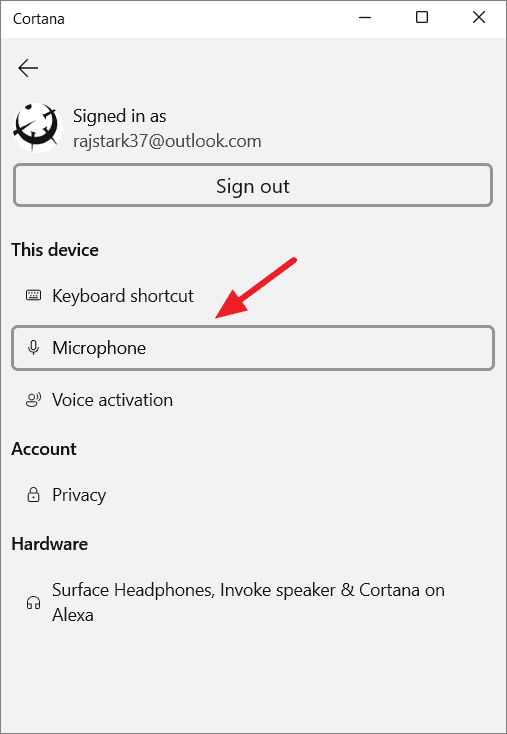
- Go back to the Settings page and select Microphone.
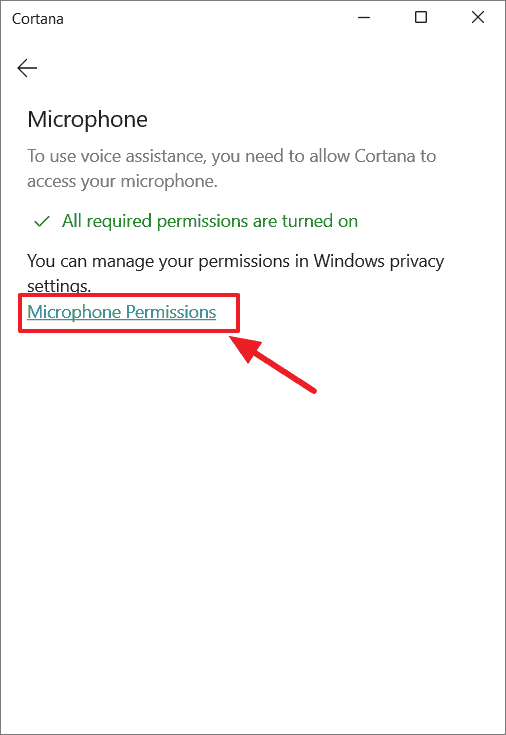
- Click on Microphone Permissions to open the microphone settings.
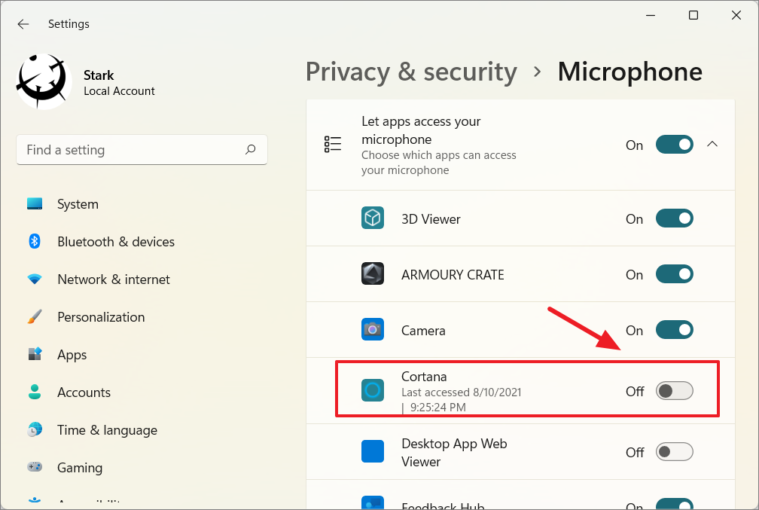
- Scroll down to find Cortana and toggle off its microphone access.
- Return to the Settings page in Cortana and select Voice activation.
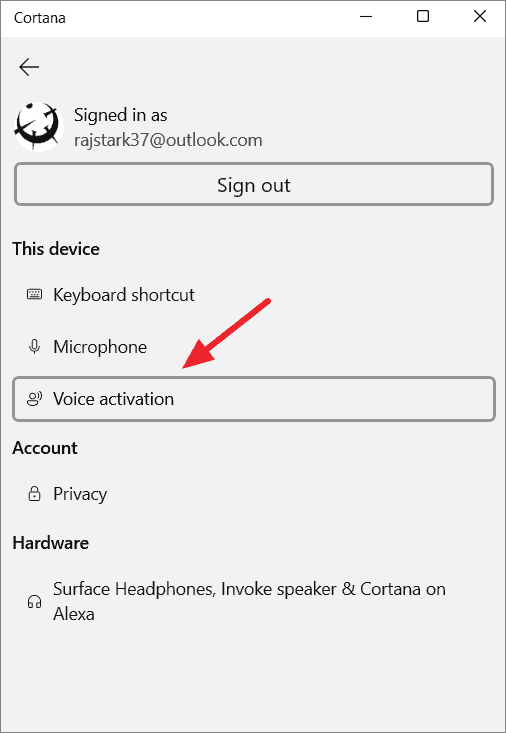
- Click on Voice activation permissions.
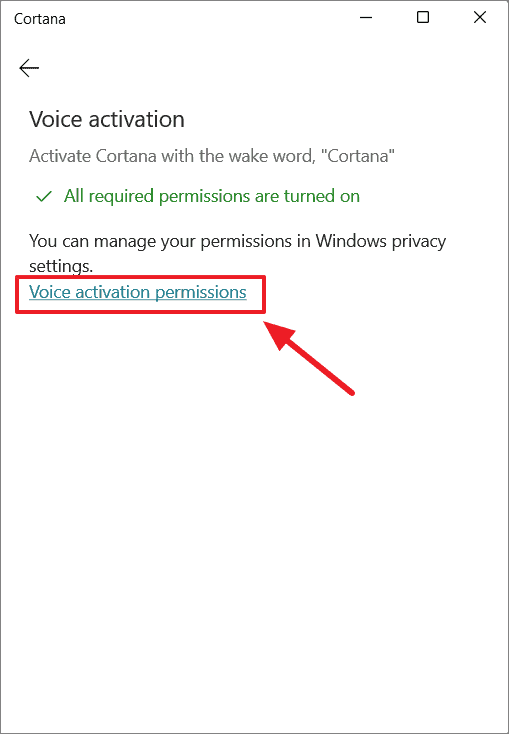
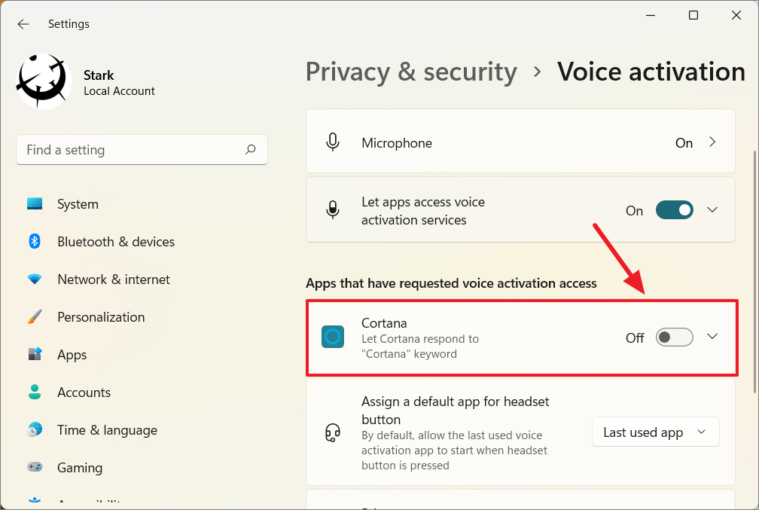
- Turn off the toggle next to Cortana to disable voice activation.
By doing this, Cortana won’t activate through voice commands or keyboard shortcuts, but you can still open it manually if needed. Remember to re-enable these settings if you decide to use Cortana’s voice features again.
Disable Cortana Permanently via Windows Registry
If you want to disable Cortana completely so it cannot be used at all, you can modify the Windows Registry. Editing the registry can be risky, so it’s recommended to back up your registry or create a system restore point before proceeding.
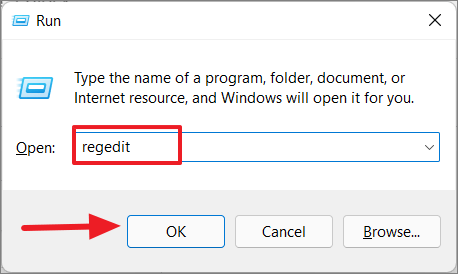
- Press Win + R to open the Run dialog box.
- Type regedit and press Enter to open the Registry Editor.
- If you don’t see a Windows Search folder under Windows, you’ll need to create it:
- Right-click on the Windows folder, select New, then Key.
- Name the new key Windows Search.
In the Registry Editor, navigate to the following path:
HKEY_LOCAL_MACHINE\SOFTWARE\Policies\Microsoft\Windows\Windows Search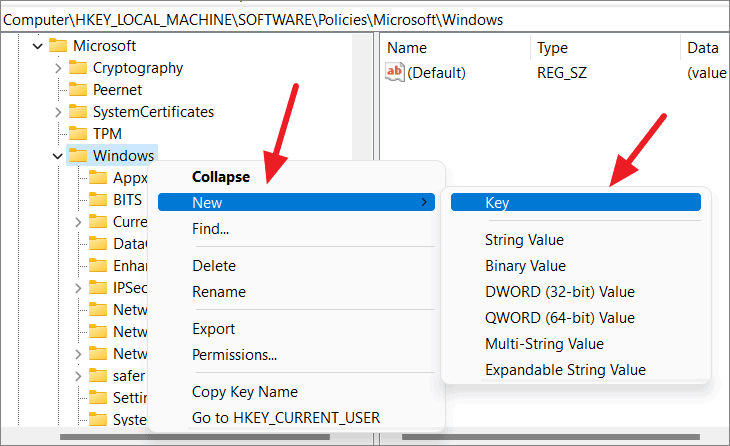
- Right-click on Windows Search, select New, then choose DWORD (32-bit) Value.
- Name the new value AllowCortana.
- Double-click on AllowCortana, set the Value data to 0, and ensure the Base is set to Hexadecimal. Click OK.

- Restart your computer to apply the changes.
Now, Cortana will be completely disabled on your system. If you try to open it, you’ll receive a message indicating that Cortana is disabled.

To re-enable Cortana, return to the AllowCortana value in the Registry Editor and change the Value data to 1, then restart your PC.
Disable Cortana Permanently via Group Policy Editor
You can also use the Local Group Policy Editor to disable Cortana:
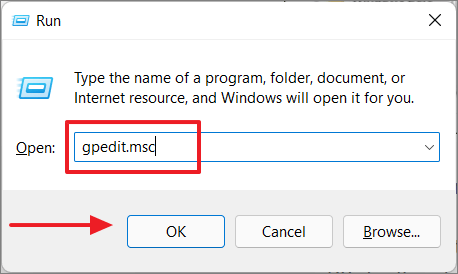
- Press Win + R, type gpedit.msc, and press Enter to open the Local Group Policy Editor.
- In the right pane, double-click on Allow Cortana.
Navigate to:
Computer Configuration > Administrative Templates > Windows Components > Search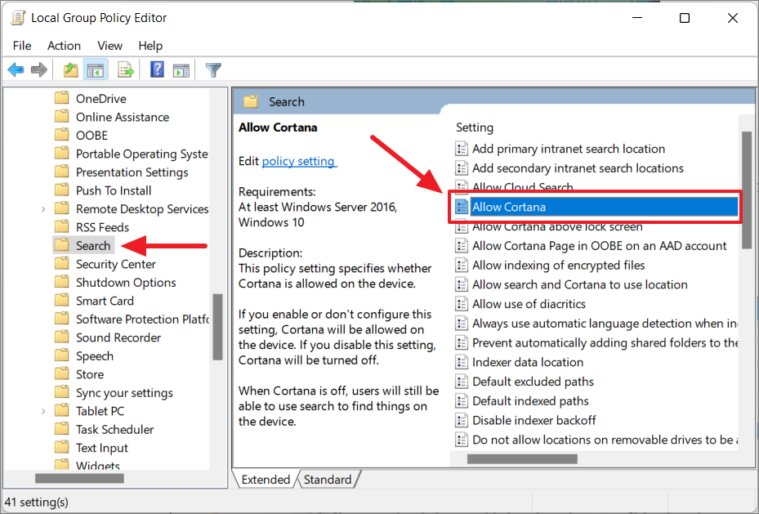
- Select Disabled, click Apply, then OK.
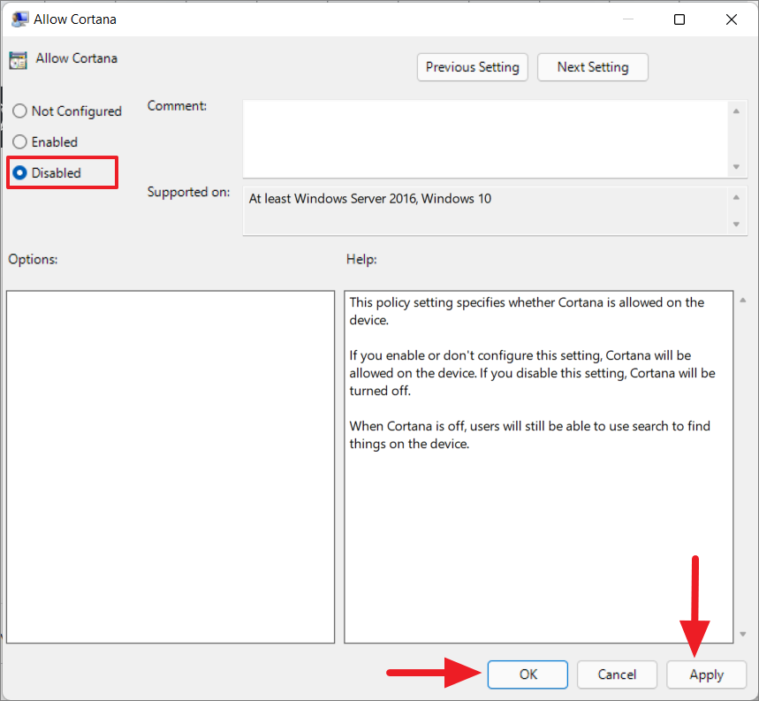
- Restart your computer to apply the changes.
To re-enable Cortana, follow the same steps and set Allow Cortana to Enabled or Not Configured.
Uninstall Cortana from Windows 11
If you want to remove Cortana completely from your system, you can uninstall it using Windows PowerShell:
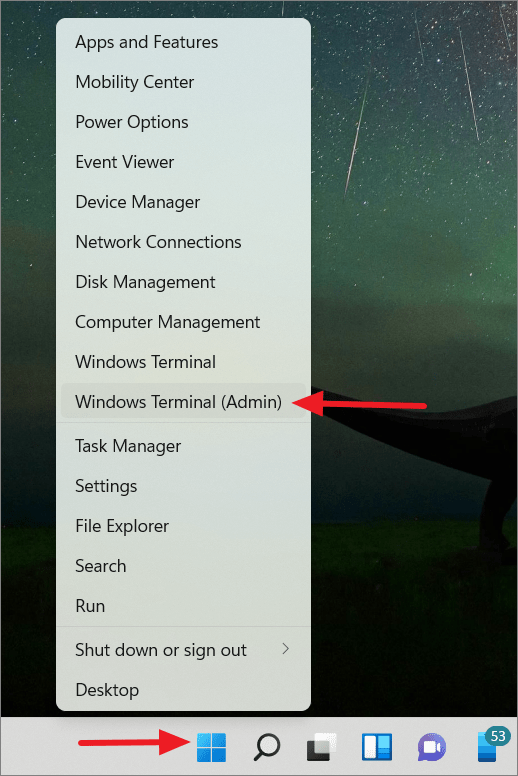
- Right-click on the Start button and select Windows Terminal (Admin). Alternatively, you can search for PowerShell, right-click on it, and select Run as administrator.
In the PowerShell window, enter the following command to uninstall Cortana for the current user:
Get-AppxPackage *Microsoft.549981C3F5F10* | Remove-AppxPackage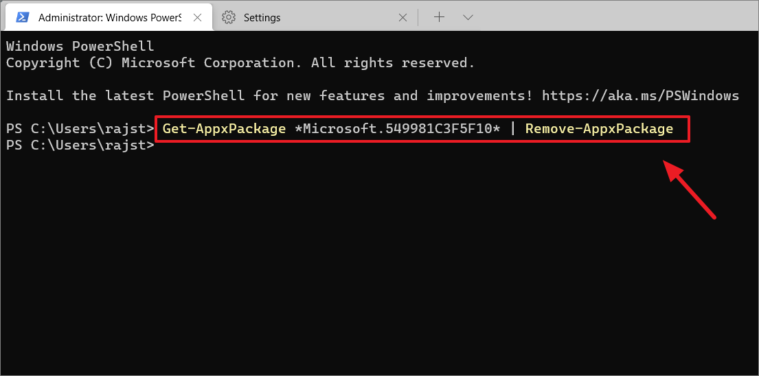
To uninstall Cortana for all users, use this command:
Get-AppxPackage -allusers Microsoft.549981C3F5F10 | Remove-AppxPackage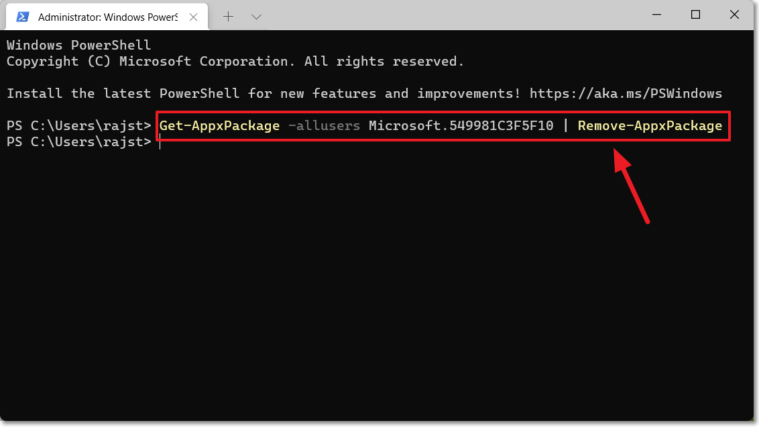
Cortana will now be uninstalled from your Windows 11 PC.
Reinstall Cortana in Windows 11
If you decide to use Cortana again, you can easily reinstall it from the Microsoft Store:
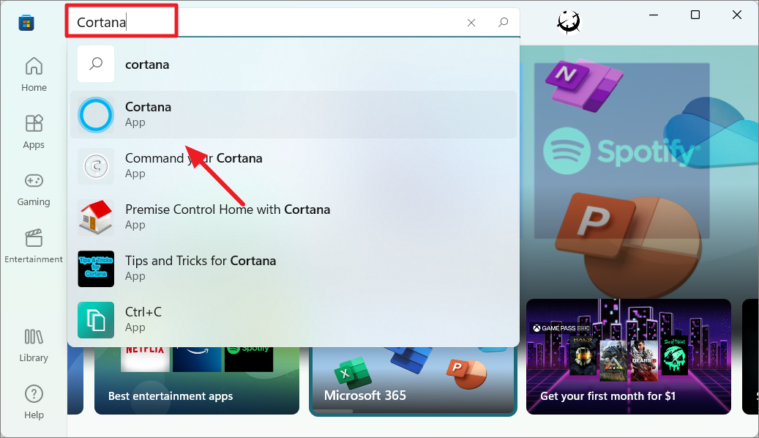
- Open the Microsoft Store by searching for it in the Windows search bar.
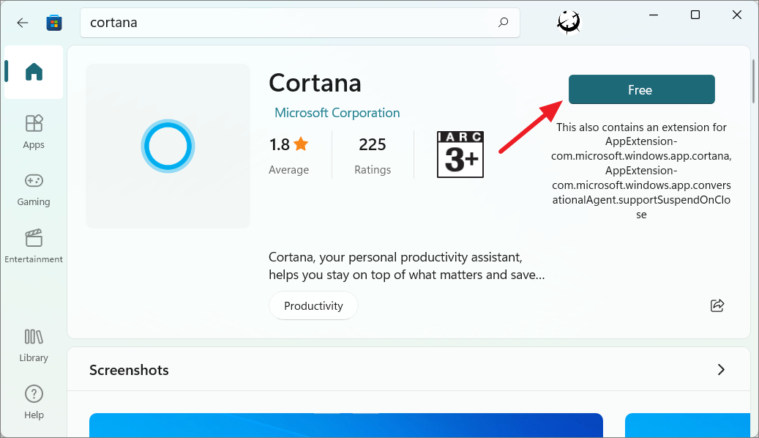
- In the Microsoft Store, search for Cortana.
- Select the Cortana app from the search results.
- Click on Get or Install to download and install the app.
Once installed, you can start using Cortana as before.
By following these methods, you can control how Cortana functions on your Windows 11 PC, whether you prefer to disable it temporarily, prevent accidental activation, or remove it entirely.


