
Drivers are essential software components that allow your operating system to communicate with hardware devices. While Windows Update generally handles driver updates automatically, you can also update drivers manually. However, sometimes a new driver version can cause issues or instability. If a recent driver update is causing trouble on your Windows 11 PC, you can roll back to a previous version to resolve the problem. In this guide, we’ll show you how to roll back driver updates, reinstall the latest drivers, and disable automatic driver updates if necessary.
Roll Back a Driver Update
If a recent driver update is causing issues, you can revert to the previous version using Device Manager. Follow these steps:
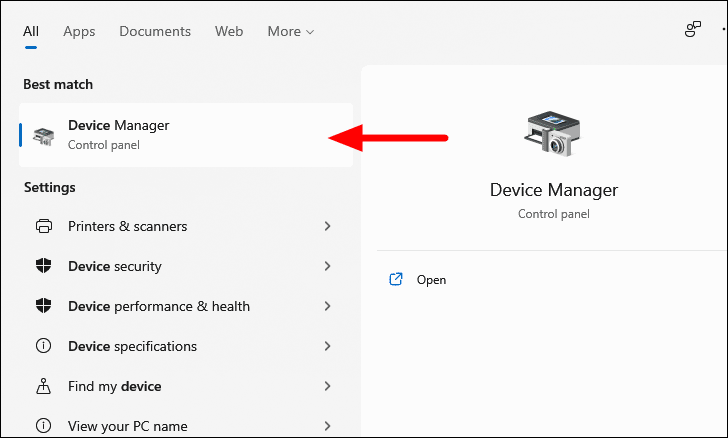
- Press Windows + S to open the Search menu. In the search box, type Device Manager and click on the matching result to open it.
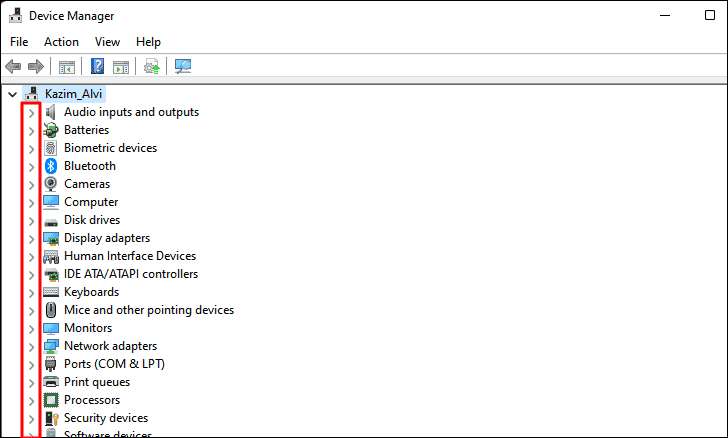
- In Device Manager, find the category for the device whose driver you want to roll back. Click the arrow icon next to the category to expand it and see the list of devices.
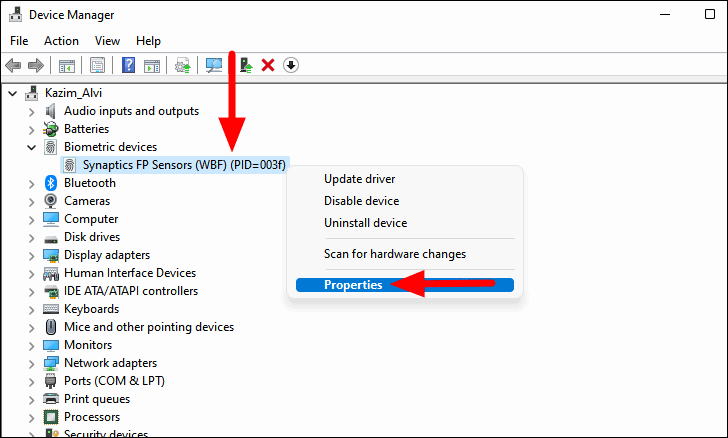
- Right-click on the device in question and select Properties from the context menu.
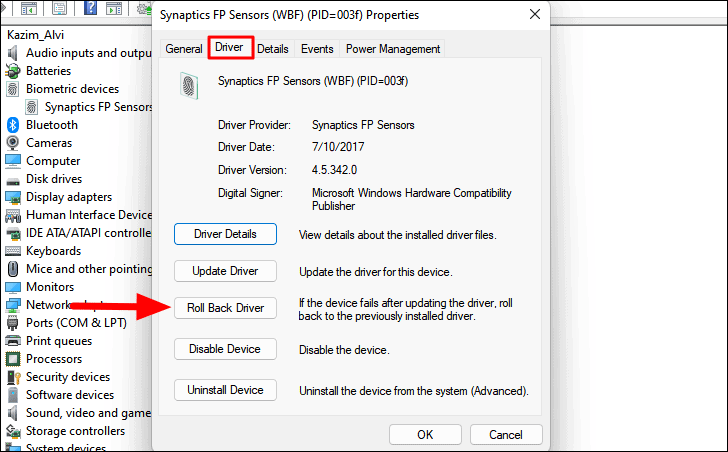
- In the Properties window, switch to the Driver tab. Click on the Roll Back Driver button.
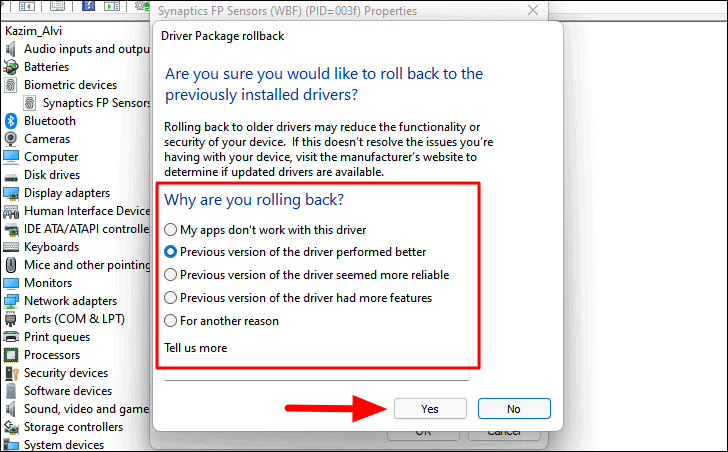
- A window will pop up asking why you are rolling back. Choose a reason from the options provided, or select For another reason and enter your explanation. Click Yes to confirm.
- Wait while Windows restores the previous driver version. Once the process is complete, close any open windows and restart your computer to apply the changes.
Reinstall the Latest Driver Version
If you previously rolled back a driver update but want to reinstall the latest version, you can update the driver manually. Here’s how:
- Open Device Manager by pressing Windows + S, typing Device Manager, and selecting it from the search results.
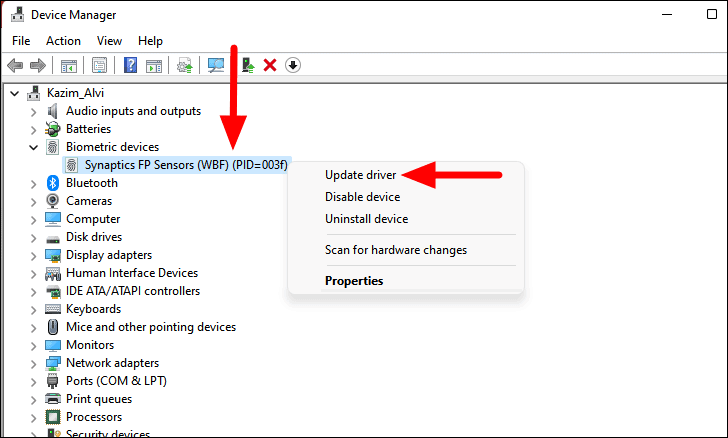
- Find and right-click on the device you want to update, then select Update driver from the context menu.
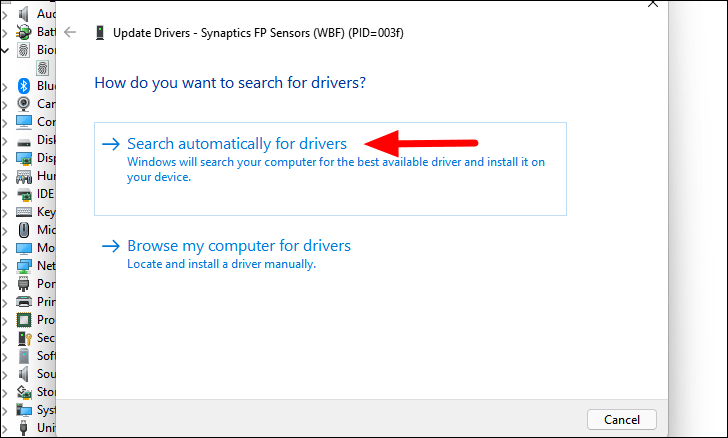
- In the Update Drivers window, choose Search automatically for drivers. This allows Windows to find and install the latest driver software.
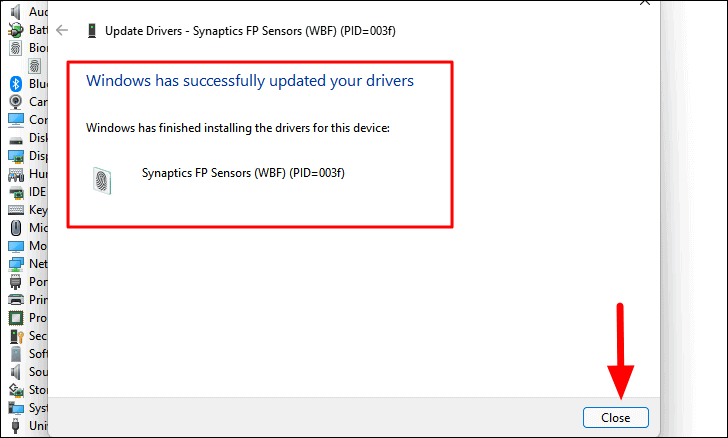
- Wait for Windows to search for and install the latest driver. Once the process is complete, you’ll see a message stating that the drivers have been updated successfully. Click Close to exit.
- If prompted to restart your computer, save any open work and restart your PC to apply the changes.
Disable Automatic Driver Updates
To prevent Windows from automatically updating your device drivers, adjust your system settings as follows:
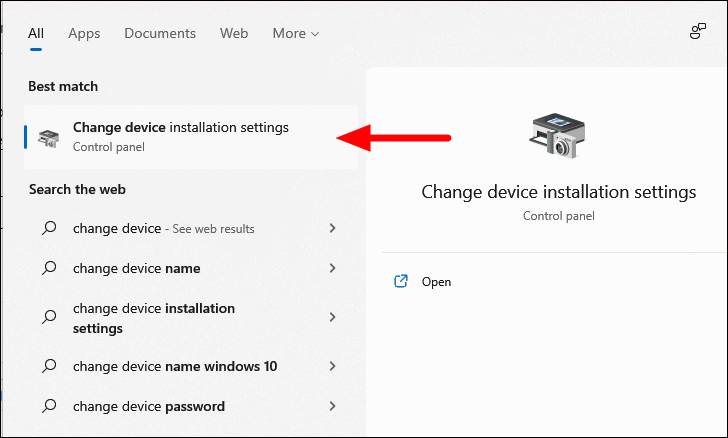
- Press Windows + S to open the Search menu. Type Change device installation settings into the search bar and select it from the results.
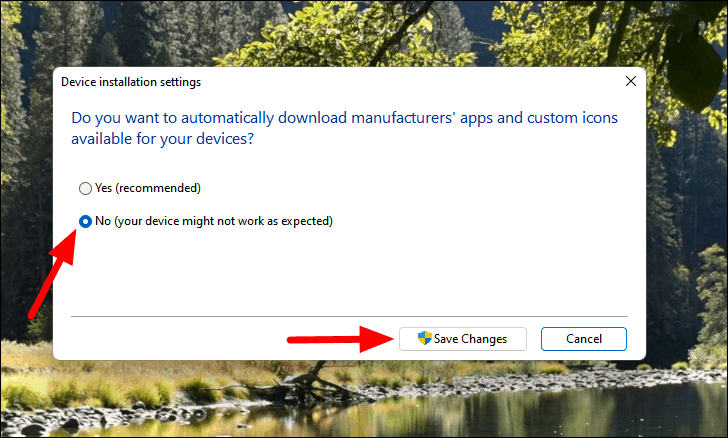
- In the Device installation settings window, choose the No (your device might not work as expected) option.
- Click Save Changes to apply the new settings.
From now on, Windows will not automatically update your device drivers.
Drivers play a vital role in the proper functioning of your hardware devices. While updates can improve performance or security, they might also introduce issues. Knowing how to manage driver updates gives you control over your system’s stability.


