Windows Explorer is a crucial part of the Windows operating system, managing the graphical user interface elements like the Taskbar, File Explorer, and desktop. If you’re experiencing issues such as an unresponsive Taskbar or File Explorer not responding, restarting Windows Explorer can often resolve these problems without requiring a full system reboot.
Restart Windows Explorer using Task Manager
You can easily restart Windows Explorer through the Task Manager by following these steps:
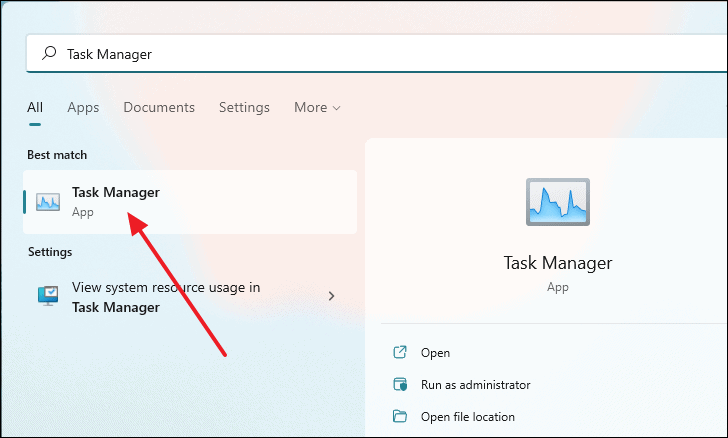
- Open the Task Manager by typing “Task Manager” into the Start Menu search and selecting it from the results.
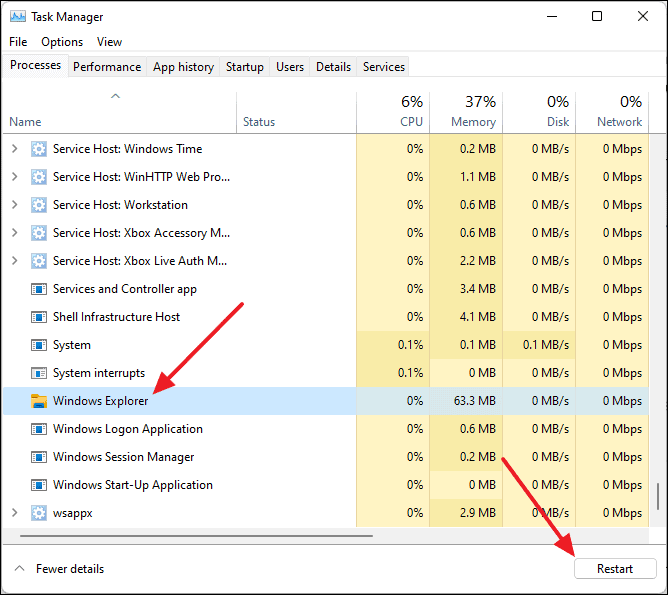
- In the Task Manager window, scroll down to the bottom of the “Processes” tab to find Windows Explorer.
- Click on Windows Explorer to select it.
- Click the Restart button located at the bottom-right corner of the Task Manager window.
Restart Windows Explorer by creating a batch file
Creating a batch file allows you to restart Windows Explorer with a simple double-click whenever needed. Here’s how to create one:
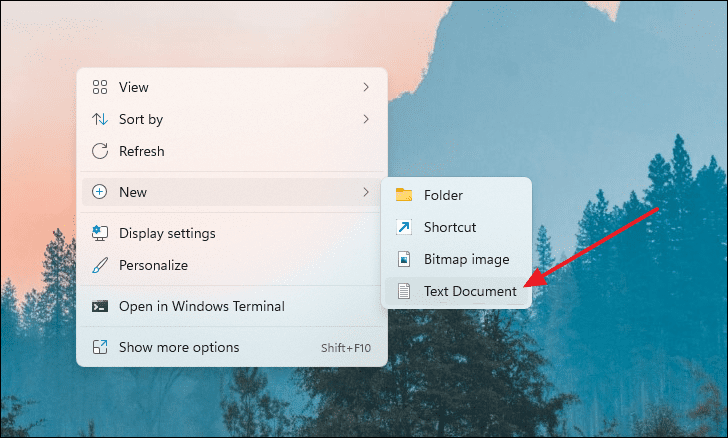
- Right-click on any empty space on your desktop.
- Hover over New and select Text Document to create a new text file.
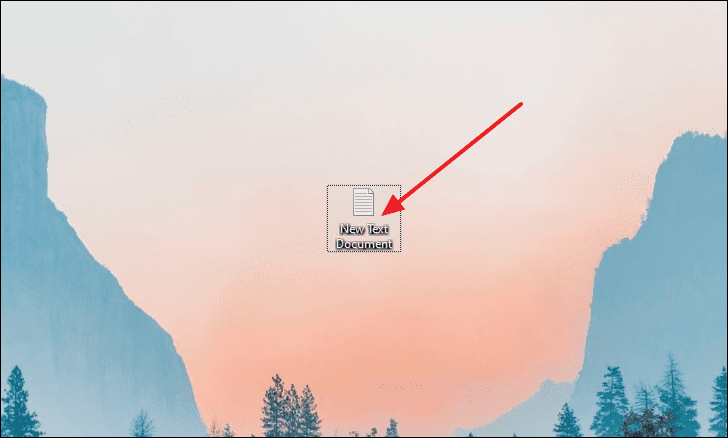
- Open the newly created text document by double-clicking on it.
- In the Notepad window, copy and paste the following command on the first line:
taskkill /f /im explorer.exePress Enter to move to the next line, then copy and paste the following command:
start explorer.exe
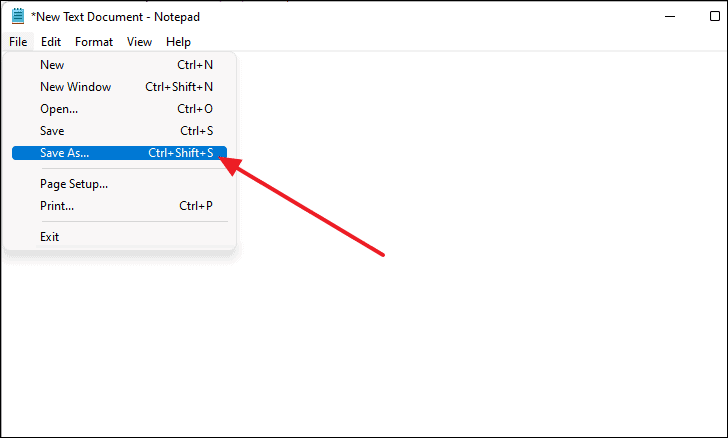
- Click on File and select Save As… or press
Ctrl+Shift+Sto save the file.
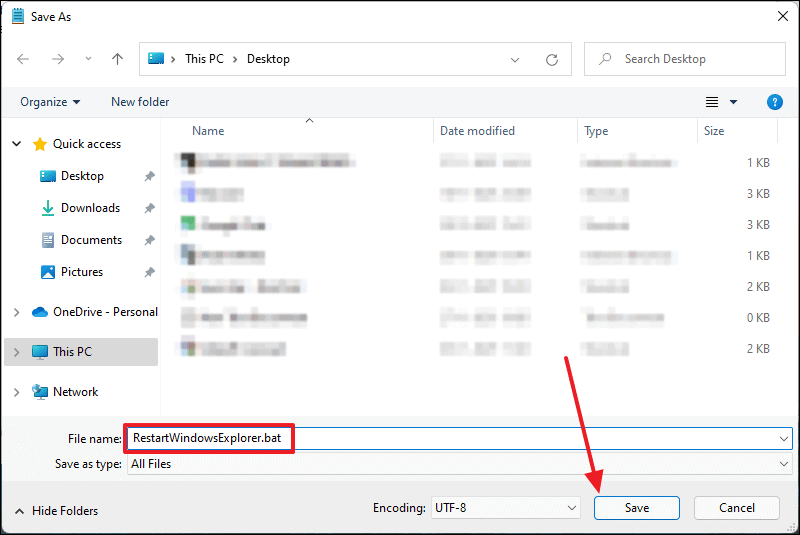
- In the “Save As” dialog, enter a name for your file, ensuring you change the extension from
.txtto.bat(e.g.,RestartExplorer.bat). - Choose a location to save the batch file and click Save.
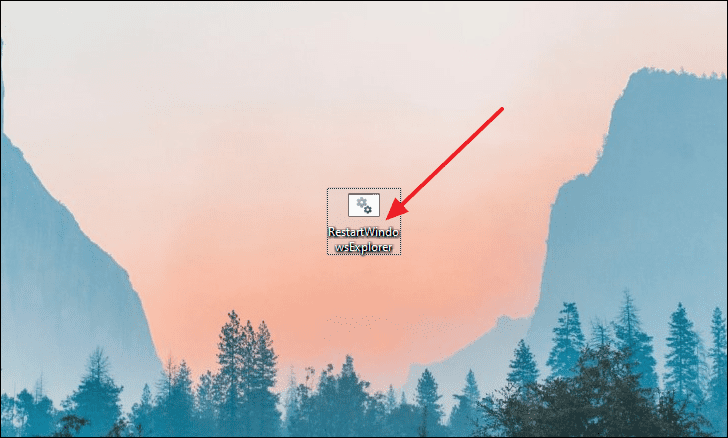
- Notice that the file icon has changed, indicating it’s now a batch file. Double-click on the batch file whenever you need to restart Windows Explorer.
Restart Windows Explorer using Command Prompt
You can also restart Windows Explorer using the Command Prompt interface:
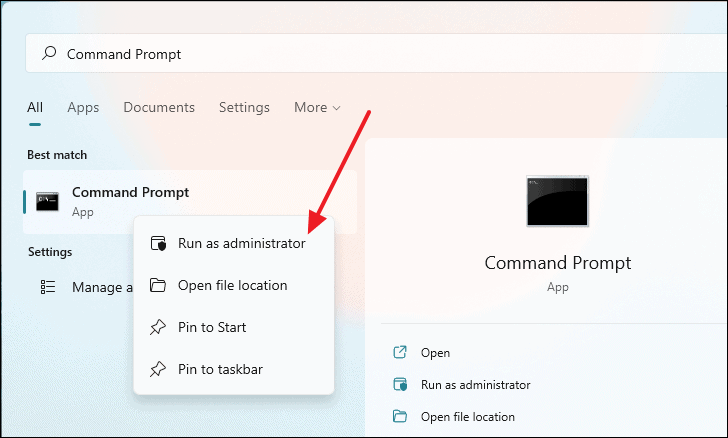
- Type Command Prompt in the Windows search bar.
- Right-click on Command Prompt in the search results and select Run as administrator.
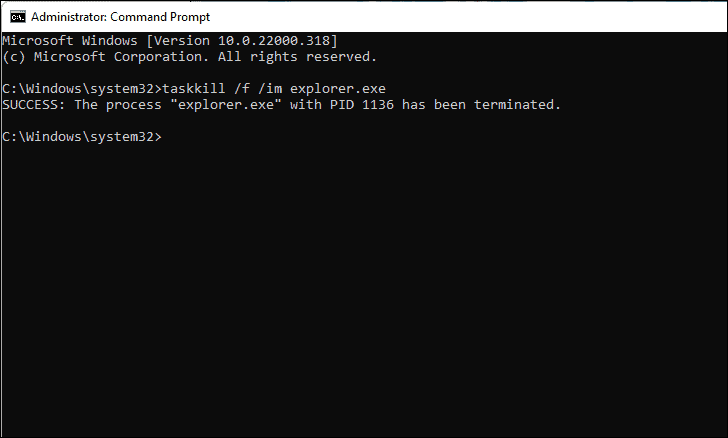
- In the Command Prompt window, type the following command and press
Enter:
taskkill /f /im explorer.exeThis command will stop Windows Explorer, and you may notice the Taskbar disappear.
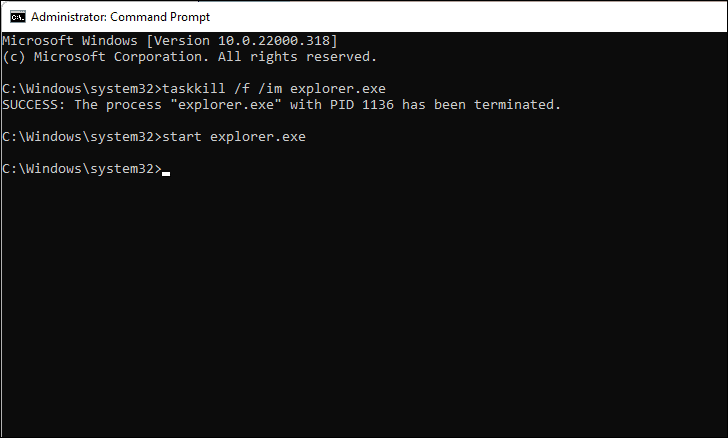
- Next, type the following command and press
Enter:
start explorer.exeThis will restart Windows Explorer, and the Taskbar should reappear.
These methods allow you to quickly restart Windows Explorer on your Windows 11 computer to resolve common interface issues without rebooting your system.


