If you’ve ever tried to use an older application on Windows 11 but found it didn’t work properly, you’re not alone. Many programs designed for previous versions of Windows may not function correctly on the latest operating system due to significant architectural changes. Fortunately, Windows 11 offers Compatibility Mode, a feature that allows you to run these legacy applications by emulating an earlier version of Windows. This guide will show you how to enable Compatibility Mode and adjust its settings to get your older programs running smoothly.
What is Compatibility Mode?
Compatibility Mode is a Windows 11 feature that enables you to run programs created for earlier versions of Windows. It works by simulating the environment of the selected Windows version, which can help resolve issues caused by changes in the operating system’s architecture, such as memory management, input/output systems, and color modes. While Compatibility Mode isn’t a perfect replica of the older OS, it often allows legacy software to function correctly without the need to install an outdated operating system or use older hardware.
1. Enable Compatibility Mode for a Program
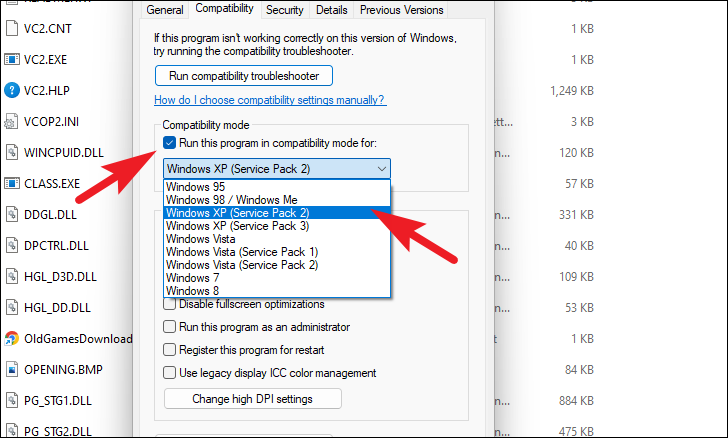
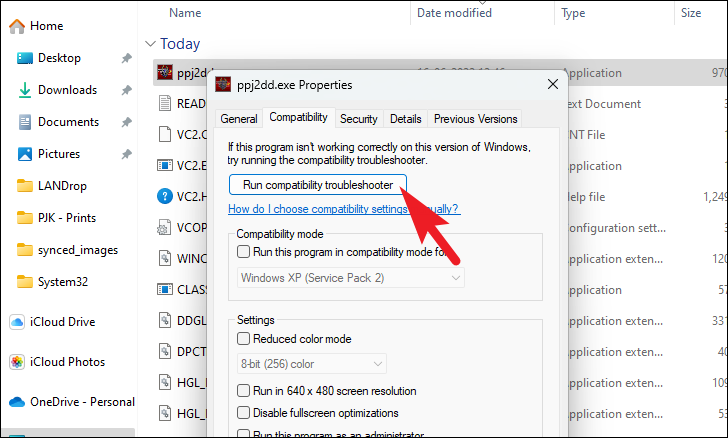
You can activate Compatibility Mode for any program by adjusting its properties. If you know which version of Windows the program was originally designed for, you can set it manually. Alternatively, you can let Windows suggest the optimal settings for you.
Manually Configure the Compatibility Settings
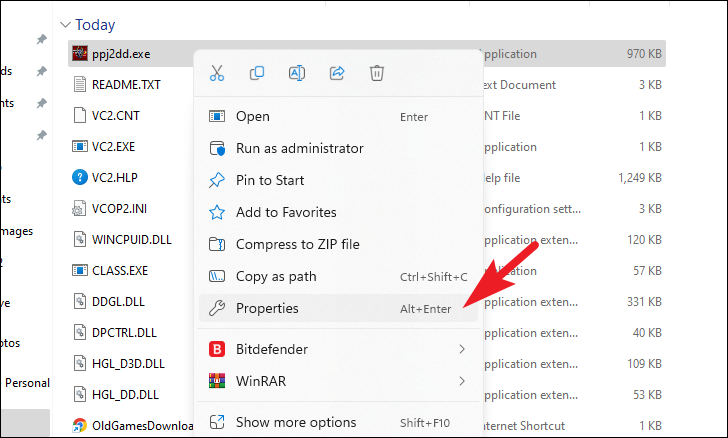

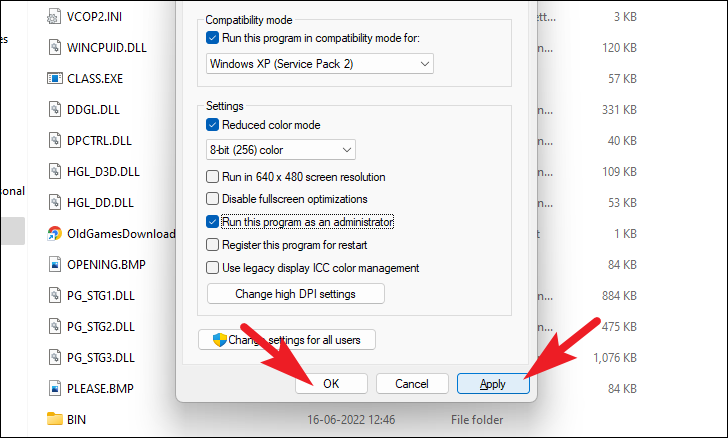
You can now double-click the program’s executable file to run it. The program should launch using the compatibility settings you’ve configured. These settings will remain active until you change them back in the properties menu.
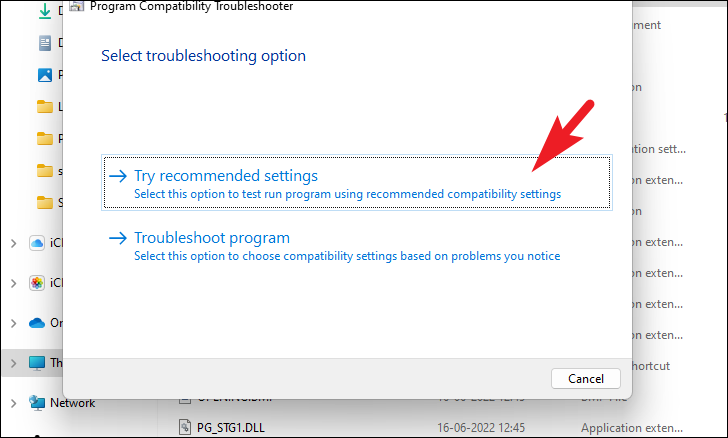
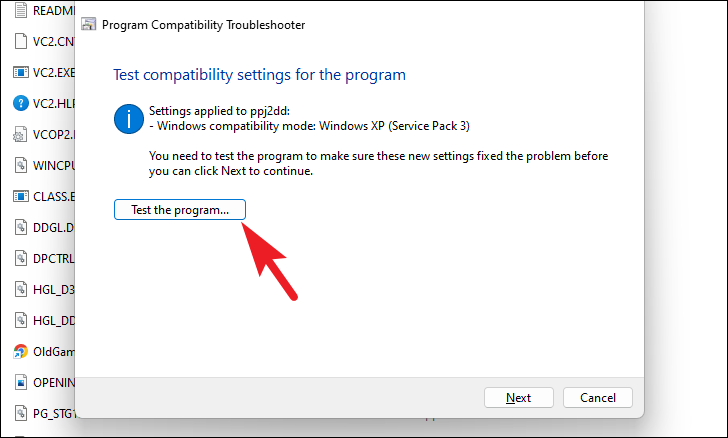
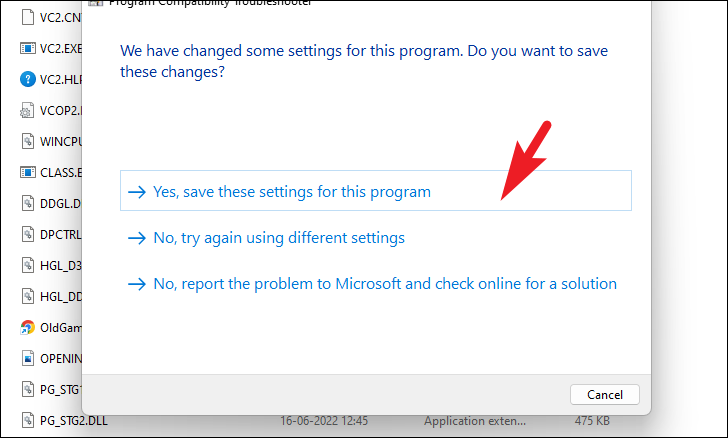
Let Windows Decide Appropriate Compatibility Settings
If you’re unsure which version of Windows your program is compatible with, you can use the Compatibility Troubleshooter to let Windows determine the best settings.

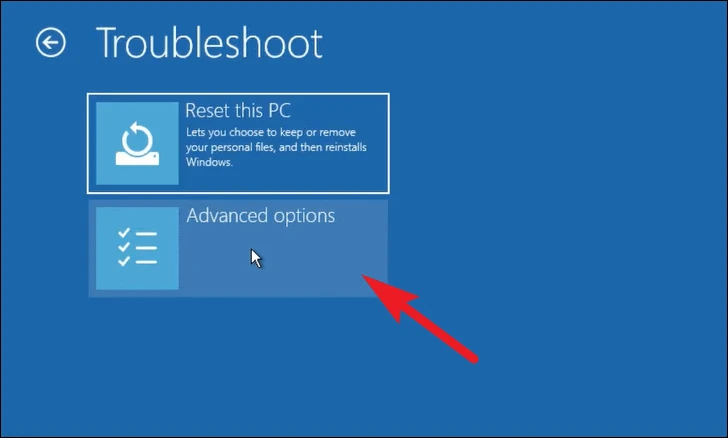
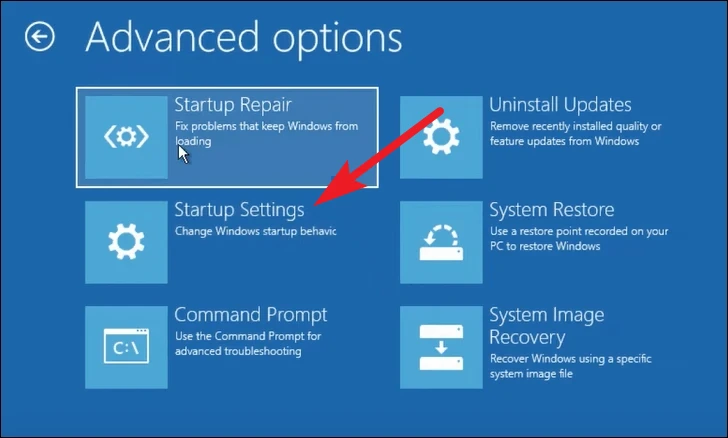
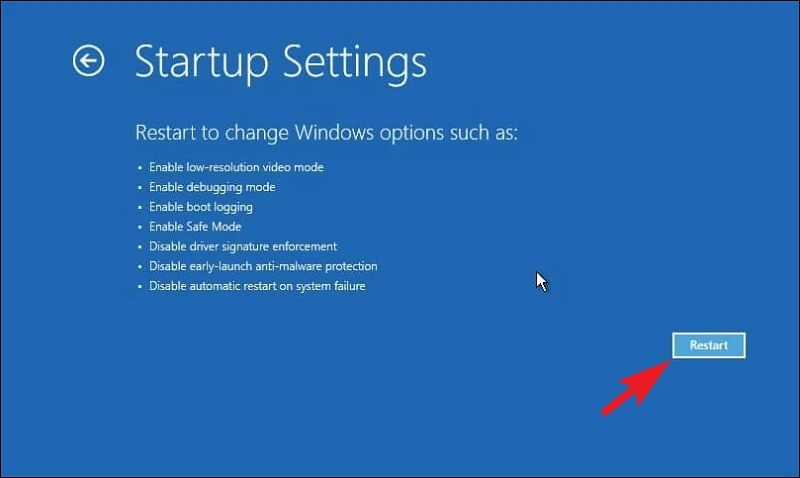
2. Disable the Driver Signature Enforcement
If you’re experiencing driver-related errors when trying to run an older program in Compatibility Mode, the Driver Signature Enforcement feature might be preventing the program from functioning properly. Disabling this feature can help resolve the issue.
Windows key + I to open the Settings app directly.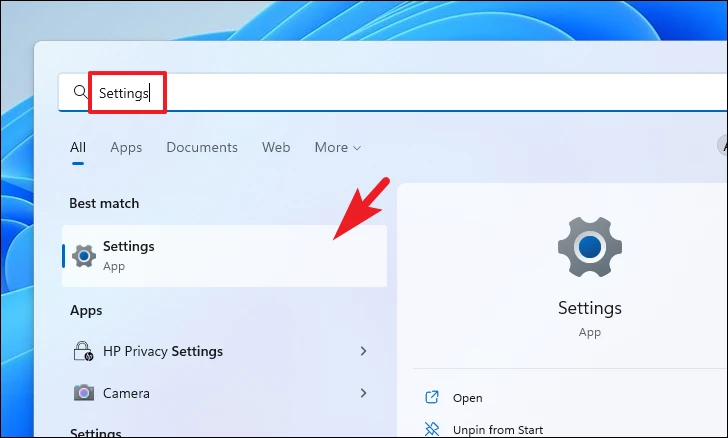
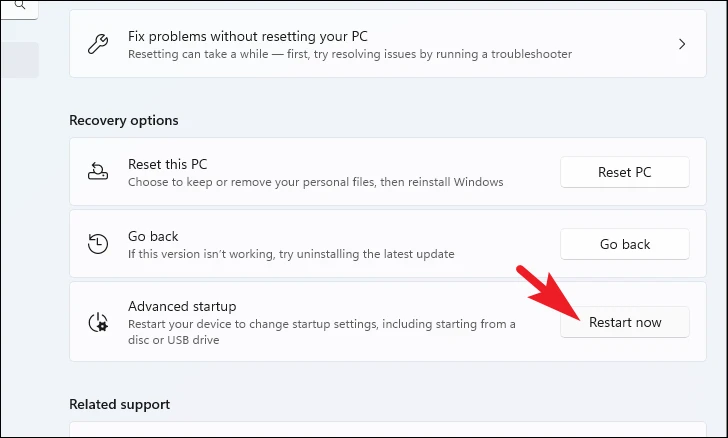

7 key on your keyboard to select Disable driver signature enforcement.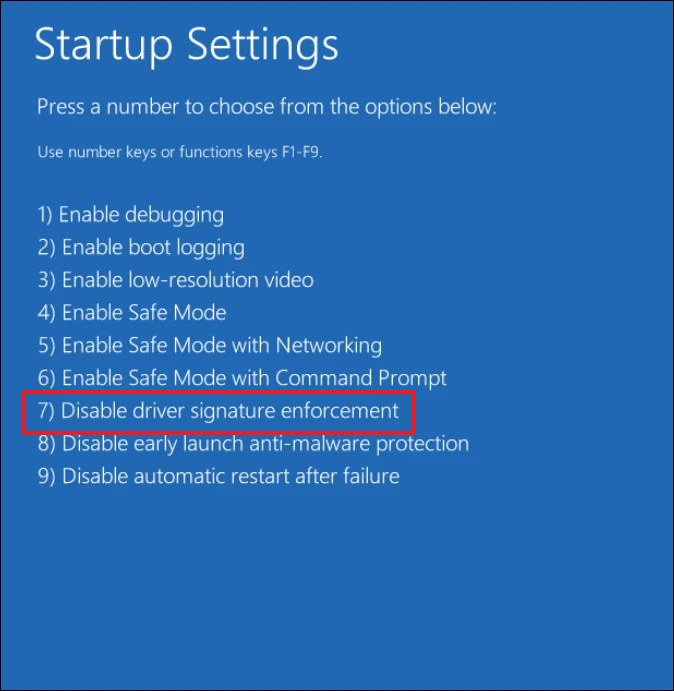
Your PC will now boot with driver signature enforcement disabled. Try running your program again; it should now function without driver-related errors.
By using Compatibility Mode and adjusting the settings as described, you can run older programs on Windows 11 without significant issues. Whether you manually configure the compatibility settings, use the Windows Compatibility Troubleshooter, or disable driver signature enforcement, these methods provide effective solutions for getting your legacy applications up and running.