
There are times when you have to hand over your iPhone to a friend or acquaintance. Or perhaps your work requires you to show a lot of photographs on your device. But everyone has photos on their phone that are too personal and sharing them with people is just a big no.
That’s where the Hidden album comes to your rescue. You can safely tuck away pictures in it and unlike other albums on your iPhone, they don’t appear in the gallery. But up until now, the Hidden album wasn’t really hidden.
Sure, the photos didn’t show up in the gallery. But anyone with access to your iPhone could navigate to the hidden album and everything would be laid bare in front of them. Now, finally, with iOS 16, Apple has truly hidden your photos. You can enable Face ID (or Touch ID) authentication for the Hidden album in iOS 16 to restrict unauthorized access to it.
Enable Authentication to View Hidden Album
Authentication to view the hidden album is enabled by default in iOS 16. So, if you have Face ID or Touch ID set up on your iPhone, it’ll be used automatically to lock the album. To access the album, users would have to first authenticate themselves. Although keep in mind that anyone with access to your iPhone passcode can view the album since iPhone automatically asks for the passcode after a couple of failed Face/ Touch ID attempts.
Now, if you or someone else meddling with your iPhone previously disabled authentication for the hidden album, you can quickly toggle it on from the Settings app. Moreover, if you have turned off your Face ID or Touch ID, you will be able to use your iPhone passcode.
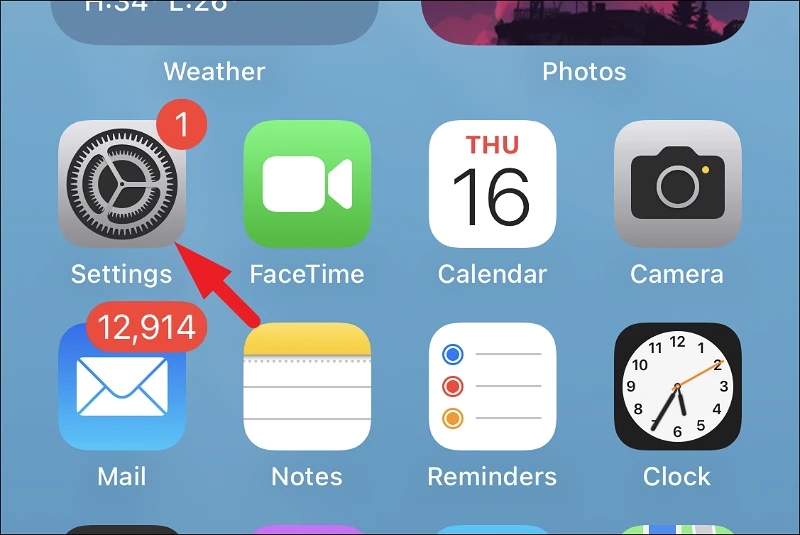
First, head to the Settings app, either from the home screen or from the app library of your device.
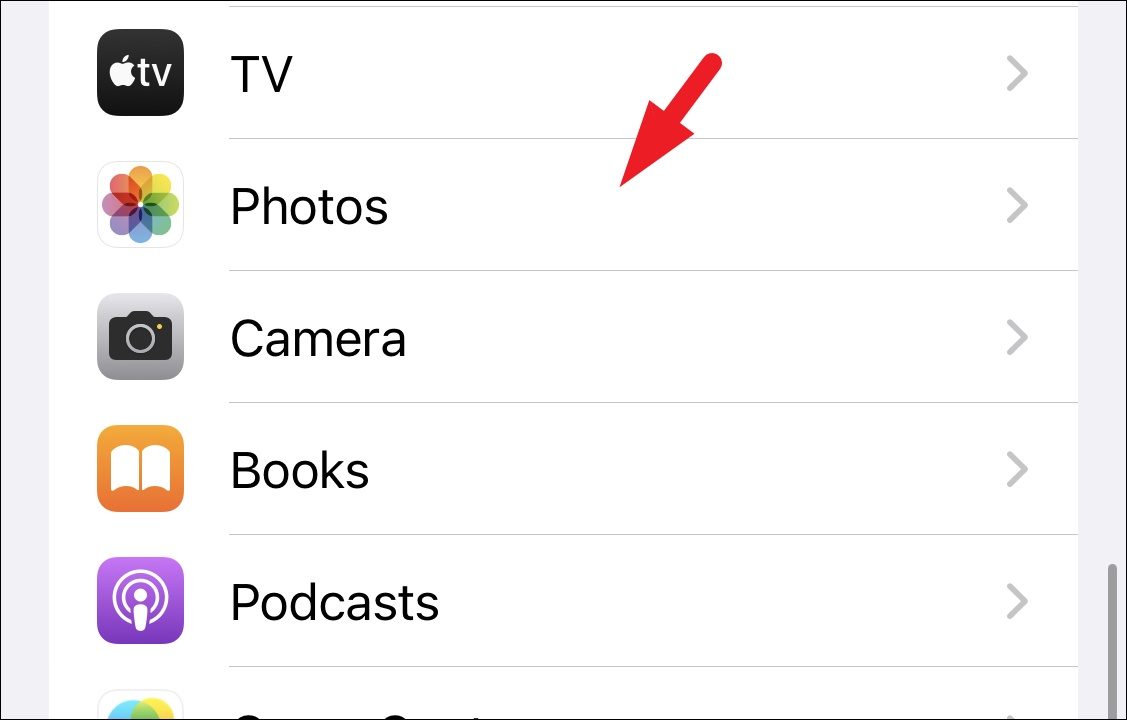
Next, scroll down to locate and tap on the ‘Photos’ tile from the list to proceed.
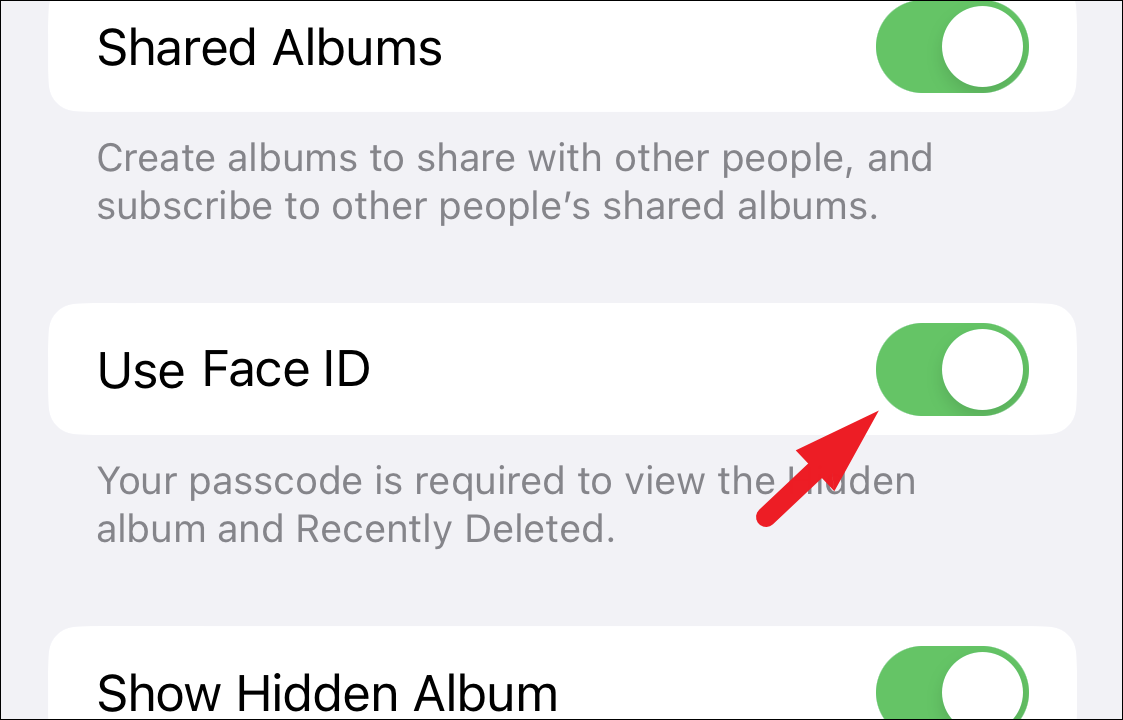
Then, locate the ‘Use Face ID’ option (or ‘Use Touch ID’ in some iPhones) and tap on the toggle switch to bring it to the ‘On’ position.
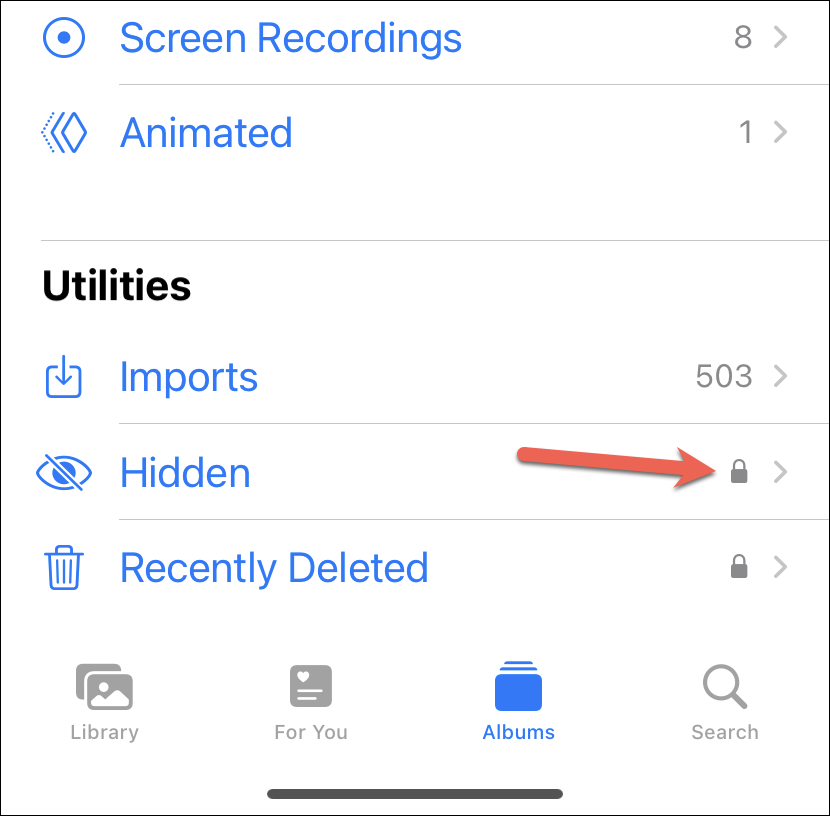
Now, if you go to access the hidden album in the Photos app, it’ll show a lock on the right side. When you open it, it’ll first ask for authentication.
How to Move Pictures from Photos Gallery to Hidden Album
If you are not well versed with the feature, below is a quick refresher on how to move pictures to the Hidden album. Hiding a photo by moving it to the Hidden album is a straightforward process.
Head to the Photos gallery and navigate to the picture you wish to hide from the photo library.
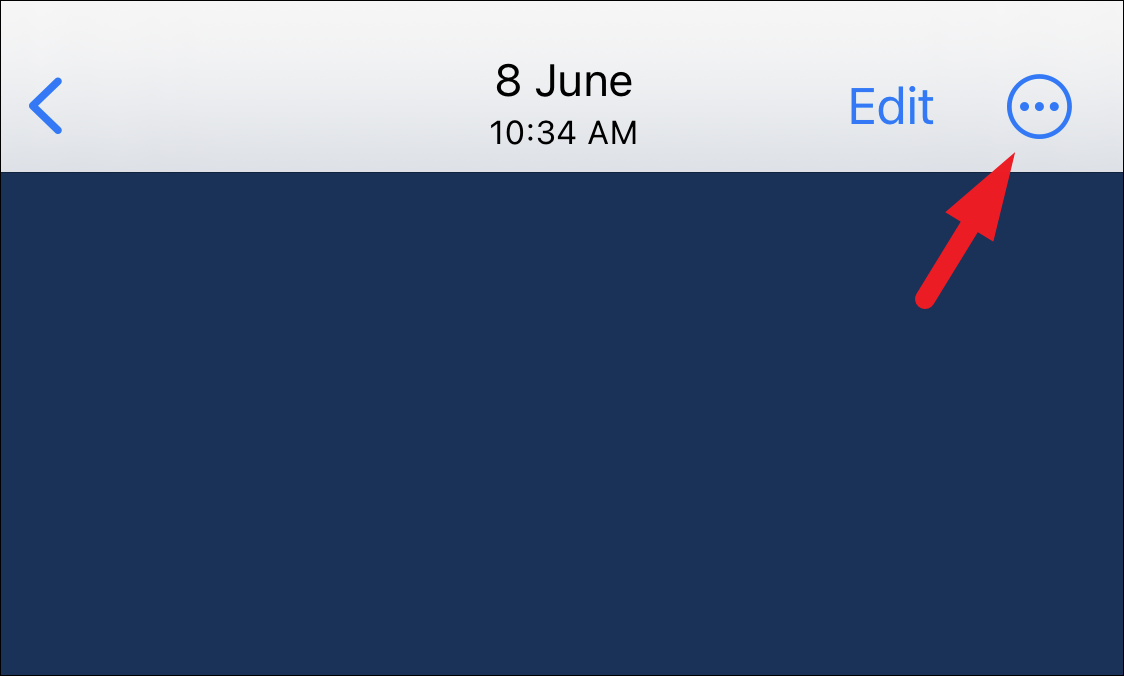
Then, from the picture view, tap on the ‘ellipsis’ icon present in the top right corner to proceed.
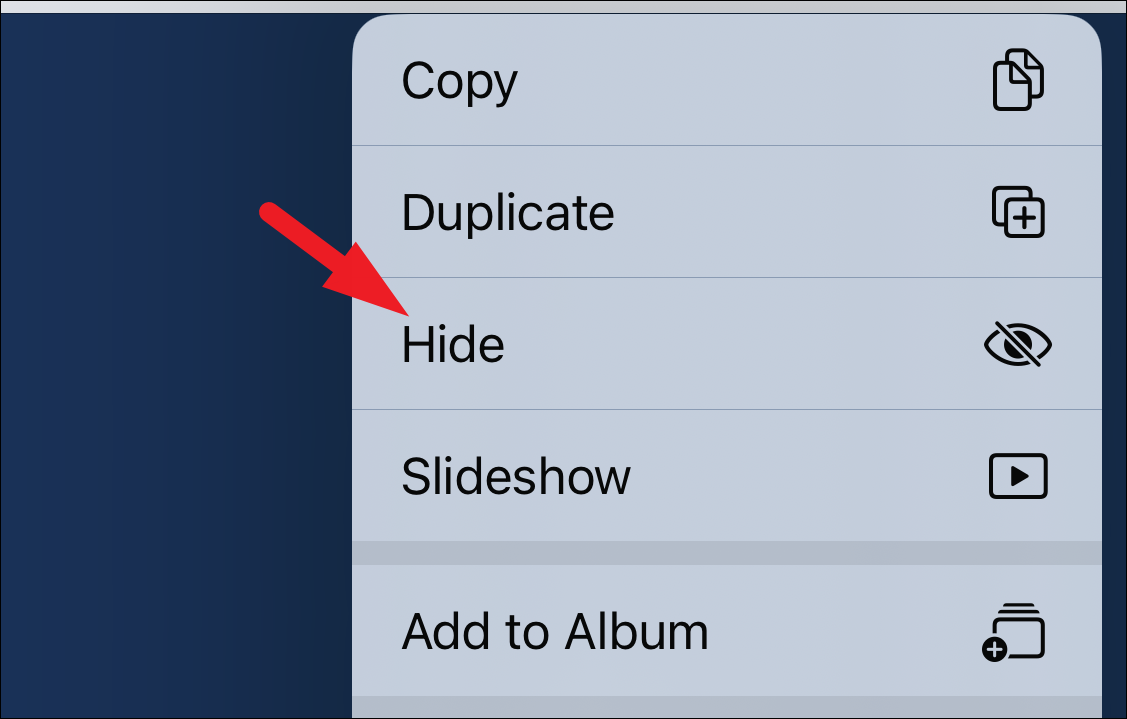
After that, tap on the ‘Hide’ button from the list to continue. This will bring a confirmation prompt to your screen.
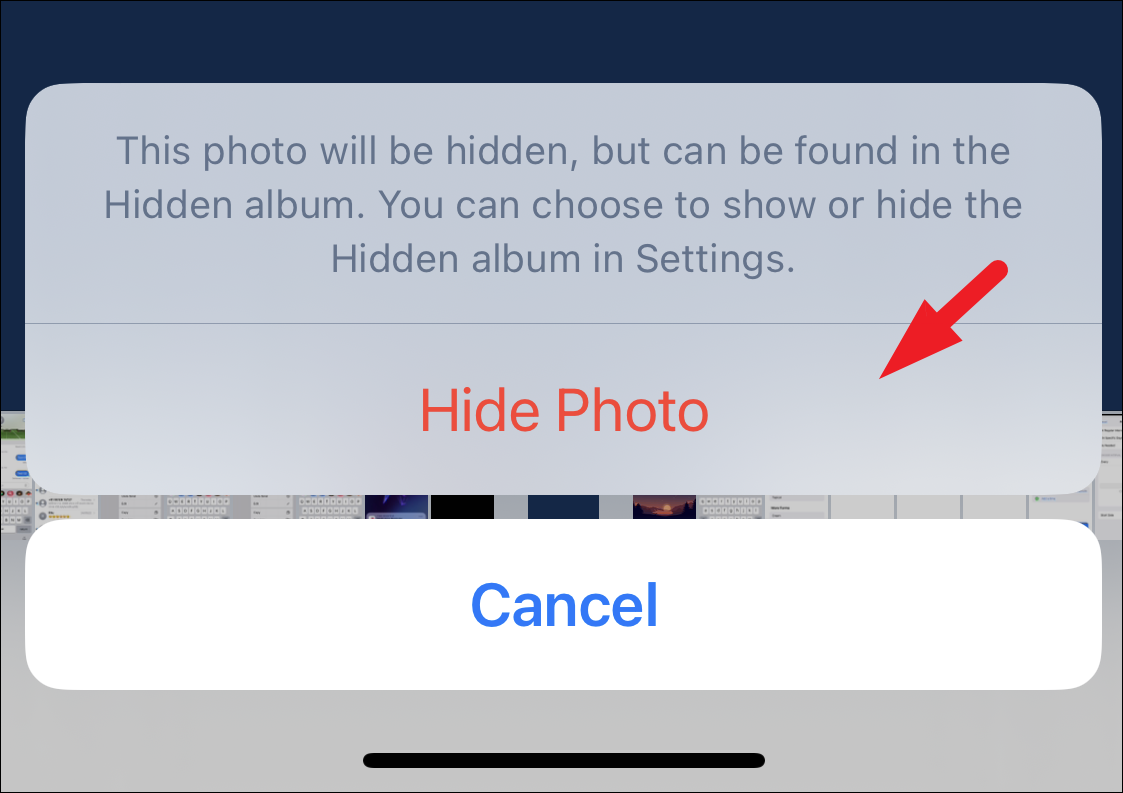
Tap on the ‘Hide Photo’ option from the prompt to move the photo to the hidden album.
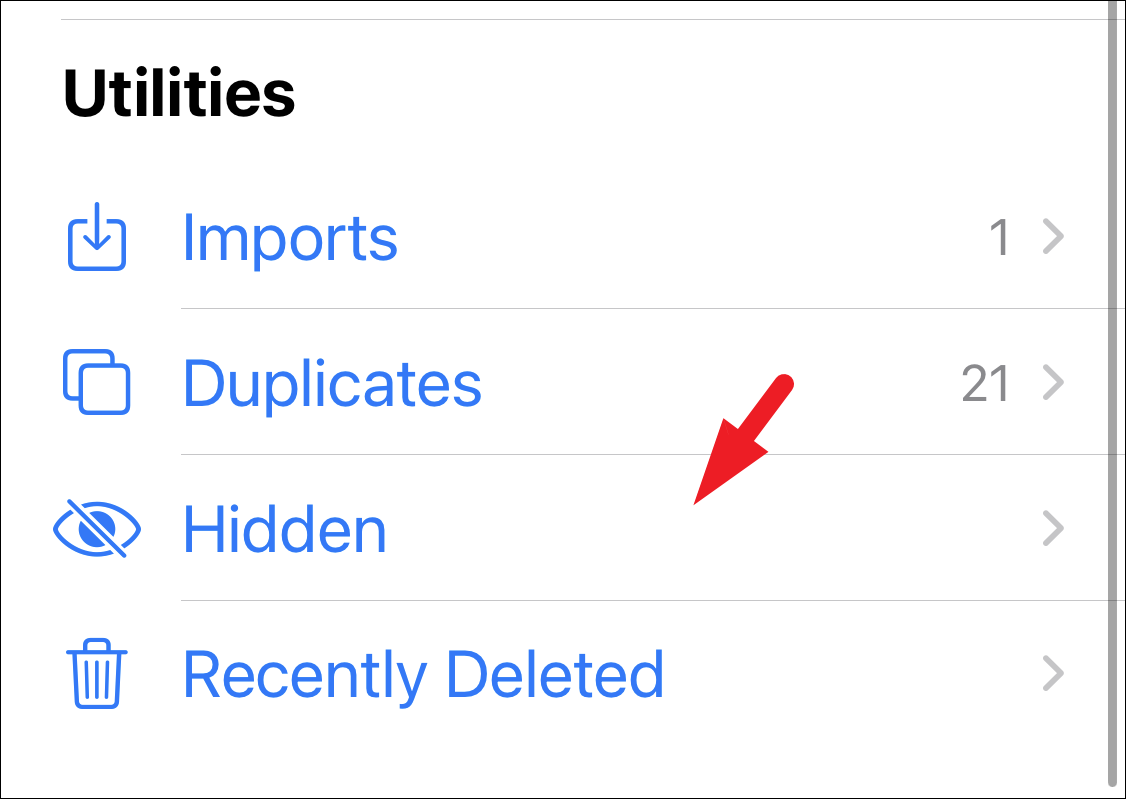
You can access the ‘Hidden’ album from the ‘Utilities’ section present under the ‘Albums’ tab.
You can easily prevent unauthorized access to your hidden photos by enabling Face ID authentication. Although it is enabled by default in iOS 16, it’s easy to enable it again if you previously disabled it.


