Unexpected restarts due to Windows updates can interrupt your workflow and cause frustration. Thankfully, Windows 11 offers options to control when your system restarts to install updates. This guide will show you how to set active hours and schedule restarts, ensuring updates occur at your convenience.
Set active hours on your Windows 11 PC
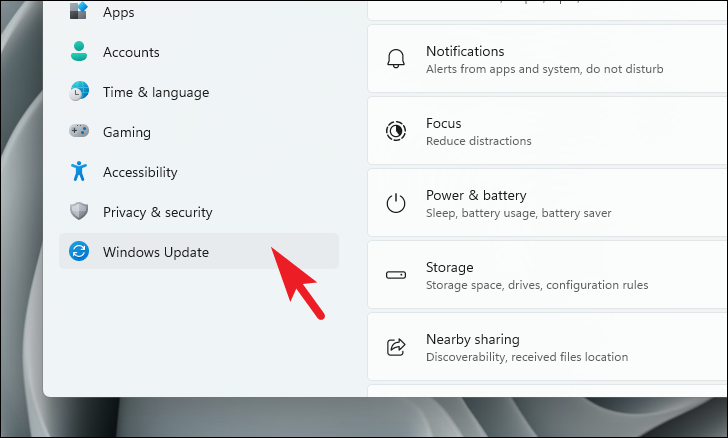
Setting active hours lets you define the time period during which you typically use your computer. Windows will avoid restarting your device for updates during these hours, preventing unexpected interruptions.
Start menu and select Settings. Alternatively, press Windows+I on your keyboard to open the Settings app.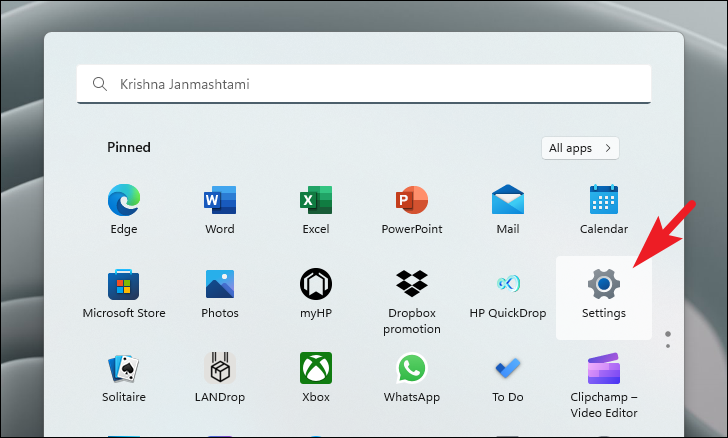
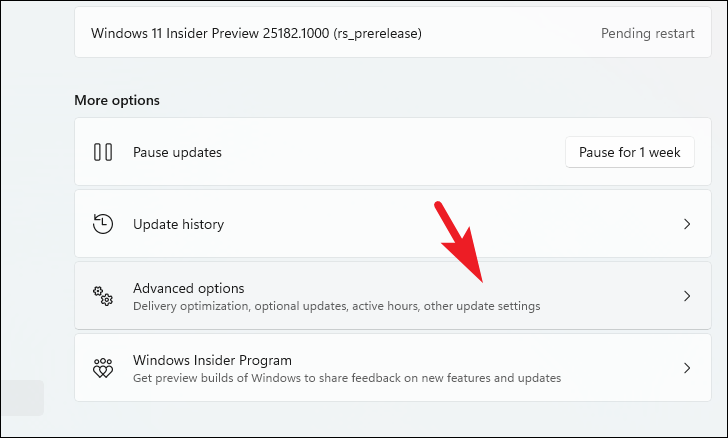
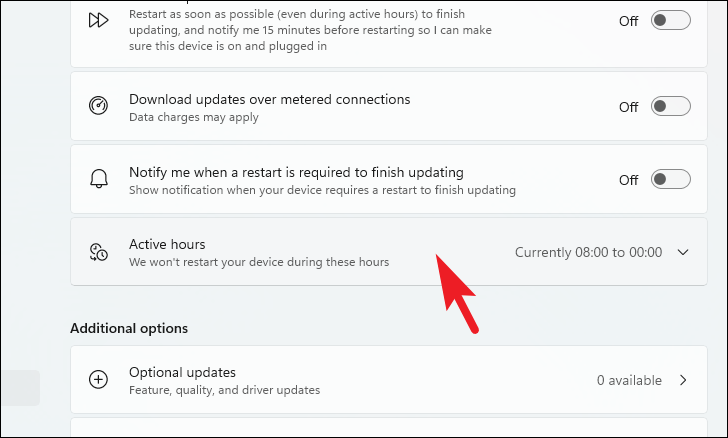
Manually from the dropdown menu next to “Adjust active hours for your device based on activity”.
Windows will now avoid restarting your PC during the hours you’ve specified, ensuring updates don’t interrupt your work.
Schedule restart from the Windows Update notification
When Windows has updates ready and requires a restart, you might receive a notification prompting you to restart your PC. You can schedule the restart directly from this notification to occur at a more convenient time.
Remind me later. This will open a window where you can schedule the restart.
Your PC will now restart at the scheduled time to install updates. Ensure your device is powered on and plugged in at that time. If Windows cannot restart automatically, you’ll receive a notification to restart manually at your next login.
Schedule restart from the taskbar
If you missed the Windows Update notification, you can schedule a restart from the taskbar at any time.

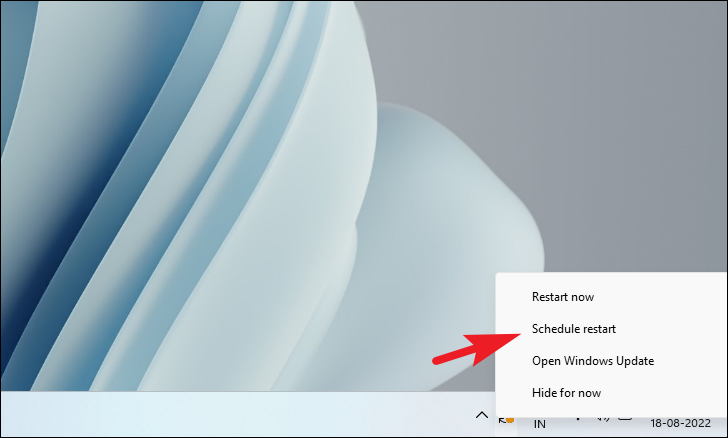
Schedule restart to confirm.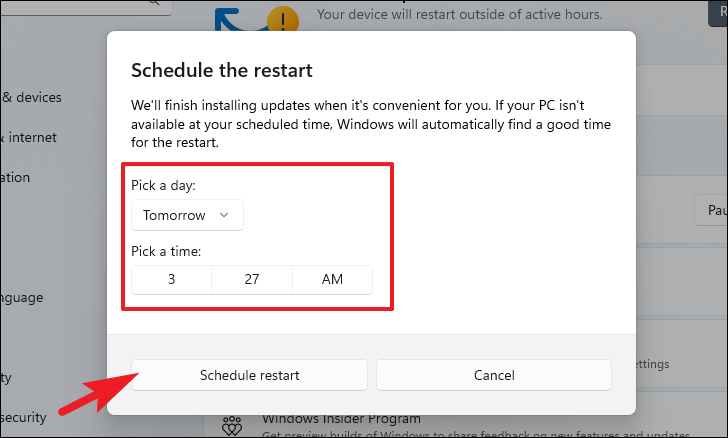
Schedule restart from the Settings app
If you’re unable to schedule a restart from the notification or taskbar, you can do so through the Settings app.
Settings app by clicking the Start menu and selecting Settings, or by pressing Windows+I on your keyboard.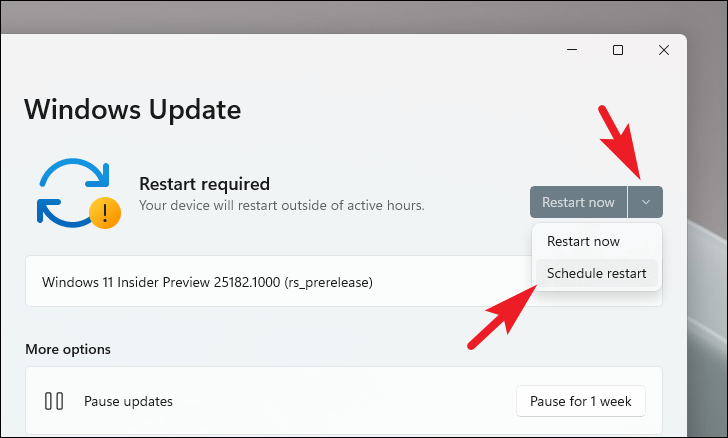

By taking control of your Windows 11 update settings, you can ensure that system restarts occur at times that are convenient for you, minimizing disruptions and keeping your workflow uninterrupted.


