
Microsoft has recently enhanced the Snipping Tool in Windows 11 by introducing a screen recording feature. This addition allows users to easily capture on-screen activities without relying on third-party applications. Whether you’re creating tutorials, recording demonstrations, or saving video calls, the Snipping Tool makes screen recording straightforward and accessible.
Recording Your Screen with the Snipping Tool
Before you begin, ensure that your Windows 11 system is updated to the latest version. To update, go to Settings > Windows Update and install any pending updates.
Note: If the screen recording option doesn’t appear in the Snipping Tool after updating Windows, open the Microsoft Store, navigate to the Library tab, and download any available updates for the Snipping Tool.
Snipping Tool into the search bar and select the application from the search results to launch it.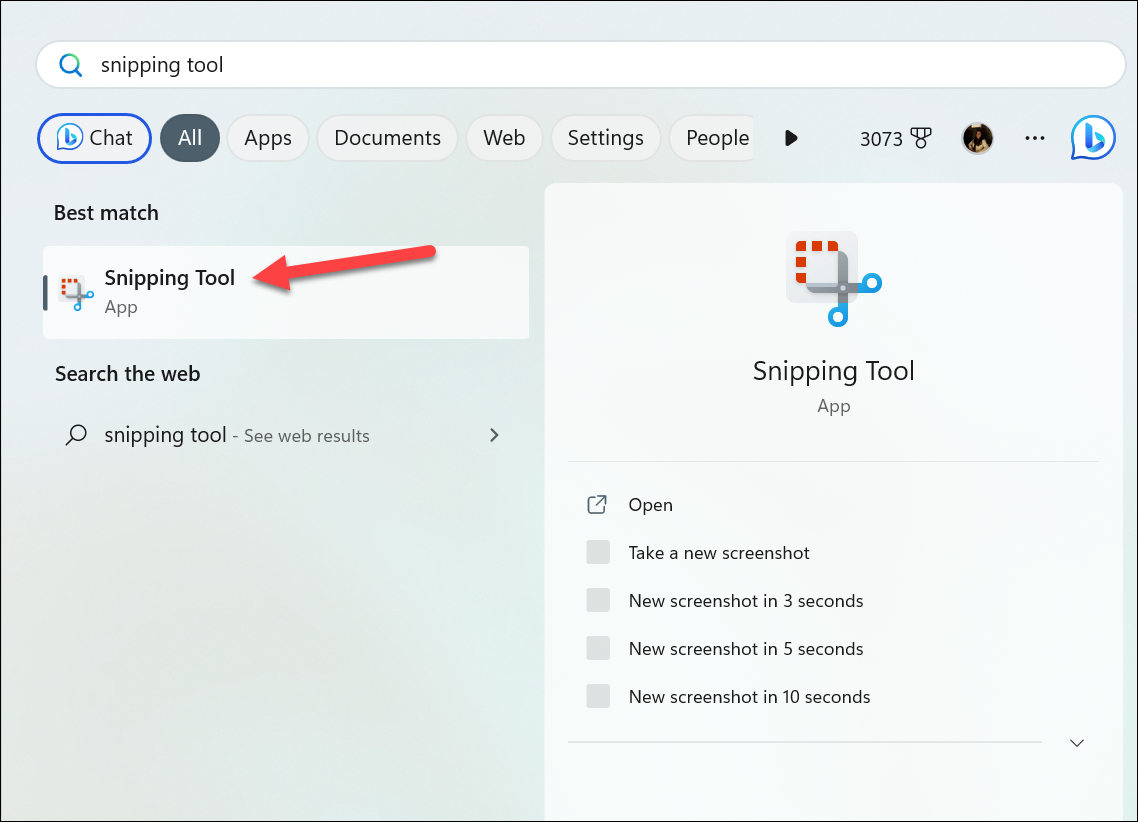
Record mode by clicking on the video camera icon located at the top.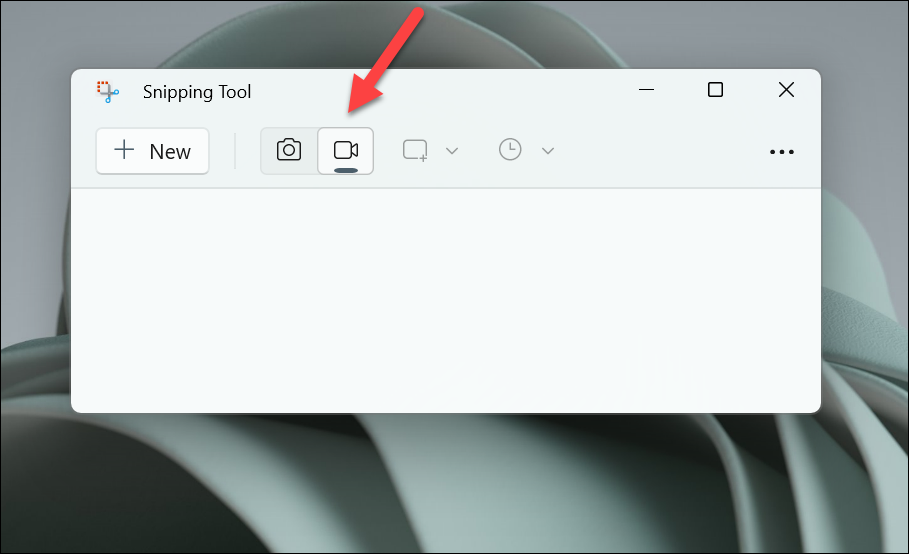
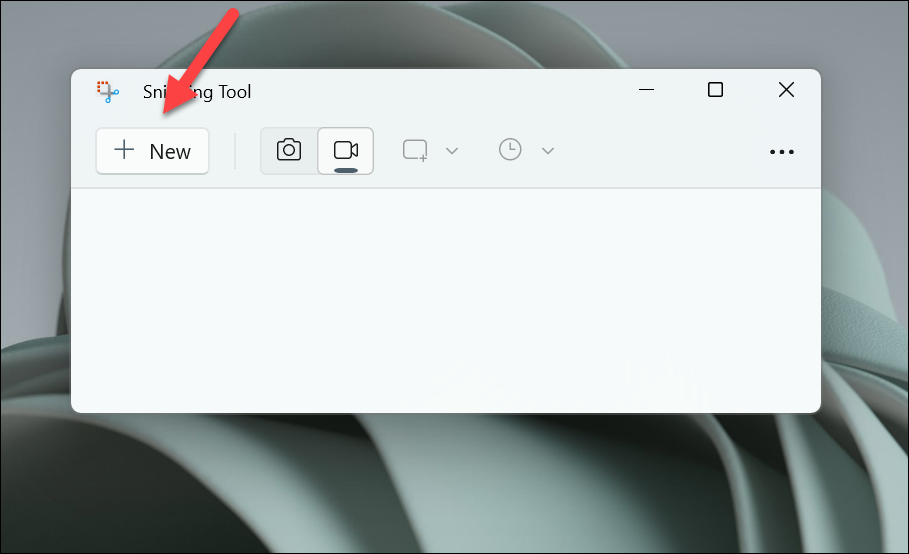
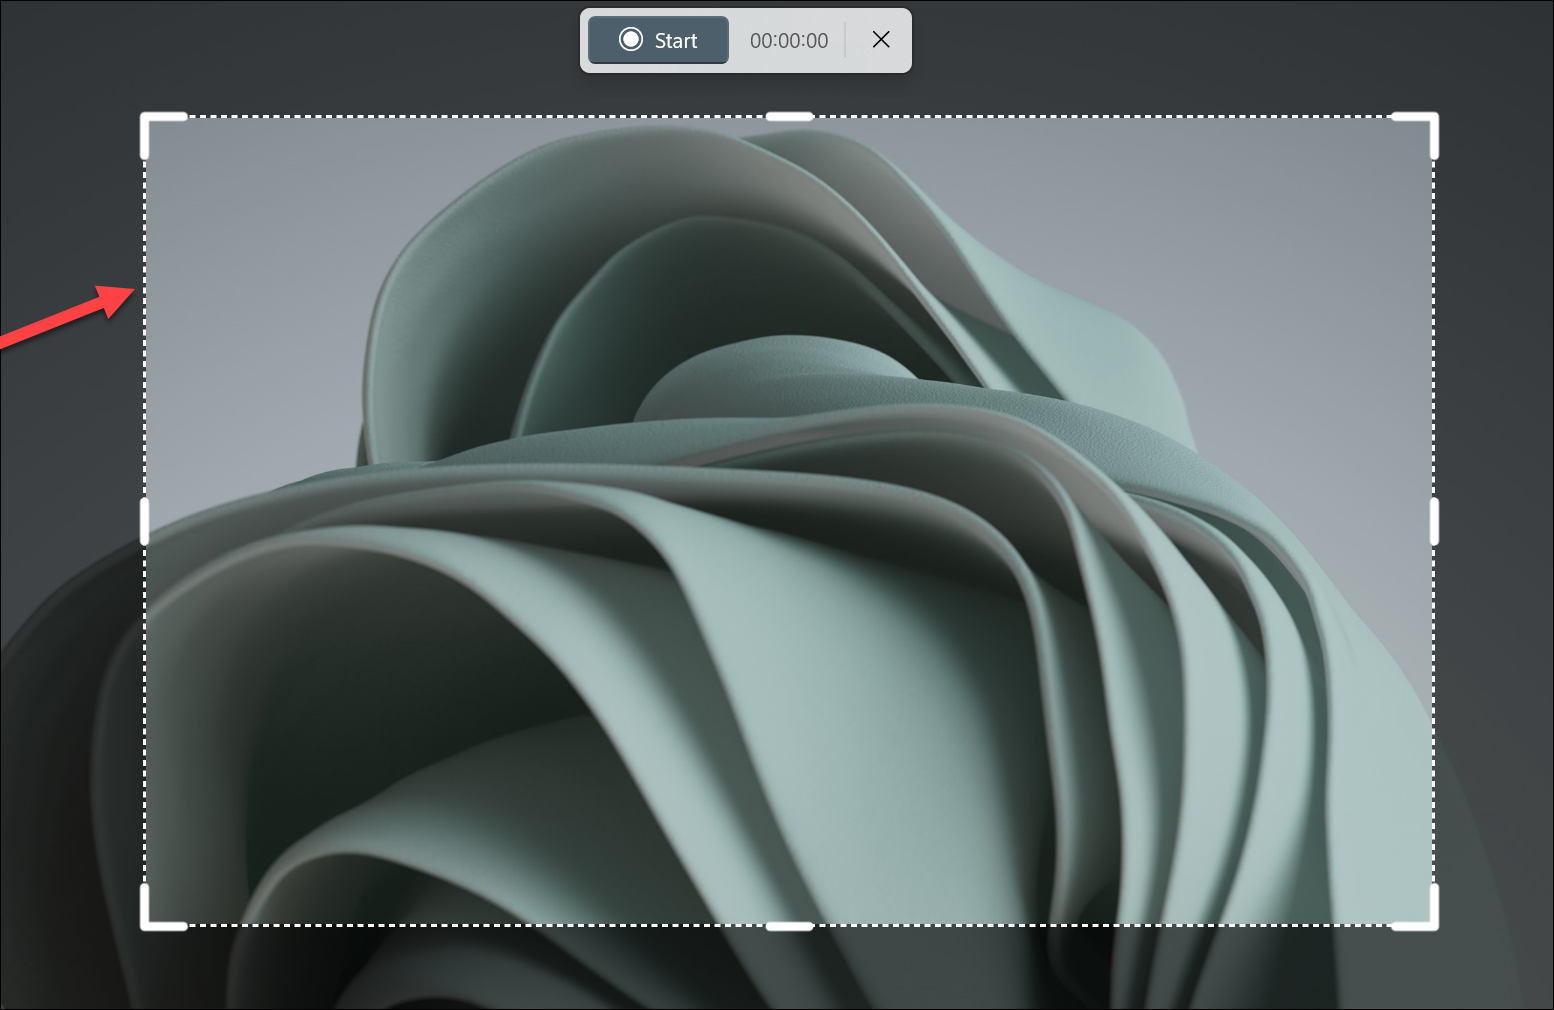
Start button on the Snipping Tool toolbar to begin recording.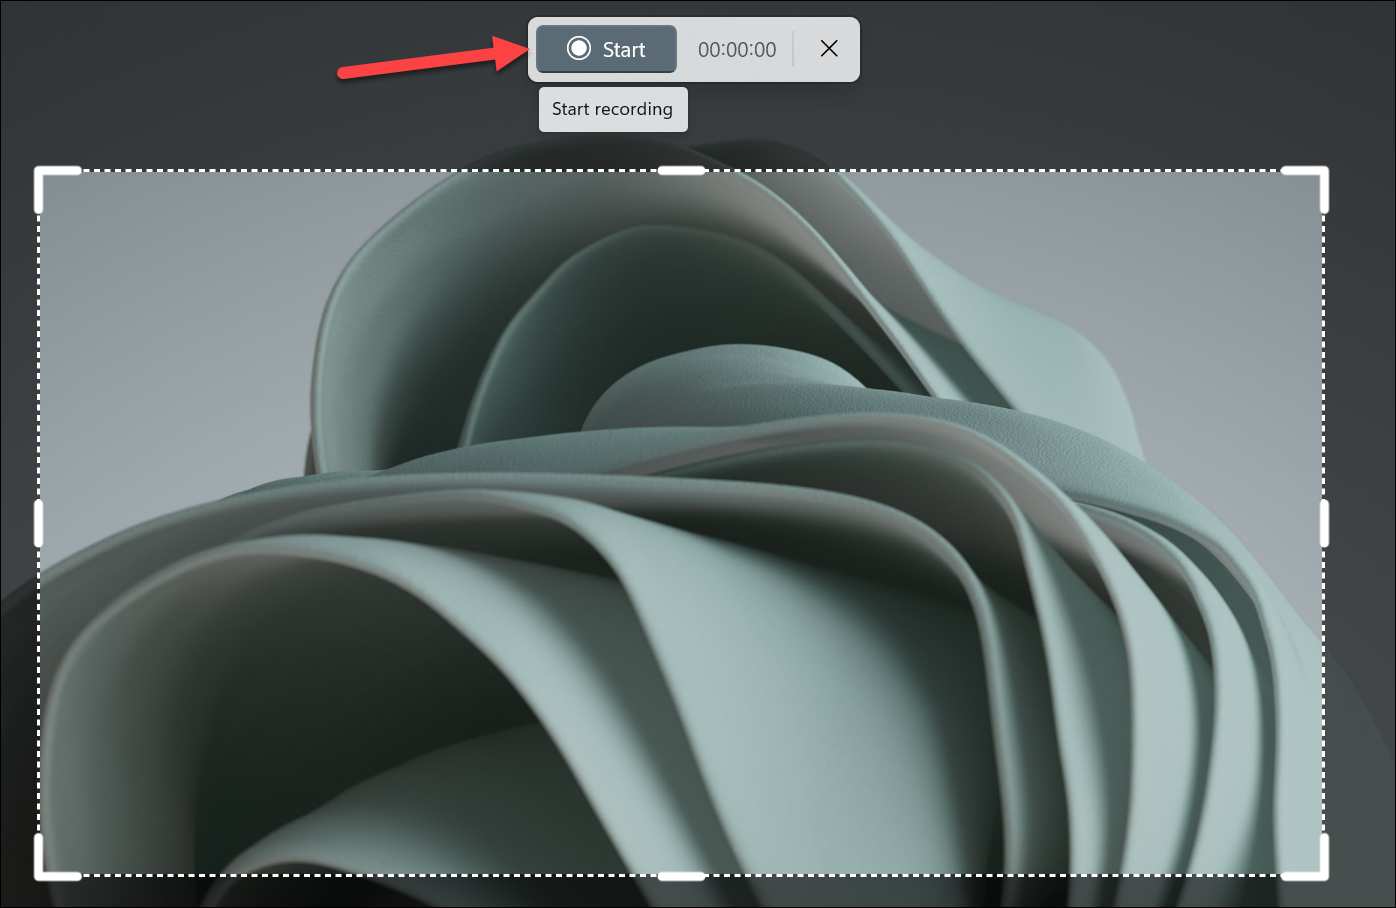
Pause button on the toolbar. To resume, click the Play button. If you wish to discard the current recording, select the Delete icon. When you’re finished, click the Stop button to end the recording.Save icon located in the upper-right corner. The default save location is the Videos folder, but you can choose a different destination if you prefer.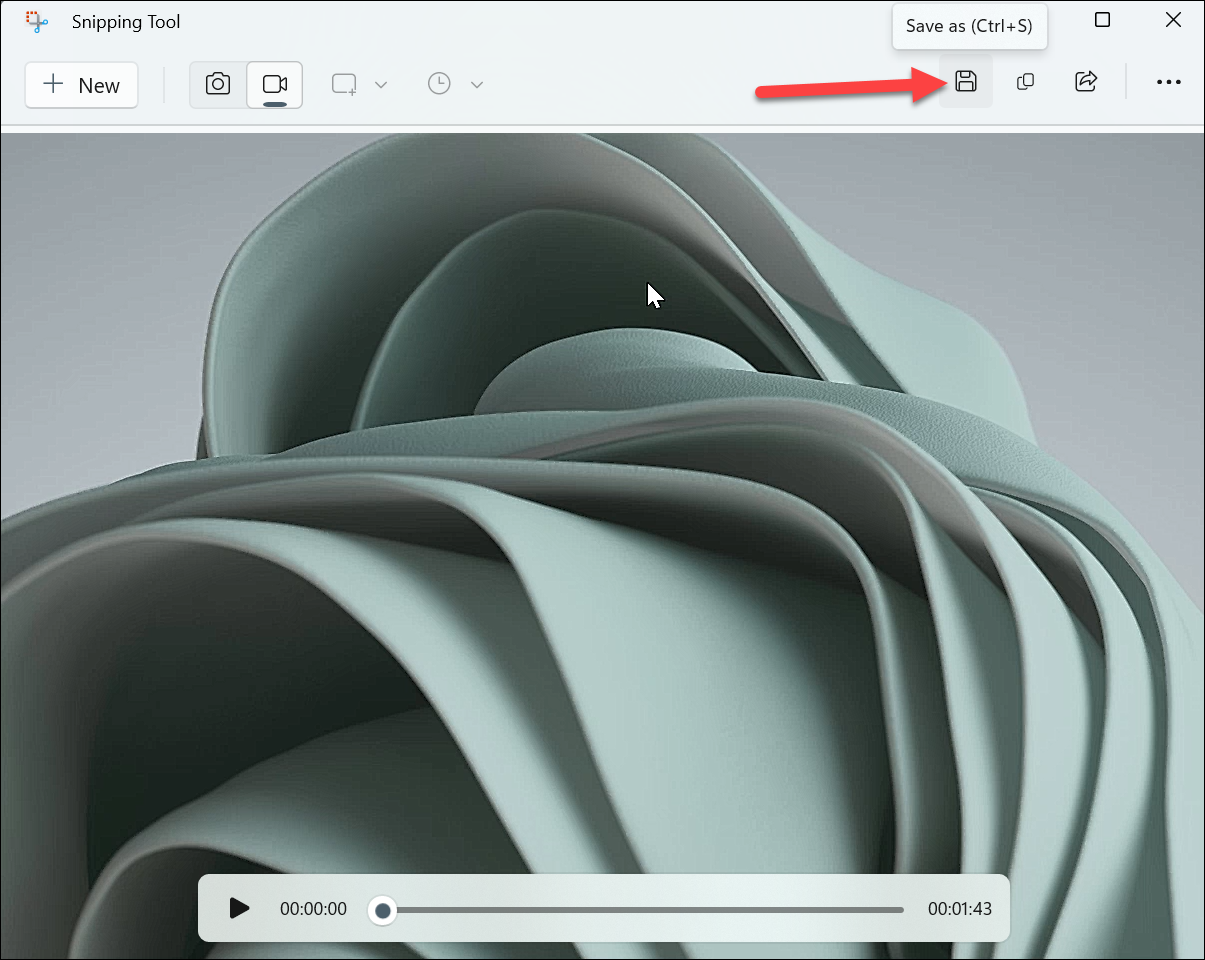
Share button. You can share the video via Outlook, Microsoft Teams, Mail, or use Nearby sharing to send it to nearby devices.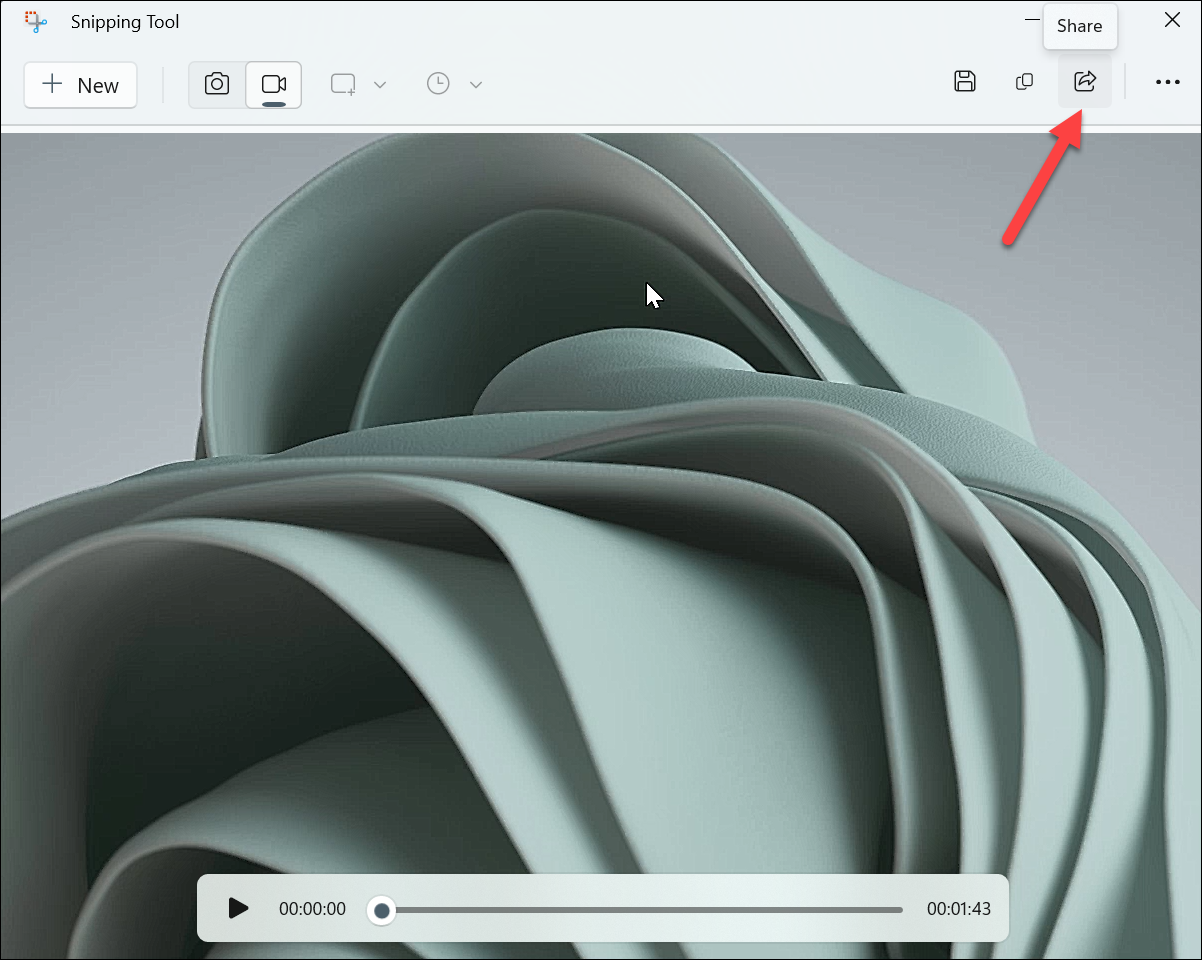
The Snipping Tool’s screen recording feature provides a convenient way to capture your screen activities in Windows 11 without the need for additional software. While it is a relatively new feature and may occasionally have minor issues, it offers a promising solution for your screen recording needs.


