
Our iPhones are the best cameras most of us own. And with our cameras always on our person, we’re always taking photos and videos. But of course, these photos and videos aren’t meant for our eyes only. Not everything makes it to social media, but we’re always sharing a lot of private content with our family and friends. Shared Albums on iPhone make this sharing a lot easier.
With Shared Albums, you can share photos and videos with other Apple users with ease. Setting up shared albums is extremely easy and doesn’t require any technical prowess. Here’s everything you need to know about them.
What are Shared Albums and How Do They Work?
Shared Albums are special albums that you can create and provide access to other users in the Photos app on iPhone. People can view the shared album on any of their Apple devices – iPhones, iPads, and Macs.
You choose who has access to the album, and it’s a two-way street. The people you add to the album, i.e., subscribers, can add their own photos and videos. They can also like, comment, and save the photos from the shared album.
Shared Albums let you share photos back and forth in one place without going through the hassle of sending them through a messaging app or airdropping them. Whenever someone adds new content to the album, everyone else gets notifications making sure that you never miss out on them.
Shared Albums are not the same as the new iCloud Shared Library in iOS 16. For starters, Shared Albums are available on older iOS versions as well. But most importantly, you can have multiple shared albums with different users, whereas there can be only one iCloud Shared Library.
The photos and videos you add to a Shared Album do not count towards your iCloud storage even when they use iCloud for storage. A shared album has a limit of 5000 photos and videos. To add more photos or videos, you’ll either have to delete some of the previous ones or create a new shared album.
There are limits to how many photos and videos a single contributor can share across all shared albums:
- Per hour: 1000
- Per day: 10,000
Additionally, any person can create a maximum of 200 shared albums and subscribe to a maximum of 200 shared albums as well.
Allowed File Types in Shared Albums
Shared Albums support these image formats:
- HEIF
- JPEG
- PNG
- GIF
- RAW
- TIFF
Moreover, Shared Albums support these video file types and formats:
- HEVC
- MP4
- H.264
- MPEG-4
- QuickTime
Note: Videos can be up to fifteen minutes in length and Shared Albums deliver them in up to 720p resolution. Additionally, Shared Albums reduce photos to 2048 pixels on the long edge.
Creating a Shared Album
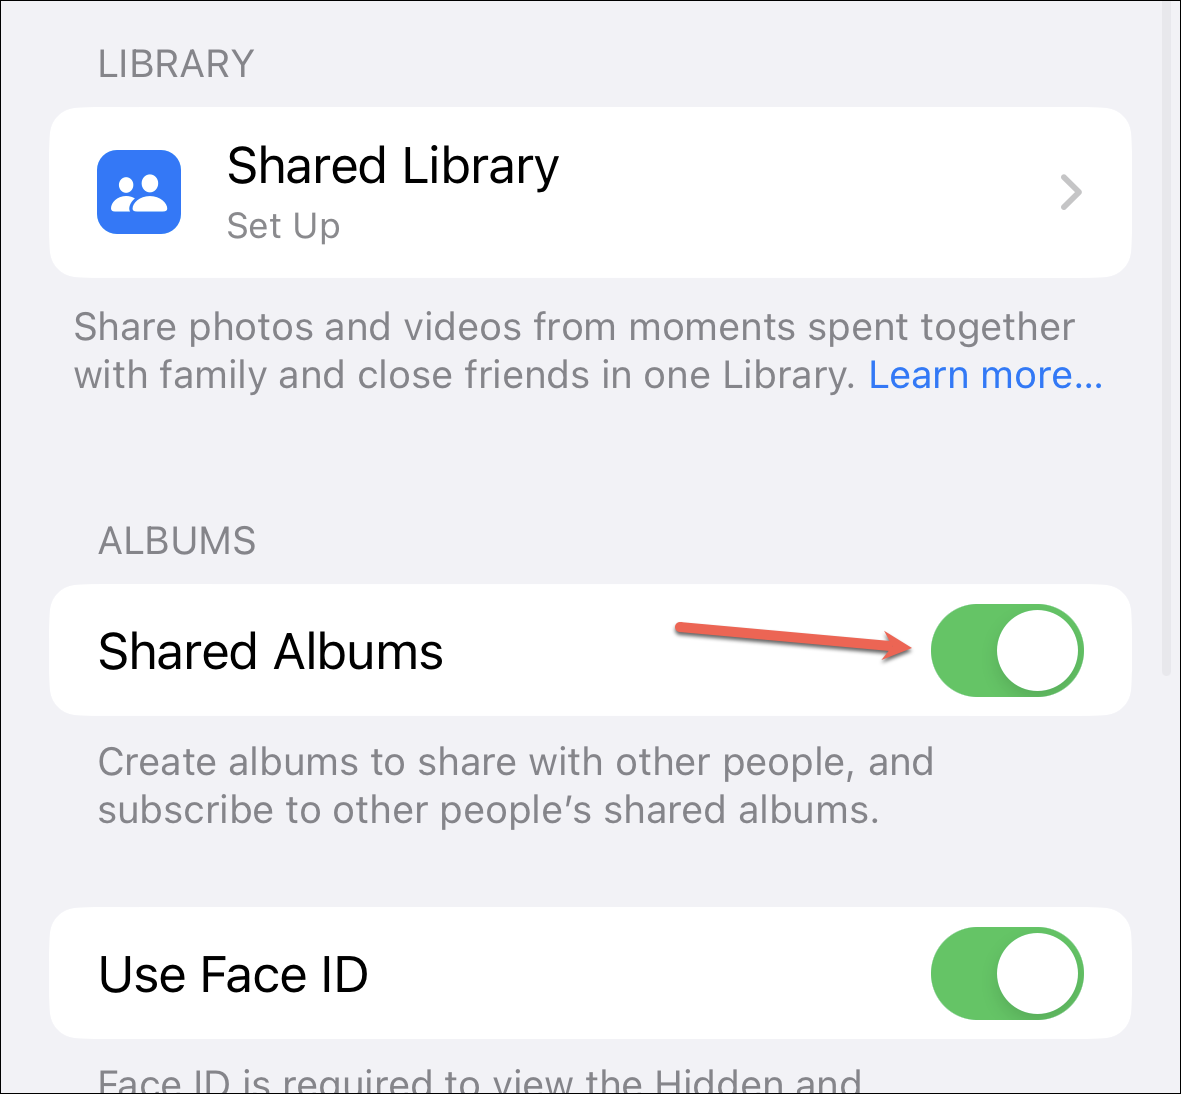
Before you can create a shared album, make sure that you have the option enabled in settings. Go to the Settings app, scroll down and tap the option for ‘Photos’.

Then, enable the toggle for ‘Shared Albums’.
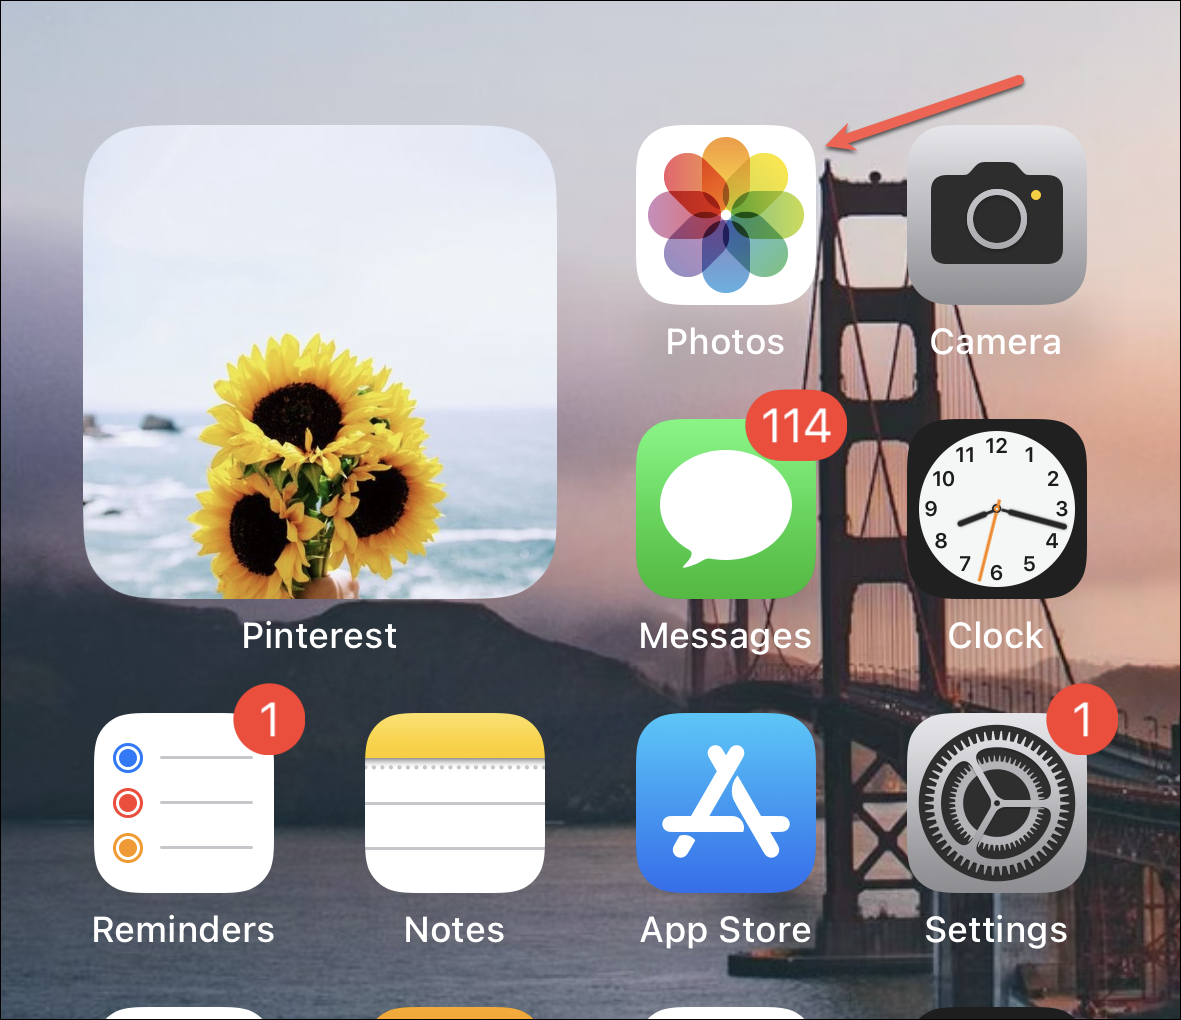
Now, go to the ‘Photos’ app from your iPhone.
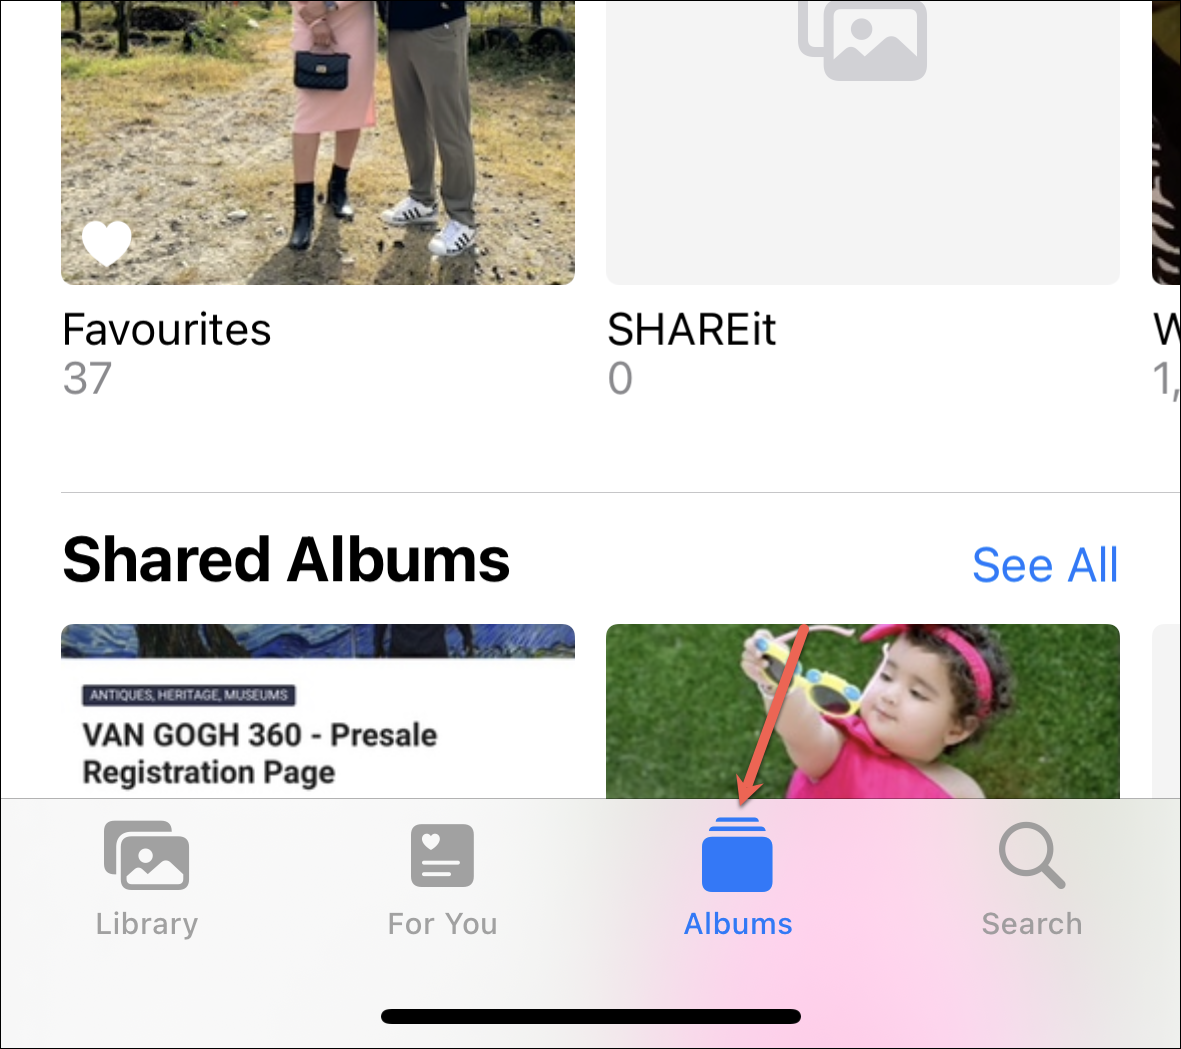
Tap the ‘Albums’ tab from the bottom.
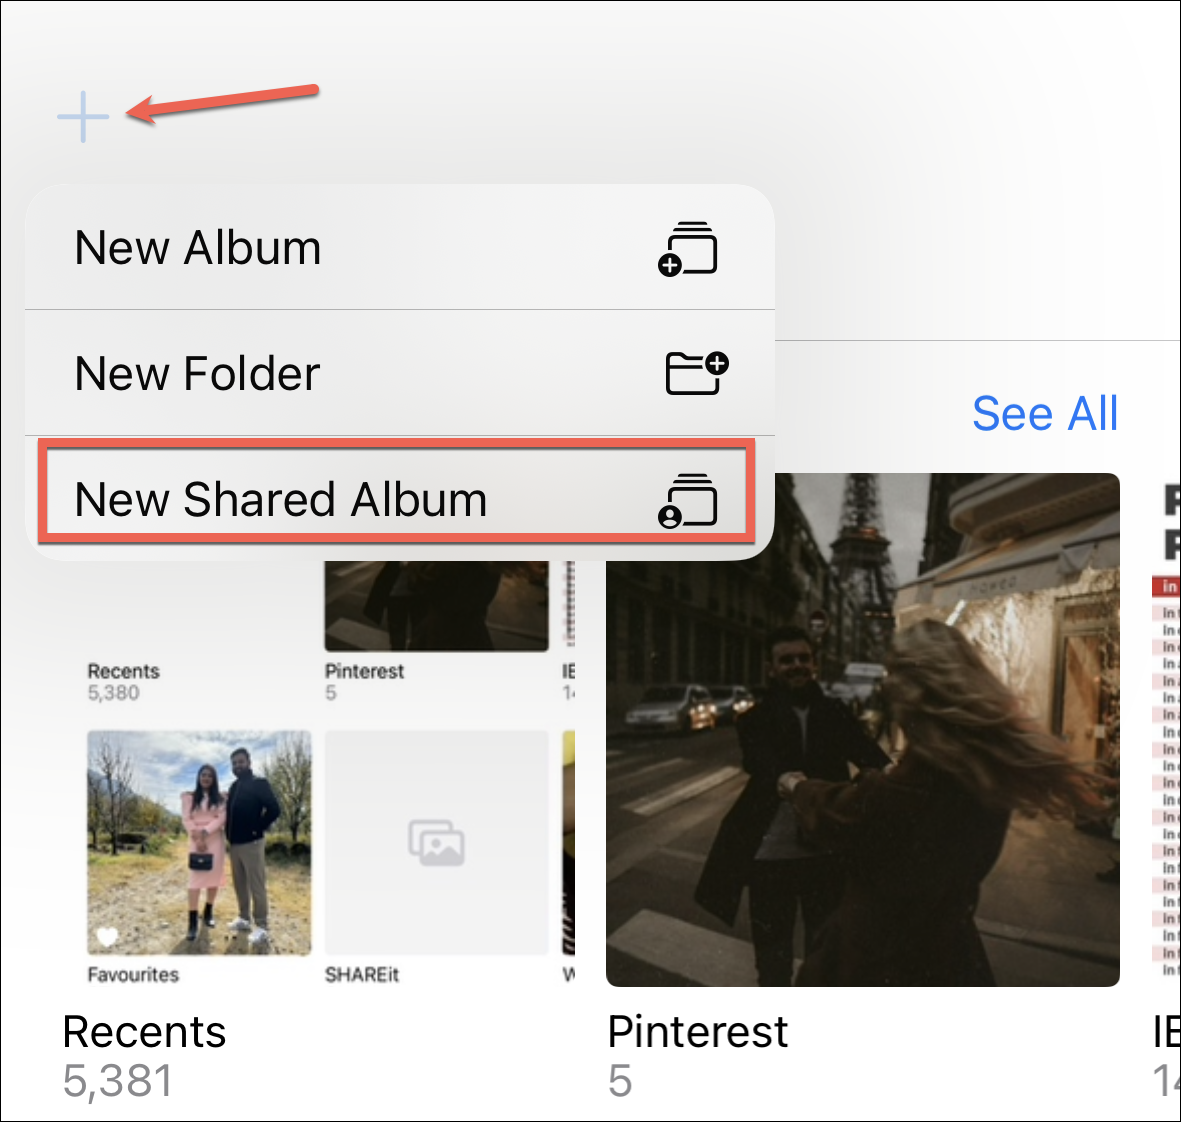
Then, tap the ‘+’ icon in the top-left corner of the screen and select ‘New Shared Album’ from the options that appear.
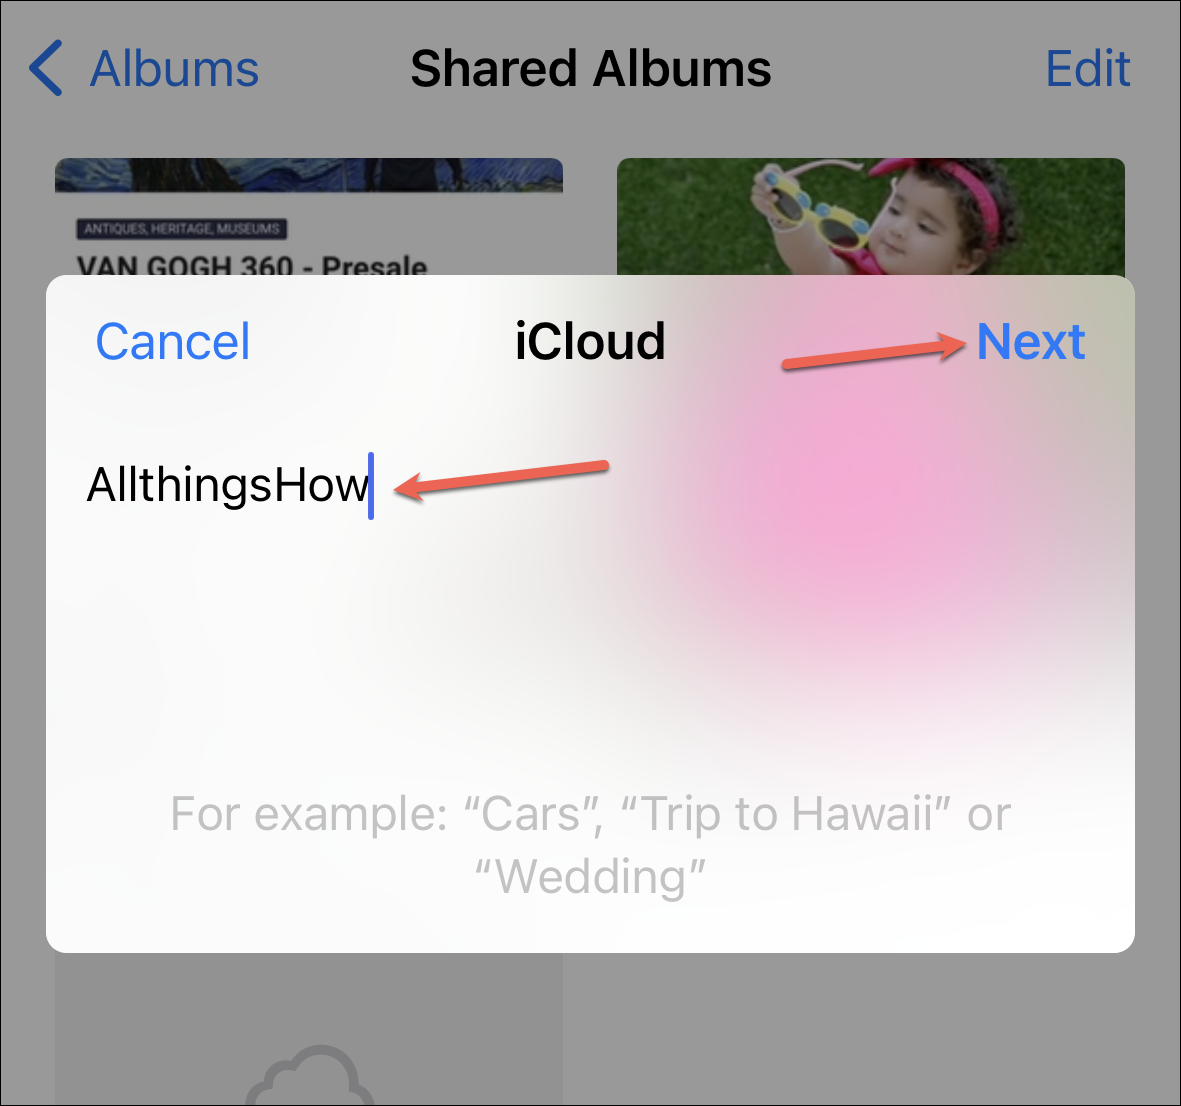
Enter a name for your shared album and tap ‘Next’.
Then, enter the list of people you want to share the album with. You can enter their contact, type their email address or iMessage phone number. After entering everyone’s name, tap ‘Create’.
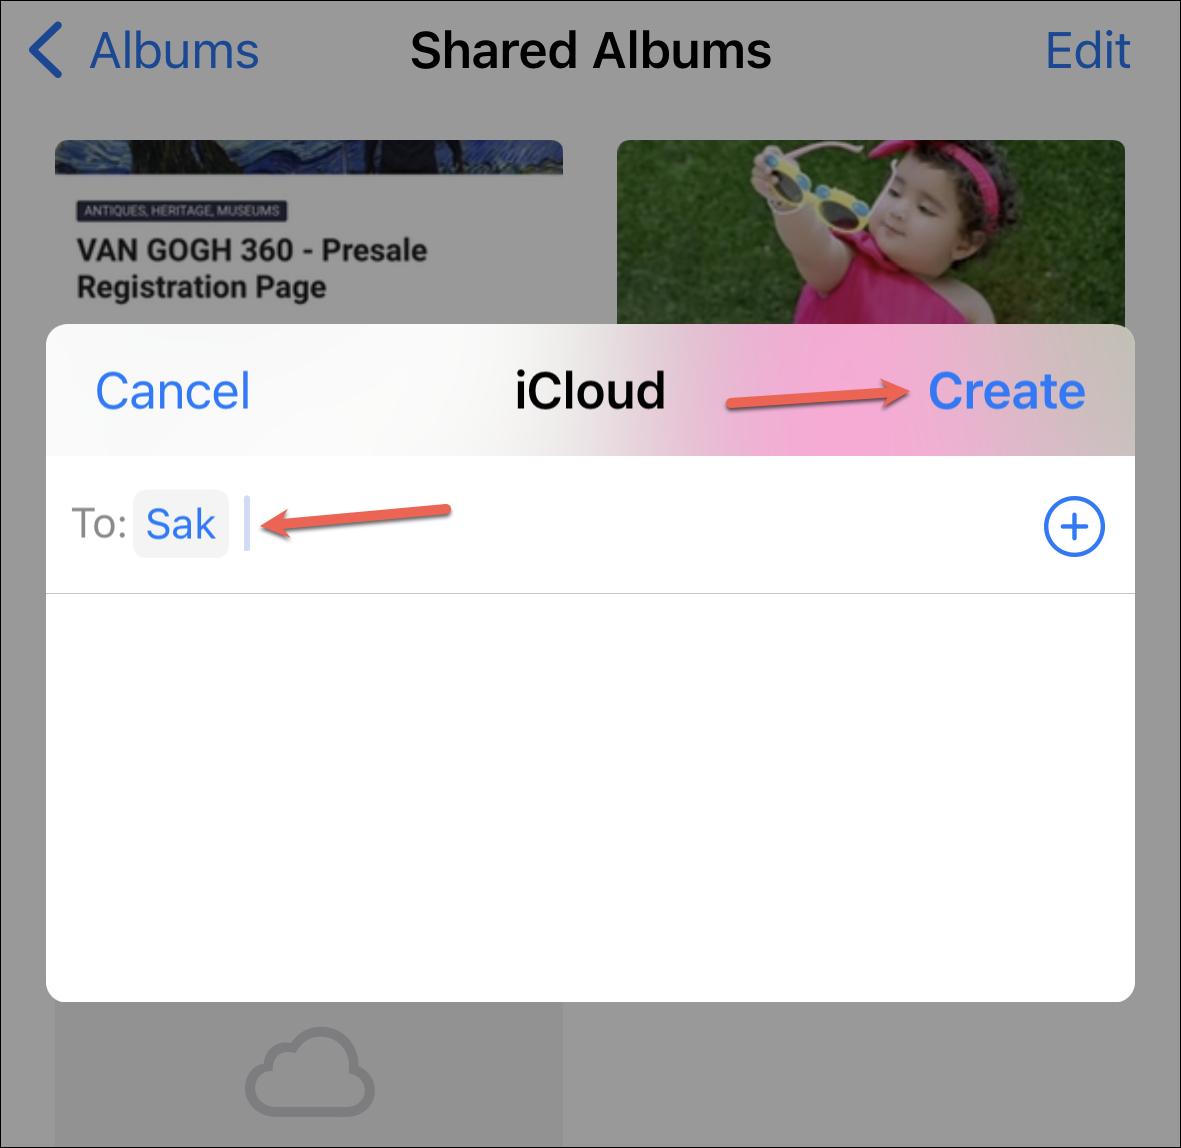
Once they accept your invitation, they’ll subscribe to the shared album.
Adding Content to a Shared Album
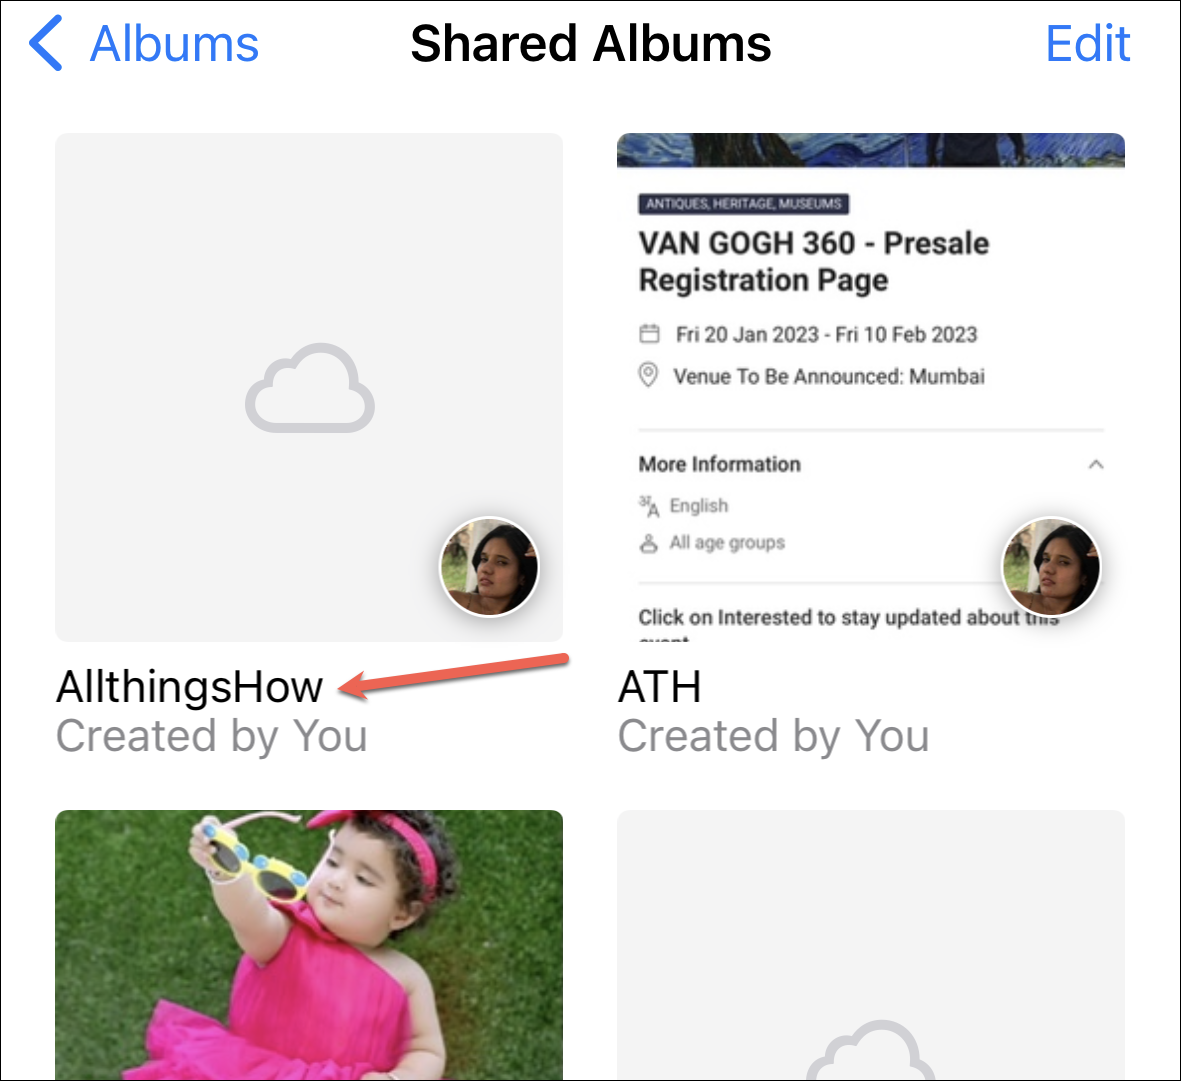
Once the album is created, tap it.
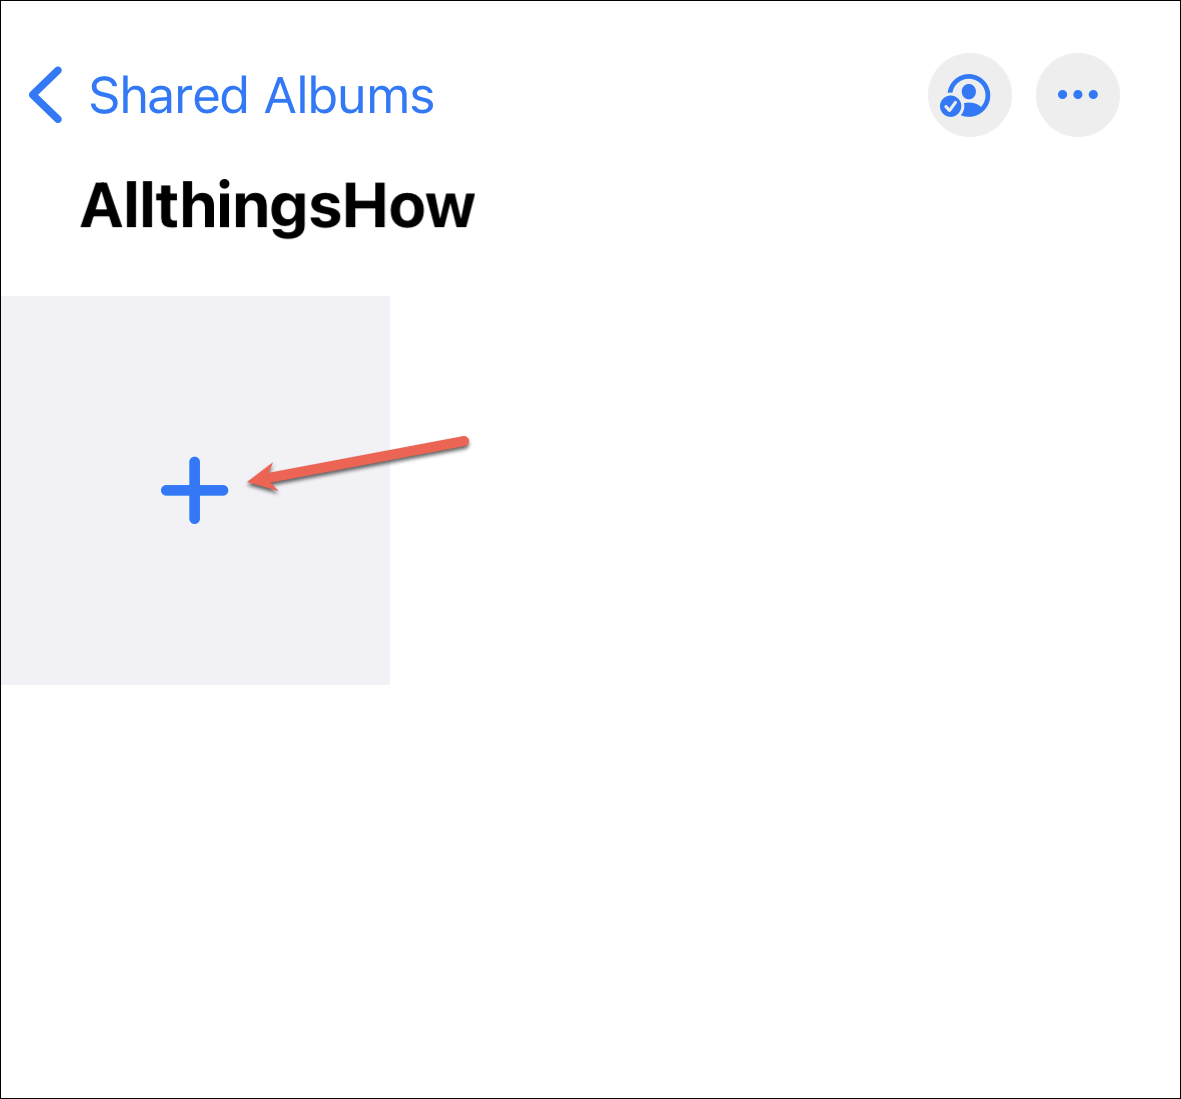
Then, tap the ‘+’ icon to add photos and videos.
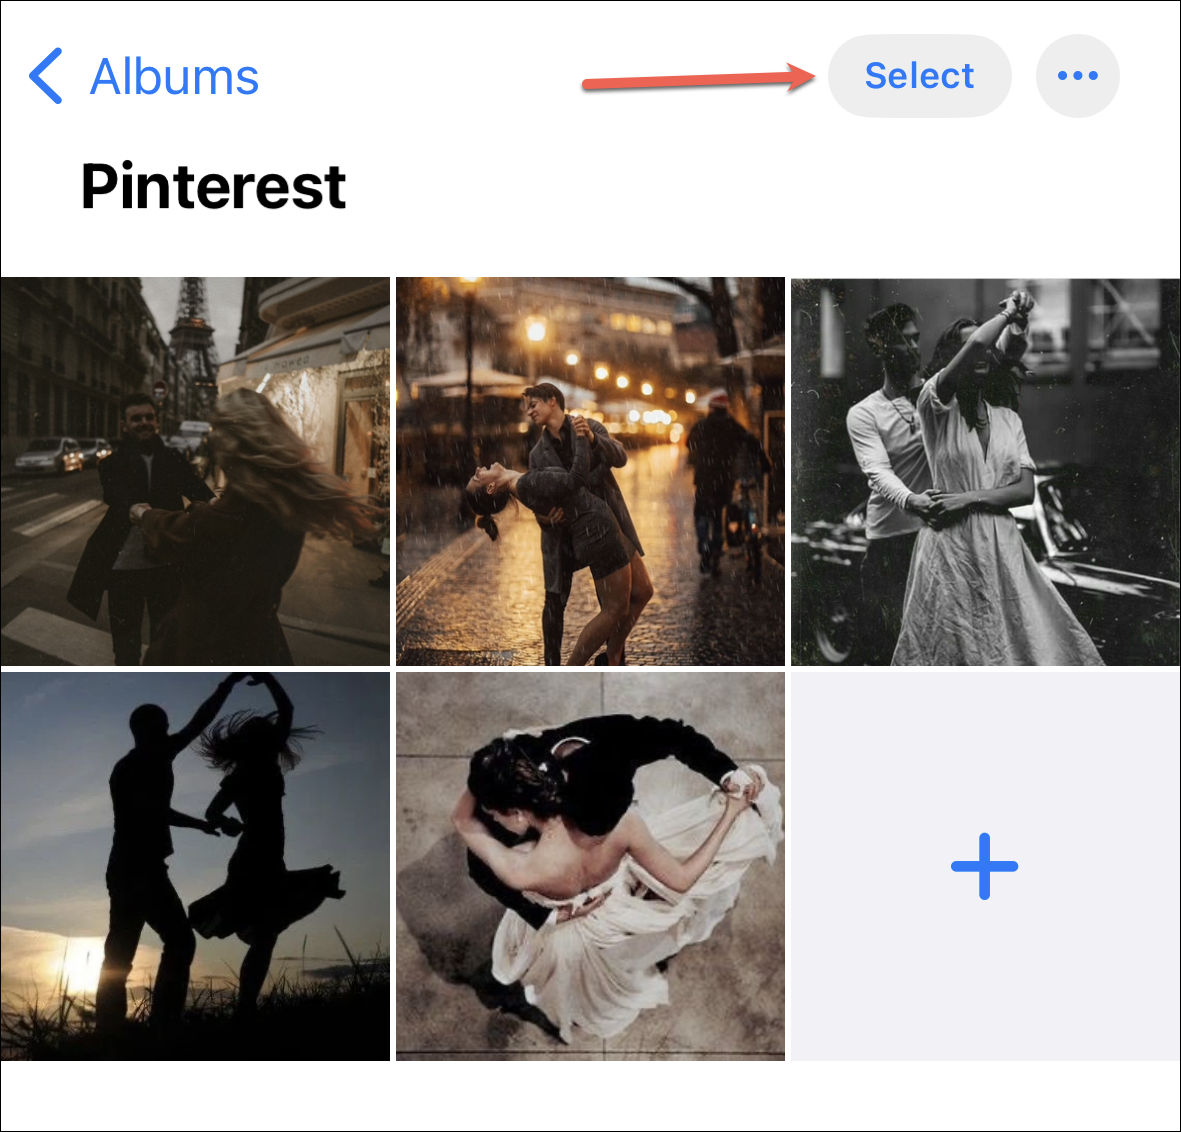
If you don’t have the shared album open, you can also add photos and videos to it from other albums or the Photos tab. Tap ‘Select’ in the upper-right corner of the screen and select the photos and videos you want to add.
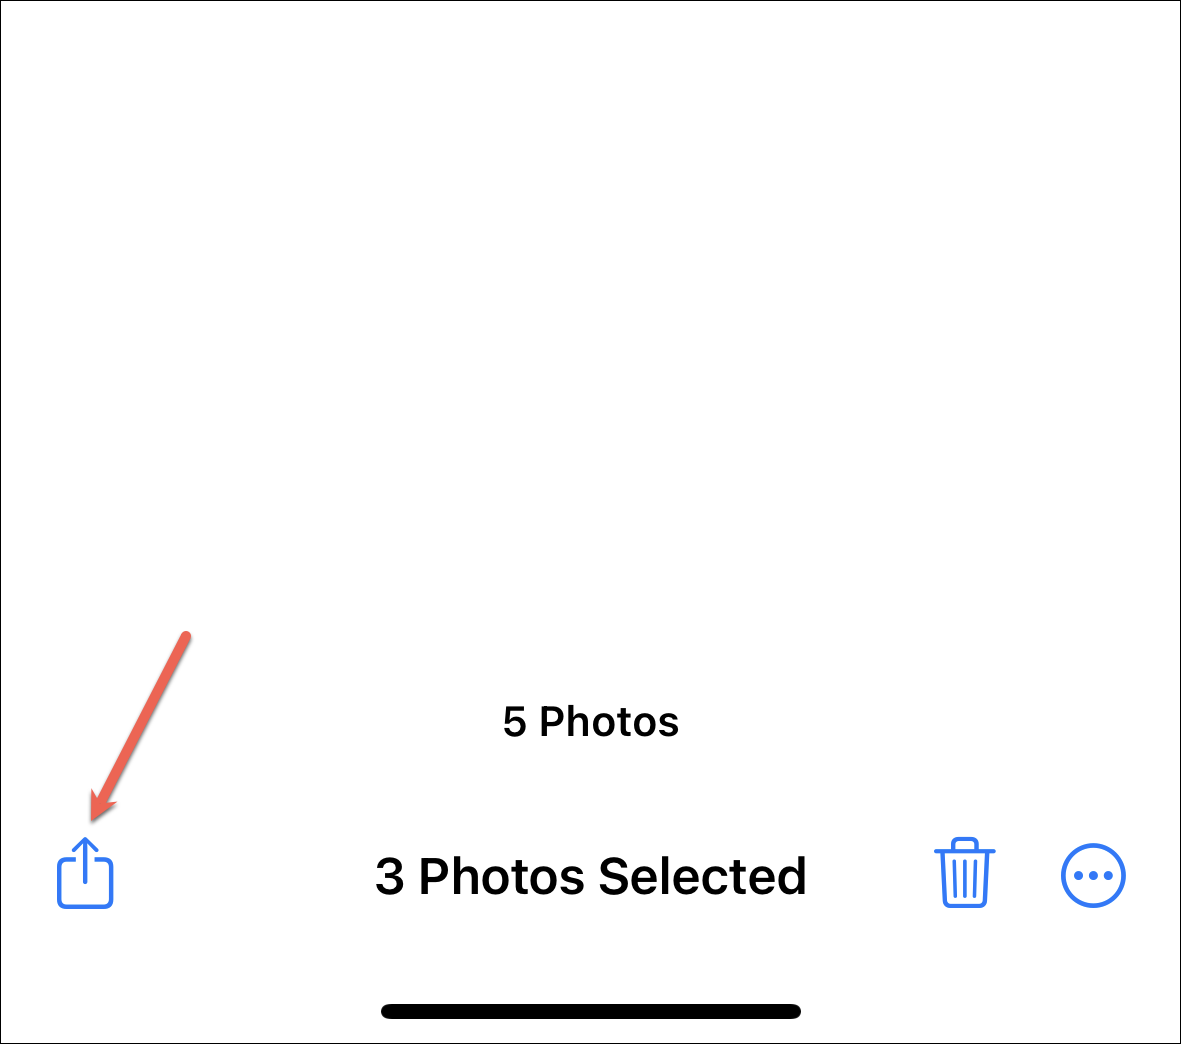
Then, tap the ‘Share’ button at the bottom left corner.
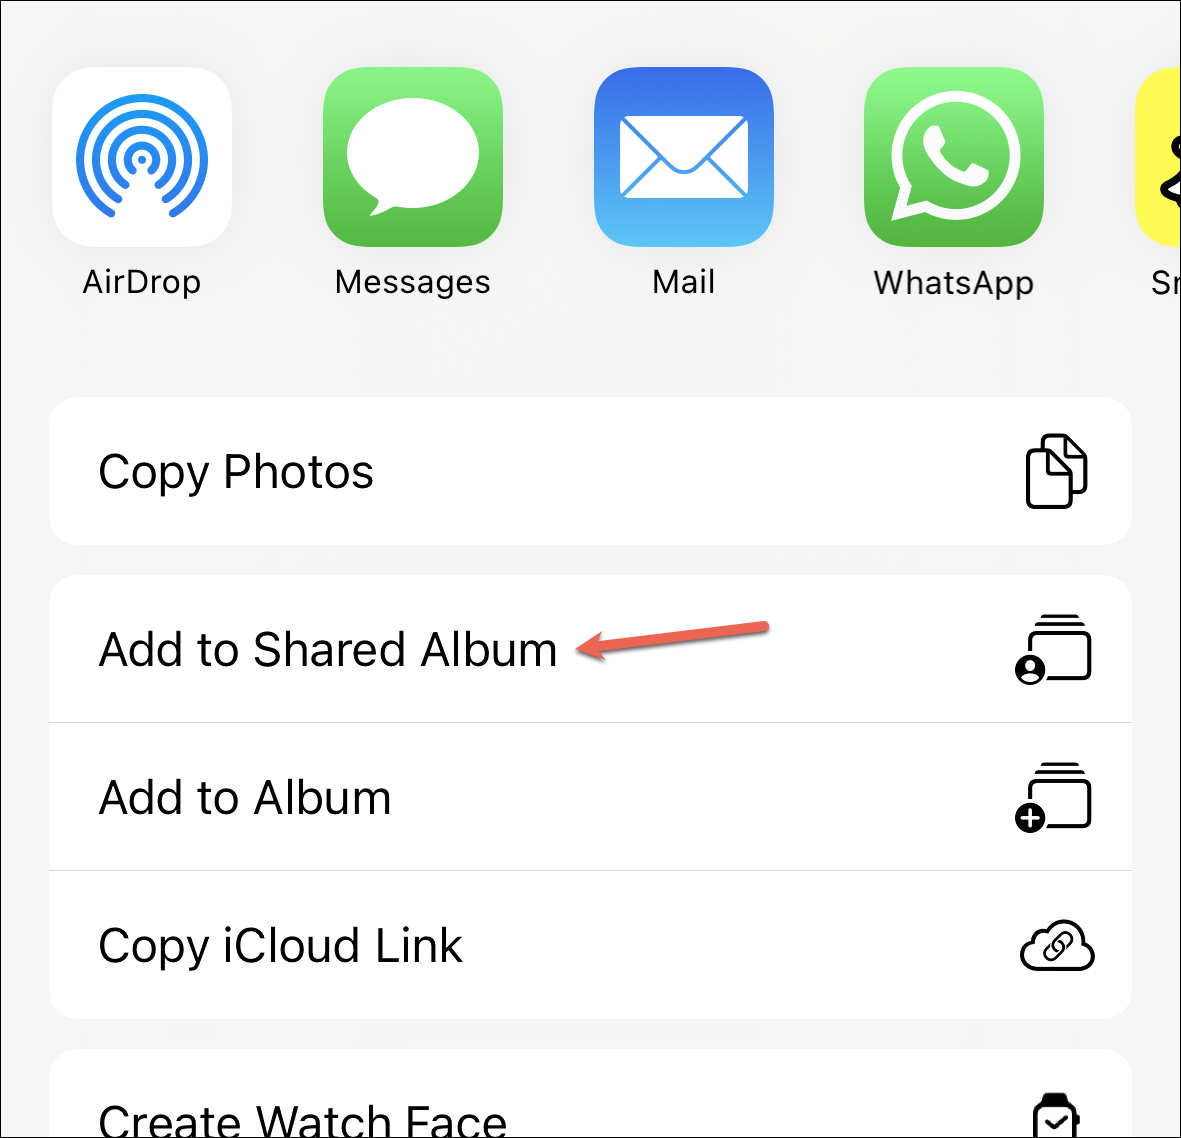
From the menu options, tap ‘Add to Shared Album’.
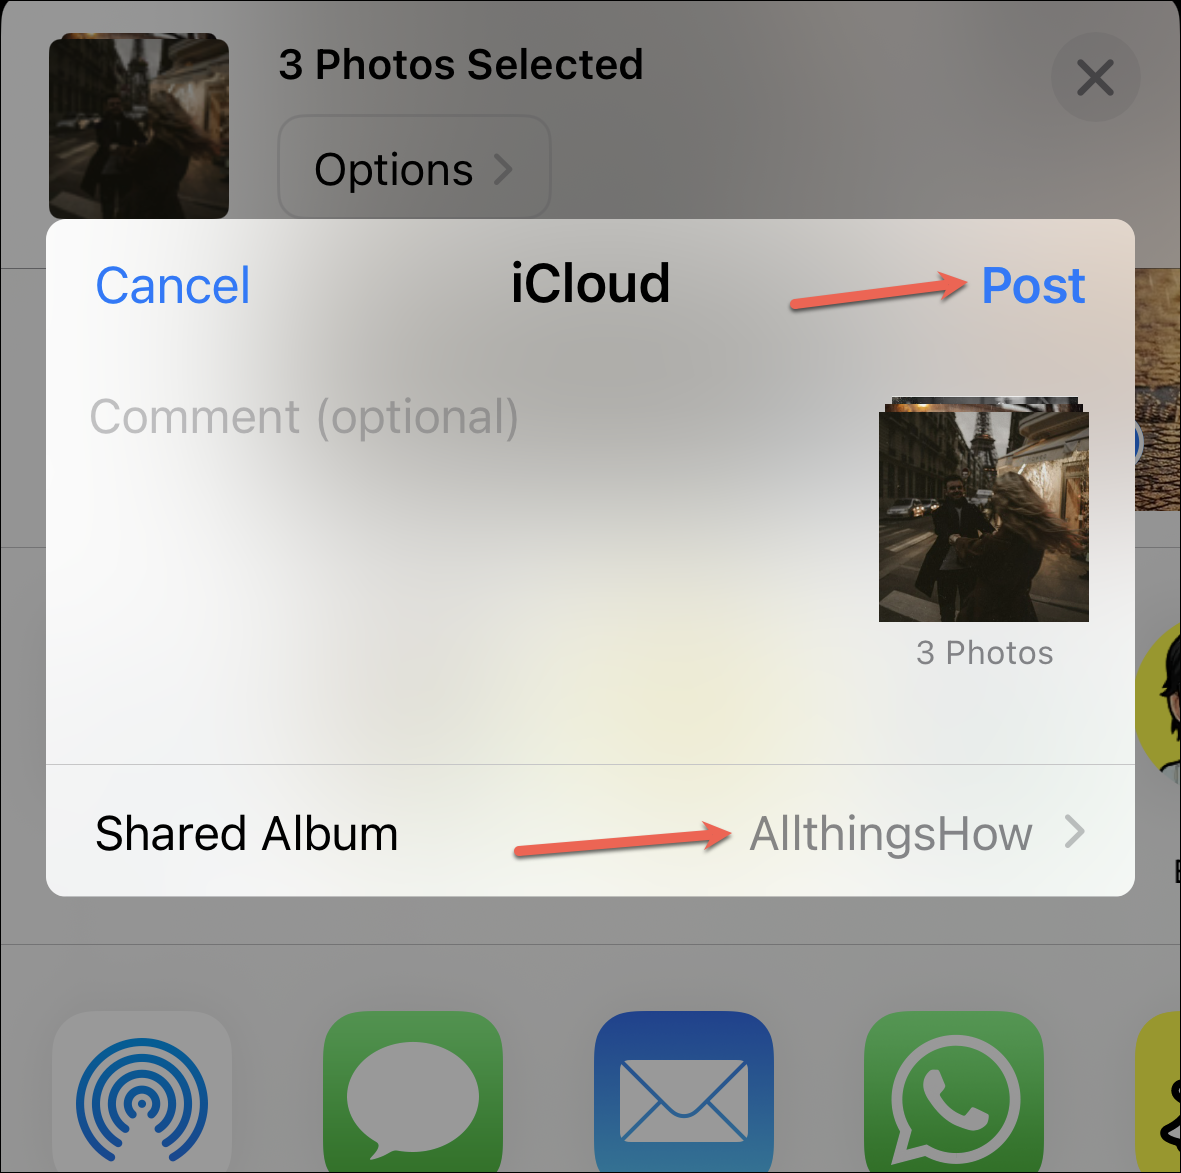
Then, choose the album where you want to share the photos. Finally, tap ‘Post’. You can also add comments while sharing.
People with whom you are sharing the album will get a notification when you add content to it (if they haven’t turned them off).
Delete from a Shared Album
When you’re the owner of the album, you can delete anything from the album, including photos, videos, or comments that others have posted. If you’re a contributor, you can only delete the photos, videos, or comments that you posted.
Open the photo or video you want to delete and tap the ‘Delete’ button (trash icon).
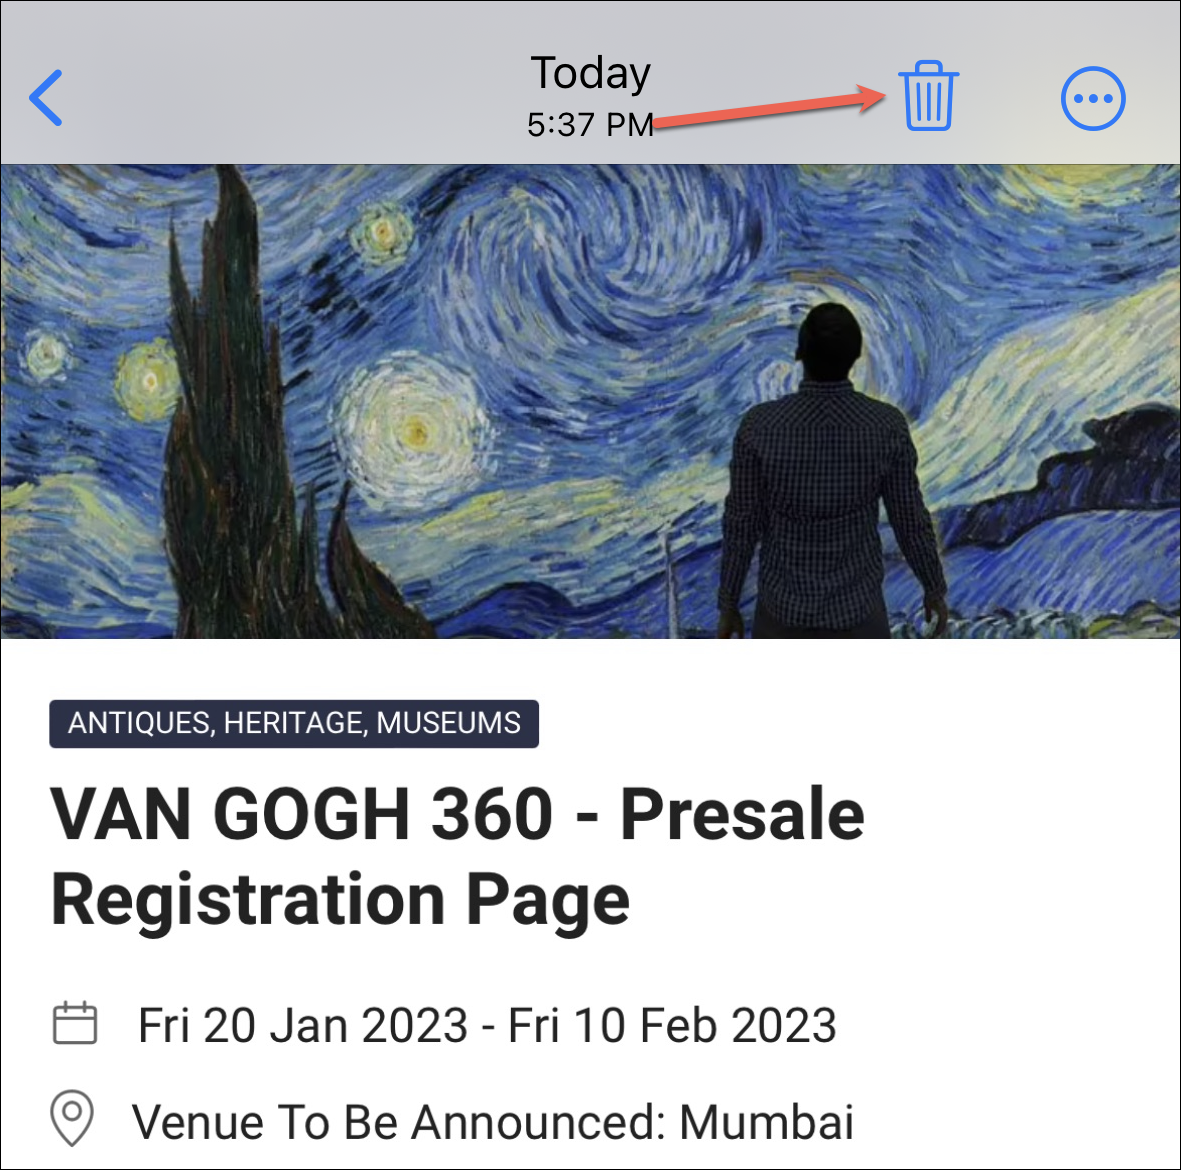
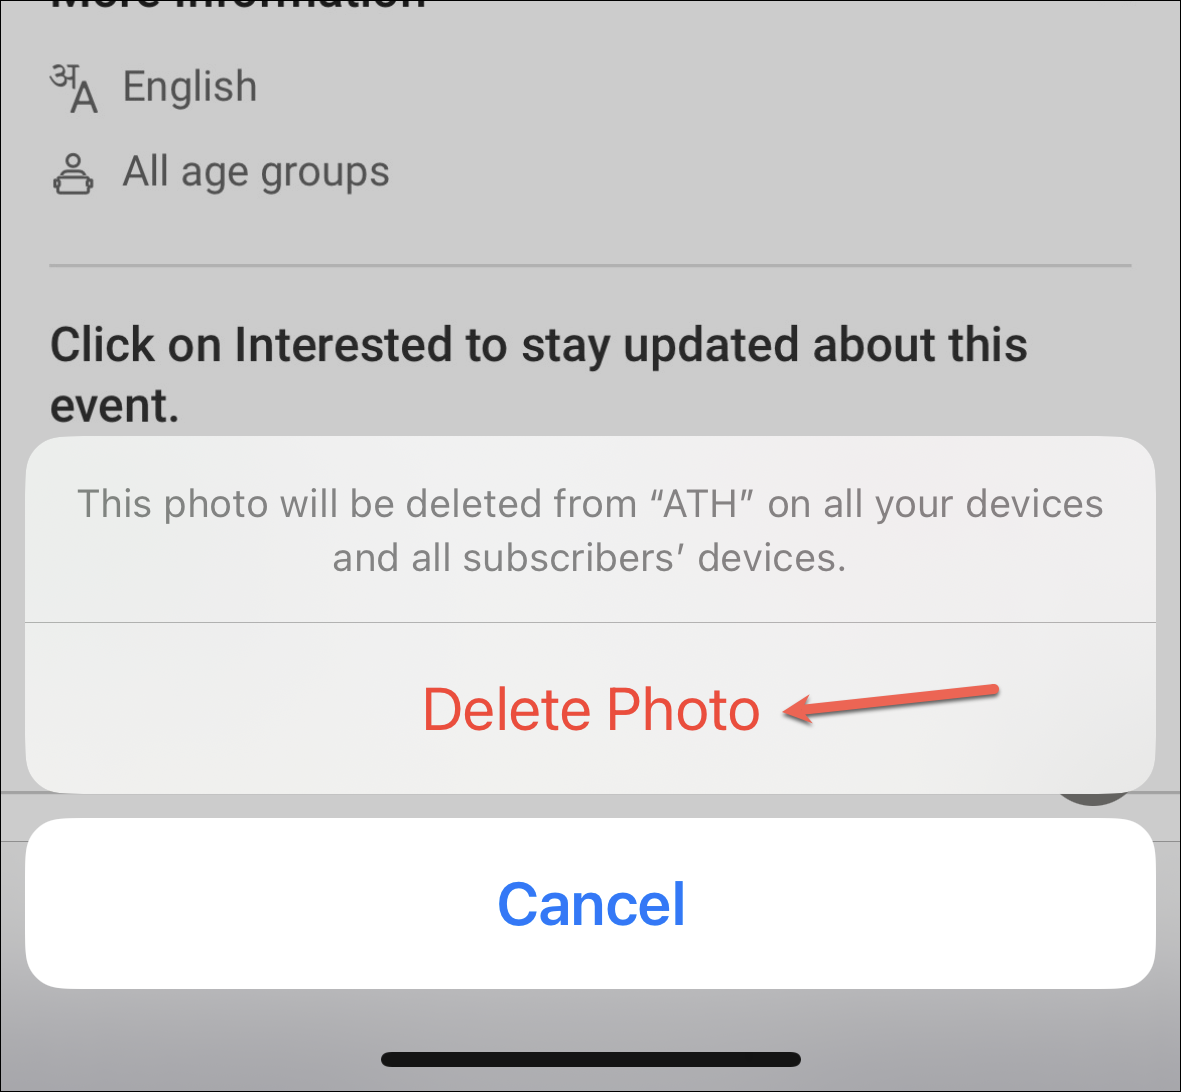
Then, tap ‘Delete Photo’ from the confirmation prompt.
To delete multiple photos, tap ‘Select’ from the album and select all the photos.
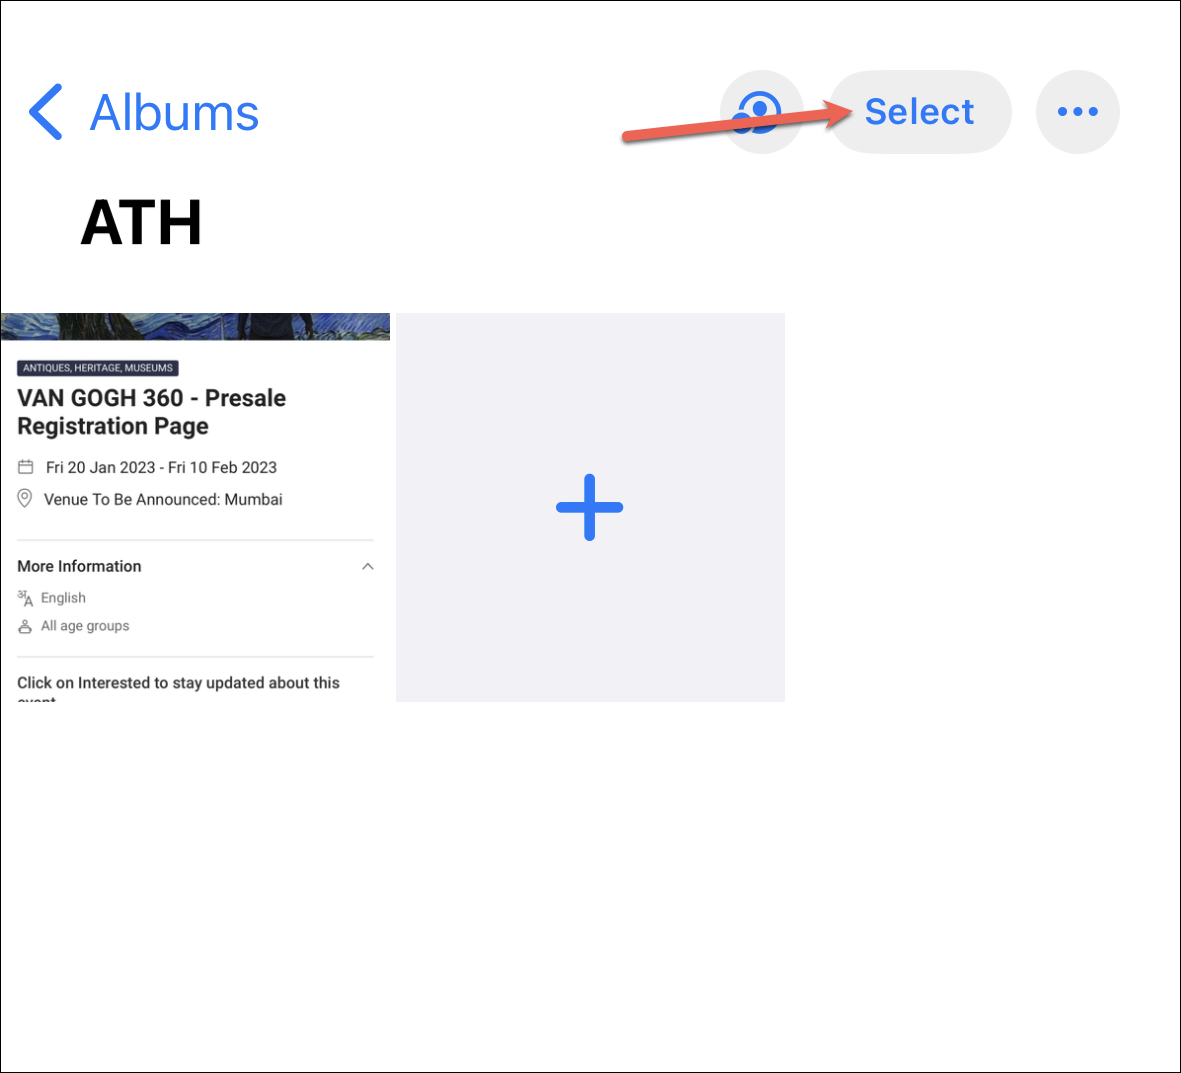
Then, tap the ‘Delete’ button.

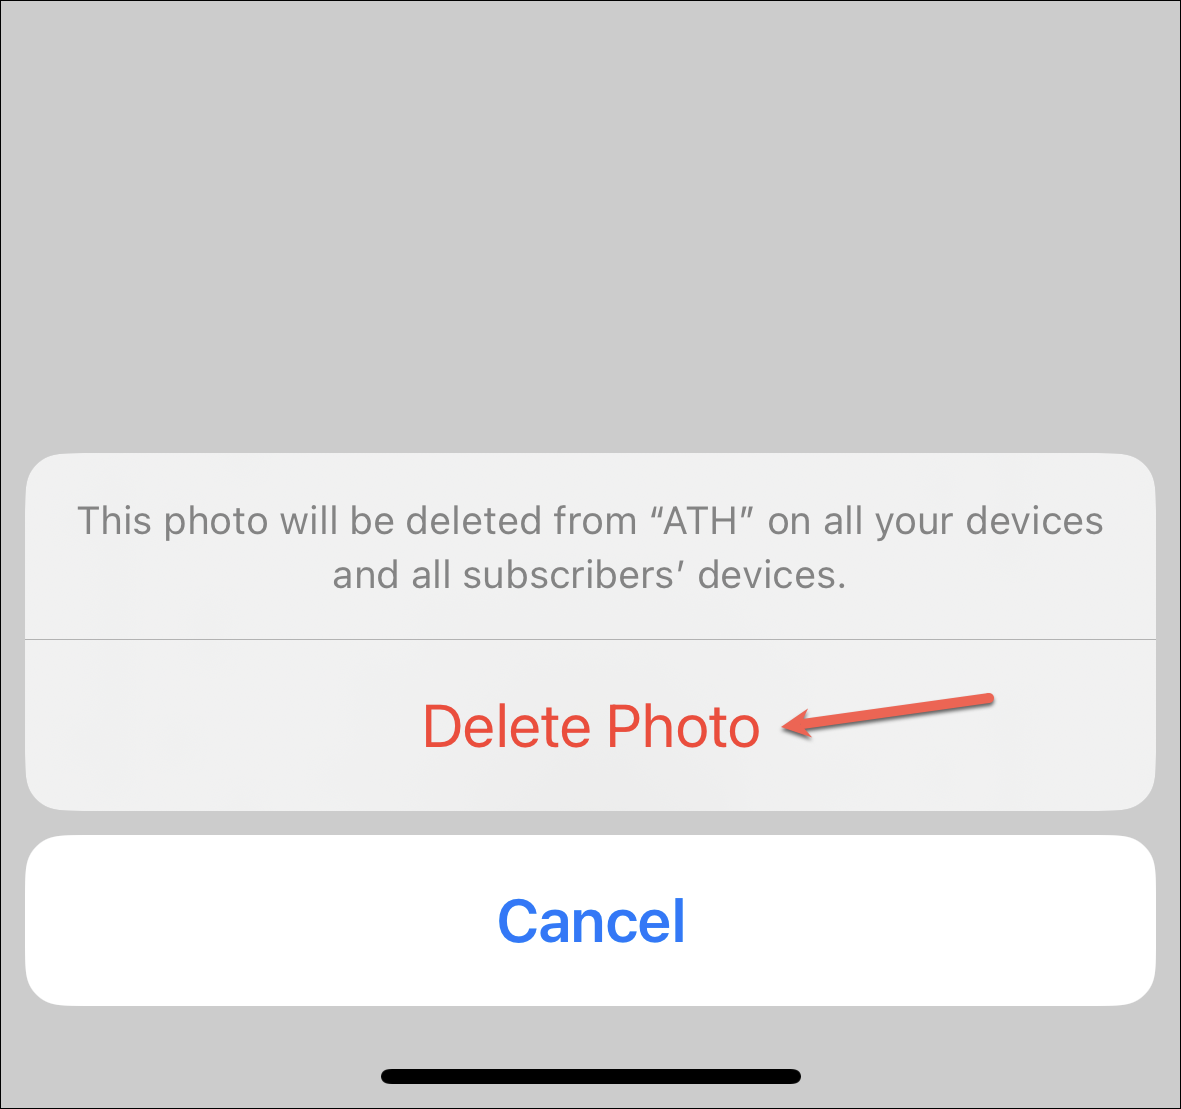
Finally, tap ‘Delete Photos’ from the confirmation prompt.
Photos and videos will be deleted from the shared album but if someone saved the photos to their personal library, they’ll stay there.
Managing the Shared Album
Whether you want to invite more people, remove a current subscriber, or change permissions for the album, managing the album is easy.
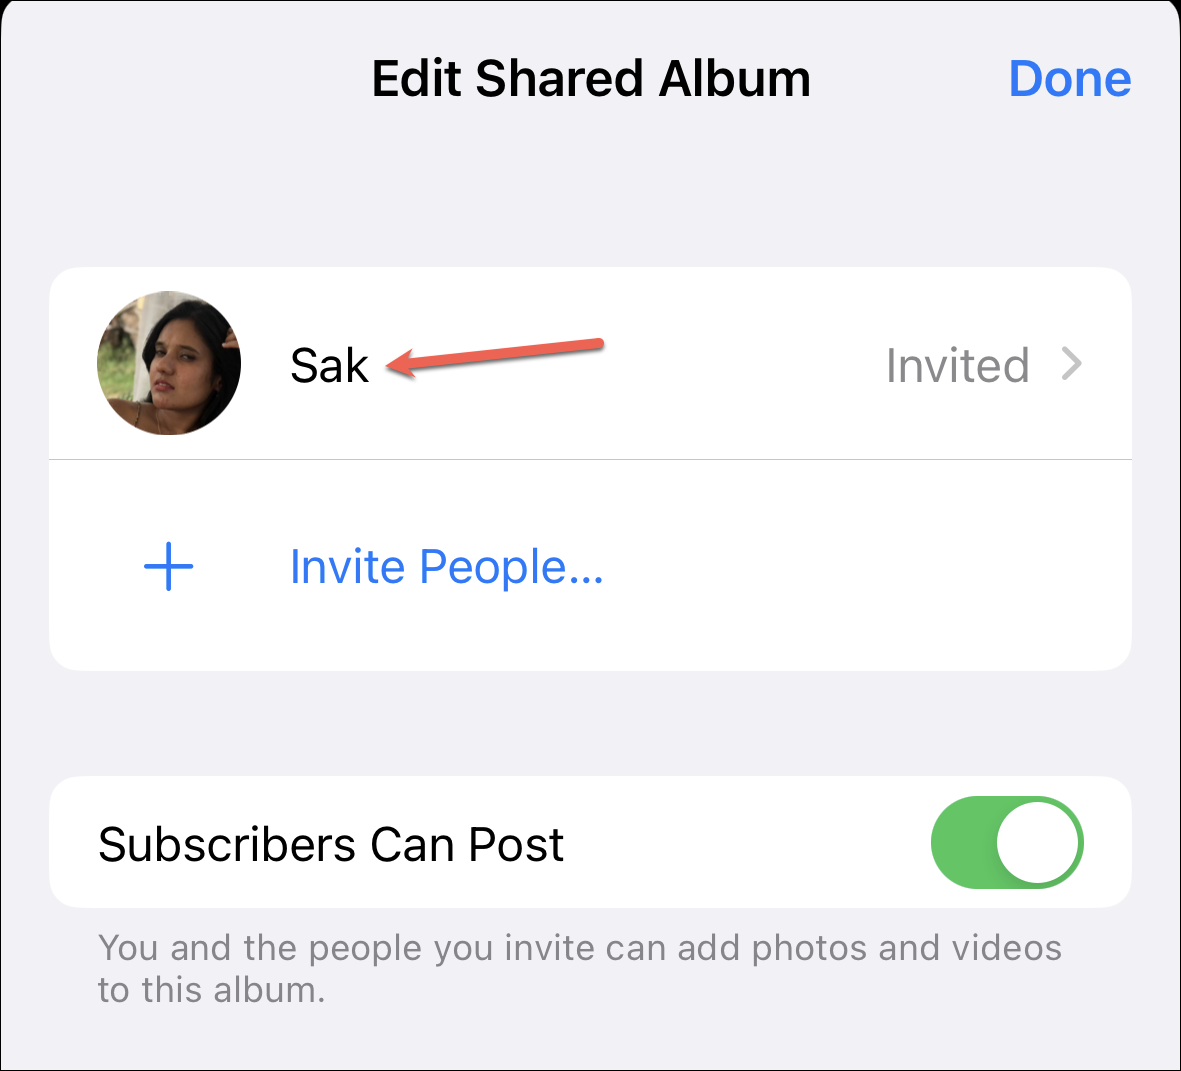
Open the Shared Album and tap the ‘People’ option from the options at the top-right corner.

The screen for editing the shared album will open.
To remove a subscriber, tap their name.
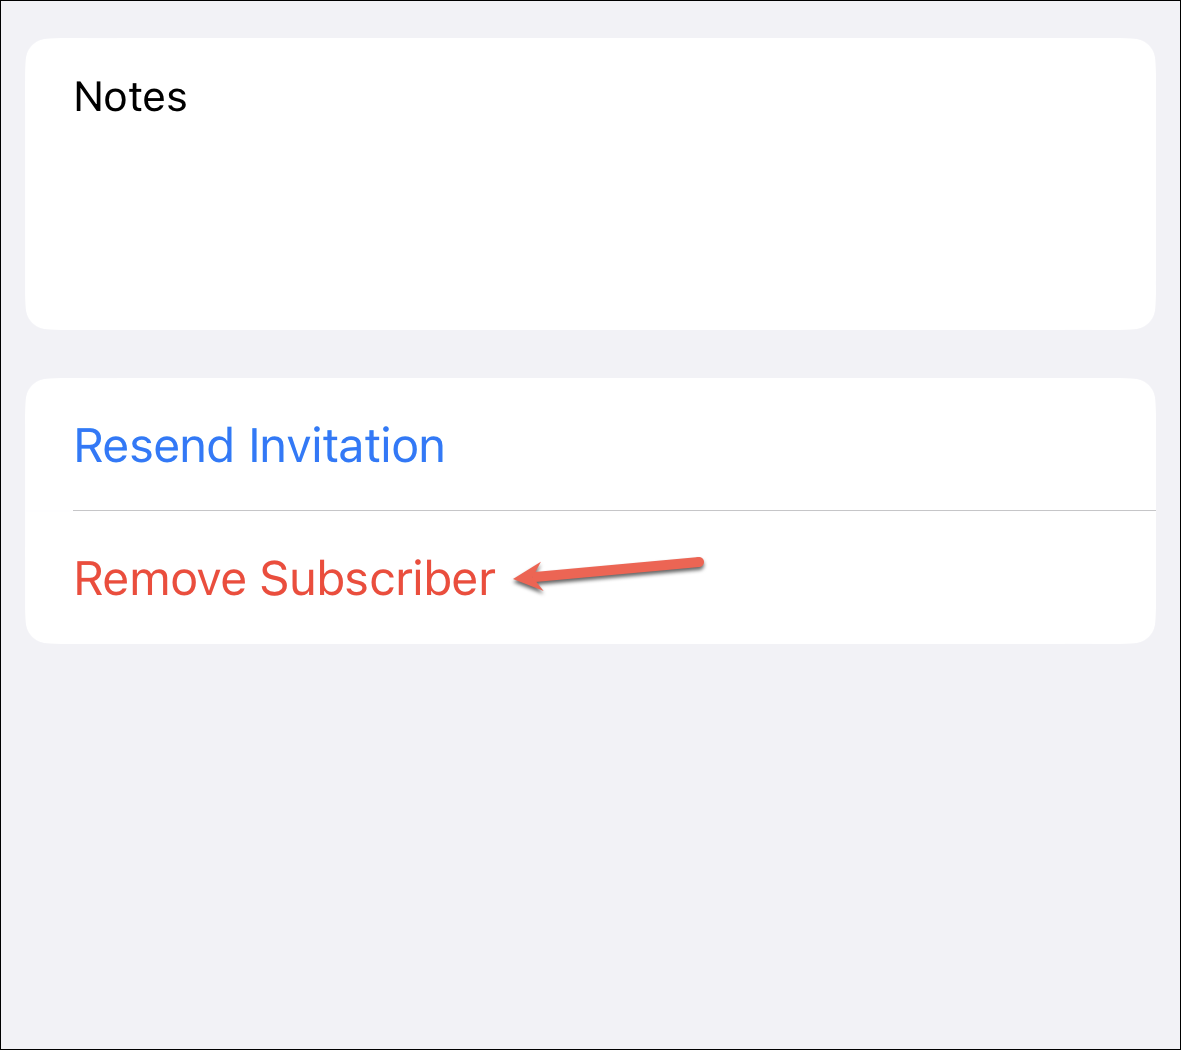
Then, tap ‘Remove Subscriber’ at the bottom.
Tap ‘Remove’ from the confirmation prompt.
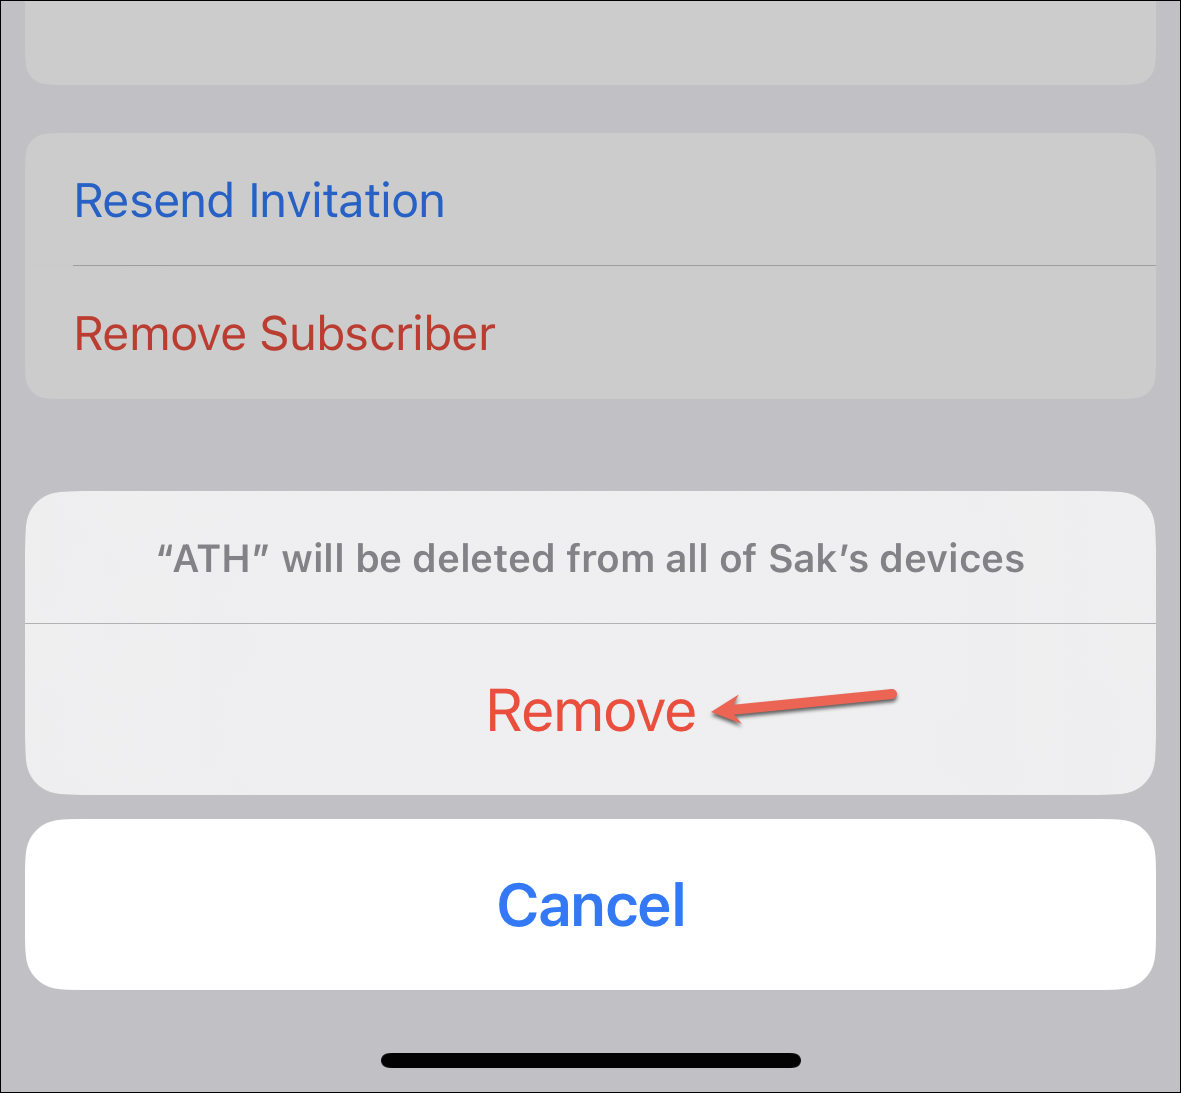
Their access to the shared album will end instantly. But if they saved any photos or videos from the shared album to their personal library, it will stay in their personal library.
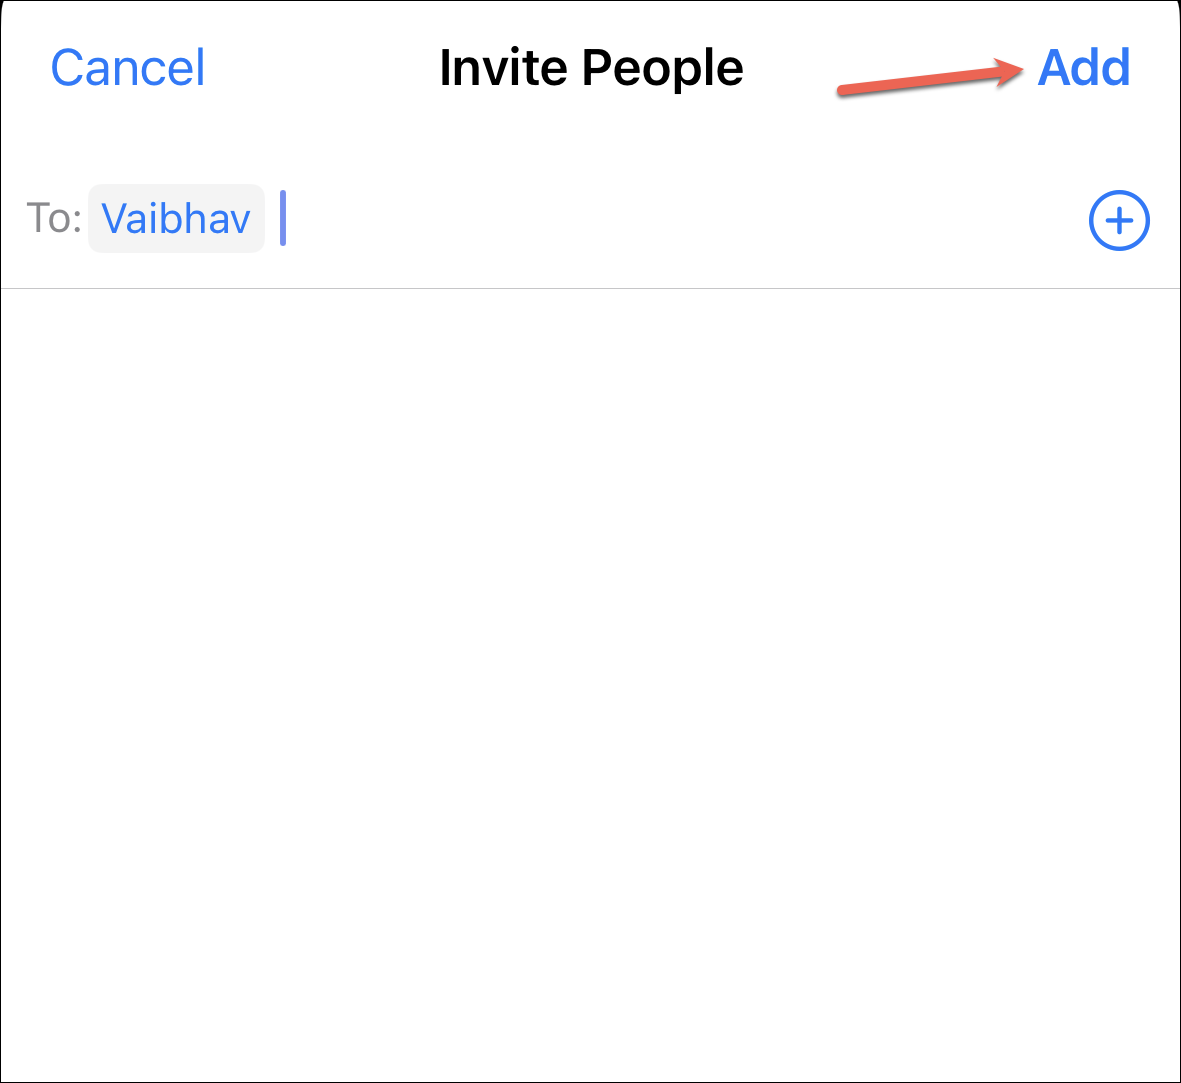
To invite more people, tap the ‘Invite People’ option.
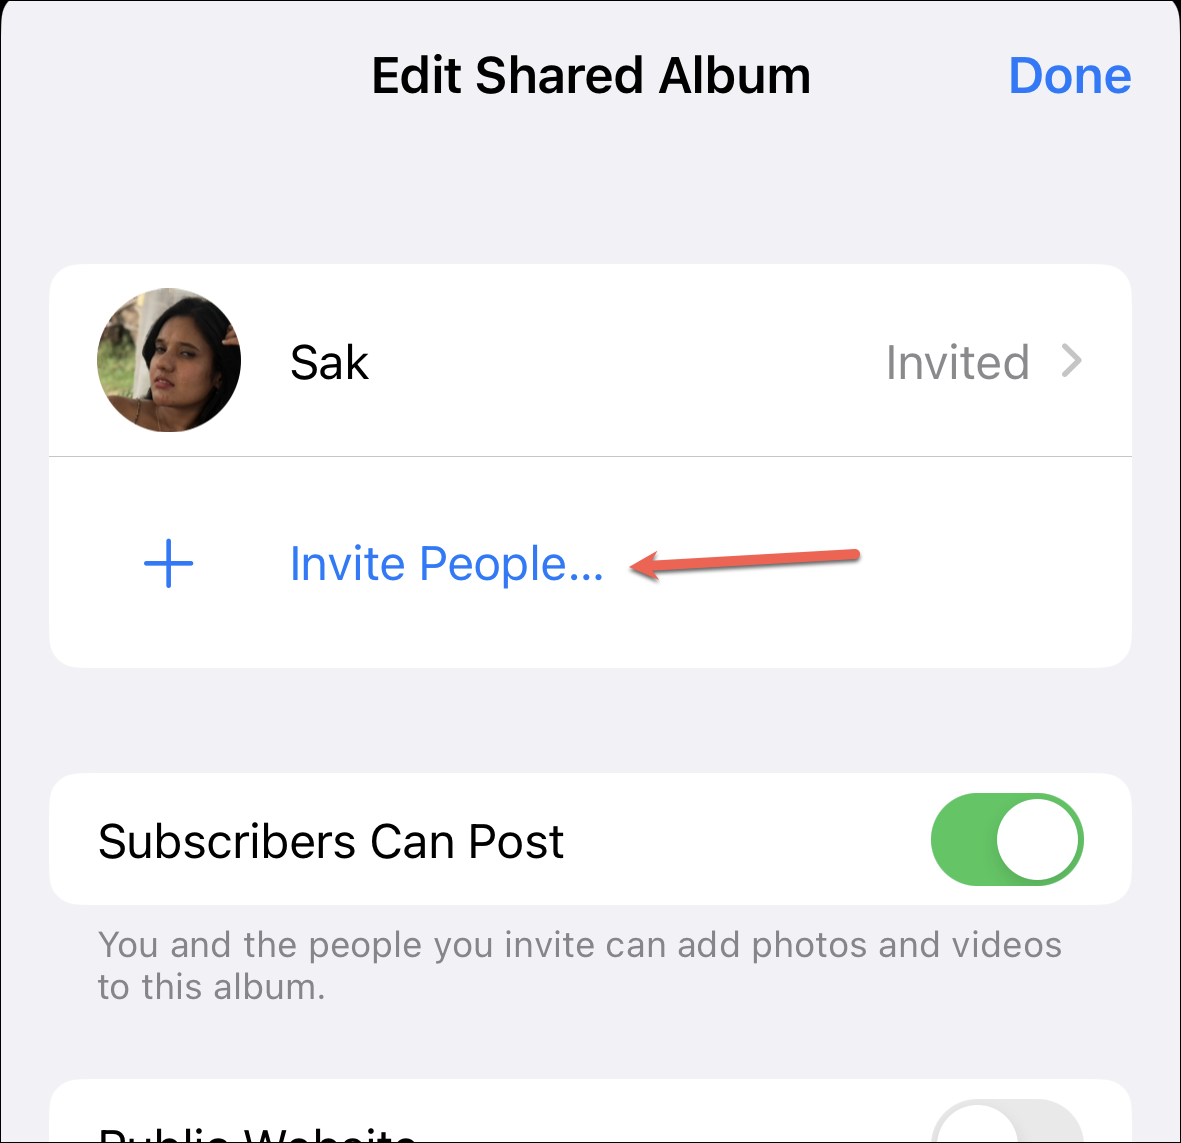
Then, add their contact information, email address, or iMessage phone number on the next screen and tap ‘Add’.
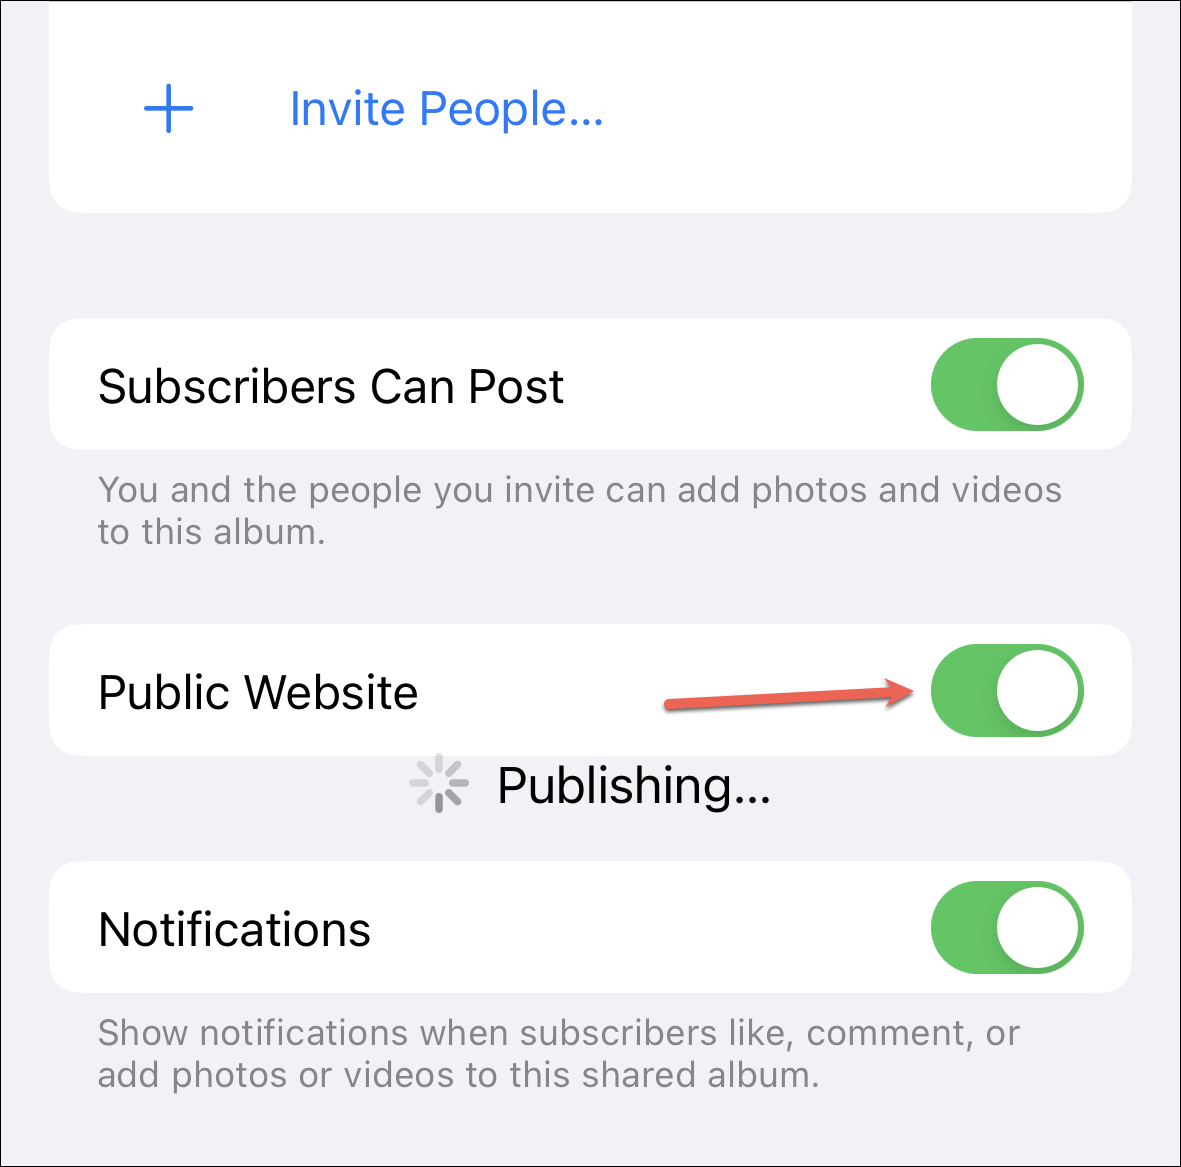
Although shared albums use iCloud, you can even share them with people who don’t use iCloud. This works by making your shared album public. But when you make a shared album public, anyone with access to the link can view the photos. Essentially, your photos are published on a website.
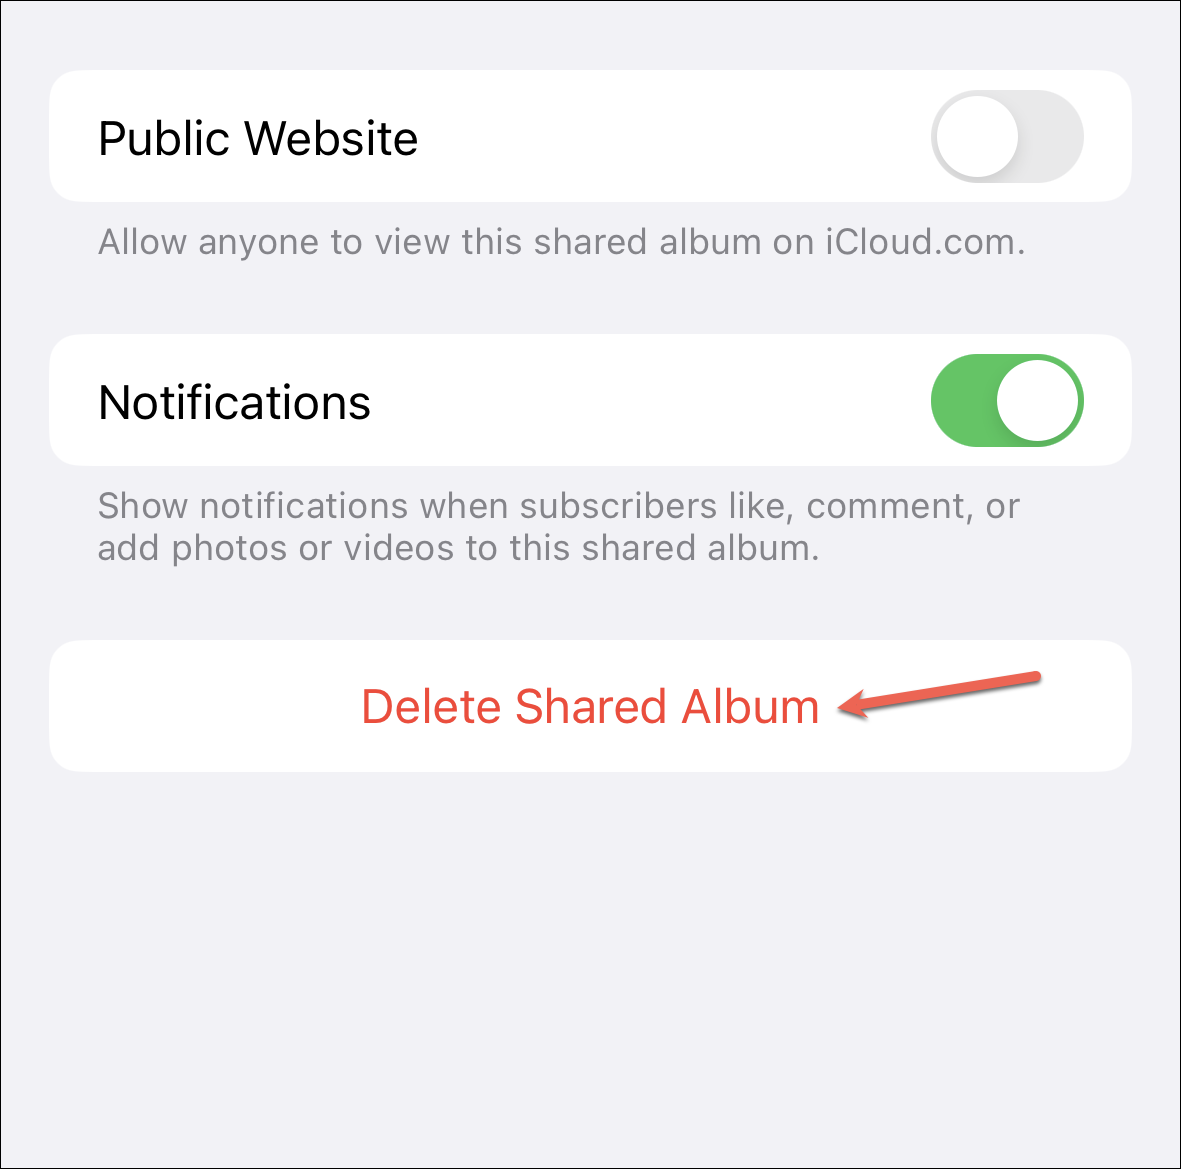
To make your shared album open, turn on the toggle for ‘Public Website’.
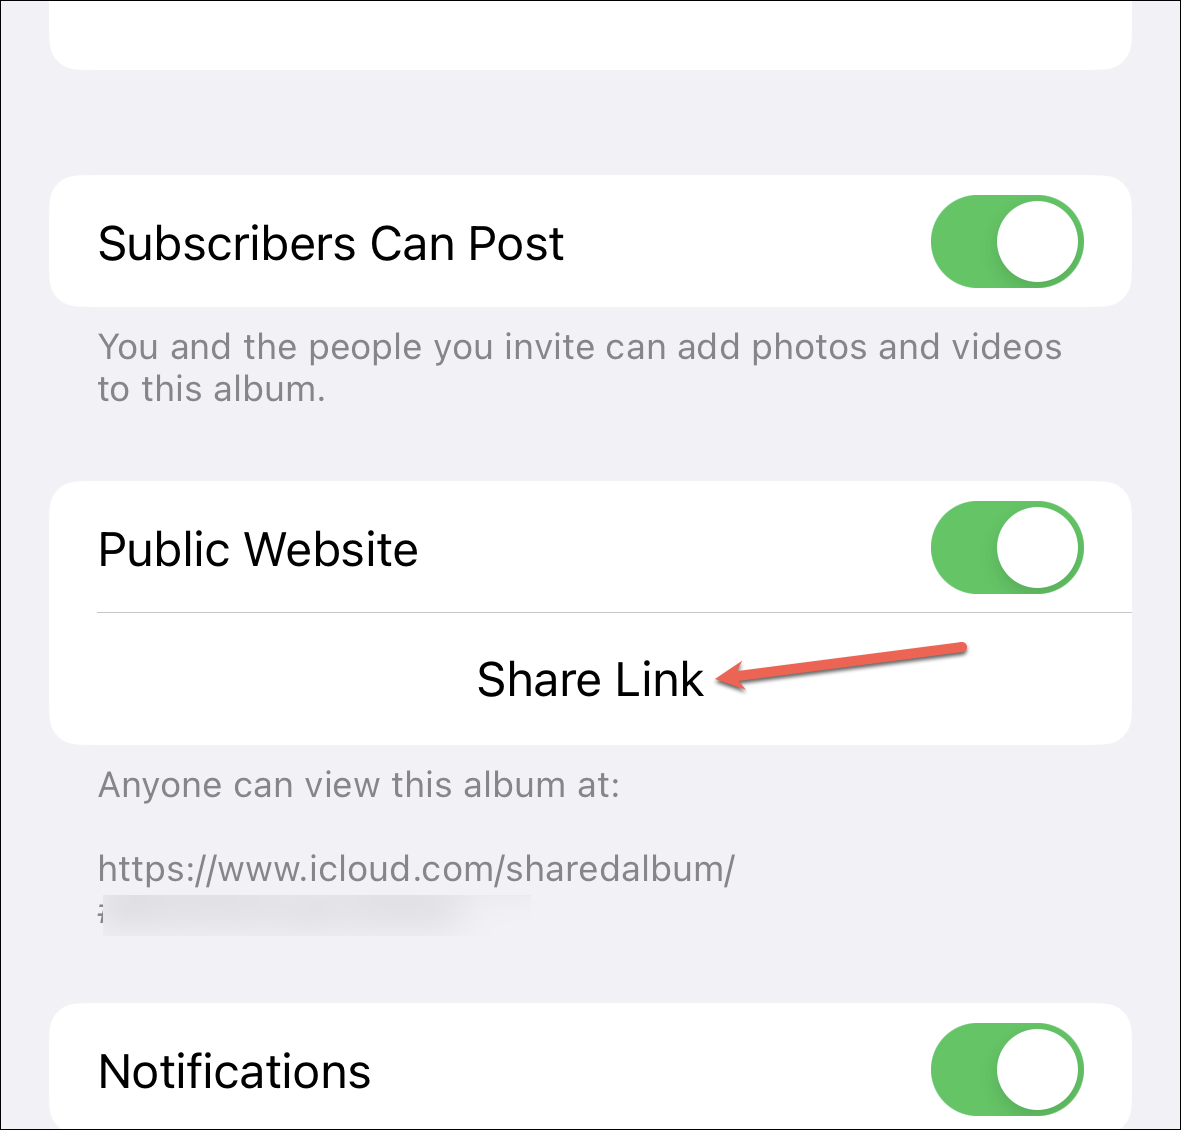
Then, tap the ‘Share Link’ option and share the link with people using any sharing method. Now, they can use the link to view the album in any (up-to-date) browser. To make sure your album stays private, ask others to not share the link with others.
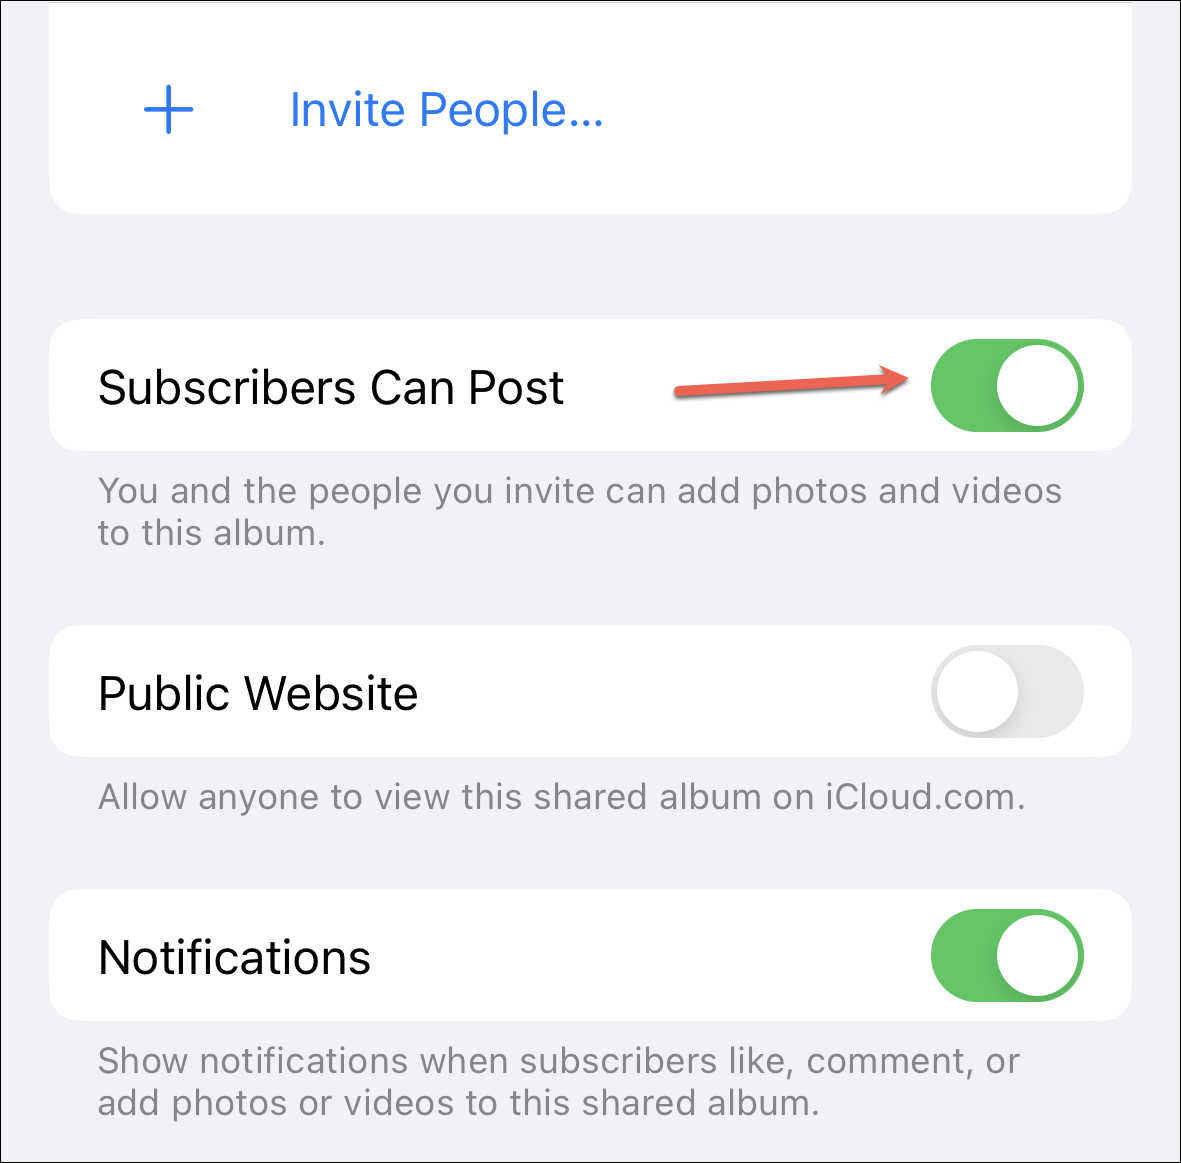
To make sure others can post to the shared library, keep the toggle for ‘Subscribers Can Post’ on. If you only want yourself to be able to post to the library, turn off the toggle.
To delete the album altogether, tap ‘Delete Shared Album’ at the bottom.
Then, tap ‘Delete’ from the confirmation prompt.
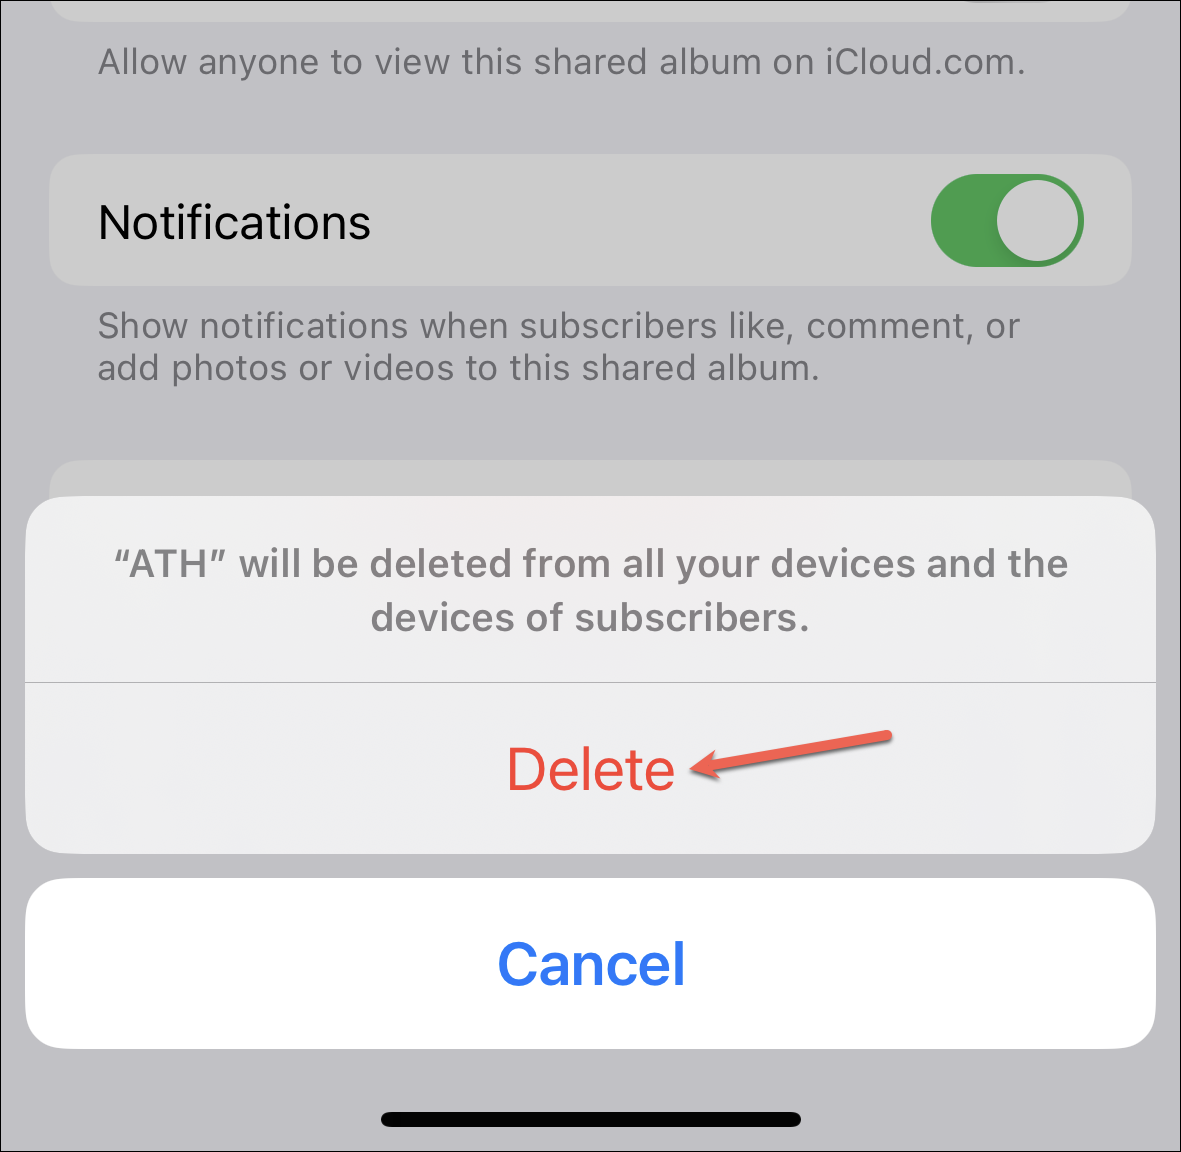
The album will be deleted from all your devices and your subscribers’ devices too. If you made the album public, it will also be deleted from the web. If you don’t have the photos or videos in the album saved in your personal library, make sure to save any you still want access to as they will be permanently deleted if you delete the album.
Shared Albums make it a walk in the park to share photos and videos with other Apple users (or non-iCloud users, if you’re willing to make them public). Hopefully, with this guide, sharing an album and managing it would be easy.


