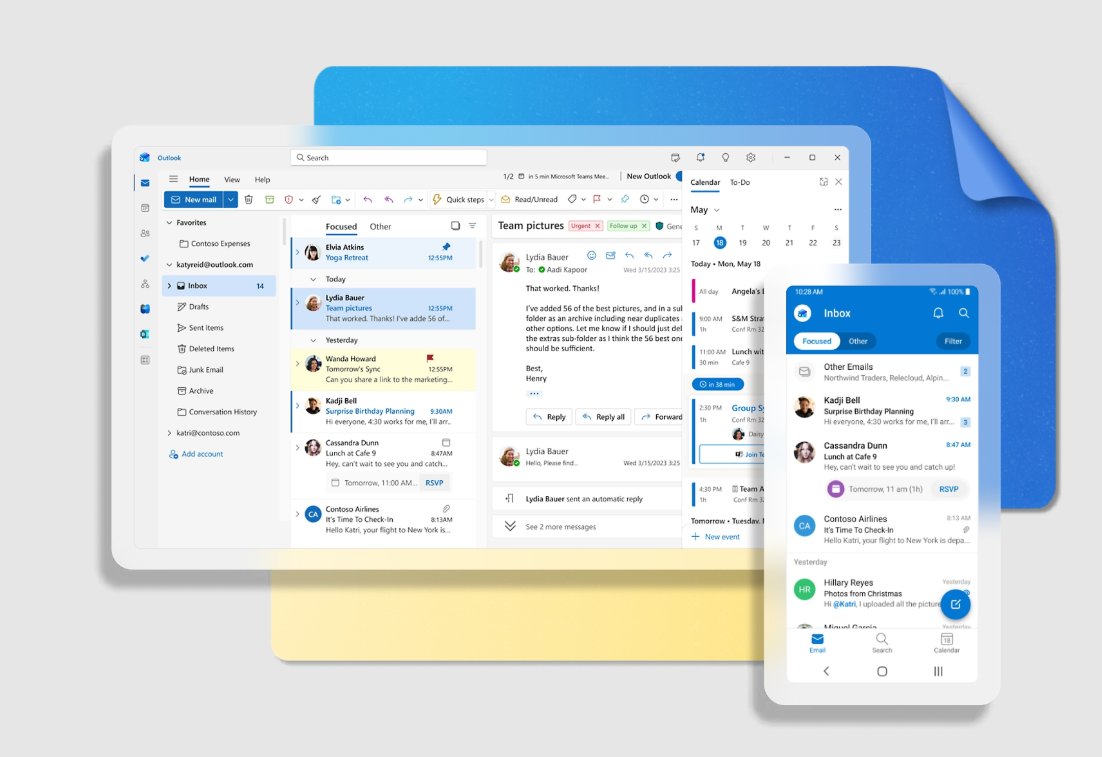
Digital calendars are an important part of our day. They help keep some level of peace and sanity in our lives and help us juggle our various appointments. People who use Outlook for email most likely also use Calendar to manage their schedules.
But did you know that you can also share your calendar in Outlook? Sharing your calendar with colleagues ensures that you don’t have to manually share every little detail of your schedule with them when you’re busy. They can just see for themselves.
Whether it’s a colleague who needs to be able to keep track of you or an assistant who just doesn’t need to see your calendar but also make changes to it, Outlook makes it really easy to share it with them. And with different levels of permission, you can make sure the degree of access each person gets. So, let’s get started.
Sharing Calendar in Outlook Desktop App
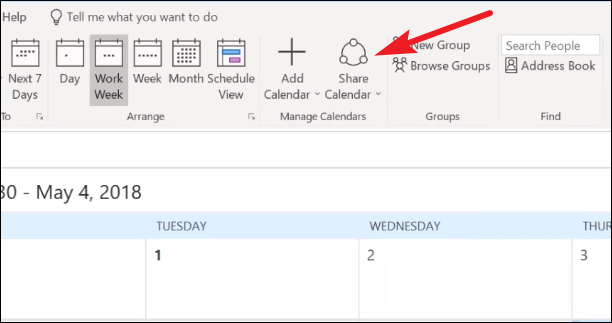
You can share your calendar from the Outlook app or Outlook web. If you’re an Outlook app user, open the desktop app and go to the navigation panel on the left. Then, click on ‘Calendar’ to switch from Mail to Calendar.
From the ‘Home’ menu bar, go to ‘Share Calendar’.
Then, select the calendar you want to share (if you have multiple) from the drop-down menu. Or click the single option showing in case you have only one.

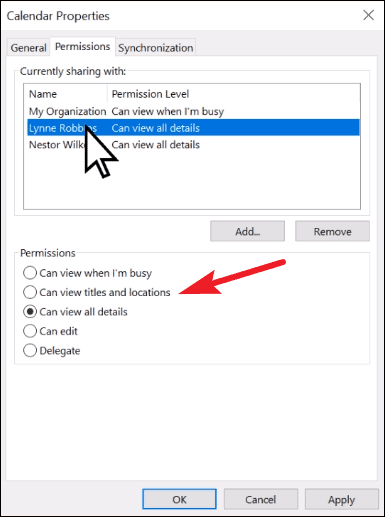
A dialog box for Calendar Properties will open. Go to the ‘Permissions’ tab.
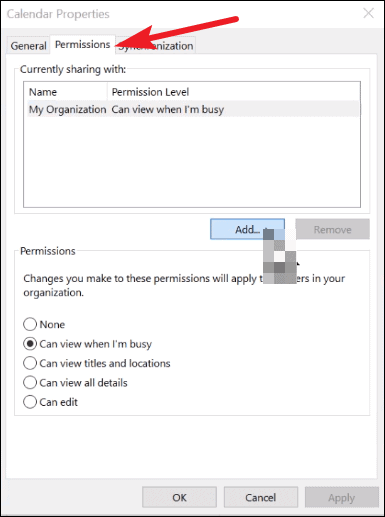
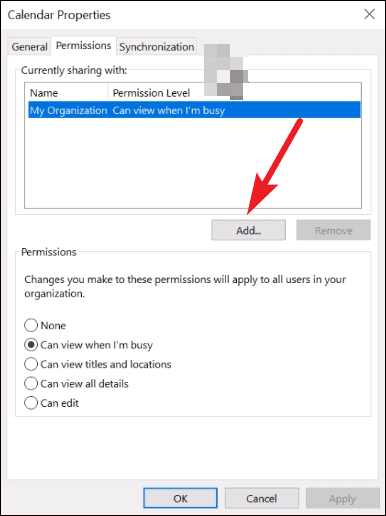
Click the ‘Add’ button to add people who can view your calendar.
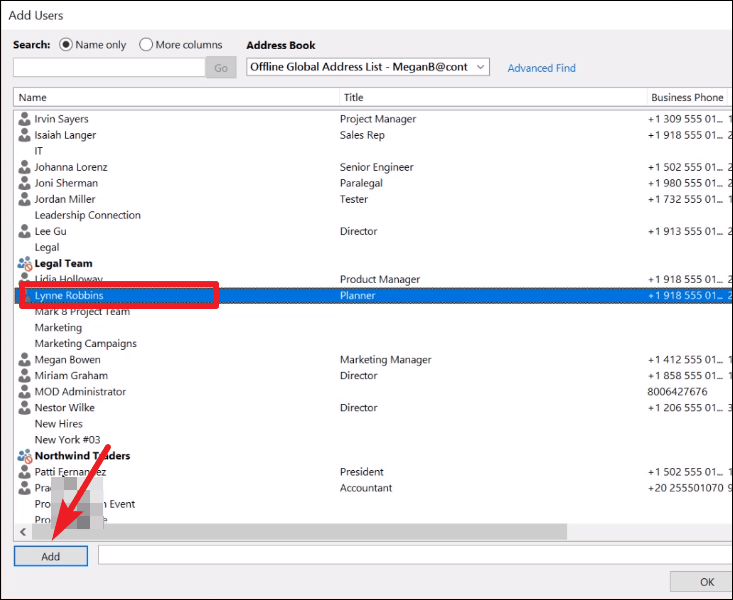
‘Add Users’ dialog box will open. Select the users you want to add one by one and click the ‘Add’ button on the lower-left corner after selecting each user. Then, click ‘OK’.
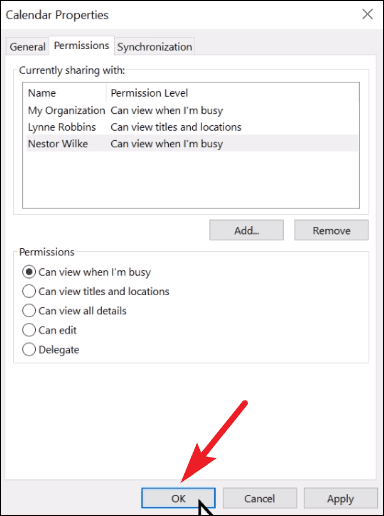
The people you added will appear under the Currently Sharing box with the default permission level. To change the type of access, select their name and click the type of access you want them to have from the options given below. There are five levels of permission: ‘Can view when I’m busy’, ‘Can view titles and locations’, ‘Can view all details’, ‘Can edit’, and ‘Delegate’. Choose the permission level suitable for each user.
Then, click ‘OK’ to save the settings.
Sharing Calendar from Outlook Web
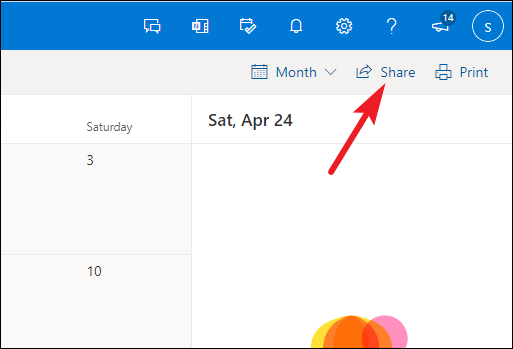
Outlook web users should go to outlook.com and log in to their account. Then, go to the very bottom of the navigation bar on the left and click the ‘Calendar’ button to switch from Mail to Calendar.

Click the ‘Share’ button in the upper right corner of the screen. As Outlook web doesn’t have access to multiple accounts at the same time, you don’t have to choose a calendar to share as in the Outlook desktop app.
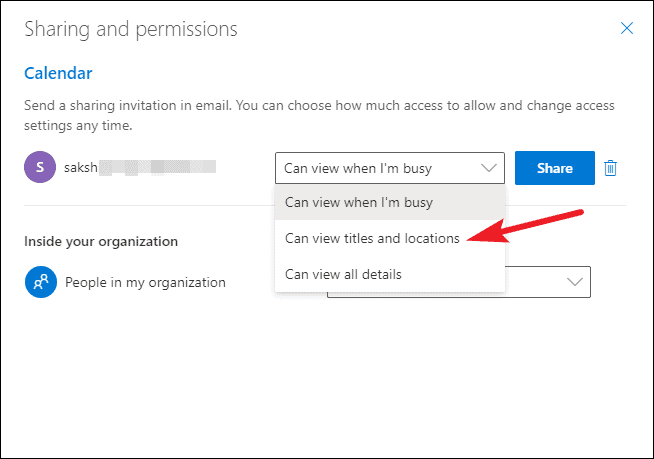
‘Sharing and Permissions’ dialog box will open. Enter an email address or contact name of the person you want to share the calendar with. Then, select their name from the drop-down menu.
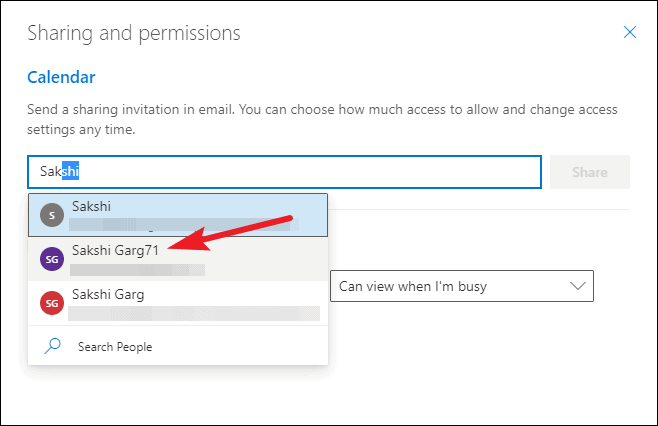
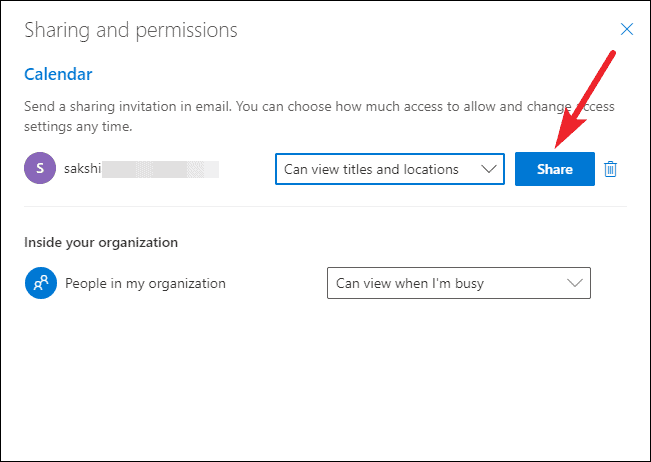
Default permission setting will appear next to their name. To change it, select their permission level from the drop-down menu.
Finally, click the ‘Share’ button.
Opening a Shared Calendar
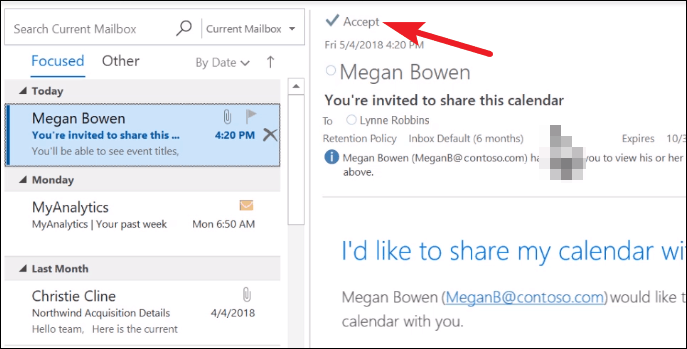
When someone shares a calendar with you, you’ll receive an invite through email. Click the ‘Accept’ button in the email to add it to your calendars.
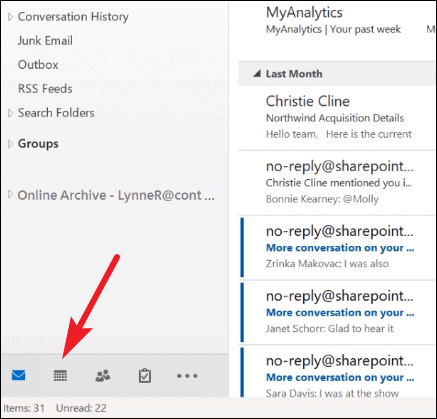
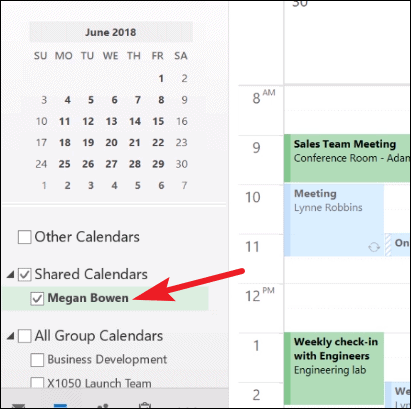
Then, switch to Calendar from Mail. From the navigation panel on the left, scroll down until you find the option for ‘Shared Calendars’. Click it to expand the options.
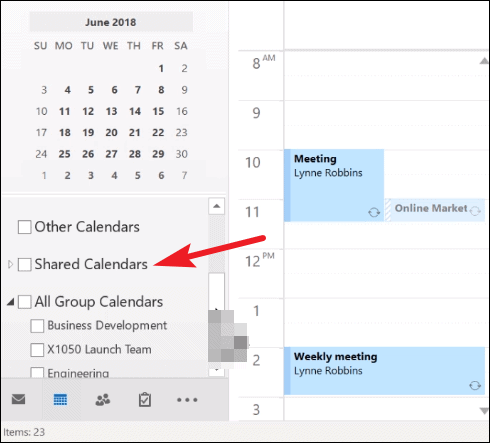
The calendars you currently have access to will appear. Click the one you want to view.
It’ll open in a separate tab from your calendar. You can view both the calendars in overlay, in case you want to compare any schedules. Click the ‘View in Overlay mode’ button.
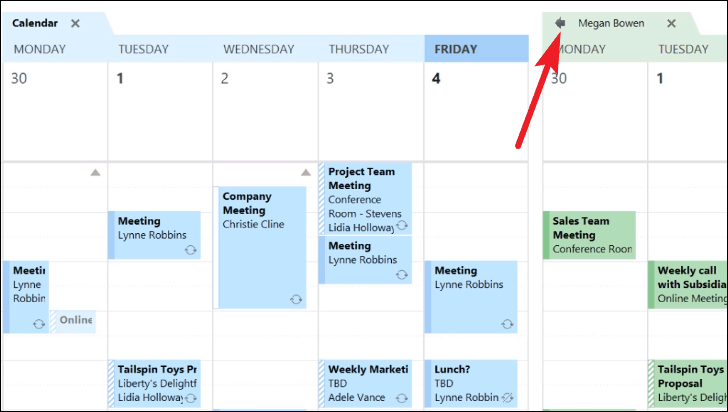
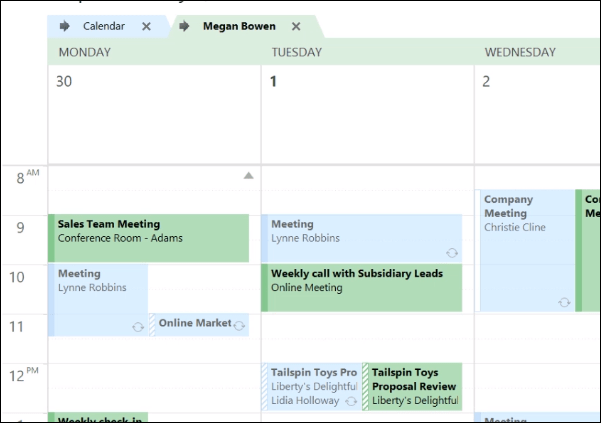
The calendar will be layered over your own calendar.
Sharing calendars and viewing a calendar someone shared with you is as easy as it can get in Outlook. With this feature, you can make sure there’s no hassle over any availability issues ever again.