Windows 11 offers multiple methods for sharing files and folders across a network, making it easier than ever to collaborate and exchange information with colleagues, friends, or family members. This guide will explore the various built-in features and third-party options available for efficient file sharing on Windows 11.
File sharing options in Windows 11
Windows 11 provides two primary built-in features for file sharing within a local network:
- File Sharing: Allows you to share specific folders or drives with other users on the network.
- Nearby Sharing: Enables quick file transfers between nearby devices using Bluetooth and Wi-Fi.
Additionally, Windows 11 supports email and cloud services like OneDrive for transferring files between computers over the internet.
Configuring file sharing settings on Windows 11
Before you can share files between computers, you need to adjust several settings on your Windows 11 system.
Enable network discovery and file sharing
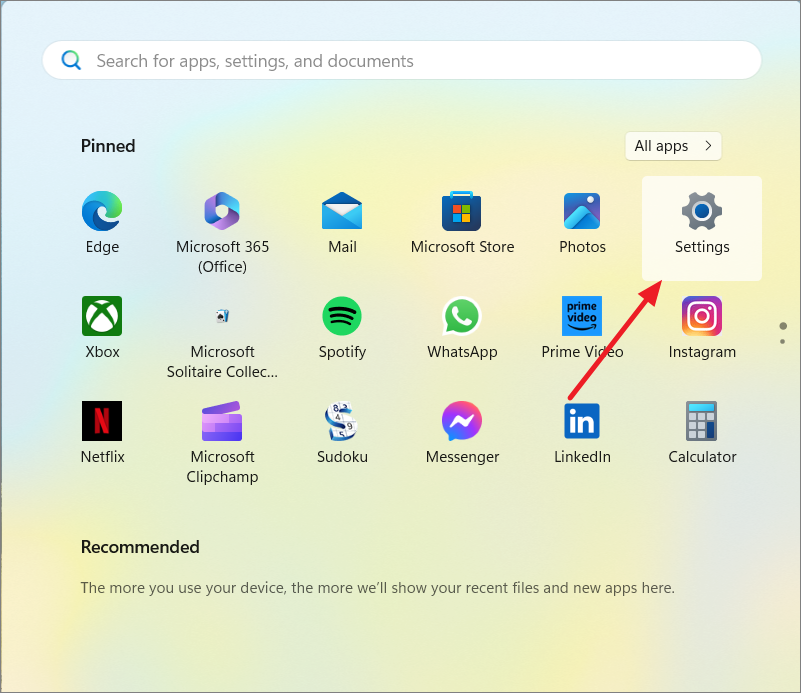
- Open Windows Settings by pressing the Start button and clicking ‘Settings’.
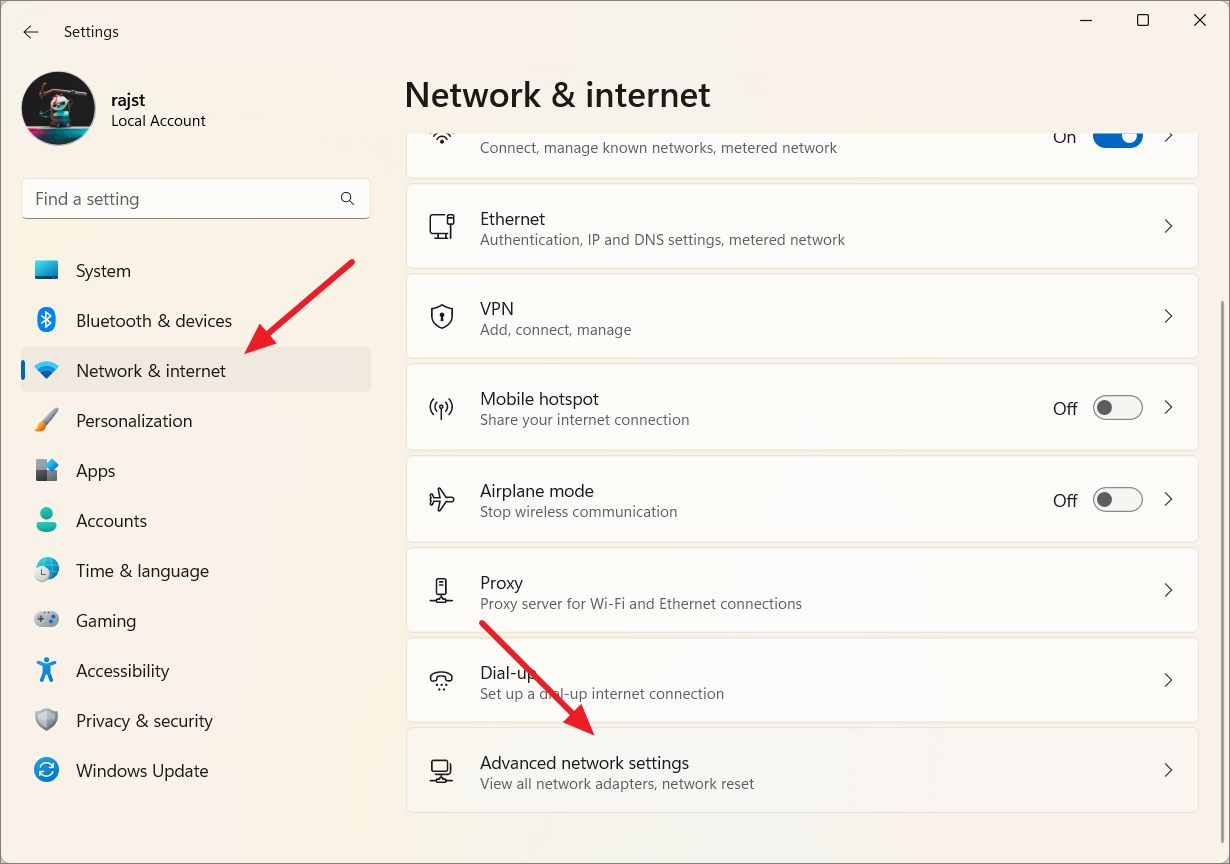
- Click the ‘Network & internet’ tab on the left, scroll down, and select ‘Advanced network settings’ on the right.
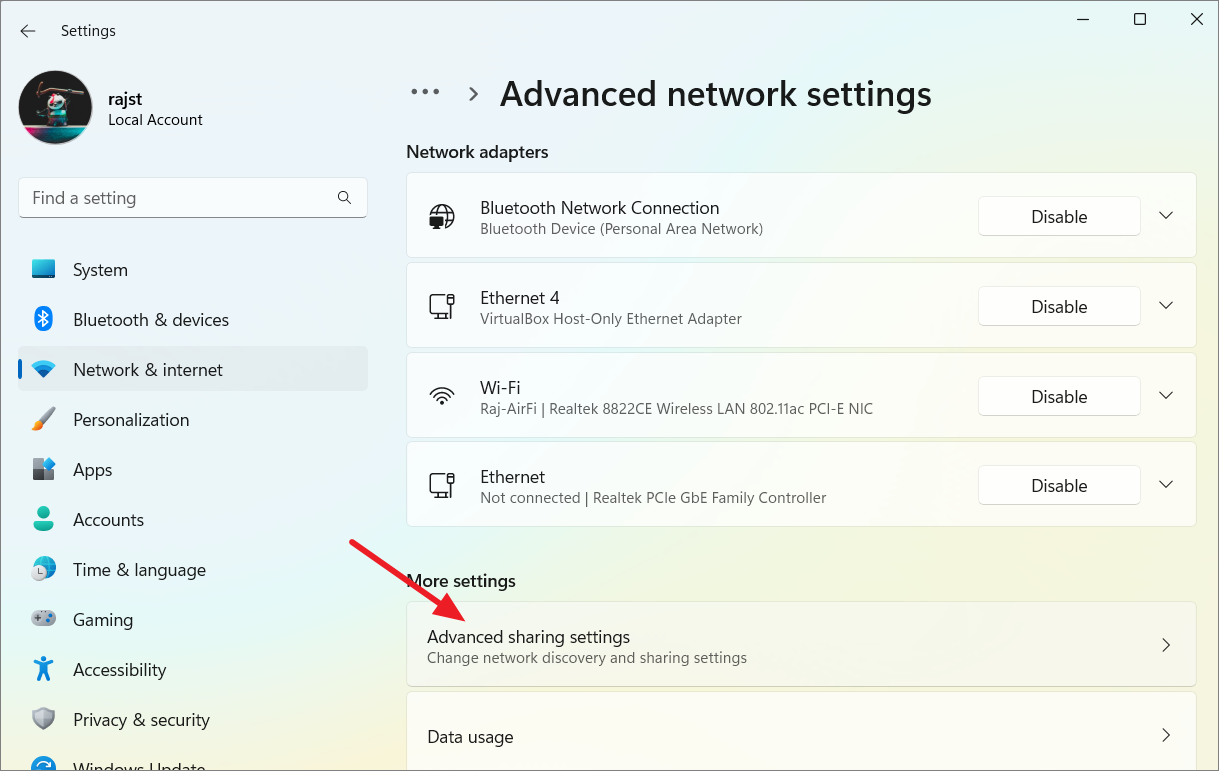
- Click on the ‘Advanced sharing settings’ tile under More settings.
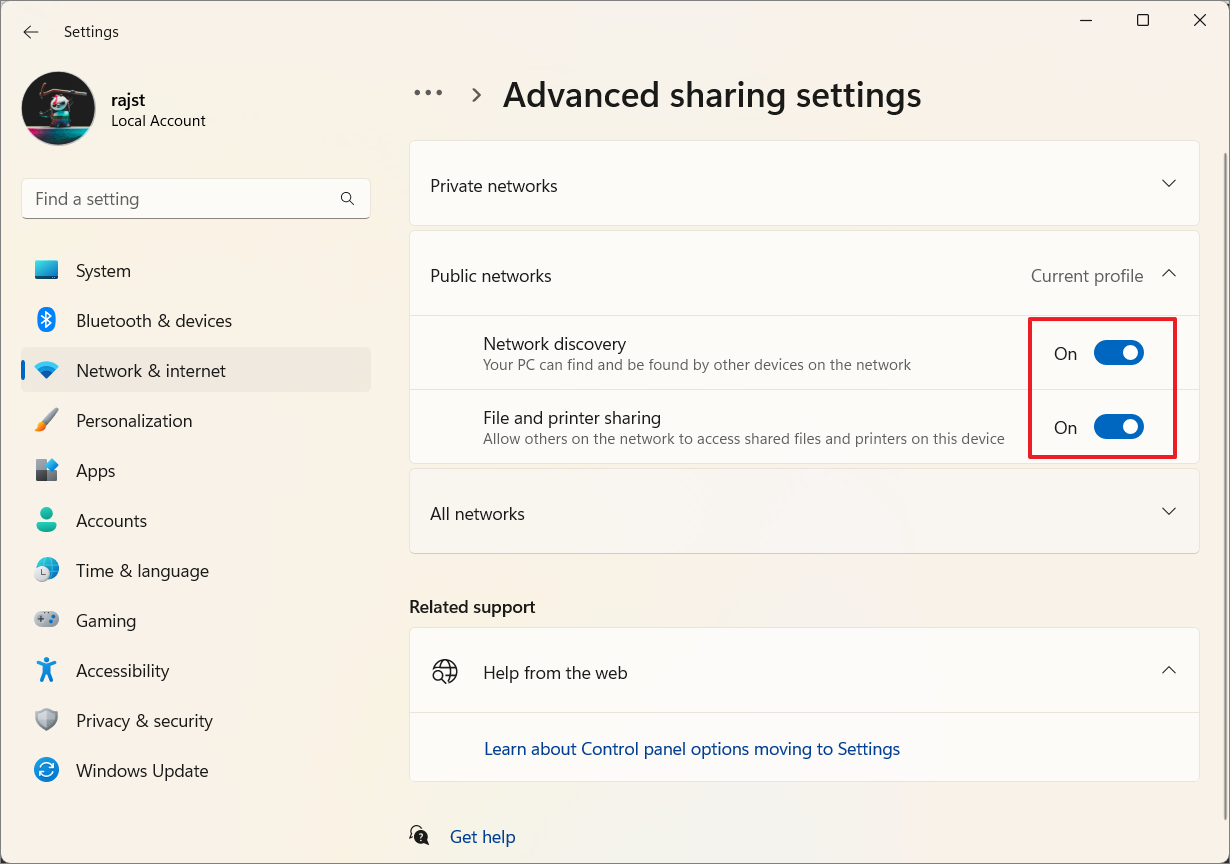
- Expand the current network profile and enable ‘Network discovery’ and ‘File and printer sharing’ options.
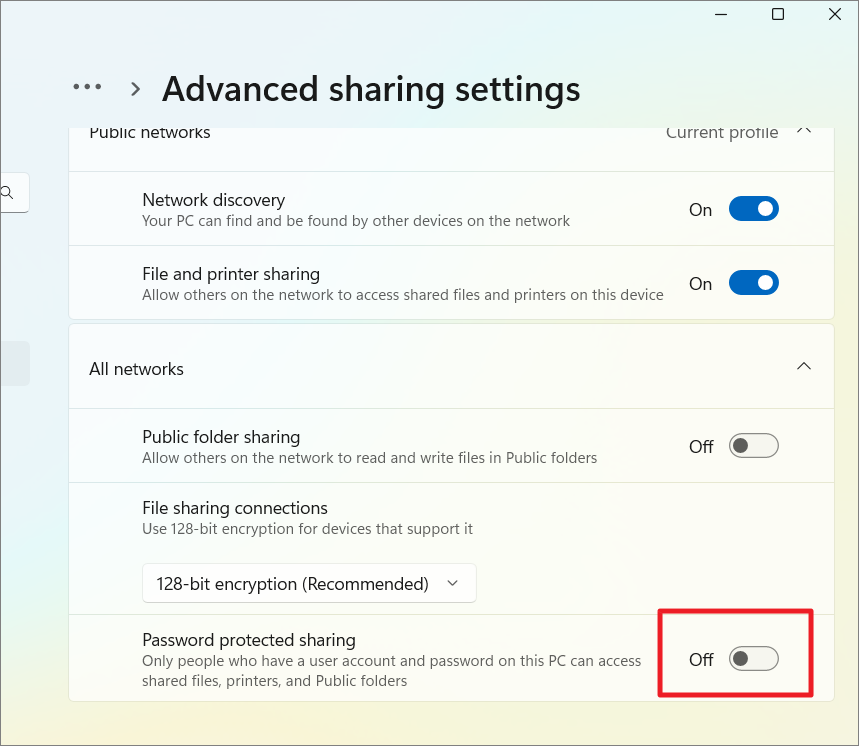
Configure password-protected sharing
- In the Advanced sharing settings page, expand the ‘All networks’ tile.
- Turn off the ‘Password protected sharing’ option if you want to allow anyone on the network to access your shared files without requiring a password.
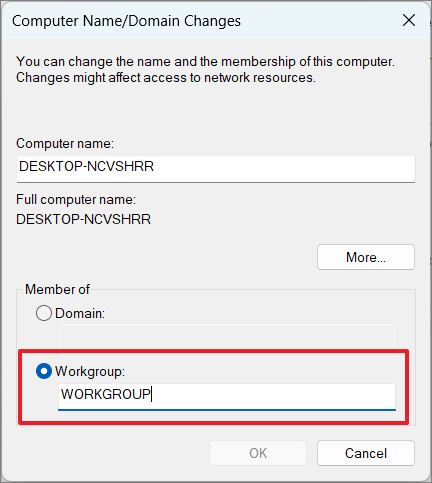
Verify workgroup settings
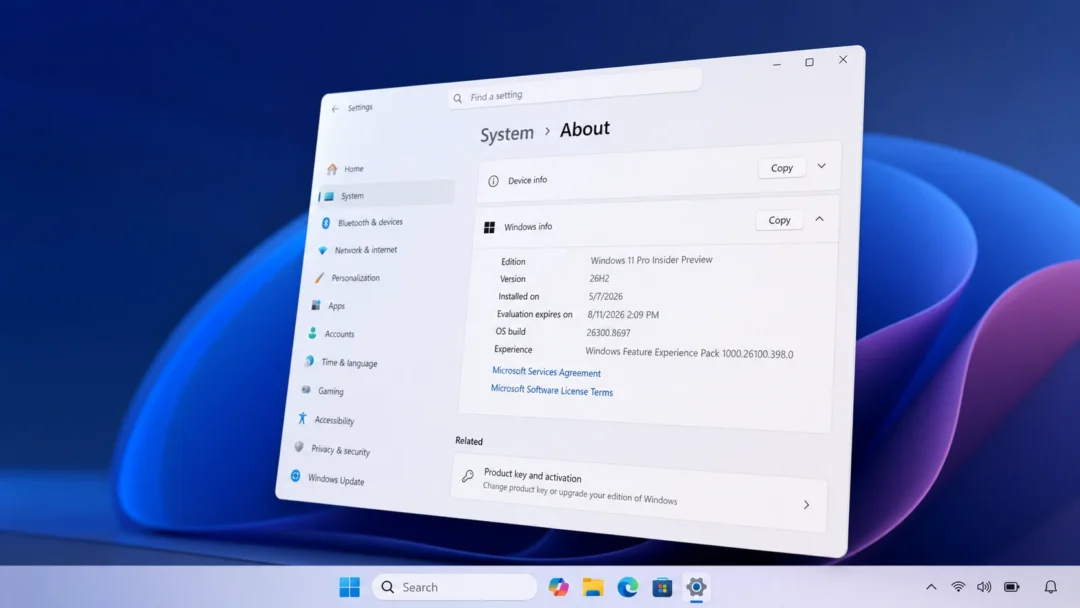
- Select the ‘System’ tab in the settings and click on the ‘About’ tile on the right.
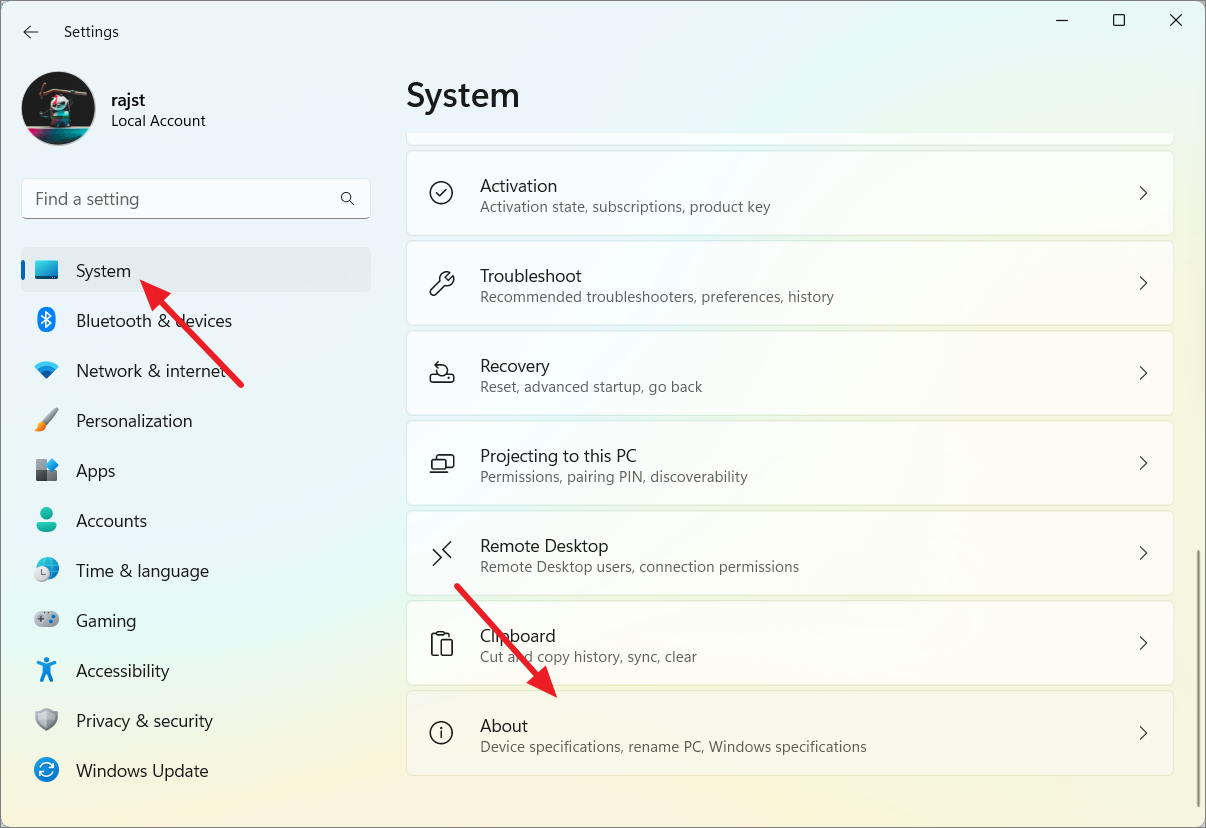
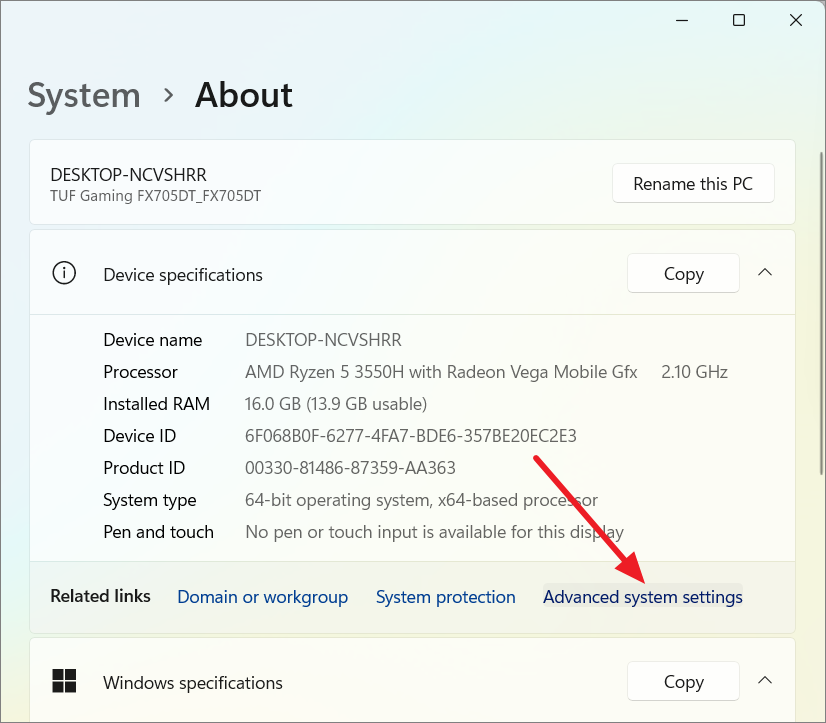
- Click on ‘Advanced system settings’.
- In the System Properties window, go to the ‘Computer Name’ tab and click on ‘Change’.
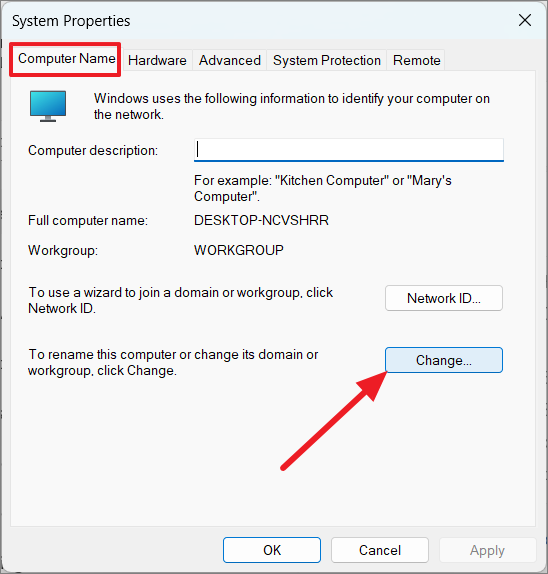
- Ensure your computer is on the same workgroup as the computers you want to share files with.
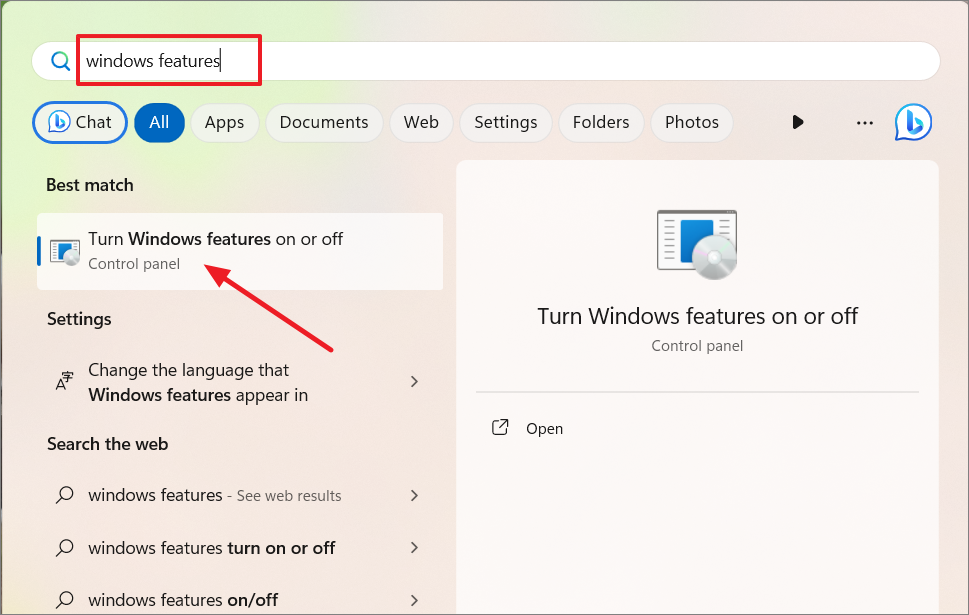
Enable SMB features
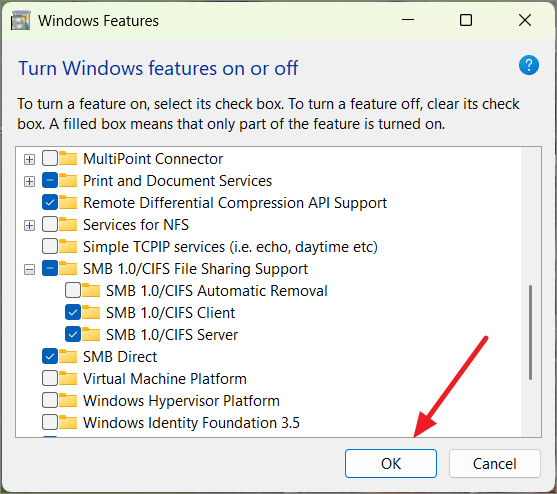
- Click on the Start menu, type “windows features”, and select ‘Turn Windows features on or off’ control panel tile.
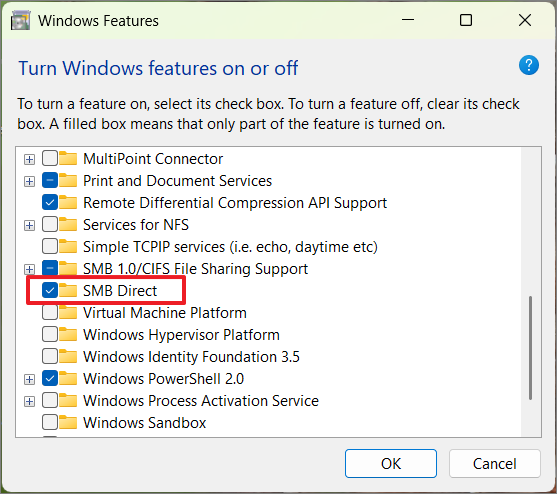
- In the Windows Features window, locate and enable the ‘SMB Direct’ option.
- If you need to share files with older devices or versions of Windows, expand ‘SMB 1.0/CIFS File Sharing Support’ and check both ‘SMB 1.0/CIFS Client’ and ‘SMB 1.0/CIFS Server’.
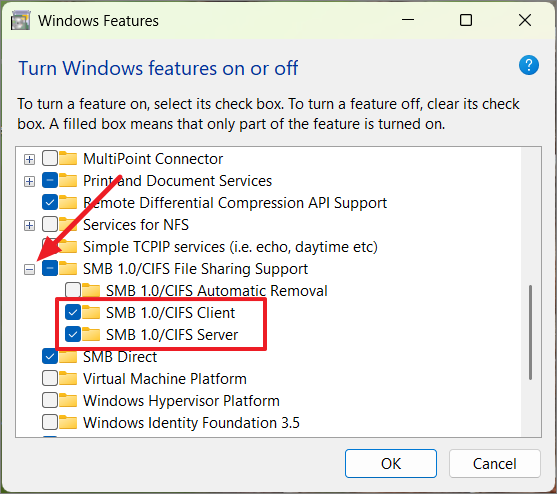
- Click ‘OK’ to install the features and restart your computer when prompted.
Start necessary services
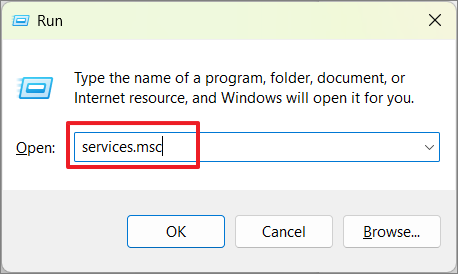
- Press Windows + R, type “services.msc” and click ‘OK’.
-
Locate and double-click on each of the following services:
- Function Discovery Resource Publication
- Function Discovery Provider Host
- Server
-
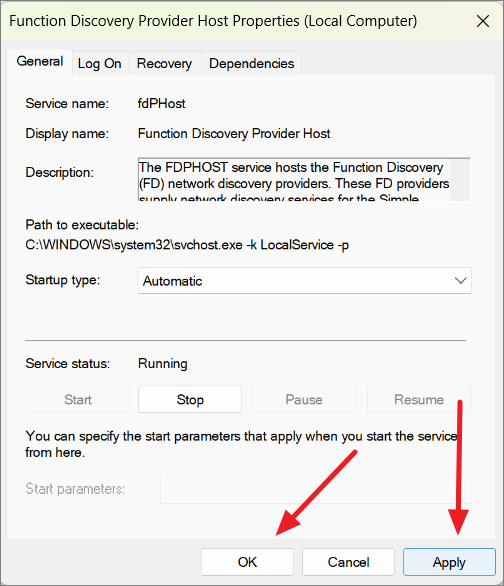
For each service, set the ‘Startup type’ to ‘Automatic’ and click ‘Start’ if the service is not already running.
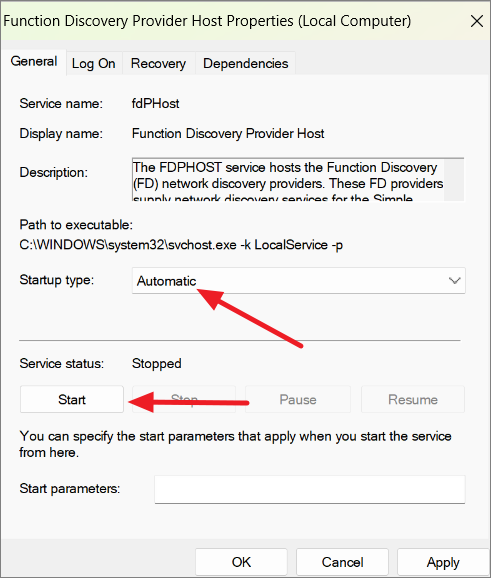
- Click ‘Apply’ and then ‘OK’ for each service.
Set a static IP address (optional)
Setting a static IP address can make file sharing more convenient, especially if you frequently exchange files between specific computers.
- In Windows Settings, go to ‘Network & internet’ and click on your current network connection.
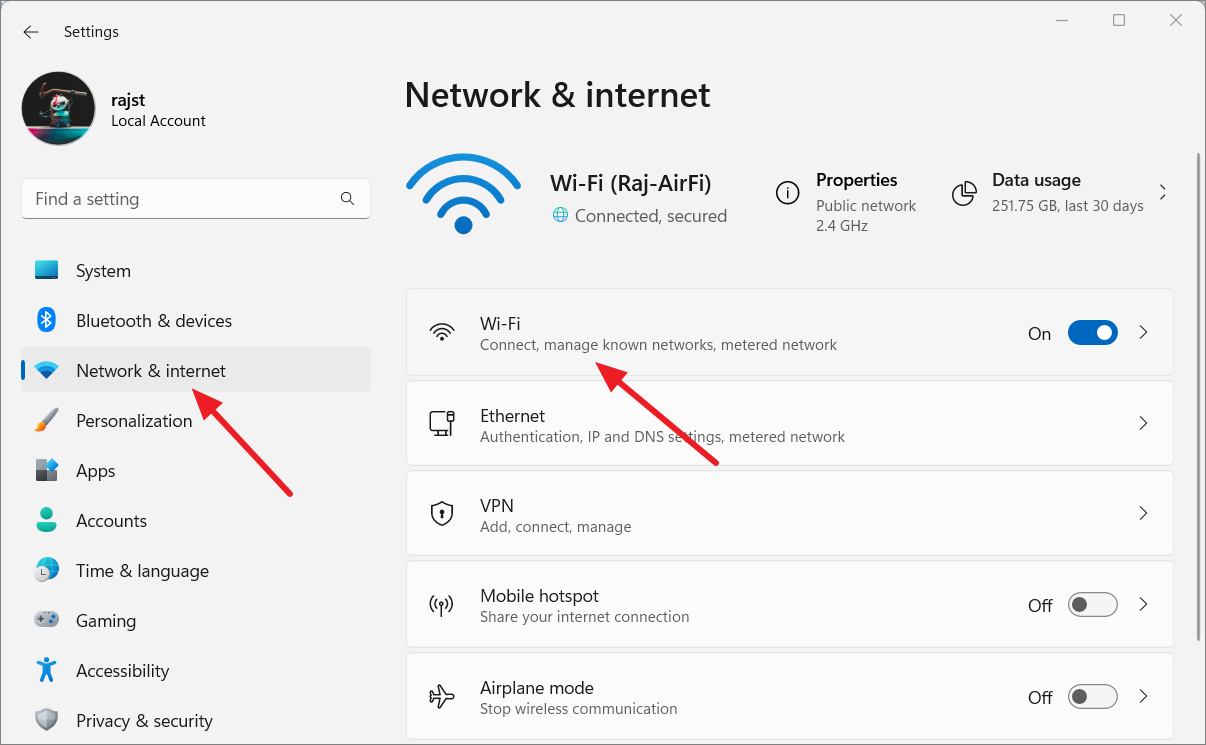
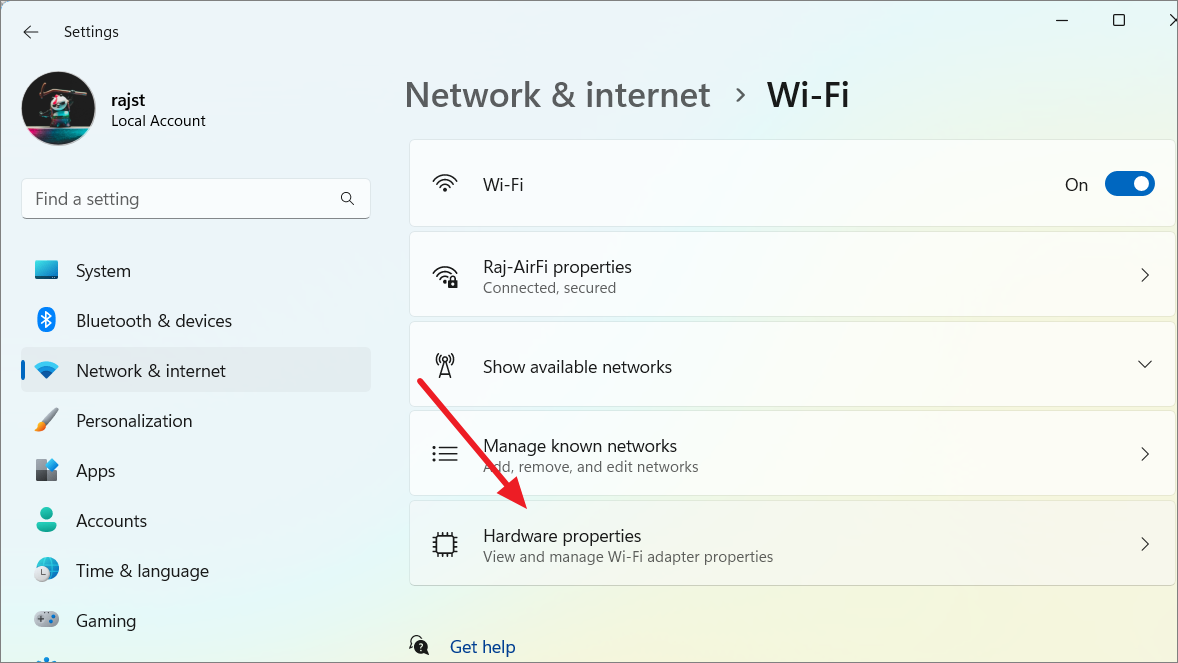
- Click on the ‘Hardware properties’ tile.
- Click the ‘Edit’ button next to the ‘IP assignment’ option.
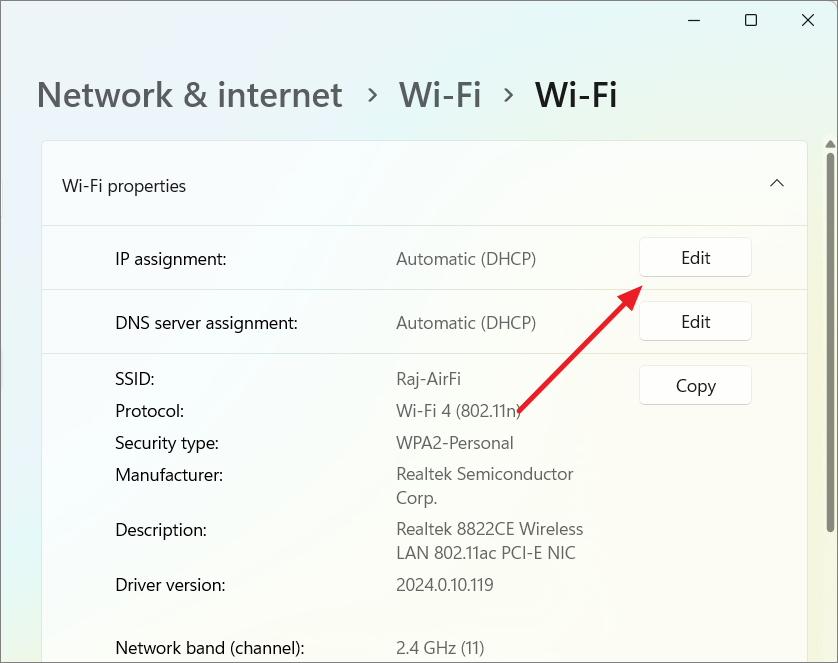
-
Choose ‘Manual’ from the drop-down menu and enable the ‘IPv4’ toggle.
-
Fill out your network details:
- IP address: Choose a number between 192.168.0.0 to 192.168.255.255
- Subnet mask: Typically 255.255.255.0
- Gateway: Usually 192.168.0.1 or 192.168.1.1
- Preferred DNS: Use 1.1.1.1 for Cloudflare DNS
- Alternate DNS: Use 1.0.0.1 for Cloudflare DNS
-
Click ‘Save’ to apply the IP configurations.
Sharing files and folders using File Explorer
Express file sharing
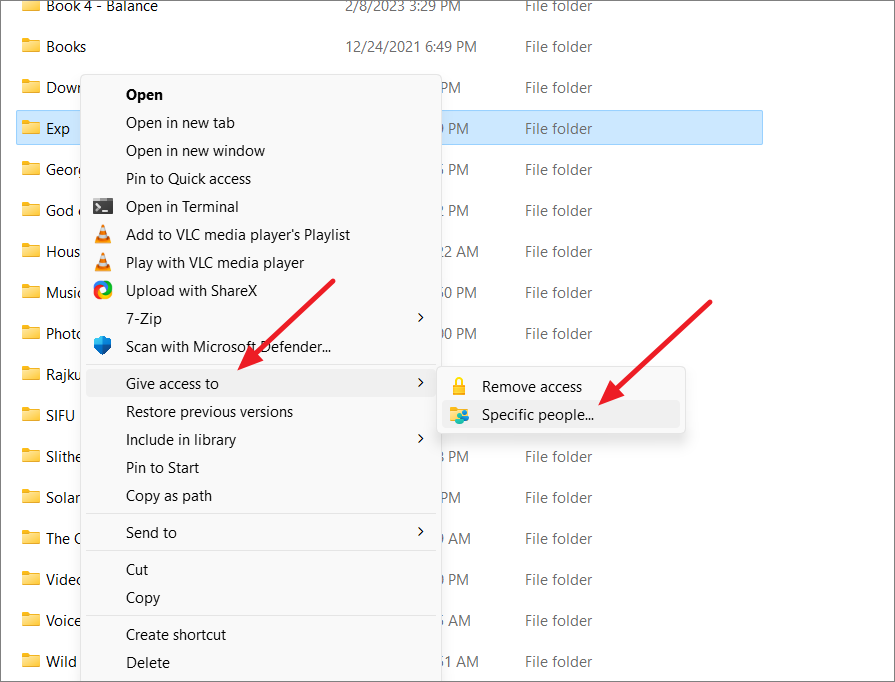
- Open File Explorer and navigate to the folder you want to share.
- Right-click the folder, click ‘Give access to’ and select ‘Specific people’.
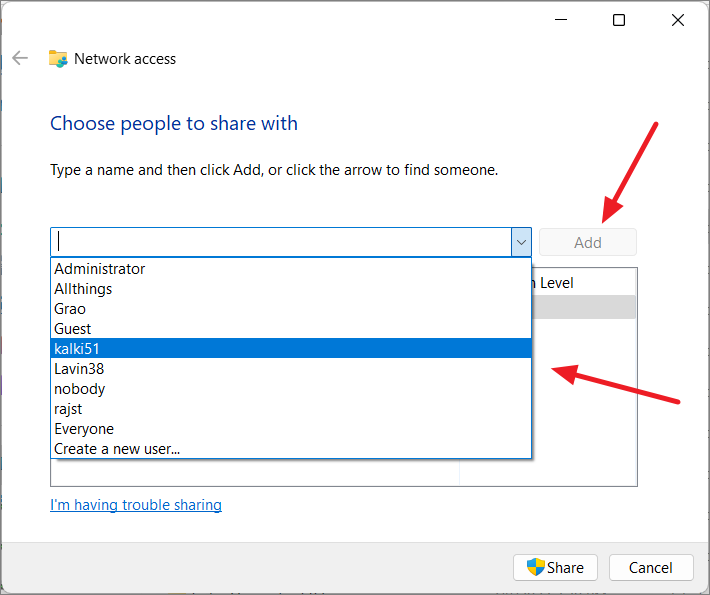
- Select the user or group who will have access to this folder and click ‘Add’.
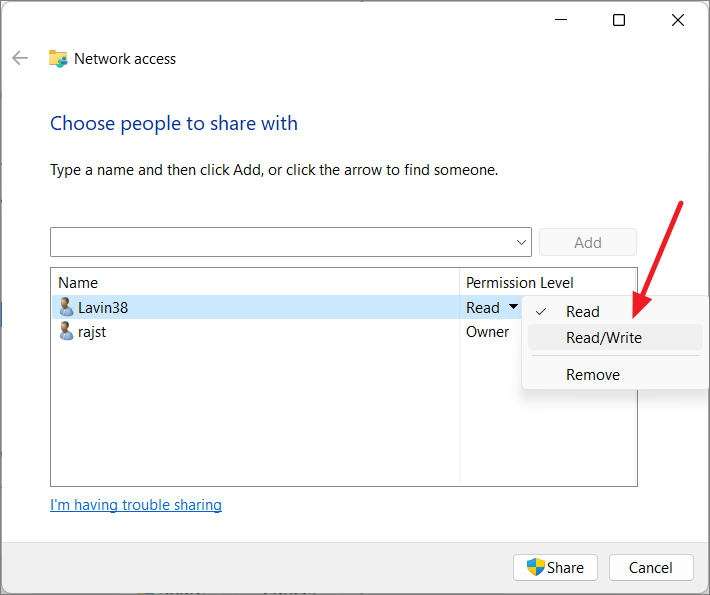
- Set the permission level for the selected user or group.
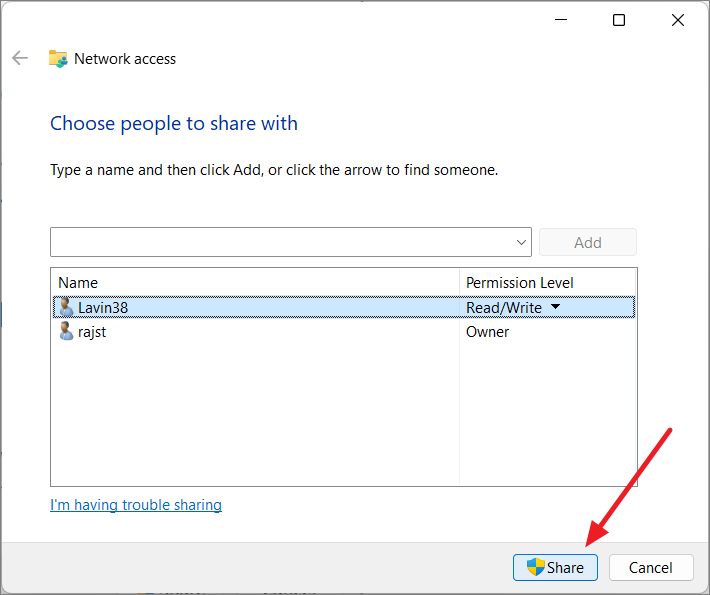
- Click the ‘Share’ button.
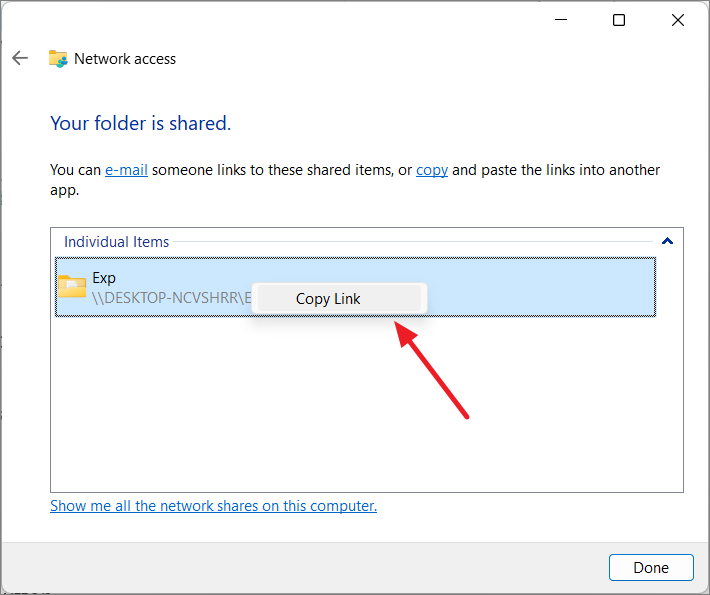
- Copy the network path to share with others who need access to the folder.
Advanced sharing
- Right-click the folder you want to share and select ‘Properties’.
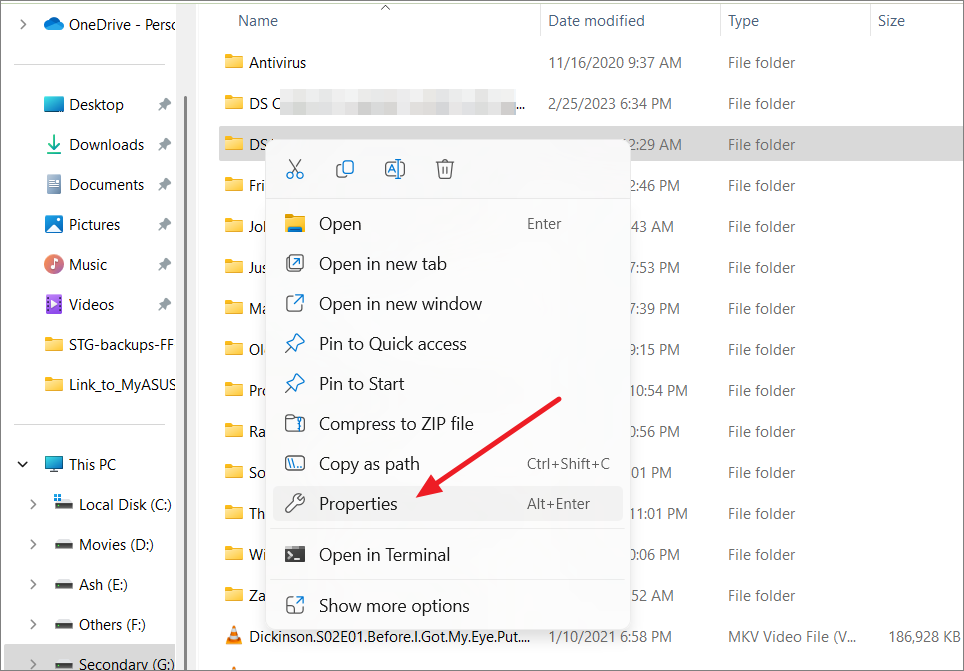
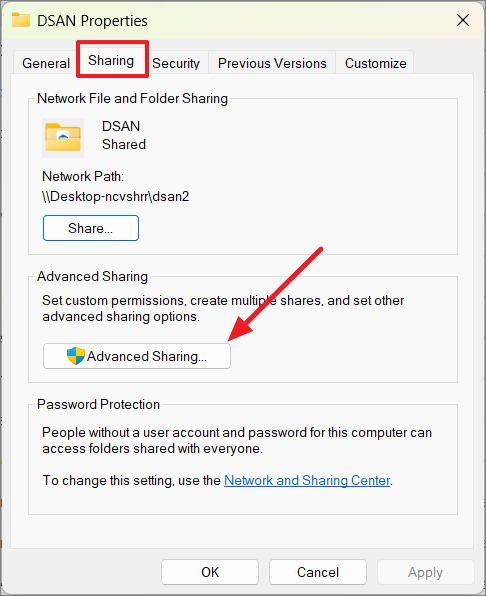
- In the Properties window, switch to the ‘Sharing’ tab and click on ‘Advanced Sharing’.
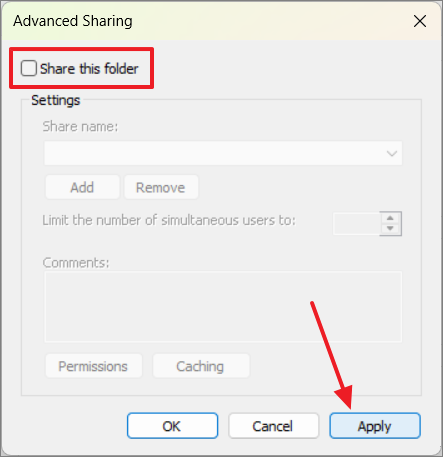
- Check the ‘Share this folder’ option.
-
Customize the share name, number of simultaneous users, and add comments if desired.
-
Click the ‘Permissions’ button to set access permissions for users or groups.
-
Click ‘Apply’ and then ‘OK’ to save the settings.
Sharing drives on a network
- Open File Explorer and right-click on the drive you want to share.
- Select ‘Properties’.
- In the drive’s properties, go to the ‘Sharing’ tab and click on ‘Advanced sharing’.
- Check the ‘Share this folder’ box and click the ‘Permissions’ button.
- Set the desired permissions and click ‘Apply’ and ‘OK’.
- Click ‘Apply’ and ‘OK’ to save the settings.
Using Nearby Sharing for quick file transfers
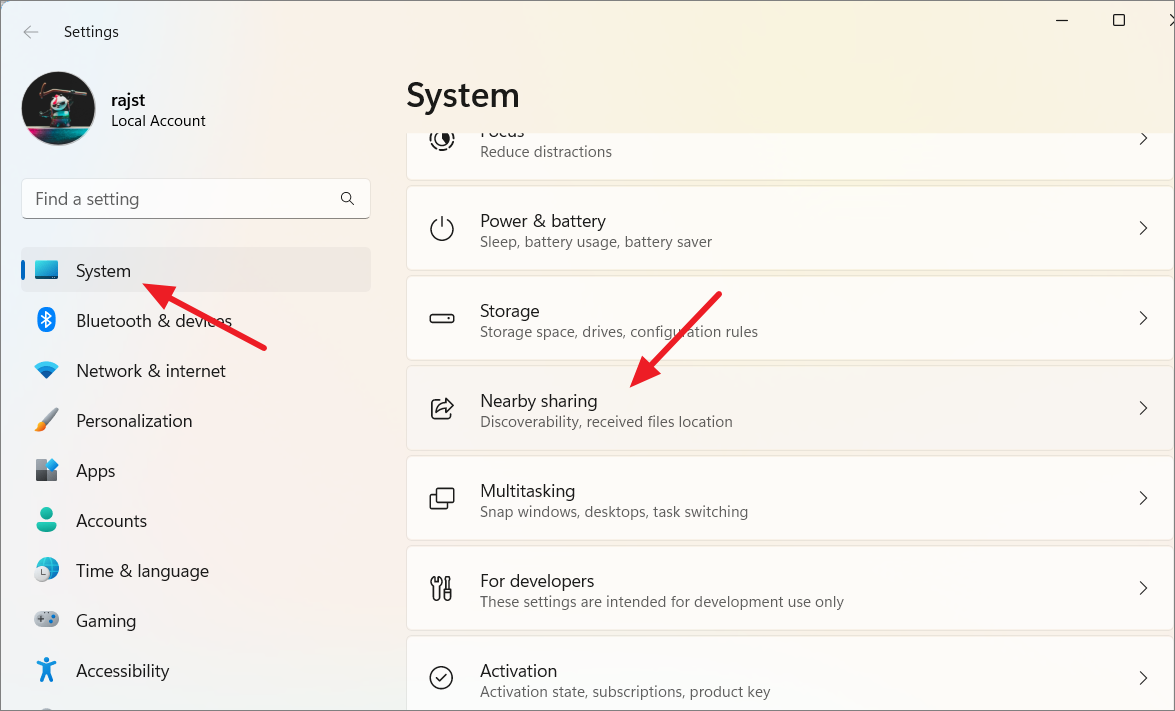
- Press Windows + I to open Settings, click on ‘System’ and select the ‘Nearby sharing’ tile.
- Sign in with your Microsoft account if prompted.
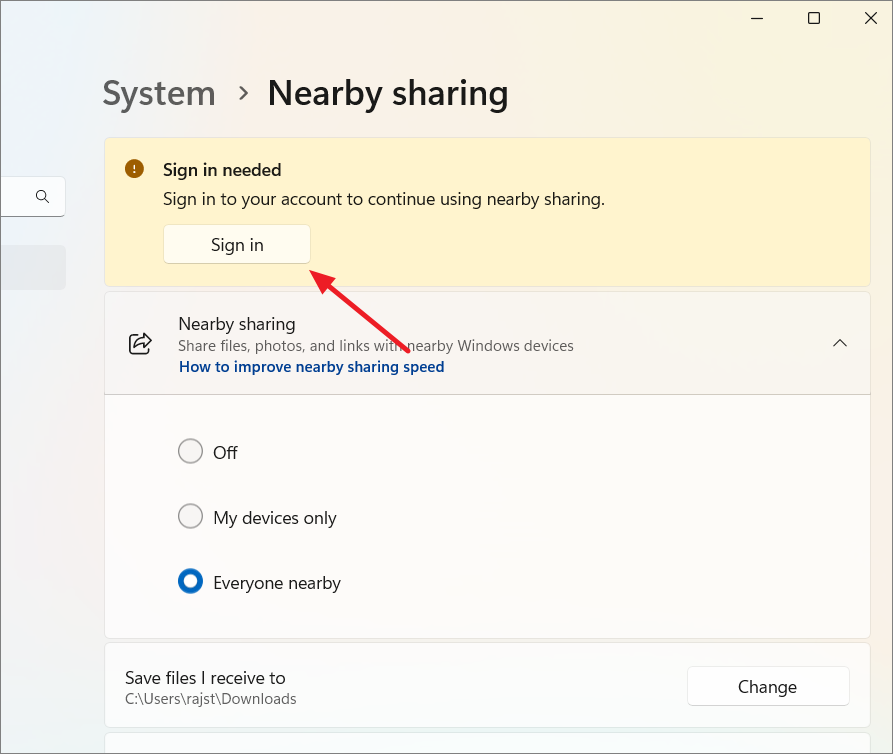
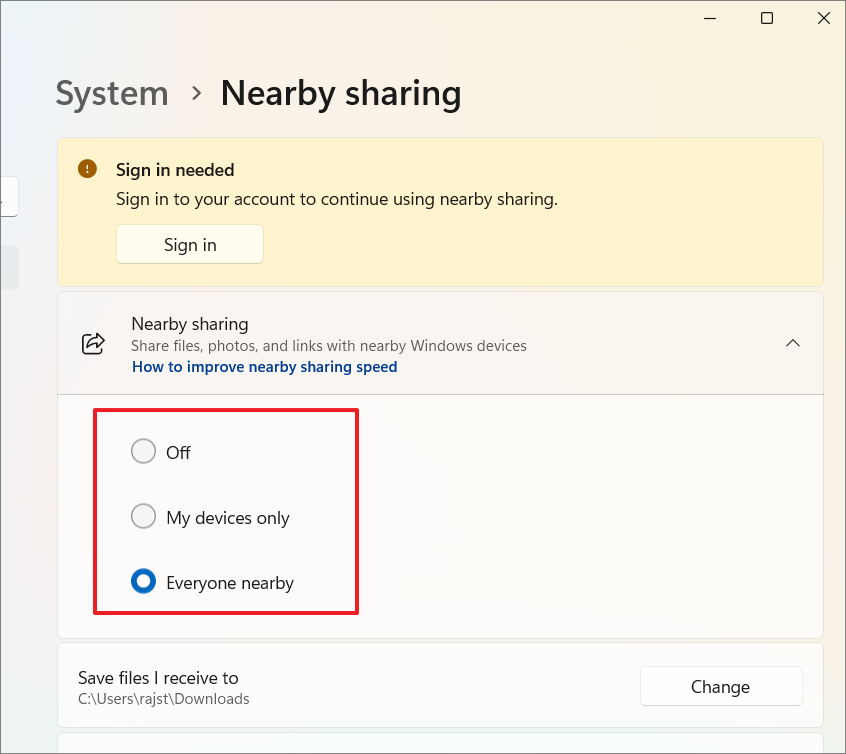
- Choose ‘Everyone nearby’ to enable sharing with any nearby devices.
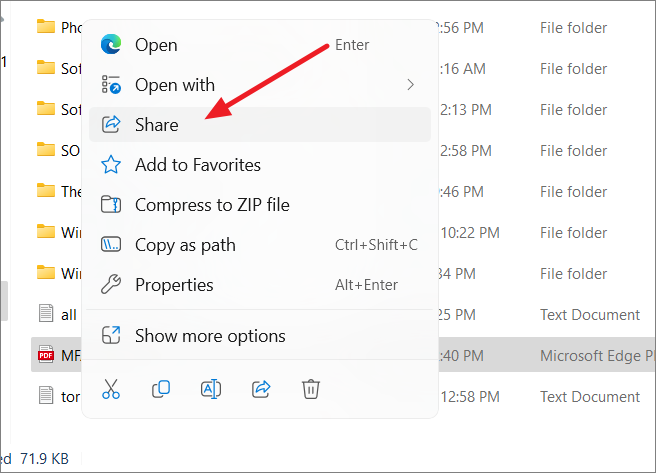
- To share a file, right-click on it in File Explorer and select ‘Share’.
- Choose the device you want to share the file with under the ‘Nearby share’ section.
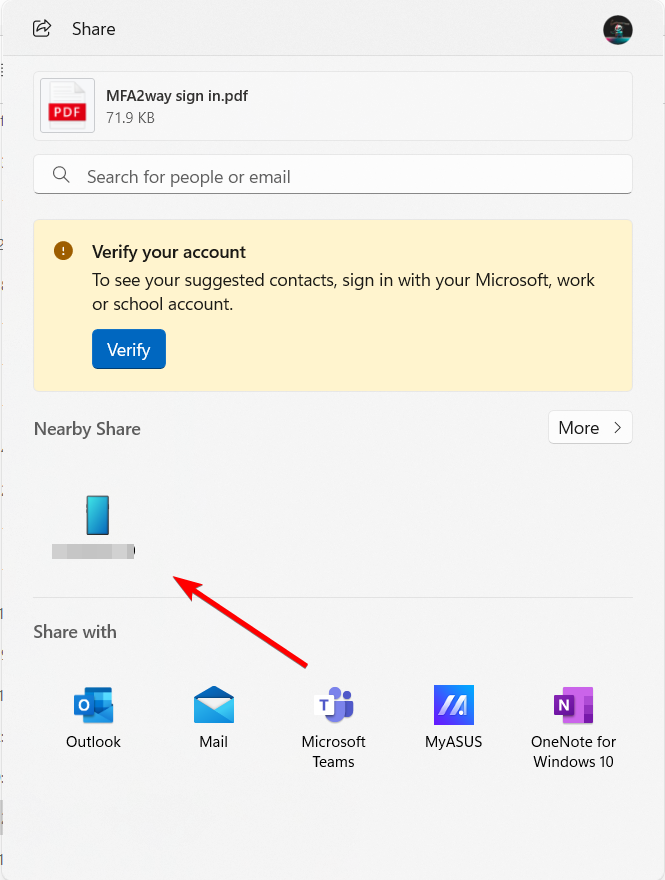
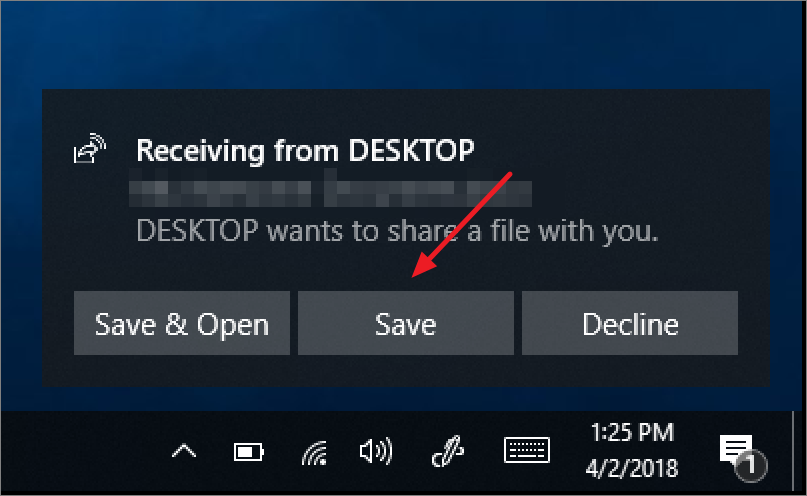
- On the receiving device, select ‘Save & open’ or ‘Save’ from the notification to accept the file transfer.
Sharing folders using the Shared Folder Wizard
- Open Computer Management by pressing the Windows key, typing “Computer Management”, and selecting it from the results.
- Expand ‘Shared Folders’ in the left panel and select ‘Shares’.
- Right-click ‘Shares’ and select ‘New Share’.
- Follow the Create A Shared Folder Wizard to set up the shared folder, including permissions and offline settings.
Accessing shared files and folders
Using the shared path
Enter the path (e.g., \ComputerName\SharedFolderName) in the Run utility (Windows + R) and press Enter.
Through the Network section in File Explorer
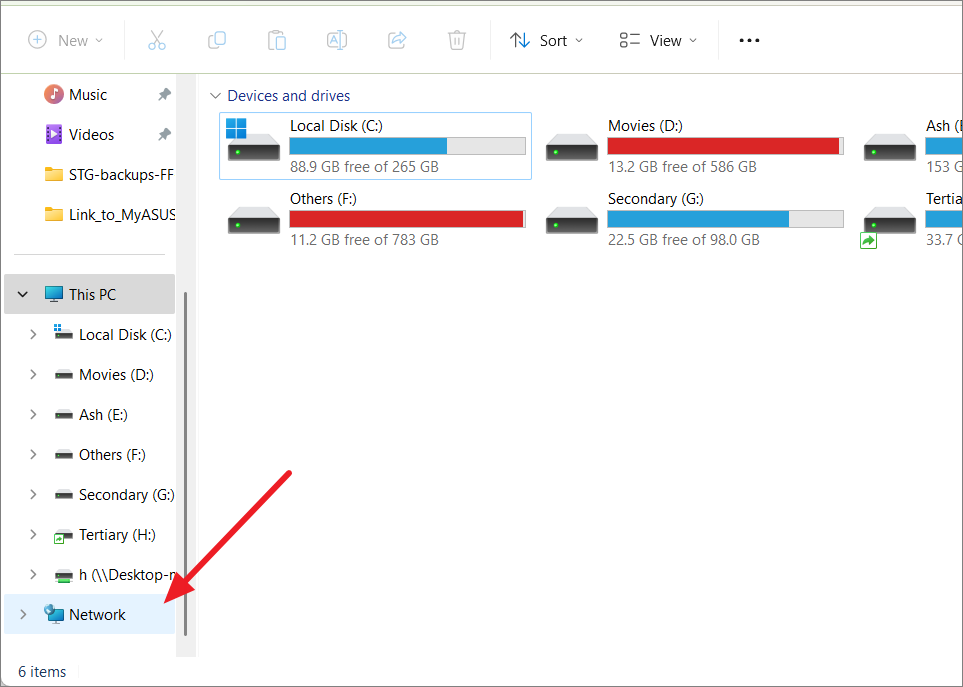
- Open File Explorer (Windows + E) and click on ‘Network’ in the left panel.
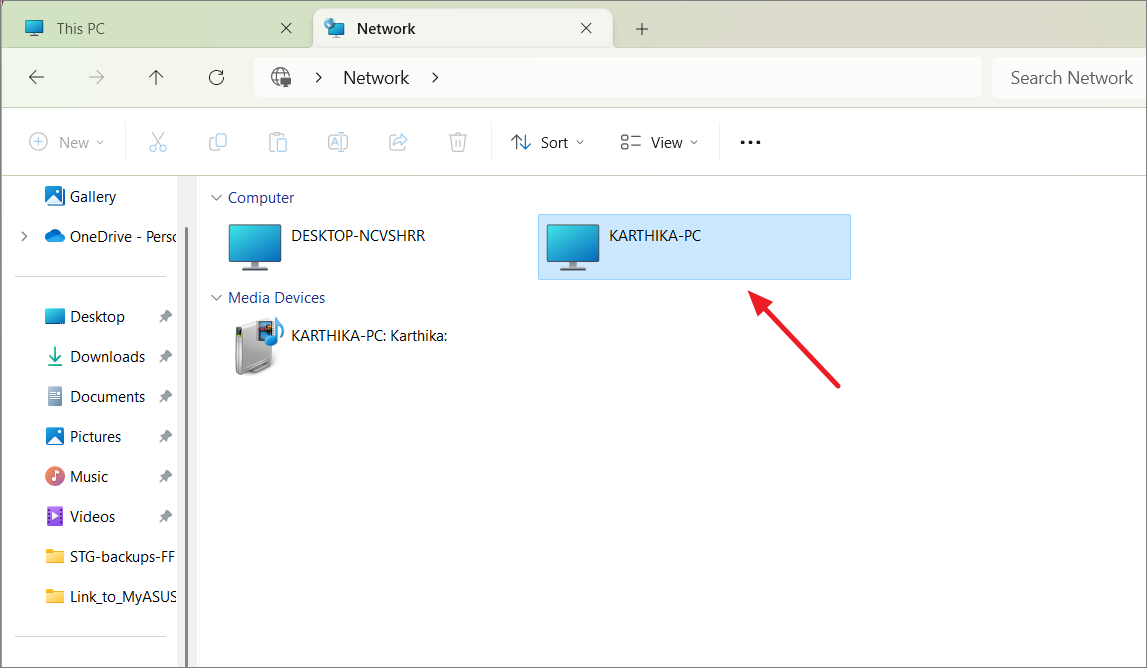
- Double-click on the computer’s name you want to access.
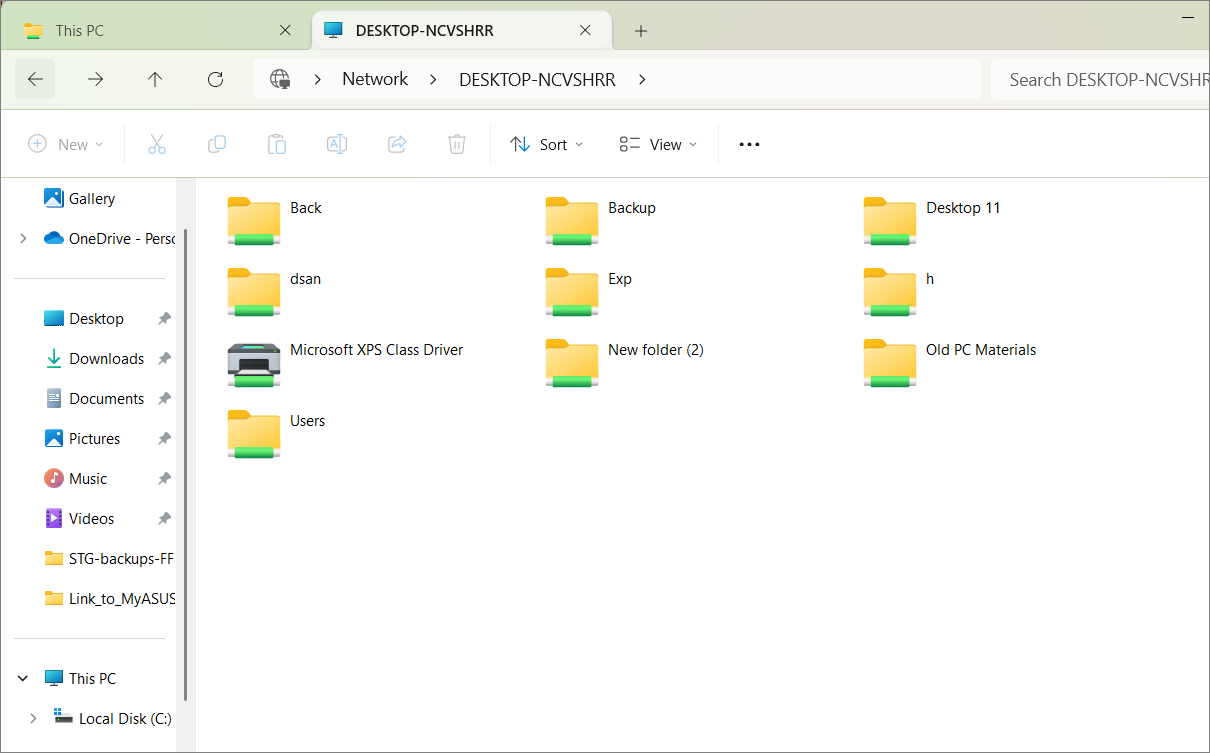
- Navigate to the shared folder or file you want to access.
Mapping a network drive
- In File Explorer, navigate to the shared folder or drive you want to map.
- Right-click on the folder and choose ‘Map network drive’.
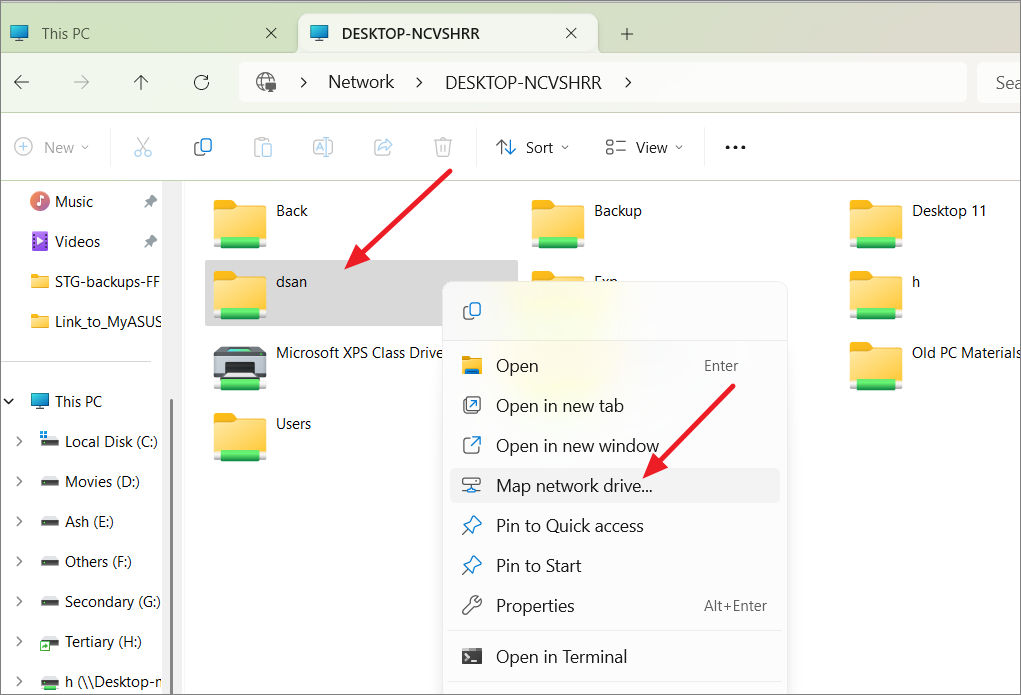
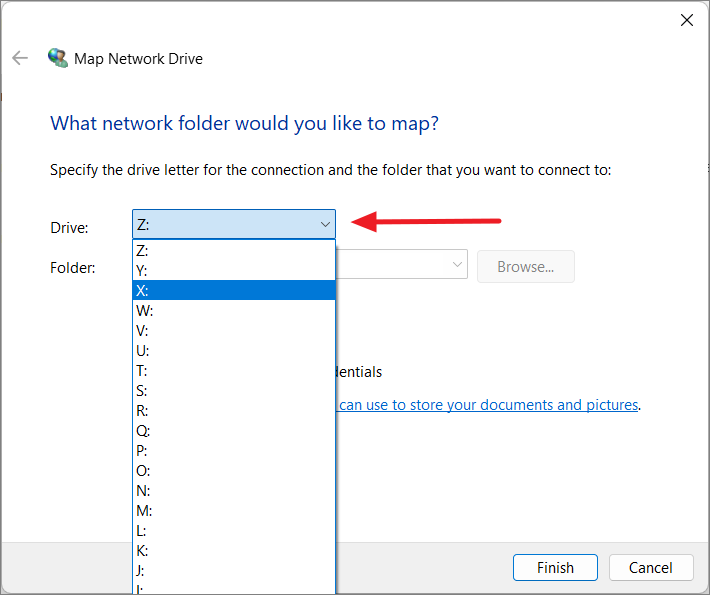
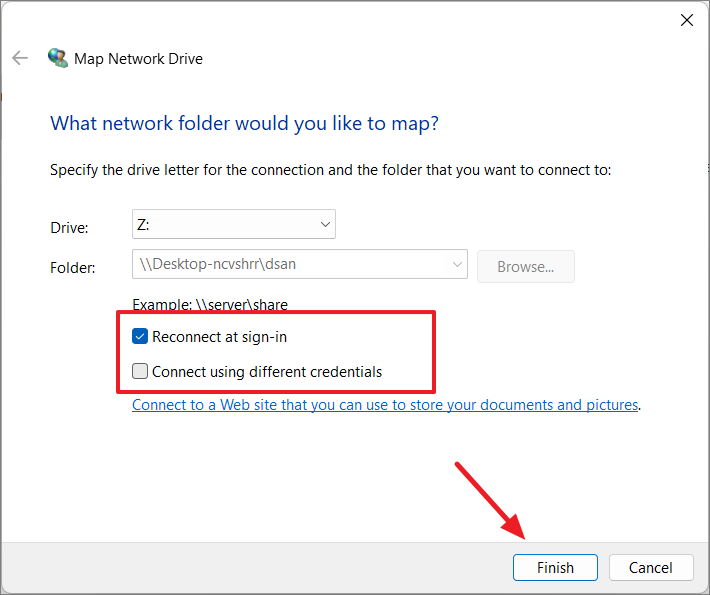
- Select a drive letter and choose whether to reconnect at sign-in.
- Click ‘Finish’ to complete the mapping process.
Unsharing files and folders
Method 1: Using the context menu
- Right-click the shared folder and select ‘Show more options’.
- Click on ‘Give access to’ and select ‘Remove access’.
- Click on ‘Stop sharing’ to confirm.
Method 2: Through folder properties
- Right-click the shared folder and select ‘Properties’.
- Go to the ‘Sharing’ tab and click on ‘Advanced Sharing’.
- Uncheck the ‘Share this folder’ option and click ‘Apply’.
- Confirm the action by clicking ‘Yes’ in the prompt.
Method 3: Using Computer Management
- Open Computer Management (compmgmt.msc).
- Expand ‘Shared Folder’ and select ‘Shares’.
- Right-click on the folder you want to unshare and select ‘Stop Sharing’.
- Confirm the action by clicking ‘Yes’.
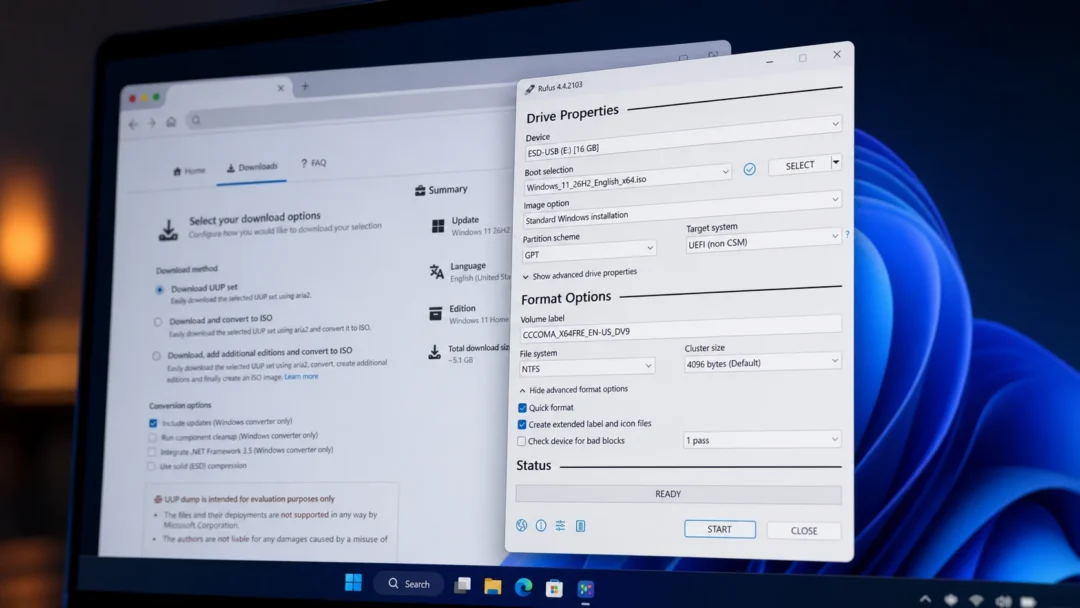
Using third-party software for file sharing
While Windows 11 offers robust built-in file sharing capabilities, third-party tools can provide additional features and flexibility. Some popular free options include D-LAN, FileZilla, and Syncthing.
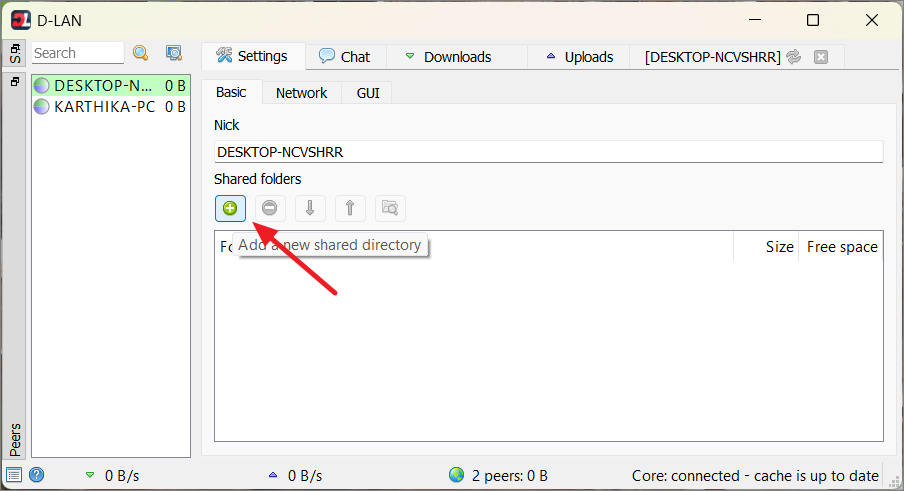
For example, D-LAN is a lightweight solution for sharing files within a local area network:
- Install D-LAN on all computers you want to share files with.
- Launch D-LAN to see all computers on the same network with the software installed.
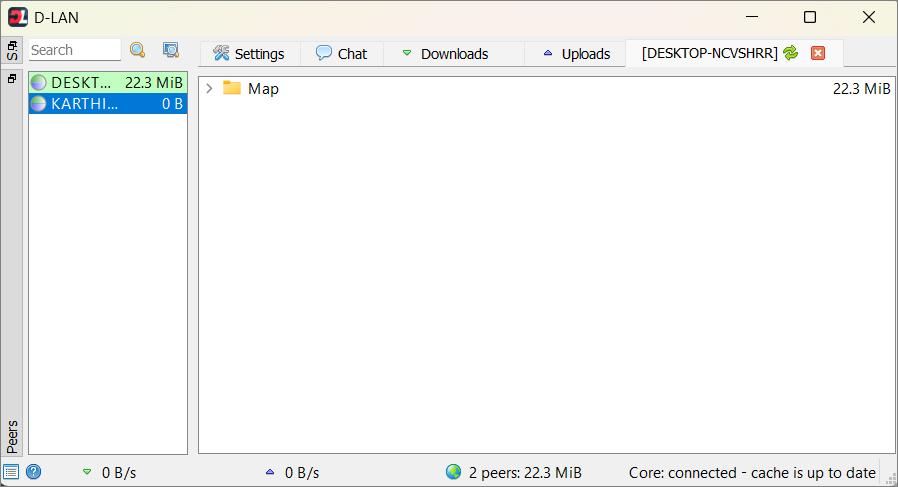
- Go to ‘Settings’ and click the ‘+’ button to add folders you want to share.
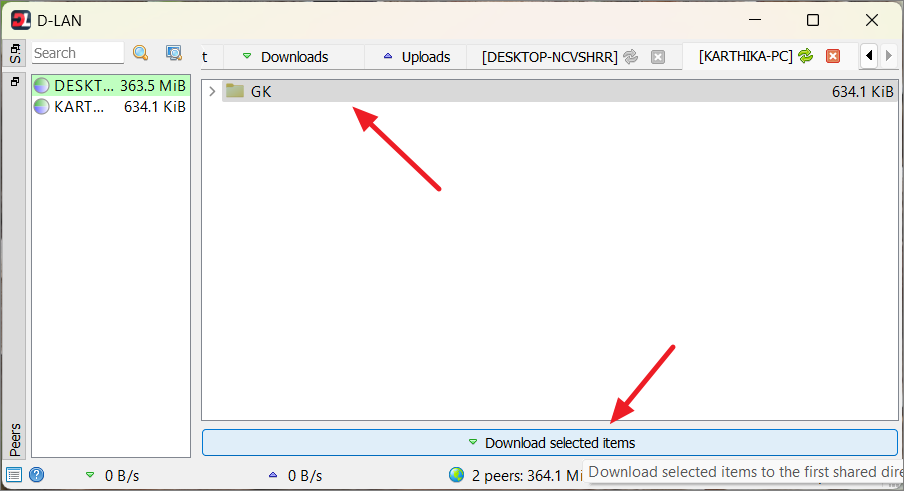
- Select the computer and folders you want to access, then click ‘Download selected items’ to transfer files.
By following these methods, you can efficiently share files and folders across your network using Windows 11’s built-in features or third-party solutions, depending on your specific needs and preferences.