Juggling numerous tasks on your Mac often leads to a cluttered screen filled with multiple windows and applications competing for your attention. Whether it’s handling work projects, personal emails, or entertainment, the chaos can be overwhelming and hinder productivity.
Thankfully, macOS offers a feature called Spaces that allows you to create multiple desktops. This built-in tool helps you organize your workspace efficiently by separating different tasks into distinct desktops, reducing clutter without the need for additional hardware.
What are Spaces on Mac?
Spaces is the term Apple uses for multiple desktops on your Mac. Accessible through Mission Control, it lets you distribute your open applications and windows across different desktops. This means you can dedicate separate spaces for work, personal browsing, or specific projects, enhancing focus and organization.
Switching between Spaces displays only the windows assigned to that desktop, streamlining your workflow. Quick access via Mission Control makes it easy to navigate between these organized environments.
Using Spaces on Mac
Harnessing the power of multiple desktops can significantly boost your efficiency. Here’s how to set up and manage Spaces effectively.
Accessing Mission Control
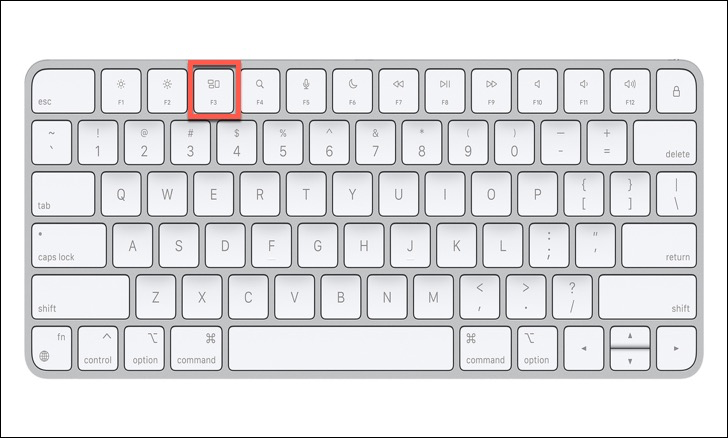
Mission Control is the gateway to creating and managing Spaces on your Mac. To access it, you have several options. If you’re using a trackpad, swipe up with three fingers to enter Mission Control and swipe down to exit. On the keyboard, press the ‘Mission Control’ key (usually the F3 key) or use the shortcut Ctrl + Up Arrow to toggle Mission Control.
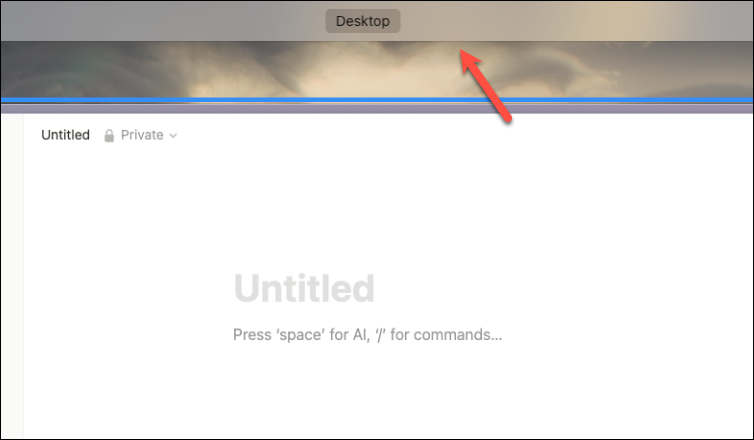
Creating a New Desktop (Space)
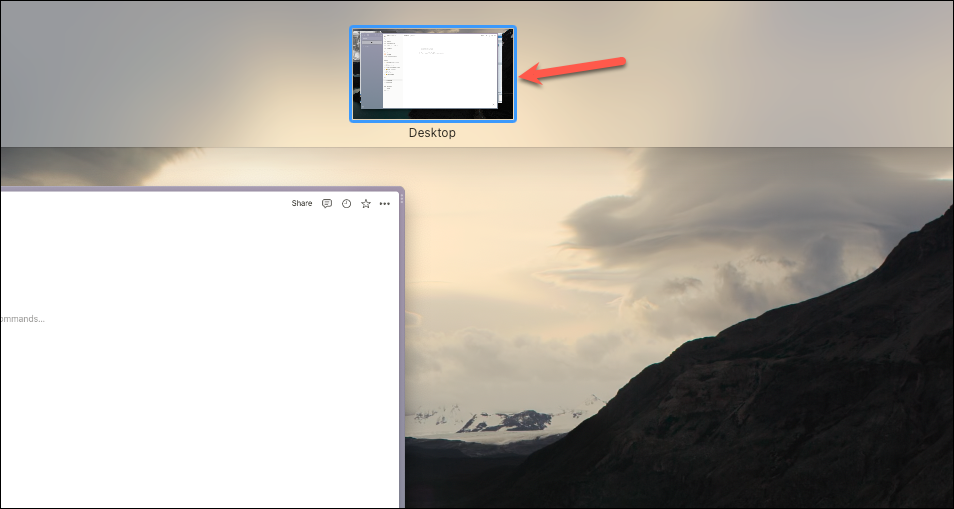
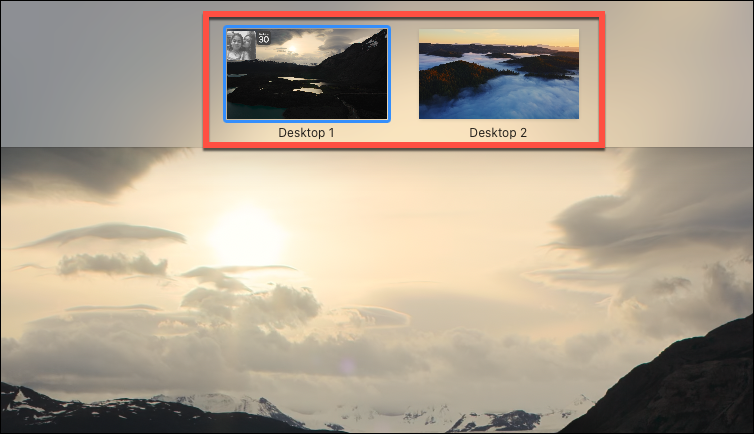
Once in Mission Control, your open windows appear as thumbnails. At the top of the screen, the Spaces Bar displays thumbnails of your desktops. If it’s not visible, move your cursor to the top edge to reveal it.
If you have only one desktop, the Spaces Bar will show a single thumbnail.
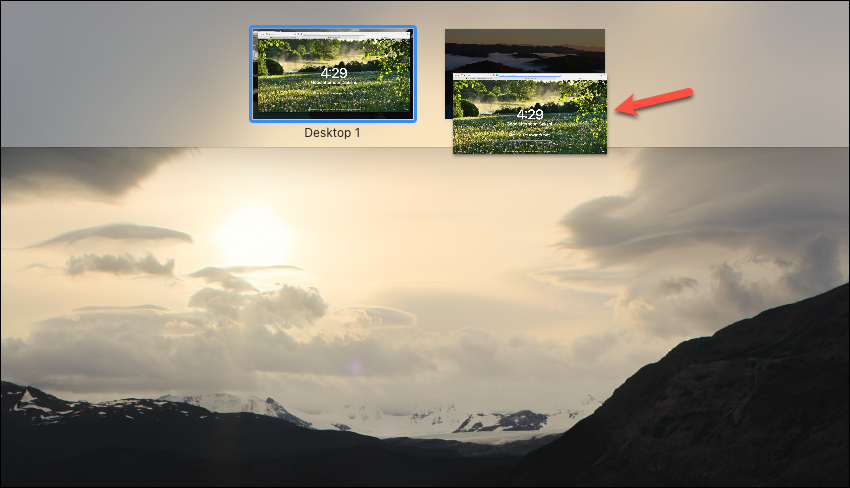
Full-screen apps or apps in Split View also appear as separate thumbnails in the Spaces Bar while in full-screen mode. However, they don’t function like regular Spaces and will revert to the original desktop when you exit full-screen mode.

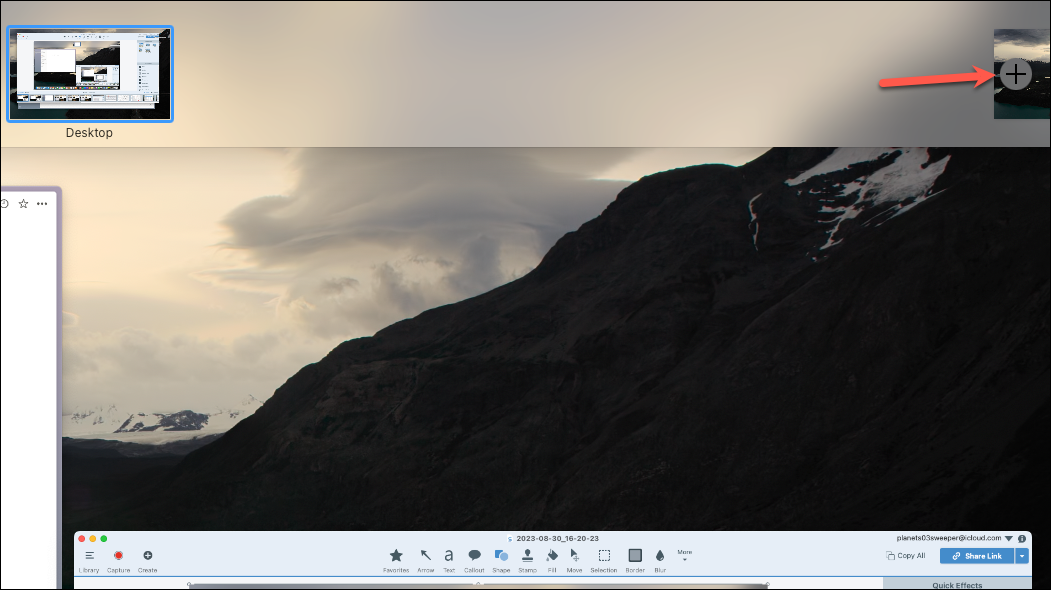
A new desktop thumbnail will appear next to your existing ones. Click it to switch to the new desktop. You can create up to 16 Spaces in macOS.
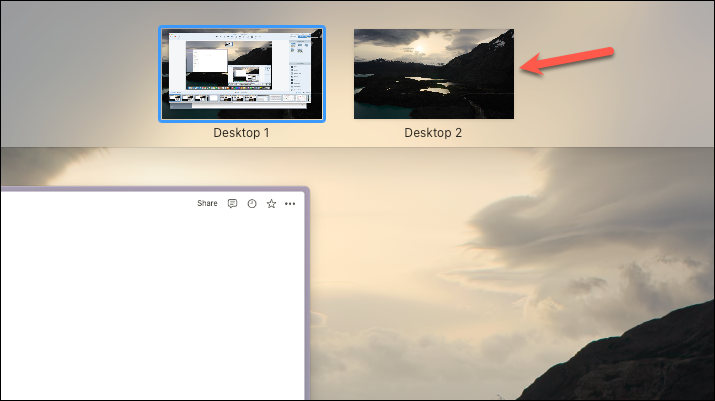
Keep in mind that you cannot rename desktops; they are identified by their number in the order they were created.
Using Separate Wallpapers for Different Desktops
Assigning different wallpapers to each desktop helps distinguish them visually.
Switching Between Desktops
To move between desktops quickly, use the keyboard shortcut Ctrl + Left Arrow or Right Arrow. This allows you to navigate through your Spaces without entering Mission Control.
Trackpad users can swipe left or right with three or four fingers to switch between desktops, while Magic Mouse users can swipe with two fingers.
Moving Apps Between Desktops
Transferring app windows between desktops can be done easily using a couple of methods.
Method 1: Drag to screen edge
Click and hold the app window you wish to move, then drag it toward the edge of the screen and hold. After a moment, it will shift to the adjacent desktop. For example, dragging the window to the right edge moves it to the next desktop on the right.

Method 2: Use Mission Control
Enter Mission Control and locate the window you want to move. Drag its thumbnail and drop it onto the desired desktop in the Spaces Bar.
Note: Dropping an app window onto a full-screen app in the Spaces Bar opens both apps in Split View mode.
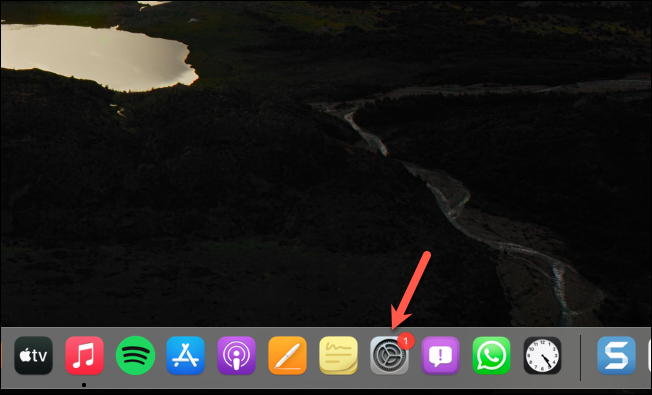
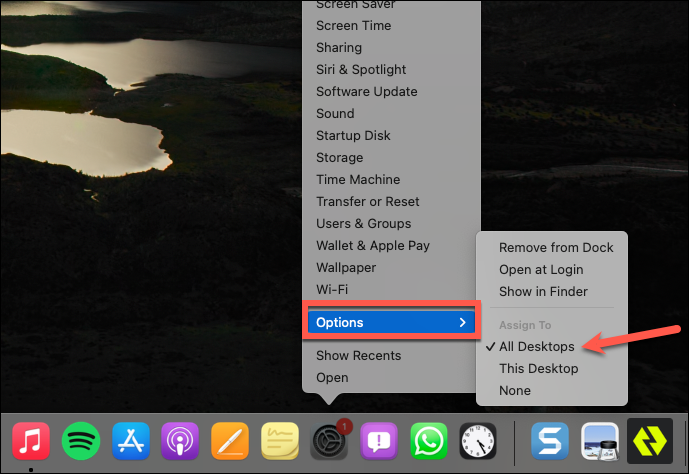
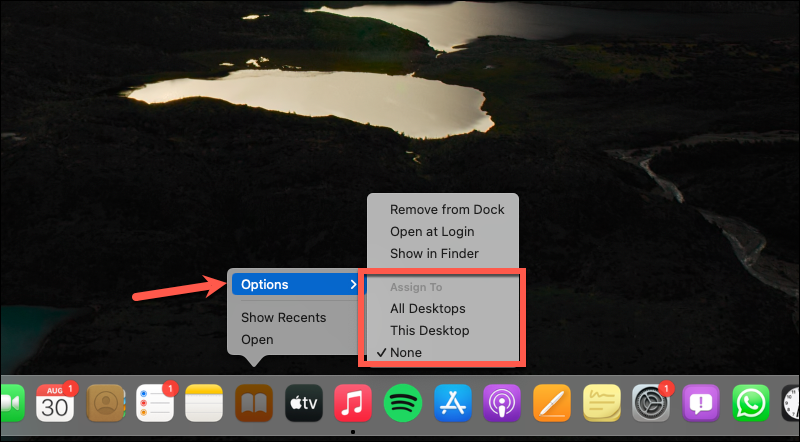
Assigning Apps to a Desktop
Assigning an app to a specific desktop ensures it always opens in that Space, streamlining your workflow.
- All Desktops: The app will appear on all desktops when open.
- This Desktop: The app will always open in the current desktop.
- None: The app will open in whichever desktop you are using at the time.
If you’re using multiple displays, you might also see:
- Desktop on Display [number]: Assigns the app to a specific desktop on a particular display.
Deleting a Desktop
To remove a desktop, enter Mission Control from any desktop.
To exit a full-screen app, hover over its thumbnail in the Spaces Bar. An icon with two arrows will appear; click it to return the app to windowed mode on your current desktop.
By leveraging Spaces, you can keep your Mac organized and enhance your productivity by focusing on one task at a time. Start utilizing multiple desktops to create a more efficient and clutter-free workspace.