
Microsoft Teams is a collaboration platform for people working from remote places to communicate, chat, meet online, and share files. But sometimes audio calling or virtual meeting with your team or your colleague is not enough. So, you may need to share your screen with the group to let them exactly what you’re talking about.
With the Microsoft Teams Screen Sharing feature, you can choose to share your entire screen (programs, tabs, desktops, etc.), a specific window, a PowerPoint presentation, or a Microsoft whiteboard.
When you are sharing your entire desktop, everything on your screen will be visible to the people with whom you are sharing content.
When you are sharing only a window, anything outside that shared window will appear as a dark grey screen to the people you are sharing the screen with. This option is useful if you don’t want to accidentally share any confidential information from your PC.
How to Share Your Screen on Microsoft Teams
Microsoft Teams makes it easy to share your device screen during chatting or meeting on your Teams app. Whether you are making a presentation, demonstrating a new product or feature, or collaborating on a project, then sharing your screen is the best way to go about it. Let us see how to share screen via video call or audio call on Microsoft Teams app:
First, launch the Teams app sign in if prompted, and join a meeting or a call. Using video during your meeting is not necessary for sharing screen, so you can turn it on or off as per your choice.
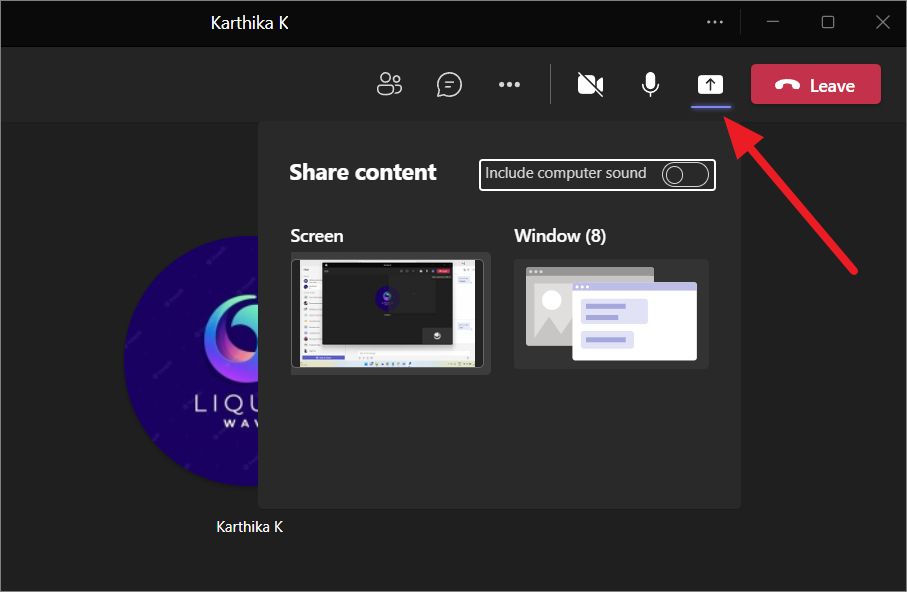
Once you are in an audio call or video meeting, click the sharing icon (a box with an arrow in it next to the Leave button).
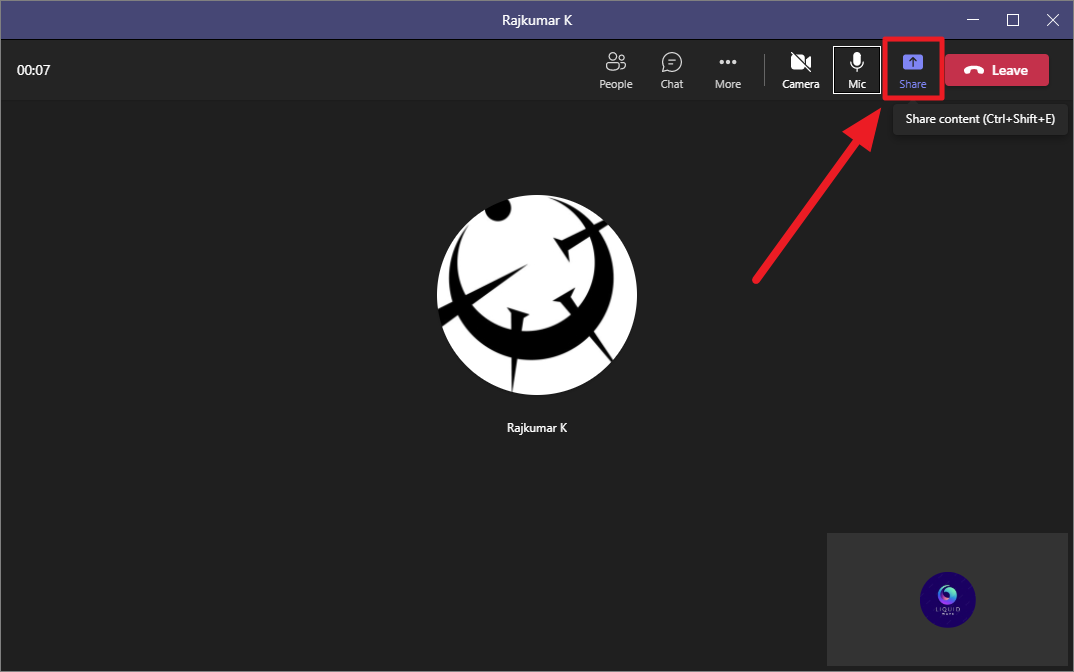
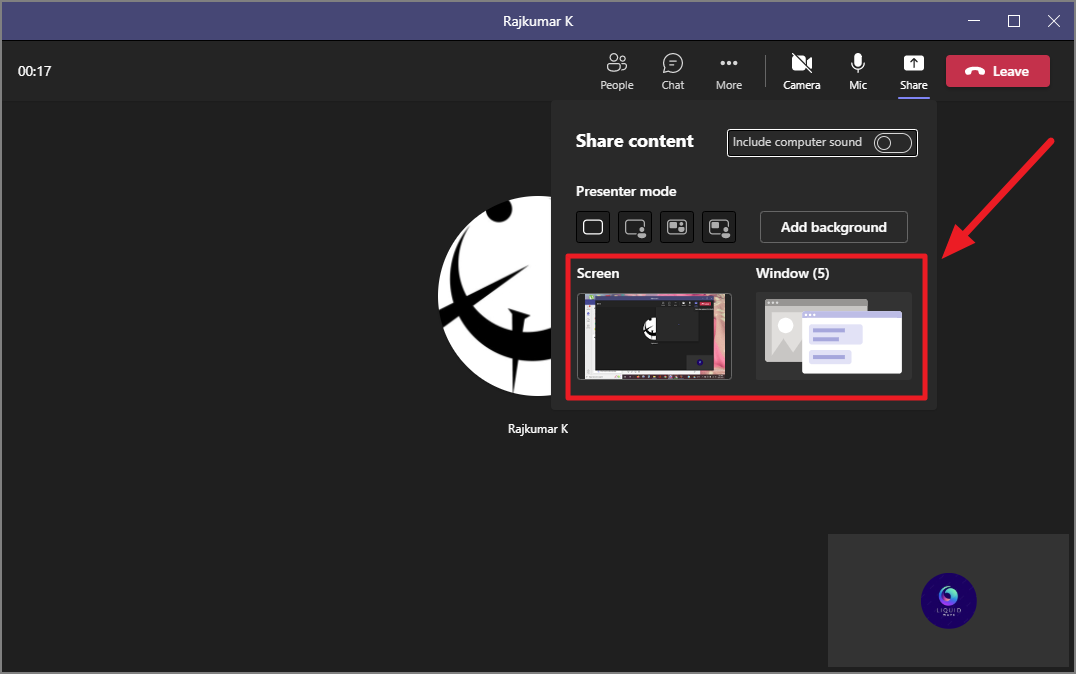
After clicking the share screen icon, a section called Share ‘Content’ will open below the icon (right of the Teams interface) with the options for sharing the screen. Now, you will see options to share the entire screen or a window of a specific application.
If you select the ‘Window’ option, you will see the preview of all the application windows that are currently open on your device. Select the window that you would like to share by clicking on it.
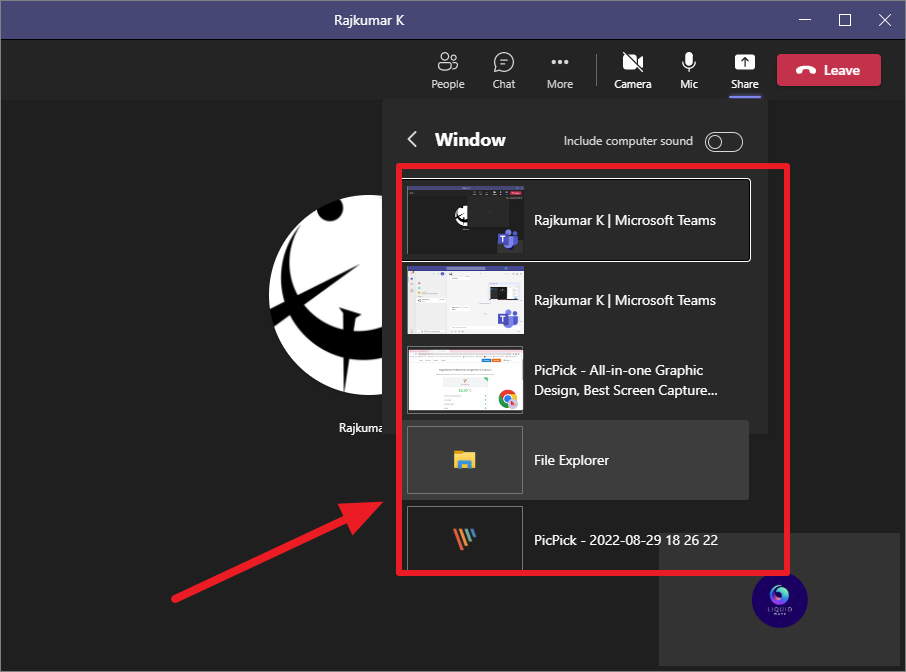
The selected window will be automatically shared with the people you are sharing. In case, you share the window or screen in a group meeting, your screen will be shared with all the attendees.
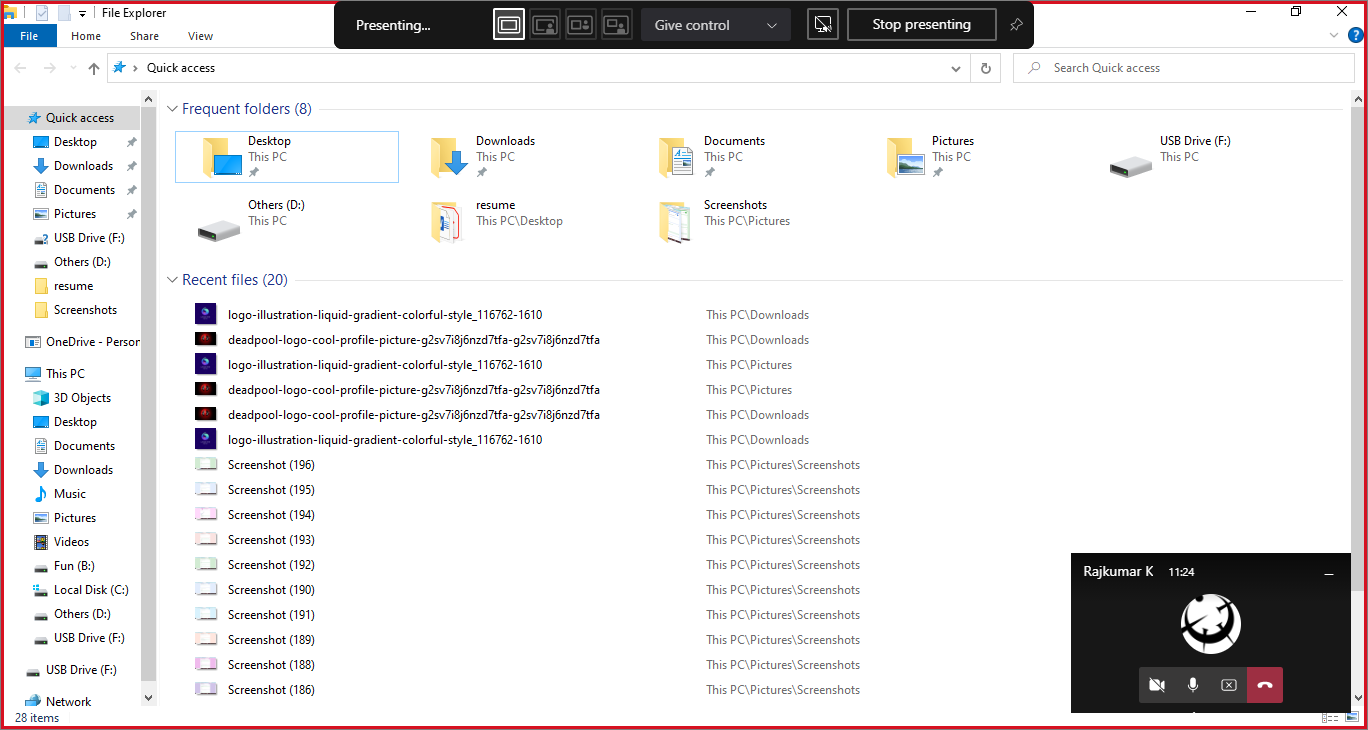
Once you started to share the screen or window, you will see a red border around the shared media letting you which part of your screen is being shared. At the top of your screen, there will be a ribbon with share screen controls. Also, the Teams window will be minimized to the bottom corner of your screen as shown.

When sharing the app window, only that window will be visible to whom you are sharing.
To share the entire screen, select the ‘Screen’ under the Share content screen. Then everything visible on your screen will be visible to the person or people with whom you are sharing. In case you have multiple desktop screens, all your screens or desktops will be listed here with previews.

Under the Share Content section, you will also have ‘Presenter mode’ options to switch between presenter mode which allows you to change how your content is shared.
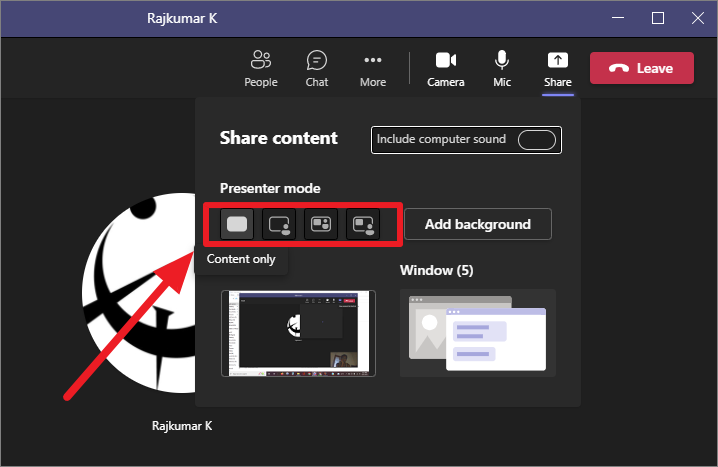
There are four presenter modes in Microsoft Teams:
- Content Only Mode – This is the default presenter mode which only shows the content you share. Your camera feed will not visible in this mode.
- Standout Mode – This mode can be used when your camera is turned on. Your video feed will appear in the bottom-right corner of a shared screen without the background (only you will appear from the feed). However, your video feed may block any content in the bottom-right corner of the screen.
- Side-by-side Mode – In the Side-by-side mode, the sharing screen will be divided between your video feed and shared content against a background image.
- Reporter Mode – This mode will show your shared content like as if you were reporting live news or teaching a class. Your video feed and your shared media will be shown on top of a screen wide background.
How to Stop Screen Sharing on Microsoft Teams
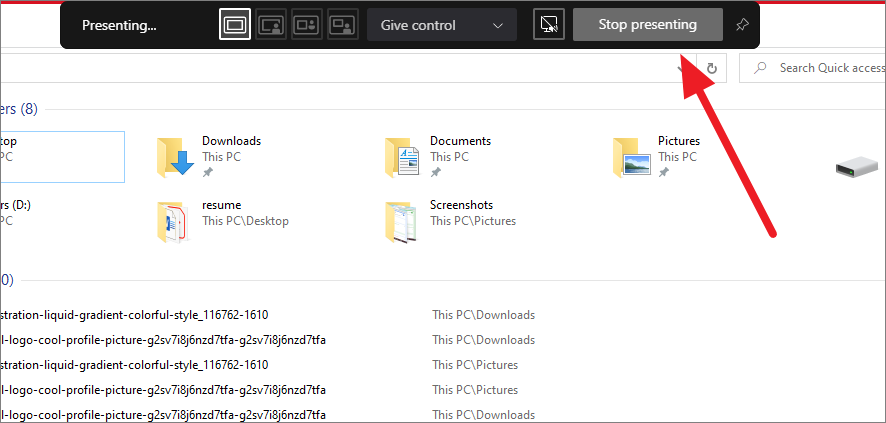
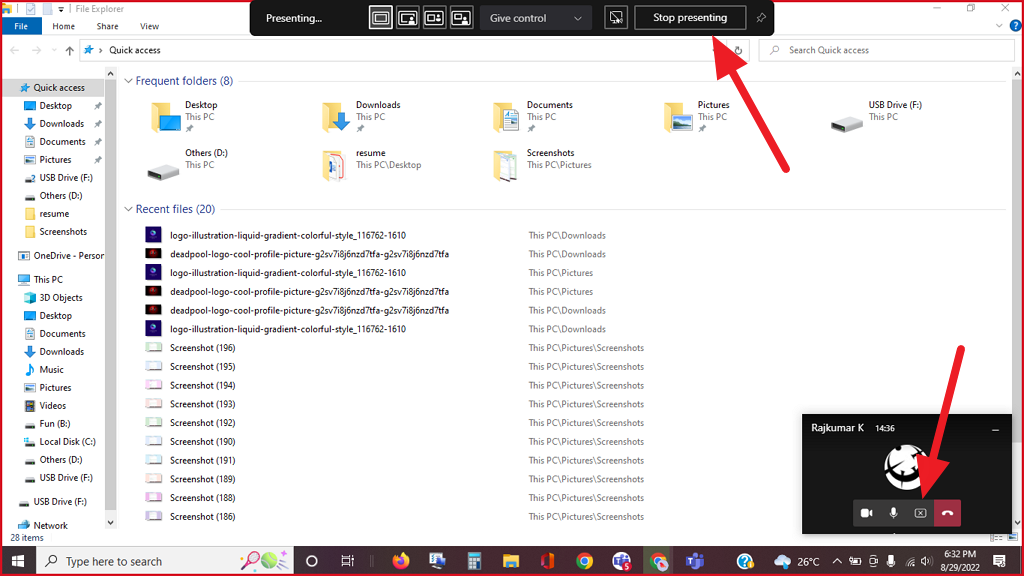
If you are finished with the presentation and you want to stop sharing the screen, it’s very easy to do. All you have to do is click the ‘Stop Presenting’ button at the top of the Teams interface.
Alternatively, you can also click the share icon (box with an ‘X’ in it) in the minimized Teams window at the bottom corner of your screen.
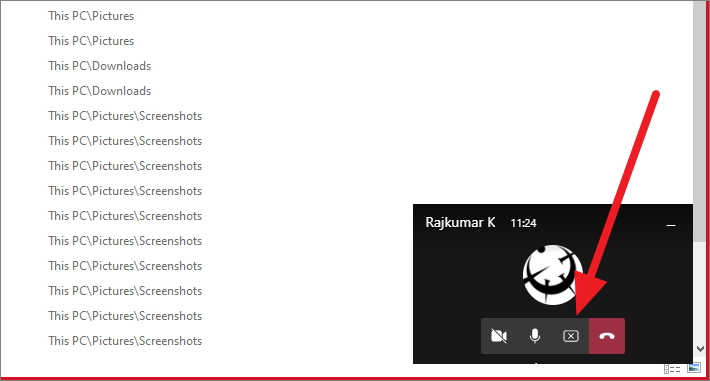
If you don’t want the distraction of the minimized Teams window, you can click the minimize button on the window.
How to Share Screen via Microsoft Teams on Android or iPhone
You can also use your mobile devices (Android or iPhone) to share mobile screens via Microsoft Teams. Here’s how you can share the screen from mobile.
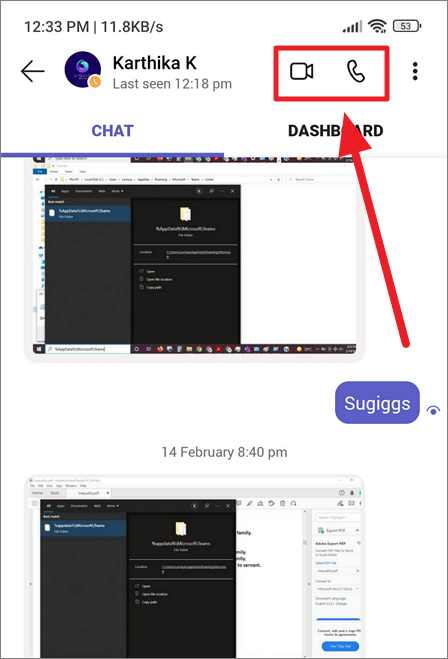
Open the Microsoft Teams app on mobile and join a meeting or make a call.
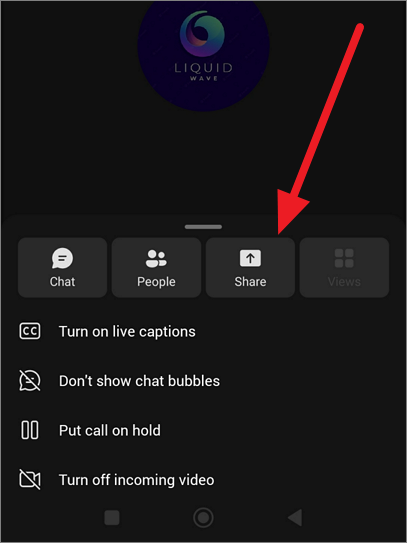
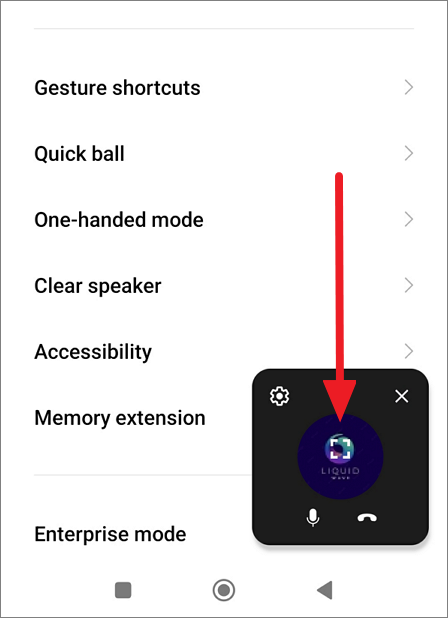
Then, click the three dots button at the bottom next to the Leave button.
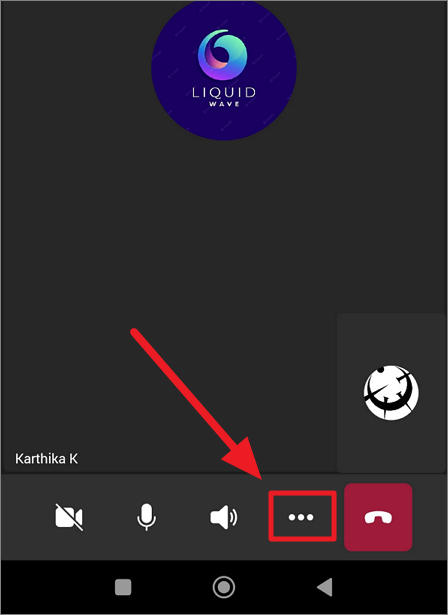
After that, click on the ‘Share’ button from the menu.
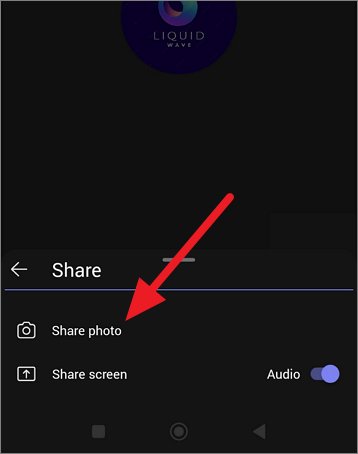
Before sharing, toggle the ‘Audio’ option to include the audio in your screen share (optional). Now, tap the ‘Share screen’ option.
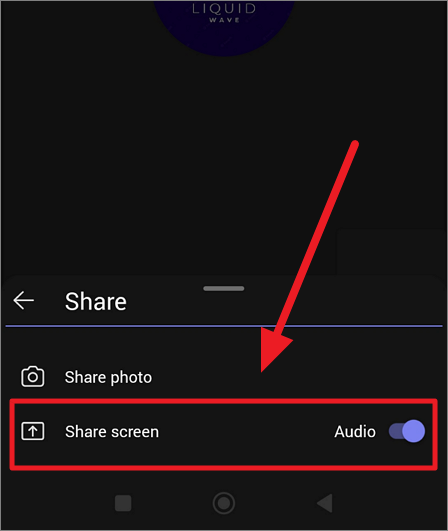
Some Microsoft Teams channels would have more options – ‘Share photo’, ‘Share Video’, ‘Share Video’, and ‘Share Powerpoint’.
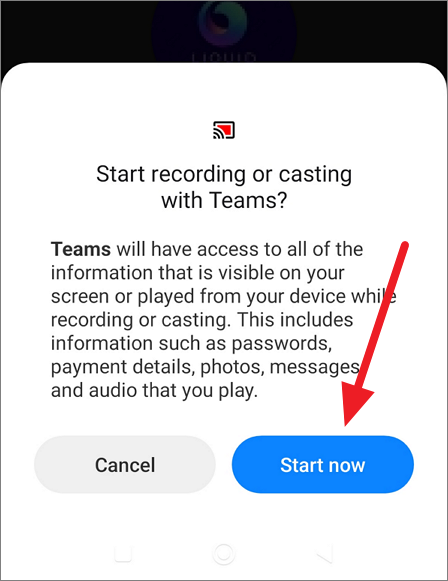
Once you select the ‘Share Screen’ option, a popup will appear. Here, click the ‘Start now’ button.
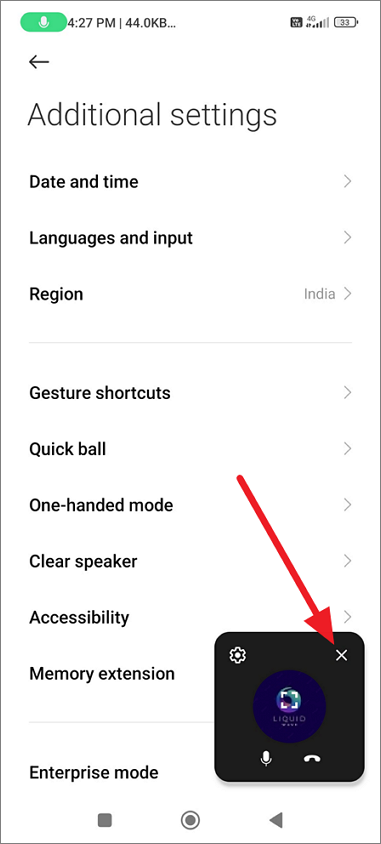
Your mobile screen will be automatically shared through the Teams app. The people with whom you are sharing will be able to see everything on your mobile screen, every app you open until you stop sharing. The Teams window will be minimized to the bottom right corner of your screen.
If you feel that minimized window is a distraction, click the ‘X’ button to close the minimized app. But your screen will still continue to share with the person or people on the other side.
To stop sharing your screen on mobile, click the maximize button on the minimized Teams app window or drag the screen down and click the Team app notification to return to the call.
And then, click the ‘Stop presenting’ button in the Teams app.
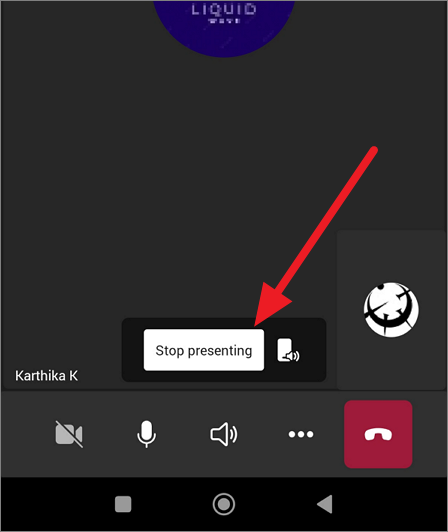
Unlike Desktop Teams app, the mobile doesn’t show a red border around your sharing content. Hence it is easy to forget that you are sharing your mobile screen with others. So, make sure to stop sharing the screen once you are done presenting before you share some sensitive information from your mobile.
To share photos via Microsoft Teams, click/tap ‘Share photo’ under the Share options.
Next, select a photo from your gallery and click ‘Start presenting’ to stop photo sharing.
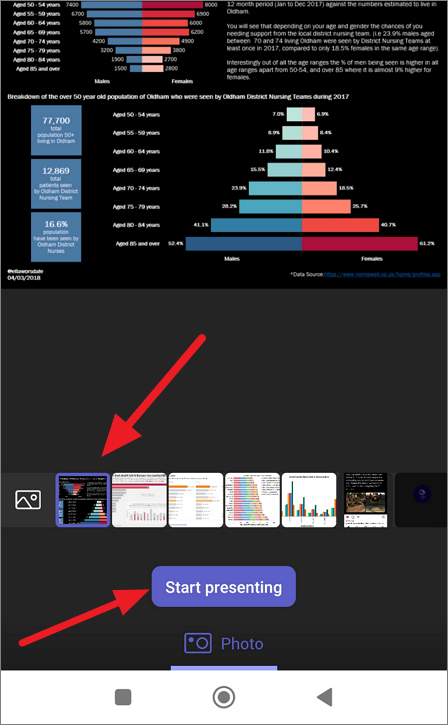
When you are finished sharing, click the ‘Stop presenting’ button in the Teams app to stop presenting the picture.
Things You Should Know Before Sharing Screen via Mobile
- All incoming notifications to your mobile will be visible to the person you are sharing the screen with.
- Any incoming calls and messages that appear in notification previews will also be visible to the other person. Also, make sure not to open any messages or texting apps while sharing the screen.
- All open apps will also be visible to the other person.
- Although your passwords will be hidden while sharing your screen, the participants (with whom you are sharing the screen) will still be able to see your keyboard inputs and the brief appearance of characters of your password as you type them.
It is recommended to turn on the ‘DND (DO NOT DISTURB)’ feature on your mobile, which will suppress all your notifications and alerts in the background. You can log in to the apps that you wish to share beforehand and keep them running in the background to avoid inputting the passwords while screen sharing.
Sharing Your Screen On Microsoft Teams Chat
Sometimes, you might want to share your screen while chatting on your Teams app. This feature is only available for macOS and Windows apps.
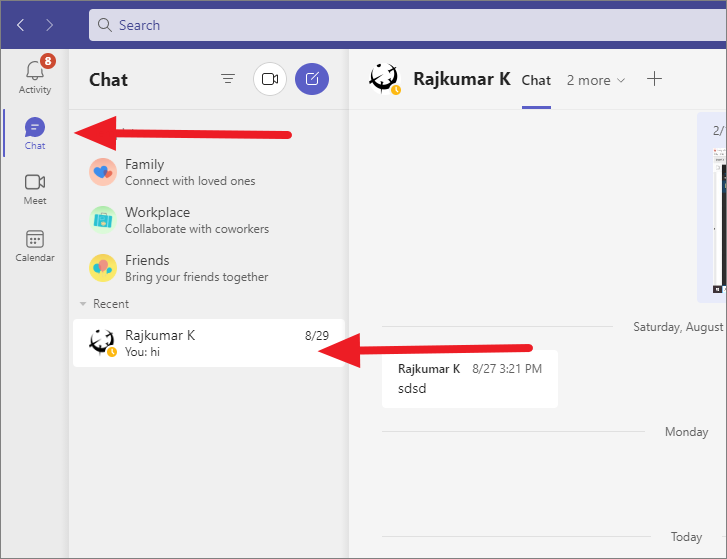
First, click ‘Chats’ on the navigation panel on the left and open a chat screen with a group or person in Microsoft Teams.
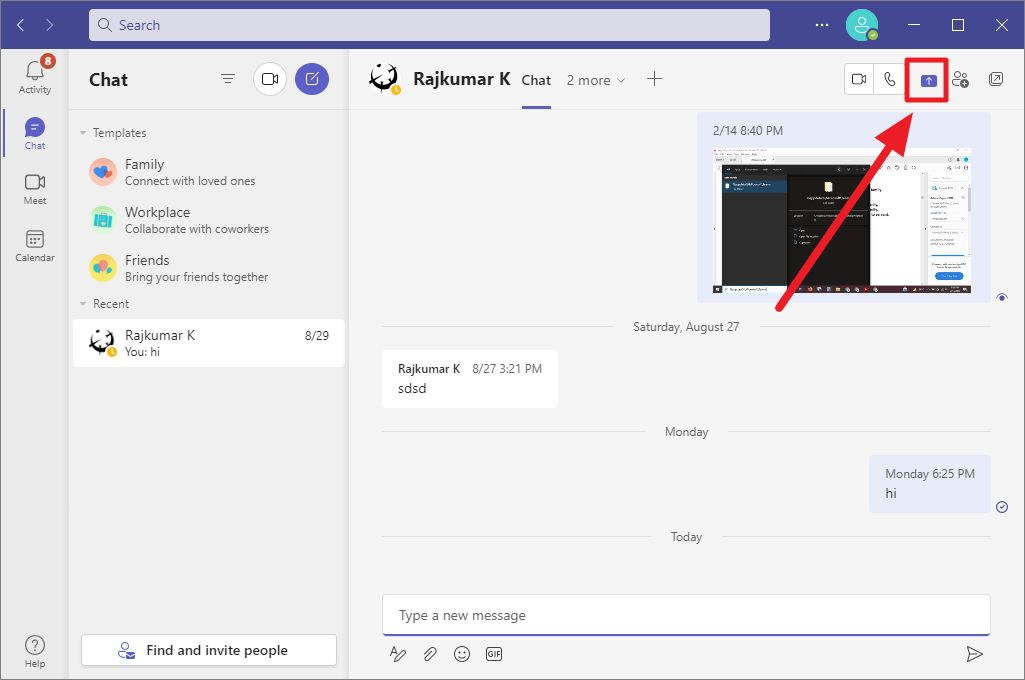
Next, click the ‘Screen Share’ icon in the top right corner of the chat window.
Then, select a desktop or windows you would like to share in the Chat.
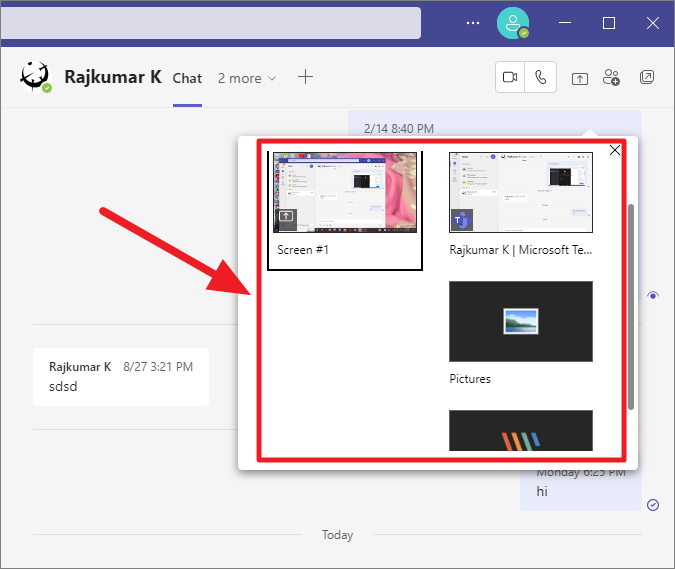
Your screen will automatically start to share in the selected chat.
To stop sharing the screen, click the ‘Stop Presenting’ button at the top of the Teams interface.
Share Your Screen on Microsoft Teams Web app
You can also share the screen on the Microsoft Teams web app. Here’s how you can do that:
First, visit the Teams online website https://teams.live.com/ and log in with your account credentials.
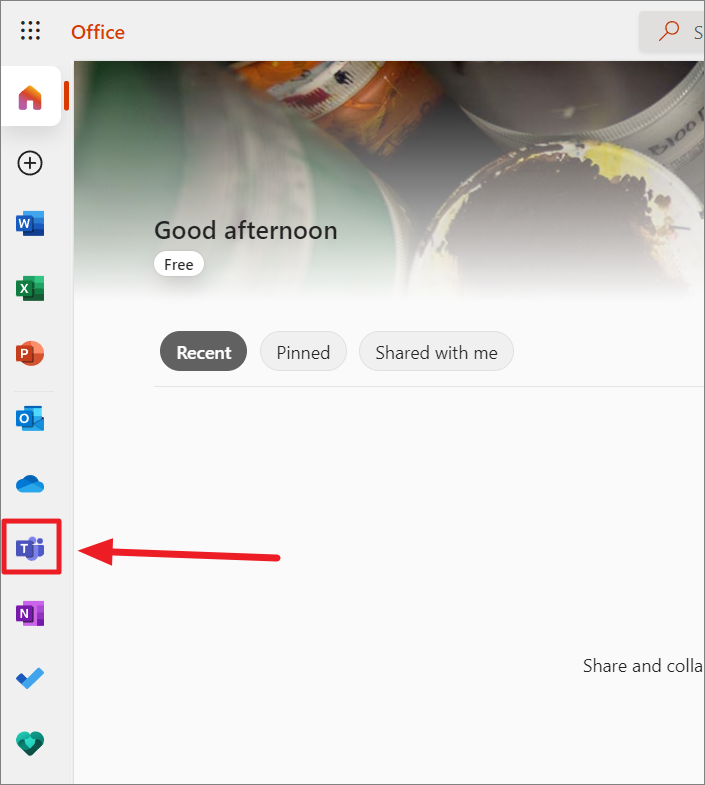
Alternatively, you go to Office 365 website and sign in with your username and password. Then, click the ‘Teams’ icon from the left panel.
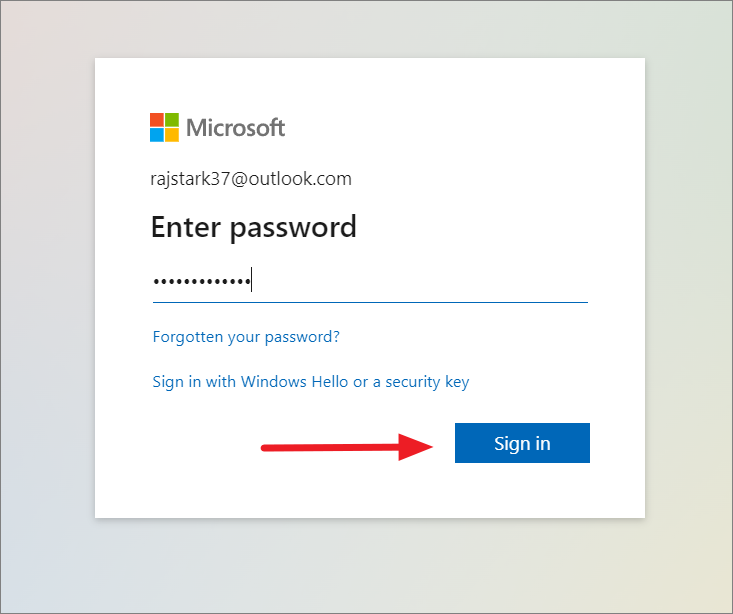
Then, enter your password again and click ‘Sign in’.
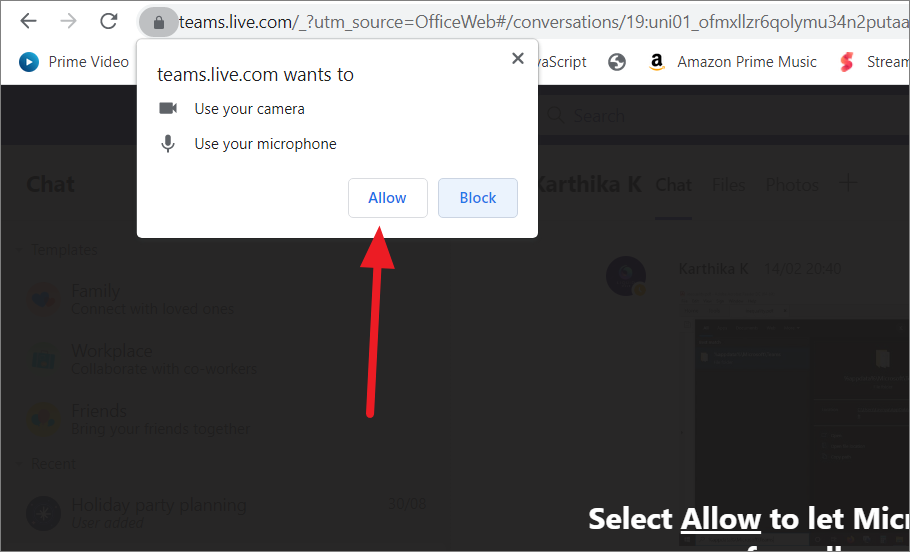
Once you are in the Teams app, join a call or meeting and a pop-up will appear at the top left corner of your browser asking permission to use your camera and microphone. Select ‘Allow’ to let Microsoft Teams use your camera and microphone.
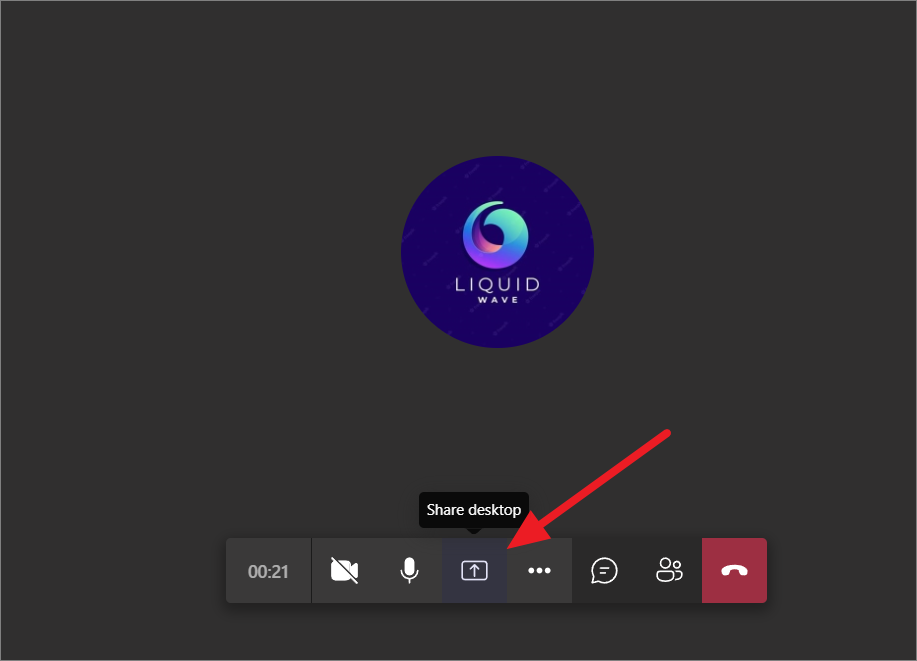
Next, click the ‘Share’ button in the call.
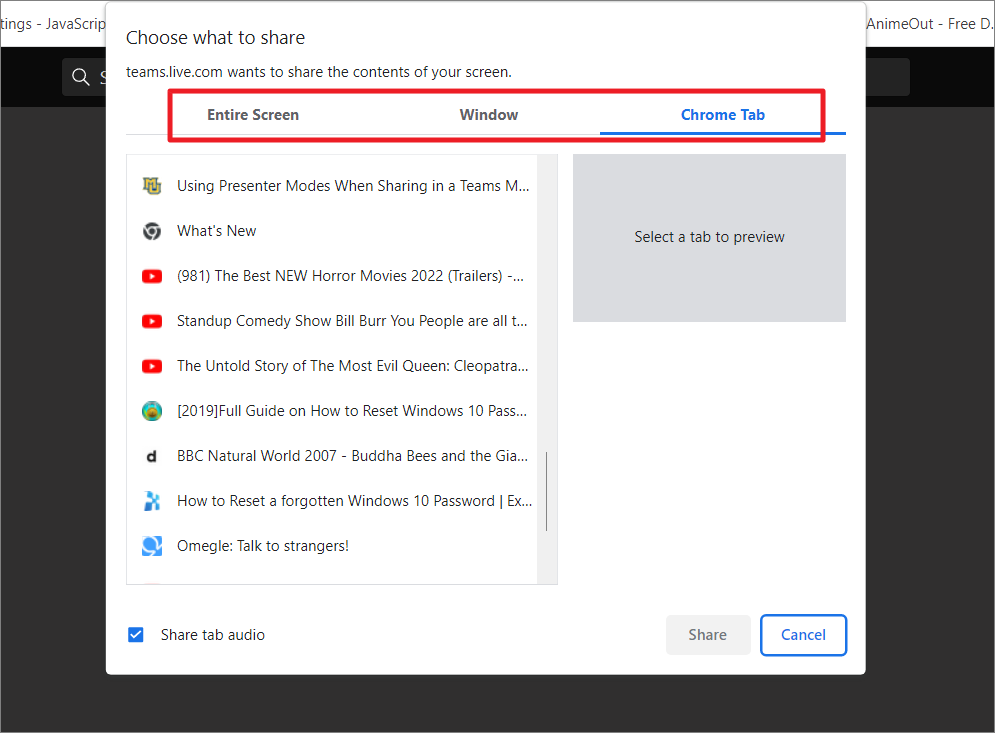
In the pop-up window, choose what you want to share – ‘Entire Screen’, ‘Window’, or ‘Chrome Tab’. Here you can choose to share a particular tab on your browser instead of the whole browser.
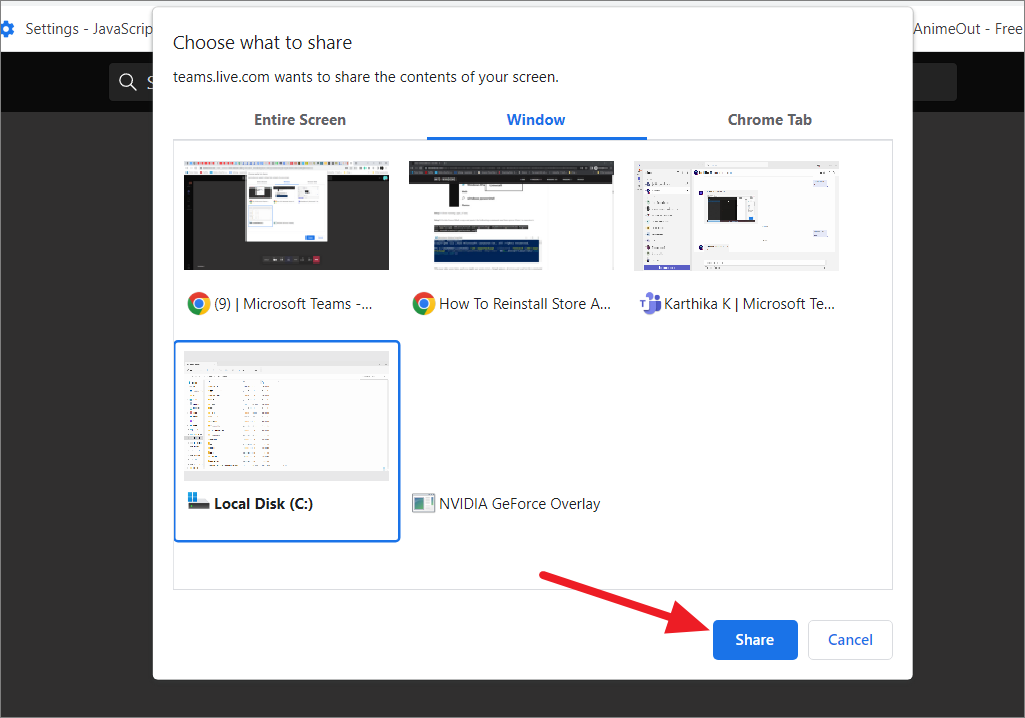
Select the content you want to share and click the ‘Share’ button at the bottom of the pop-up window.
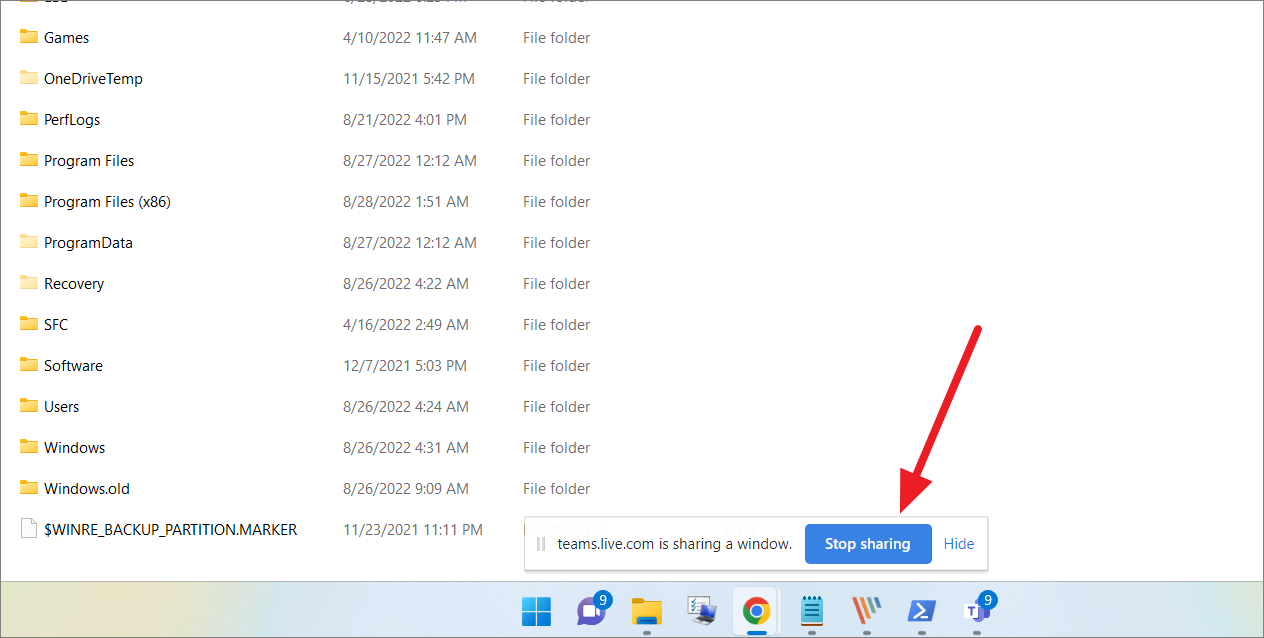
Then, click the ‘Stop sharing’ button at the bottom of the screen to end sharing content.
Zoom In or Out the Shared Screen
Sometimes, you might want to zoom in on the shared screen to take a clear at what is being shared. If the presenter uses higher resolution on their computer, it will be harder to recognize the content (especially if they are handwritten texts).
Zoom In or Out on Desktop App
To zoom in or out of the shared content, you can use the keyboard shortcuts:
- Zoom in: Ctrl++/plus
- Zoom out: Ctrl+-/minus
Zoom In or Out on Android and iPhone
If you are using Teams on your mobile, you can use the pinch gesture on the touchscreen to zoom in or out of the shared content.
How to Give Control of Shared Screens on Microsoft Teams
Sometimes you might need to collaborate with other team members on certain projects. For example, you may need help presenting or editing your shared slides. In such cases, you can grant control of your shared content to another participant in the meeting via Microsoft Teams, so they can access, present and control shared content to their advantage. If you are in a group meeting, this feature allows you to grant control to any participant in the meeting. Here’s how you can give control of Shared Screens:
Launch the Teams app and join a meeting or call as you usually would. If you are in a group meeting, make sure that the attendee you want to give control to your presentation is also joined in the meeting.
Then, click the ‘Share’ button to start the screen share or presentation and select ‘Screen’ or ‘Window’. If you selected the ‘Window’ option, choose the concerned app window from the list.
Once you started your screen share, click on ‘Give Control’ in the sharing interface at the top of your screen and select the person from the list.
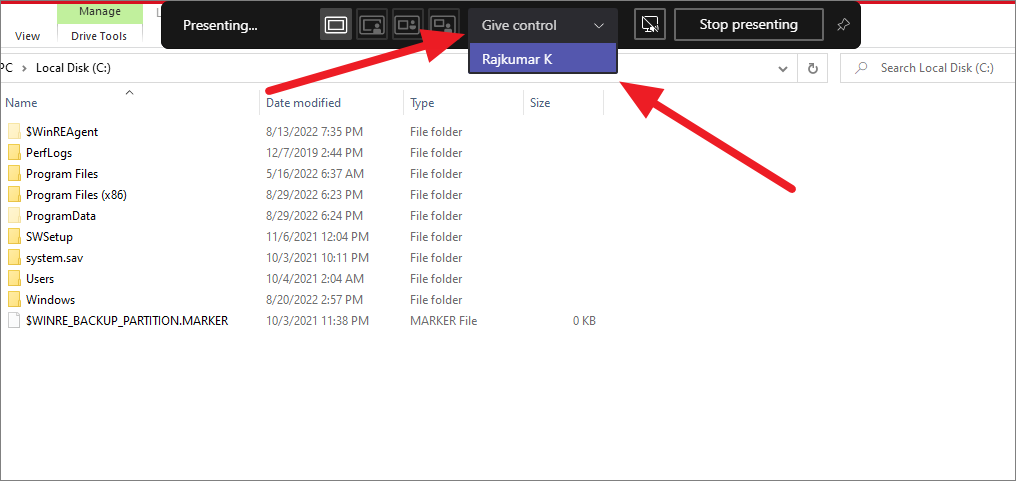
Now, the selected individual will have control over your presentation. In the sharing bar, you can see who has control of your screen.
For security purposes, it is always recommended to give control to the individuals that you trust.
Take Back Control When Sharing Screen
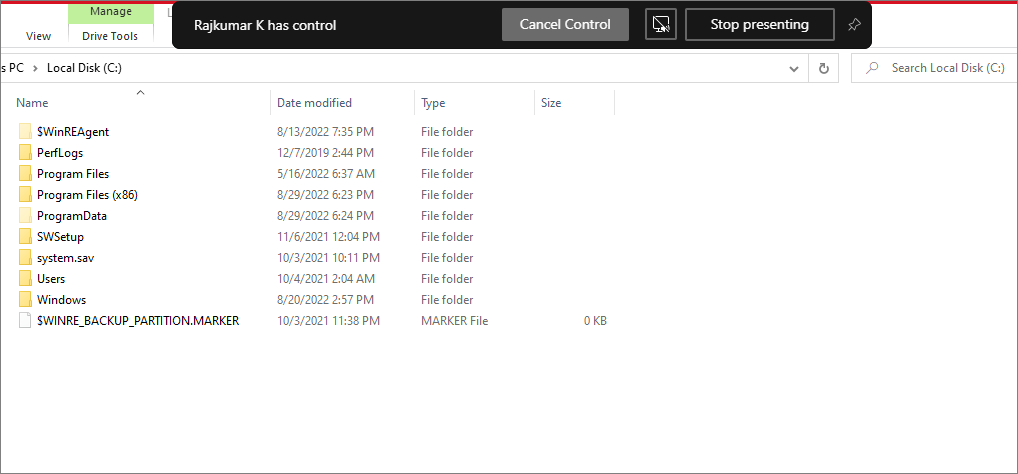
To take back control of your shared content, simply click the ‘Cancel Control’ or ‘Take back control’ in the sharing bar at the top of your screen.
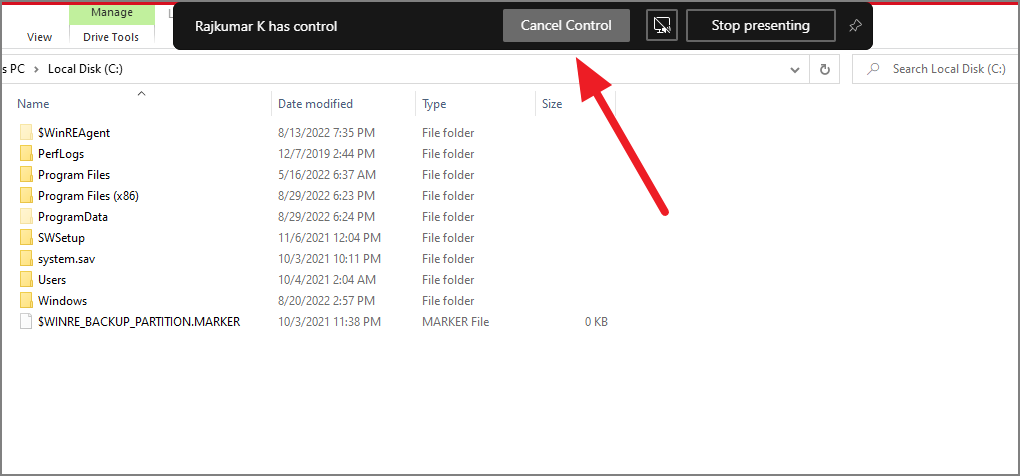
And the participant will no longer have any control over your content except view it.
Request Control of Someone Else Screen
Microsoft also allows you to request control of the shared screen if another person is sharing their screen. Here’s how you can request control of someone else screen:
When you are in a meeting or call, click the ‘Request control’ button from the toolbar menu at the top.
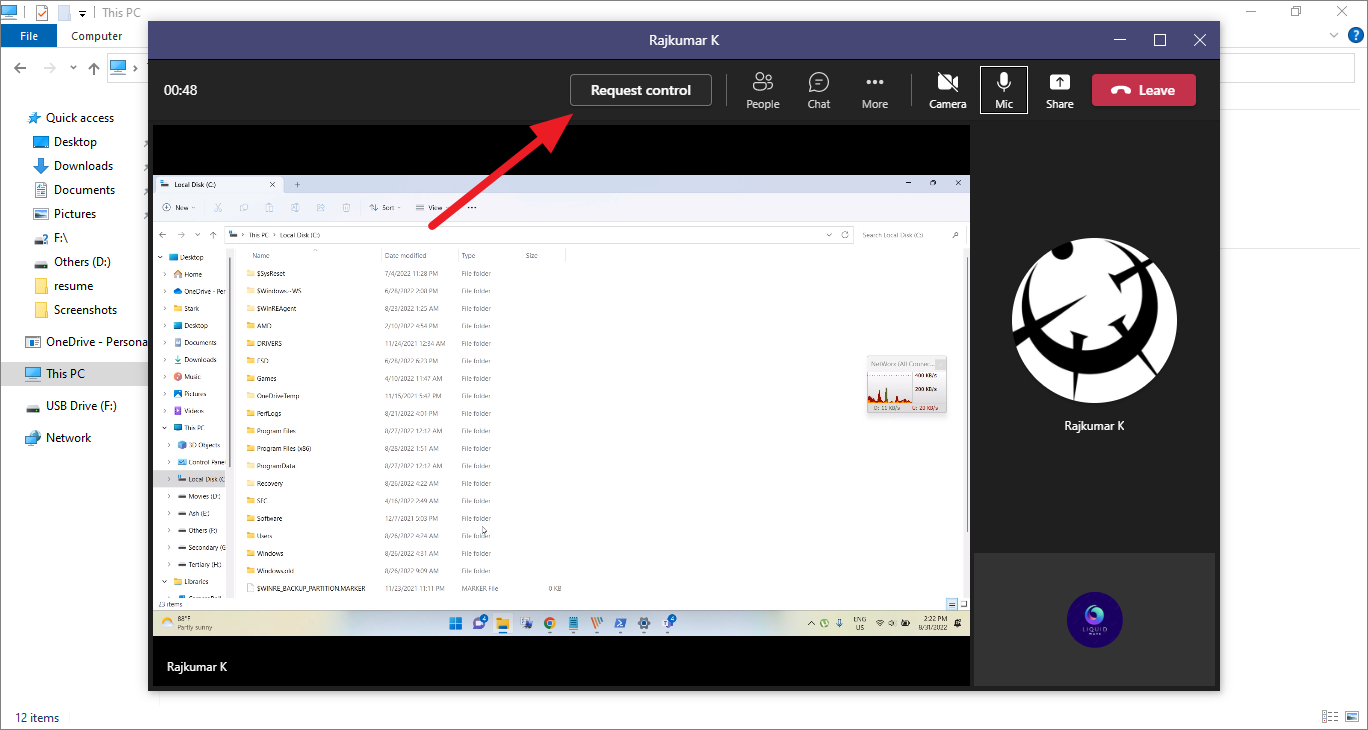
Then, click the ‘Request’ button in the prompt box.

Once you do that, sharing an individual must accept or reject your request.
After they accepted your request, you can select objects, edit content, and make other changes to the shared media which will be visible to all meeting attendees. Once you are done, click the ‘Release control’ to give up control.
What Can You Do with Control of Shared Screen?
- Change or add files to the presented files
- Help with the presentation
- Select, Edit, or change the shared content
- Allow external participants to give or request control.
That’s it.