
Understanding file extensions can significantly enhance your interaction with files on Windows 11. By default, Windows hides these extensions, but displaying them can help you identify file types quickly and protect your system by avoiding malicious files disguised with misleading icons. This guide will show you several methods to reveal file extensions in File Explorer on Windows 11.
Enable File Name Extensions from the Command Bar
This is one of the quickest ways to display file extensions in File Explorer.
- Open File Explorer by clicking the ‘This PC’ icon on your desktop or by pressing Windows + E.

- Click on the ‘Layout and view options’ icon in the toolbar.
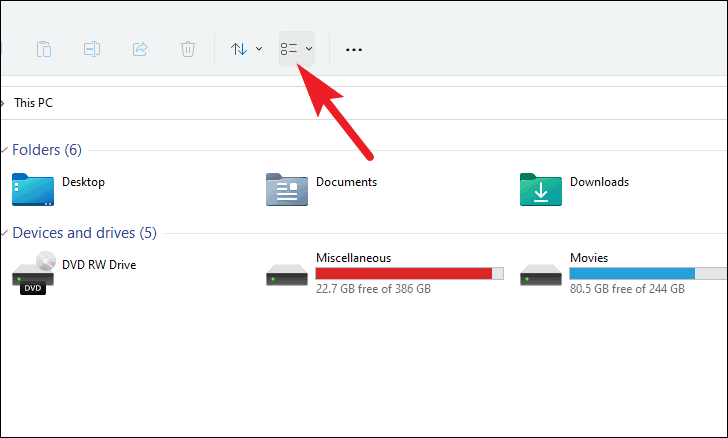
- Hover over ‘Show’ in the dropdown menu, then select ‘File name extensions’ to enable it.

File extensions will now be visible for all files in File Explorer.
Unhide File Name Extensions from Folder Options
This method allows you to adjust settings through the Folder Options in File Explorer.
- Launch File Explorer by clicking the ‘This PC’ icon or pressing Windows + E.

- Click on the ellipsis (three horizontal dots) in the toolbar, then select ‘Options’.
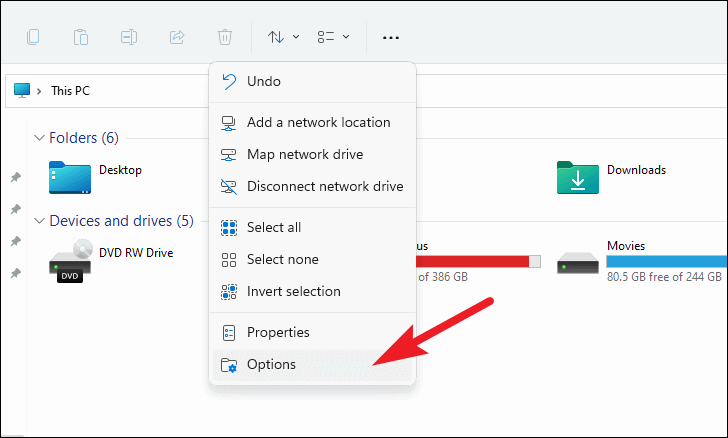
The ‘Folder Options’ window will appear.
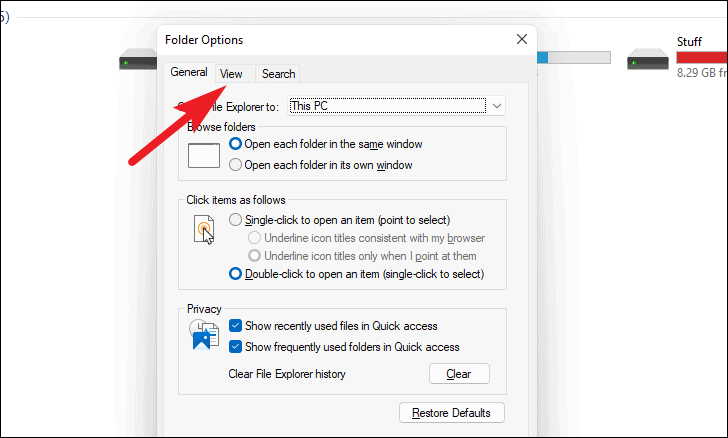
- In the ‘Folder Options’ window, go to the ‘View’ tab.
- Under ‘Advanced settings’, find ‘Hide extensions for known file types’ and uncheck it.
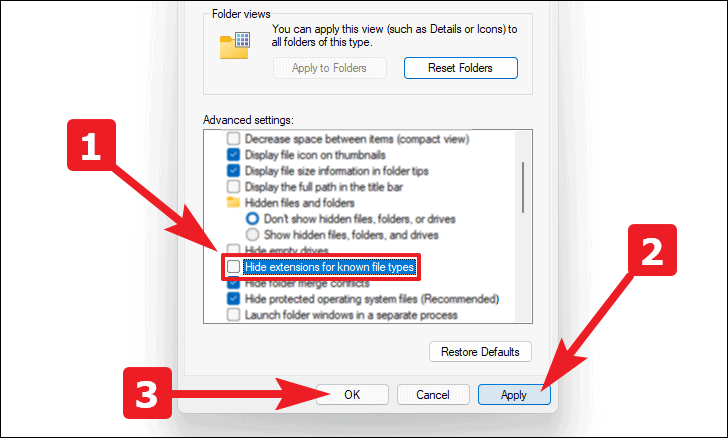
- Click ‘Apply’, then ‘OK’ to save your changes.
File extensions should now be displayed throughout File Explorer.
Add a File Type Column in File Explorer
Adding a ‘Type’ column can display file extensions without altering file names, which some users may prefer.
- Navigate to the folder where you want to see file types.
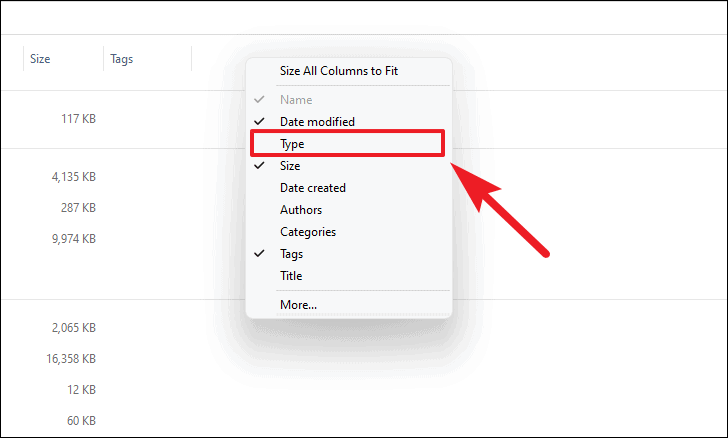
- Right-click on the header bar (where it says ‘Name’, ‘Date modified’, etc.).
- Select ‘Type’ from the context menu to add it as a column.
The ‘Type’ column will now display the file extensions or descriptions.
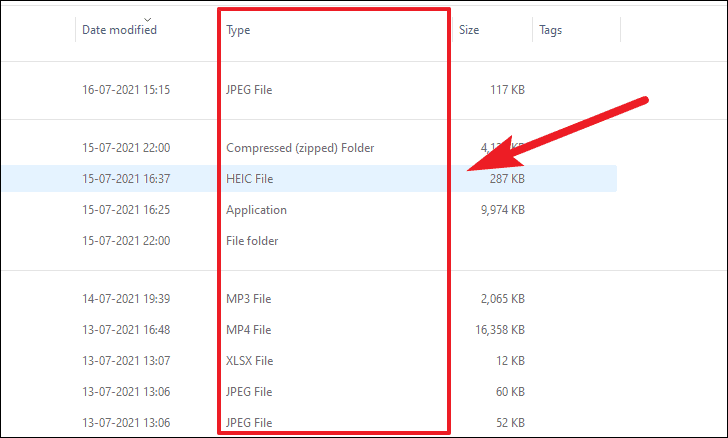
Note that some files might display a type description instead of the extension (e.g., ‘Application’ for .exe files).
Enable File Extensions via Registry Editor
If the previous methods don’t work, you can modify the registry to display file extensions.
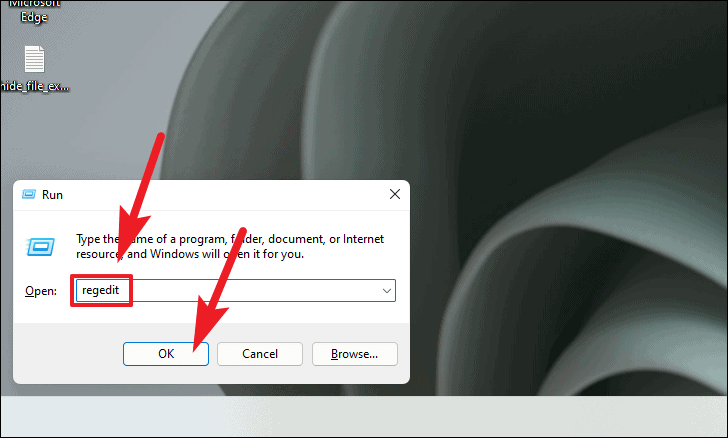
- Press Windows + R to open the Run dialog.
- Type regedit and click ‘OK’ to open the Registry Editor.
Navigate to the following path:
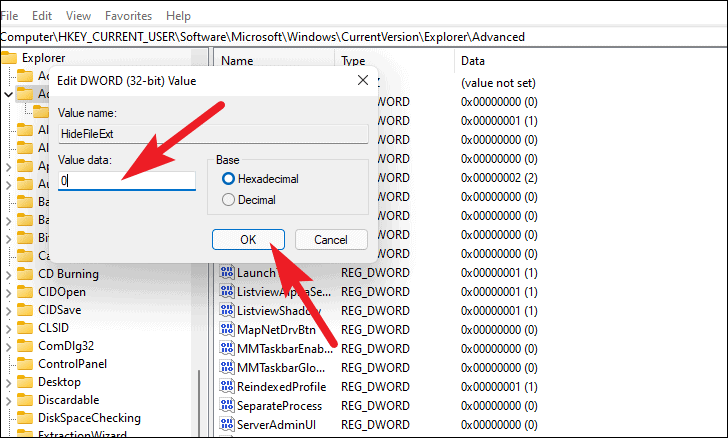
HKEY_CURRENT_USER\Software\Microsoft\Windows\CurrentVersion\Explorer\Advanced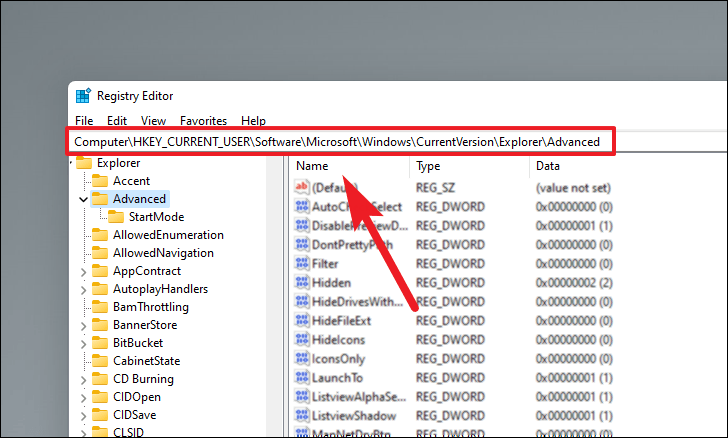
- In the right pane, double-click on ‘HideFileExt’.

- Change the ‘Value data’ to 0 and click ‘OK’.
You might need to restart your computer for the changes to take effect.
Create a Batch File to Toggle File Extensions
Creating a batch file allows you to quickly show or hide file extensions, which can be useful for applying the setting on multiple systems.
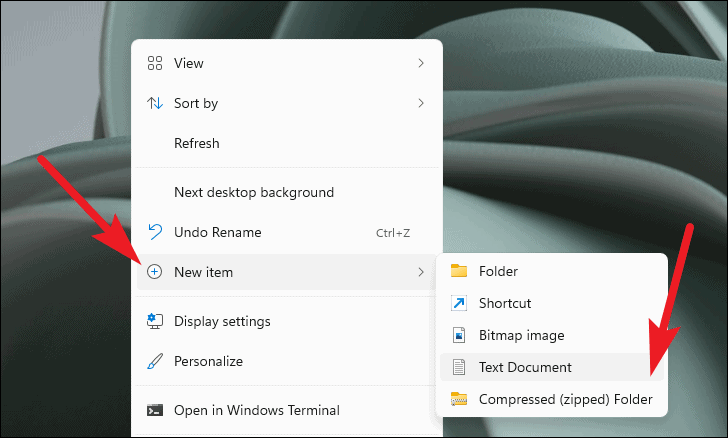
- Right-click on your desktop, hover over ‘New’, and select ‘Text Document’.
- Name the file (e.g., ‘ShowExtensions’) and press Enter.

- Double-click the text file to open it.

Paste the following command to show file extensions:
reg add HKCU\Software\Microsoft\Windows\CurrentVersion\Explorer\Advanced /v HideFileExt /t REG_DWORD /d 0 /f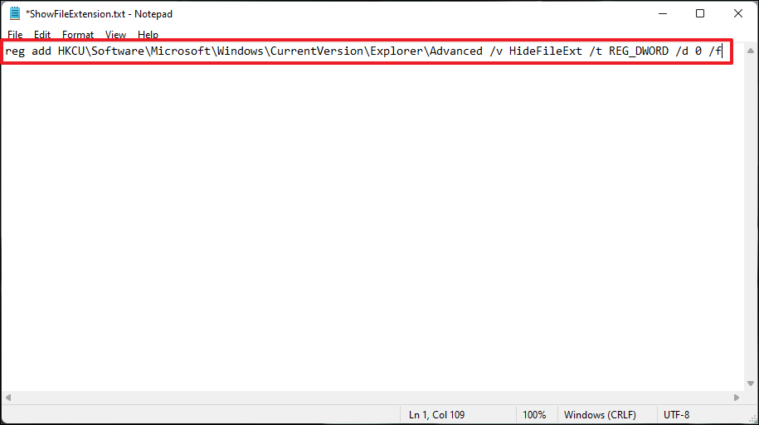
To create a batch file that hides file extensions, use this command instead:
reg add HKCU\Software\Microsoft\Windows\CurrentVersion\Explorer\Advanced /v HideFileExt /t REG_DWORD /d 1 /f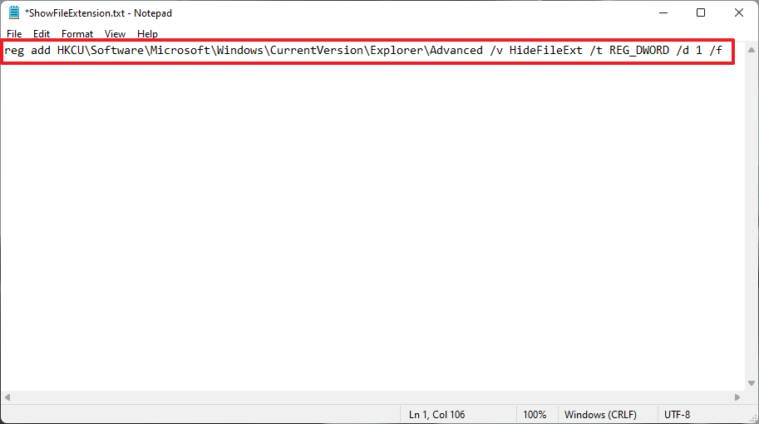
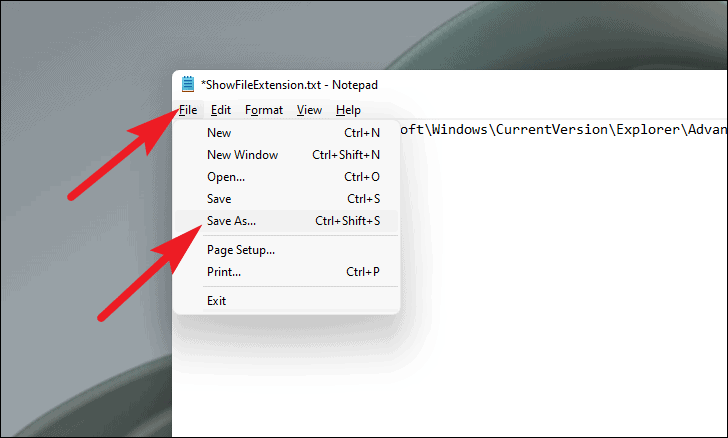
- Click ‘File’ in the menu bar and select ‘Save As…’.
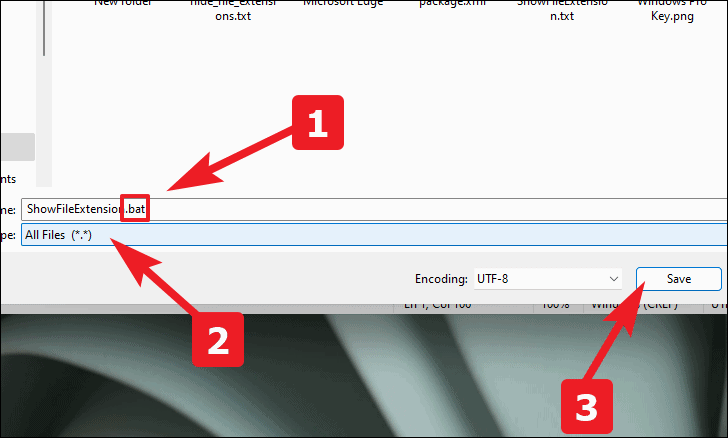
- Change the file extension from
.txtto.bat, select ‘All Files’ as the file type, and click ‘Save’.
Your batch file is now ready. Run it by double-clicking to toggle file extensions on or off.
By following these methods, you can easily display file extensions in File Explorer on Windows 11, helping you manage your files more effectively and securely.