
Keeping Windows 11 updated is crucial for maintaining system security and performance. However, automatic updates can sometimes lead to unexpected issues or interruptions. If you prefer to control when and how updates are installed, there are several methods to disable automatic updates in Windows 11. This guide will walk you through various ways to stop automatic updates, allowing you to manage updates on your own terms.
Turn off Automatic Updates using Registry Editor
One effective way to permanently disable automatic updates is by modifying the Windows Registry. This method is applicable for all editions of Windows 11.
Win + R to open the Run dialog box. Type regedit and press Enter to launch the Registry Editor.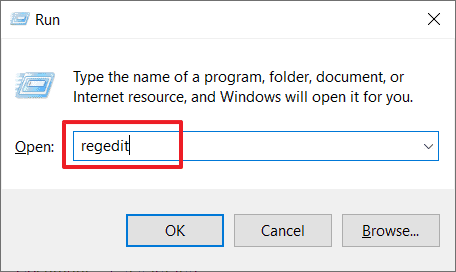
HKEY_LOCAL_MACHINE\SOFTWARE\Policies\Microsoft\Windows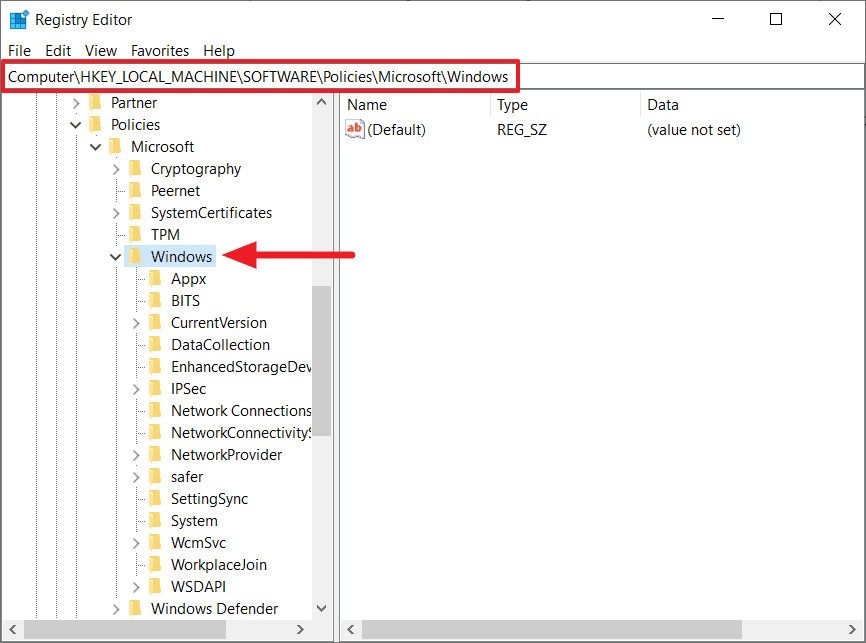
WindowsUpdate under the Windows key. If it doesn’t exist, right-click on the Windows key, select New > Key, and name it WindowsUpdate.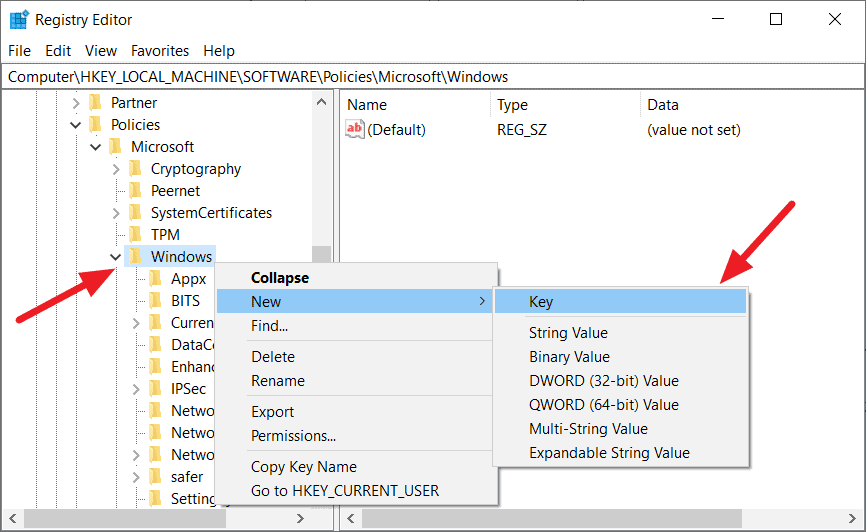
WindowsUpdate key, right-click and choose New > Key to create a new key. Name this key AU (which stands for Automatic Updates).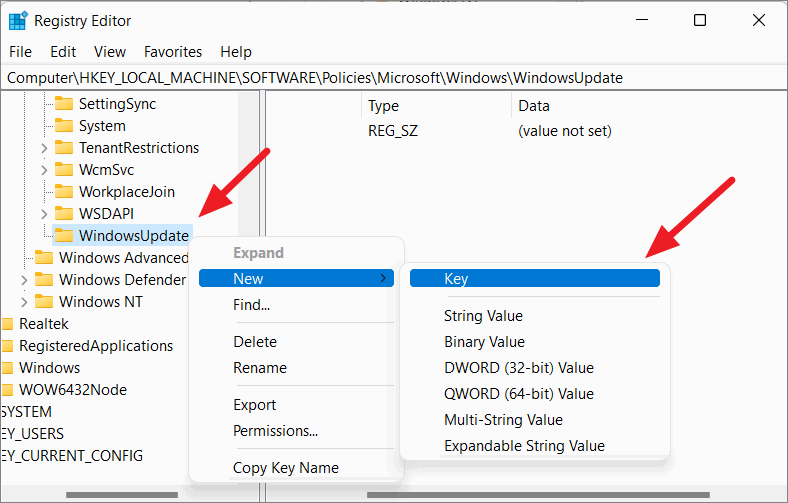
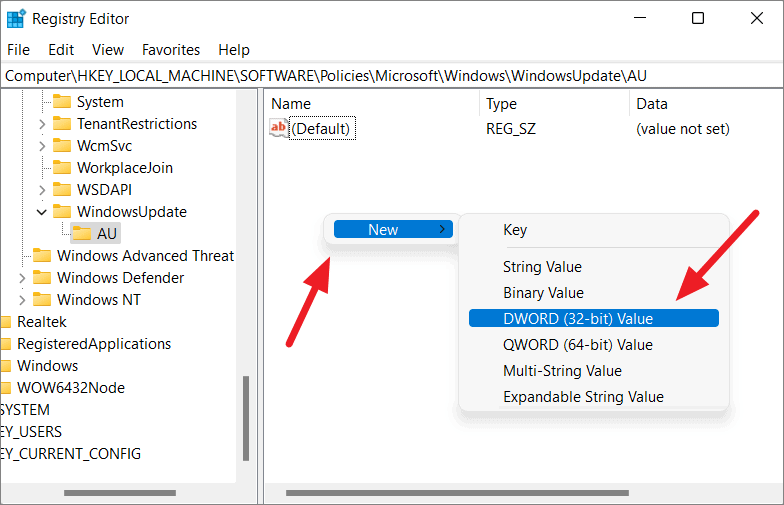
AU key. In the right pane, right-click on an empty space and select New > DWORD (32-bit) Value. Name this new value NoAutoUpdate.
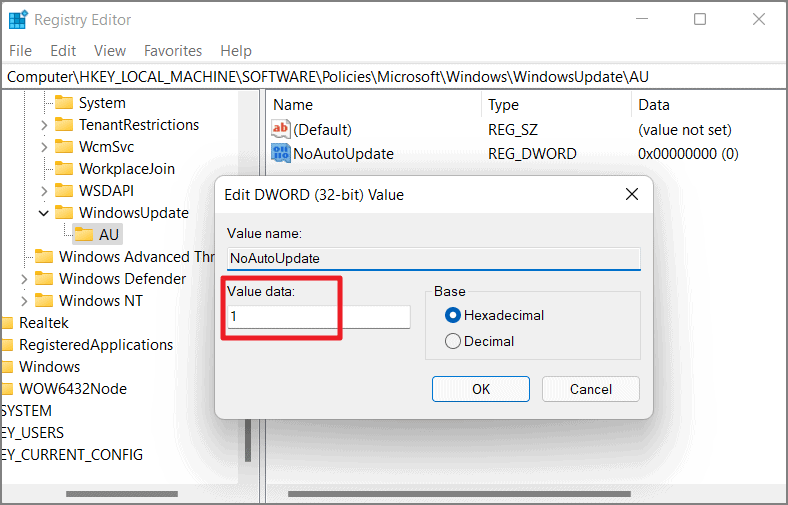
If you wish to re-enable automatic updates in the future, you can delete the NoAutoUpdate value or change its value data to 0.
Customize Windows Update Settings via Registry Editor
If you prefer to have more control over how updates are installed rather than completely disabling them, you can customize the update settings through the Registry Editor.
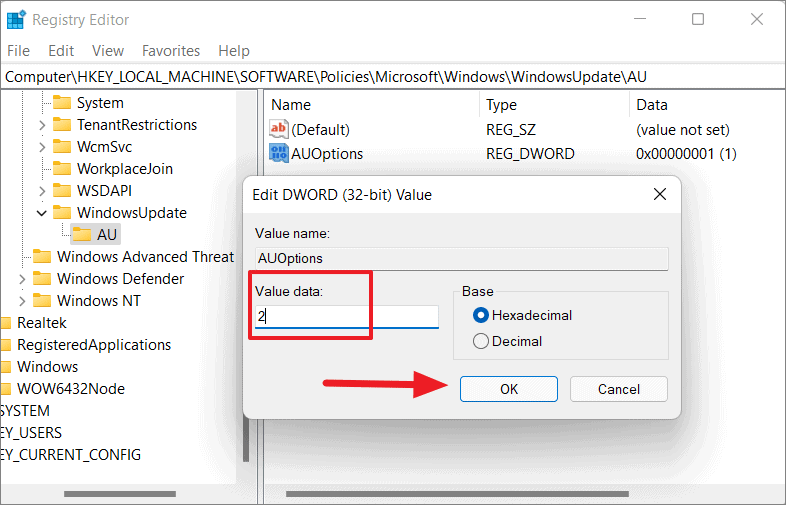
HKEY_LOCAL_MACHINE\SOFTWARE\Policies\Microsoft\Windows\WindowsUpdate\AUIf the WindowsUpdate and AU keys do not exist, create them as described in the previous steps.
AUOptions and enter one of the following values in the value data field to set your preferred update option:2– Notify before downloading and installing updates.3– Automatically download updates and notify when they are ready to install.4– Automatically download updates and schedule the installation.5– Allow the local administrator to choose the settings.7– Notify for download, notify for install.
Disable Automatic Updates using Group Policy Editor
For users of Windows 11 Pro, Enterprise, or Education editions, the Group Policy Editor offers a straightforward way to manage automatic updates.
Win + R, type gpedit.msc, and press Enter to launch the Local Group Policy Editor.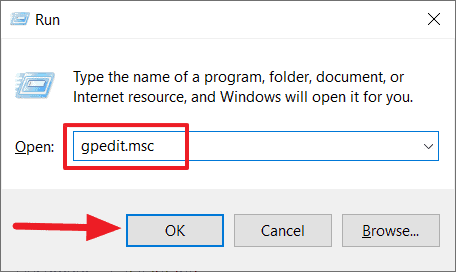
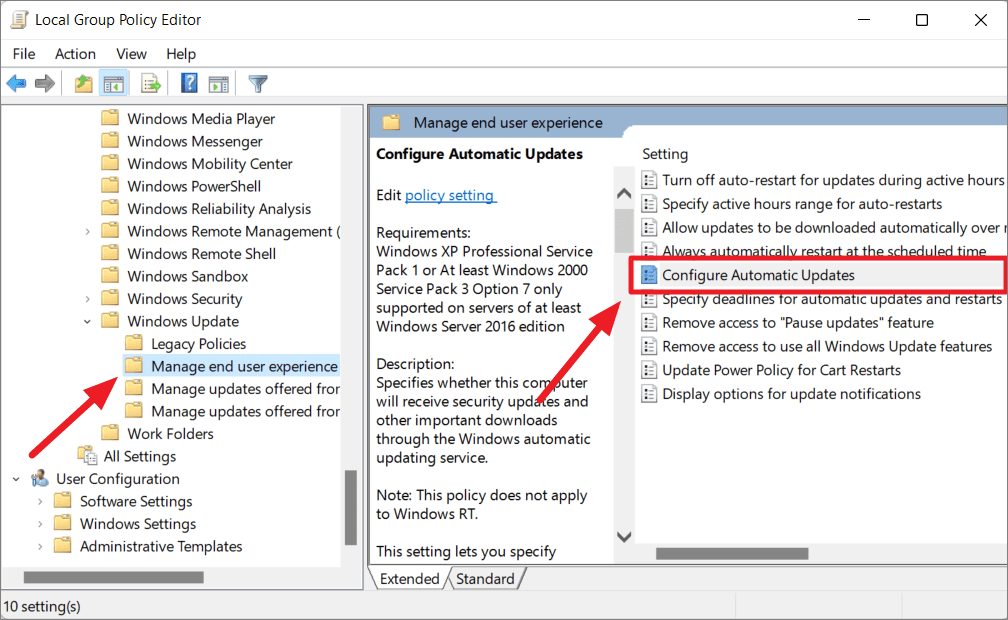
Computer Configuration > Administrative Templates > Windows Components > Windows Update > Manage end user experience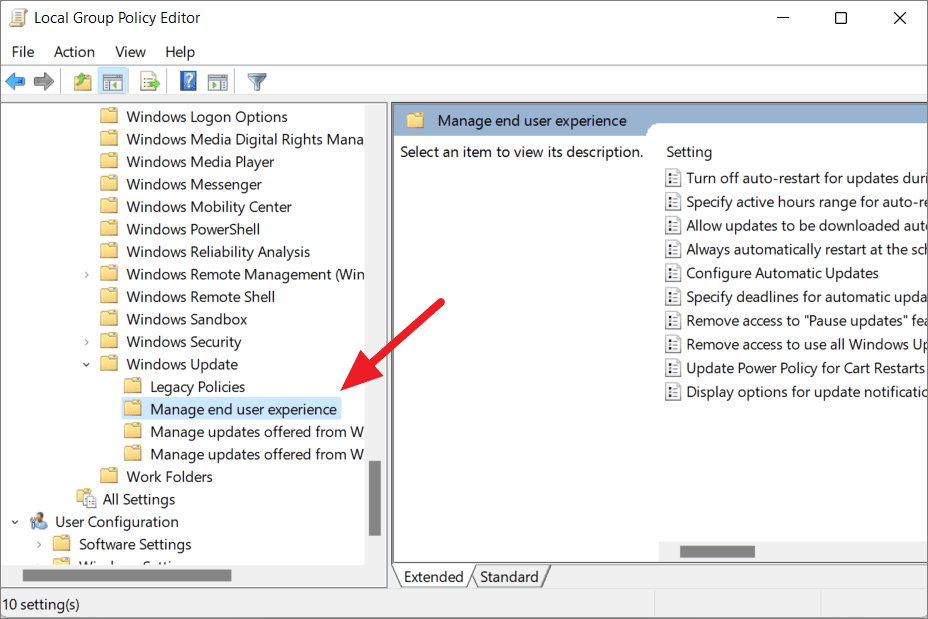
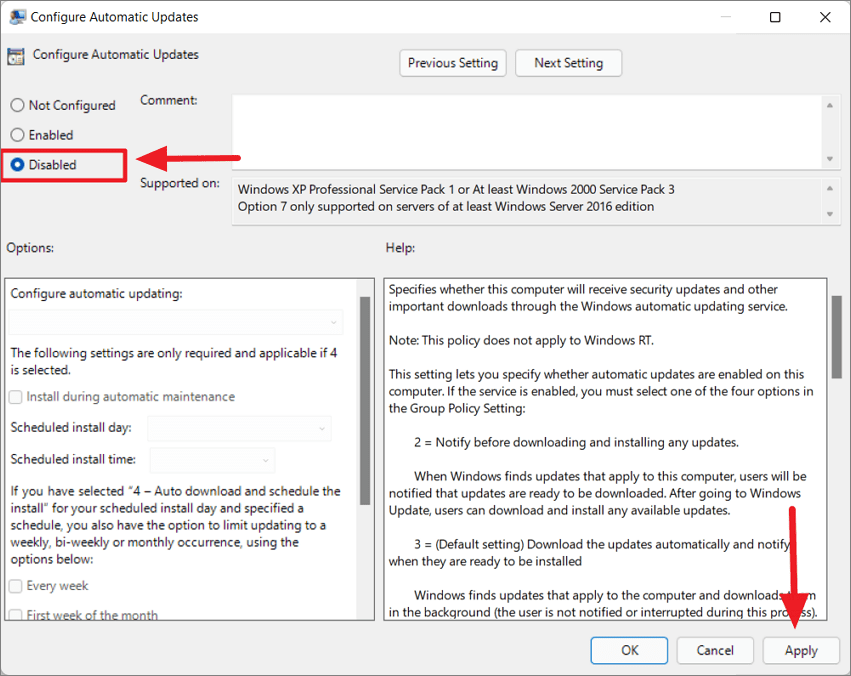
This will turn off automatic updates on your system. To re-enable them, revisit this setting and select Not Configured or Enabled.
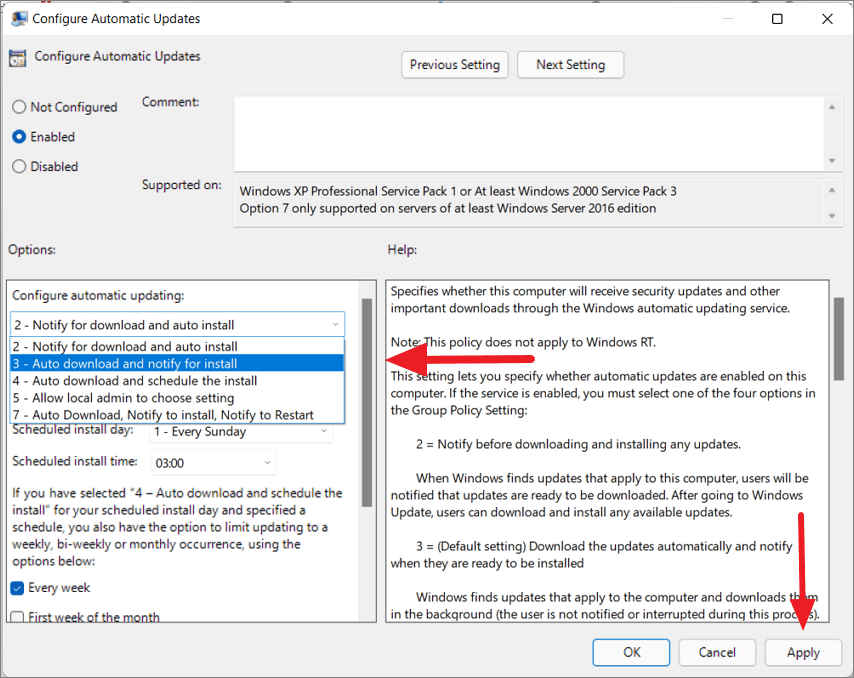
Customize Update Settings via Group Policy Editor
If you want to modify how updates are handled rather than disabling them completely, you can adjust the settings in the Group Policy Editor.
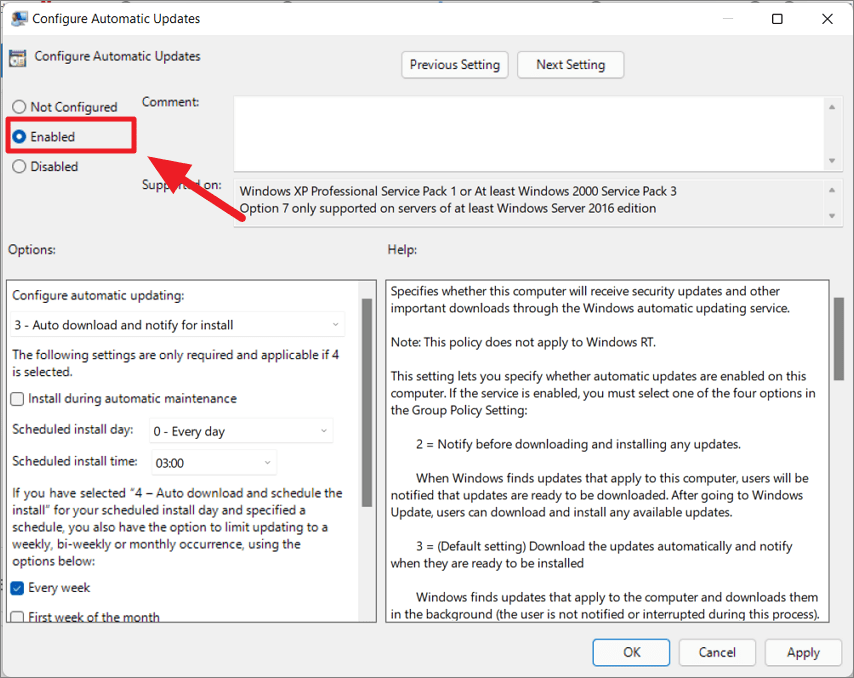
- 2 – Notify for download and auto install
- 3 – Auto download and notify for install
- 4 – Auto download and schedule the install
- 5 – Allow local admin to choose setting
- 7 – Auto Download, Notify to install, Notify to Restart
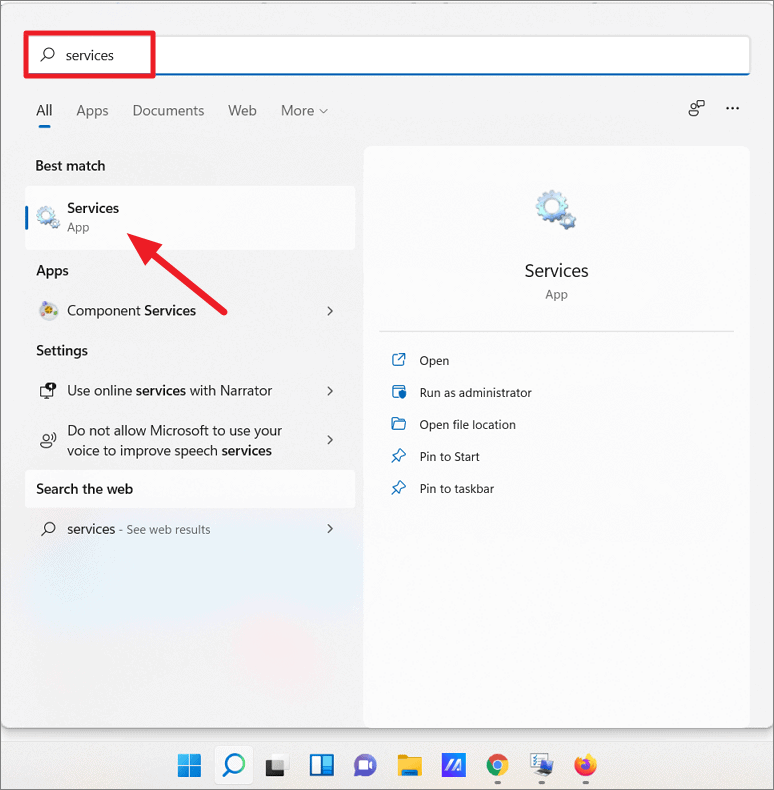
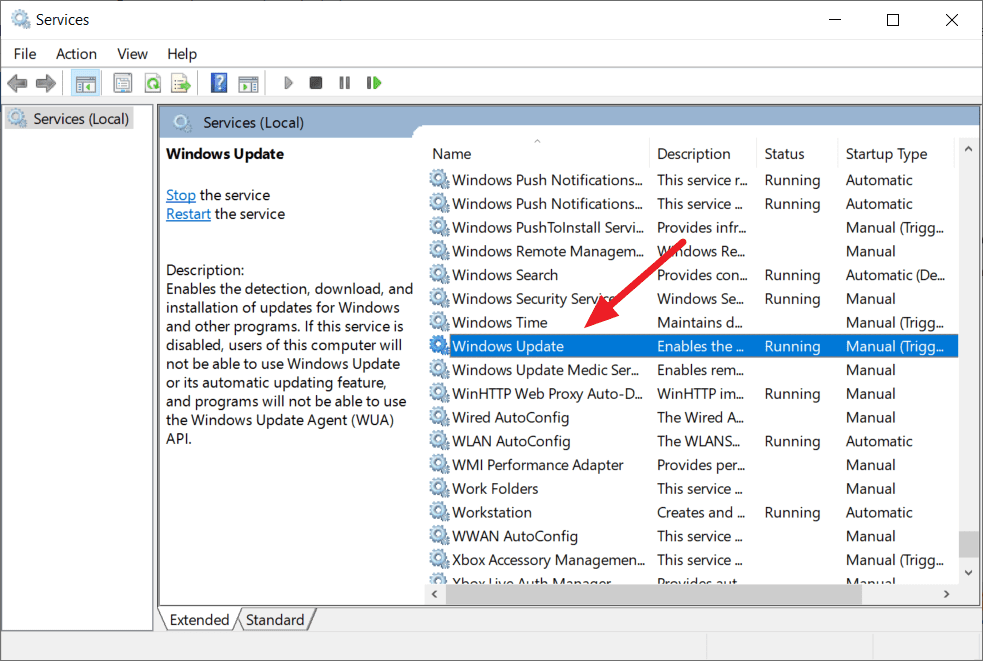
Stop Windows 11 Updates via Windows Update Service
Another method to prevent Windows from updating is by disabling the Windows Update service entirely.
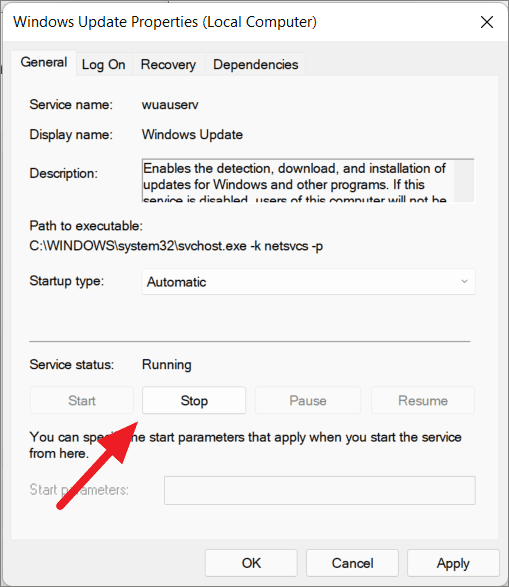
This will prevent Windows Update from running on your system. To re-enable updates, return to this window, change the Startup type to Manual or Automatic, and start the service.
Set a Metered Connection to Stop Windows Updates
Configuring your network connection as metered can restrict Windows from downloading updates automatically.
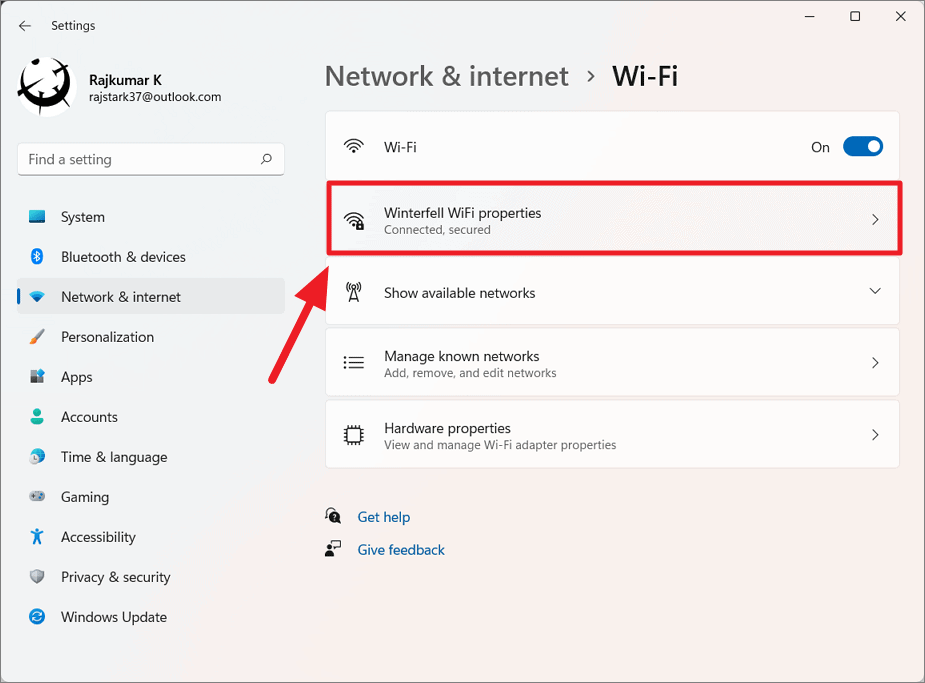
Win + I. Select Network & Internet from the left pane, then click on Wi-Fi.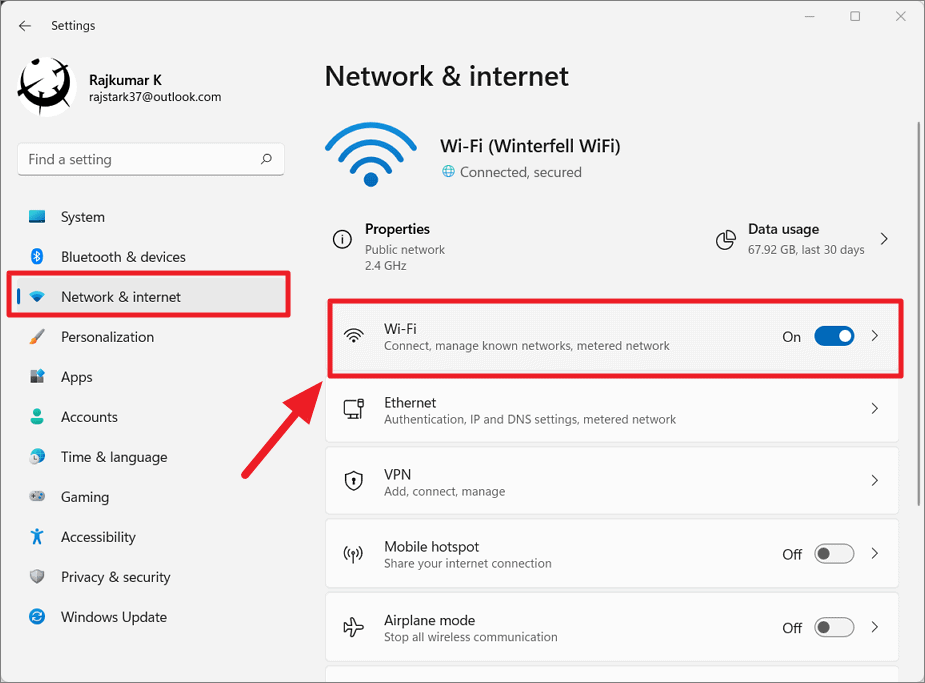
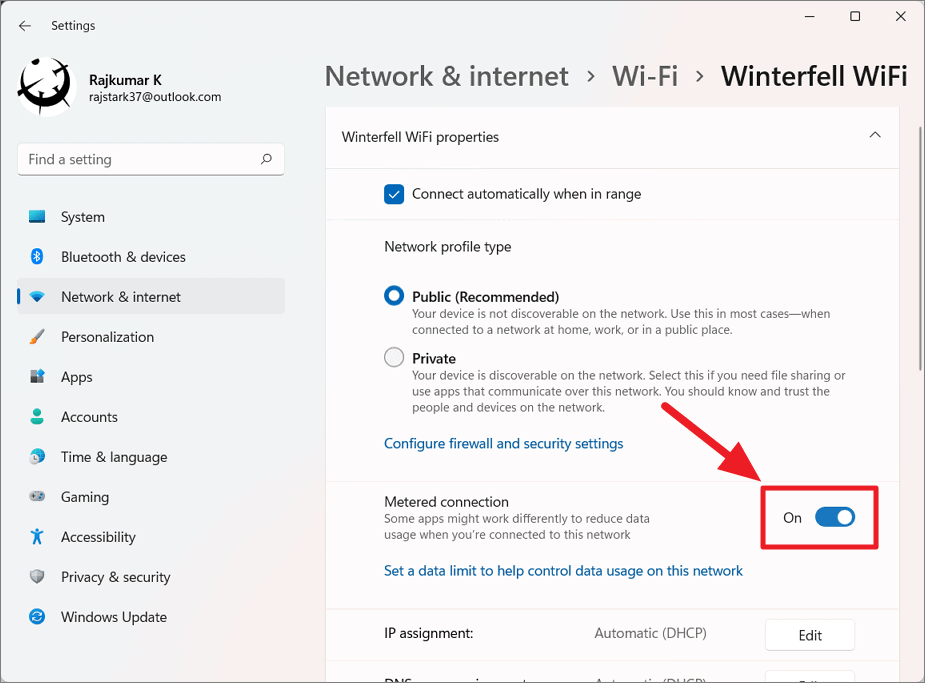
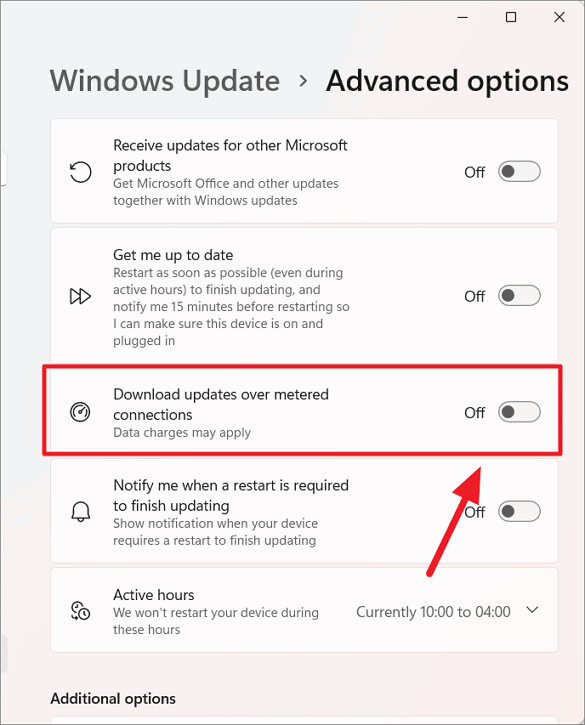
With these settings, Windows Update will not automatically download updates over your metered connection. You can manually check for updates and download them when desired. Note that critical security updates might still be downloaded automatically.
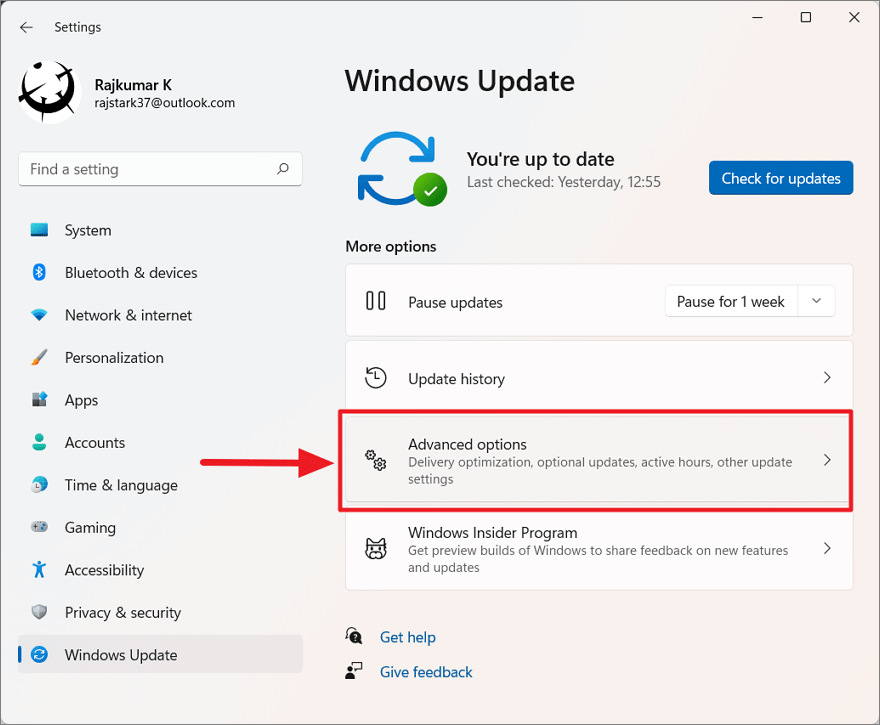
Pause Updates via Windows Update Settings
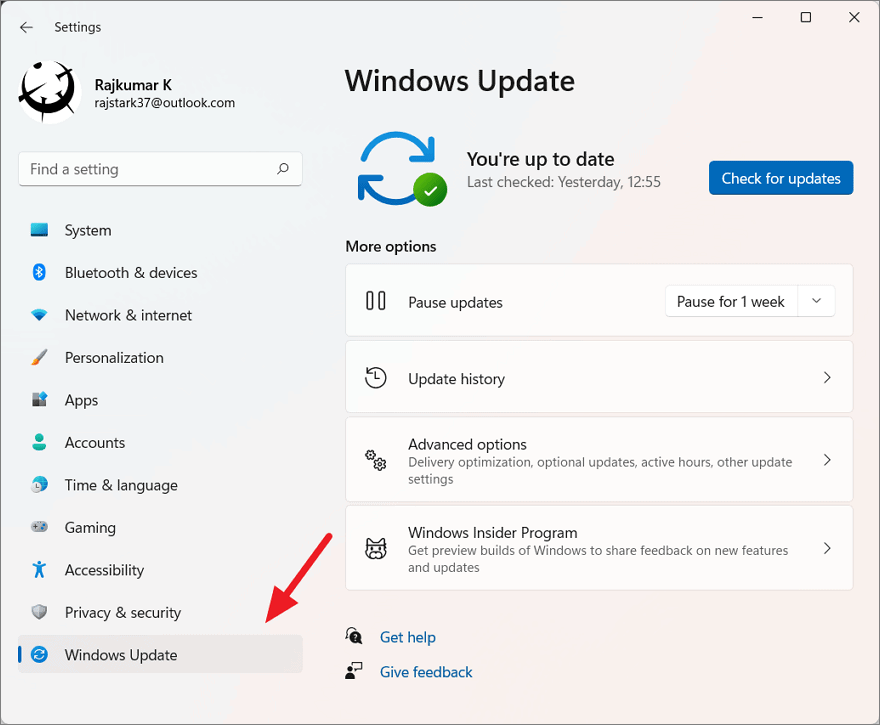
If you want to temporarily stop updates, you can pause them through the Windows Update settings.
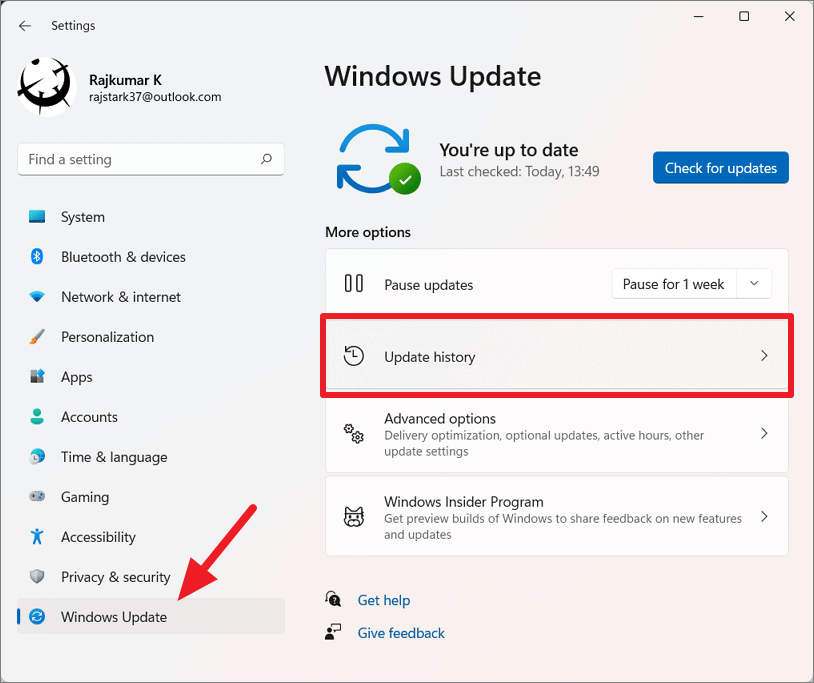
Start menu and selecting the gear icon or by pressing Win + I. Then, click on Windows Update in the left pane.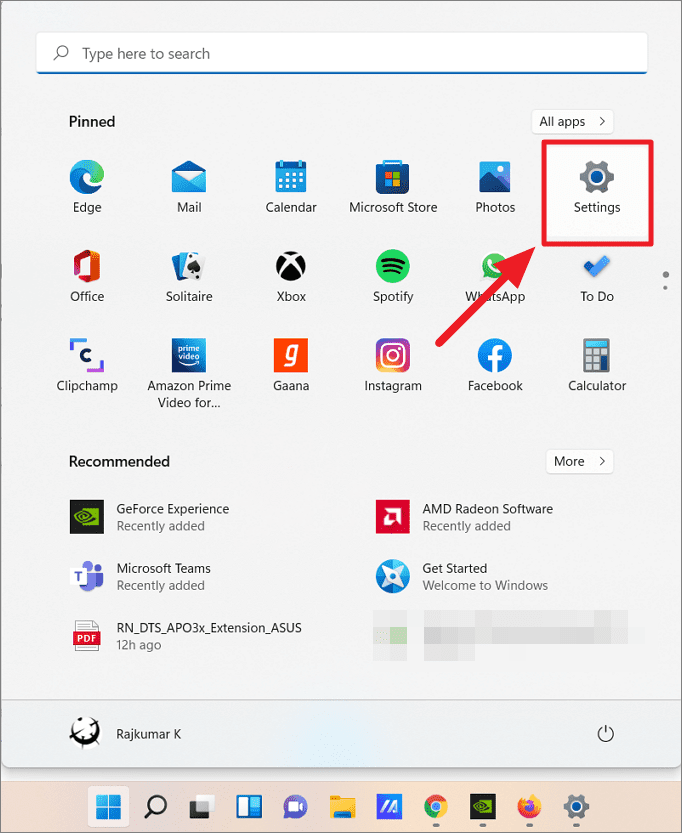
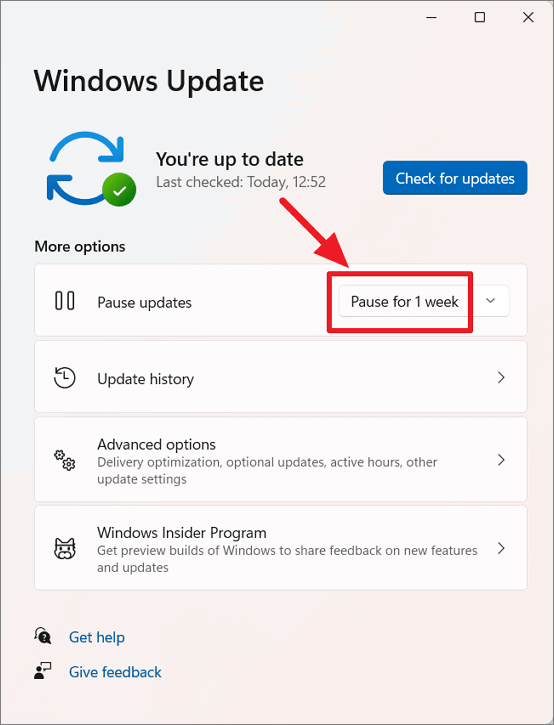
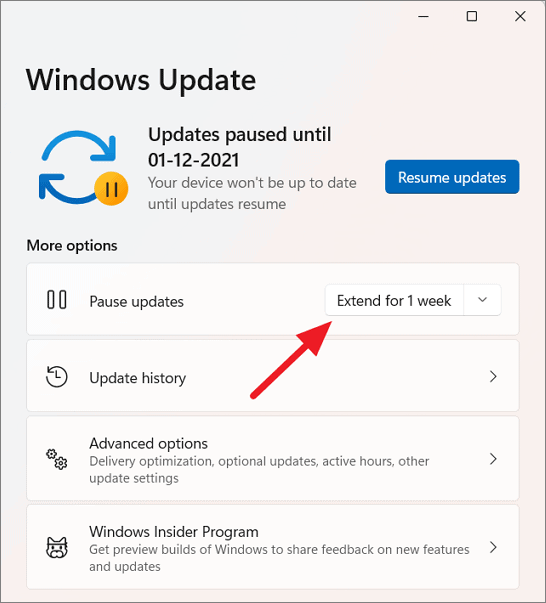
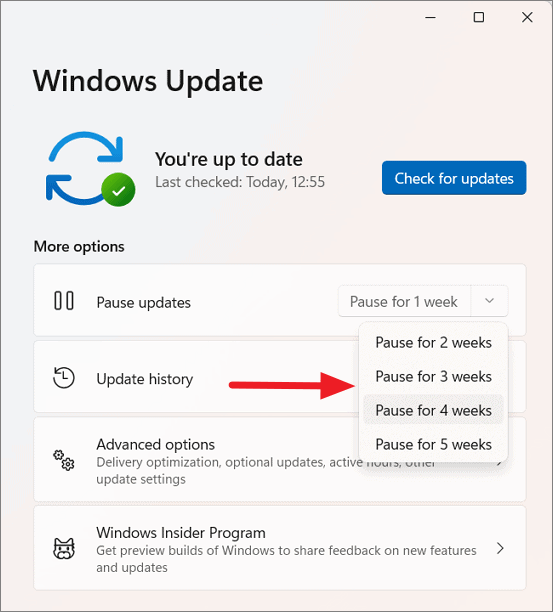
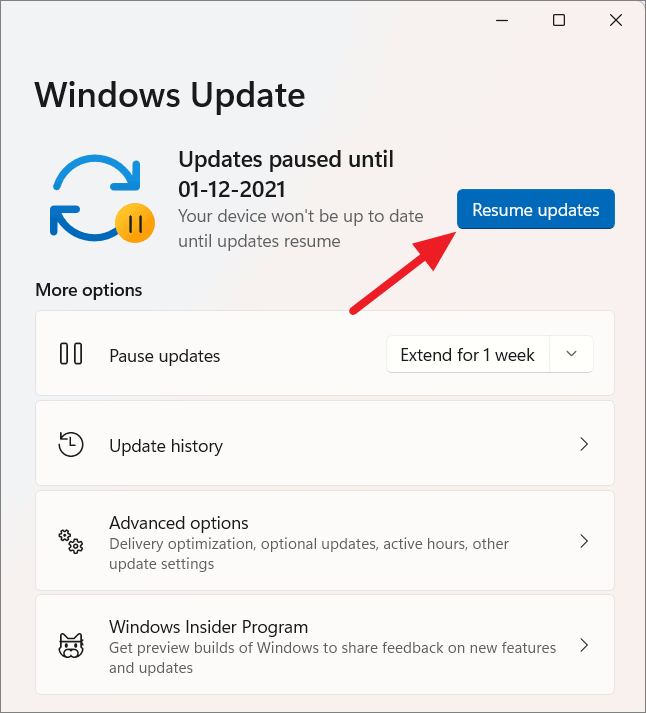
This method is useful for delaying updates temporarily. After the pause period expires, Windows will automatically check for and install available updates.
Uninstall Updates on Windows 11
If you encounter issues after an update, you can uninstall it to revert to a previous state.
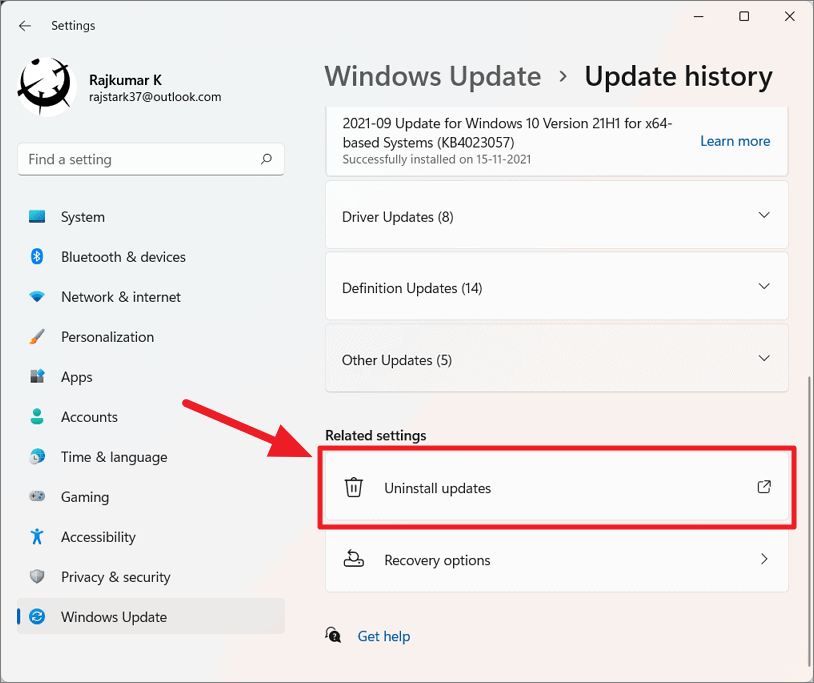
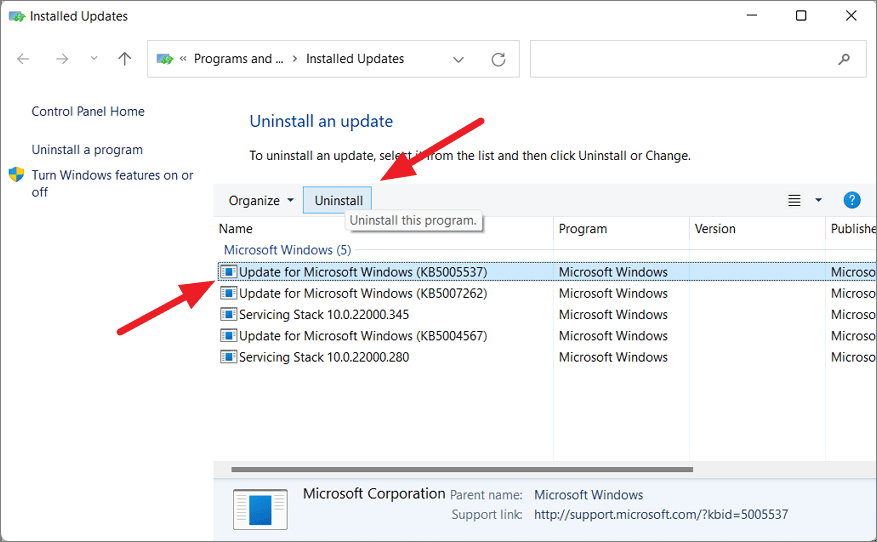
Follow the on-screen instructions to complete the uninstallation. Your system may require a restart to finalize the process.
Stop Windows 11 Auto-Updates with Third-Party Tools
If you prefer a simpler solution to manage updates, third-party tools can help you disable automatic updates without delving into system settings.
Some popular free utilities include:
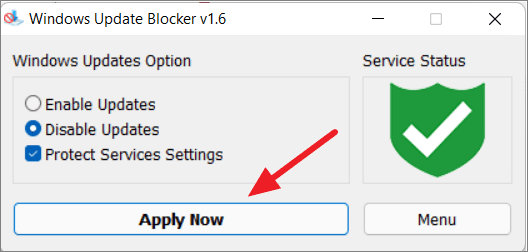
Using Windows Update Blocker:
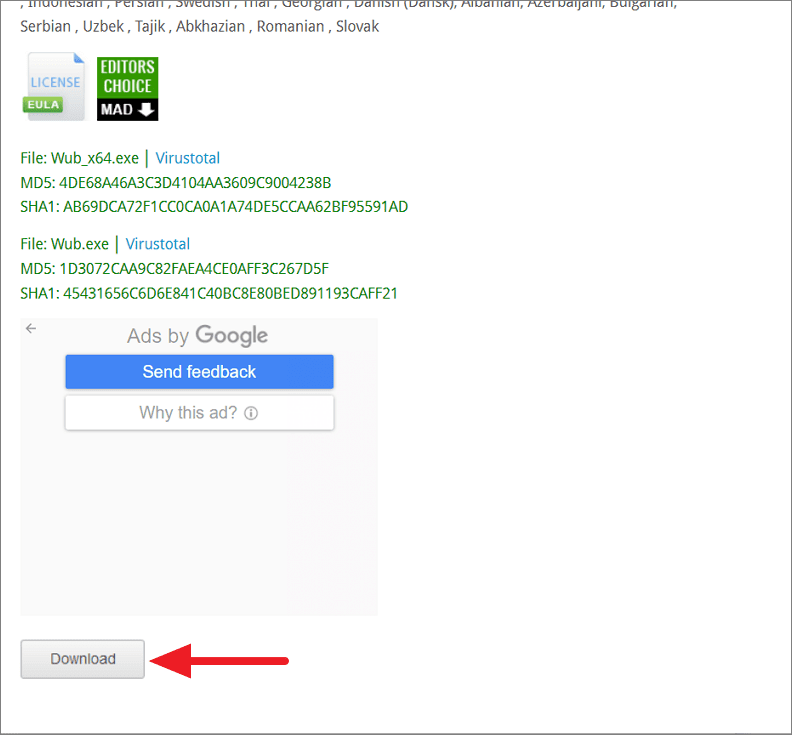
Wub_x64.exe for 64-bit systems or Wub.exe for 32-bit systems.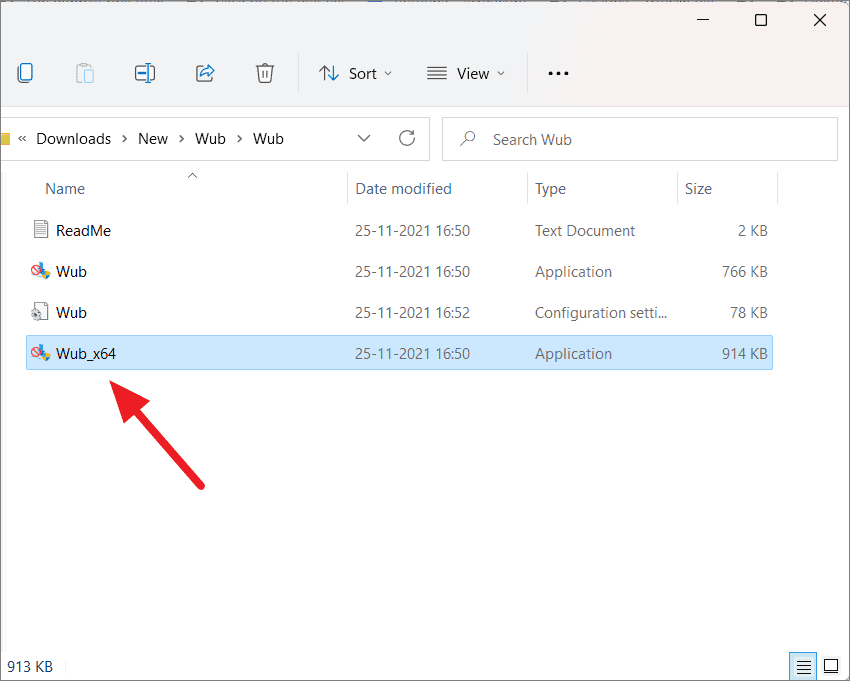
Managing automatic updates in Windows 11 allows you to have greater control over your system. Whether you choose to disable updates permanently or pause them temporarily, these methods provide flexibility to ensure updates occur on your schedule.


