
Having your system’s clock accurately synchronized is essential in Windows 11, as many applications, services, and processes rely on the correct time to function properly. If the system time is incorrect, you may encounter errors or issues with apps like the Microsoft Store or experience problems with background services. Fortunately, Windows 11 offers several methods to sync your time effortlessly. In this guide, we’ll explore the most effective ways to ensure your system clock is accurate.
Sync time in Windows 11 using Command Prompt
If you’re facing persistent time synchronization issues, you can use the Command Prompt to force Windows to resync the time manually. Here’s how:
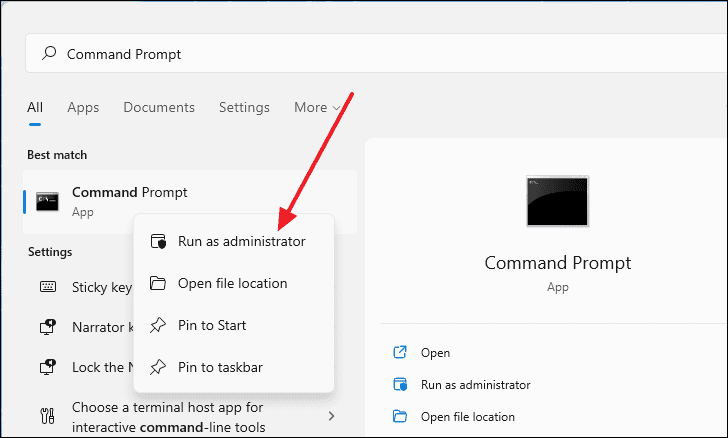
- Press the
Windowskey and typeCommand Prompt. Right-click on it in the search results and select Run as administrator.
- In the Command Prompt window, enter the following commands one by one, pressing
Enterafter each command:
net stop w32timeThen, type:
w32tm /unregisterNext, enter:
w32tm /registerStart the time service again by typing:
net start w32timeFinally, force the resynchronization with:
w32tm /resync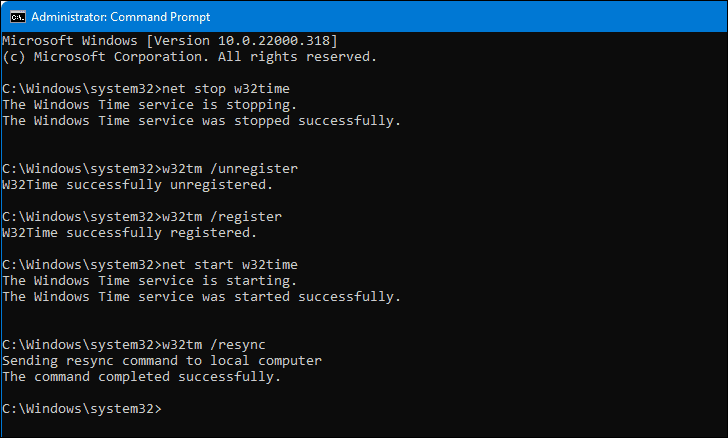
- After completing these steps, restart your computer to apply the changes, and your system time should now be synchronized.
Sync time from the Settings menu
Another straightforward method to sync your time is through the Windows 11 Settings. Follow these steps:
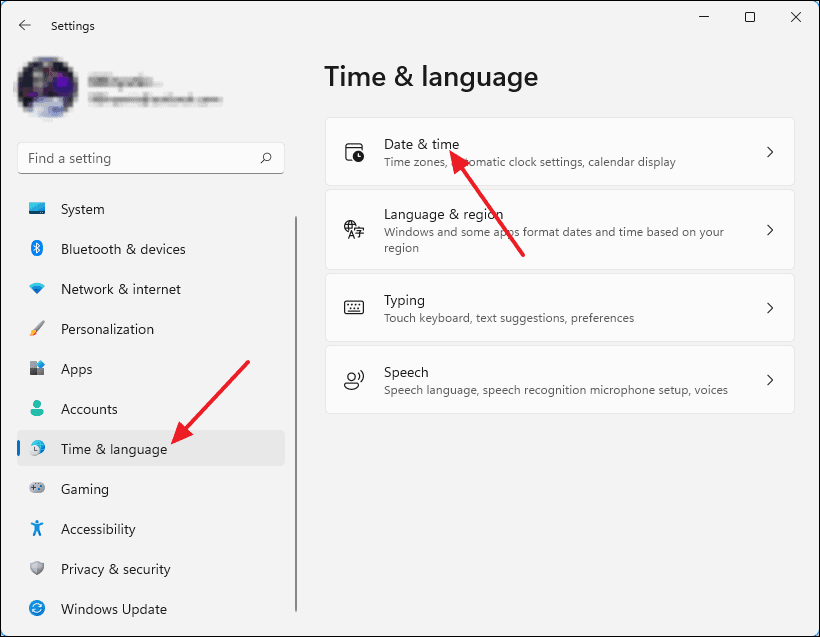
- Open the Settings menu by pressing
Windows + ion your keyboard. - In the Settings window, select Time & language from the left sidebar, then click on Date & time on the right.
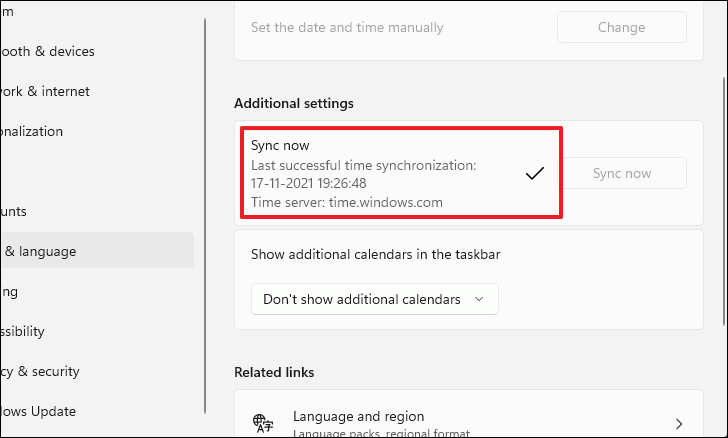
- Scroll down to the Additional settings section and click on Sync now.
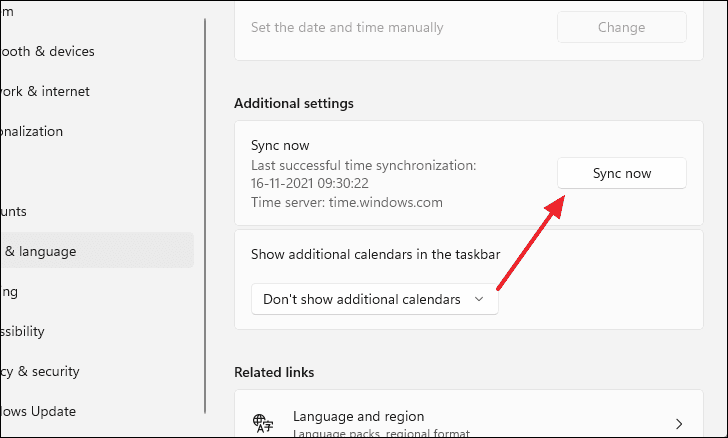
After clicking Sync now, you might see a checkmark indicating that the synchronization was successful, and the button may become grayed out.
Manually sync time from the Control Panel
You can also sync your system time via the Control Panel. Here’s how:
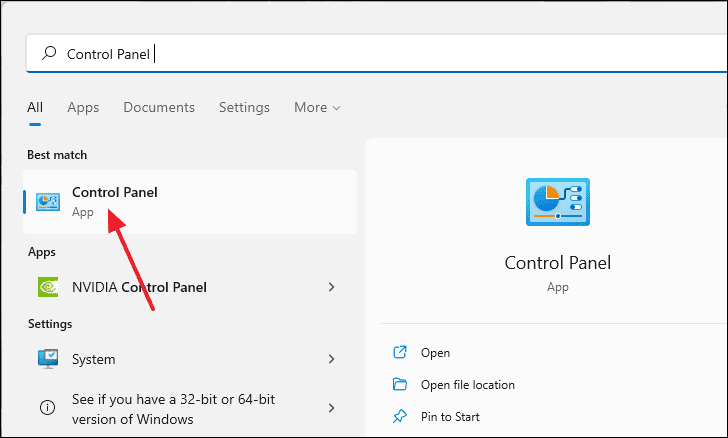
- Click the
Startbutton and typeControl Panelin the search bar. Select it from the search results.
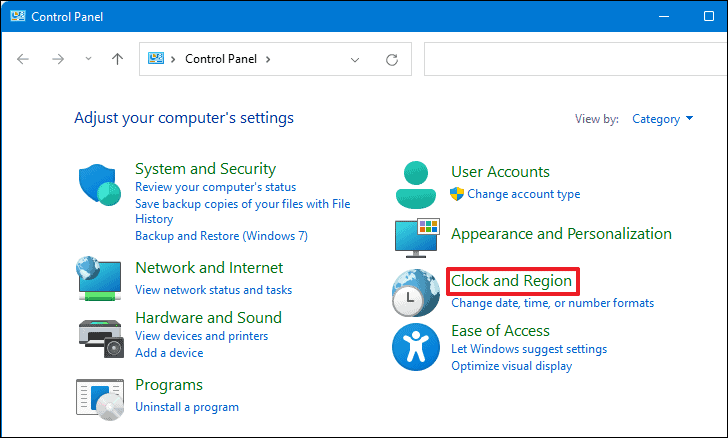
- In the Control Panel window, click on Clock and Region.
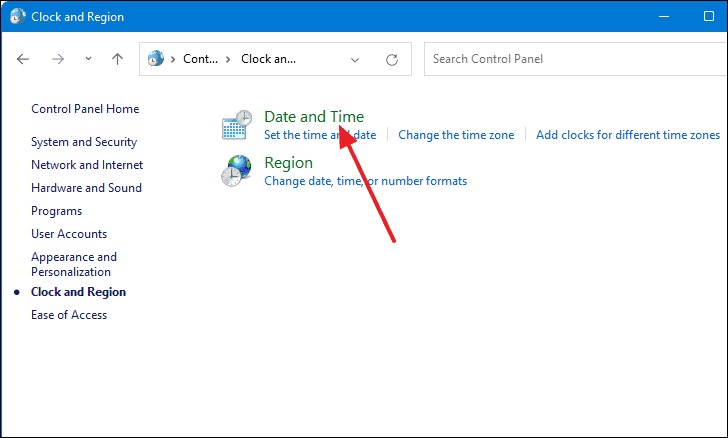
- Then, click on Date and Time.
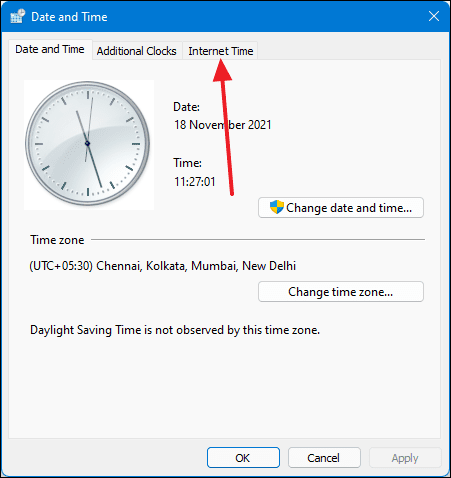
- In the Date and Time window, switch to the Internet Time tab.
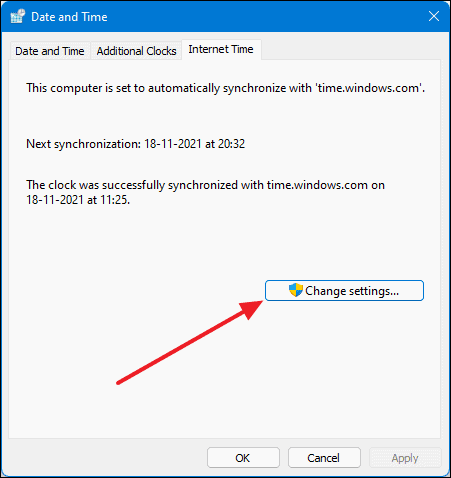
- Click on Change settings….
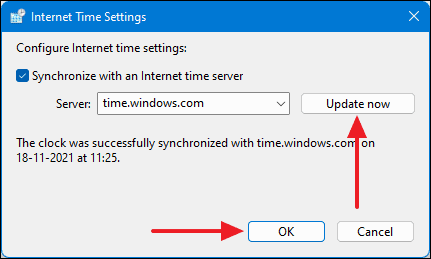
- In the Internet Time Settings dialog box, click on Update now to synchronize your clock.
- Once you see the message “The clock was successfully synchronized…”, click OK to close the window.
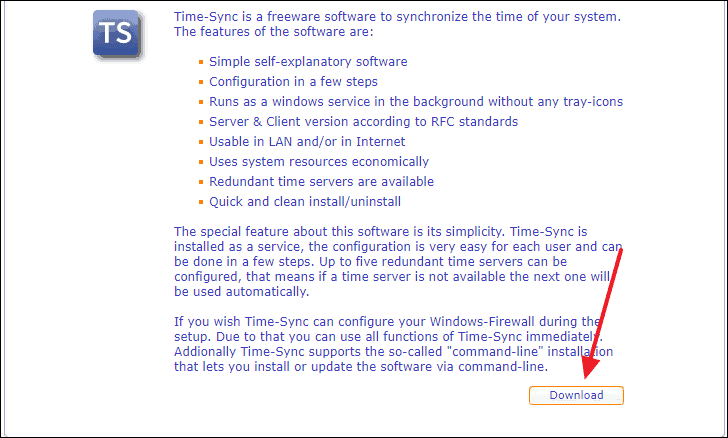
Use Time-Sync software to sync time
If you prefer using third-party software, Time-Sync is a lightweight application that runs in the background to keep your system time updated. Here’s how to use it:
- Visit the Time-Sync download page and click on the Download button.
- On the next page, click on Download again to start downloading the installer.

- Save the installer file to your preferred location by clicking Save.
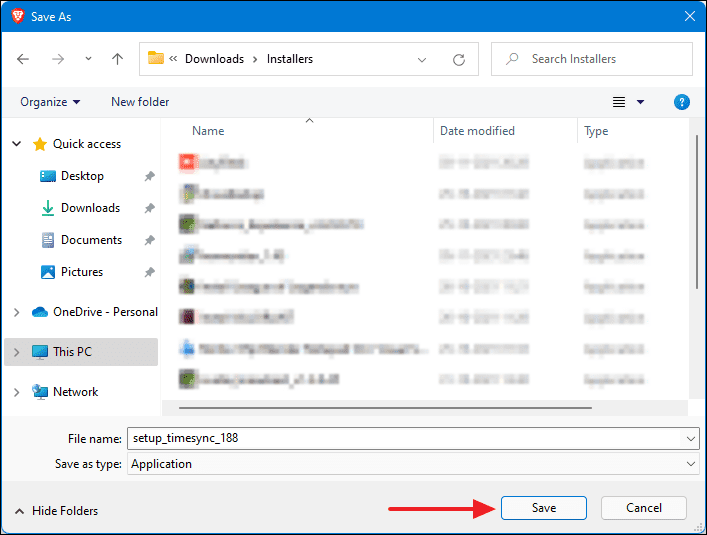
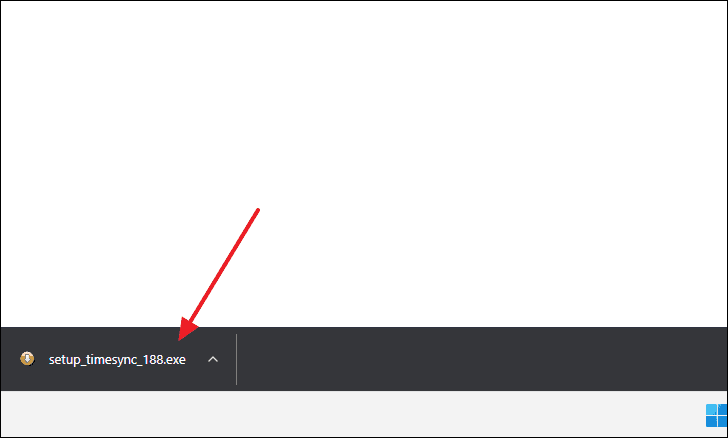
- Once the download is complete, run the
setup_timesync_188.exefile and follow the installation prompts to install Time-Sync.
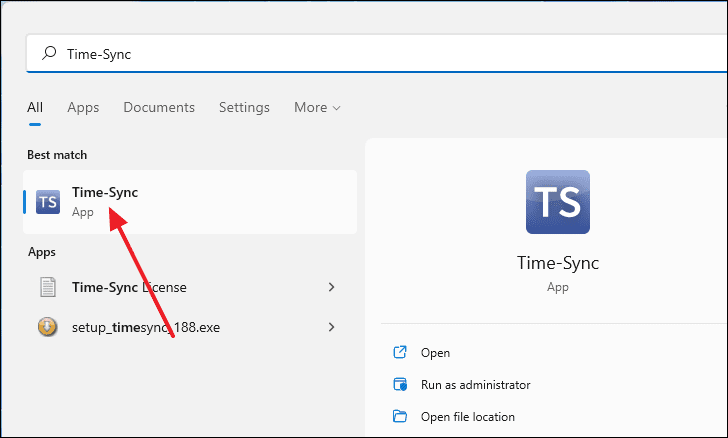
- After installation, open Time-Sync by searching for it in the Start menu and selecting it from the results.
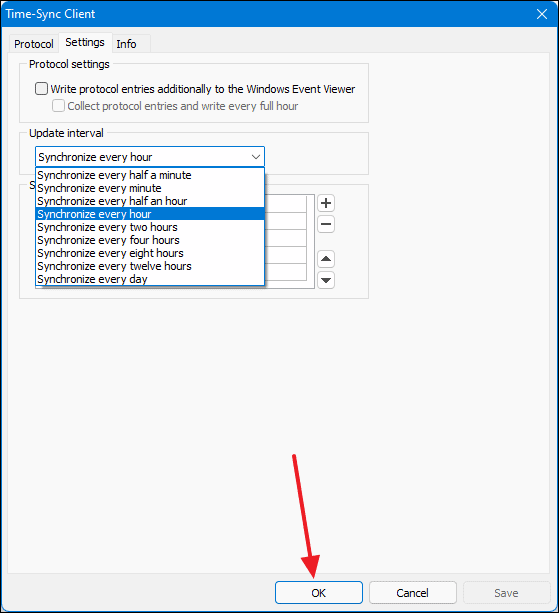
- In the Time-Sync Client window, navigate to the Settings tab.
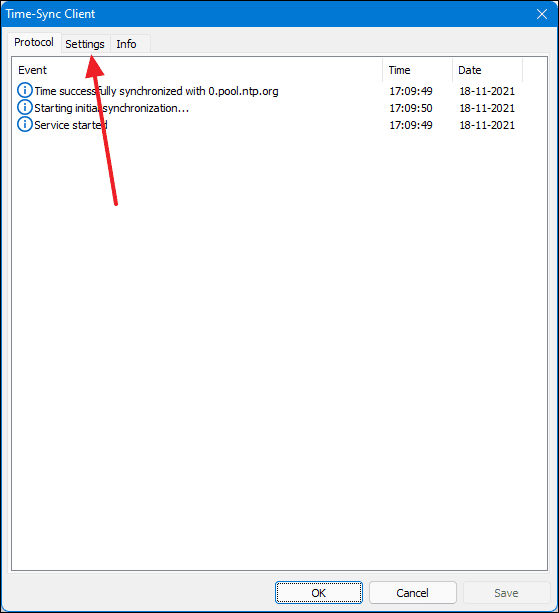
- Under the Update interval section, select your preferred synchronization interval from the dropdown menu, then click OK.
Time-Sync will now run in the background and keep your system time synchronized automatically.
Keeping your Windows 11 system time accurate is essential for the optimal performance of applications and system processes. Using any of these methods, you can ensure your system clock is always up to date.


