3 Easy methods to take a cropped screenshot in Windows 11
3 Easy methods to take a cropped screenshot in Windows 11
by Parth Sawhney
Capturing screenshots is an invaluable skill when you need to share specific moments from your computer screen, such as error messages or settings instructions for someone who needs assistance. Sometimes, you might only need to capture a portion of your screen to avoid sharing sensitive information. In Windows 11, taking a cropped screenshot is straightforward and can be done using built-in tools or third-party applications.
Snipping Tool
The Snipping Tool in Windows 11 is a handy built-in utility that allows you to capture any part of your screen quickly. It doesn’t require you to install or run any additional programs. Here’s how you can use it:
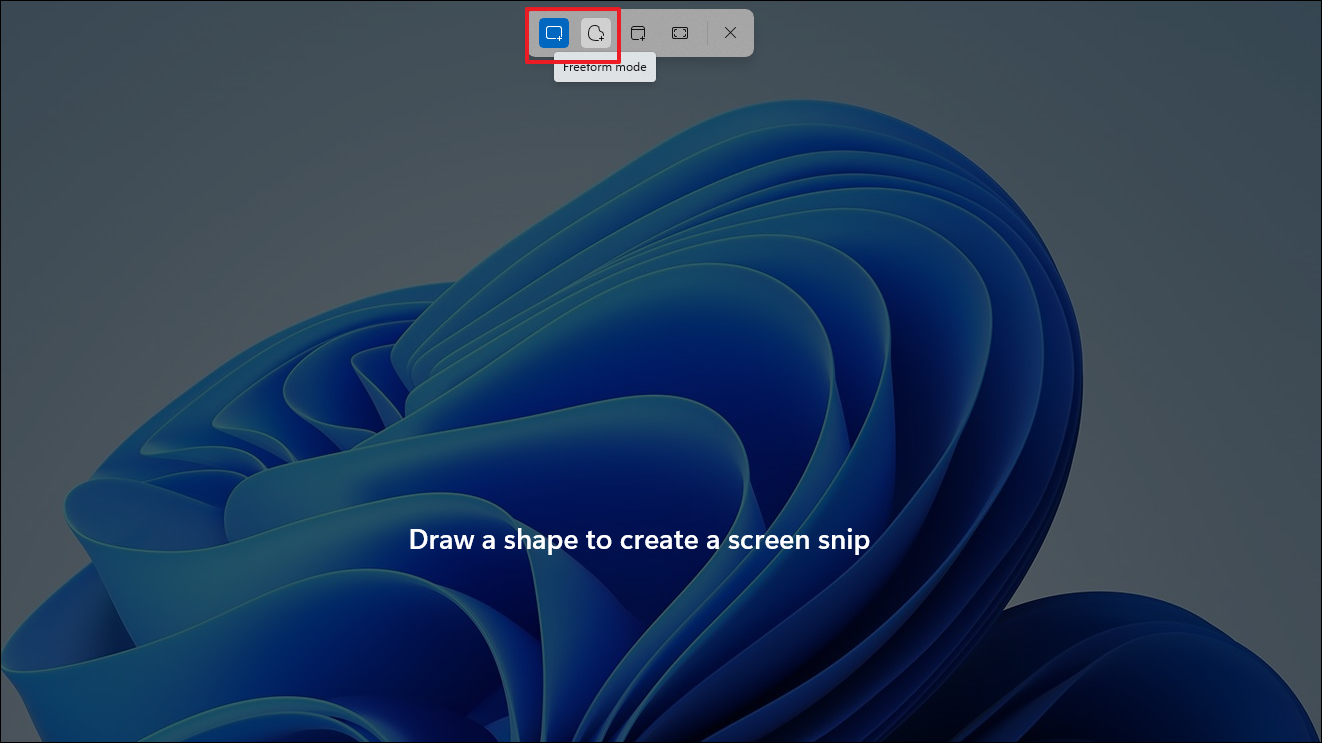
Navigate to the screen you want to capture. Press the Windows + Shift + S keys simultaneously. The screen will dim slightly, and a small overlay menu will appear at the top.
Choose the snip shape that suits your needs from the overlay menu. Click on the ‘Rectangular Snip’ icon to capture a rectangular area, or select the ‘Freeform Snip’ icon to draw a custom shape around the area you wish to capture.
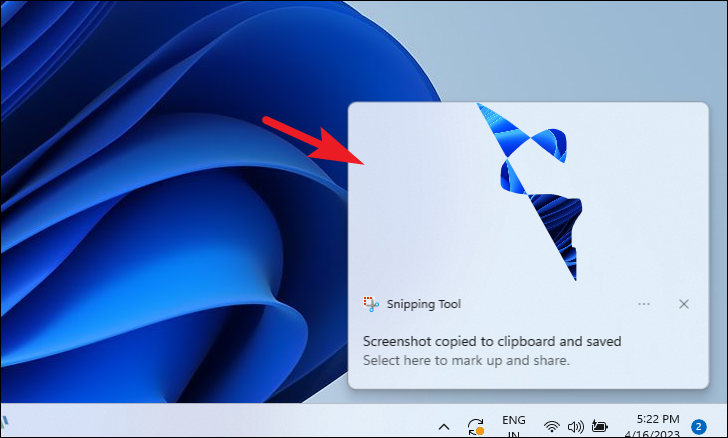
Click and hold the left mouse button, then drag the cursor to select the area of the screen you want to capture. Release the mouse button when you’re done. The captured screenshot will be copied to your clipboard.
A notification will appear showing a preview of your screenshot. Click on it to open the screenshot in the Snipping Tool app, where you can make annotations or edits if needed.
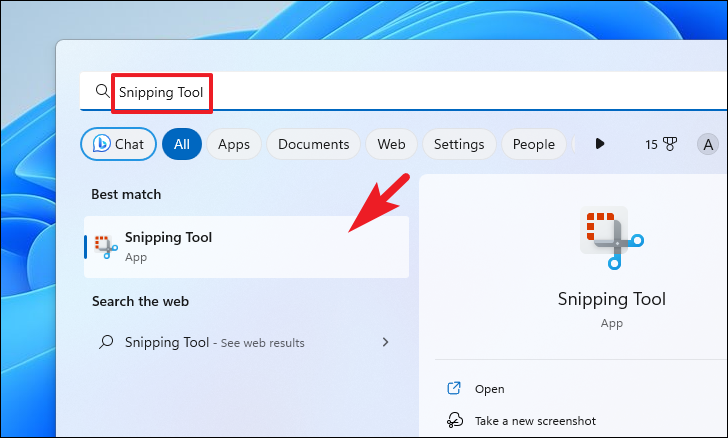
If you prefer more control over your screenshot, you can open the Snipping Tool directly:
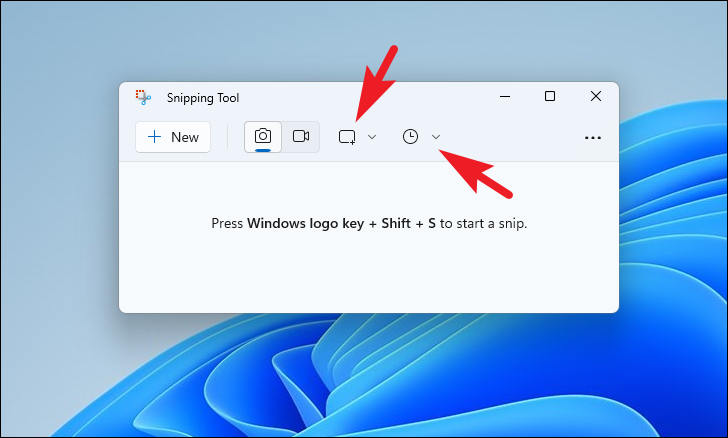
In the Snipping Tool window, click on the ‘Mode’ dropdown to select the type of snip you want. You can choose from ‘Rectangular Snip’, ‘Freeform Snip’, ‘Window Snip’, or ‘Full-screen Snip’. If you want to delay the screenshot, click on the ‘Delay’ icon (the clock) and select the desired time interval.
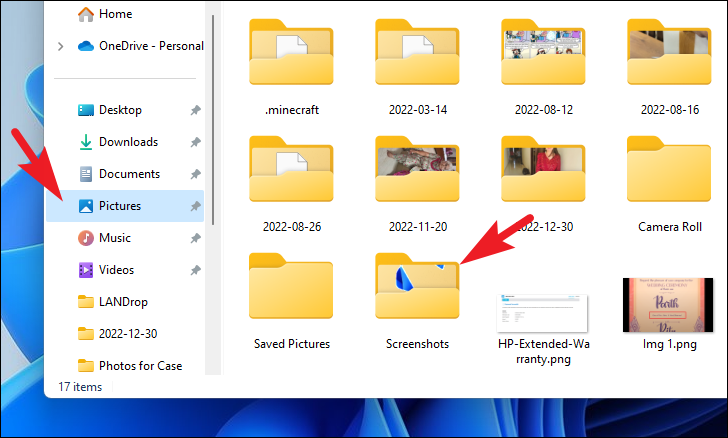
After capturing, the screenshot will open in the Snipping Tool window. You can save it by clicking on the ‘Save’ icon or pressing Ctrl + S. By default, screenshots are saved in the ‘Screenshots’ folder under ‘Pictures’.
Third-Party Tool
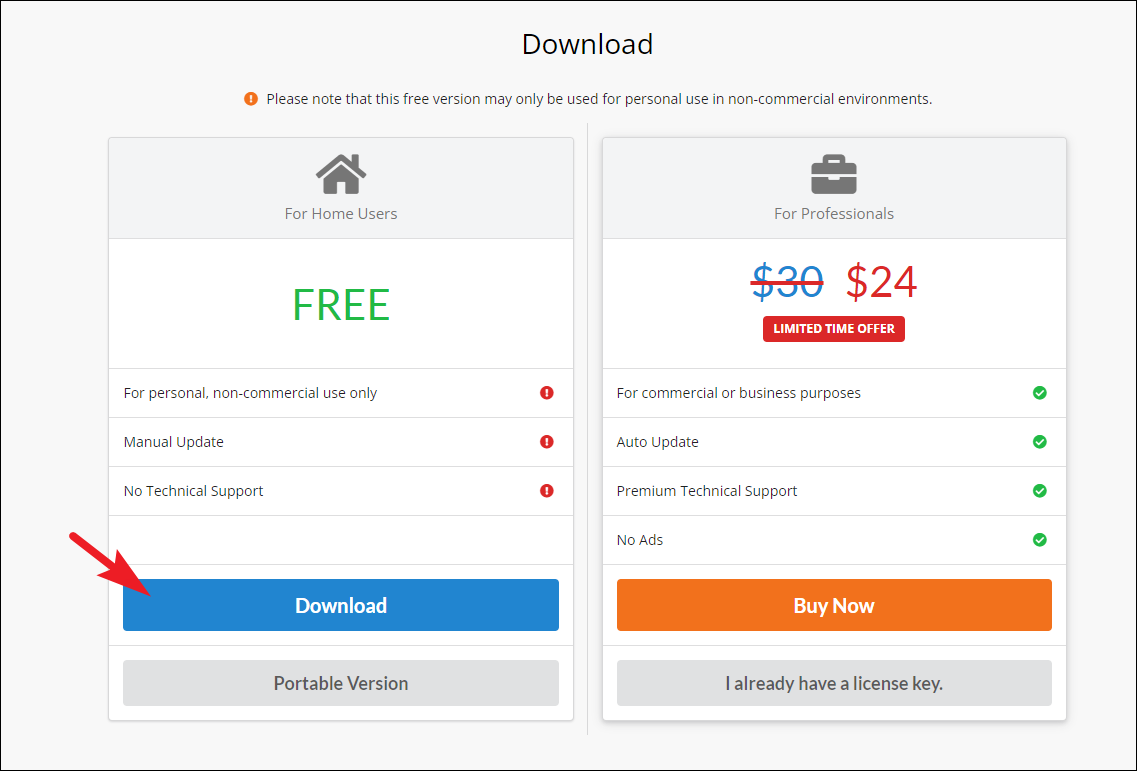
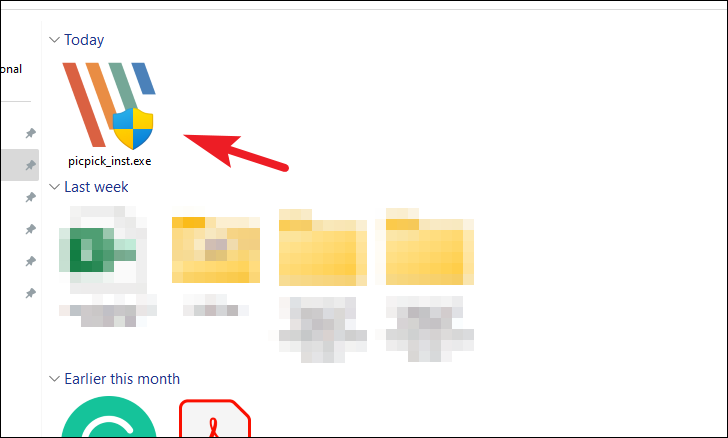
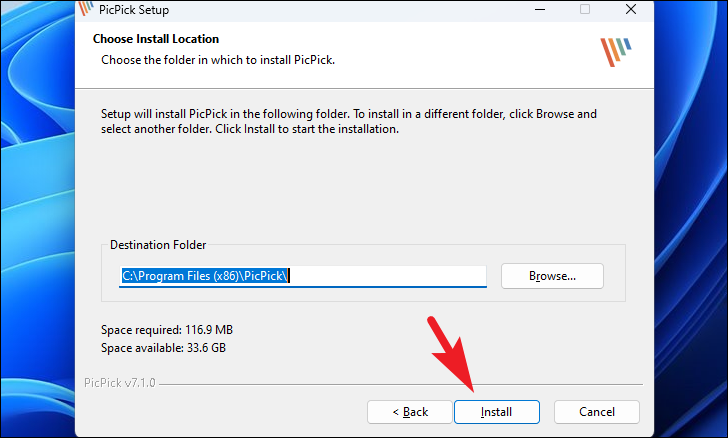
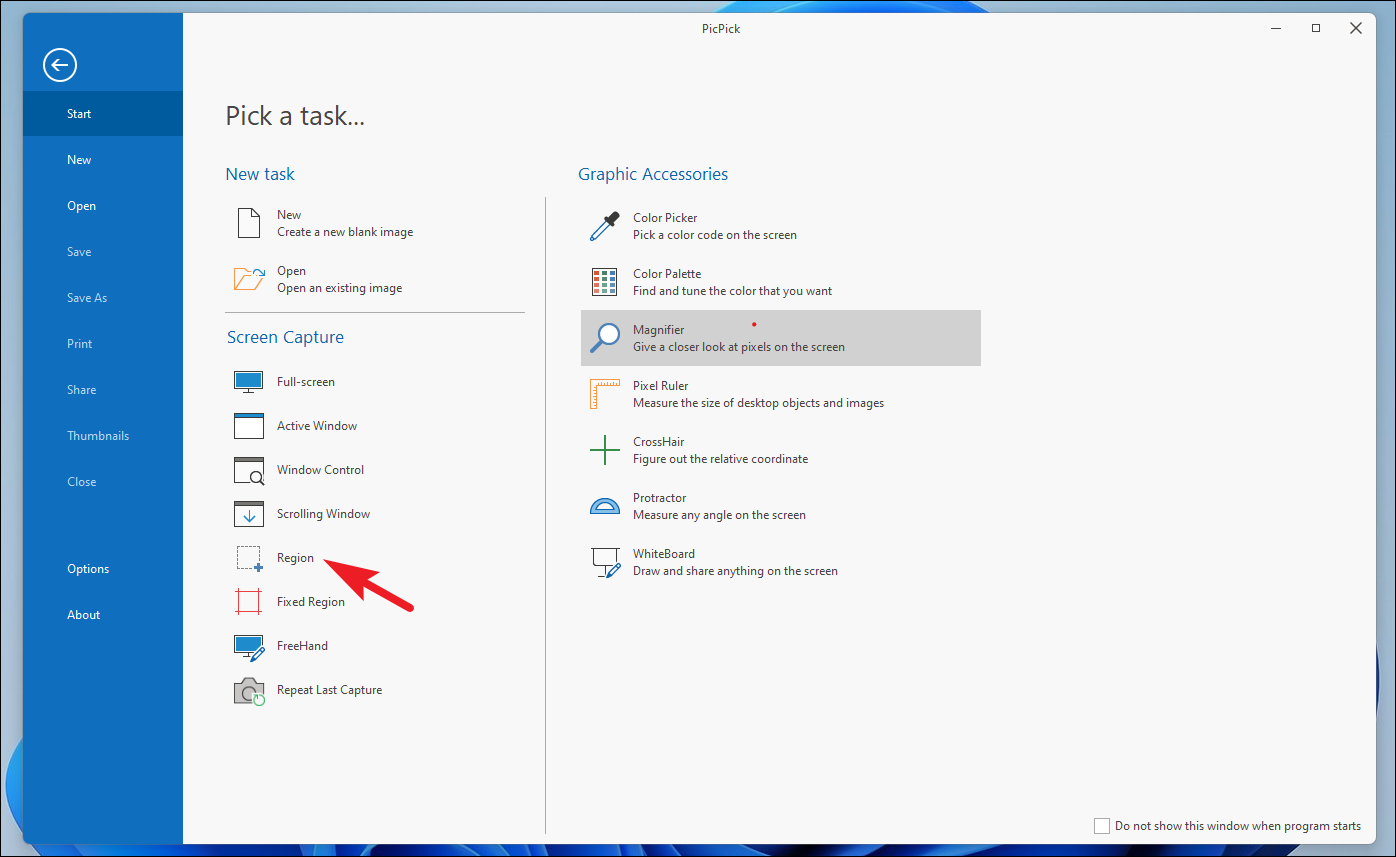
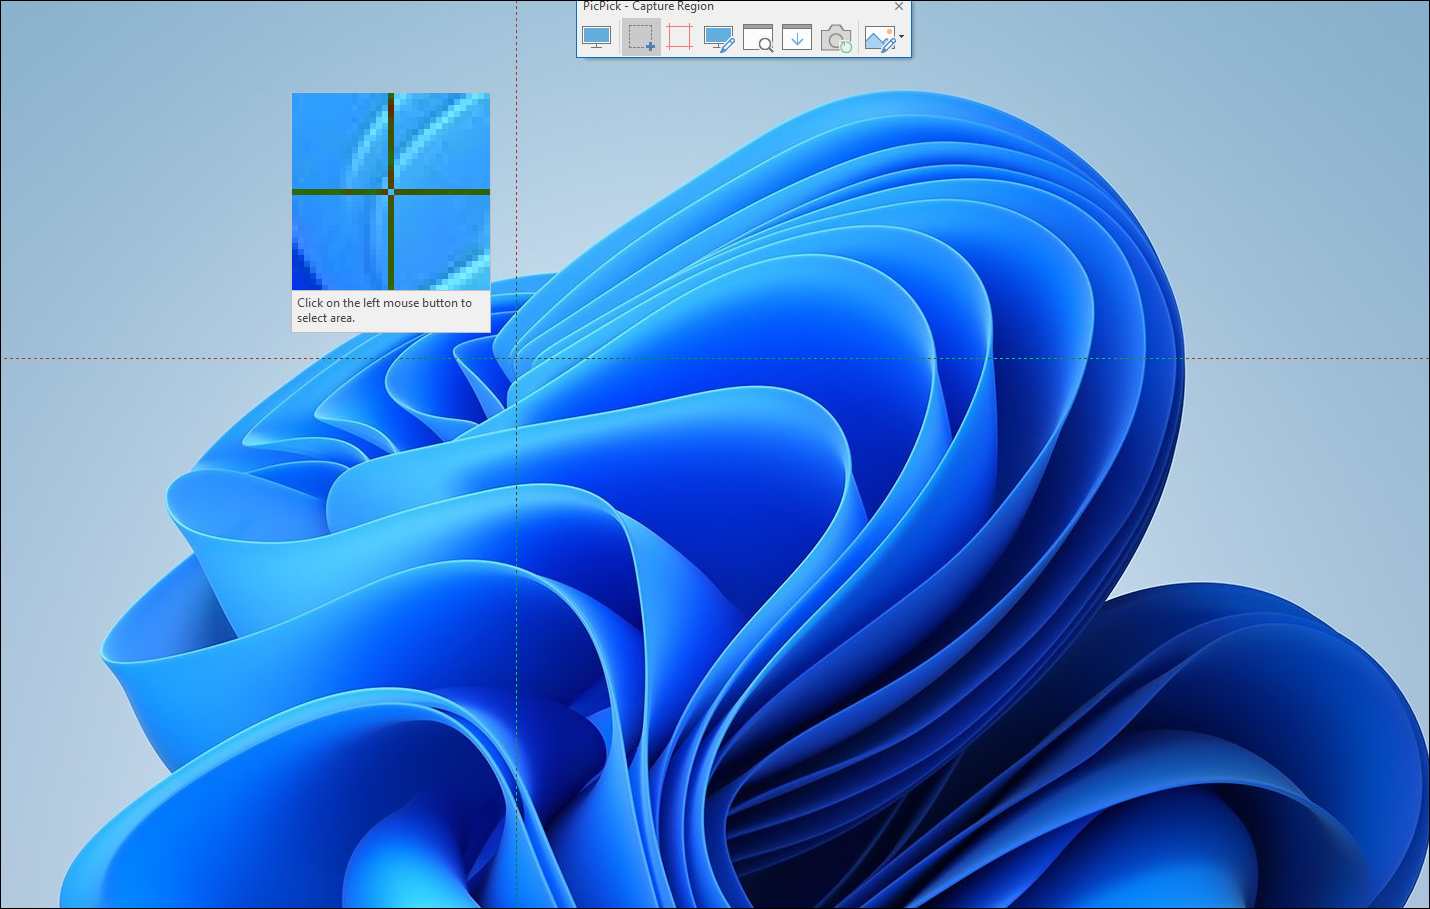
If you prefer using a third-party application, PicPick is a free and versatile tool that offers advanced features for capturing screenshots.
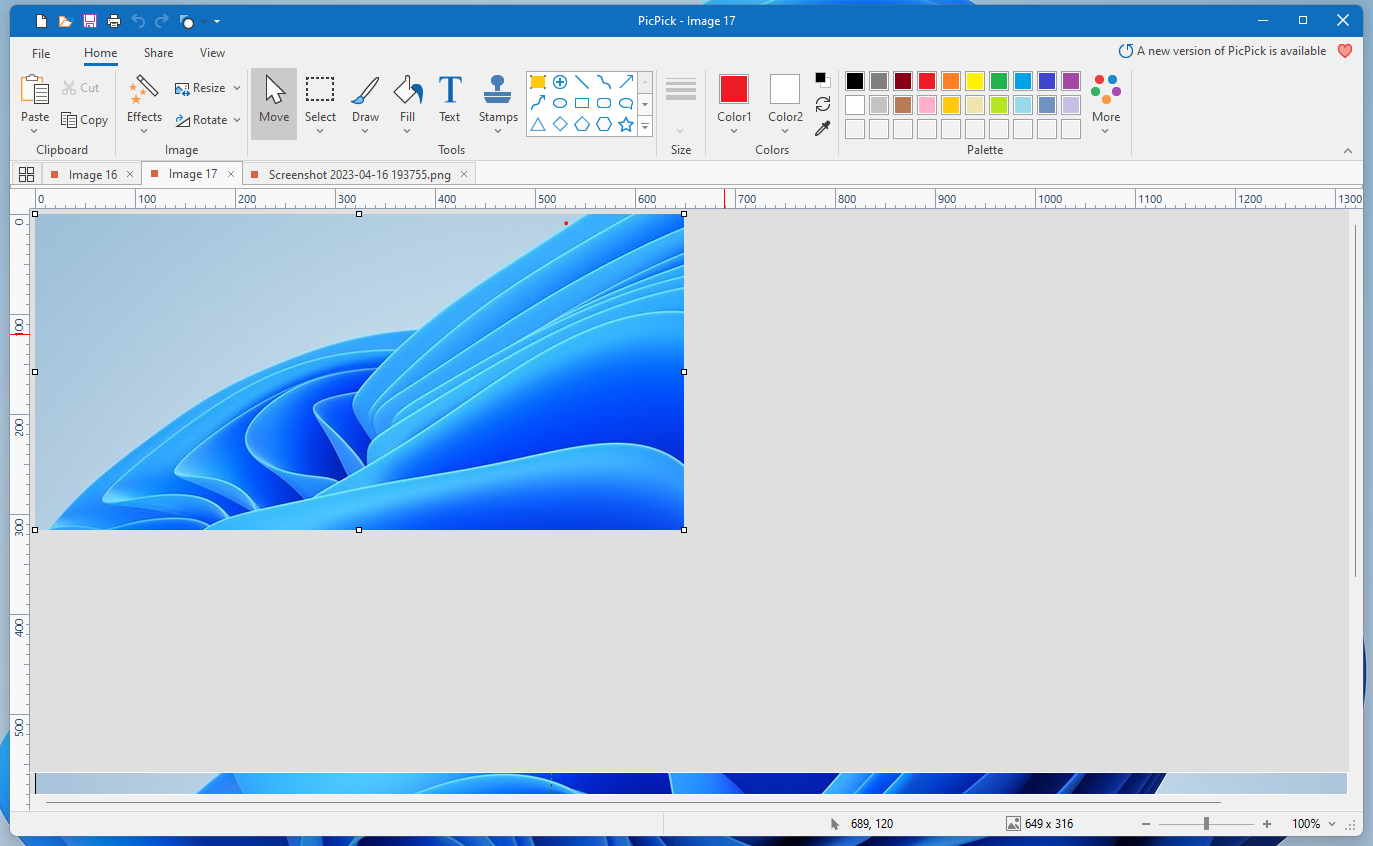
The captured image will open in PicPick’s editor. You can copy it by pressing Ctrl + C or save it by pressing Ctrl + S.
Use Xbox Game Bar
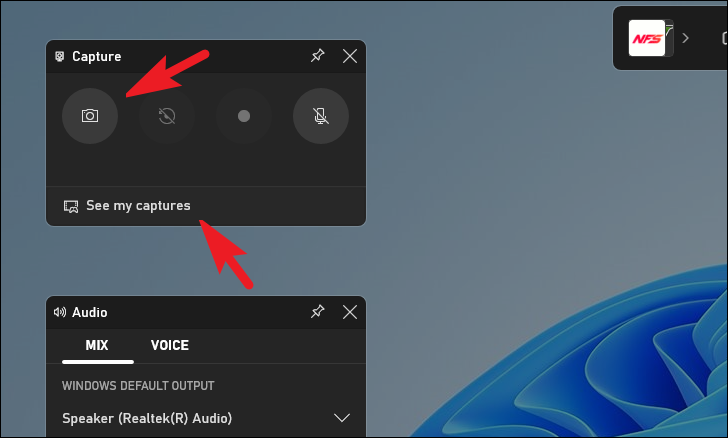
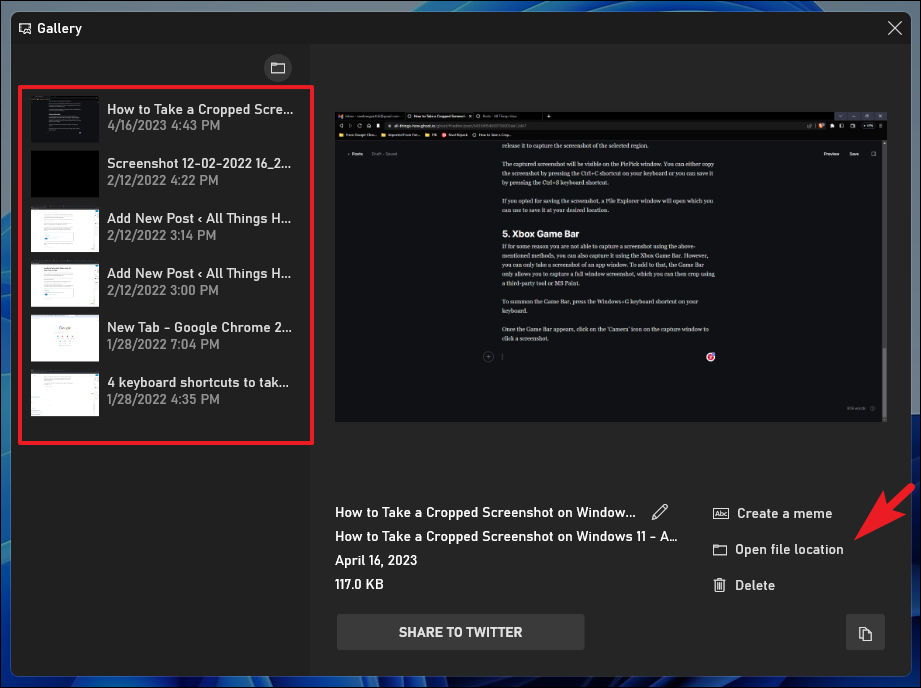
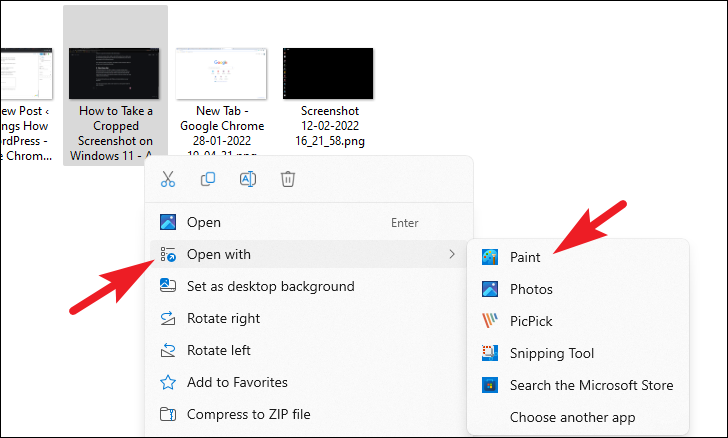
Another way to capture screenshots is by using the Xbox Game Bar, a feature primarily designed for gaming but useful for other applications as well. Note that this method allows you to capture full window screenshots, which you can crop afterward using an image editor like Paint.
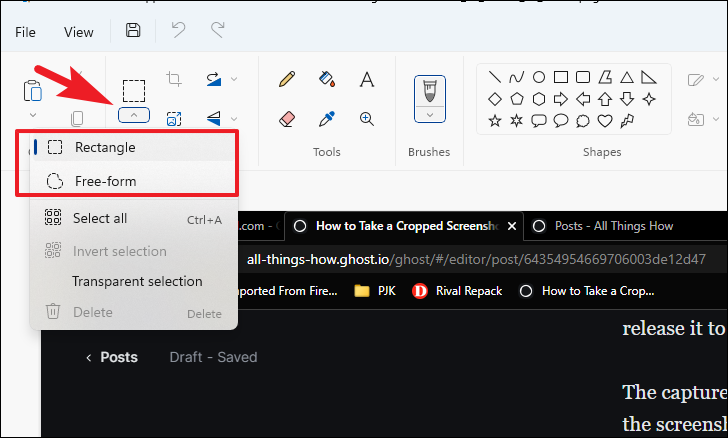
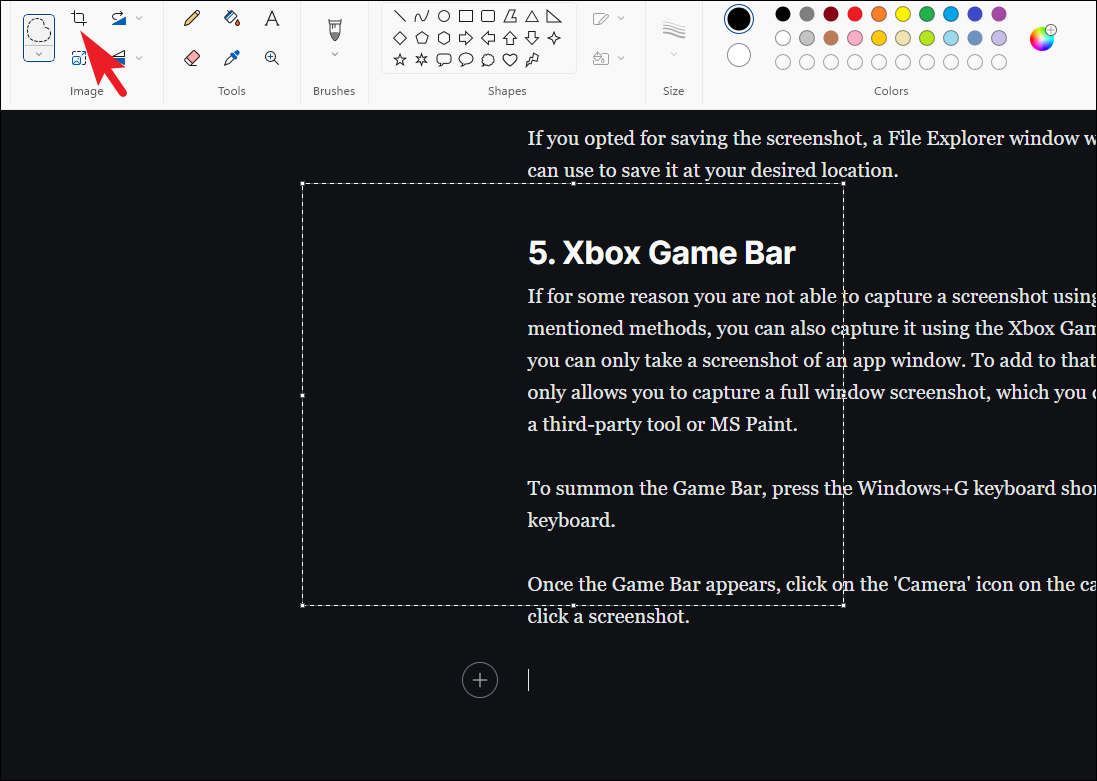
In Paint, use the ‘Select’ tool to choose the part of the image you want to keep. Click on the ‘Crop’ button or press Ctrl + Shift + X to crop the image.
Save the cropped image by pressing Ctrl + S and choosing your desired save location.
Capturing a cropped screenshot on Windows 11 is simple and can be done using built-in tools or free third-party applications. Whether you use the Snipping Tool, PicPick, or the Xbox Game Bar, you have multiple options to suit your needs.