Physical SIM cards are extremely easy to use. Whenever you need to switch them from one device to another, you just take them out of the old phone and put them in the new one. But in the past few years, eSIMs have arrived on the scene. And it looks like they’re the future we’re headed towards.
The entire iPhone 14 lineup in the United States, for instance, does not have a tray for a physical SIM card. They will only activate with an eSIM. Now, transferring an eSIM can look like a daunting task, especially if you don’t consider yourself tech-savvy. But if you’re transferring from iPhone to iPhone, there’s no need to fret. With eSIM Quick Transfer, it’s extremely easy to transfer your physical SIM or eSIM from one iPhone to another, given that your carrier supports it.
Transfer the SIM During Setup
You can use eSIM Quick Transfer while setting up a new iPhone if your carrier supports it. The option is available when setting up your new iPhone using Quick Start. Begin setting up your iPhone using Quick Start with your current iPhone nearby.
When you reach the ‘Set Up Cellular’ screen while setting up your iPhone, tap the plan you want to transfer. Even if you have more than one plan on your current iPhone, you can transfer them all to your new iPhone. But at this stage, select the one you want to transfer right now. You can transfer the rest of them after setup using the instructions below.
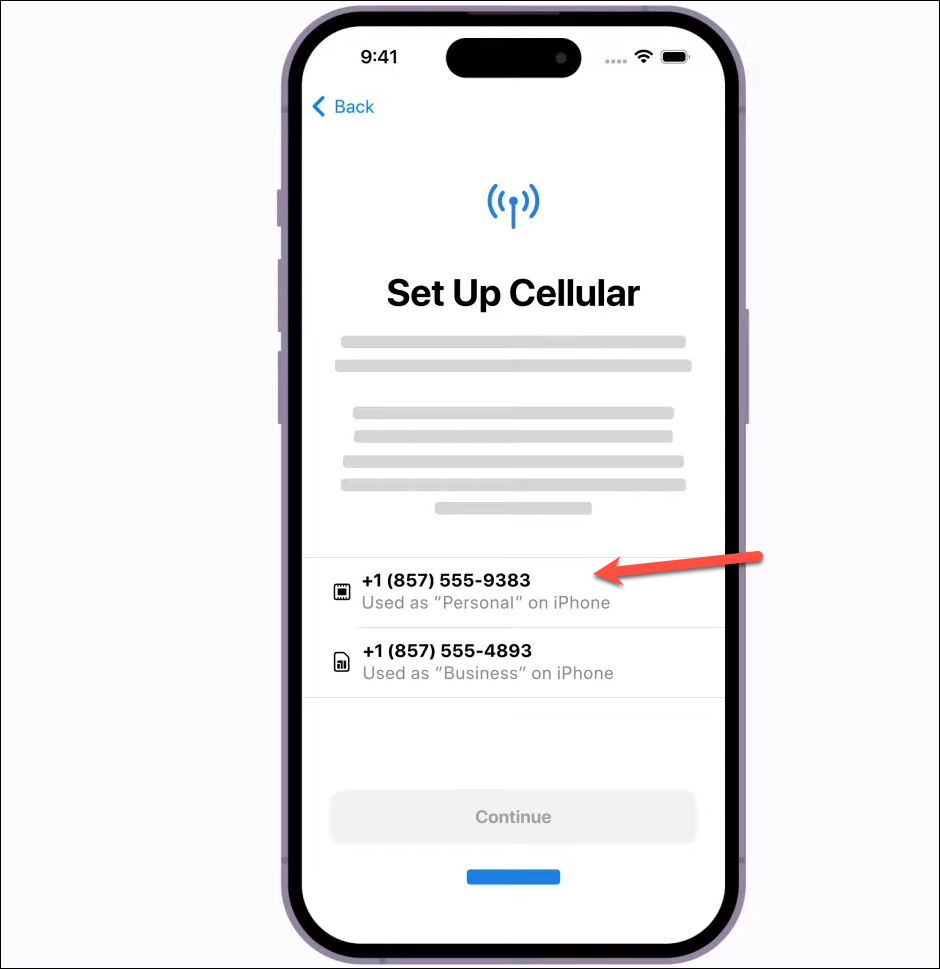
It doesn’t matter if you were using a Physical SIM card or an eSIM previously, if your carrier supports it, you can directly transfer it to your new iPhone as an eSIM.
Tap ‘Continue’ after selecting the line you want to transfer.
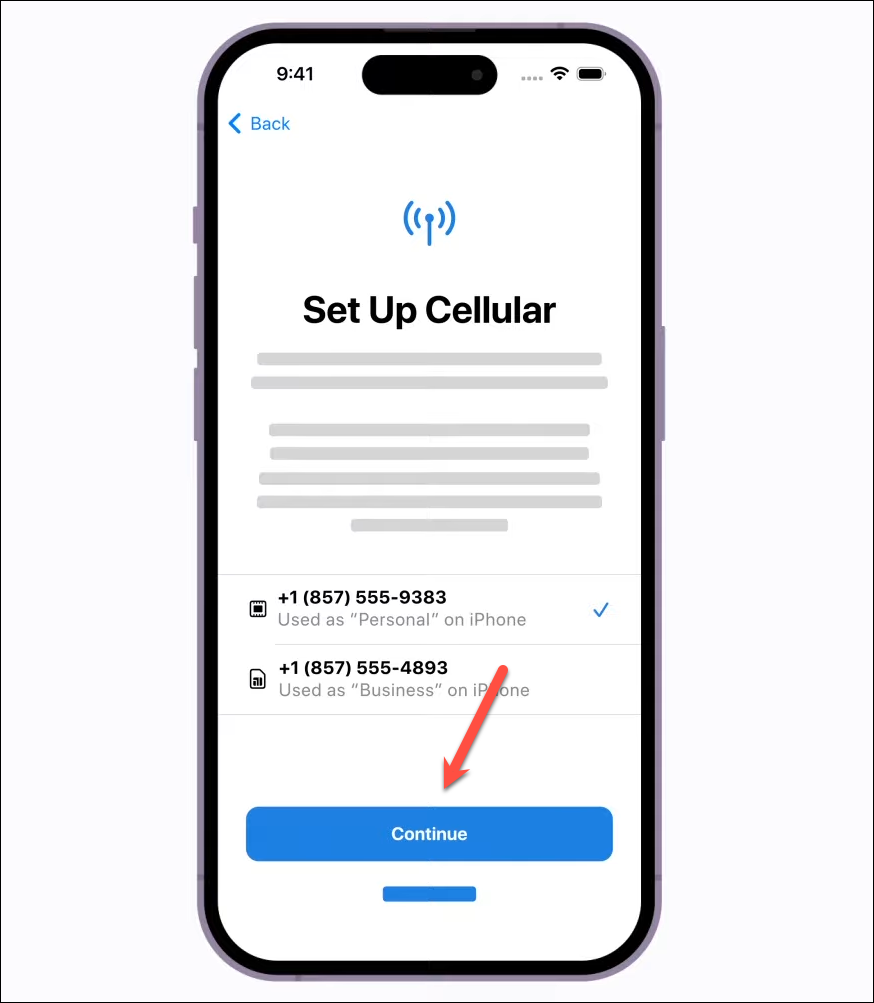
Then, you’ll receive a confirmation request on your current iPhone to transfer the plan. Tap ‘Transfer’ from the prompt.
Then, you might need to either confirm by double-clicking the lock button or by entering a confirmation code you’ll find on your new iPhone. Complete the confirmation accordingly.
Your new iPhone will show ‘Activating’. It can take a few minutes for the activation to complete.
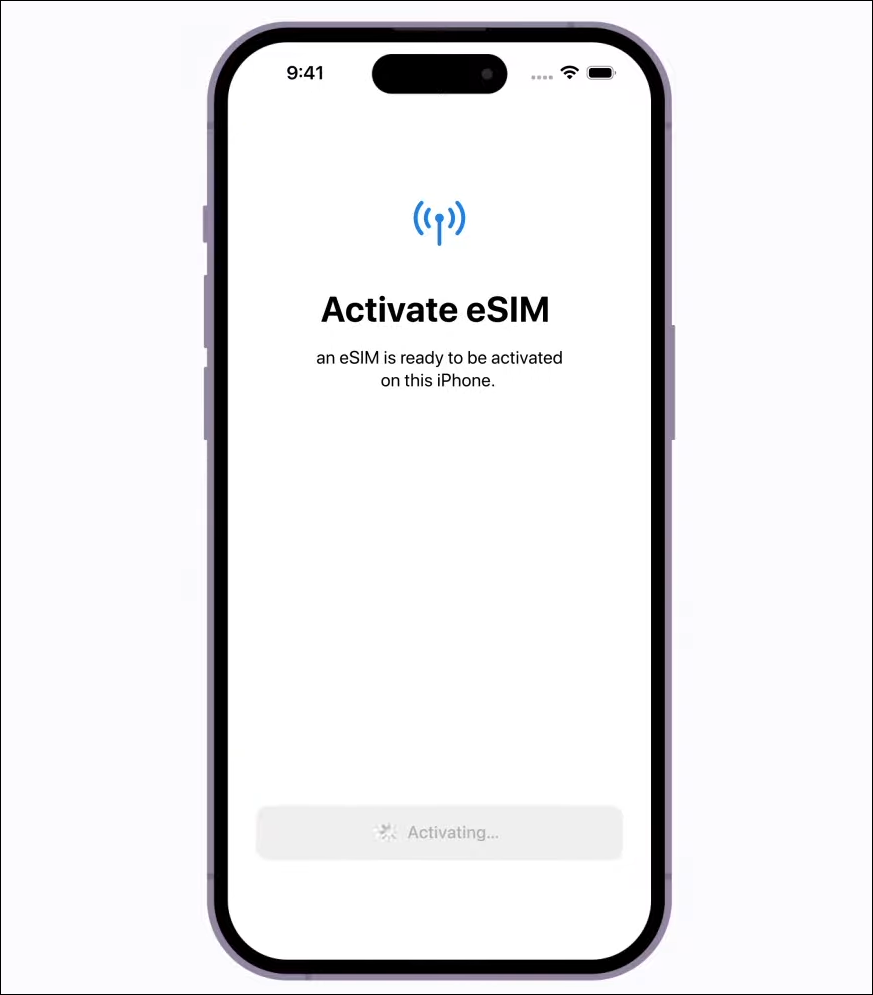
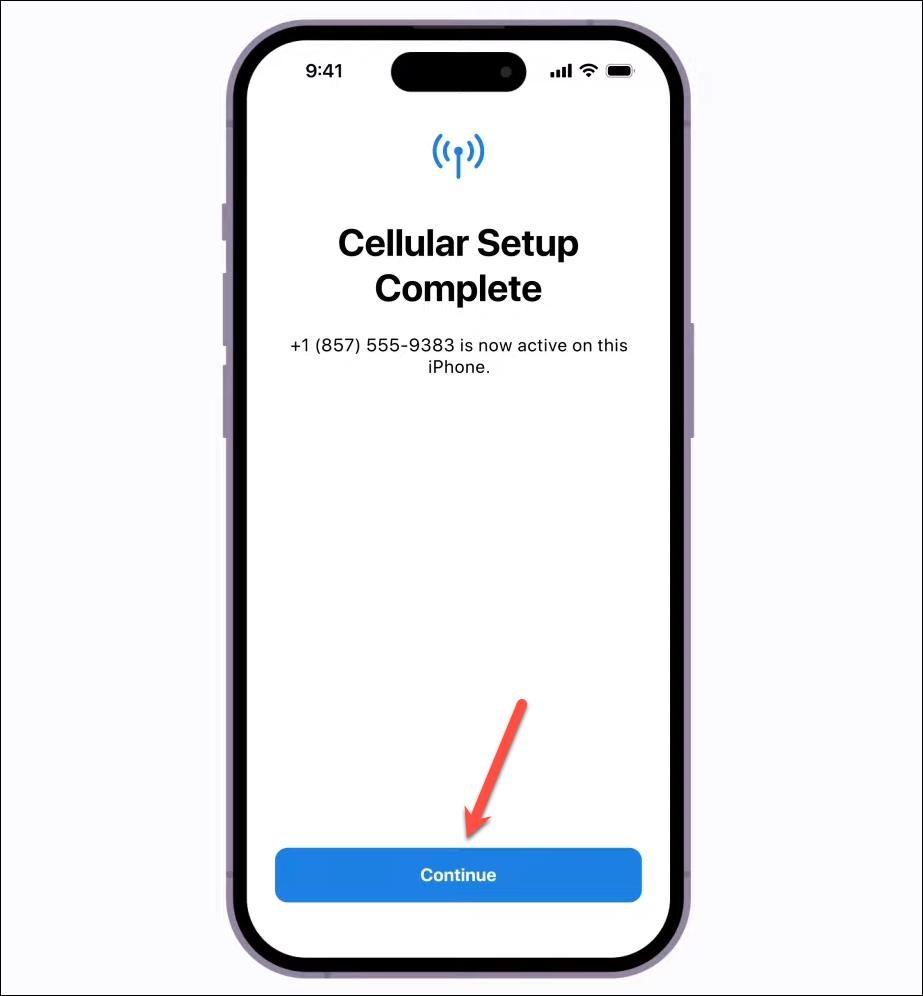
Once the activation is complete, you’ll see the ‘Cellular Setup Complete’ screen. You can also verify that the eSIM is active from the service bars on your new iPhone. Tap ‘Continue’ and complete the setup of your iPhone.
Your plan will stop working on your previous iPhone. If you transferred the plan from a physical SIM card, you can discard that SIM card since it’s useless now. If it was an eSIM, you can delete it from the previous iPhone to make room for any more lines you plan to store on it.
Transfer the SIM from iPhone to iPhone After Setup
You can transfer your first eSIM or any additional plans from the settings after you’ve already set up your iPhone. The iPhone you want to transfer the eSIM from and the new iPhone should be logged in using the same Apple ID. To transfer the SIMs, open the Settings app on the iPhone where you want to set up the eSIM.
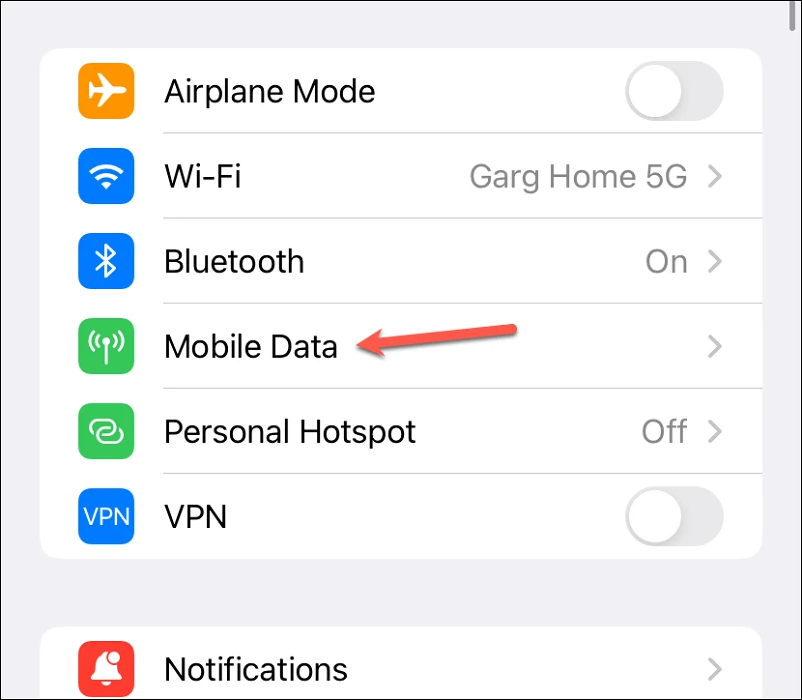
Then, tap the option for ‘Cellular’ or ‘Mobile Data’ from the settings.
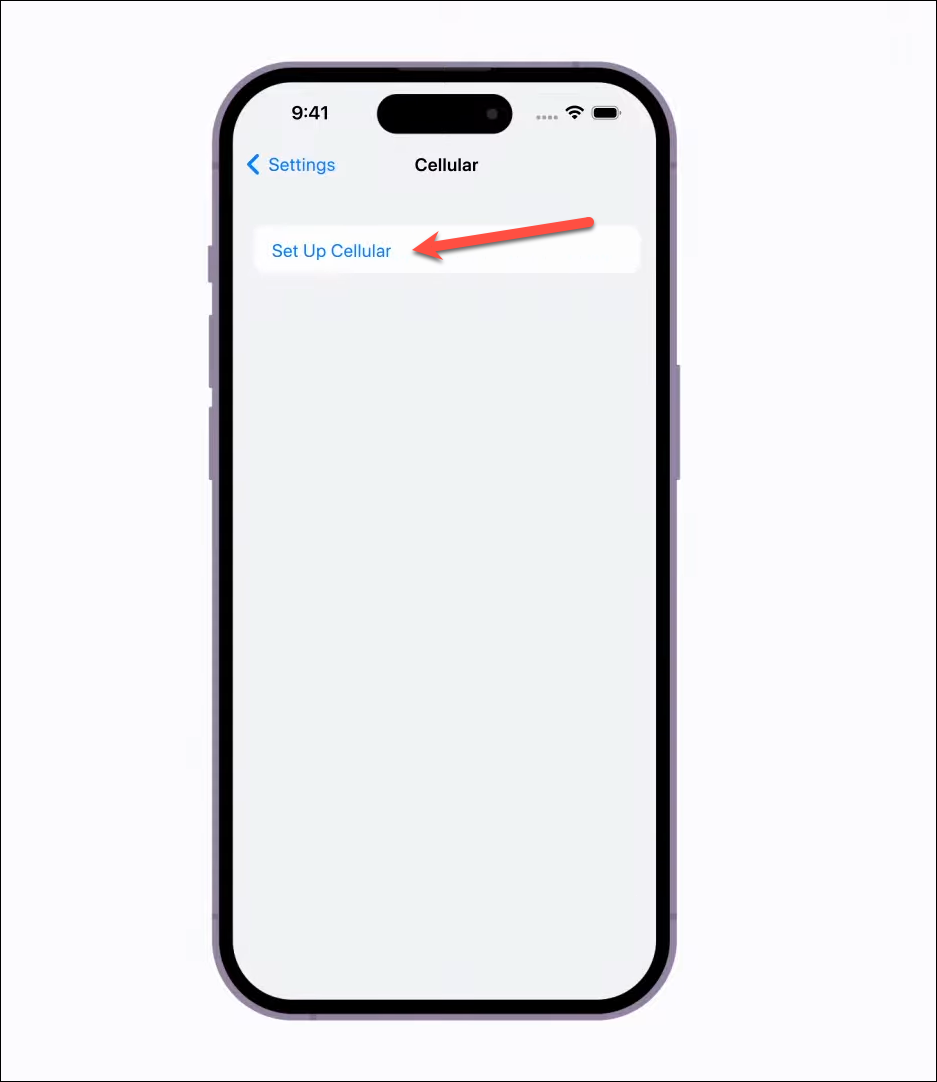
Now, tap the option ‘Set Up eSIM’ on your iPhone. You’ll see ‘Add Cellular Plan’ instead if you’re adding additional plans.
All the cellular plans (if there is more than one) on the old iPhone that can be transferred using this method will appear. Not all carriers support this method, so it’s likely you won’t get the option to transfer your SIM this way. Tap the plan you want to transfer.
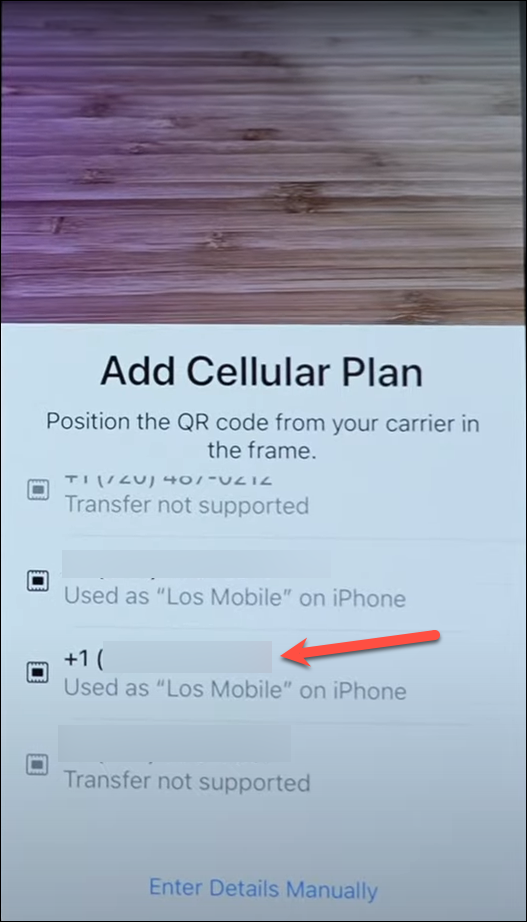
Then, tap the ‘Add Cellular Plan’ option to start the transfer.
You’ll get a confirmation prompt on your old iPhone. Tap ‘Transfer’ on the prompt to confirm.
If you’re also asked to enter a verification code, find the code on your new iPhone and enter it on the old iPhone to complete the transfer. Else, you might need to confirm on your old iPhone by pressing the lock button twice and authenticating with Face ID. Complete the authentication to begin the transfer.
Wait for the transfer to complete on the new iPhone. It can take a few minutes for the activation to complete.
Once it completes, your eSIM will start working right away if it’s the first SIM you’re setting up on the device. If you have another SIM also set up, you’d have to go through the steps to label the new SIM and choose which plan to use for calls and cellular data.
While adding the Cellular Plan on the new iPhone, if you don’t see the list of numbers, tap the option ‘Transfer from Nearby iPhone’ instead. You can use this method to transfer SIMs on any iPhones running iOS 16, including the new iPhone 14 lineup. In addition to iOS 16, both iPhones should have Bluetooth enabled and be near each other. The older iPhone should also be password protected and unlocked. This is the option you’ll see on iPhone 14 by default since it’s running iOS 16.
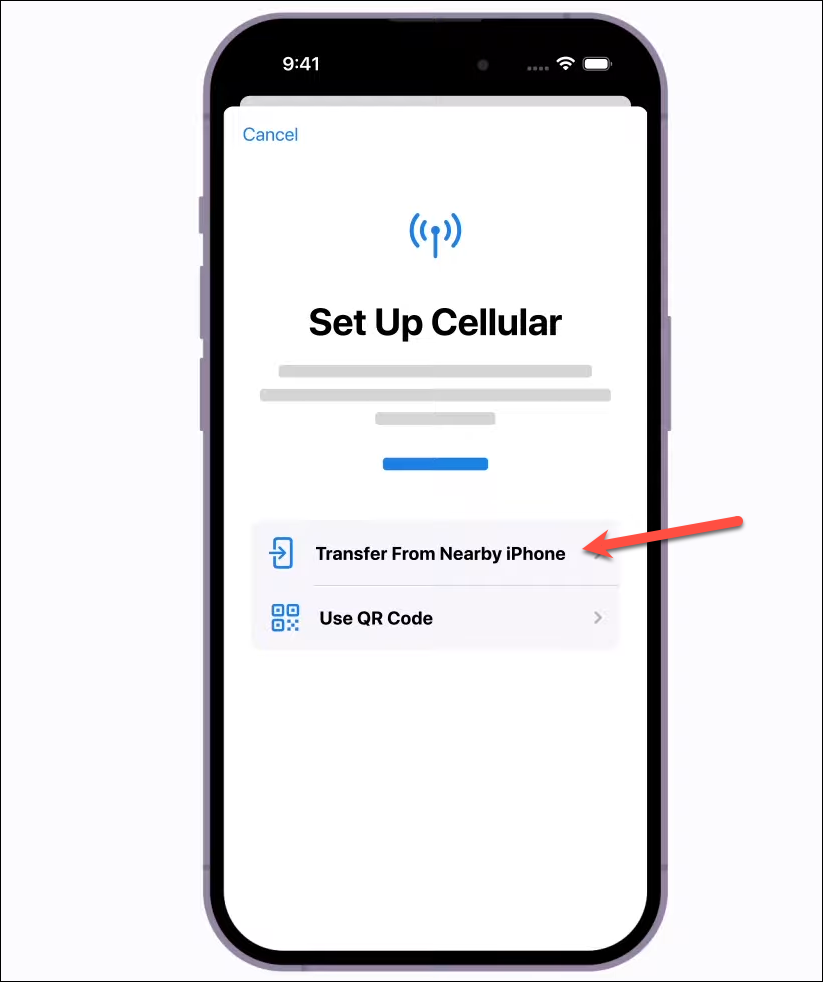
The rest of the steps are the same. You’ll need to confirm the transfer prompts on your old and new iPhone to complete the transfer of the eSIM.
If your carrier does not support eSIM Quick Transfer, you can set up the eSIM using a QR code or other methods listed in this guide.

