
The iPhone 14 lineup is finally hitting the market. And unlike the previous iPhones, there’s going to be one considerable change in how you set it up when you receive your new iPhone – but only in the US.
If you’ve missed the memo, we’re talking about the fact that Apple has phased out the physical SIM tray in favor of eSIMs from the entire iPhone 14 lineup in the United States. That includes all 4 variants: iPhone 14, 14 Plus, 14 Pro, and 14 Pro Max.
With these phones only having an eSIM, the prospect of setting up the new iPhone can seem daunting, especially if you have never used an eSIM before. Because let’s face it, even if iPhones have supported the eSIM technology for a few years, not many have jumped on the bandwagon. Yes, it can be unnerving to set up an eSIM for the first time, but the process has become a lot easier over the years. And iOS 16 will make it even easier. So, let’s get on with it, shall we?
Activating an eSIM on iPhone 14
Setting it up will not take more effort than turning your iPhone on and following the instructions on the screen. Yet, we’ll lay down the process step-by-step for your convenience. For the entirety of this article, when we say iPhone 14, it’ll be applicable to all the variants of the lineup, unless stated otherwise.
If you’ve bought the iPhone 14 in the US, it’ll activate with an eSIM only. For iPhones purchased elsewhere in the world, the instructions given below will still be applicable for setting up your new phone with an eSIM instead of a physical SIM card. We’ll also cover the instructions for setting up additional eSIMs on your iPhone 14, and these instructions will be the same for all users everywhere, regardless of whether your iPhone 14 has a physical SIM tray or not. iPhone 14 can store up to 6 eSIMs and iPhone 14 Pro can store up to 8 eSIMs for you. But you can only use any two of them at a time.
Now, there are a few ways you can activate an eSIM on your iPhone 14. And which method you’ll need to use will depend on your carrier. You can either set up an eSIM using eSIM Carrier Activation, eSIM Quick Transfer, using a QR code, or your carrier’s app if your carrier doesn’t support the first two methods.
Use eSIM Carrier Activation
If you’ve purchased a carrier-connected iPhone, whether from Apple or the carrier itself, this option is provided by the carriers in this case. The carriers assign a new eSIM to your iPhone which makes the setup process easy. All you need to do in this case is to turn on your iPhone and the instructions to activate and set up the eSIM will appear on your screen.
Since your iPhone is connected to the carrier in this case, you’ll have to set it up when you turn on your iPhone.
If you want to set up another eSIM from the carrier on your iPhone, it’s easy too.
Note: You cannot use an eSIM from another carrier on a phone that’s locked by the carrier. You can only use other plans from the same carrier. Or you’ll first need to get your iPhone SIM unlocked from the carrier if your phone is eligible.
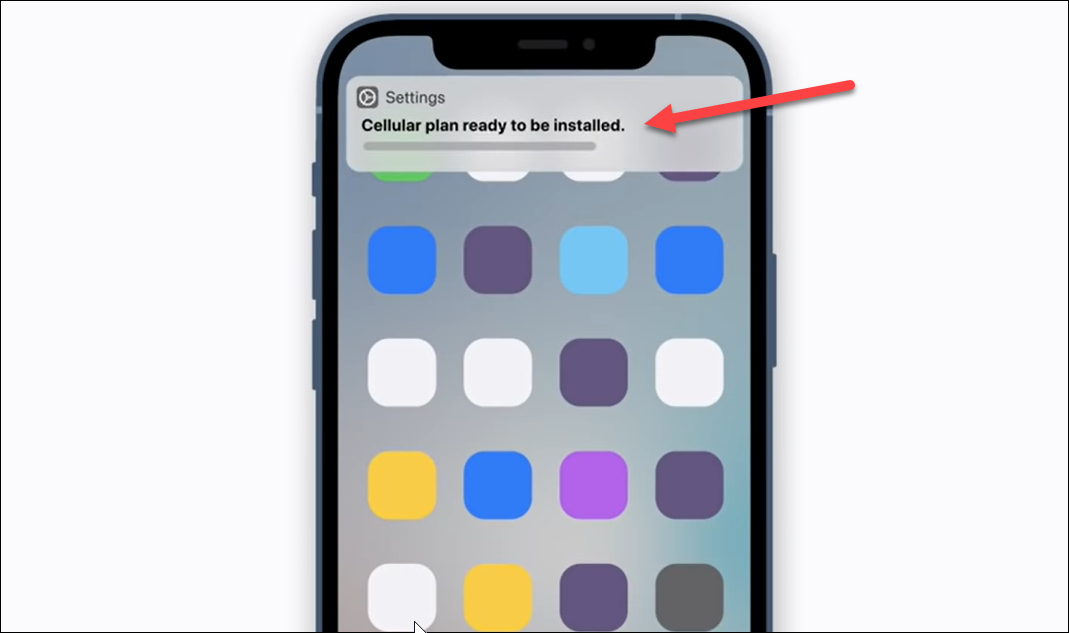
Contact your carrier for a new eSIM. For carriers that offer eSIM Carrier Activation, you’ll get a notification on your iPhone saying ‘Carrier Cellular Plan Ready to Be Installed’ when the eSIM is ready to be activated. Tap the notification.
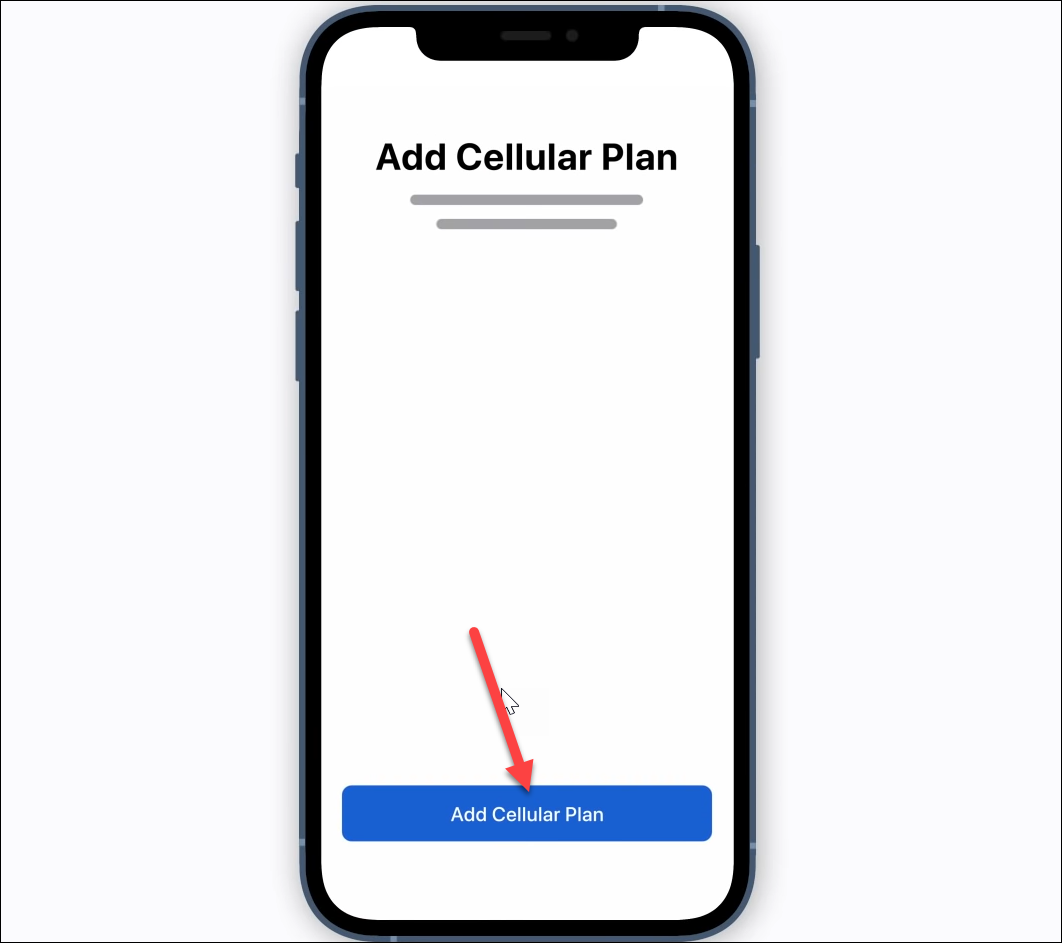
Then, tap ‘Add Cellular Plan’ on the setting page that opens.

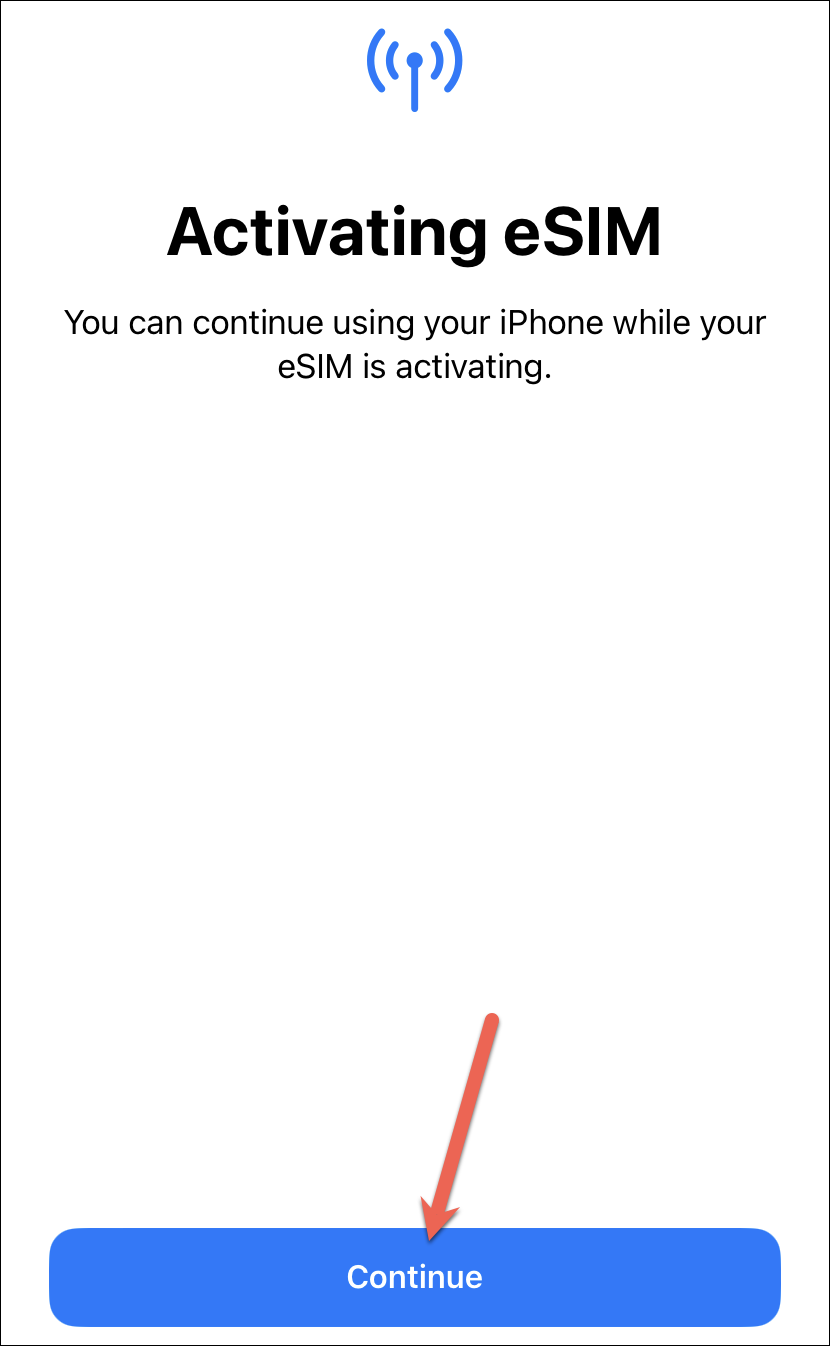
Tap ‘Continue’ to activate the eSIM.
eSIM activation can take some time so you can use your iPhone in the meantime.
Use eSIM Quick Transfer
With iOS 16, users also have the option to transfer their eSIM from an old iPhone to their new iPhone. You can use this method to set up the eSIM either while setting up your phone or at any later time. This new method makes the process of transferring eSIMs extremely seamless while cutting down the headache of having to contact the carrier. But do note that Quick Transfer is only available if the carrier supports it.
Note: To use Quick Transfer, both your old iPhone should also be using iOS 16. It should also be password protected but unlocked when you want to transfer SIMs. The phones should also be nearby with Bluetooth turned on.
If you are currently using a physical SIM card, you can also transfer it to an eSIM from your previous iPhone to your new iPhone 14. Whether you’re transferring an eSIM or converting a physical SIM card, you’ll get the option to transfer to eSIM if the carrier supports it.
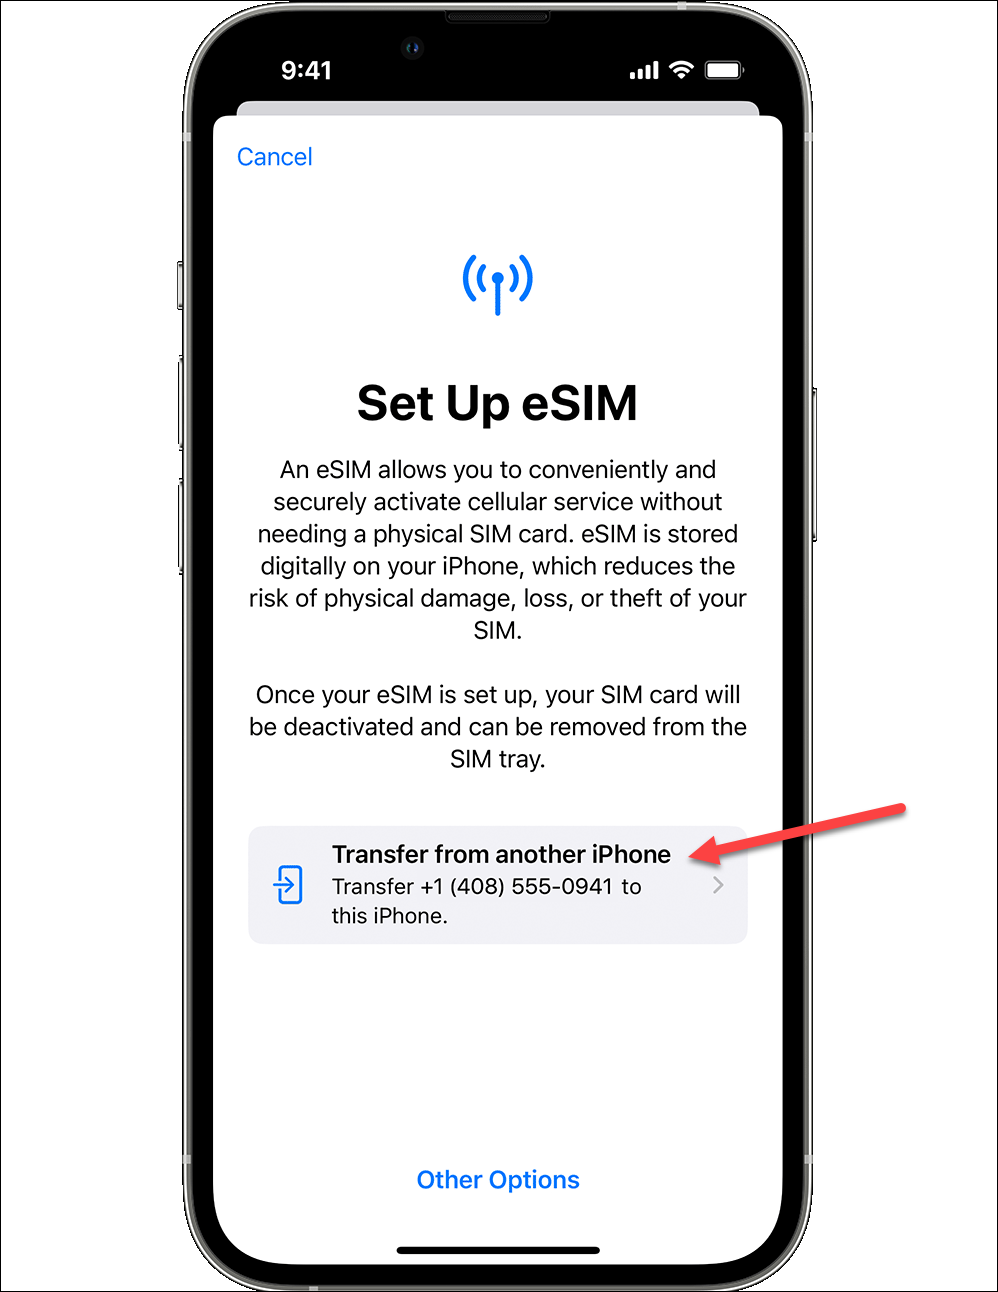
While setting up your iPhone 14 using Quick Setup, if you’re asked to transfer your SIM as well (you won’t see the message if your carrier doesn’t support it), tap the option for ‘Transfer from another iPhone’. If you have more than one plan on the current iPhone, tap the number you want to transfer now. Don’t worry, we’ll cover the steps to transfer additional SIM cards later.
Then, check your previous iPhone and follow the instructions on the screen. Tap ‘Transfer’ on the old iPhone to confirm the transfer. If it instead asks for a code for confirmation, enter the code that’s displayed on your new iPhone 14.
Wait for the cellular plan to activate on your new iPhone. Until the new eSIM activates (which can take some time), your old SIM/ eSIM will still work. Once the activation completes, your old SIM is deactivated.
After activation completes, tap the banner that says ‘Finish Setting Up your Carrier’s Cellular Plan’, if it appears. It’ll redirect you to the carrier’s webpage where you can complete the final step. If no banner appears, your carrier doesn’t require the additional step to complete the transfer and your SIM will be transferred.
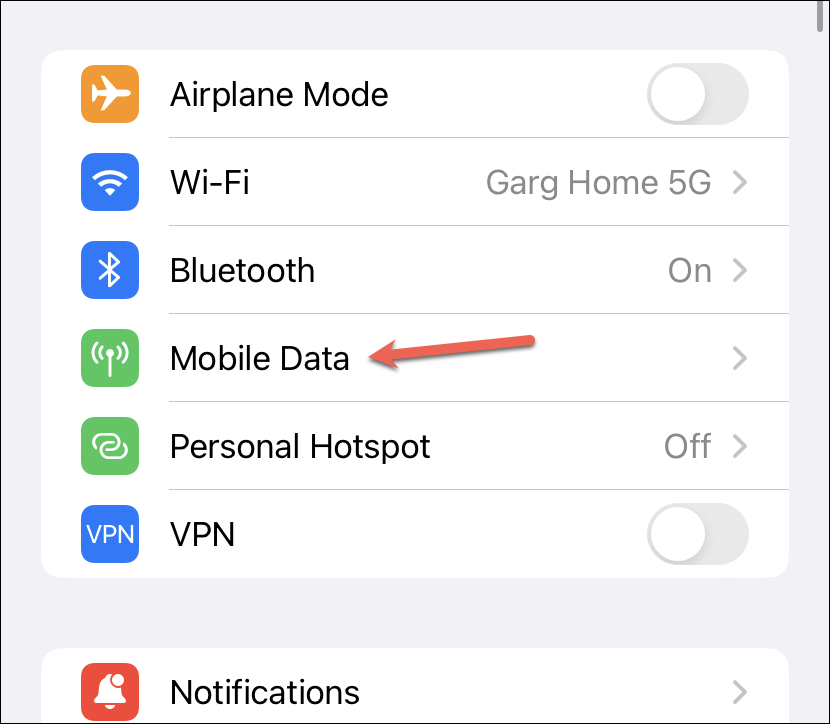
To set up an eSIM using eSIM Quick Transfer after you’ve already set up your iPhone, go to the Settings app.
Then, tap the option for ‘Cellular Plan’ or ‘Mobile Data’ (the options are different for different regions).
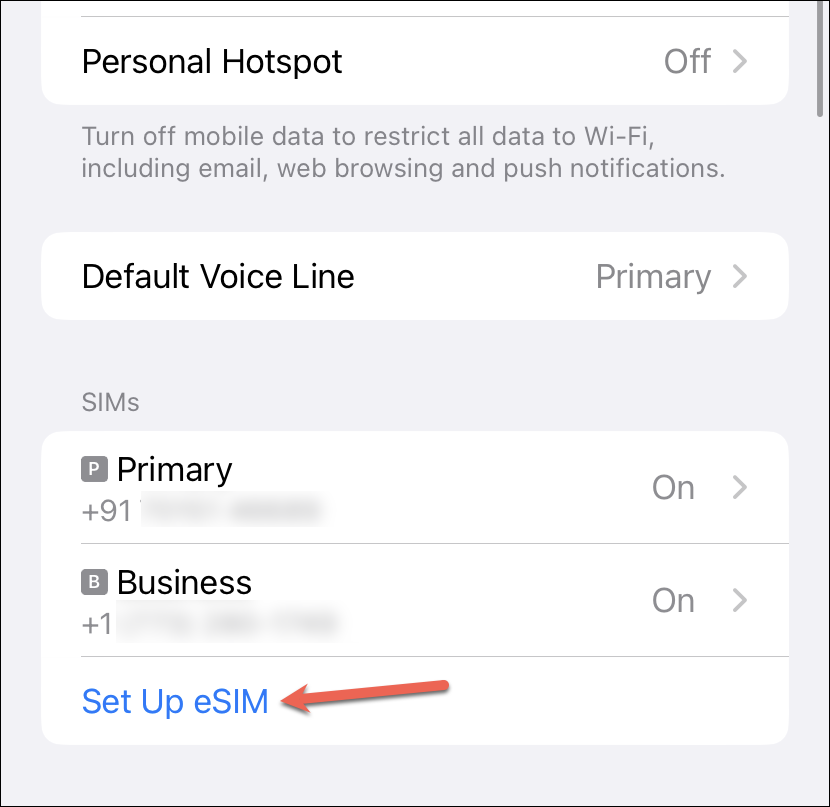
Now, tap ‘Add Cellular Plan’ or ‘Set Up eSIM’.
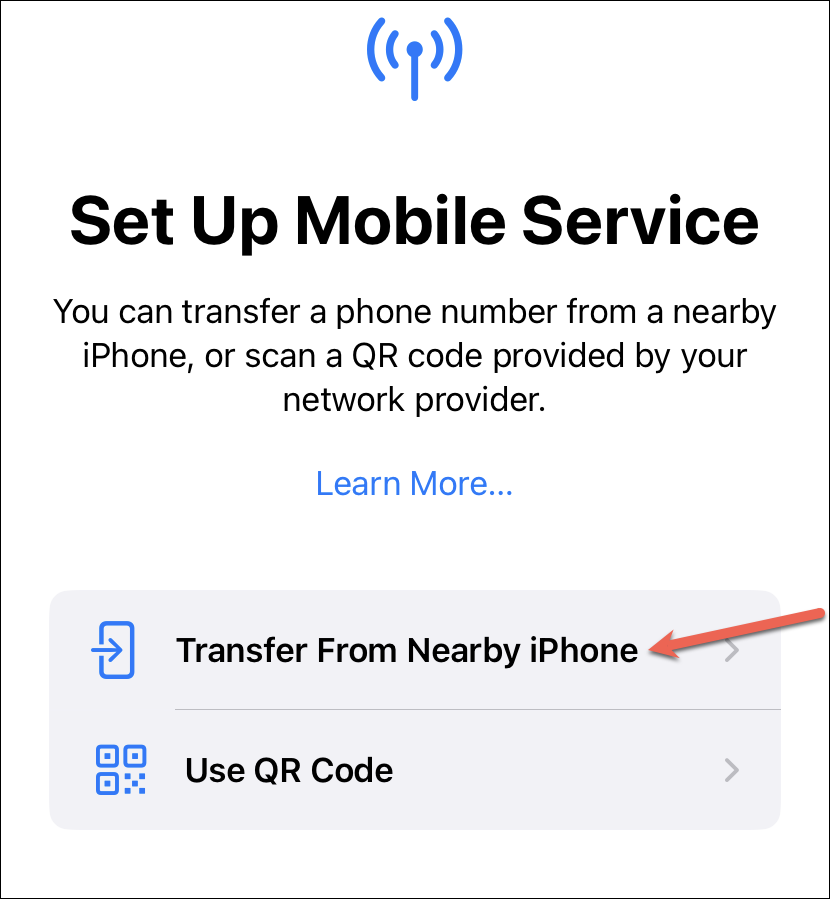
Select ‘Transfer from Nearby iPhone’ from the options.
Then, select the cellular plan you want to transfer. The rest of the steps are the same as above.

Use a QR Code
If your carrier doesn’t offer either of the two options above, they might share a QR code with you on the email address registered with the carrier that you can scan.
To set up eSIM using the QR code while setting up your iPhone 14, tap the option for ‘Use QR code’ from the ‘Set Up Cellular’ screen.
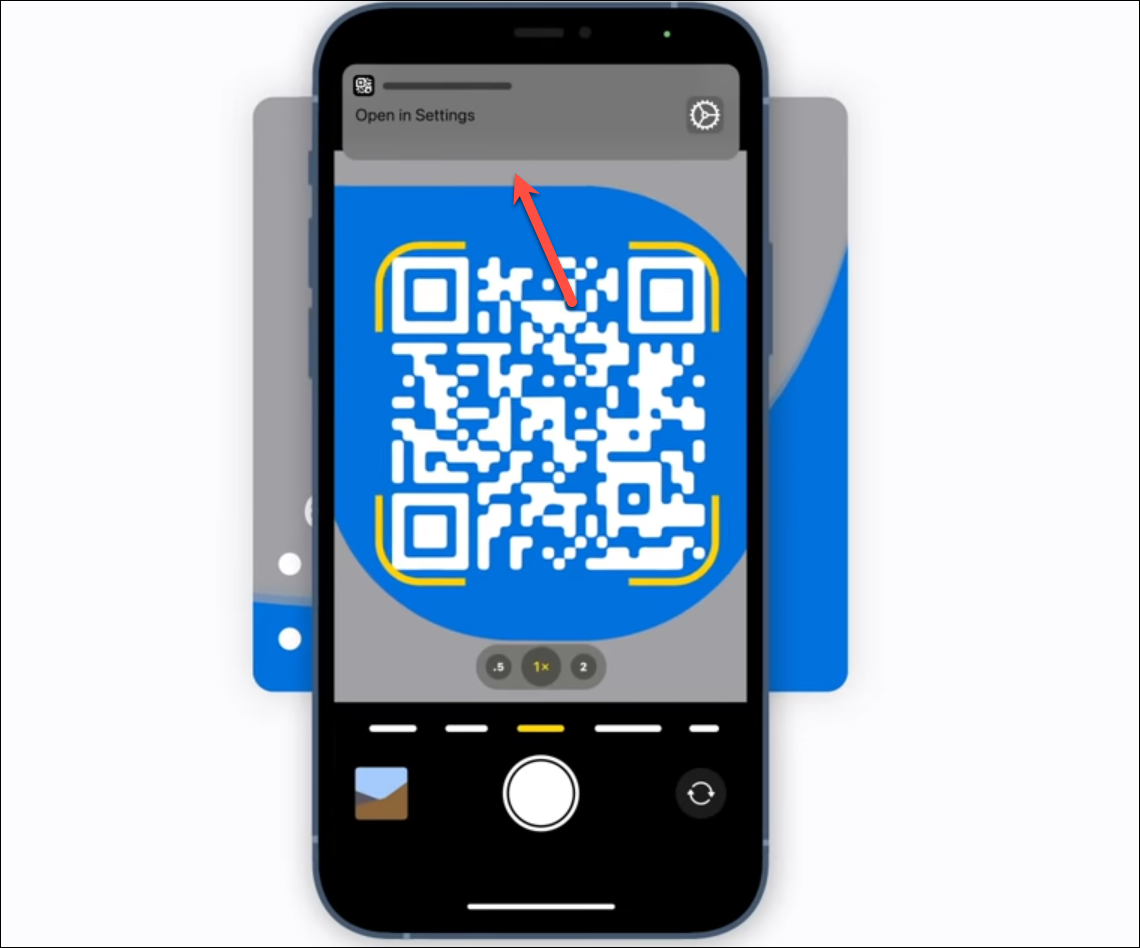
Then, point your camera to the QR code to scan it and follow the instructions on any on-screen prompts.
To set up the eSIM after you have already set up your iPhone, whether it’s an additional SIM, or you skipped the step while setting up the iPhone, open your camera app and point it at the QR code. A notification will appear after you scan the QR code; tap it.
Tap ‘Continue’ at the bottom of the screen.

Finally, tap ‘Add Cellular Plan’ to activate the eSIM.
If you get the prompt to enter a confirmation code, provide the code your carrier would have shared with you. Your eSIM will activate after some time.
Use the Carrier’s App
Some carriers won’t offer either of the methods above to activate an eSIM on your iPhone but you can instead use their app to activate an eSIM. You can’t activate the eSIM while setting up your iPhone with this method.
Go to the App Store and search for your carrier’s app. Then, tap ‘Get’ to install the app.
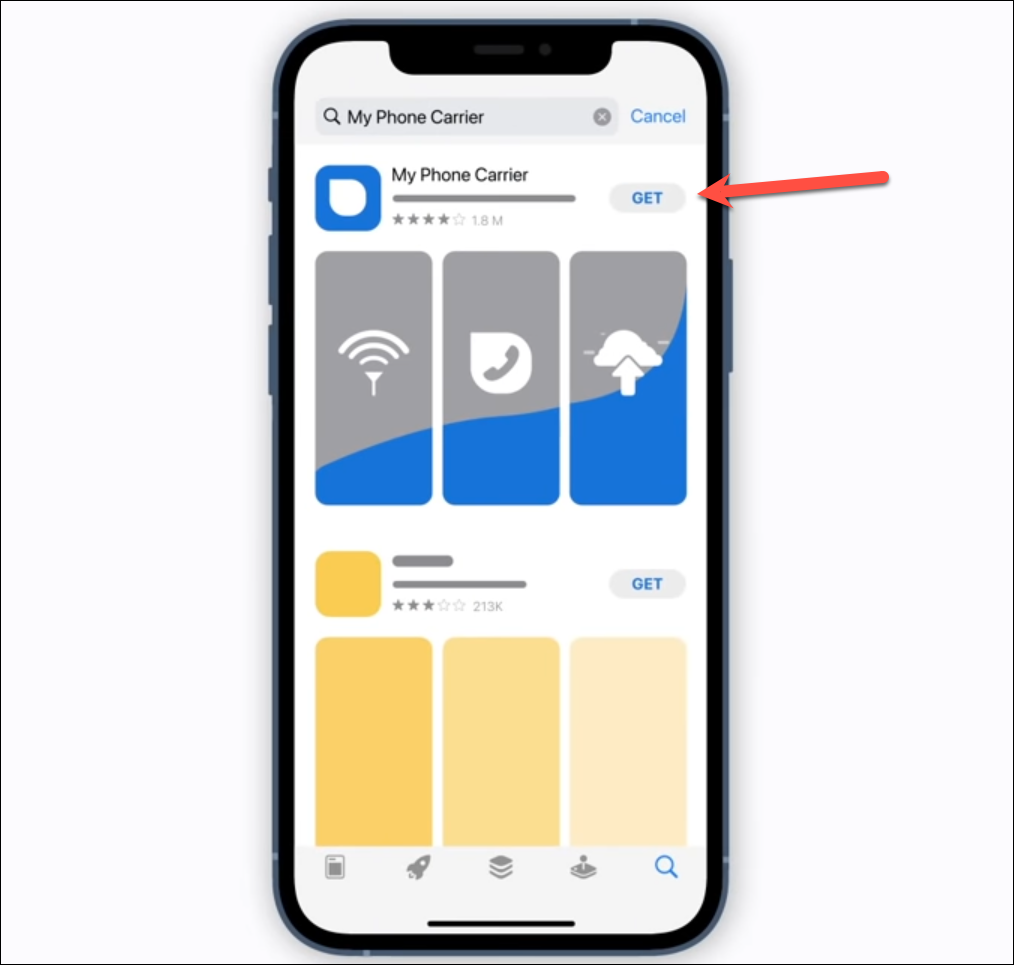
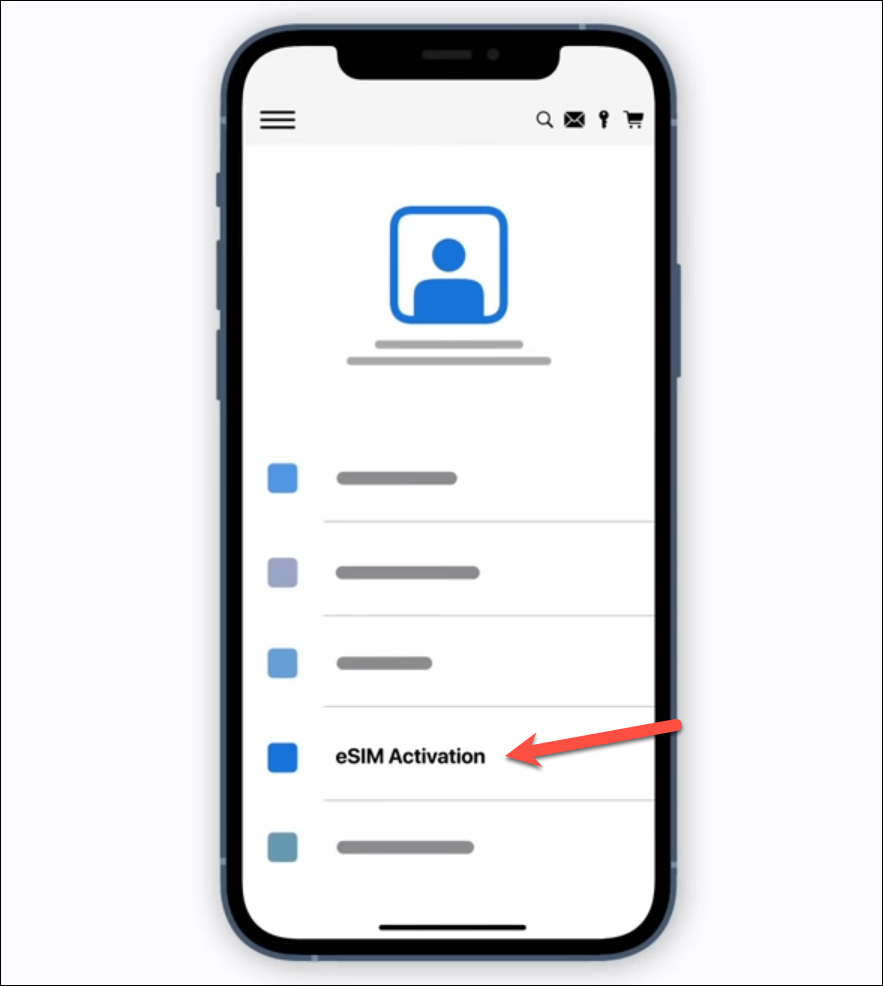
Open the app and sign in to your carrier account. Then, find the option for activating the eSIM from the app and follow their instructions. Since the interface and the process for different carrier apps will be different, it’s impossible to have a generic guide for them.

Finally, tap the ‘Add Cellular Plan’ option from the settings page that opens.
If your carrier doesn’t offer even this option, you’ll have to contact them and ask them to activate the eSIM for you.
Buy a new eSIM using the Carrier’s App
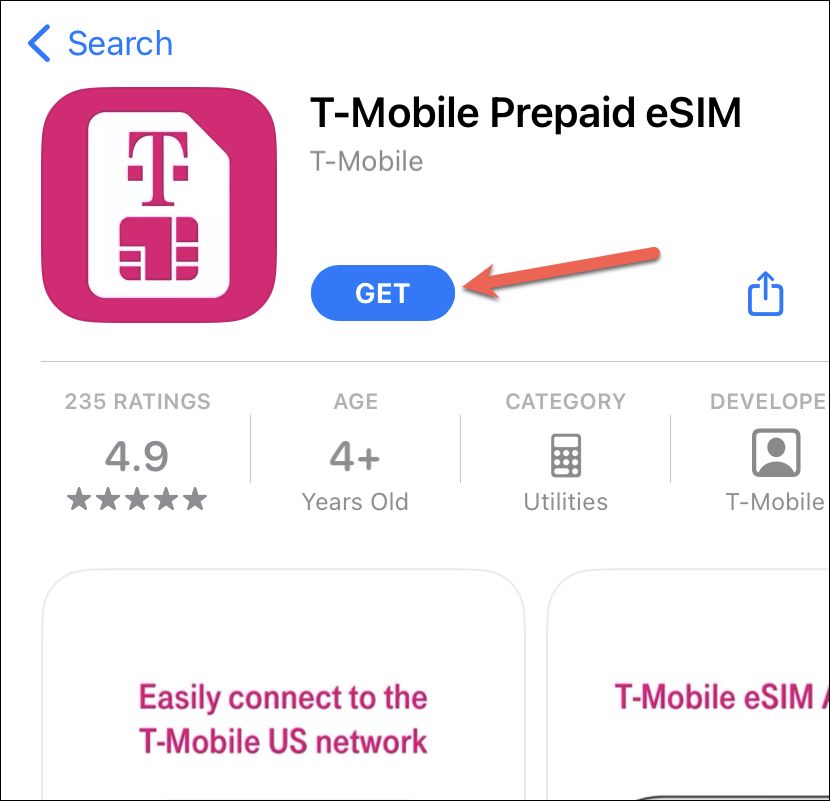
You can also use a carrier’s app to buy an eSIM directly from your phone if you want to buy a new plan. But you can either only buy a new plan from your existing carrier if your phone is SIM locked or use an unlocked iPhone to buy a plan from another carrier. The process is different for different apps that offer the service. But to showcase, we’ll use T-Mobile’s Prepaid eSIM app as an example.
Go to the app store and search for T-Mobile Prepaid eSIM. Tap ‘Get’ to install the app.
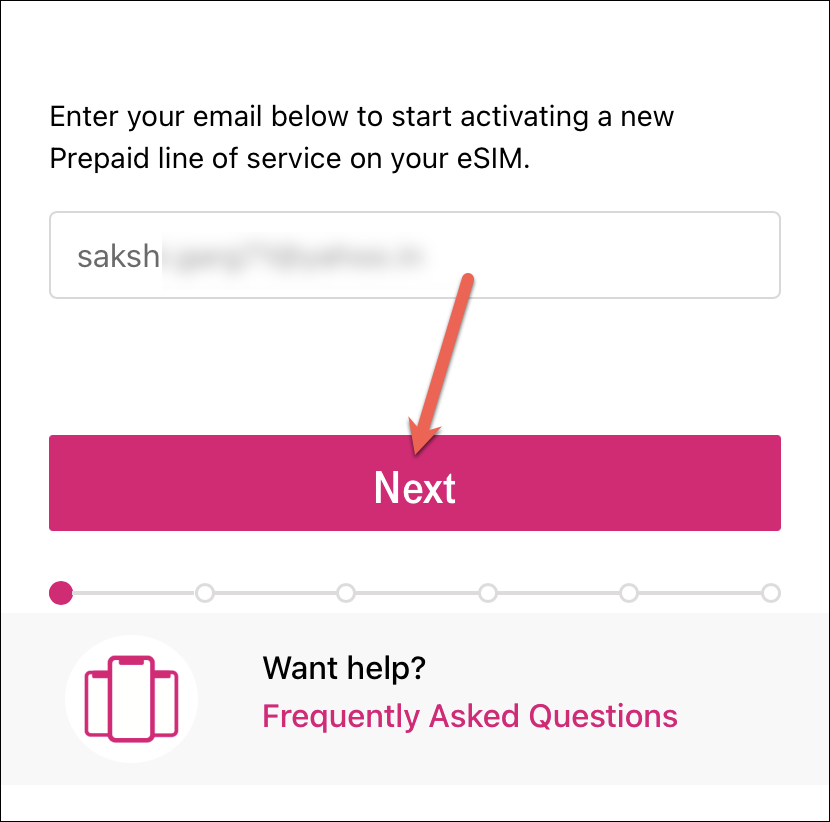
Open the app once it installs. It’ll check your phone’s compatibility. Then, enter your email address and tap ‘Next’ to start activating a new eSIM.
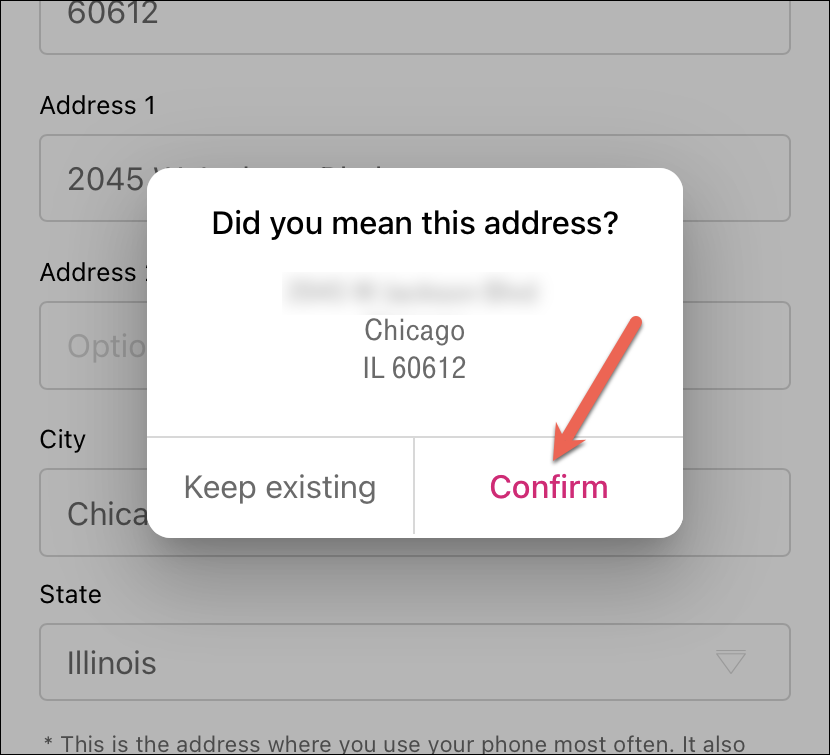
After that, provide the address for your primary place of use for the SIM. Generally, this will be your residence. Tap ‘Confirm’ in the confirmation prompt that appears.
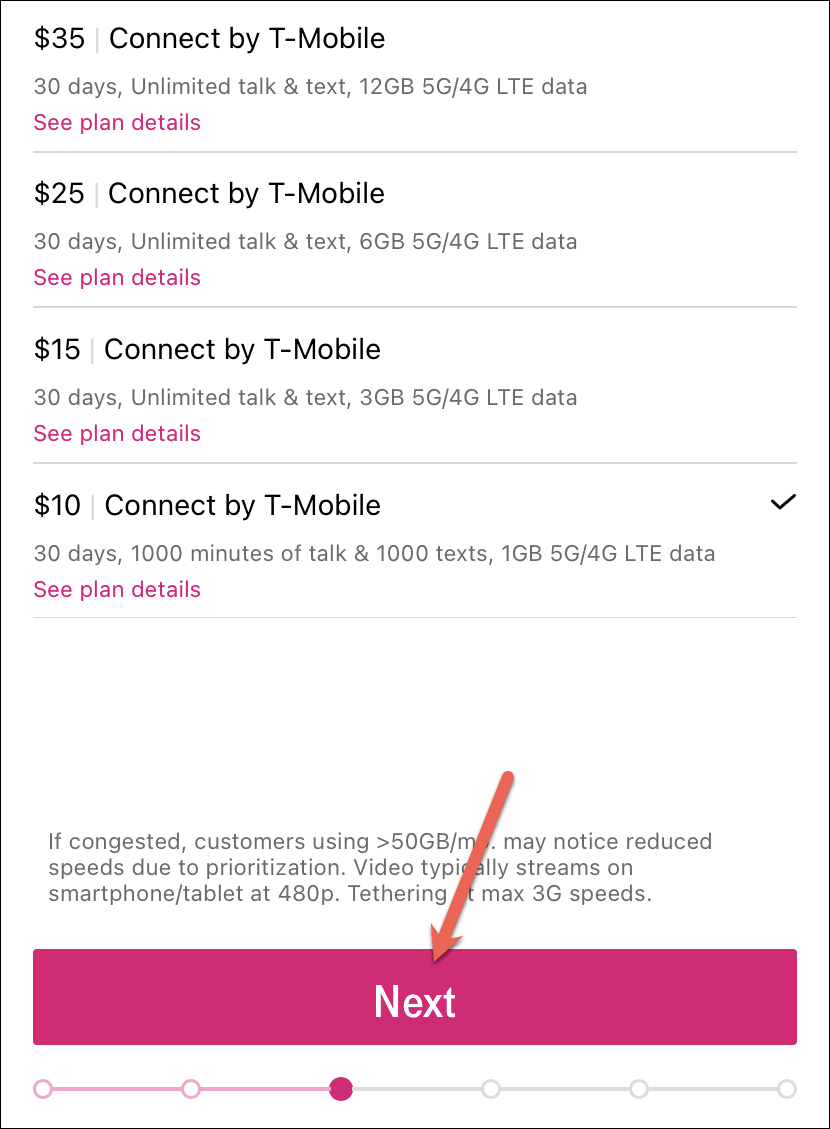
Then, select your prepaid plan and tap ‘Next’.

Tap ‘Accept’ from the Service terms agreement.
Provide the payment details and create a PIN for your account security.

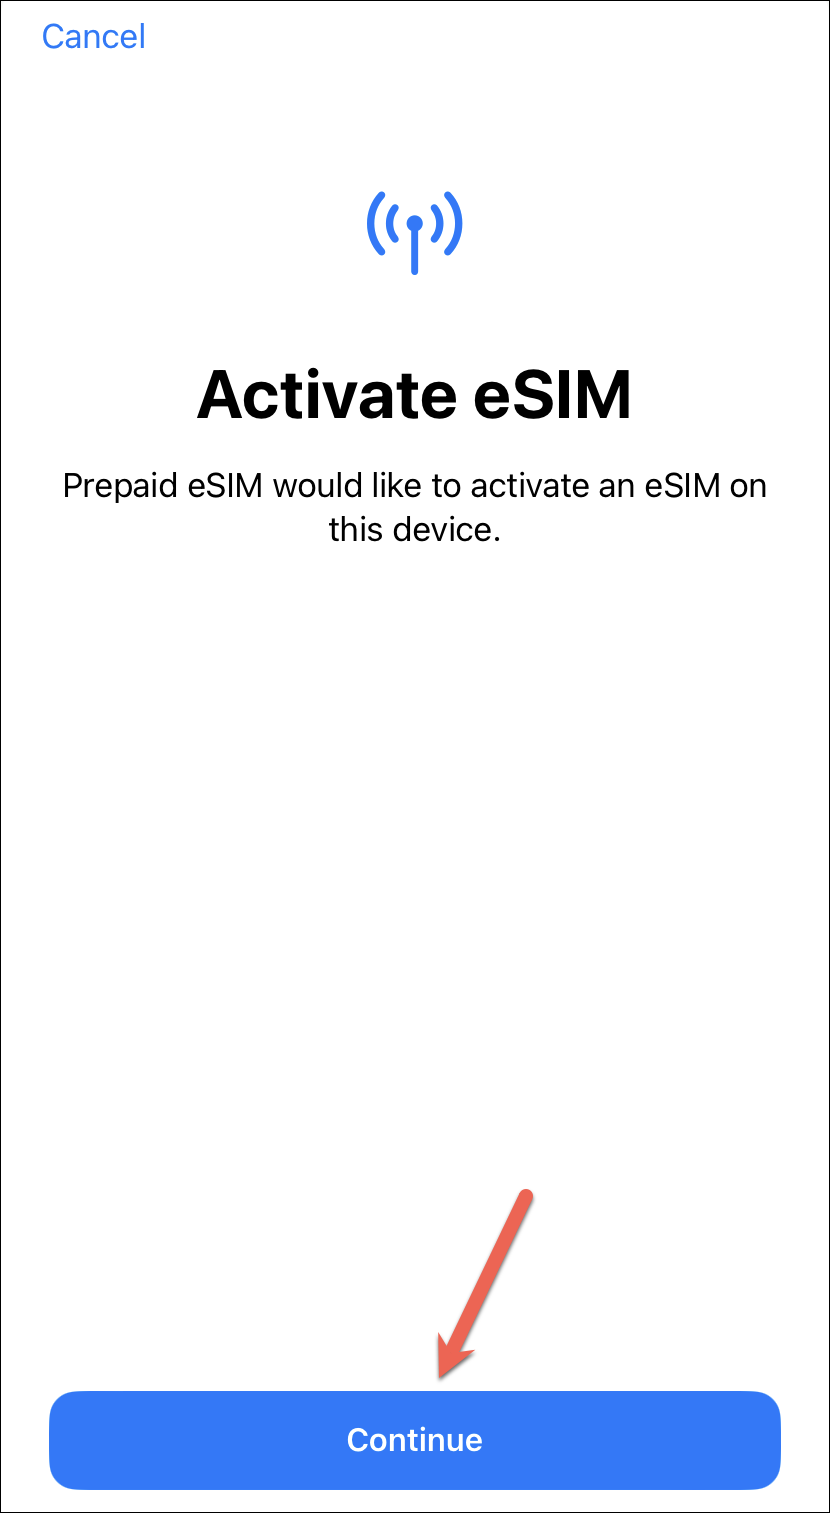
And that’s it. T-SIM will set up service for your account. Once the setup is complete and the eSIM is ready to be activated, a screen that says ‘Activate eSIM’ will appear. Tap ‘Continue’ to activate the SIM.

There you go. Now, you know all the ways you can activate an eSIM on your iPhone 14, whether your phone has a physical SIM tray or not.


