
The FPS counter in Windows 11 helps gamers track real-time frame rates, but it can become distracting during gameplay or regular computer use. The persistent appearance of FPS numbers in the screen corner typically originates from built-in utilities like Xbox Game Bar, Steam, or NVIDIA’s GeForce Experience overlay. Disabling this counter provides a cleaner visual experience and prevents unnecessary distractions.
Method 1: Disable FPS Counter Using Xbox Game Bar
Step 1: Press Win + G on your keyboard to open the Xbox Game Bar overlay. This built-in Windows tool provides quick access to gaming features, including performance monitoring.
Step 2: In the overlay, locate the "Performance" widget. If it isn't visible, click the Widgets Menu icon (represented by three horizontal lines) at the top of the Game Bar and select "Performance."
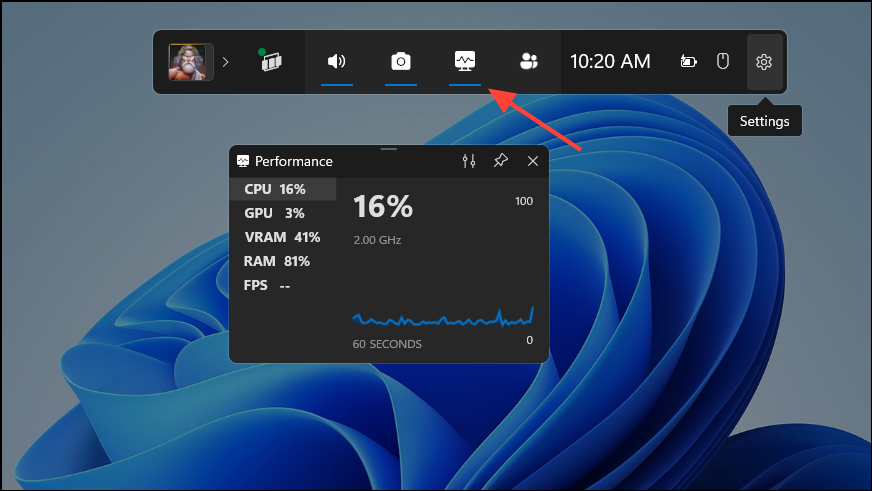
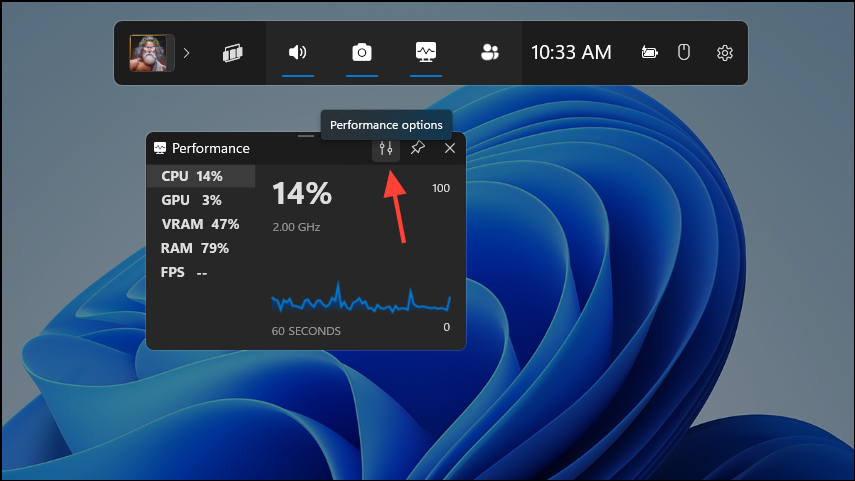
Step 3: Within the Performance widget, click the Performance options icon at the top, next to the pin icon. A settings menu will appear, displaying various performance metrics options.
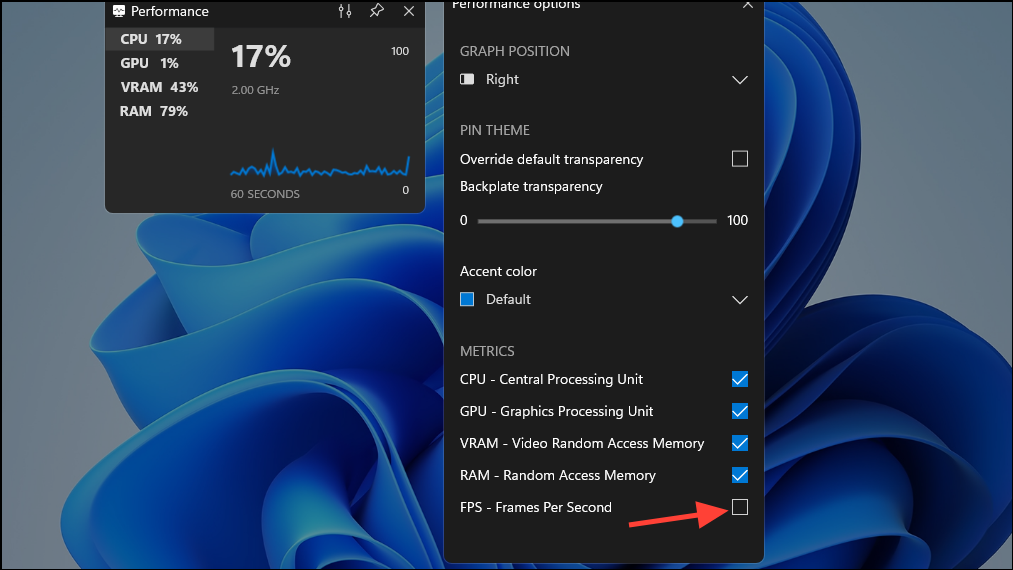
Step 4: Find the "FPS" setting and toggle it off to remove the FPS counter from your screen. After disabling, close the Game Bar overlay by pressing Win + G again.
Method 2: Remove FPS Counter Using Steam
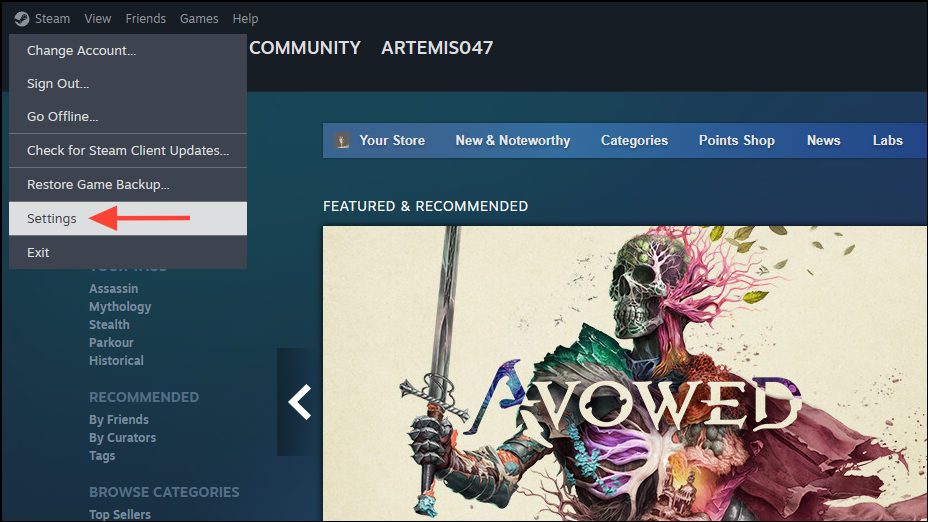
Step 1: Launch the Steam application and log in if prompted. At the top-left corner of the Steam window, click on "Steam," then select "Settings" from the dropdown menu.
Step 2: In the Settings window, navigate to the "In-Game" section listed on the left sidebar. You will see various options related to in-game overlays and performance indicators.
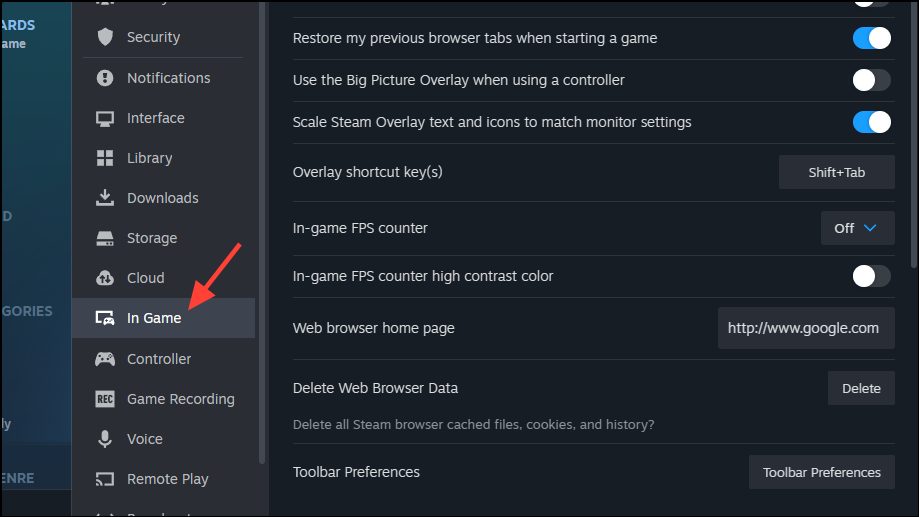
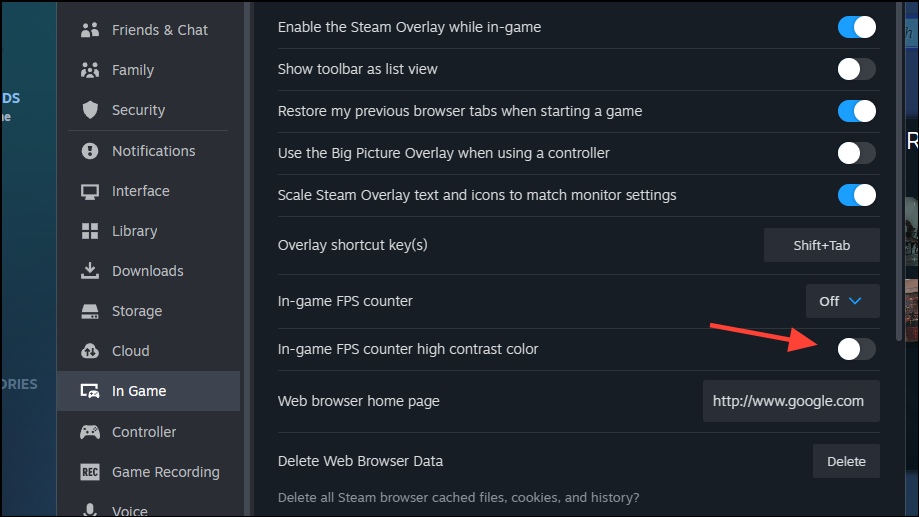
Step 3: Locate the dropdown menu labeled "In-Game FPS Counter." Click the dropdown and select "Off" to disable the FPS counter completely. Alternatively, you can reposition it if you prefer a different screen location.
Step 4: After adjusting the settings, click "OK" to apply the changes. Launch a game to confirm the FPS counter is no longer visible.
Method 3: Disable FPS Counter in NVIDIA GeForce Experience
Step 1: Open NVIDIA GeForce Experience from your Windows Start menu or by clicking the NVIDIA icon in your system tray. Once opened, click on the gear-shaped icon located at the top-right corner to access settings.
Step 2: Scroll down to the "In-Game Overlay" section and click "Settings" next to it. This opens the overlay customization menu.
Step 3: Within the overlay settings, select "HUD Layout." Here, you will find options to adjust various overlays, including the FPS counter.
Step 4: Click "Performance" in the HUD Layout menu, and then select the FPS position dropdown. Choose "Off" to disable the FPS counter entirely. After applying your changes, close GeForce Experience to finalize the adjustment.
Additional Tip: Check Third-Party Applications
If the FPS counter persists after following the above methods, a third-party application may be displaying it. Tools like MSI Afterburner, Razer Cortex, or other performance monitoring software often include FPS overlays. Review recently installed applications, open their settings, and disable any FPS counter options you find.
With these straightforward methods, your Windows 11 screen will be free of the FPS counter, allowing for a more immersive gaming experience or distraction-free desktop environment.