
Seeing the “These files might be harmful to your computer” warning each time you copy or move files across network locations in Windows 11 can disrupt workflow and slow down file management. This prompt is triggered by Windows security settings that treat certain network paths as potentially unsafe, even if you are working within your local network or trusted environment. Adjusting the correct security zone settings removes these prompts and streamlines file operations—if you are sure your network is secure.
Add Network Locations to the Local Intranet Zone Using Internet Options
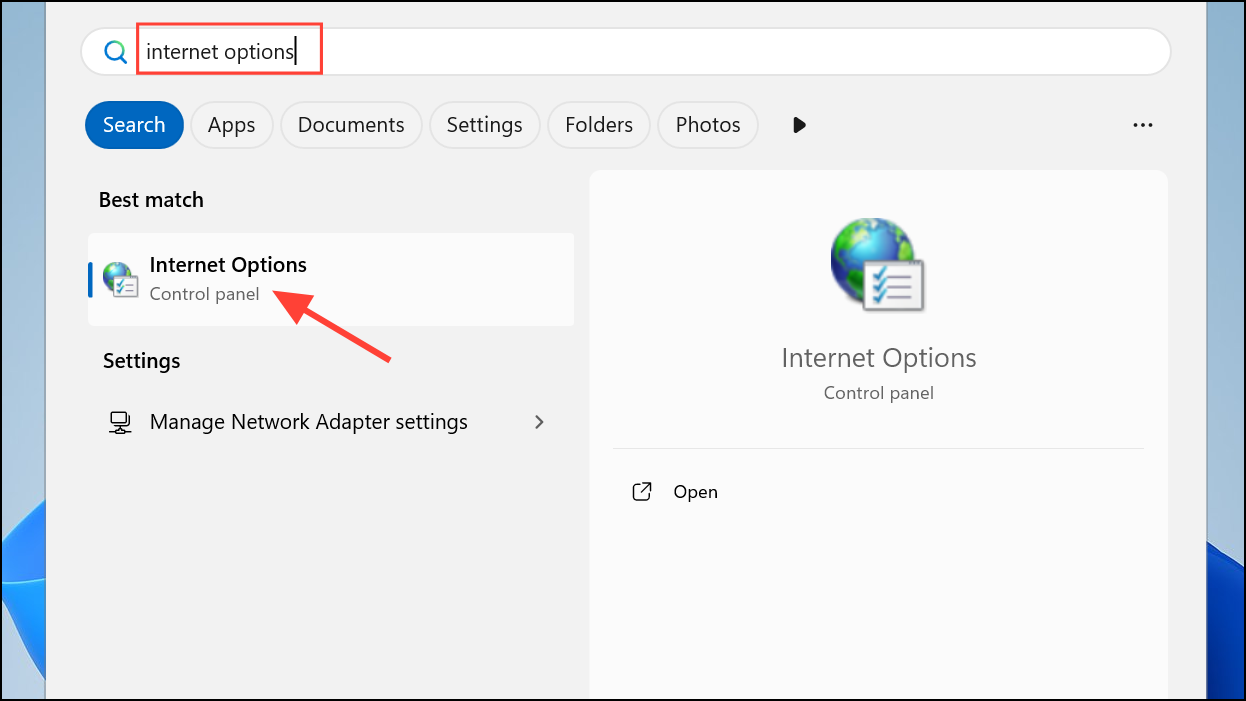
Step 1: Open the Internet Options panel by searching for Internet Options in the Windows Search bar and selecting it from the results. This utility controls how Windows classifies network locations for security purposes.
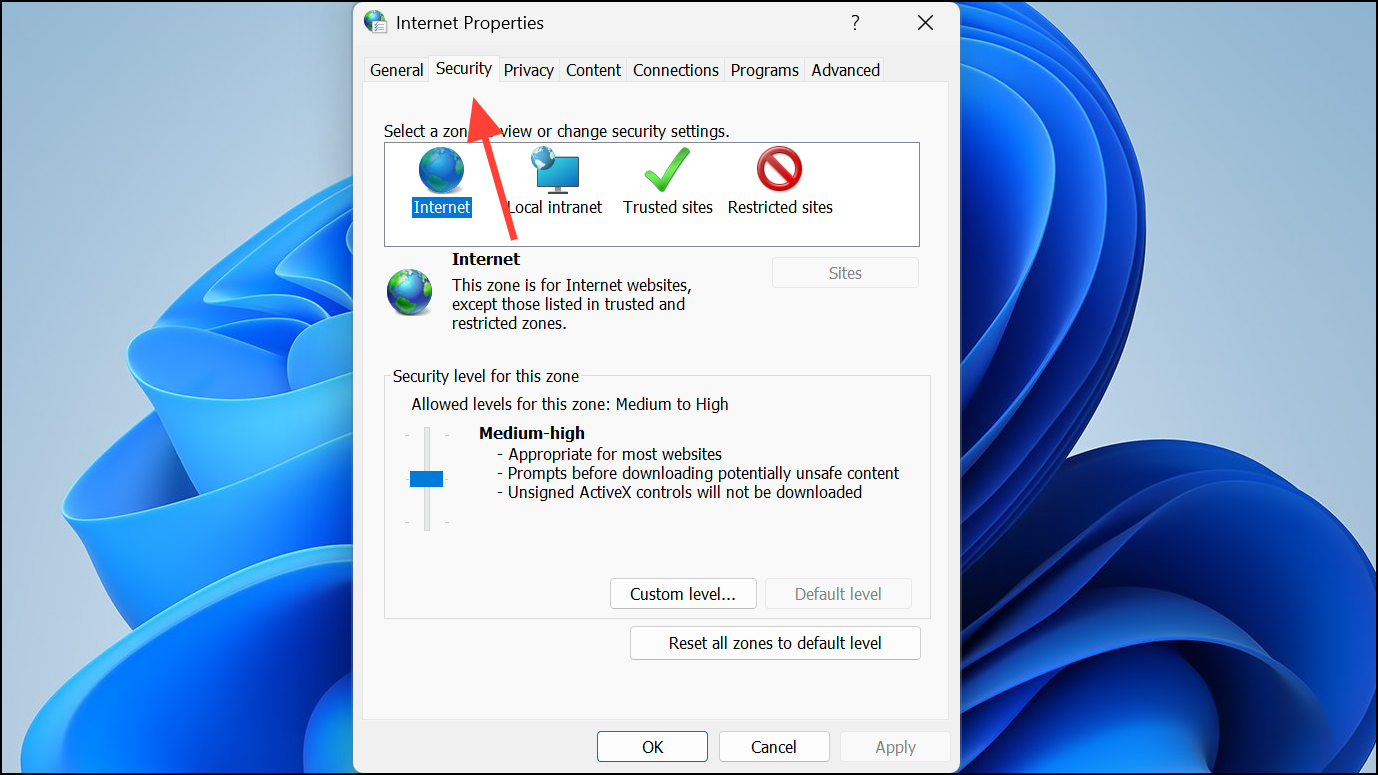
Step 2: Navigate to the Security tab at the top of the Internet Options window. Here, you can define which networks are considered safe or potentially risky.
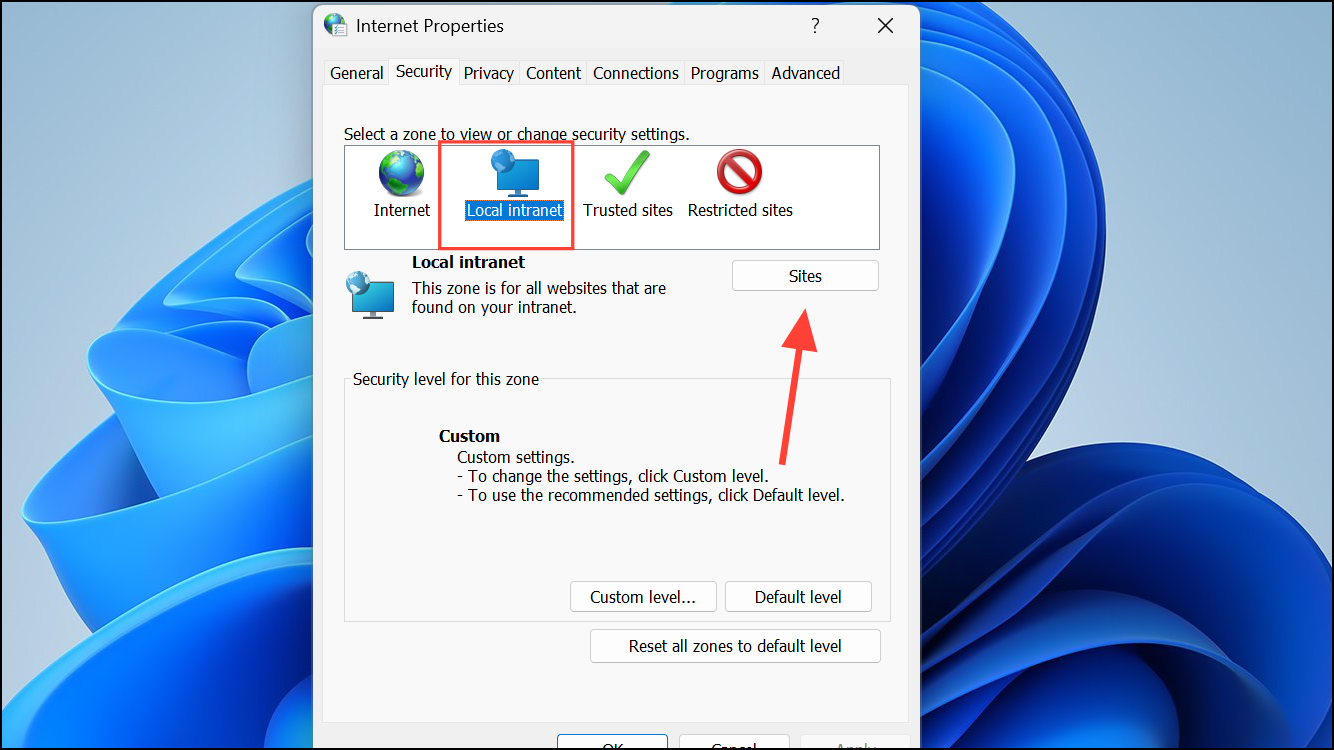
Step 3: Select Local intranet and click the Sites button. This opens a dialog where you can specify which network addresses Windows should treat as local and trusted.
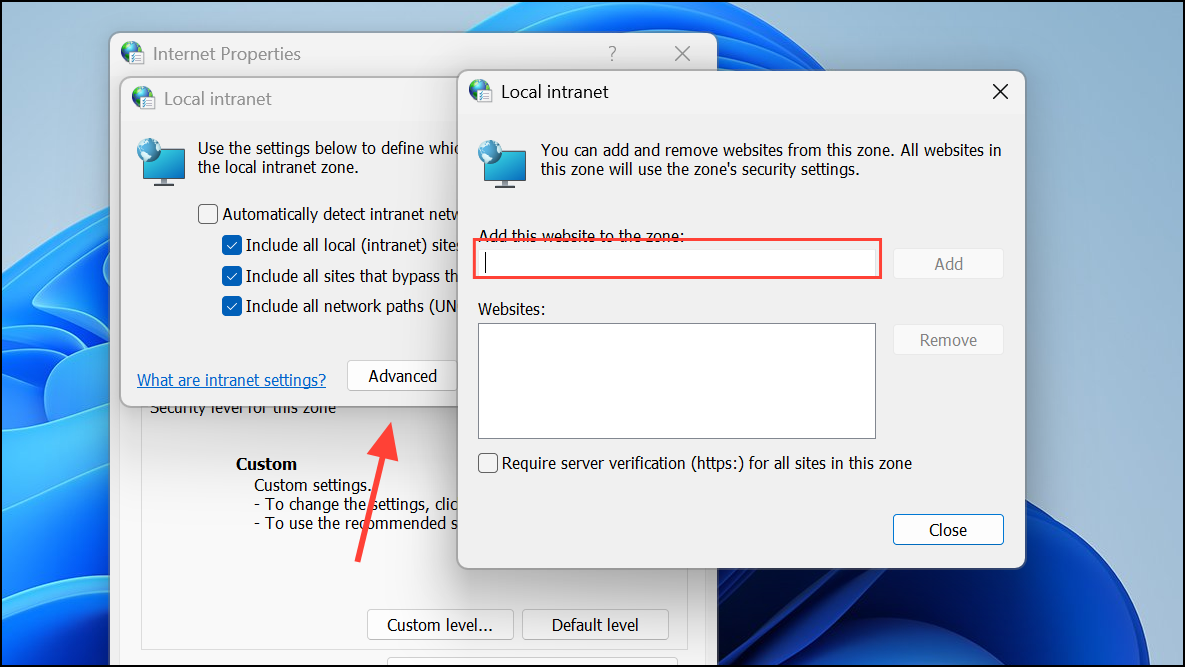
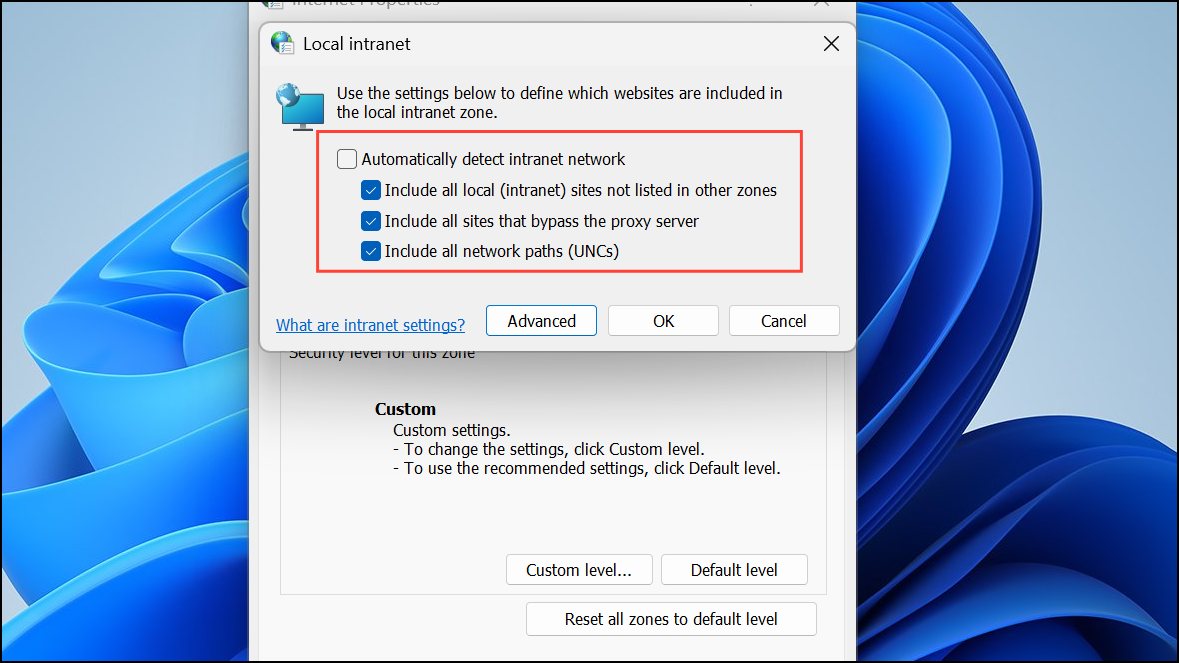
Step 4: In the Local intranet dialog, click Advanced. Enter the IP address, address range (using wildcards), or DNS name of your network share in the field labeled Add this website to the zone. For example, to trust all devices in a subnet, use 192.168.1.* or to trust a NAS server by name, use \\NAS. Click Add after each entry.
Step 5: If you are using mapped drives or UNC paths, copy the address directly from File Explorer’s address bar and add it in the same way. For Windows Subsystem for Linux (WSL), add wsl.localhost to the list.
Step 6: Ensure the option Include all network paths (UNCs) is checked. If Require server verification (https:) for all sites in this zone is checked, uncheck it to allow non-HTTPS connections to be trusted.
Step 7: Click Close to exit the Advanced dialog, then OK twice to save your changes and close Internet Options.
Step 8: Disconnect and reconnect any affected network drives for the changes to take effect. In some cases, restarting Windows Explorer or rebooting your computer may be necessary to fully apply the new settings.
Adjust Group Policy Settings (Windows 11 Pro and Enterprise)
For devices managed in a business or advanced environment, Group Policy provides more granular control over security prompts.
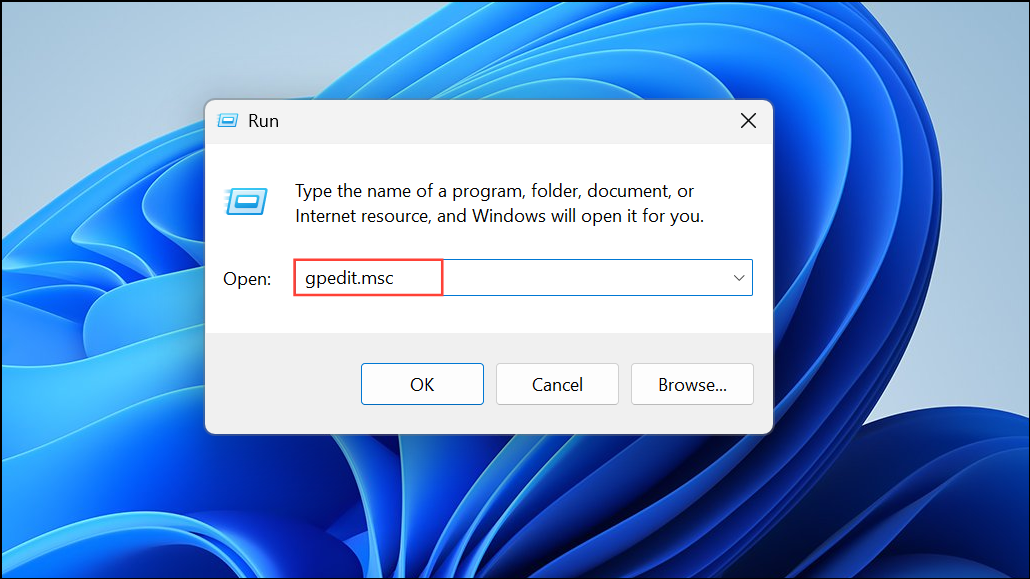
Step 1: Press Windows + R to open the Run dialog, type gpedit.msc, and press Enter to open the Group Policy Editor.
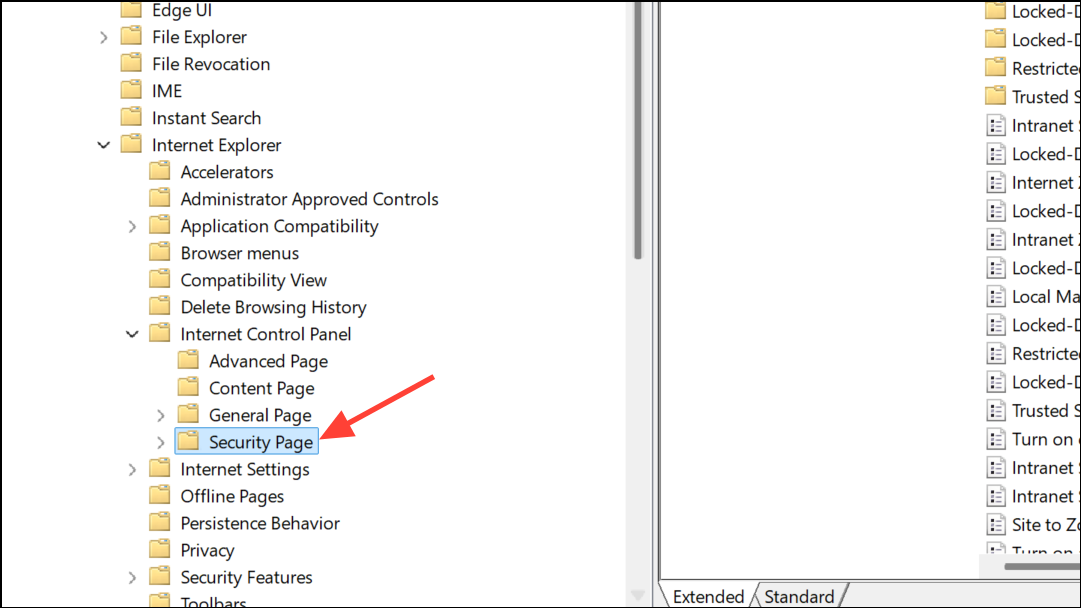
Step 2: Navigate to User Configuration > Administrative Templates > Windows Components > Internet Explorer > Internet Control Panel > Security Page. This section lets you set security templates and assign trusted sites or networks.
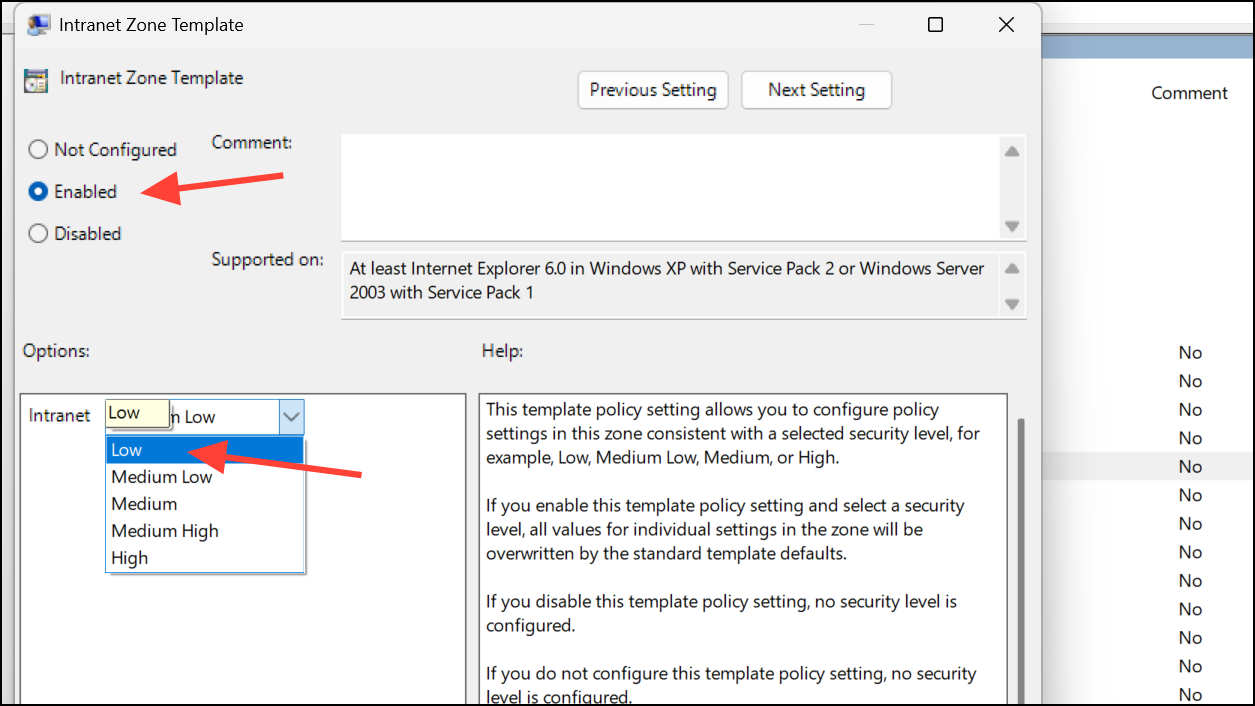
Step 3: Find and double-click Intranet Zone Template. Set it to Enabled and choose Low from the options. This reduces the security level for local intranet resources, which removes the warning for trusted shares.
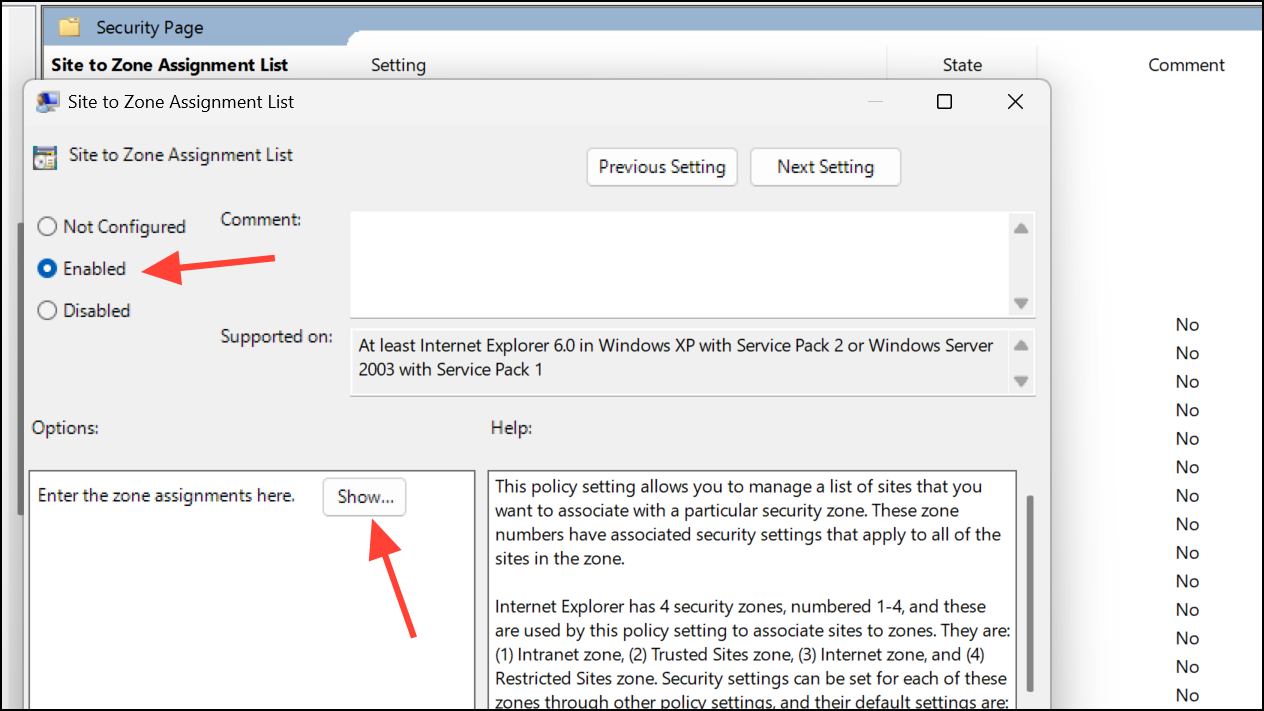
Step 4: Locate Site to Zone Assignment List and set it to Enabled. Click Show and add your network addresses, server names, or IP ranges with a value of 1 (which assigns them to the intranet zone).
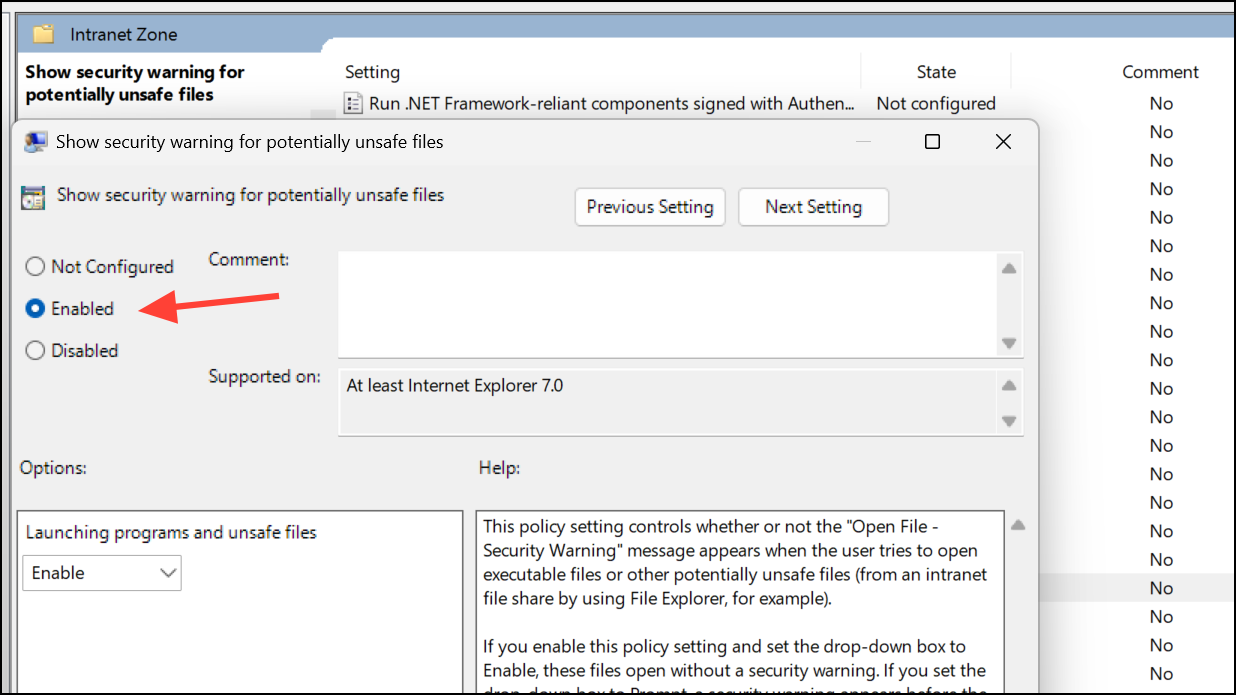
Step 5: Under the Intranet Zone folder, find Show security warning for potentially unsafe files and set it to Enabled, then select Enable from the dropdown menu. This disables the warning for files on the intranet.
Step 6: Close the Group Policy Editor. To apply changes immediately, run gpupdate /force in a Command Prompt or restart your computer.
Registry Tweak for Advanced Users
Advanced users can directly edit the Windows registry to assign trusted network ranges or servers to the intranet zone. This method is not recommended unless you are comfortable making registry changes and have a backup.
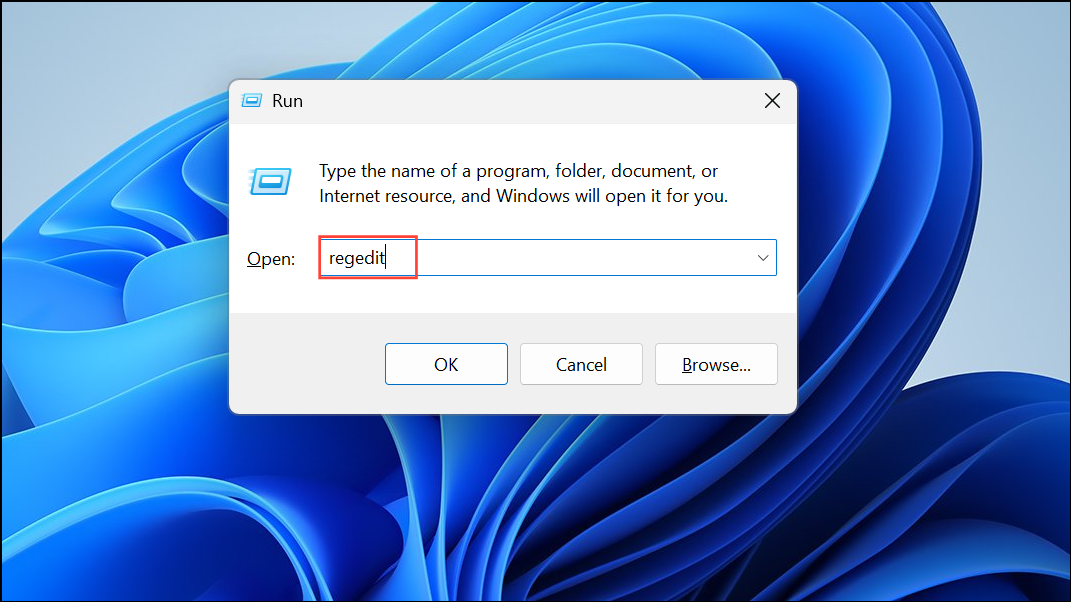
Step 1: Press Windows + R, type regedit, and press Enter to open the Registry Editor.
Step 2: Navigate to HKEY_CURRENT_USER\Software\Microsoft\Windows\CurrentVersion\Internet Settings\ZoneMap\Ranges for IP ranges, or HKEY_CURRENT_USER\Software\Microsoft\Windows\CurrentVersion\Internet Settings\ZoneMap\Domains for domain names.
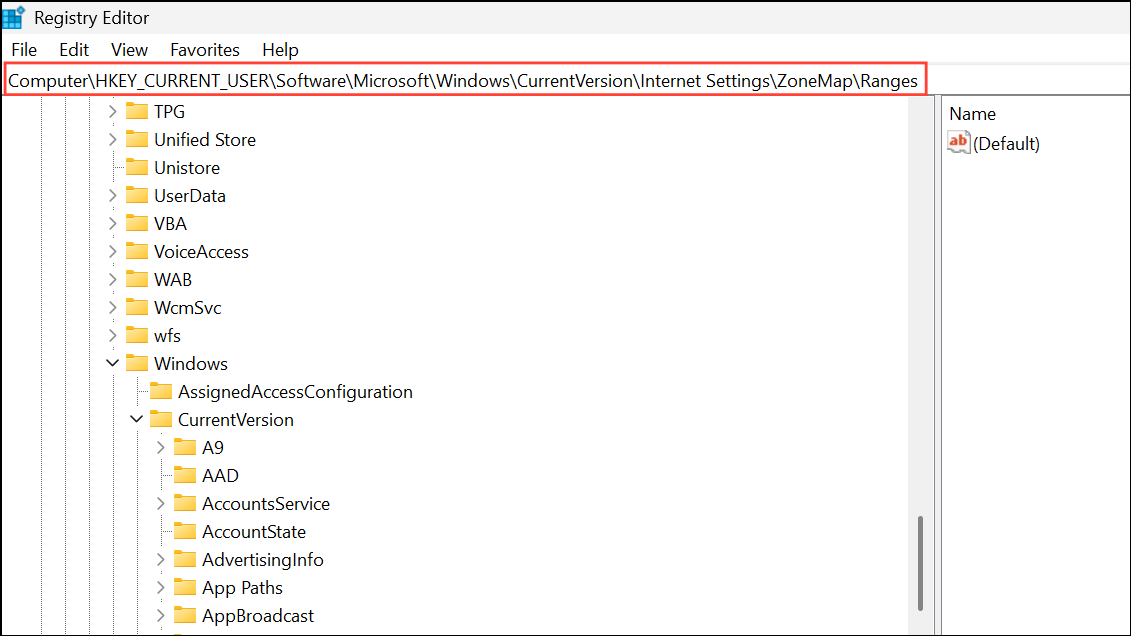
Step 3: Add a new key for each range or domain and set the appropriate values. For example, to trust all IPs in 192.168.1.*:
Windows Registry Editor Version 5.00

[HKEY_CURRENT_USER\Software\Microsoft\Windows\CurrentVersion\Internet Settings\ZoneMap\Ranges\Range1]
"*"=dword:00000001
":Range"="192.168.1.*"
Step 4: After editing the registry, restart your computer for the changes to take effect.
Additional Tips and Cautions
While removing this warning speeds up file operations, it also lowers the barrier for potentially unsafe files from trusted network locations. Only disable this prompt if you are confident in your network's security and know the sources of your files. If you are part of a managed IT environment, consult your IT administrator before making these adjustments.
If the warning persists after making these changes, try disconnecting and remapping network drives or restarting Windows Explorer. Some users have reported that restarting the explorer process temporarily suppresses the warning, but the above methods provide a more permanent solution.
Disabling the “These files might be harmful to your computer” warning in Windows 11 can make file transfers smoother and less intrusive, especially on trusted networks. Always weigh the security trade-offs before changing these settings.