Being locked out of your Windows 11 account can be a frustrating experience. Whether it’s due to multiple unsuccessful login attempts or other issues, regaining access is crucial. Fortunately, there are several methods to unlock your account and get back to using your PC. This guide will walk you through the most effective solutions to unlock a locked-out account in Windows 11.
Use the password reset option
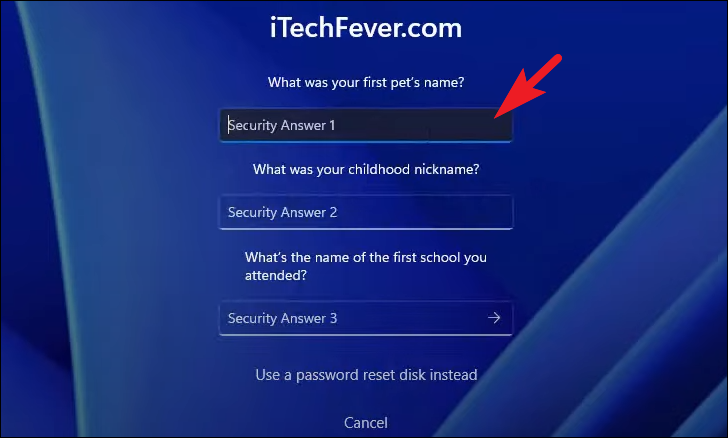
If you’ve forgotten your password or have been locked out due to incorrect attempts, you can reset your password by answering your security questions.
Reset password option below the password field. This will open the password reset window.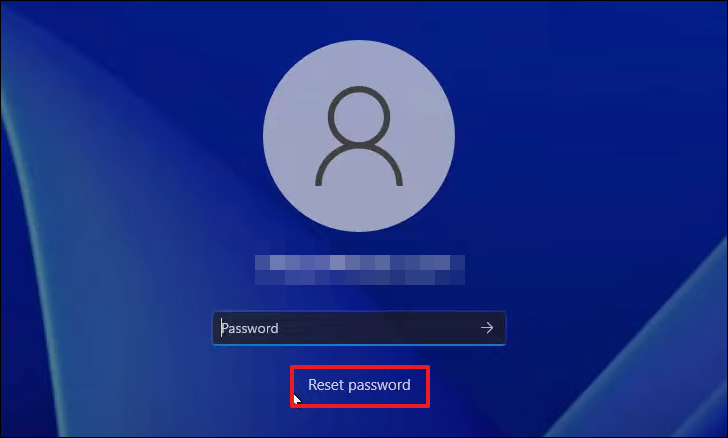
If you use a PIN to sign in and have forgotten it, you can reset it using your Microsoft account password.
I forgot my PIN option. An overlay window will appear prompting you to verify your identity.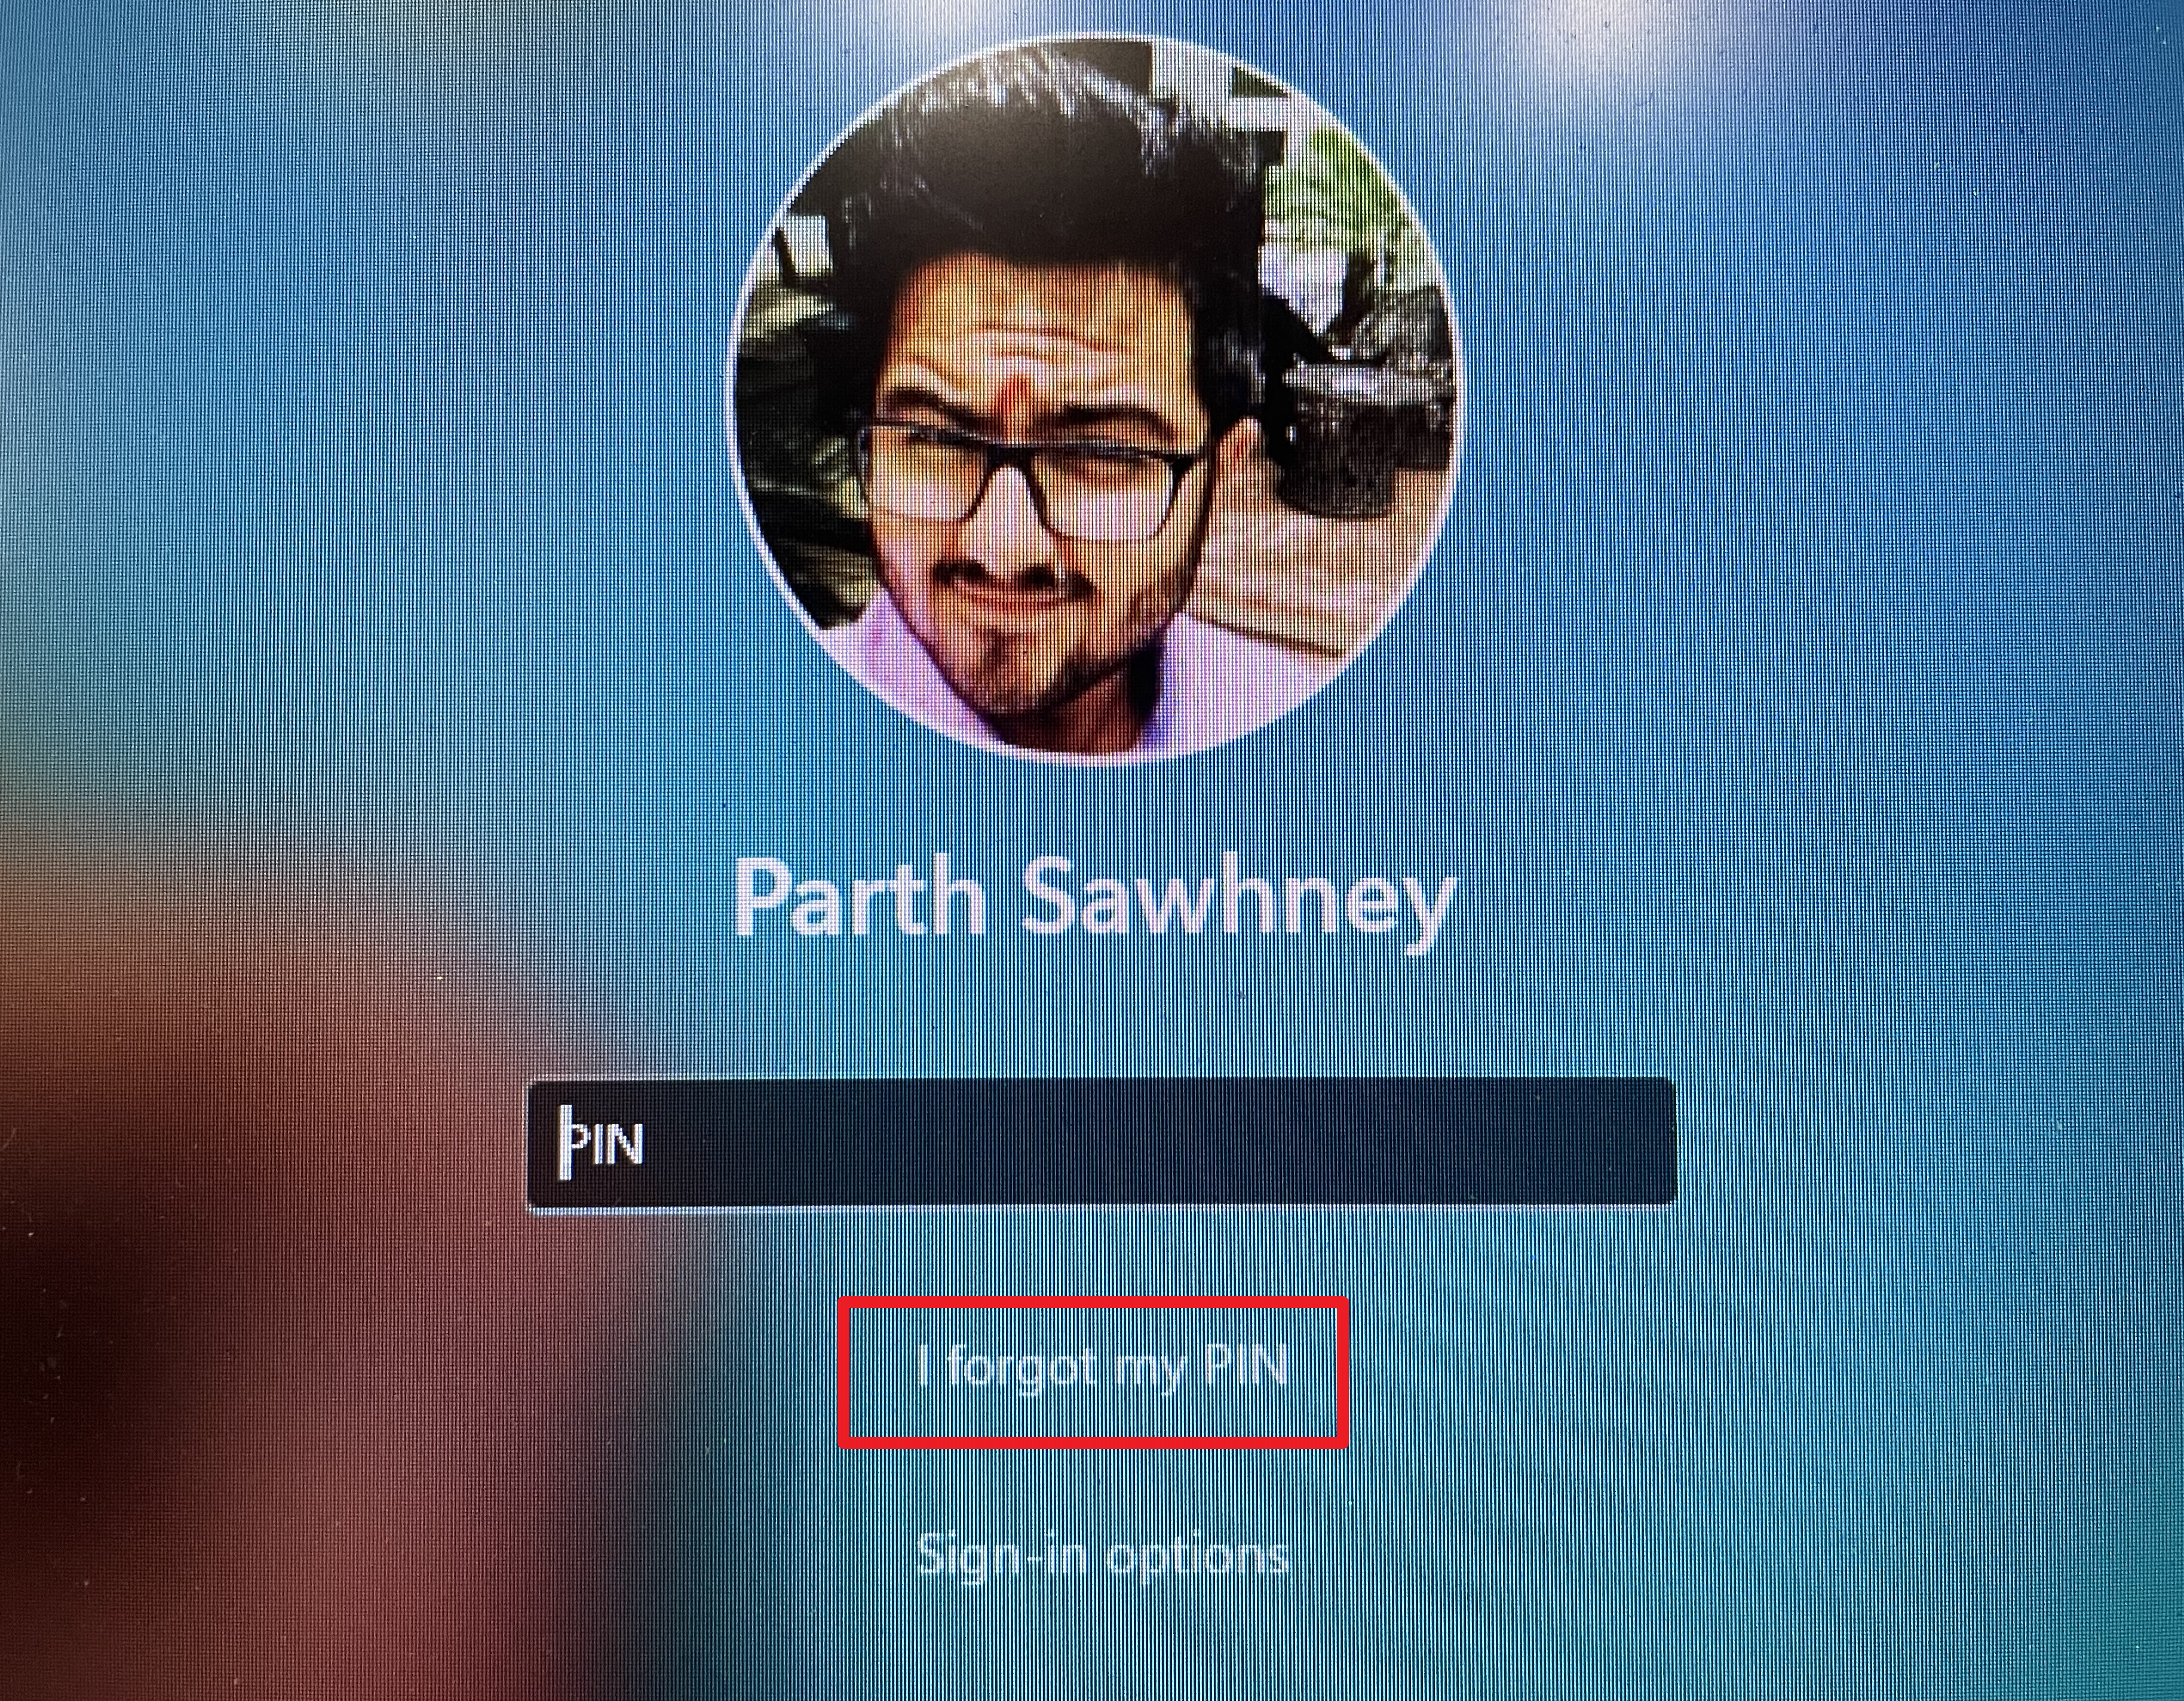
Unlock using an admin account
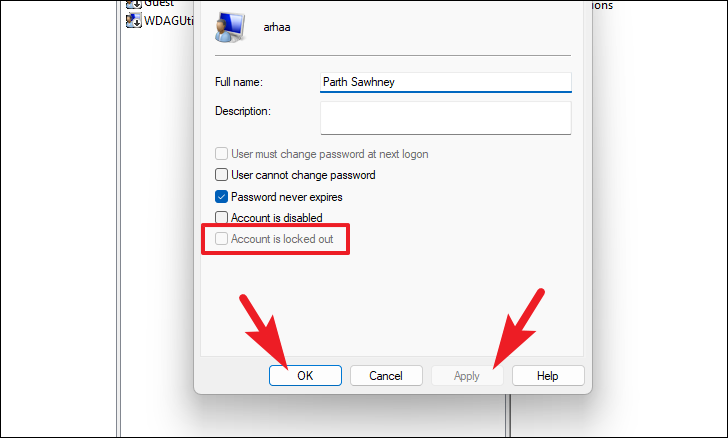
If there’s another administrator account on your PC, you can use it to unlock the locked-out account. This can be done using the Local Users and Groups tool or through the Command Prompt.
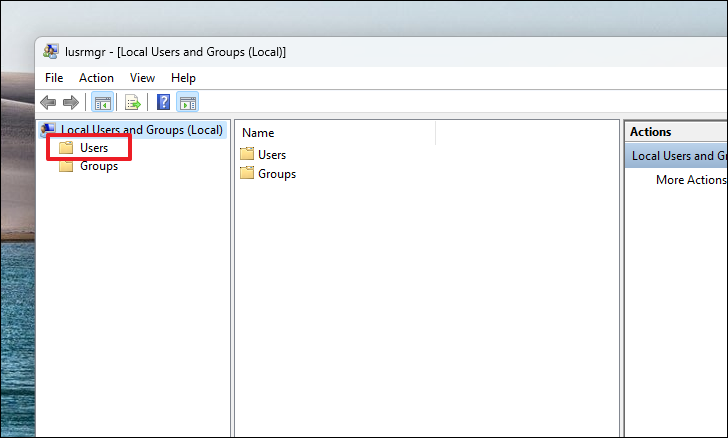
Using the Local Users and Groups tool:
Windows+R keys to open the Run dialog box. Type lusrmgr.msc and press Enter to open the Local Users and Groups window.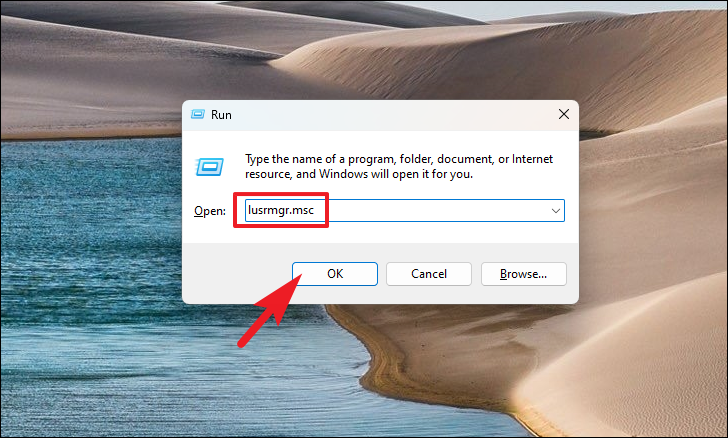
Using Command Prompt:
Command Prompt, right-click on it, and select Run as administrator. If the User Account Control (UAC) prompt appears, click Yes to proceed.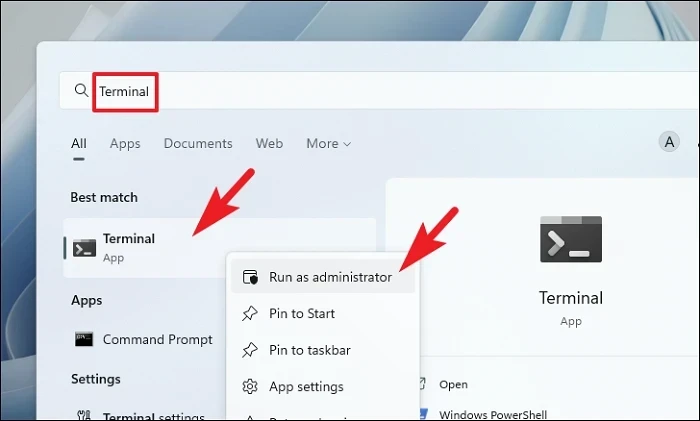
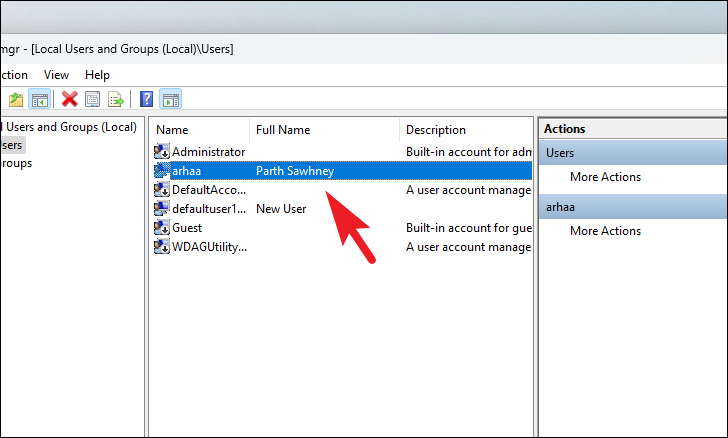
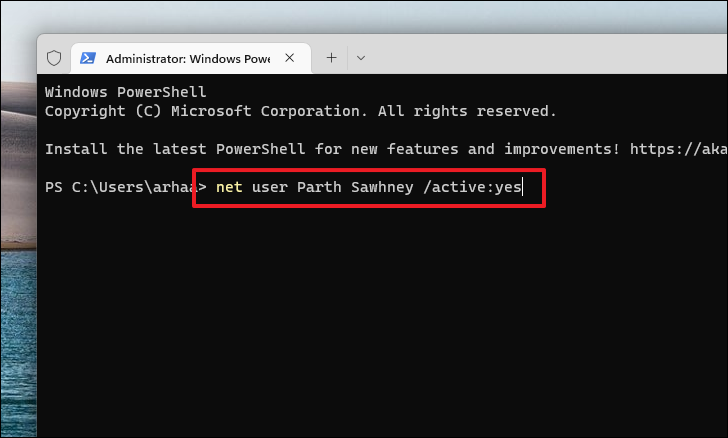
net user <username> /active:yesNote: Replace <username> with the actual username of the locked account.
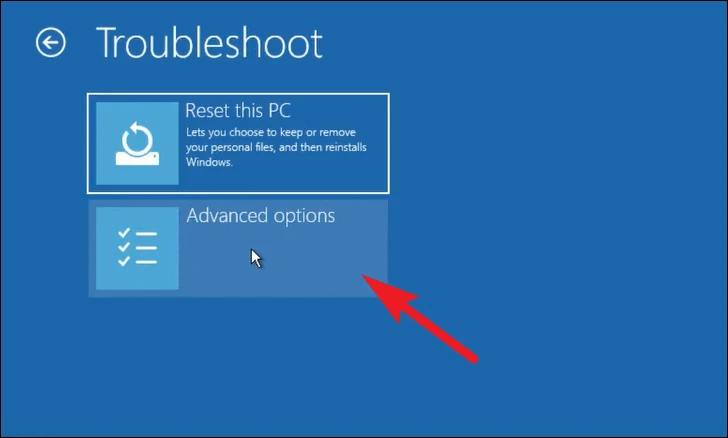
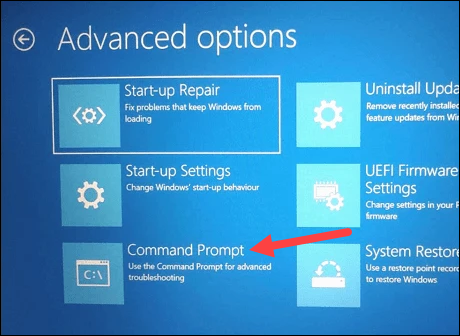
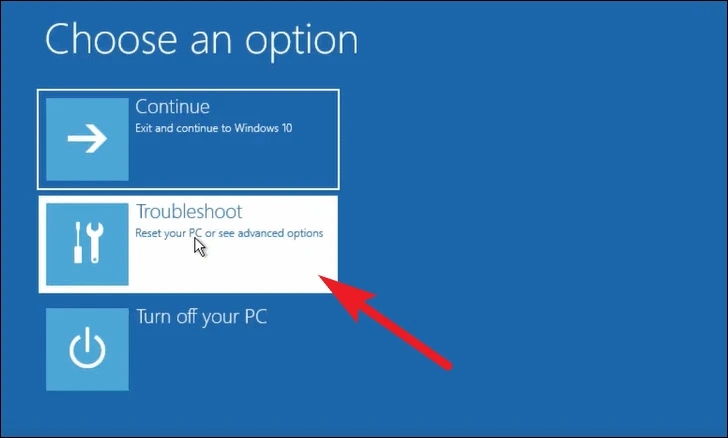
If you’re unable to access another admin account, you can launch Command Prompt from the sign-in screen using the Advanced Startup options.

net user <username> /active:yesNote: Replace <username> with the username of the locked account.
Use Safe Mode
If you suspect that a recent software installation or a system bug is causing the lockout, you can use Safe Mode to troubleshoot and resolve the issue.

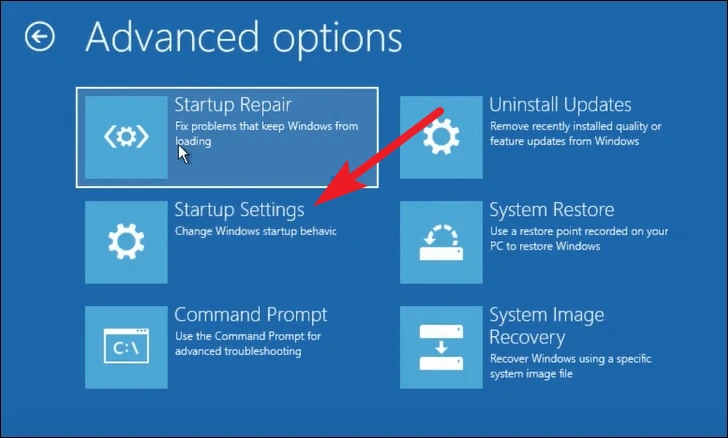

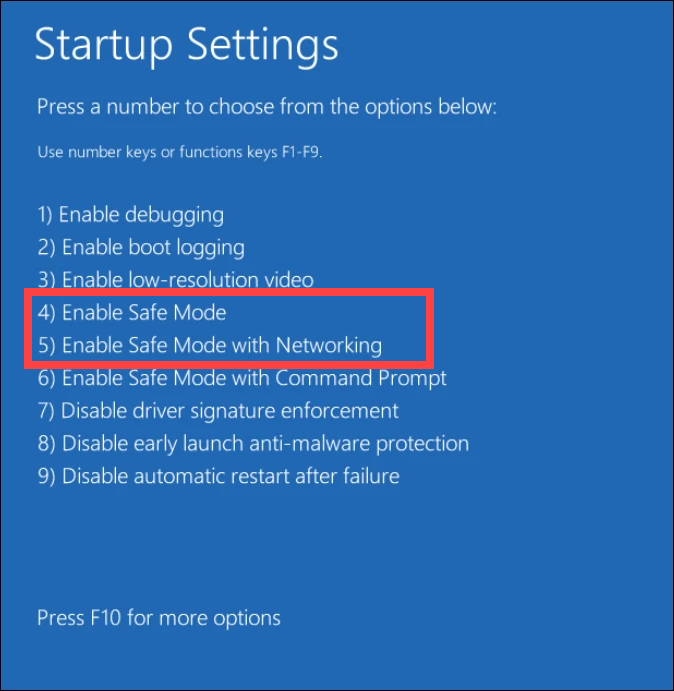
4 to start your PC in Safe Mode, or press 5 to start in Safe Mode with Networking if you need internet access.Note: The numbers may vary; select the option corresponding to Safe Mode.
By following these methods, you should be able to regain access to your locked Windows 11 account. To prevent future lockouts, consider adjusting your account lockout policies or ensure that your security information is up to date.