
Apple introduced the Freeform app earlier at this year’s Worldwide Developer’s Conference (WWDC) while showcasing iOS 16, iPadOS 16, and macOS Ventura. But the app was missing from the initial iterations of these software.
But the Freeform app is finally available with iOS 16.2 (or iPadOS 16.2). Here’s everything you need to know about using this app on your iPhone.
Note: iOS 16.2 is only available as a beta software at the time of this writing. But we can soon expect Apple to release the public version and the app will be a part of it.
What is Freeform?
If you missed the memo, here’s a quick background on the app for you. Freeform is basically a collaborative whiteboard for the Apple ecosystem. It is a flexible canvas where you can brainstorm ideas, start a mood board, or sketch out designs in real time with others.
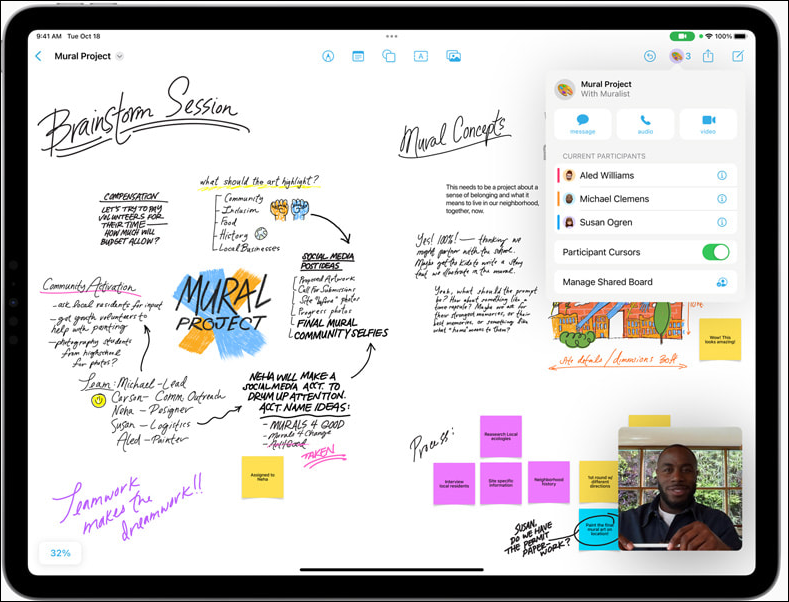
You can collaborate with up to 100 people on a single board. You can also communicate with collaborators using iMessage or FaceTime while working on a Freeform board. Of course, you can also use it individually as simply a whiteboard minus collaboration.
There are many tools available that make it a perfect digital whiteboard: You can add photos, videos, PDFs, documents, web links, stickies, etc. There is also a variety of colors and brush styles, shapes, and more. You can even scan documents right from the app to add them to the board and even annotate them.
If you’re collaborating with others, you can easily see where they are on the board and what they’re doing with individual cursors. Users can use their iPhones, iPads, or Macs to access the app.
Now that you have an overview, let’s get around to using it.
Using Freeform on iPhone
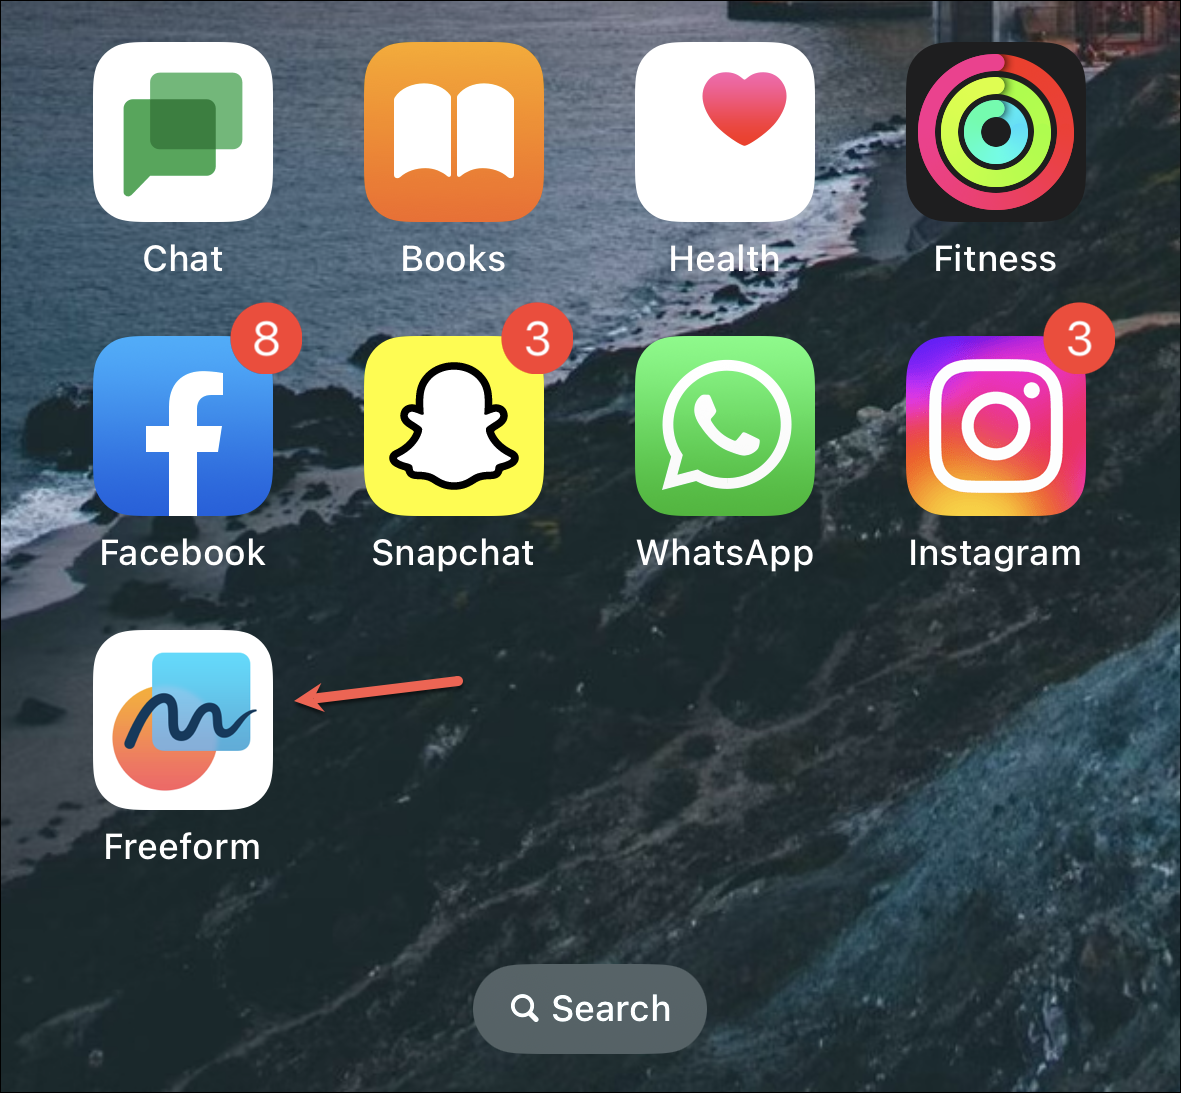
As we iterated earlier, Freeform is only available on iOS 16.2 or later. If you haven’t, go to Settings > General > Software Update and upgrade your iOS. As soon as you install iOS 16.2, you’ll find the Freeform app on your home screen. Tap it to open it.
When you open it for the first time, an onboarding message will appear. Tap ‘Continue’ to proceed.

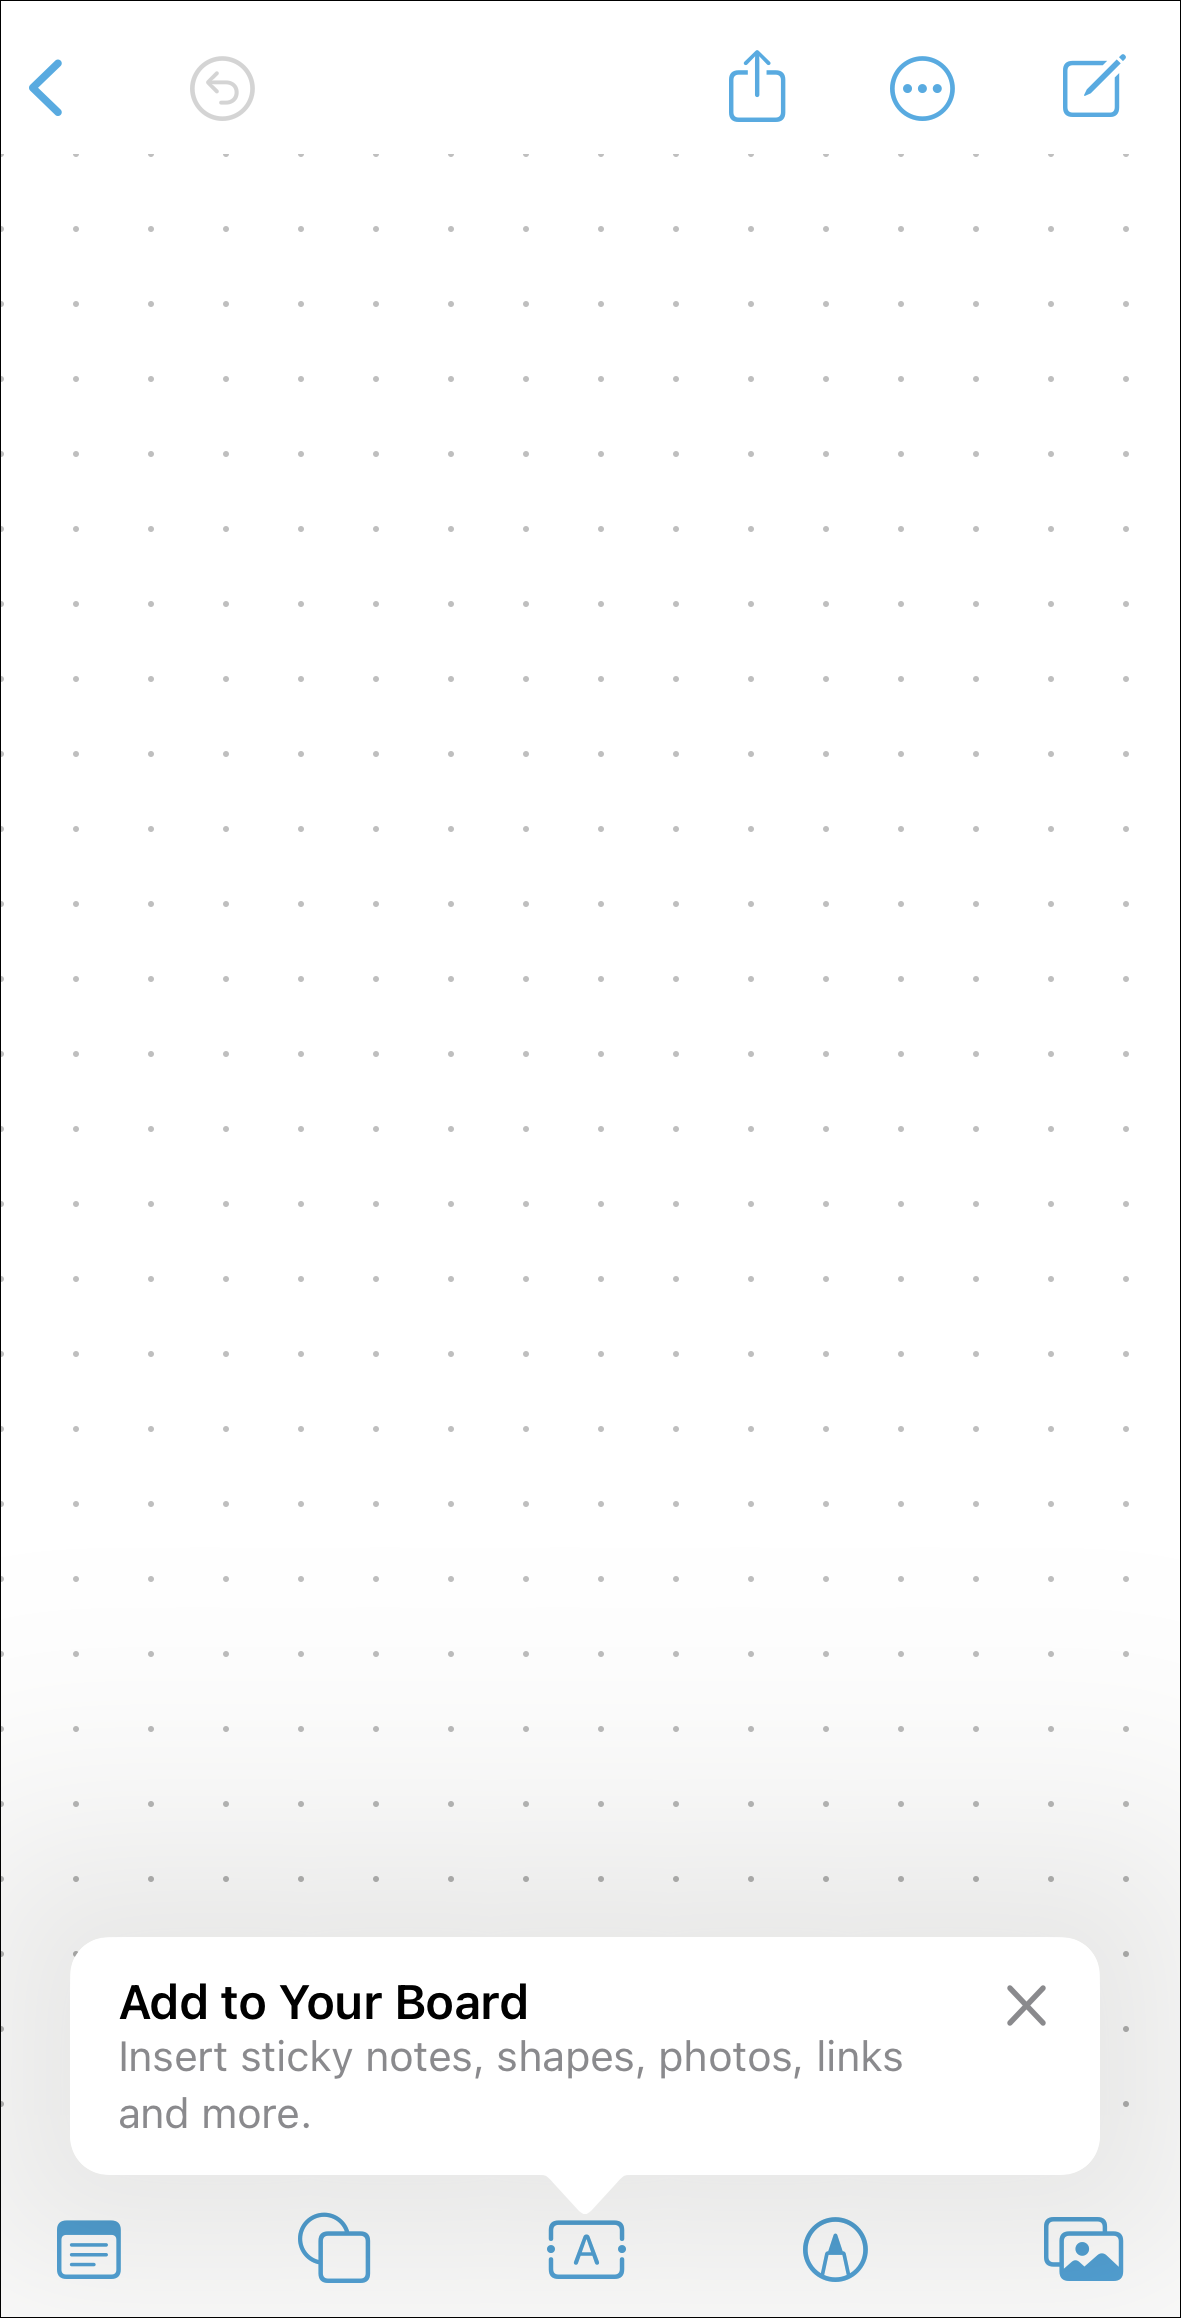
An empty board will open. You’ll find all the drawing and creating tools at the bottom of the screen and tools for collaboration or managing your board at the top.
Sharing the Board
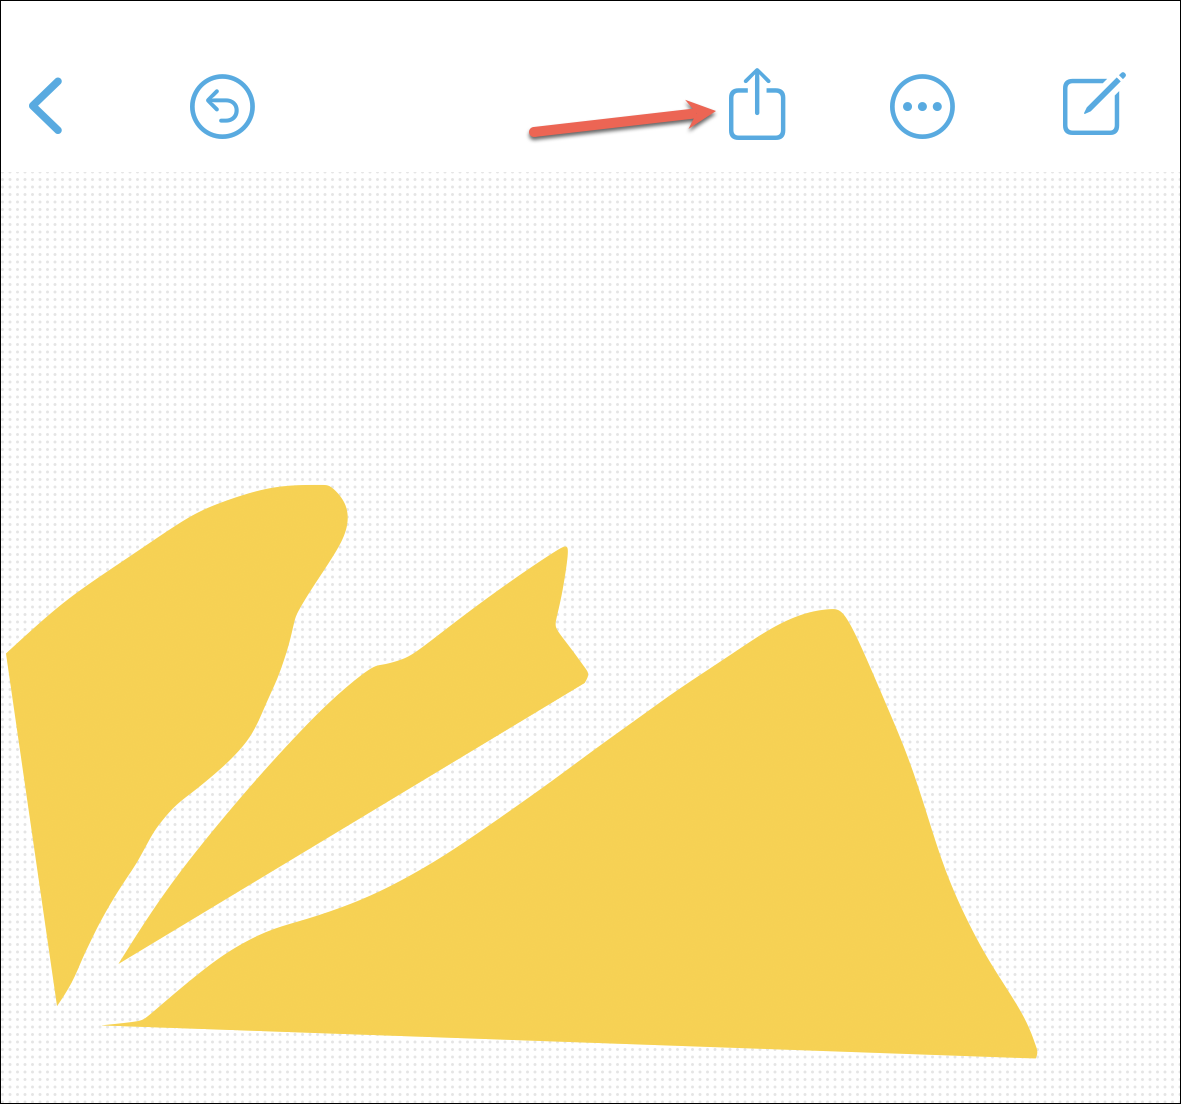
To invite others to collaborate, tap the ‘Share’ icon from the top toolbar.
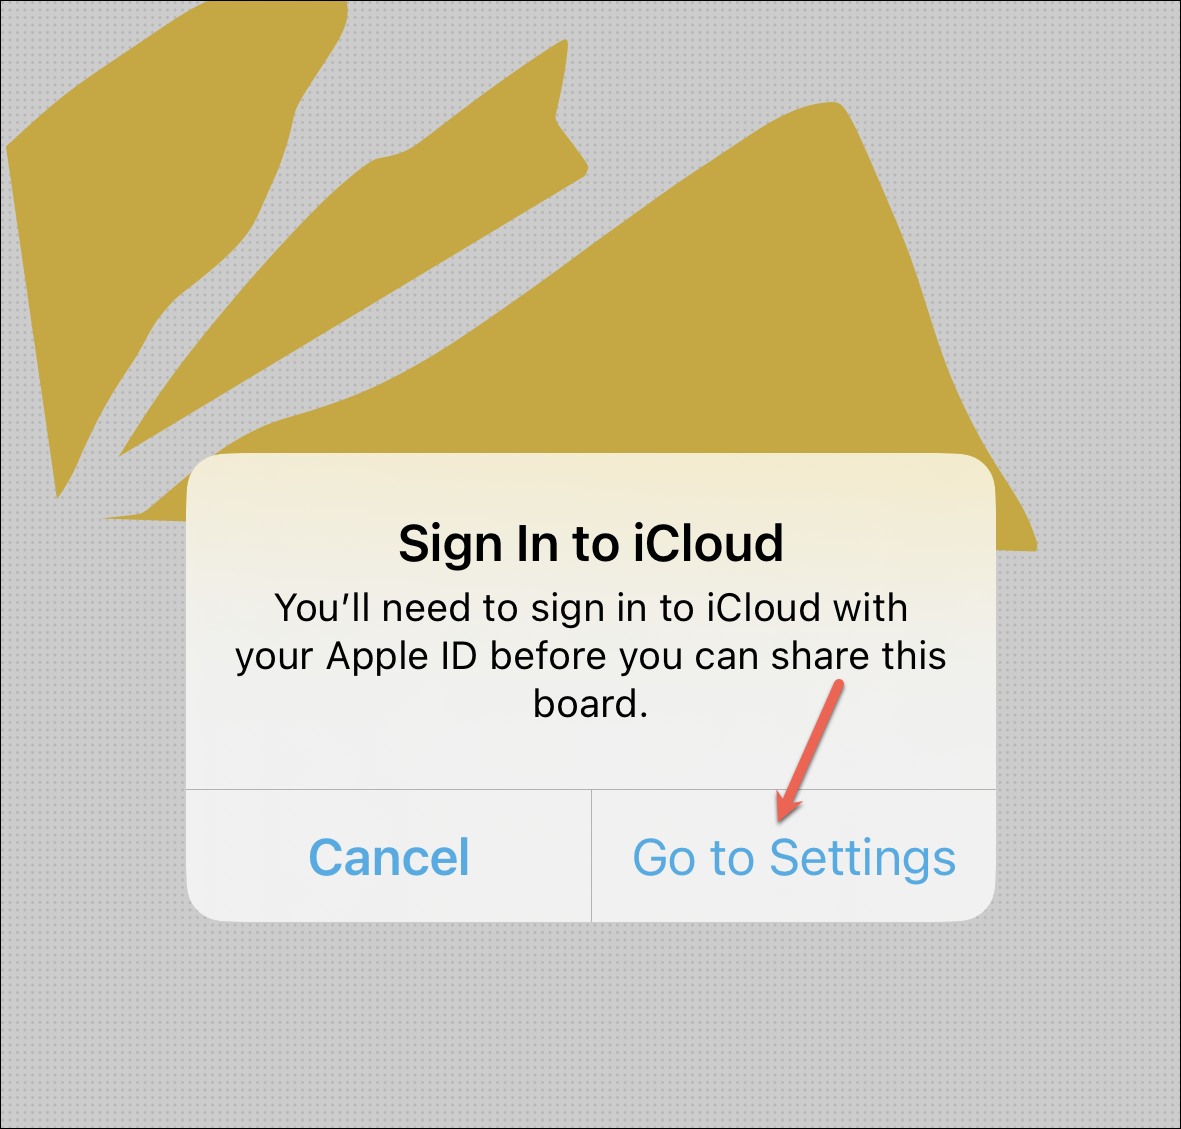
You might get a prompt that says that you need to sign in to iCloud to share the board. Tap ‘Go to Settings’ from the prompt.
iCloud Settings will open. Tap ‘Show All’ in the ‘App using iCloud’ section.
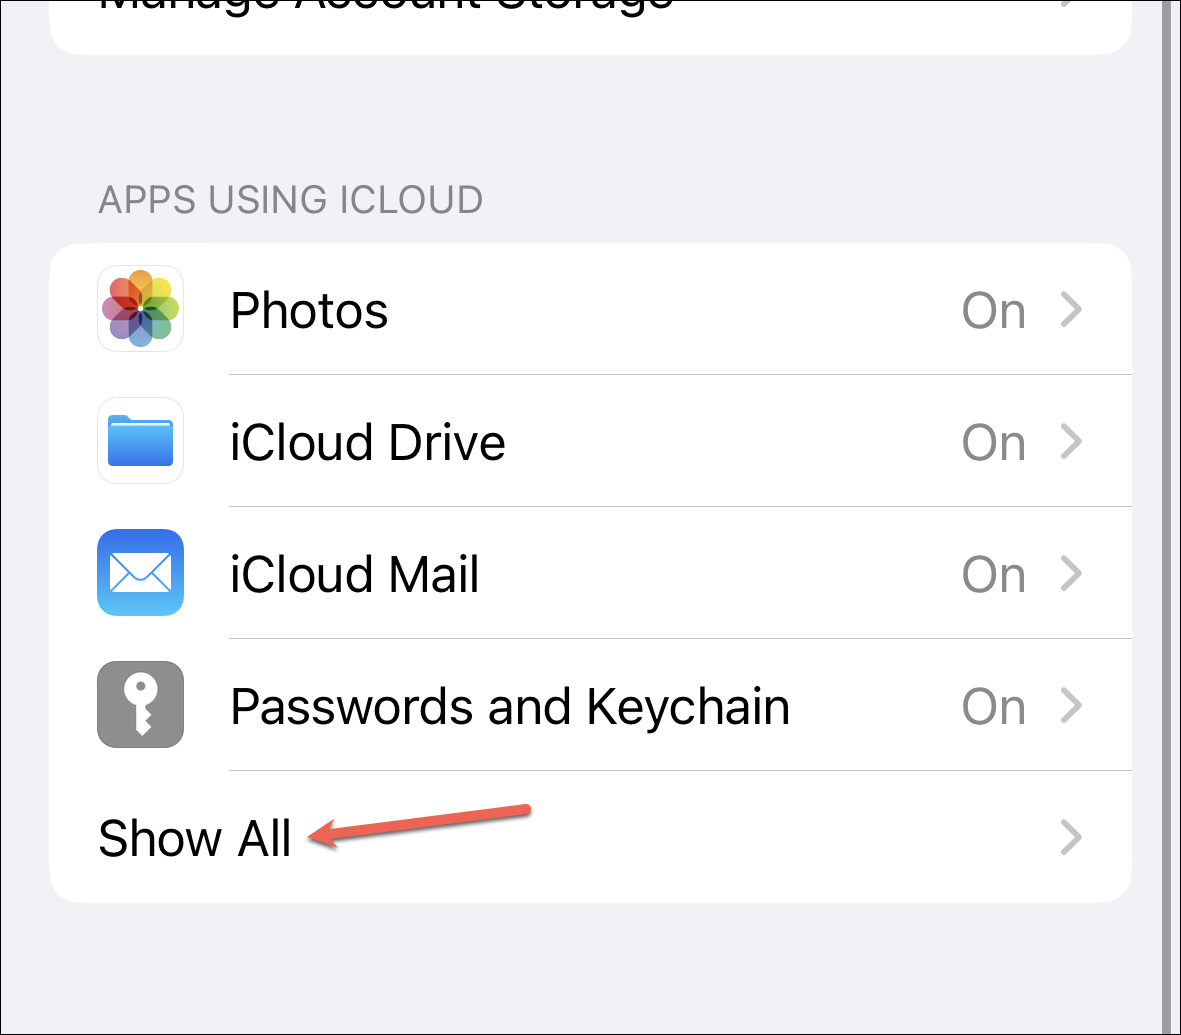
Then, scroll down and you’ll see that the toggle for ‘Freeform’ is off. Tap it to turn it on.

Now, go back to the Freeform app. It might take a few seconds for the board to sync with iCloud. Once it’s synced, you’ll be able to share it. Tap the ‘Share’ button again.
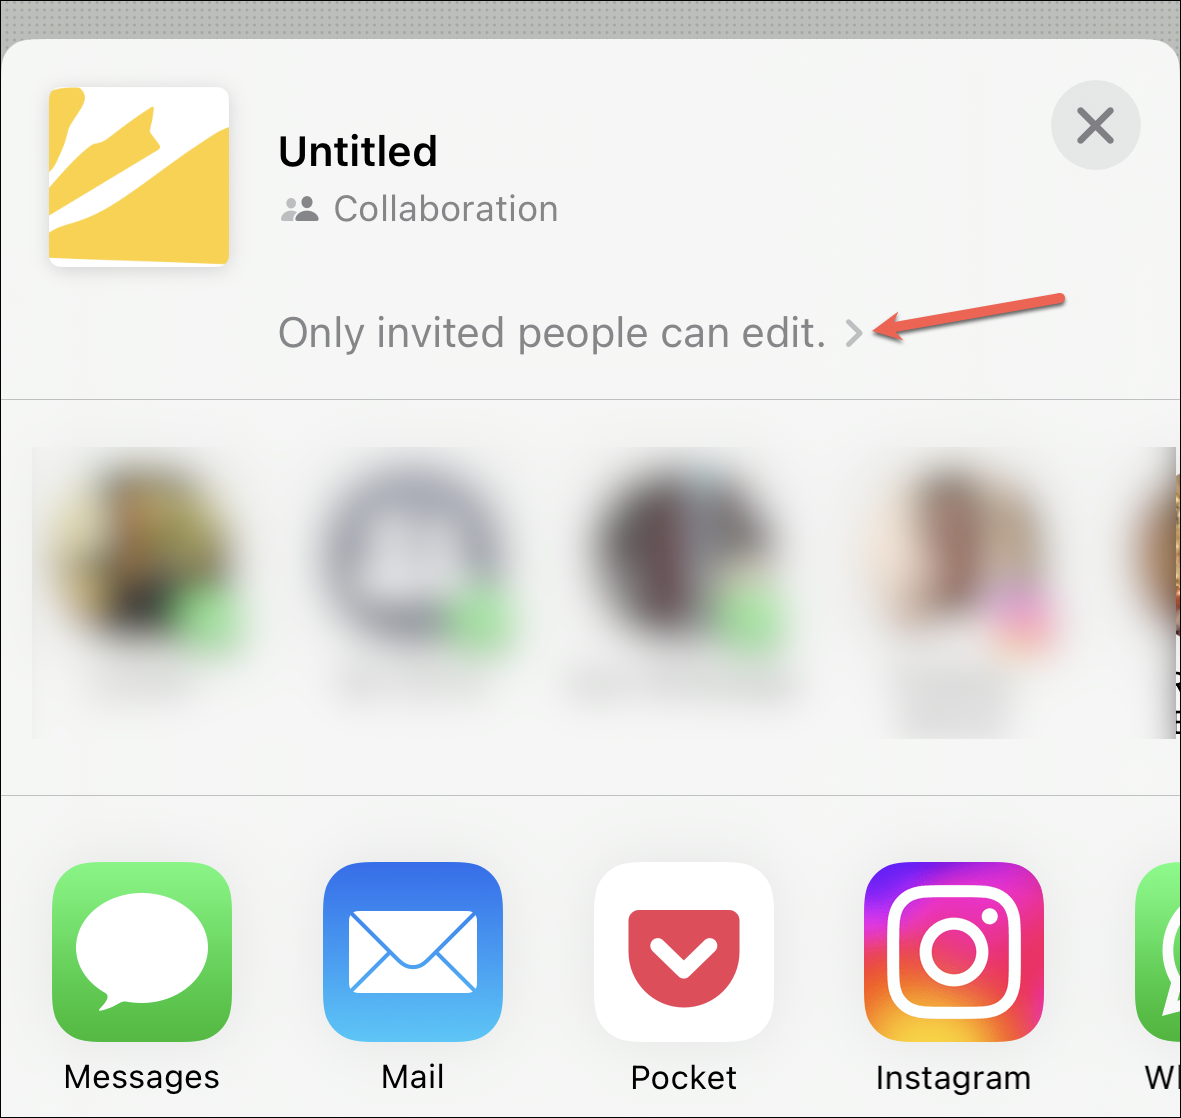
The Share Sheet will open. Before sharing the board, you can change the default sharing permissions. Tap the ‘Only invited people can edit’ option.
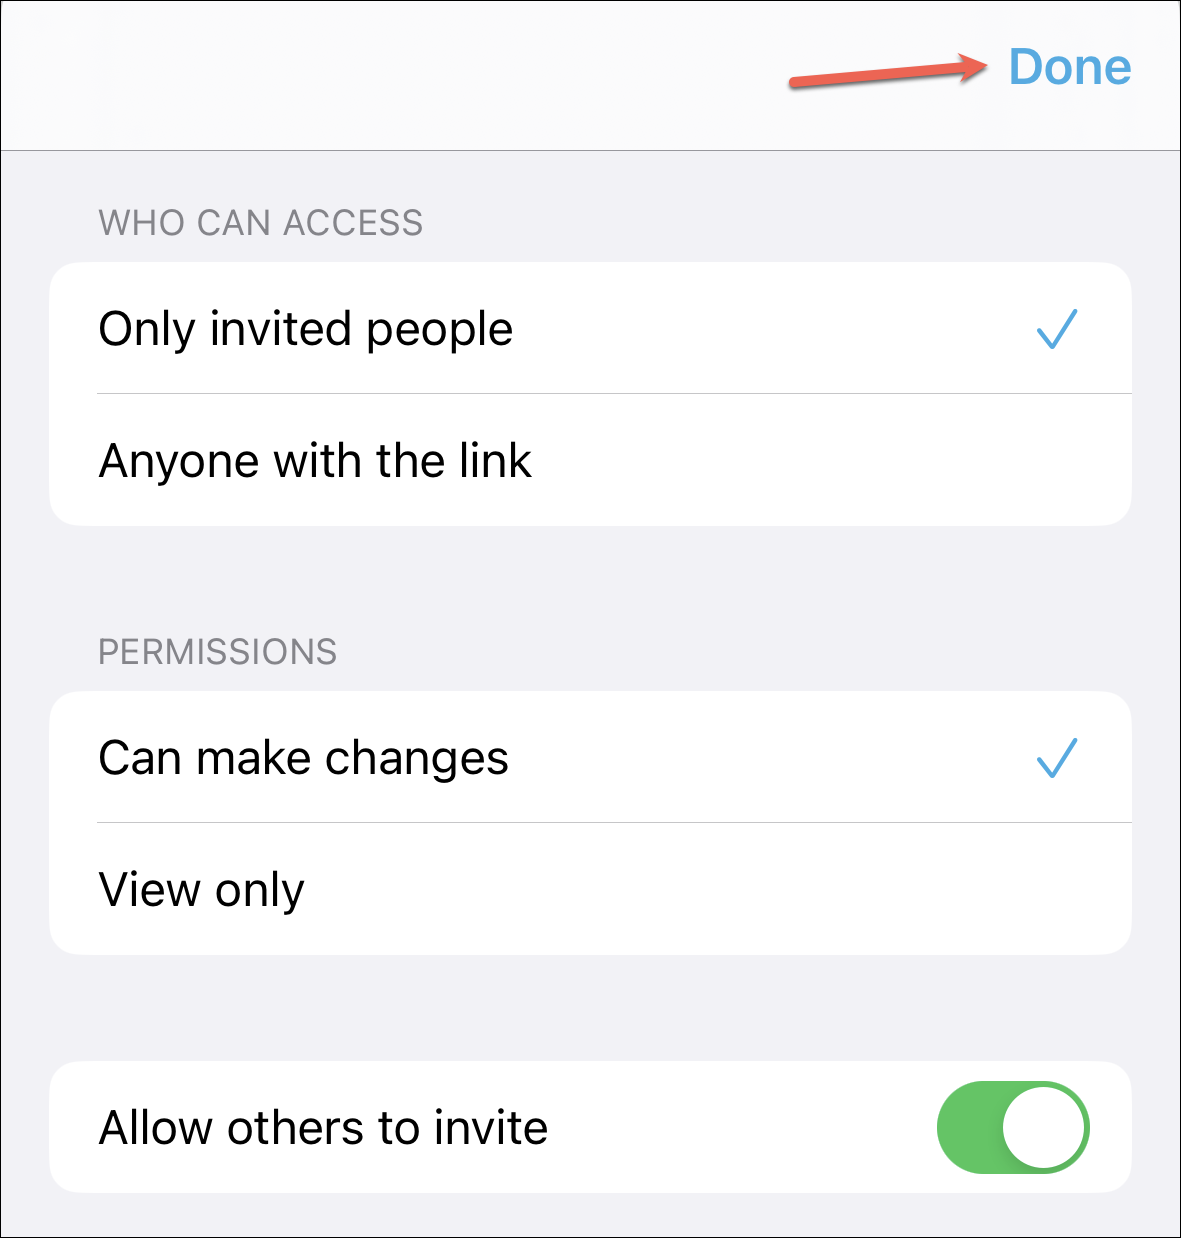
The screen for changing the permissions will open. You can change who can access the board (invited people or anyone with a link) and whether they can make changes or only view it. You can also disallow others from inviting anyone. Tap ‘Done’ after making your desired changes.
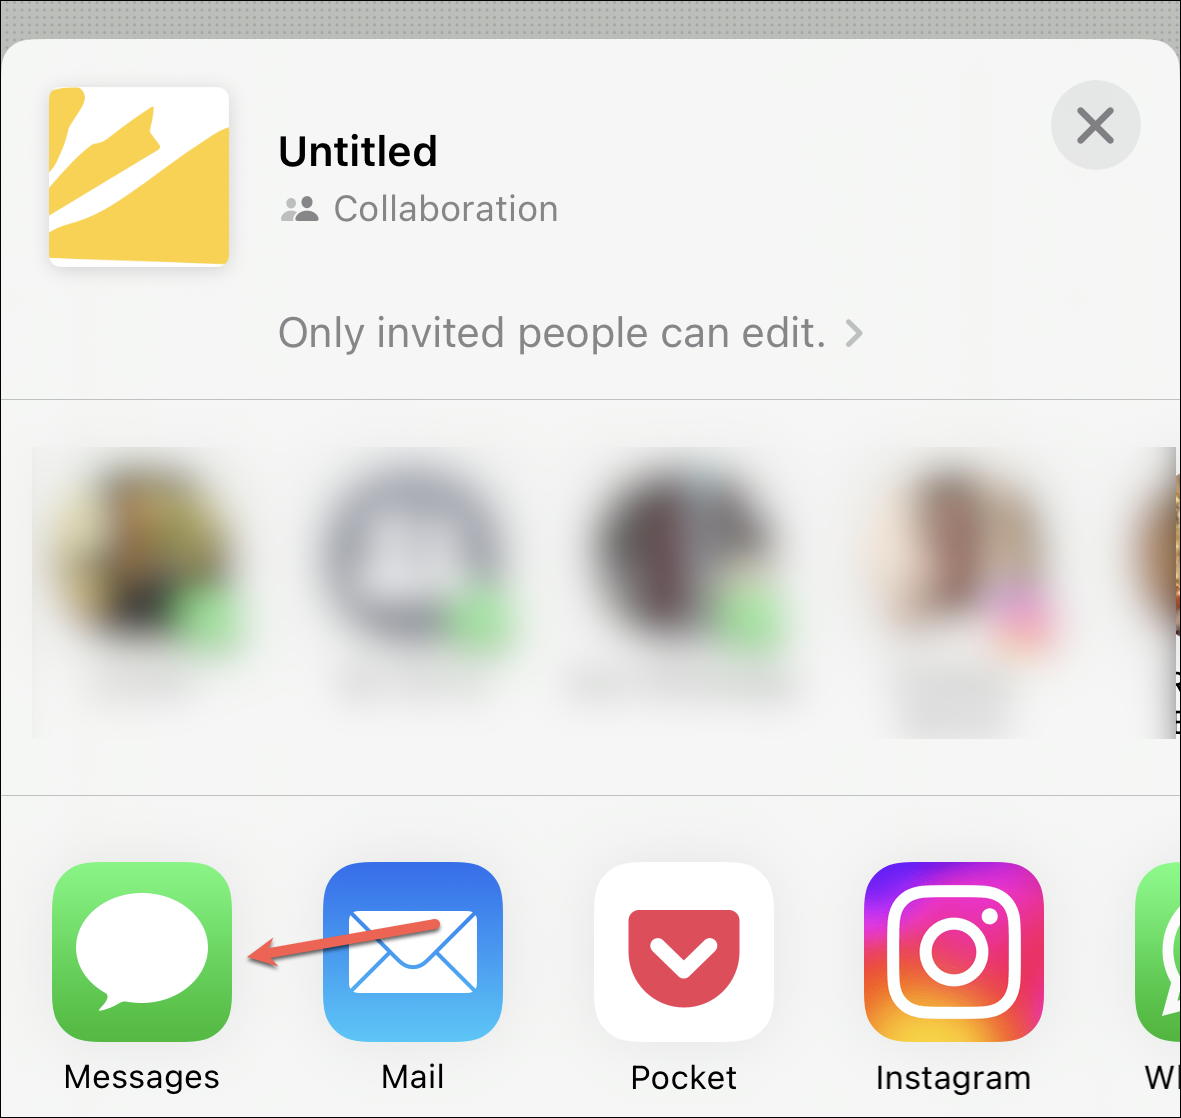
Then, select how you want to send the invitation. The easiest method would be to use the ‘Messages’ app.
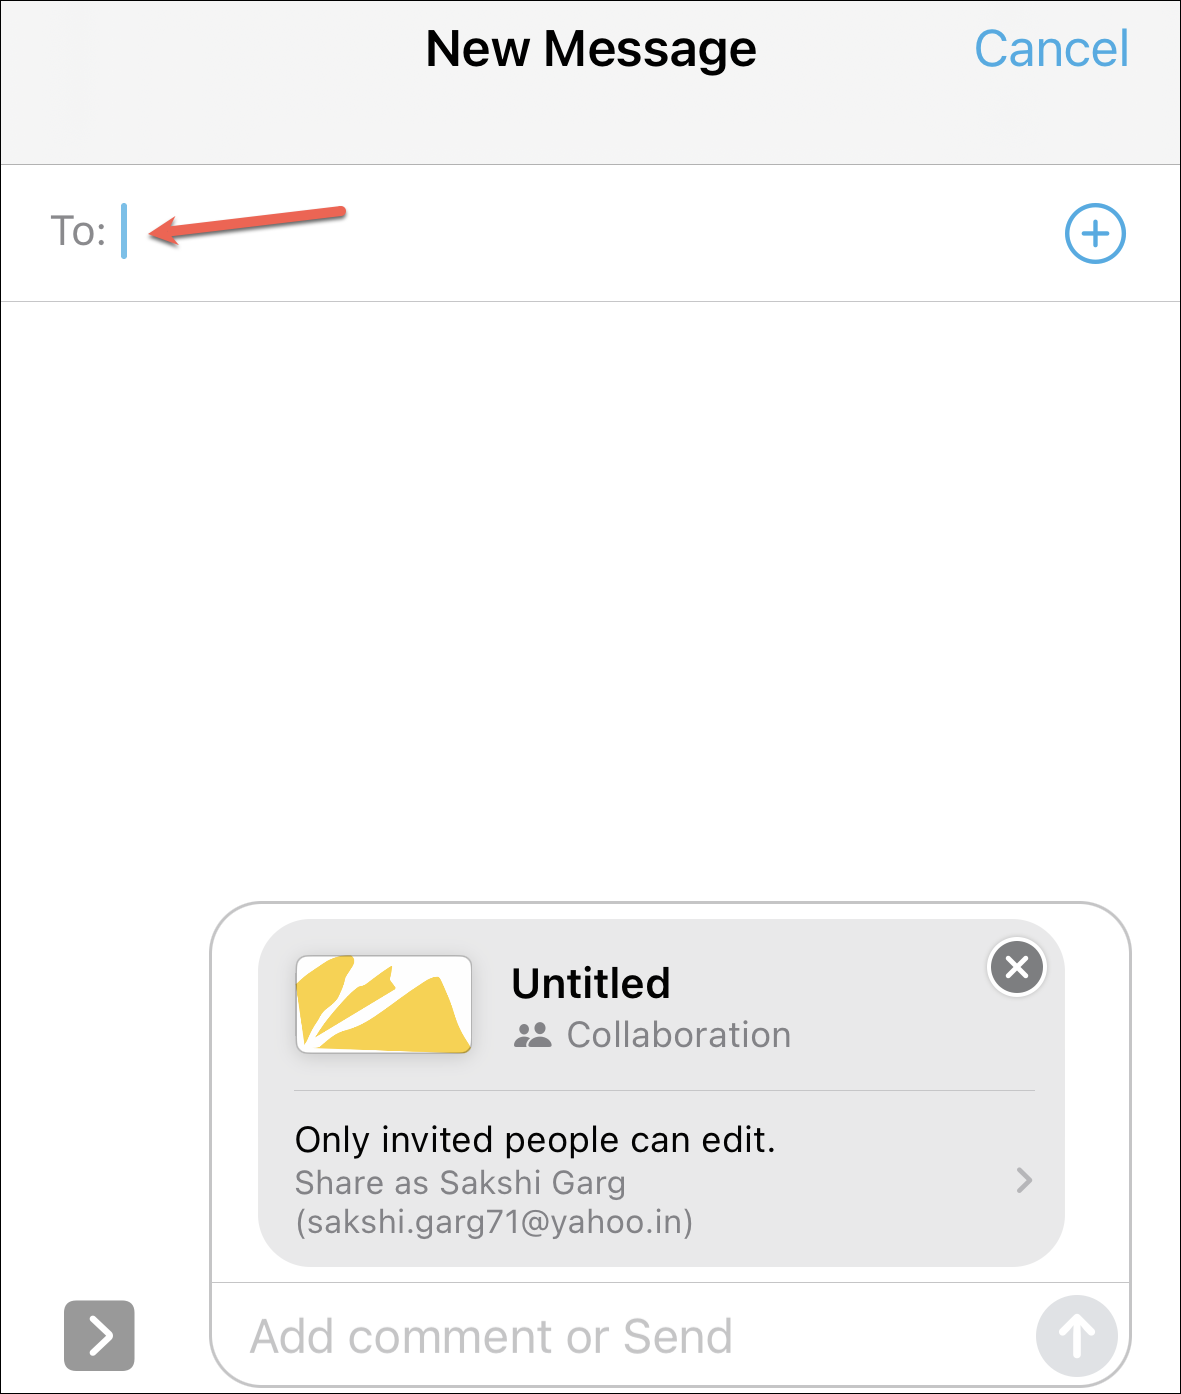
The invitation will load directly in the message box and you can add the people you want to invite in the ‘To:’ field.
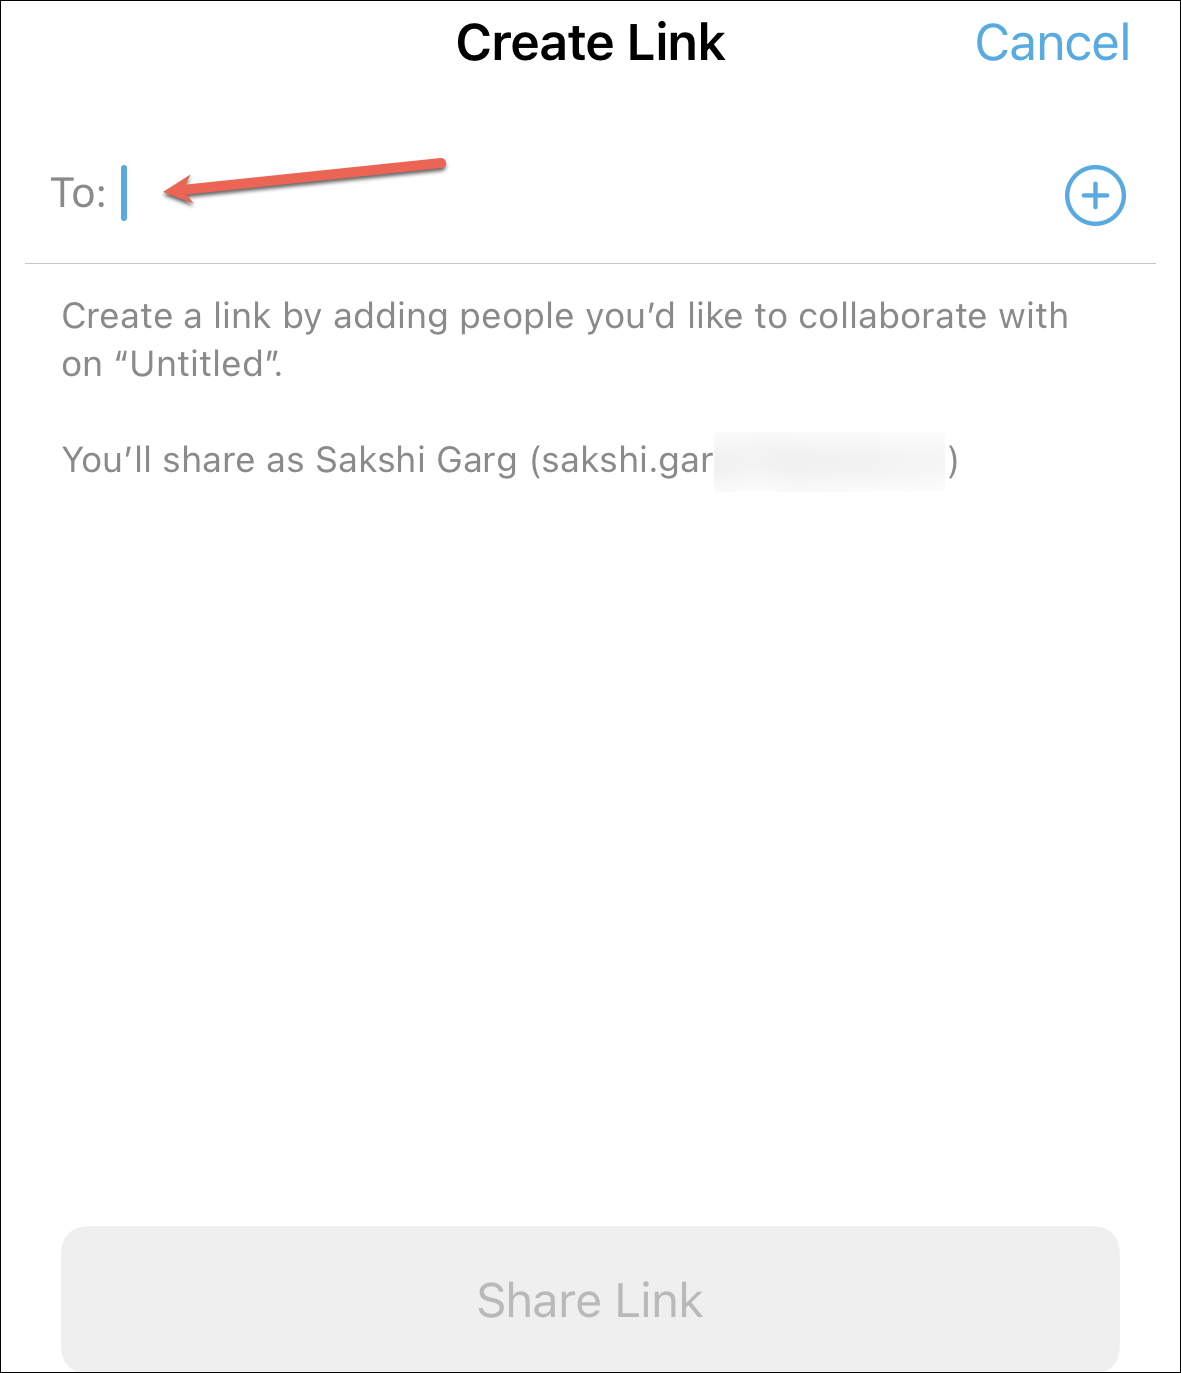
If you use any other app, a link will be created to share instead. Enter the Apple ID for the users you want to invite in the ‘To:’ field and tap ‘Share Link’.
People will have to accept your collaboration invitation.
Using the Board
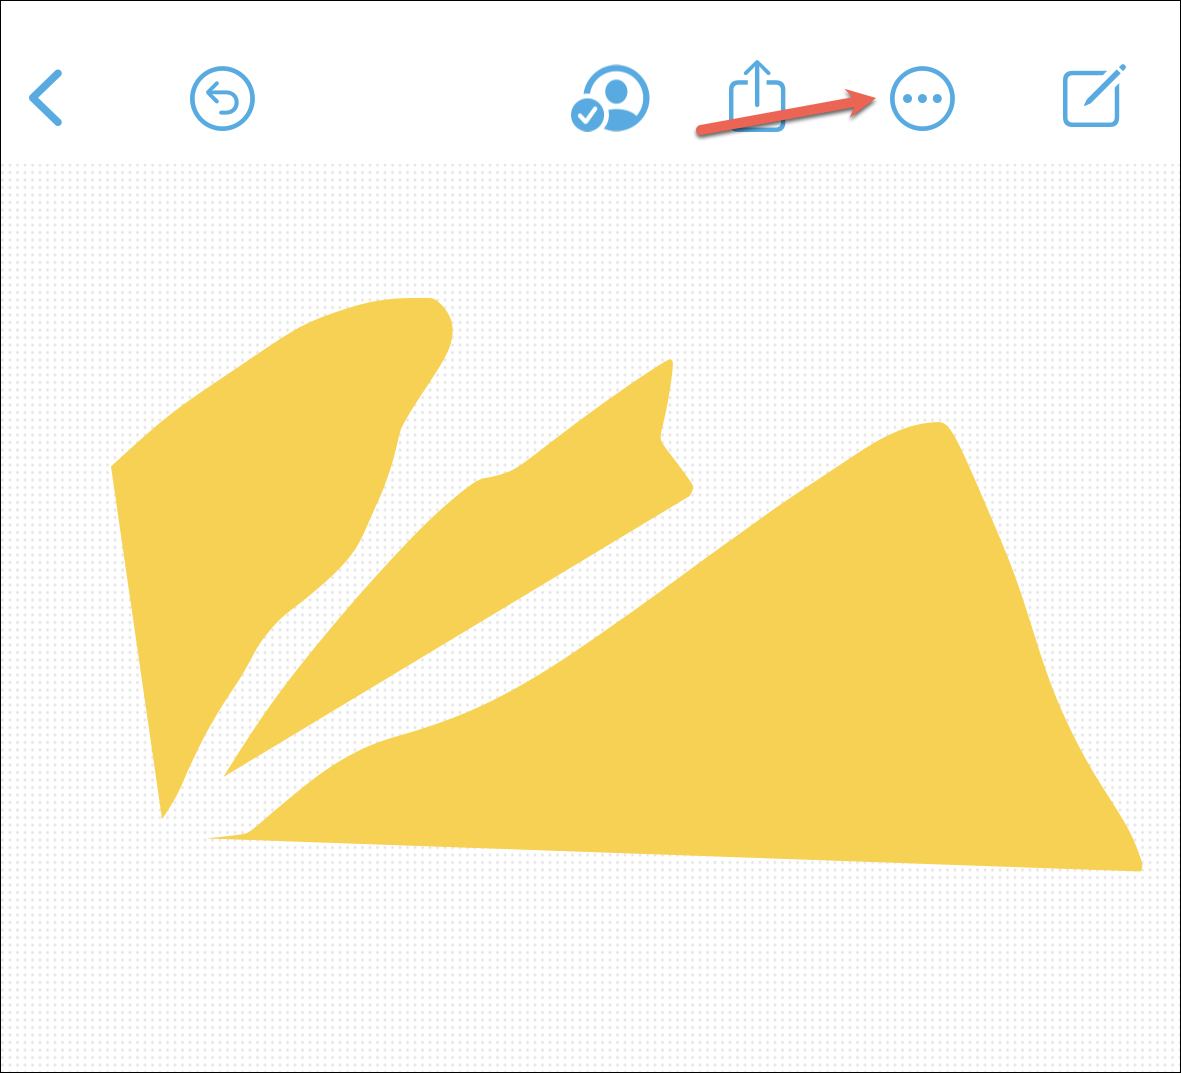
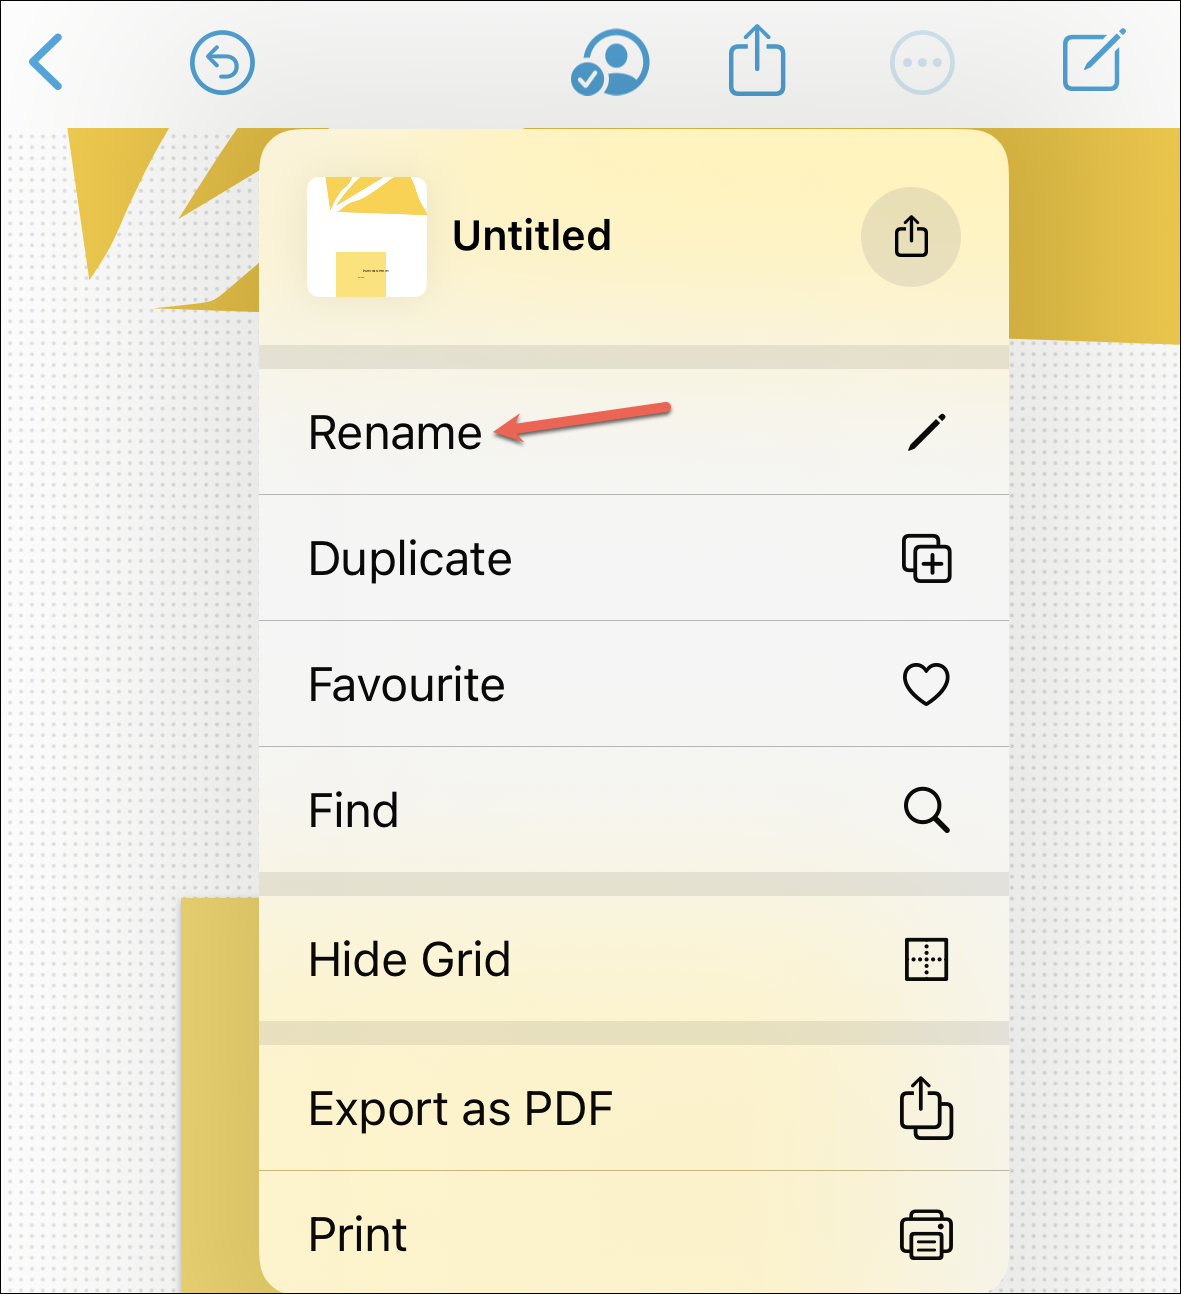
Using a Freeform board is easy. Tap the three-dot menu in the upper-right corner to access options for the board.
Now, tap ‘Rename’ to change the name of your board. You can also print the board, export it as a PDF, duplicate or favorite it, or choose to show or hide the grid.
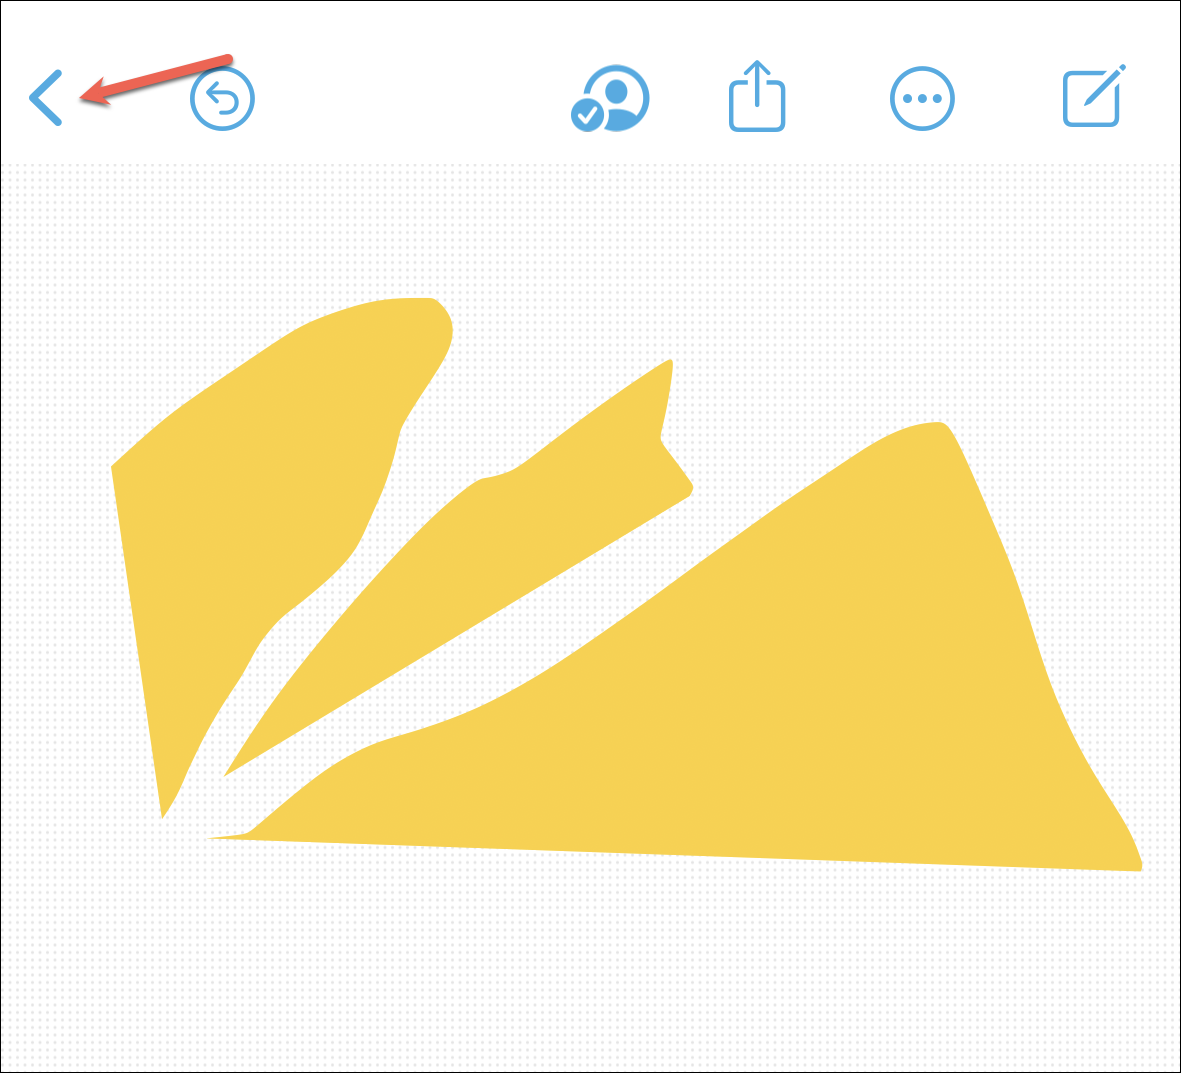
Tap the ‘Back’ option at the top to view all your boards.
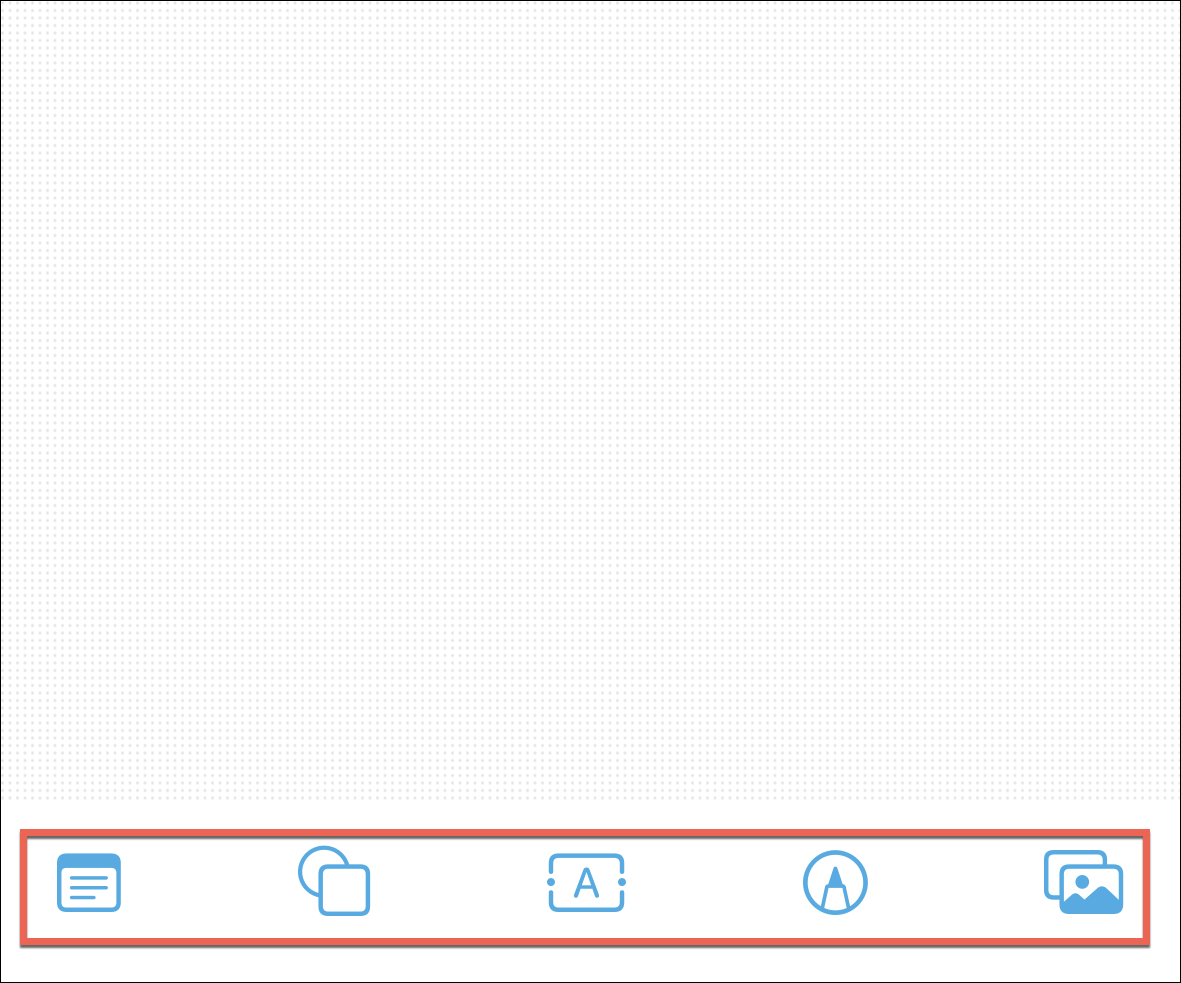
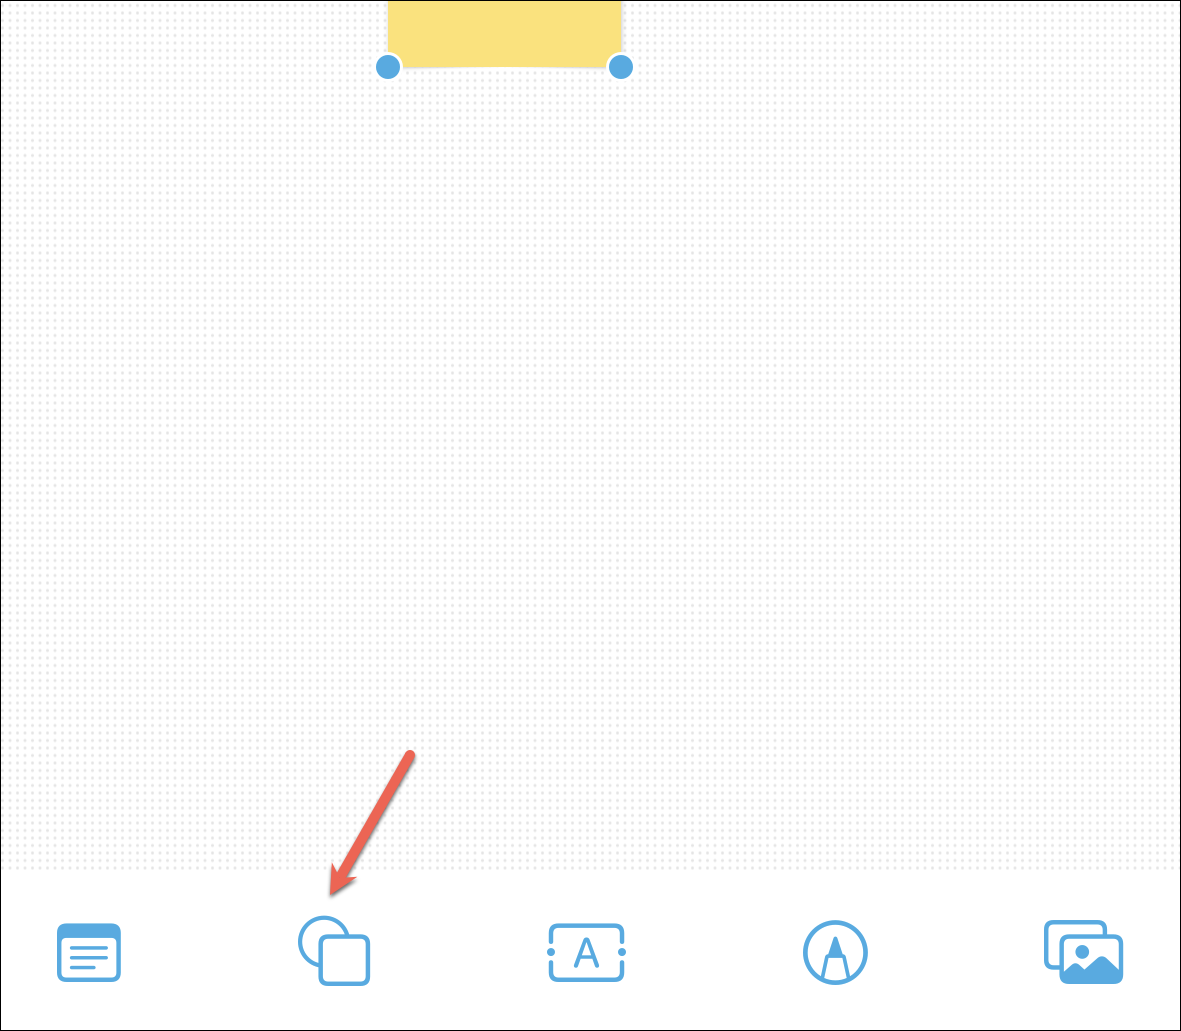
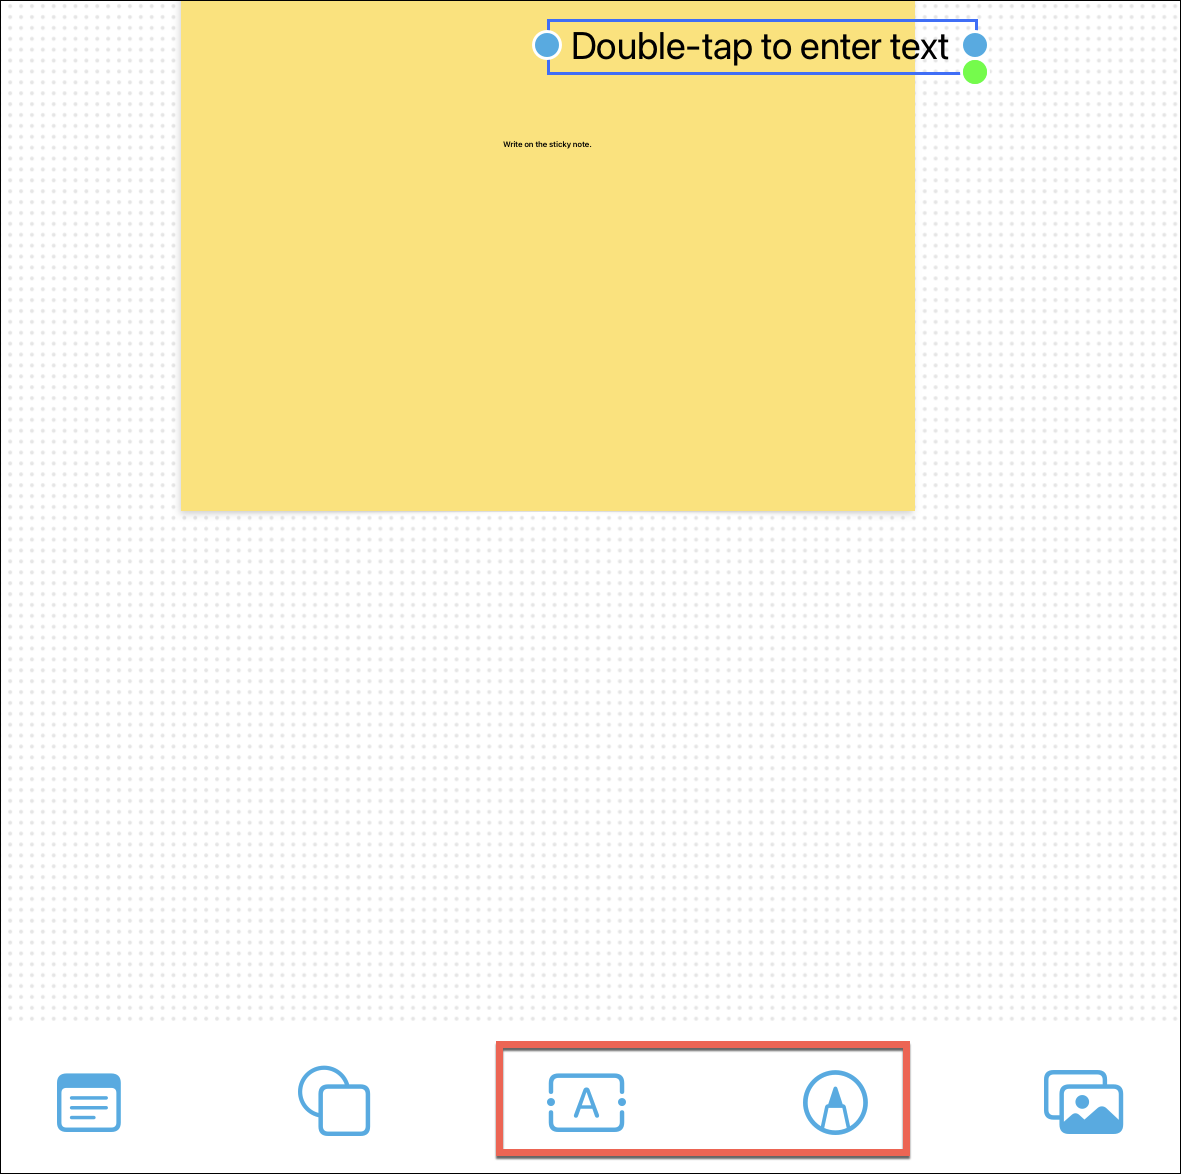
The toolbar at the bottom houses these tools from left to right: Stickies, Shapes, Text, Draw, and Insert Photos, Videos, Documents, or Web-Links.
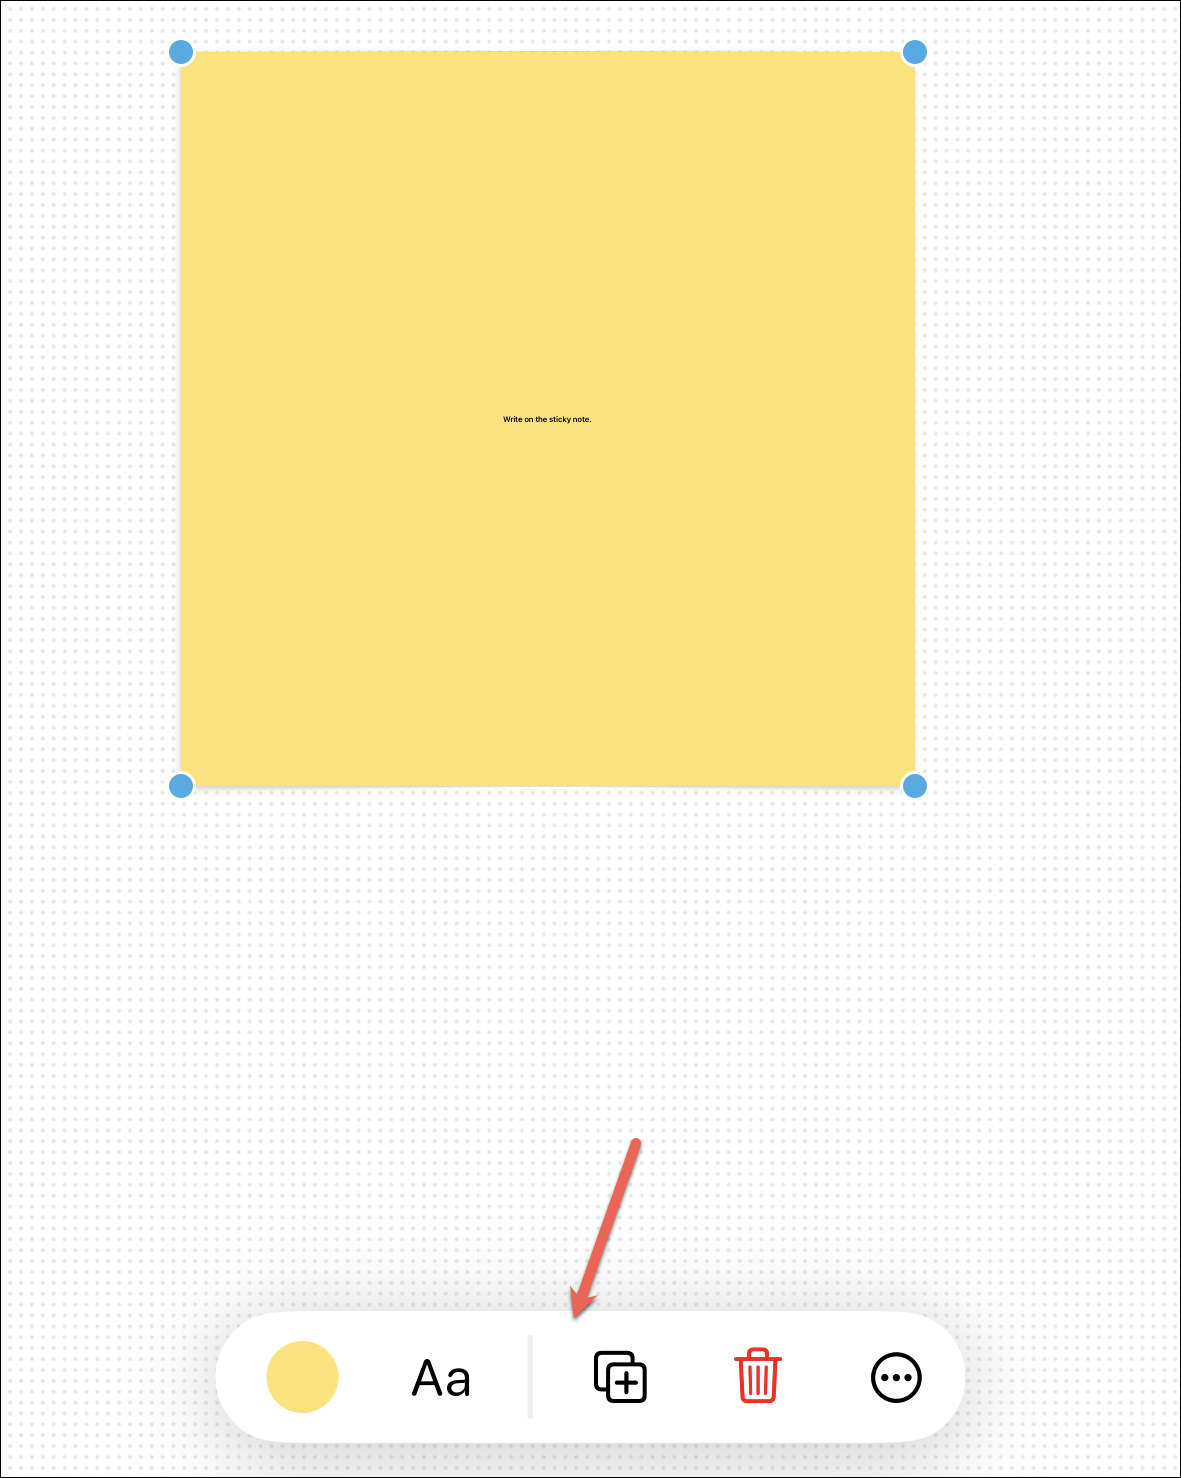
To insert a sticky note, tap the ‘Stickies’ icon. A sticky note will appear on the board. You can resize it using the blue dots in the corner. To write on the sticky note, double-tap on it.
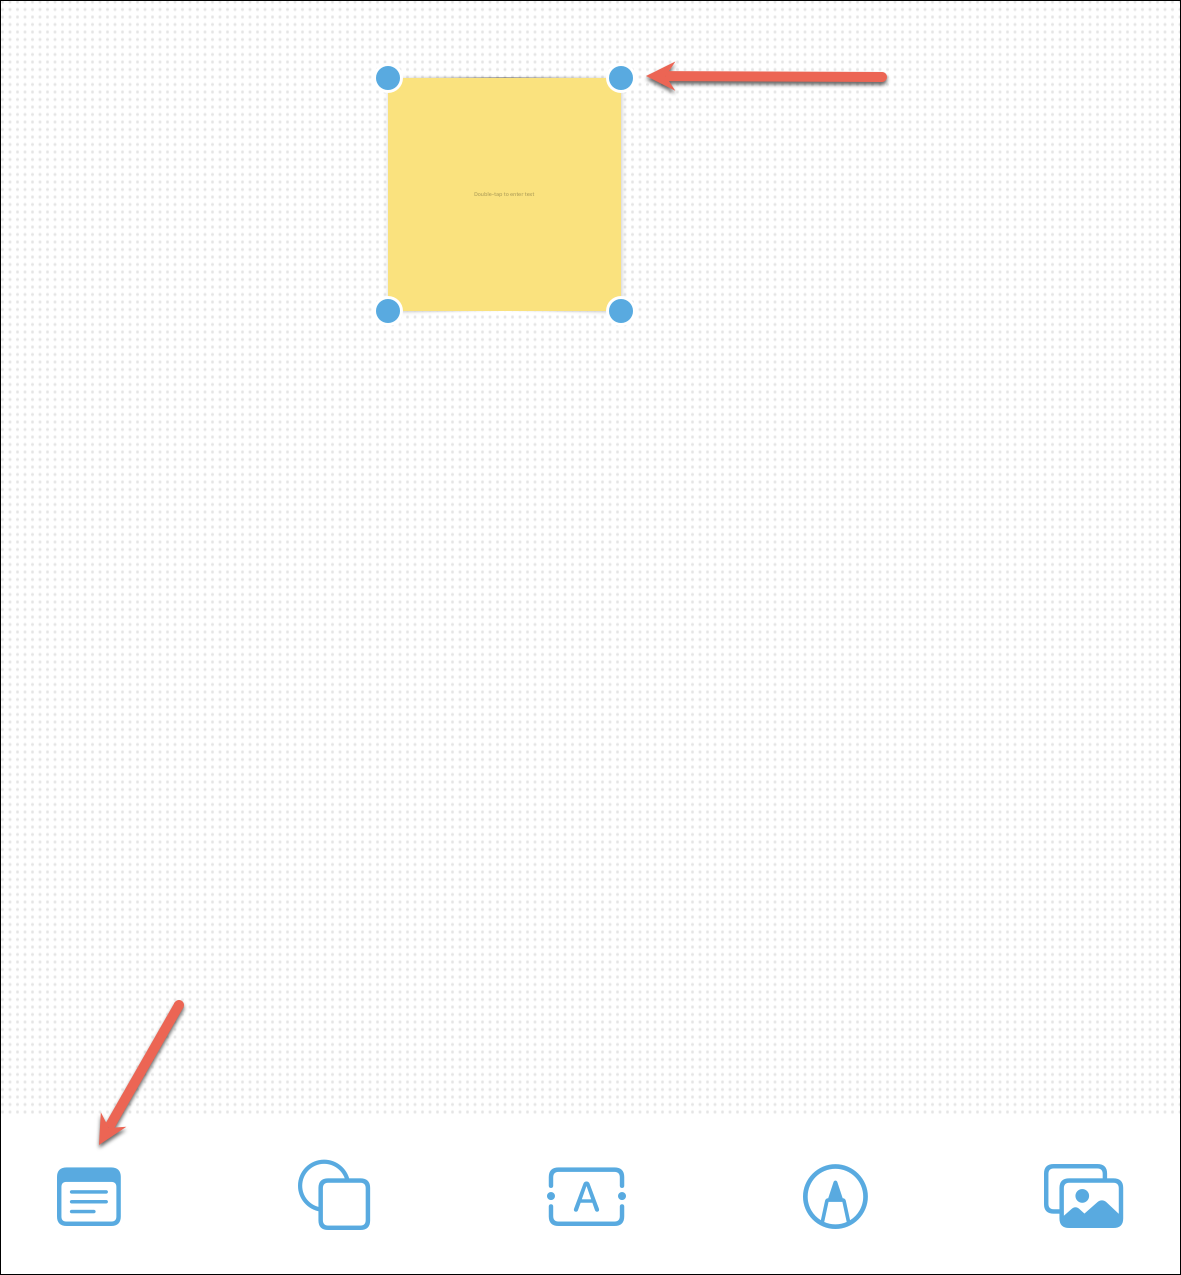
To get customization options, tap the sticky note once. The options for changing the color, text size, or deleting the note will appear at the bottom.
To insert a shape, tap the ‘Shapes’ option.
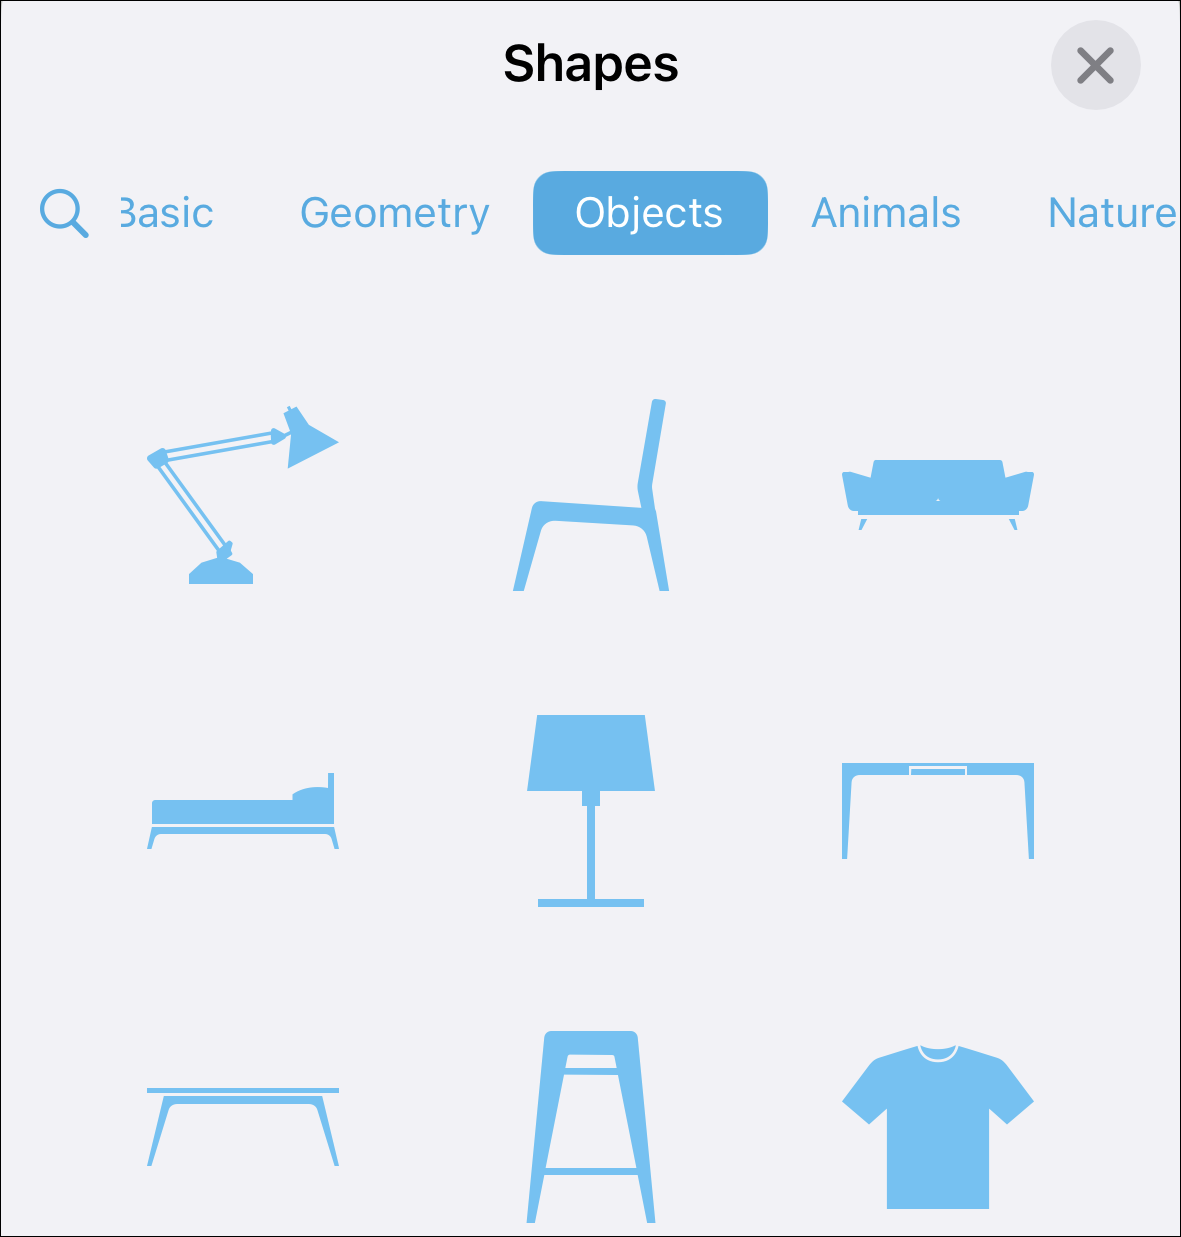
Then, select the shape you want to add from the overlay menu.
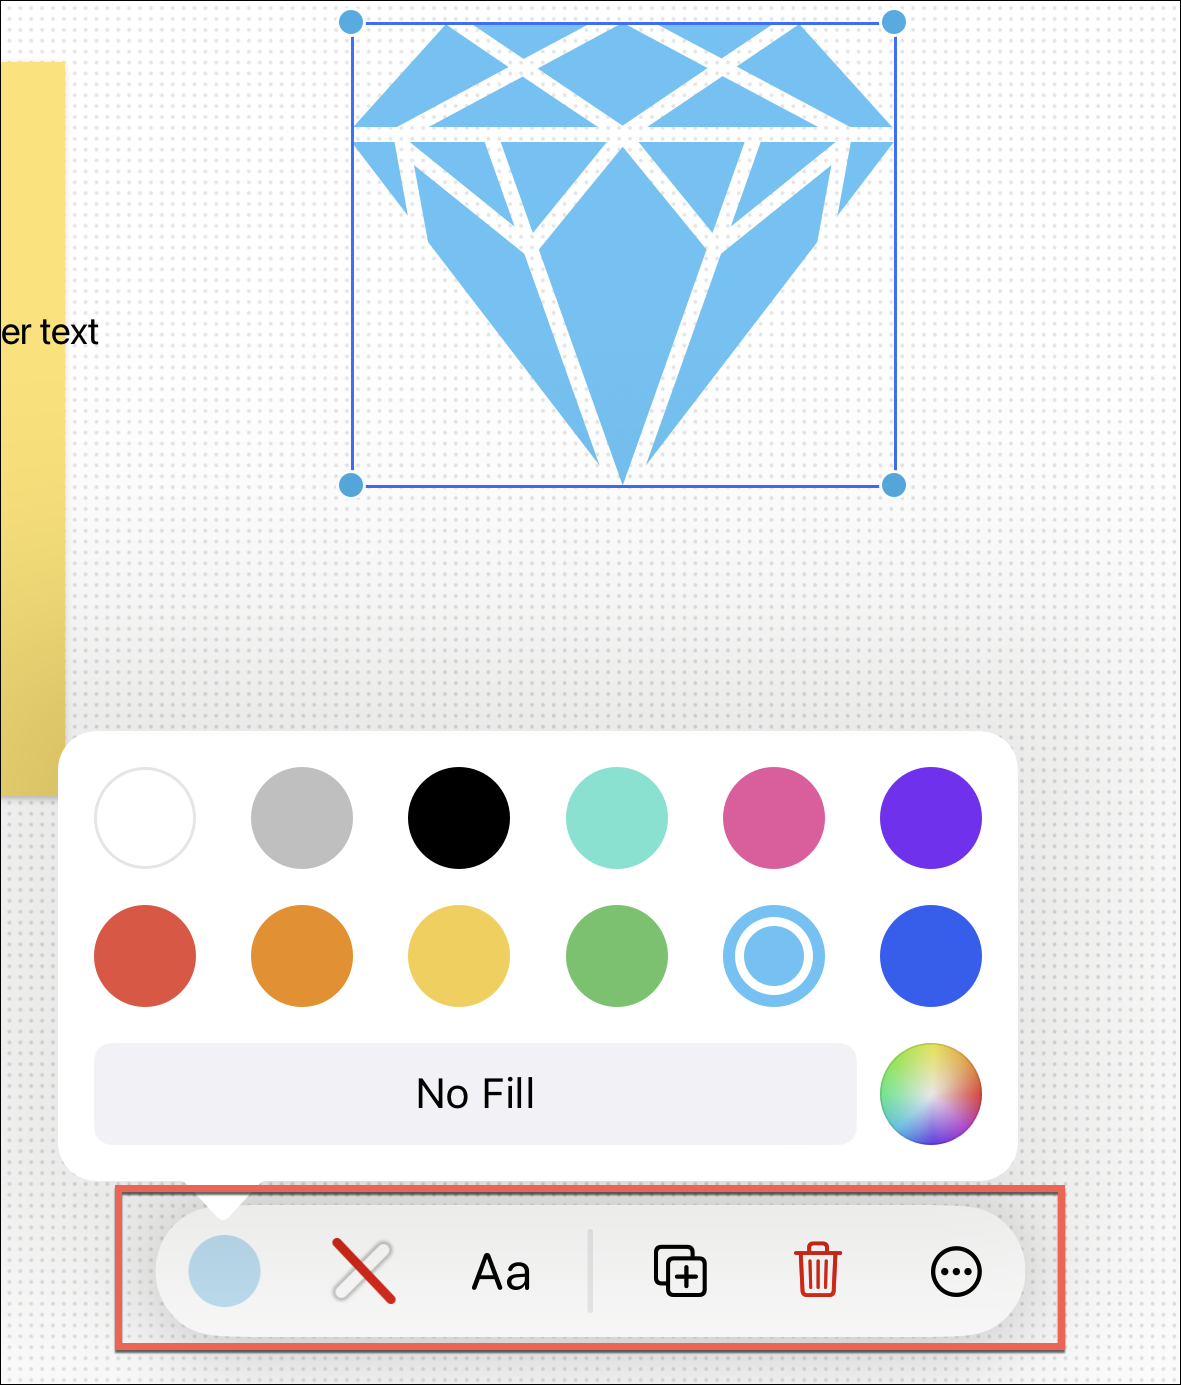
Just like with a sticky note, you can get shape specific tools by tapping the element on the canvas. In fact, it works similarly for all other elements, like text, drawings, etc., as well.
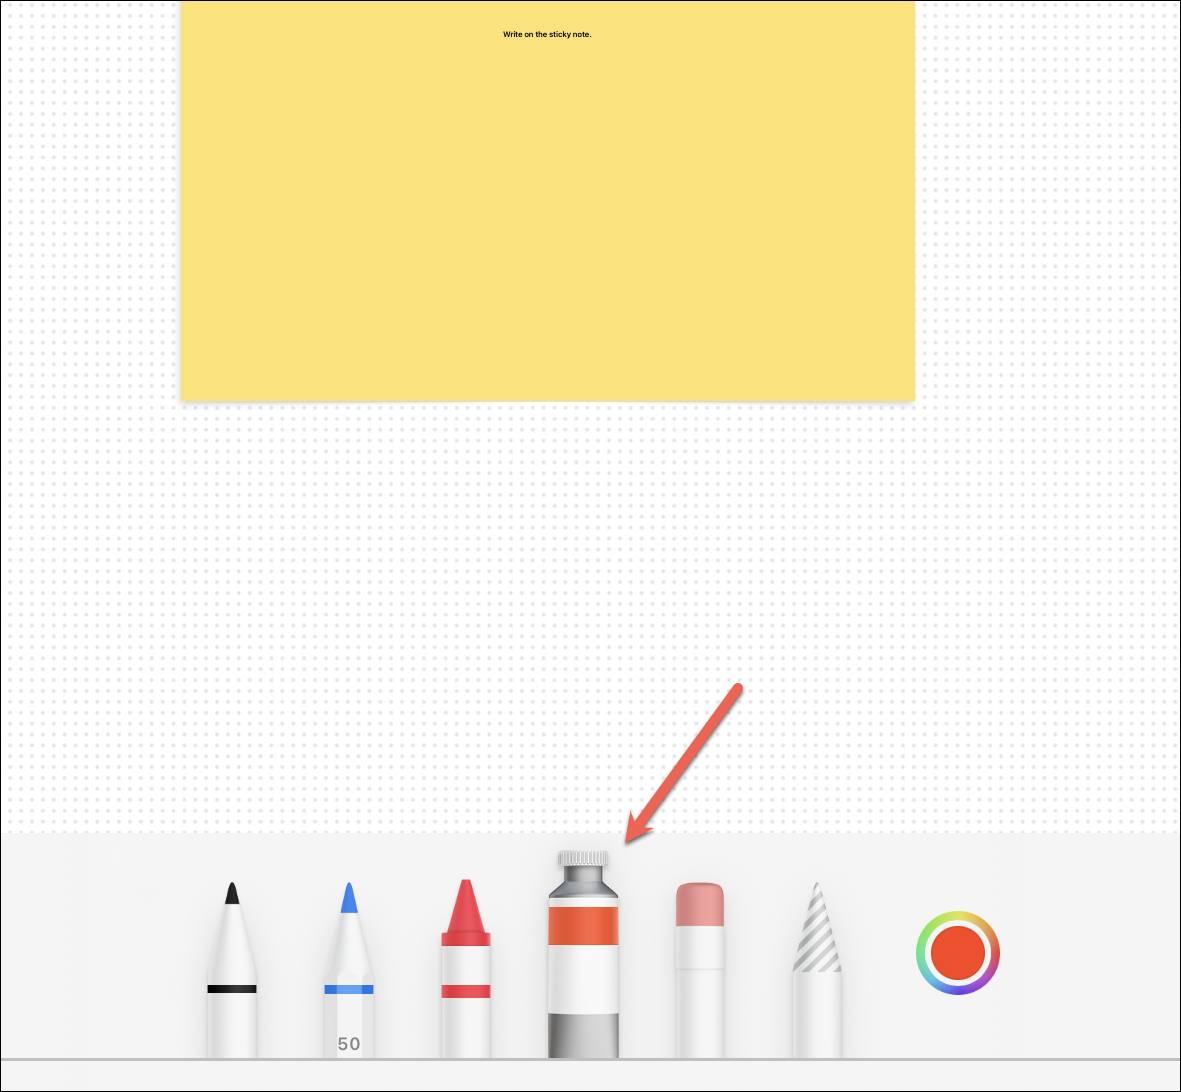
Similarly, you can enter the text by tapping the ‘Text’ option and get drawing tools by tapping the ‘Draw’ option.
Drawing tools are similar to what you’d find in notes, markup, etc. – basically the Apple tools.
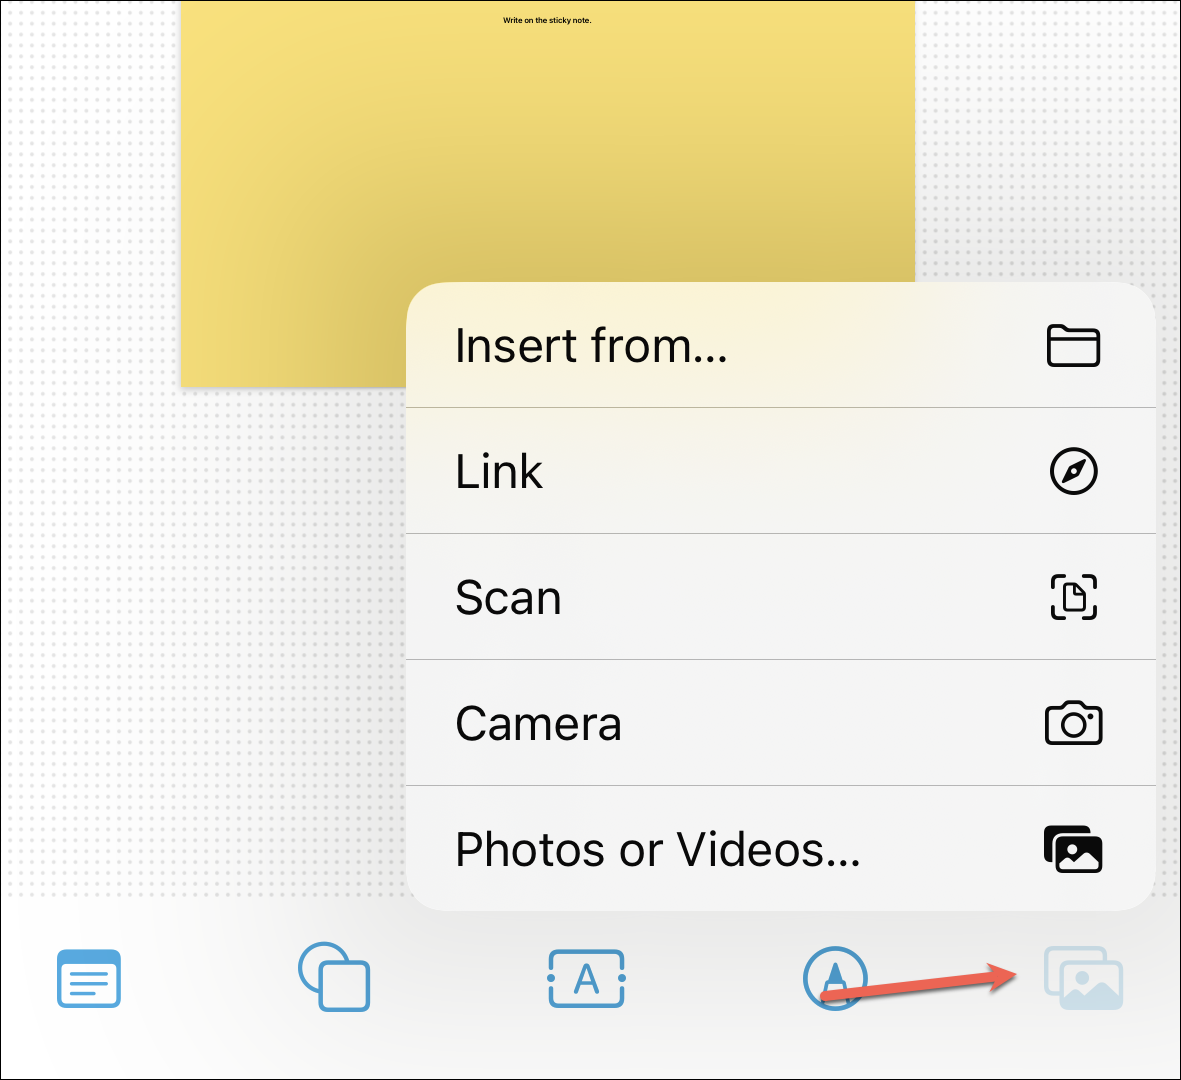
Tap the ‘Photo’ icon to get the options to insert photos, and videos, insert documents from Files, scan a document, insert a link, or take a photo or video using the Camera.
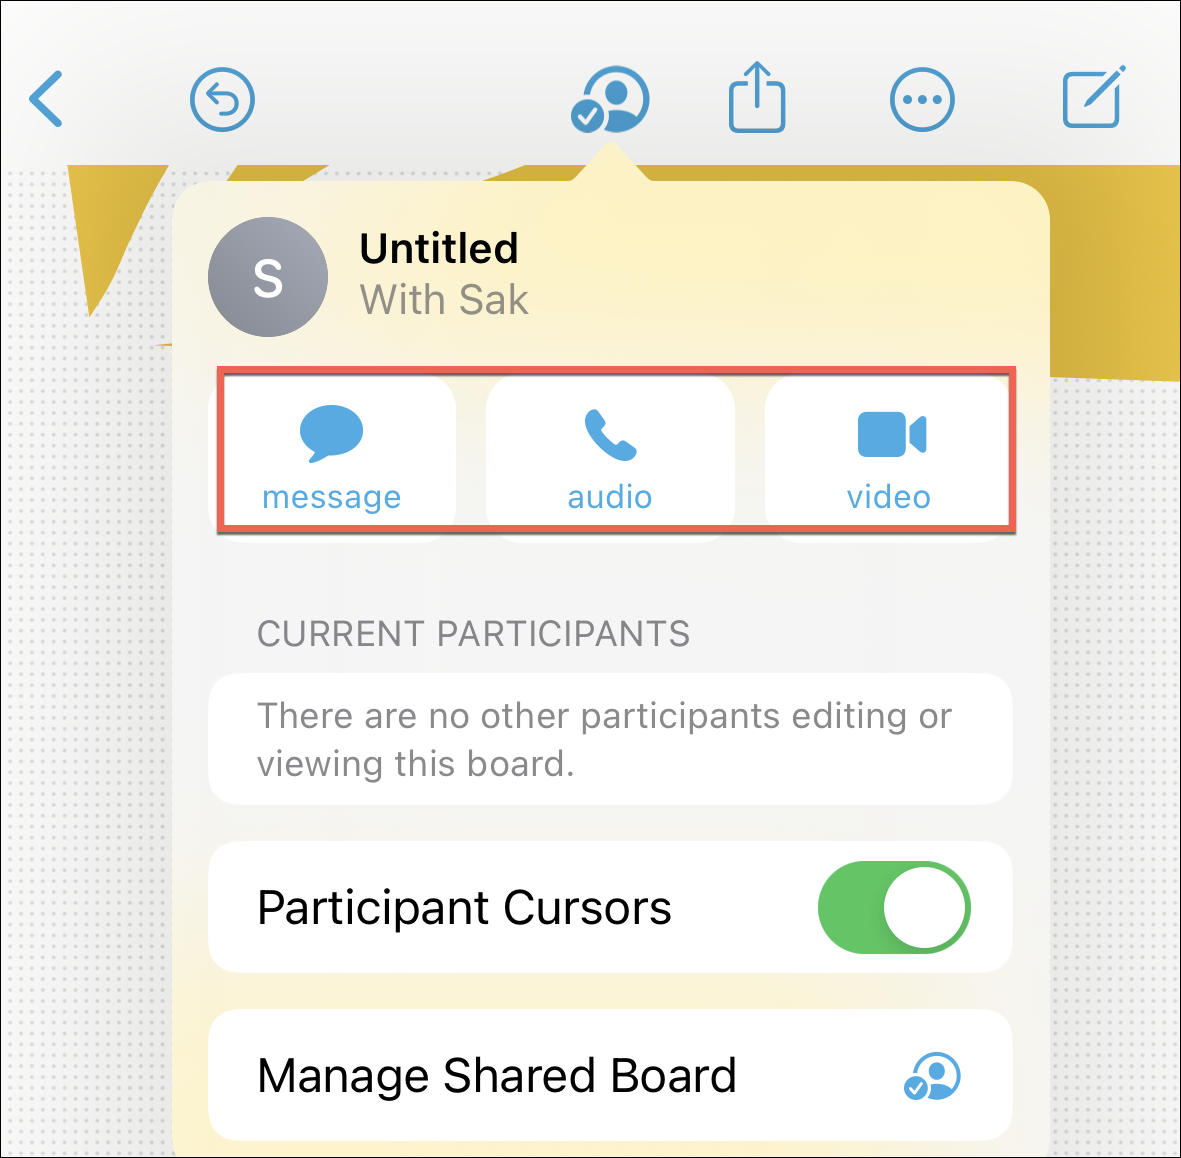
To view the collaborating options for the board, tap the ‘Collaboration’ icon.
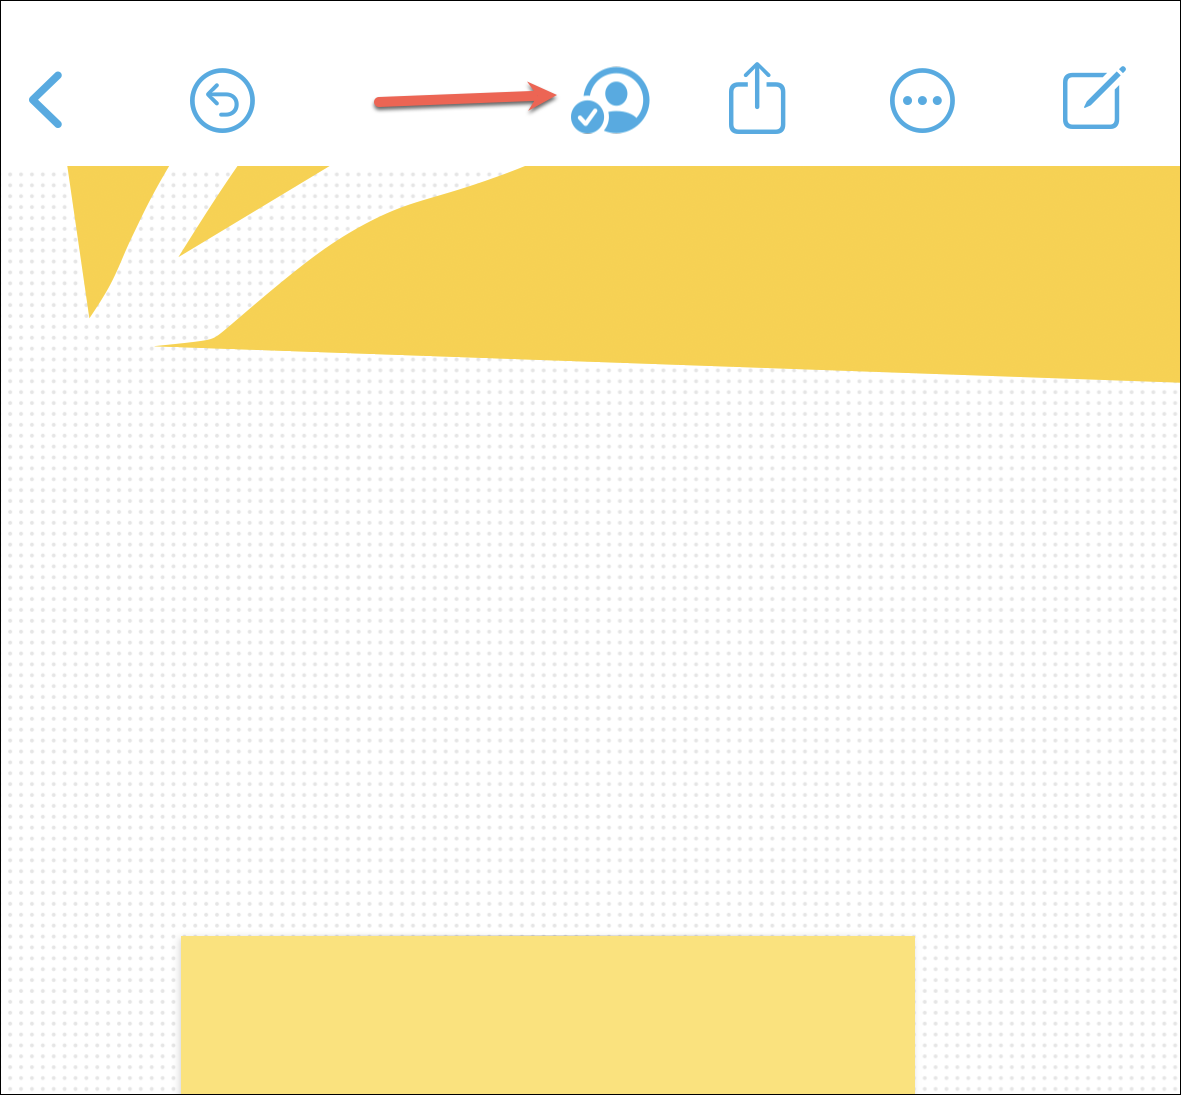
The collaboration pop-up menu will open. You can chat with people or have FaceTime audio or video calls with the collaborators by tapping the ‘Message’ or ‘Audio’/ ‘Video’ options.
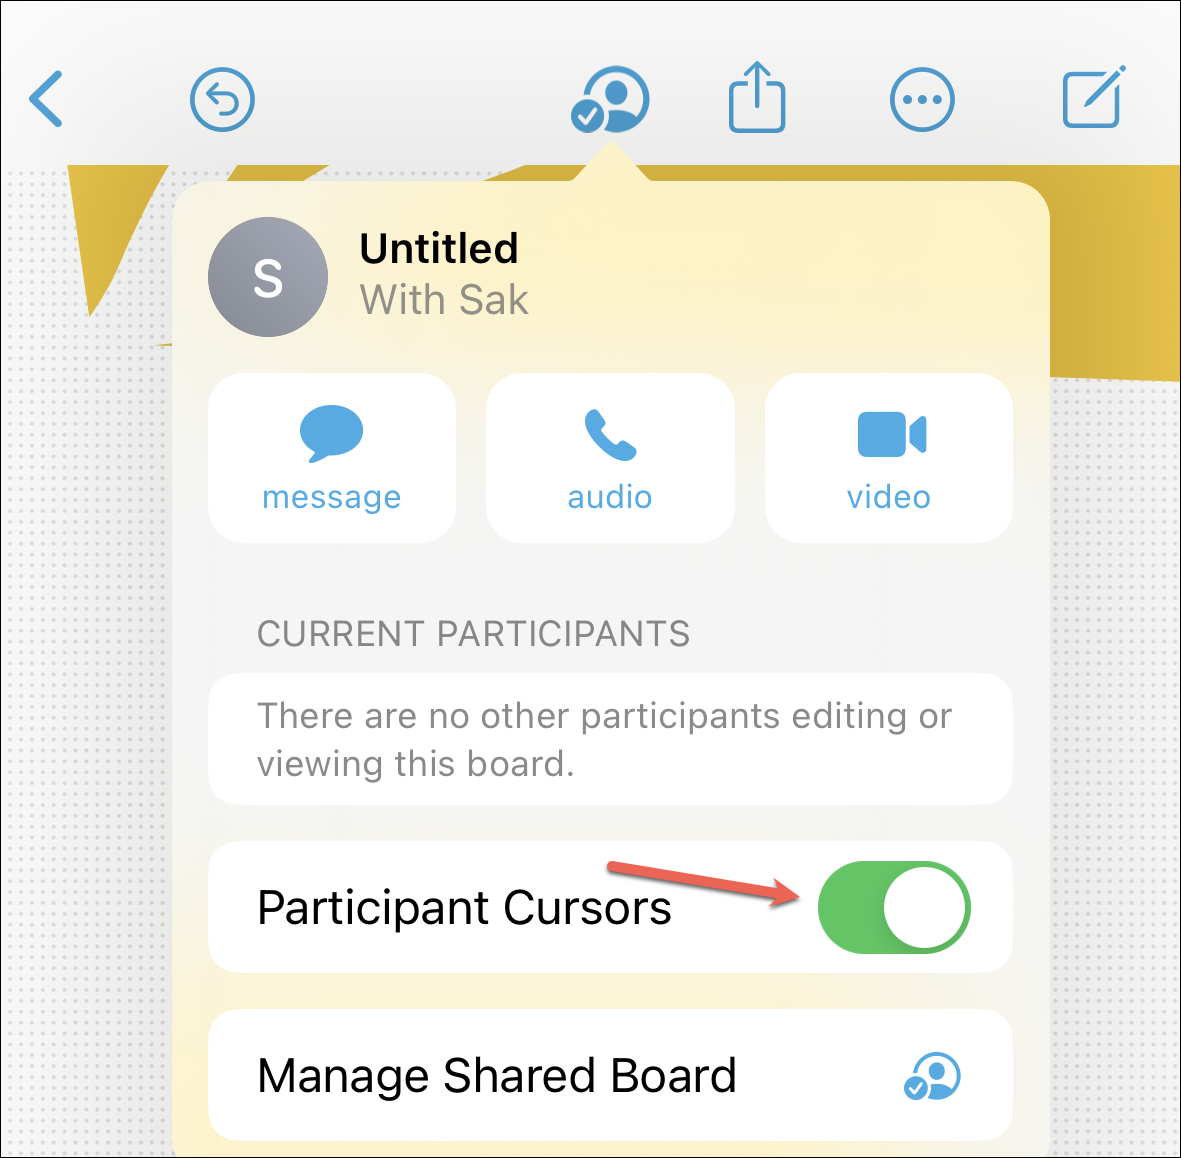
You can also disable the participant cursors on the board by turning off the toggle for ‘Participant Cursors’.
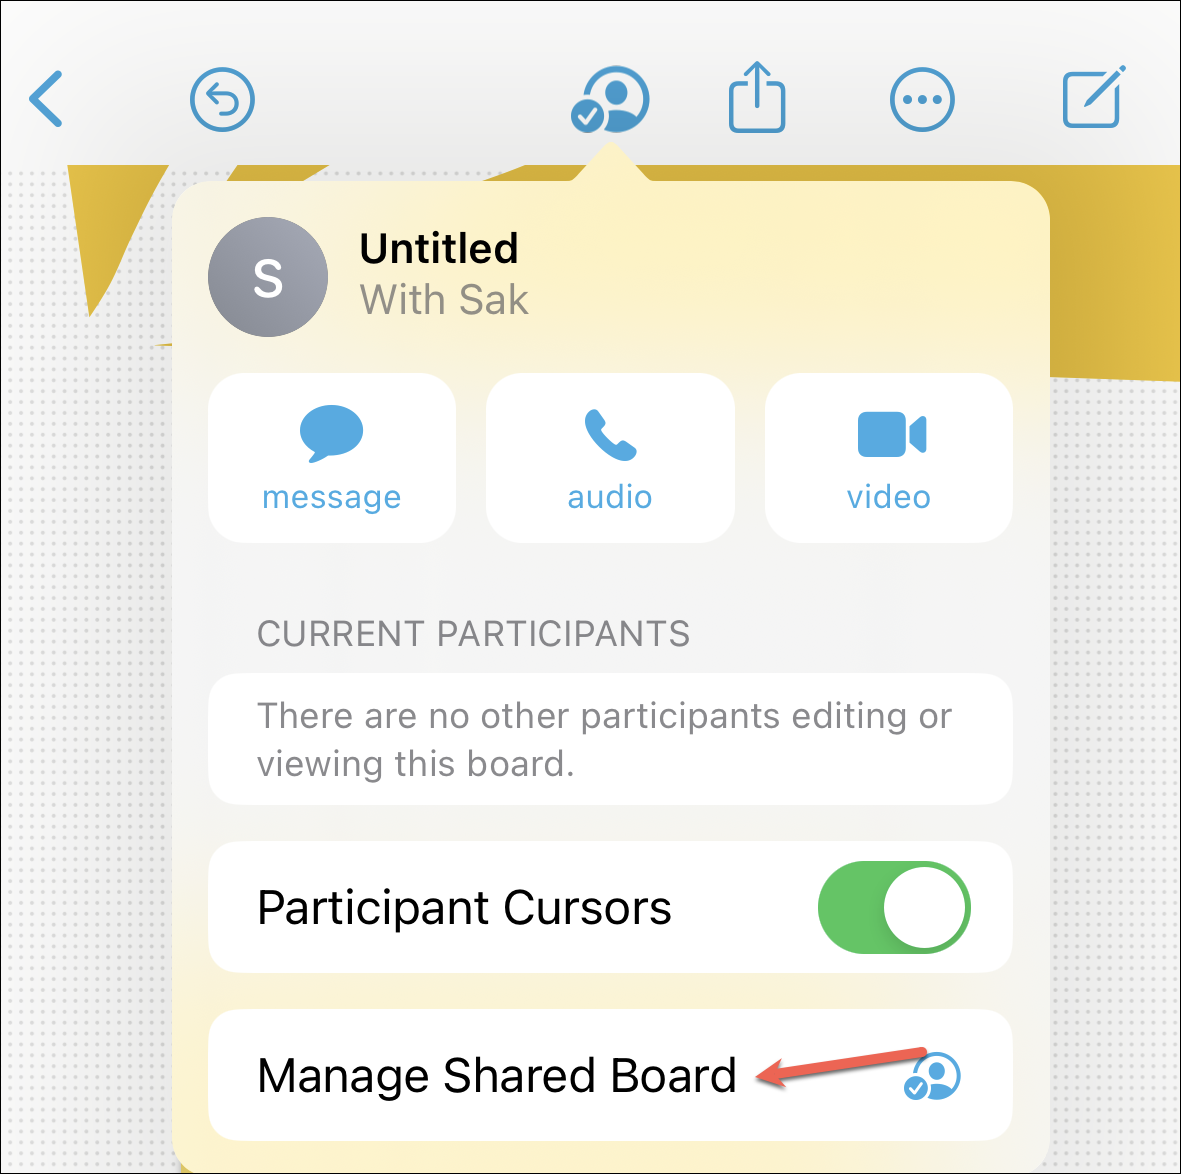
To edit the sharing options, tap ‘Manage Shared Board’.
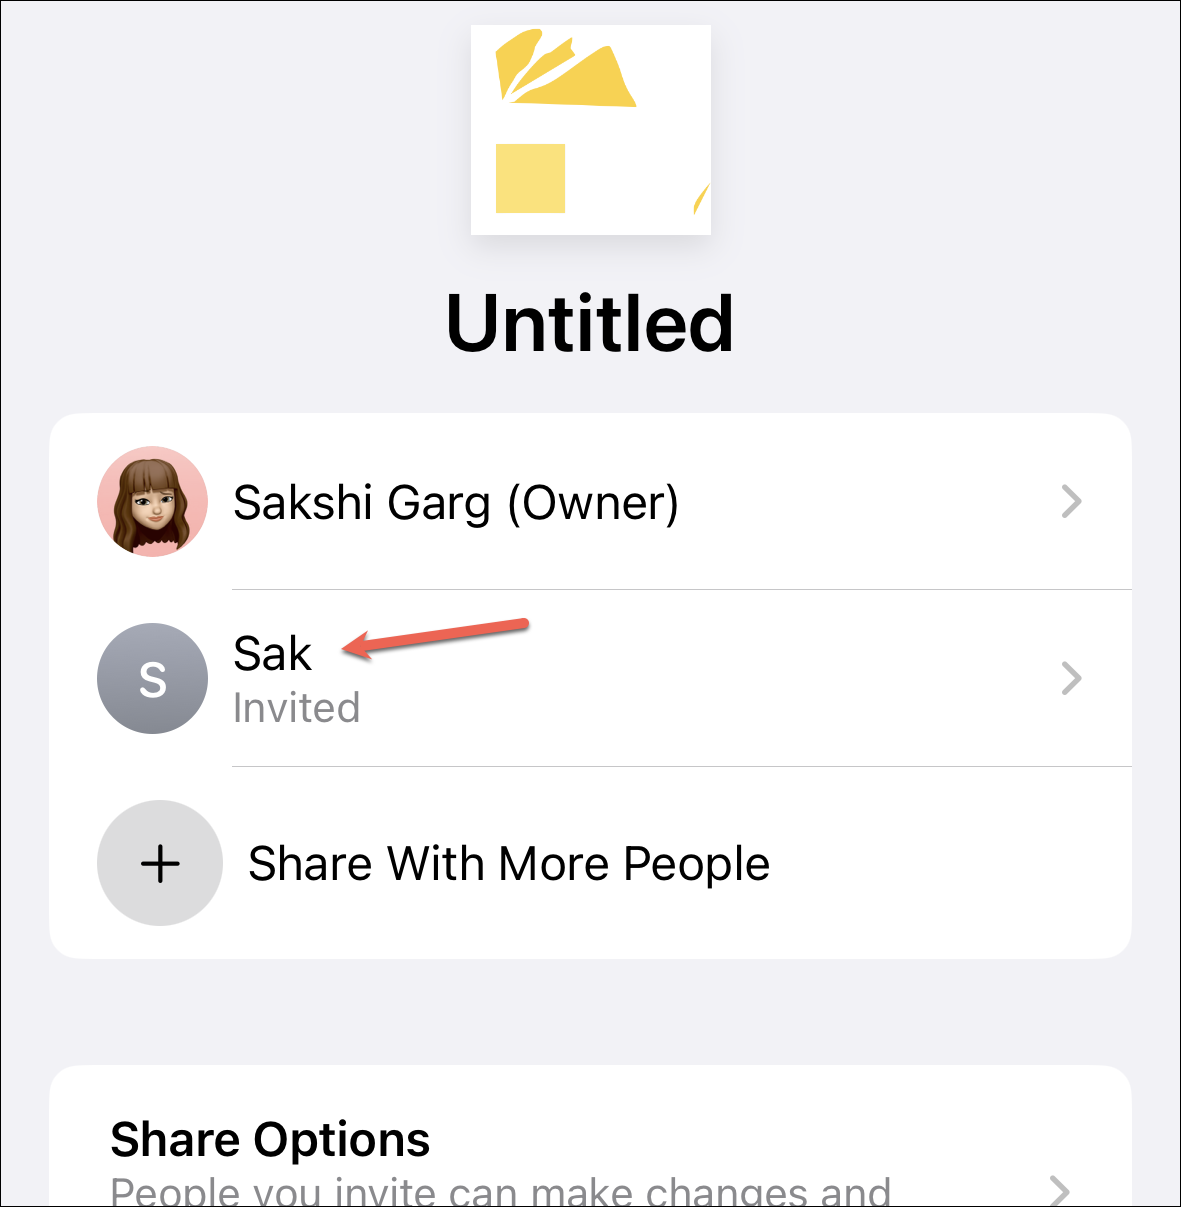
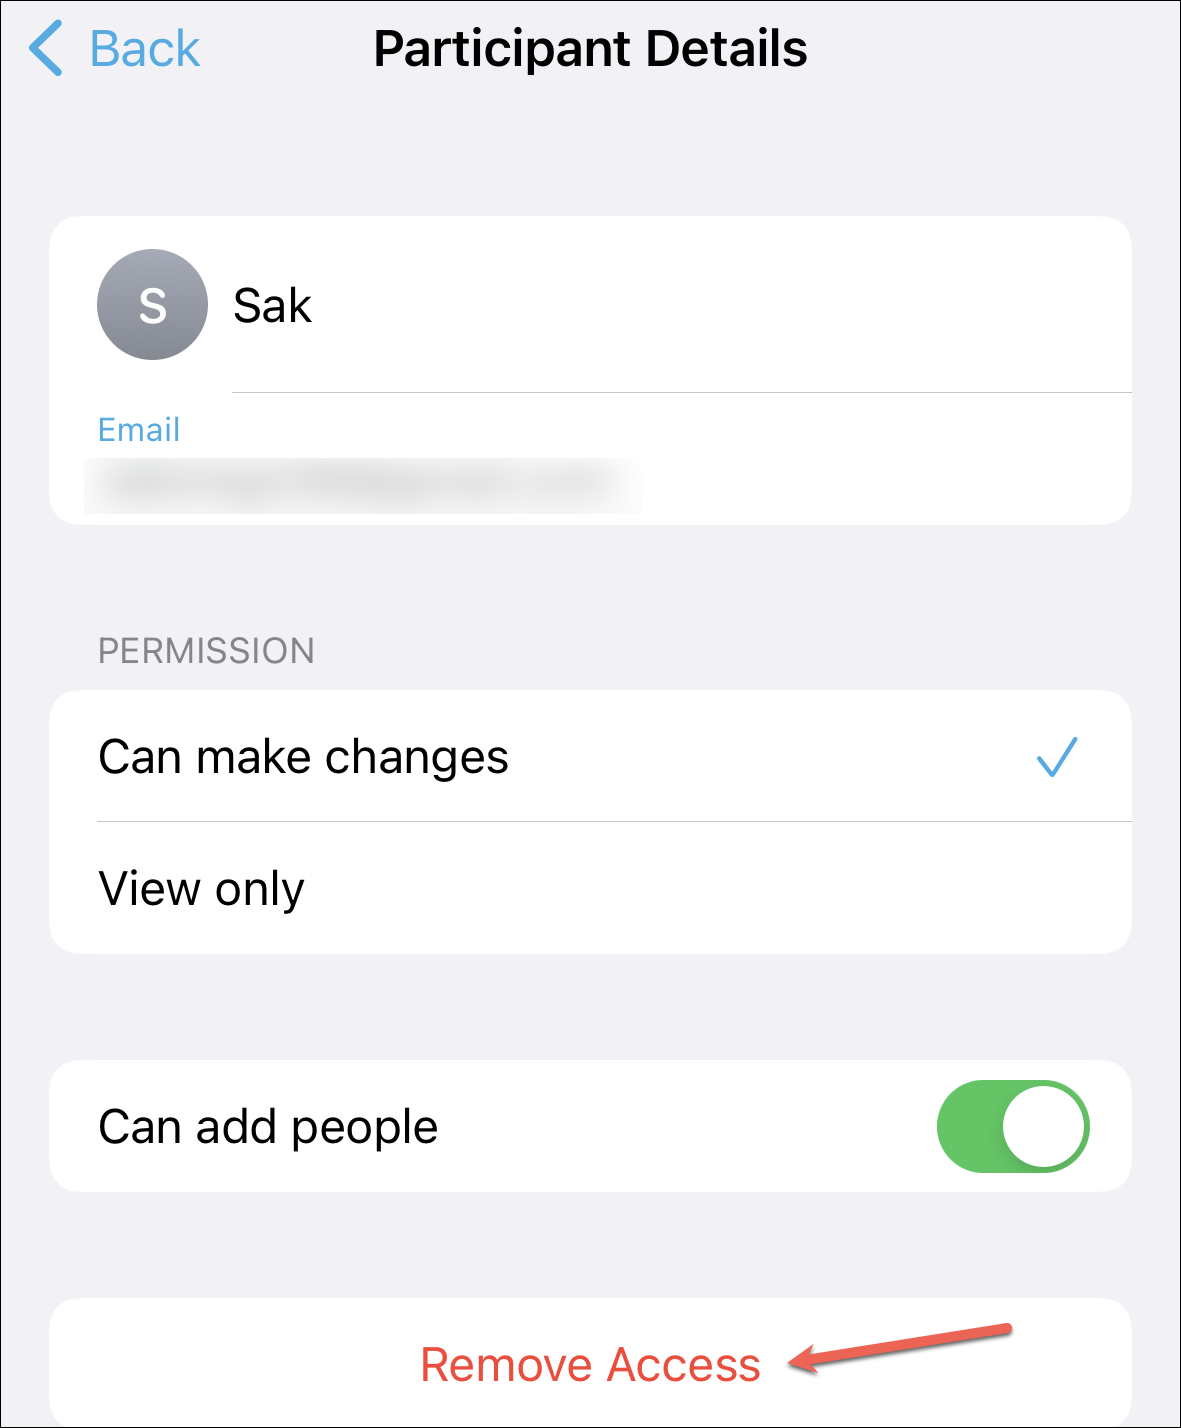
Here, you can see the people who currently have access to the board. To remove someone, tap their name.
Then, tap ‘Remove Access’ from the Participant Detail screen. You can also edit their permissions instead.
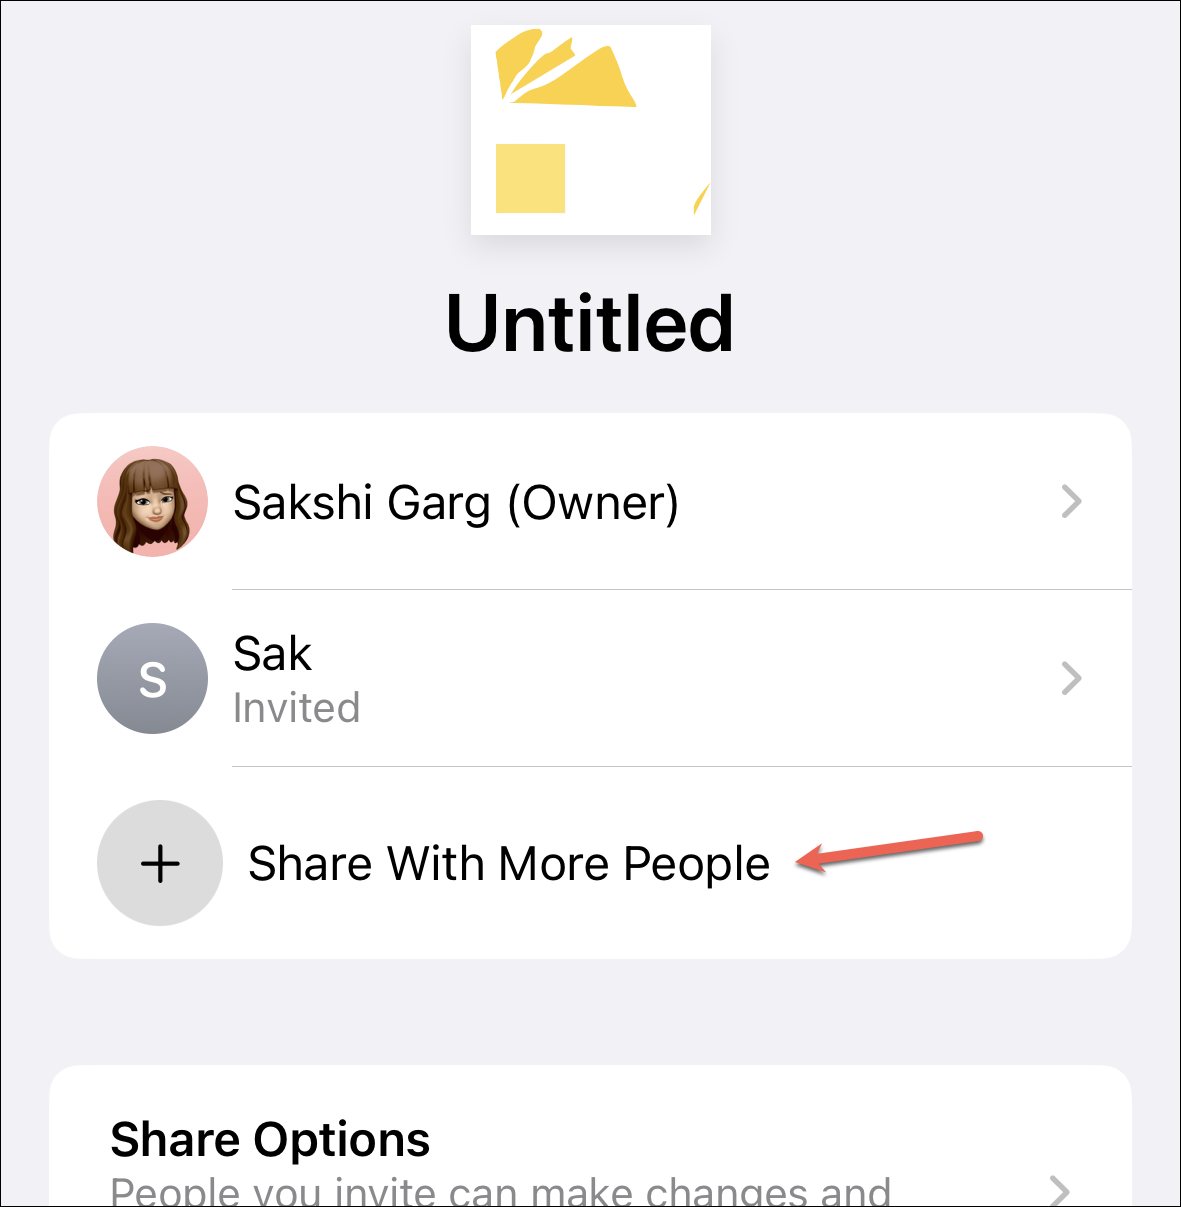
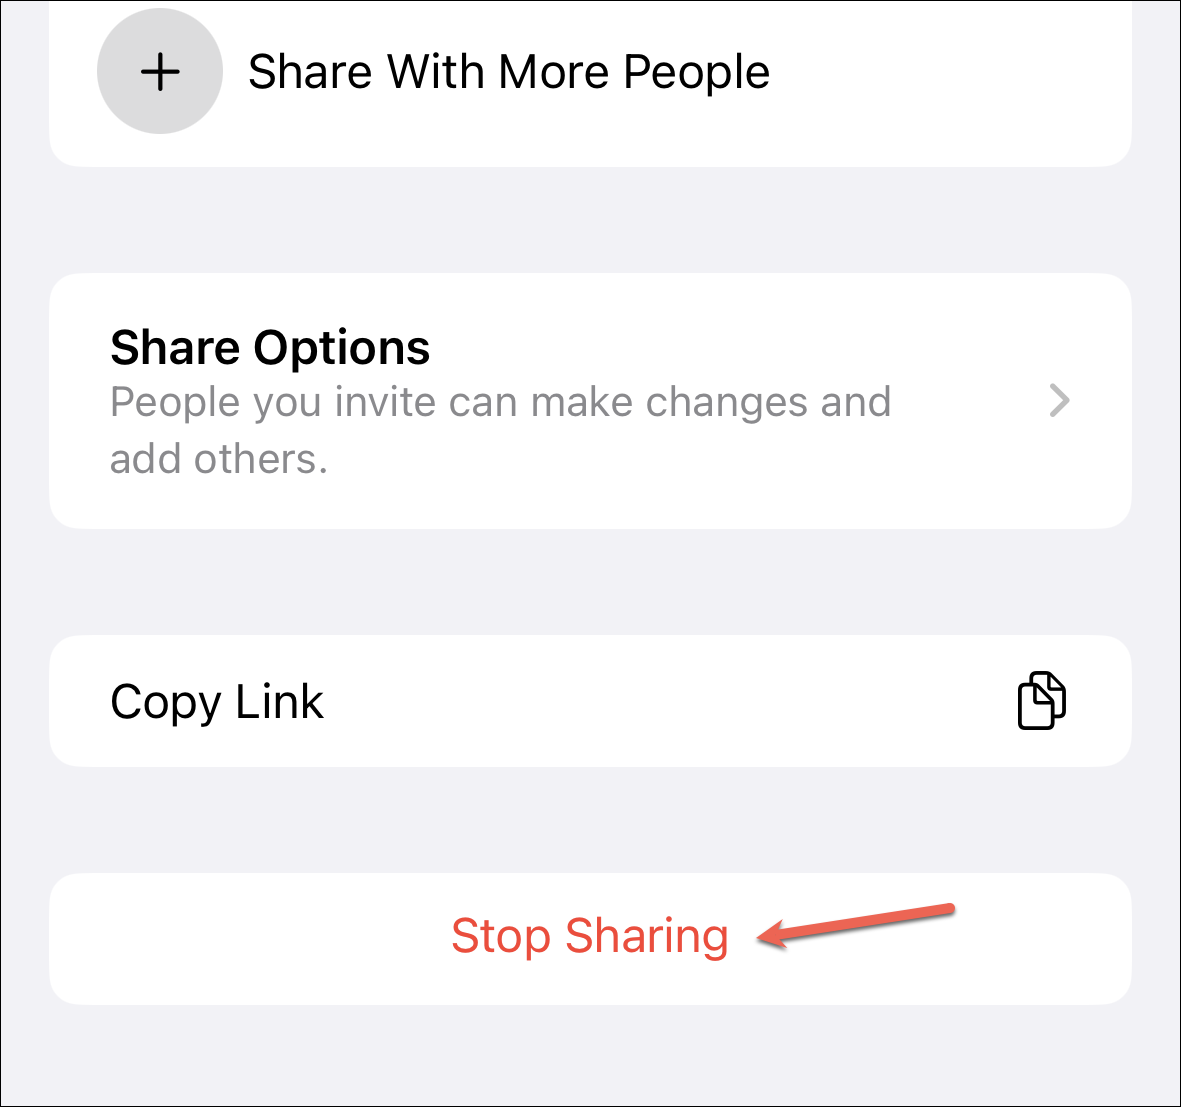
To invite more people, tap ‘Share with More People’.
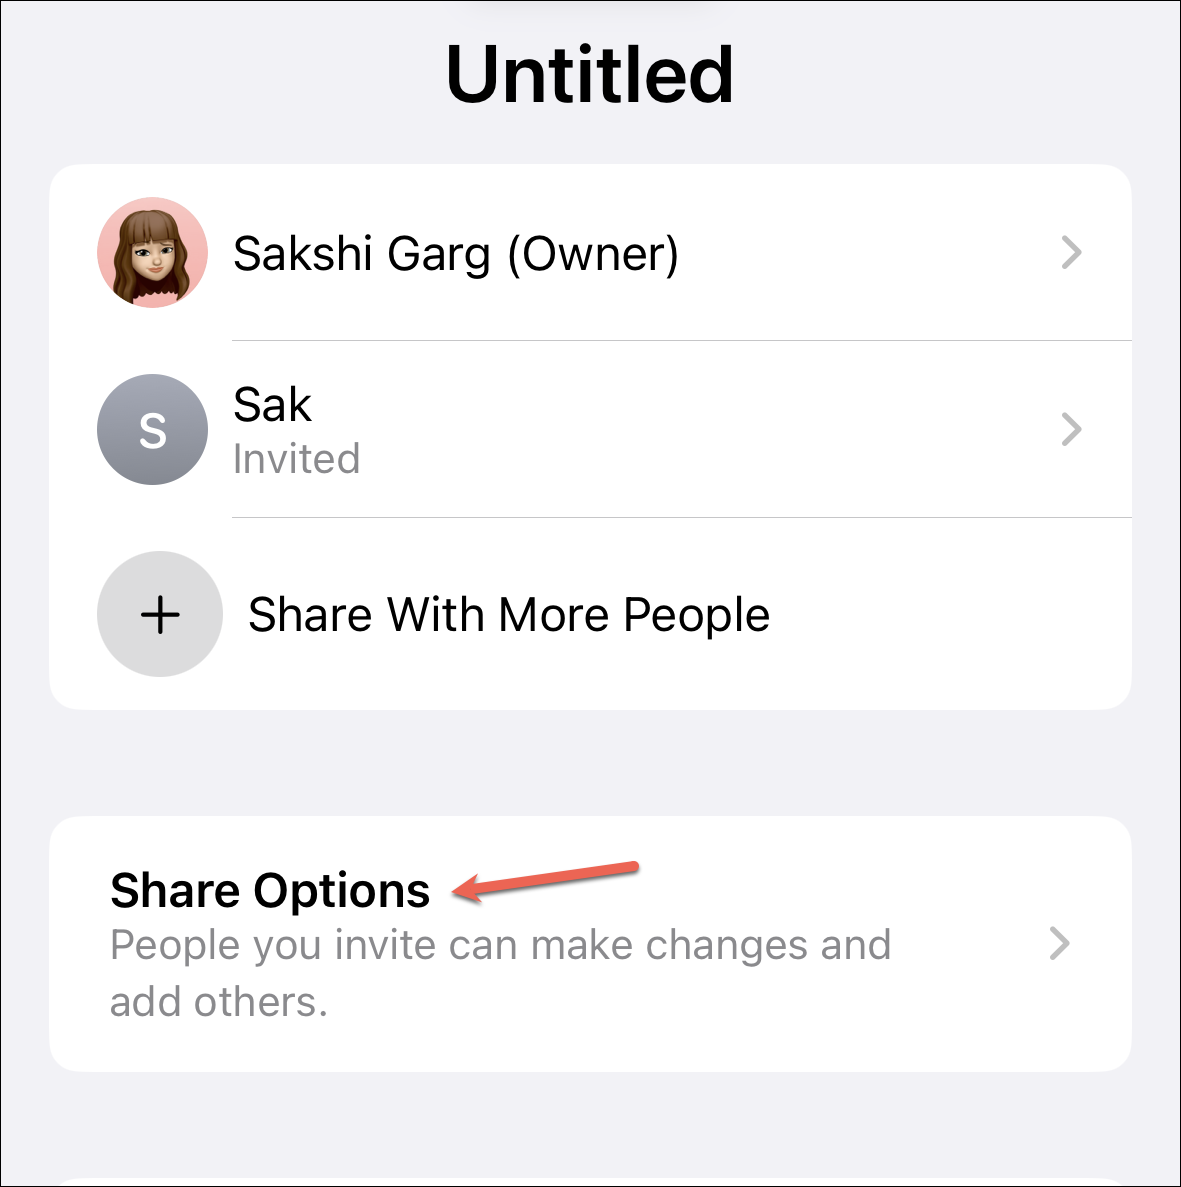
To change the permissions for the entire board, tap ‘Sharing Options’.
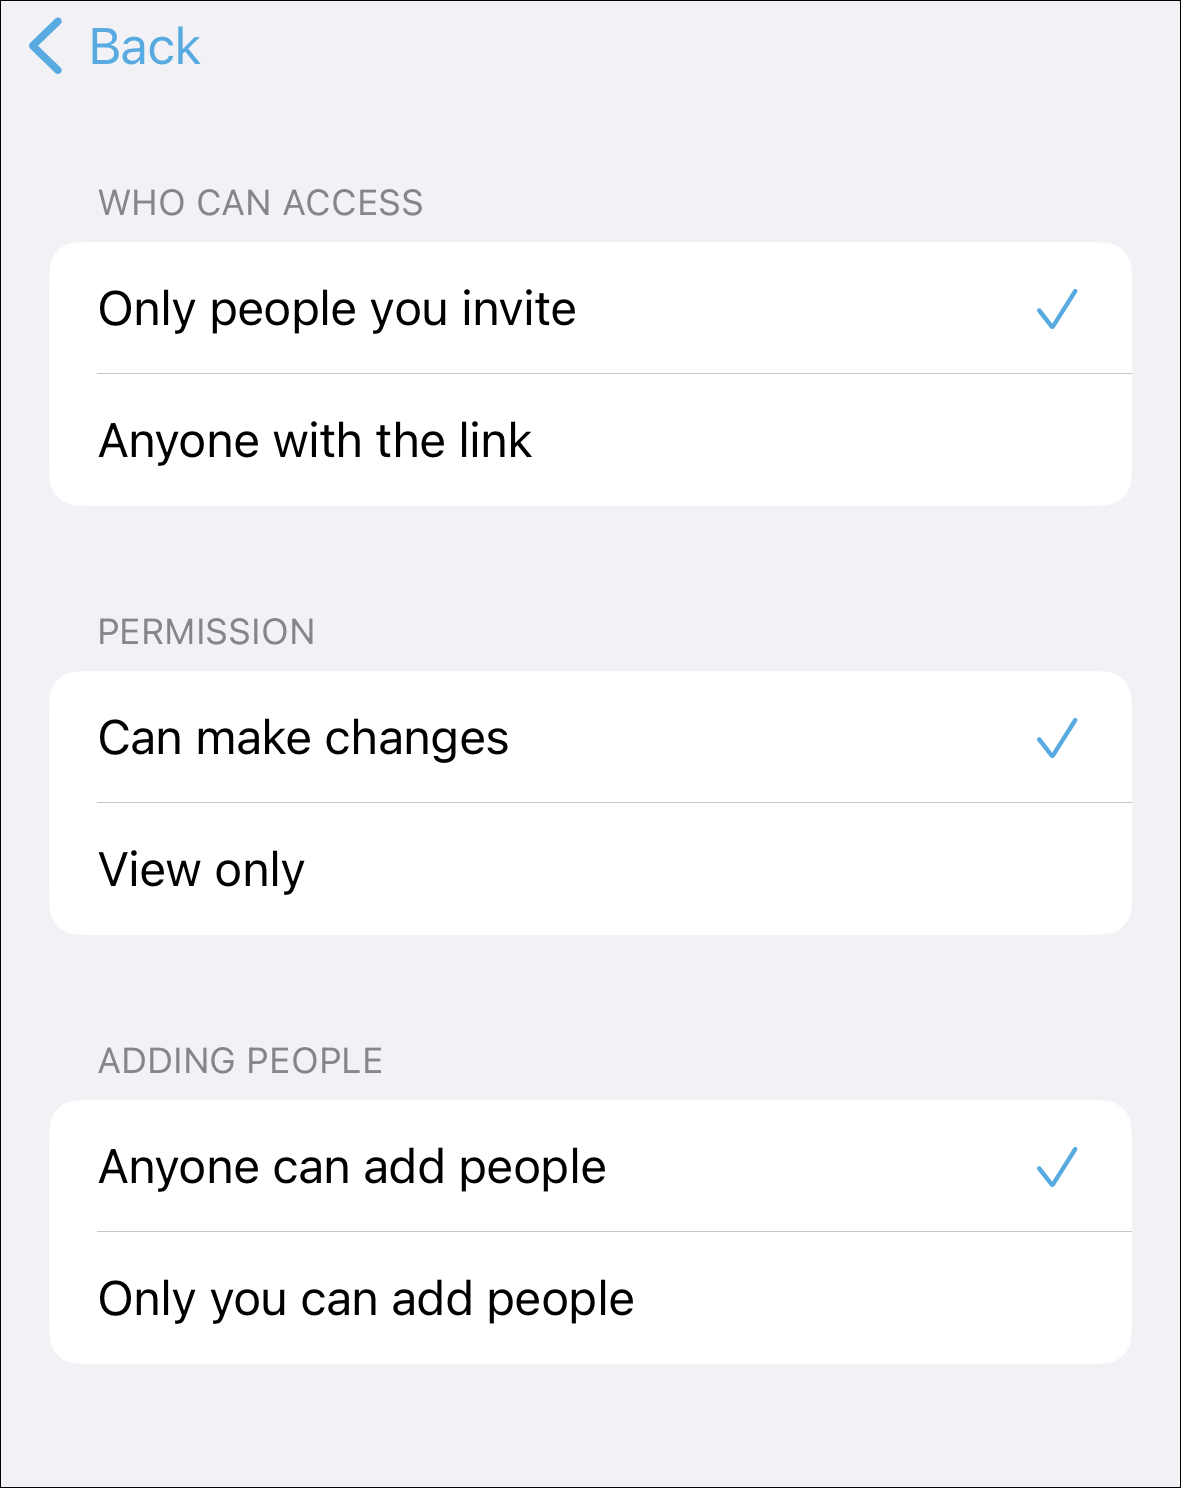
Then, you can change who can access the board, what type of permissions they have, and whether others can invite other people.
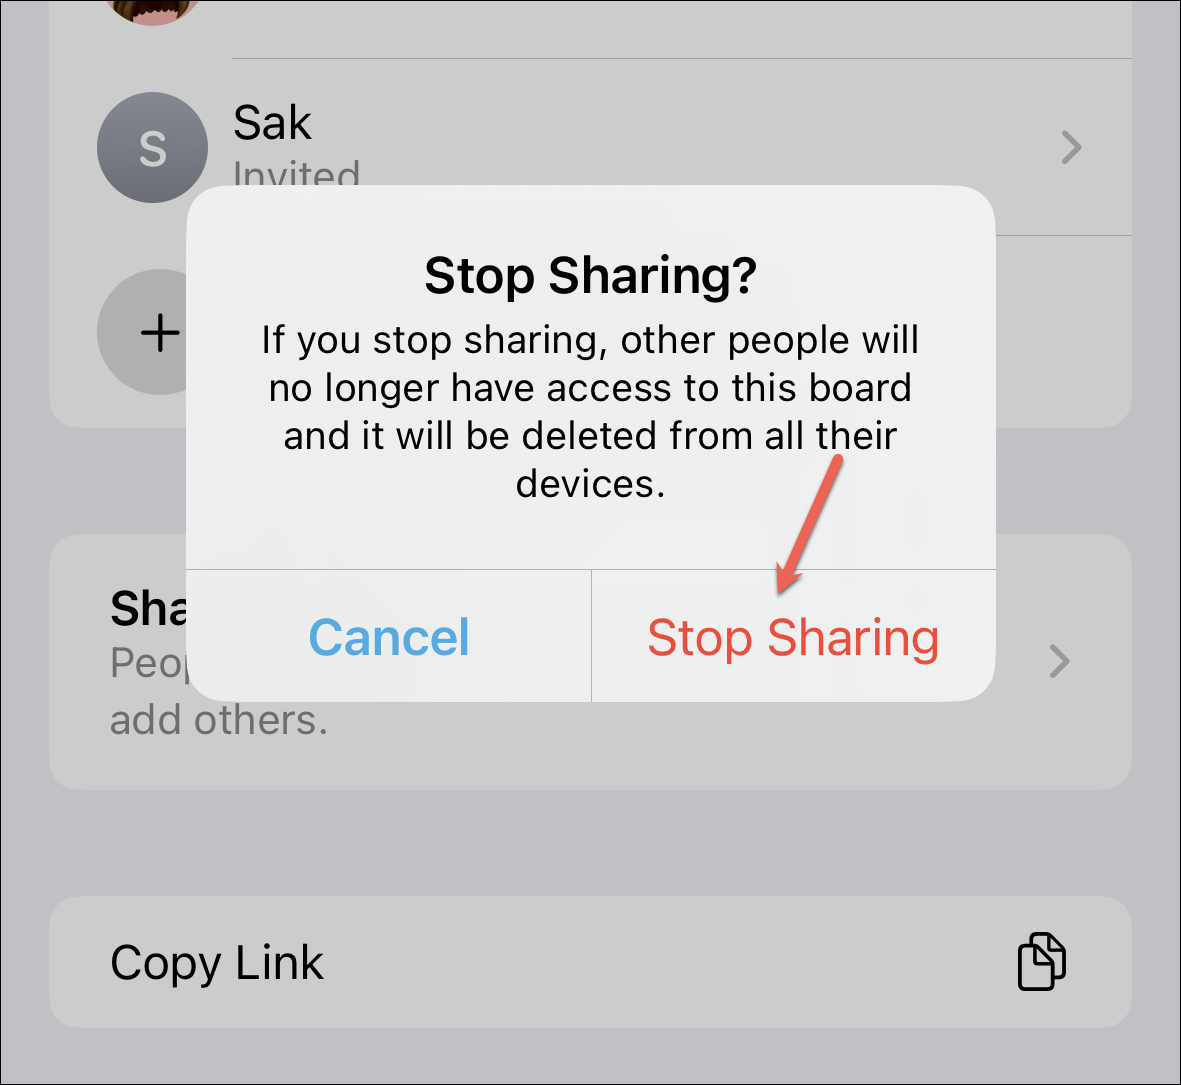
To end collaboration, tap ‘Stop Sharing’.
Then, again tap ‘Stop Sharing’ from the confirmation prompt. Other participants won’t have access to the board any longer and it will be deleted from their devices.
A collaborative whiteboard may not be something revolutionary as many apps offer the same capabilities. But users who like the native iOS interface and capabilities will definitely love Freeform.


