
Windows 11 usually updates your hardware drivers automatically. However, sometimes you may need to update your graphics driver manually, especially if you’re experiencing issues like screen flickering, stuttering, or brightness problems. Updating the driver can improve your display performance and resolve these issues. Here are several methods to help you update your graphics driver in Windows 11.
Method 1: Update graphics driver via the Settings app
If you’ve recently reset or changed your Windows 11 system, your graphics driver might be outdated or affected. Windows often lists available driver updates in the Optional Updates section, allowing you to install them easily. To update your graphics driver using the Settings app:
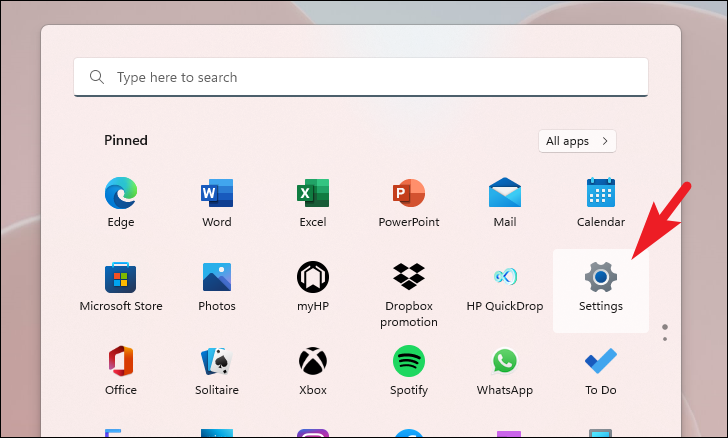
- Open the Start Menu and click on the Settings icon under the Pinned apps. You can also search for
Settingsin the Start Menu.
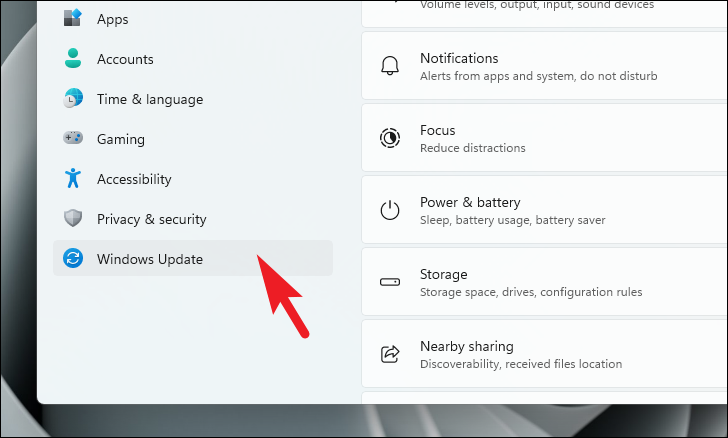
- In the Settings window, select Windows Update from the left sidebar.

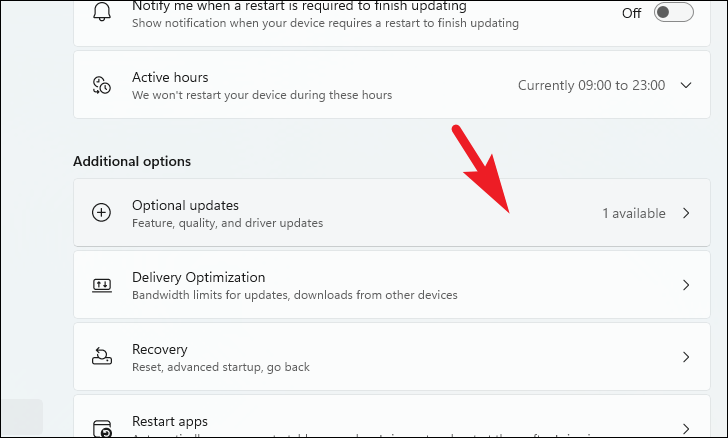
- Click on Advanced options on the right side.

- Under Additional options, choose Optional updates.

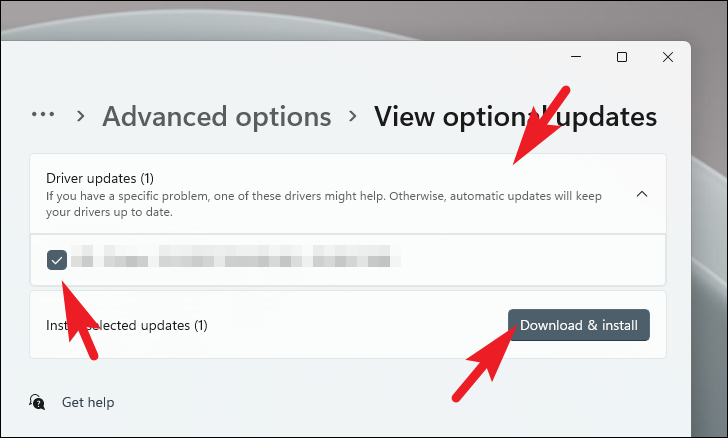
- Expand the Driver updates section.
- Find your display or graphics driver in the list and check the box next to it.
- Click on Download & install to begin updating the driver.

Method 2: Update graphics driver via Device Manager
If the graphics driver isn’t available in the Optional Updates, you can update it through Device Manager. To update your graphics driver using Device Manager:
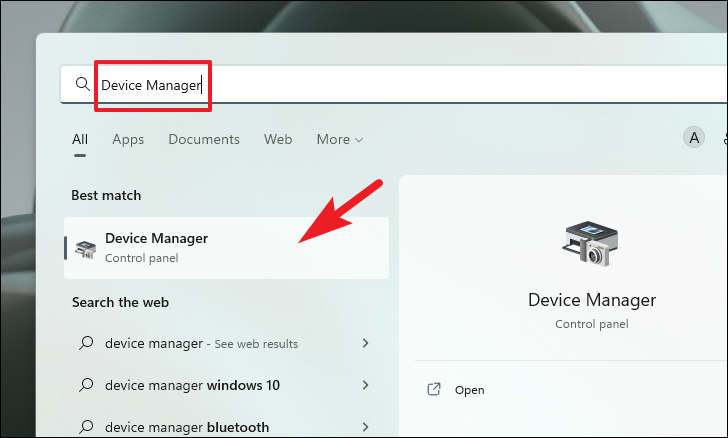
- Open the Start Menu and type
Device Managerin the search bar. Click on the Device Manager app in the results.

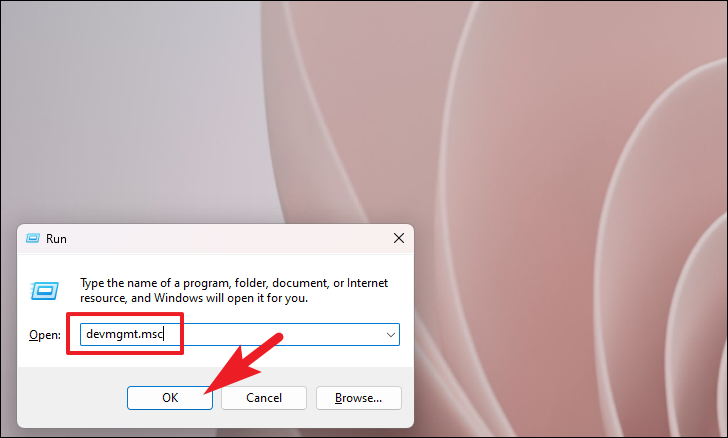
- Alternatively, press
Windows+Rto open the Run dialog. Typedevmgmt.mscand pressEnterto open Device Manager.
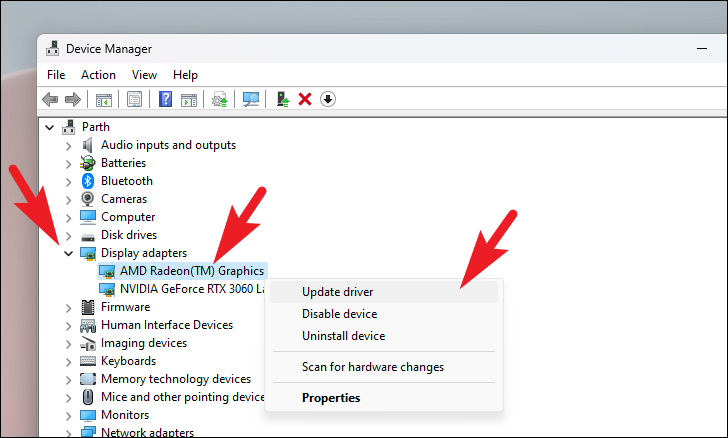
- In Device Manager, expand the Display adapters section.
- Right-click on your primary graphics card and select Update driver.
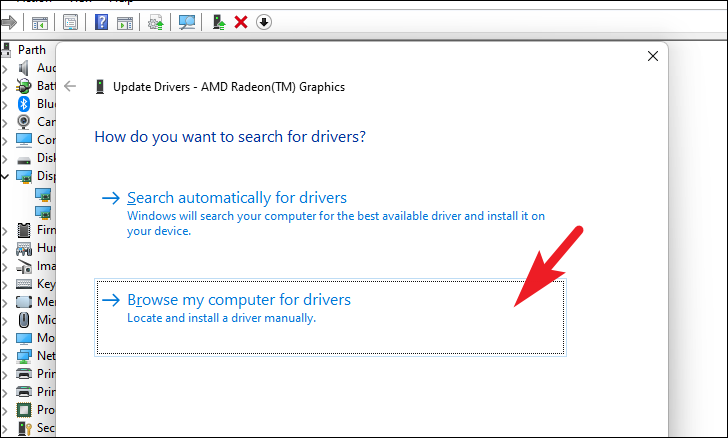
- In the Update Drivers window, choose Search automatically for drivers. Windows will search for and install the latest driver.
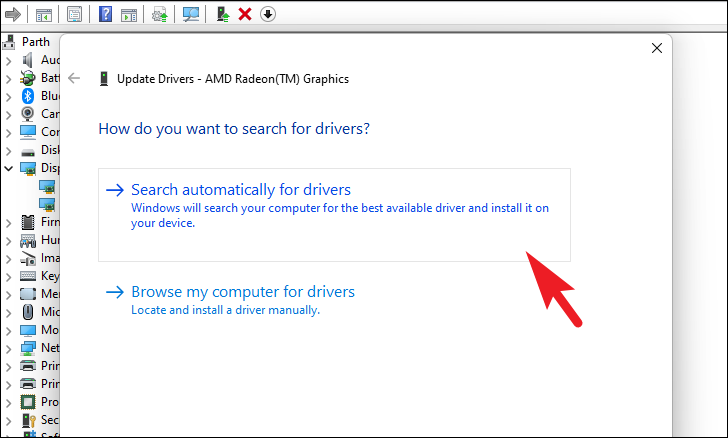
- If you have already downloaded the driver, select Browse my computer for drivers and locate the driver file.
Method 3: Use Nvidia GeForce Experience (for Nvidia GPUs)
Note: This method is applicable only if your system has an Nvidia graphics card. If you have an Nvidia GPU, you can use the GeForce Experience application to update your graphics driver.
Download and install GeForce Experience
If you don’t have GeForce Experience installed, follow these steps:
- Go to nvidia.com/geforce-experience/download/ in your web browser.
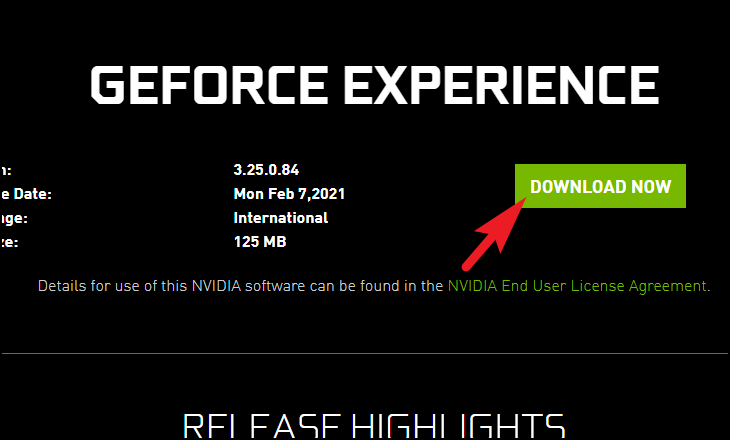
- Click on the Download Now button to download the installer.
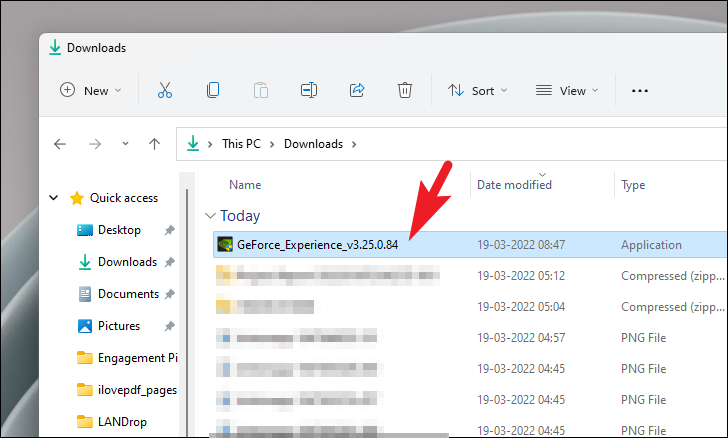
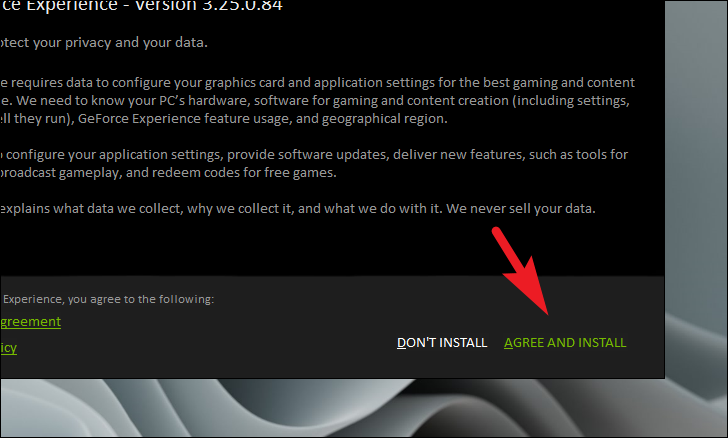
- Once downloaded, open the installer and click on Agree & Install.
Update graphics driver using GeForce Experience
Once GeForce Experience is installed:
- Open the Start Menu and search for
GeForce Experience. Click on the app to open it.

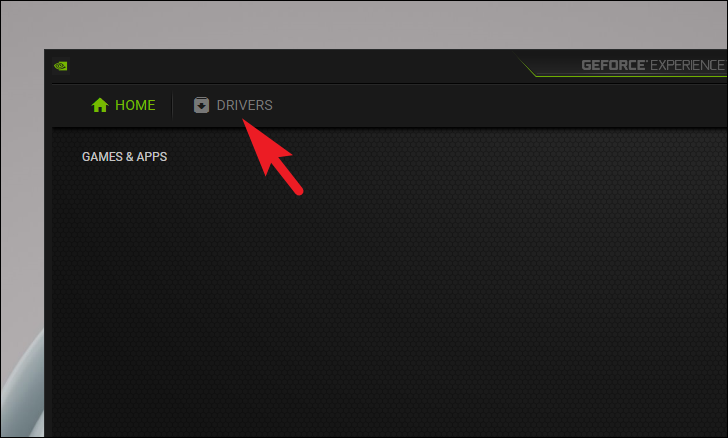
- In GeForce Experience, navigate to the Drivers tab.
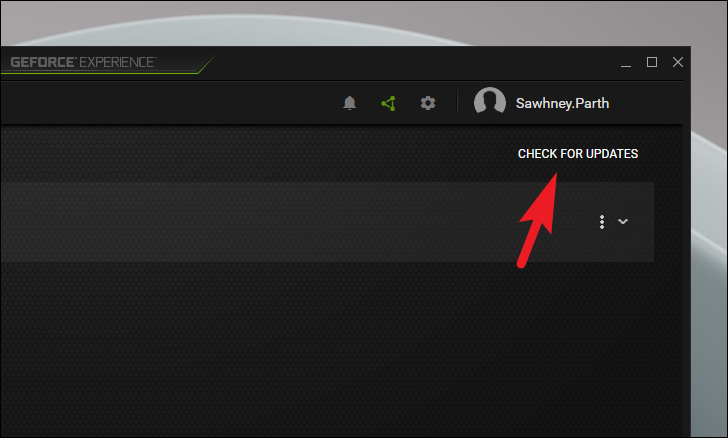
- Click on Check for Updates. If a new driver is available, click Download.
Method 4: Force reinstall graphics driver
If none of the previous methods work, you can force Windows to reinstall the graphics driver. To force reinstall the graphics driver:
- Open the Start Menu and search for
Device Manager. Open the Device Manager app.

- In Device Manager, expand the Display adapters section.
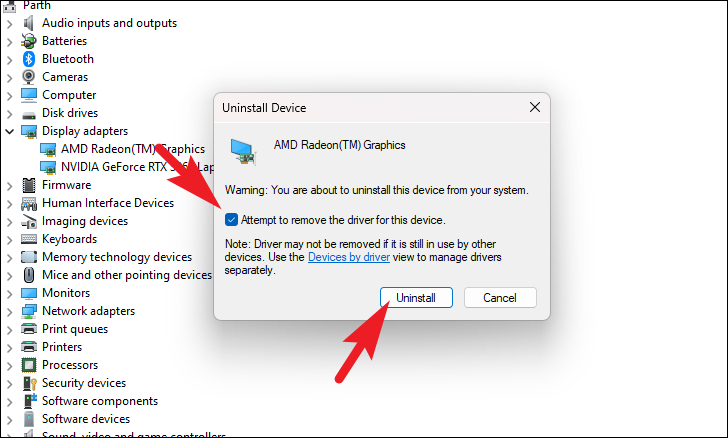
- Right-click on your graphics card and select Uninstall device.
- In the confirmation window, check the box for Attempt to remove the driver for this device and click Uninstall.
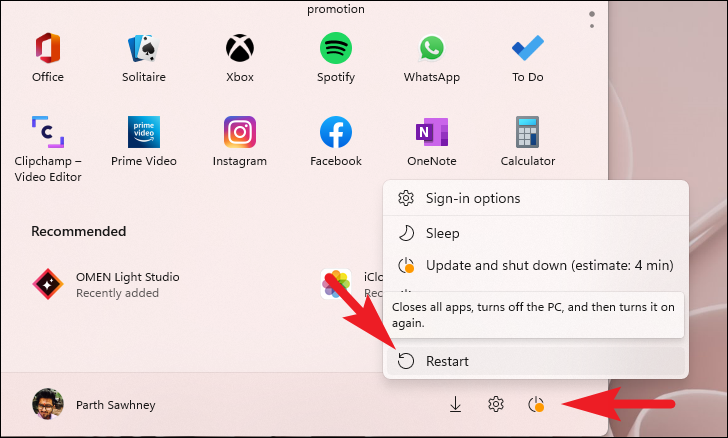
- Restart your computer.
- After restarting, Windows will detect the graphics card and attempt to install the driver.
- Open the Start Menu and go to Settings.

- In Settings, select Windows Update from the left sidebar.
- Click on Advanced options.

- Select Optional updates under Additional options.
- Expand the Driver updates section.
- Select the graphics driver from the list and click Download & install.
Updating your graphics driver in Windows 11 can resolve display issues and improve performance. Try these methods to keep your drivers up to date.


