Like clockwork, every year Apple rolls out a major update to iOS. Since there are many permutations and combinations of devices and operating systems people use on their different devices, Apple offers the flexibility to update your phone in more than one way.
If you have just included yourself in the Apple ecosystem lately, or it is your first time experiencing the update, or you are just looking for a better and more convenient way of updating your iPhone relative to the way you have been doing it for years; this guide serves all.
Ways to Update iPhone
Here are some of the ways you can update your iPhone:
- Update iPhone Wirelessly from the Settings app
- Update iPhone using iTunes on your Computer
We are going to explore both of these ways to help you deduce which of the method would be most convenient for you. So, let’s get started.
Update iPhone Over-the-Air
No big surprises here, updating your iPhone straight away from the Settings app might be one of the most preferred ways for the majority of the users. It is simple, it is fast, and it is convenient.
To do so, first launch the ‘Settings’ app from the home screen or the app library of your device.

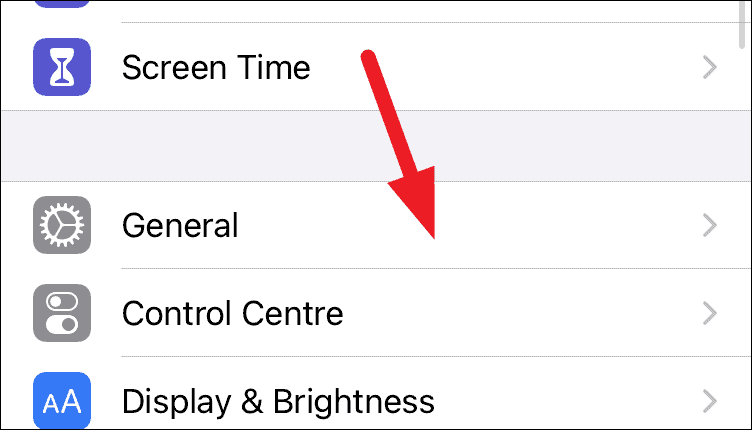
Next, tap on the ‘General’ tab present on your screen.
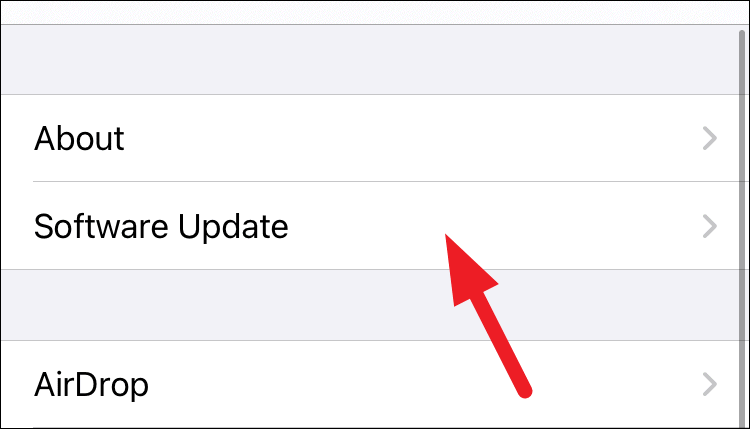
After that, click on the ‘Software Update’ option from the list.
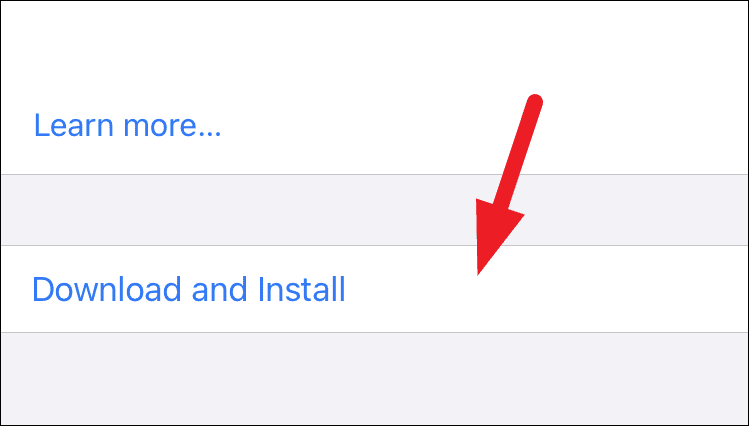
Then, on the next screen, you will be greeted by the latest update available for your device. Now, tap on the ‘Download and Install’ button present at the bottom of the page to proceed.
You will be then able to see your iPhone downloading the update. It might take several minutes depending upon your internet connection.
Once the download has been downloaded, the iPhone will verify the update and start installing it. Your iPhone may restart more than once during the update and it is normal behavior.
Turn on Automatic Updates on your iPhone
You can also turn on automatic updates on your iPhone if you wish to do so, in order to make the update process much more convenient.
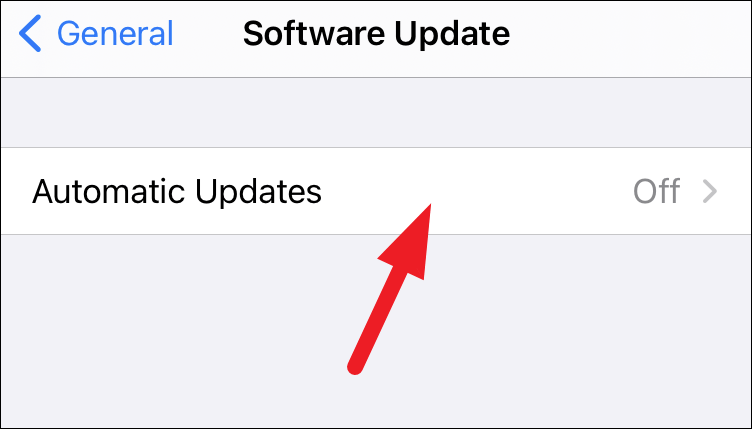
To do so, from the ‘Software Update’ page in the Settings app on your phone, locate and tap on the ‘Automatic Updates’ option.
Next, toggle the switch to the ‘On’ position following the ‘Download iOS Updates’ to enable automatic download for the upcoming updates.
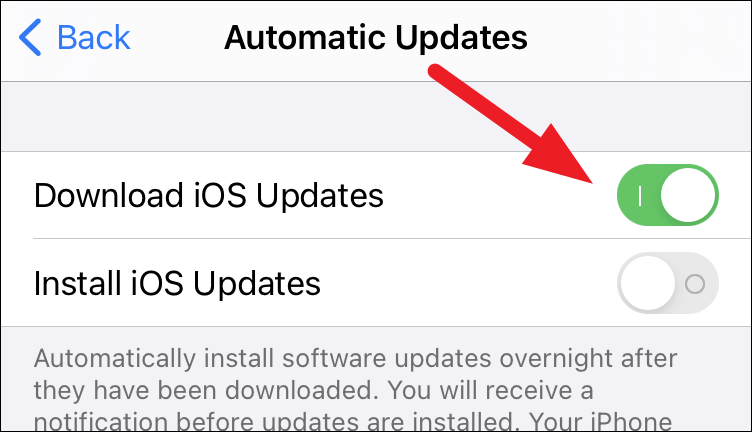
In case you also wish to let your iPhone automatically install the downloaded updates out of your active hours, toggle the switch to the ‘On’ position following the ‘Install iOS Updates’ option.
Note: Your iPhone will only install the downloaded updates if the device is charging and connected to the WiFi.

That’s it your iPhone will automatically download the updates over WiFi and install them out of your active hours.
Update iPhone Using iTunes on your Computer
You can also update your iPhone using your macOS device. Though the process is much longer compared to updating your iPhone from within. However, when using iTunes, you can also backup your current data to safeguard your device in case you wish to roll back to the previous version after the update.
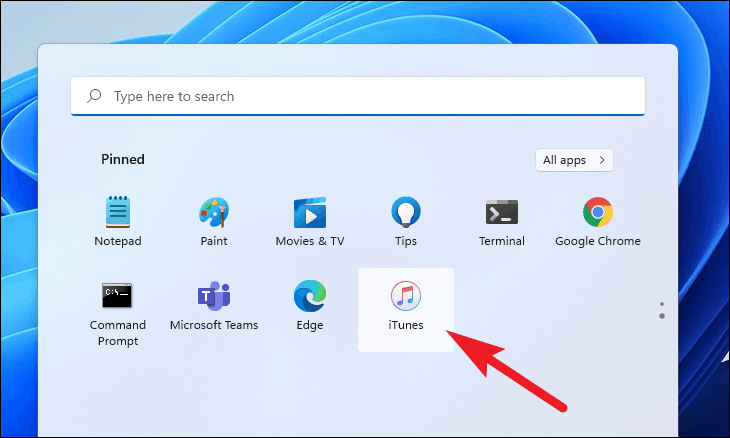
To do so, first, launch the iTunes app from your Windows or macOS device.
Note: Connect your iPhone to your Macbook if not done already, before proceeding to the next step.
If this is your first time connecting your iPhone to the computer, it will ask if you wish to access the information present on the device connected. Click the ‘Continue’ button. This will bring up an alert screen on your iPhone.
Then, tap on the ‘Trust’ button from the alert pane on your iPhone and enter your passcode to continue.

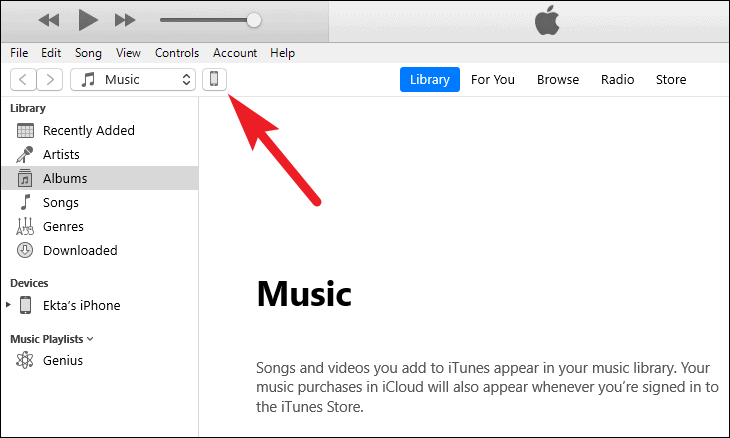
Next, click on the ‘device’ icon present at the top right section of the iTunes window.
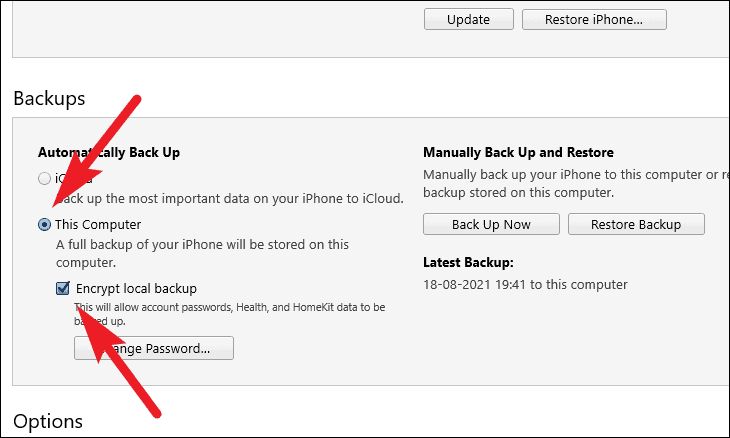
Now, from the ‘Summary’ page, locate the ‘Backup’ section and click on the radio button preceding the ‘This computer’ option to create a local backup of your device. Next, also click on the checkbox preceding the ‘Encrypt iPhone backup’ this allows for backing up of sensitive data and archives the backup so no subsequent backup will overwrite it. An archived backup can be really helpful in case you wish to roll back to the previous version of iOS.
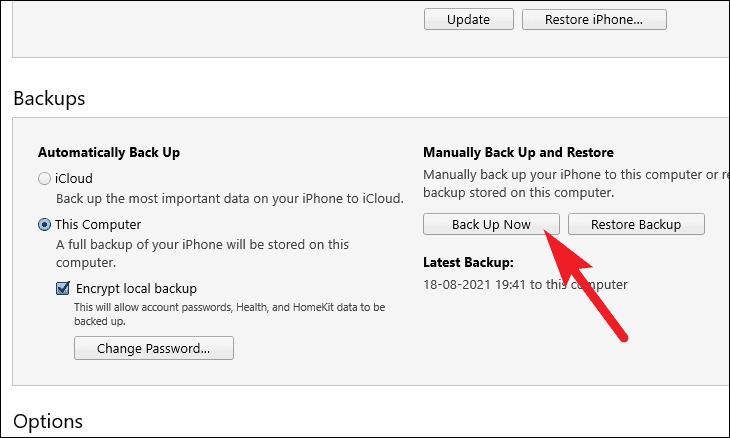
Now, click on the ‘Back up now’ button to initiate the backup process.
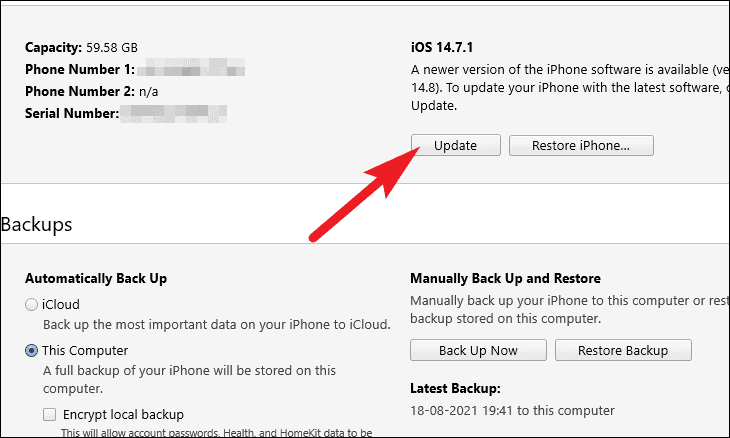
Once your backup is completed, scroll to the top of the ‘Summary’ page, and click on the ‘Update’ button. This will bring up a pop-up alert on your screen.

Next, again click on the ‘Update’ button from the alert pane.

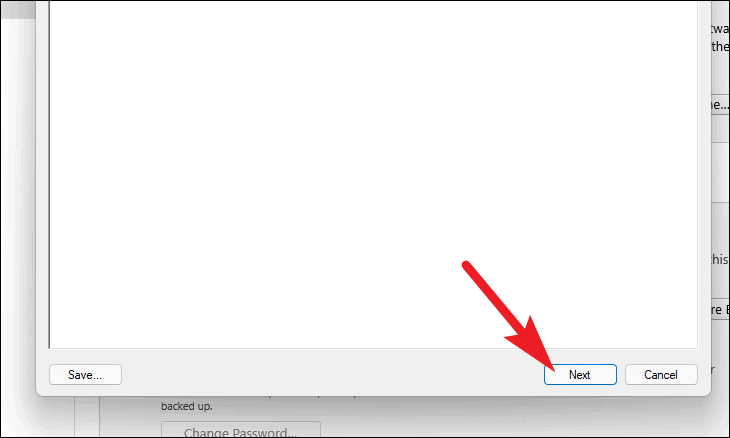
Now, from the ‘iPhone Software Update’ window, click on the ‘Next’ button.
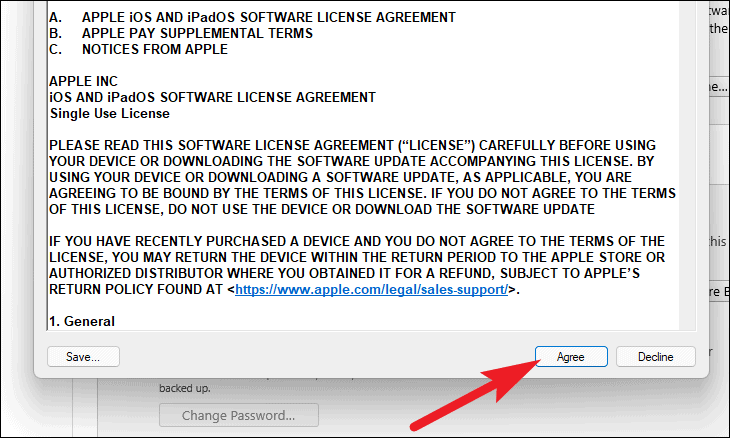
Then, you will be greeted by EULA (End User License Agreement). Read it carefully and click on the ‘Agree’ button present at the bottom to proceed.
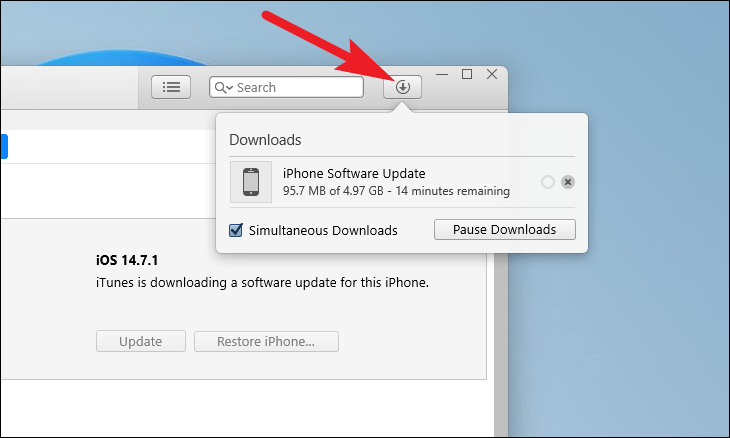
iTunes will now download the new iOS version. You can track the progress of the download by clicking on the ‘Download’ button.
Once the download has been completed. Click on the ‘Update’ button again to start installing the update on your iPhone. This will bring up a pop-up pane on your screen.
Now, click on the ‘Update’ button once more from the pop-up pane to proceed.

After that, a prompt will appear asking you to enter the passcode on your device. Do so from the connected device to continue.
Your iPhone will now start installing the new iOS, wait for the process to be completed as it may take some time.
How To Update Apps on your iPhone
Chances are, whenever you move to a newer iOS version, most of your apps will be outdated and would need an update.
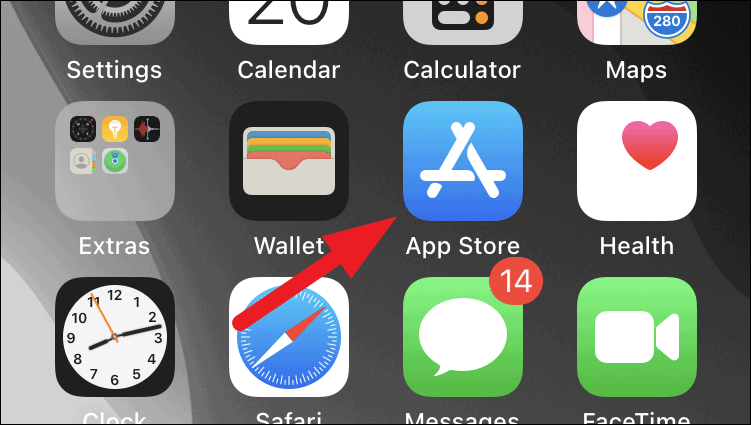
To do so, first launch the ‘App Store’ on your iOS device.
Next, click on your account profile picture or initials present on the top right corner of the screen.

You will now be able to see all your pending app updates. Now, either click on the ‘Update All’ button to update all the apps in a single go. Otherwise, you can also tap on the ‘Update’ button present on each app tile on the screen.
Turn on Automatic Updates for Installed Apps
For your ease of convenience, you can also enable automatic updates for installed apps on your iPhone.
To do so, first launch the ‘Settings’ app from the home screen or the app library of your device.

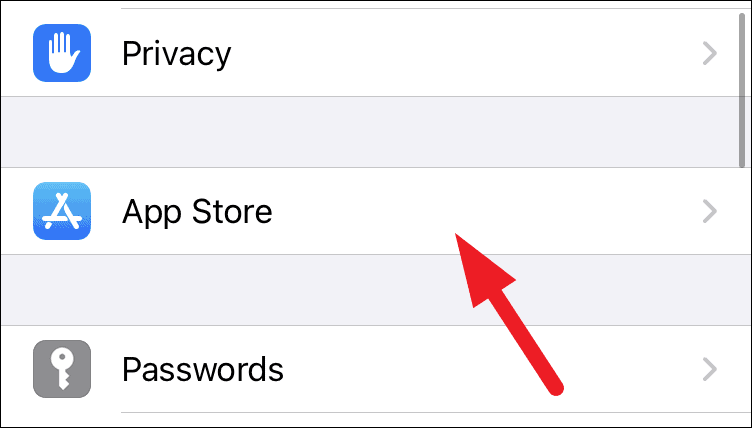
Next, scroll to locate the ‘App Store’ option from the ‘Settings’ screen and tap on it.
Next, toggle the switch to the ‘On’ position following the ‘App Updates’ option.

That’s it, your apps will now be automatically updated when your phone is connected to the WiFi.


