How to Use AI Eraser in Photos App on Windows 11 and 10
The new AI Generative Erase tool in the Windows Photos app removes unwanted objects from photos on Windows 11 and 10 like magic!
The new AI Generative Erase tool in the Windows Photos app removes unwanted objects from photos on Windows 11 and 10 like magic!
by Sakshi Garg
Capturing that near-perfect photo only to find an unwanted person or object in the background can be frustrating. Fortunately, the Windows Photos app now includes an AI-powered Generative Erase tool to help you seamlessly remove these distractions from your images.
This new feature, building upon the previous Spot Fix Tool, is available for Windows 11 (including Arm64 devices) and Windows 10 users. Alongside other AI editing tools like Blur Background and Remove and Replace Background, the Generative Erase tool enhances your photo-editing capabilities directly within the Photos app.
How to Get the AI Eraser Tool The Generative Erase tool is included in the latest update of the Photos app – version 2024.11020.21001.0 or higher. Currently, it’s being rolled out to Windows Insiders across all channels, including the Release Preview channel for Windows 10. If you haven’t received it yet, it should become generally available soon.
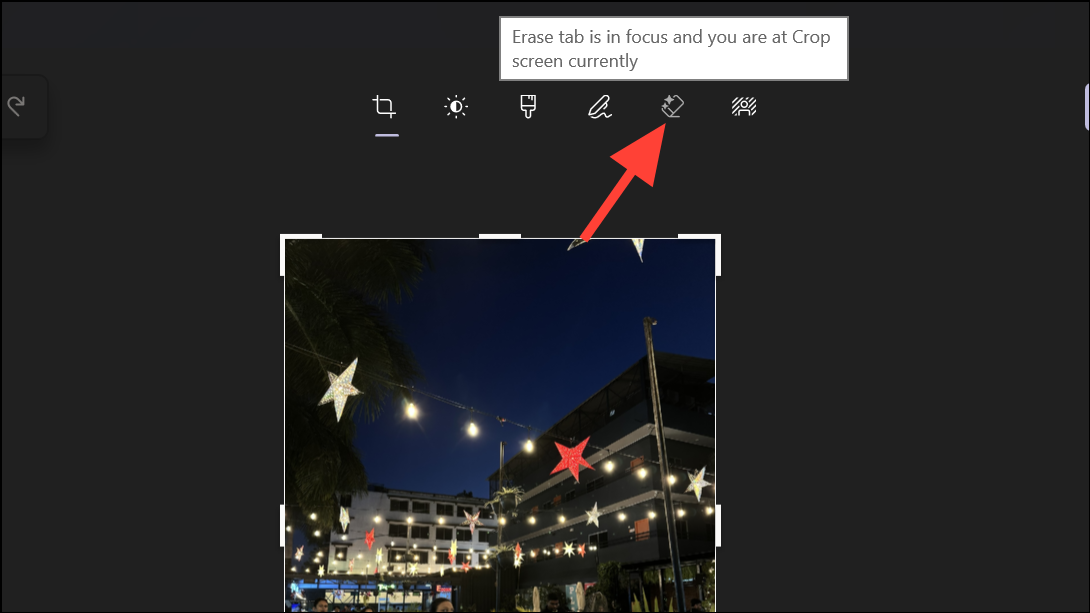
Using the Generative Erase Tool in Windows
The Generative Erase tool allows you to effortlessly remove any unwanted elements from your photos, replacing them with a realistic background that blends seamlessly with the existing image. It offers more precise results compared to the Spot Fix tool, even when removing larger objects.
Before proceeding, ensure your Photos app is up to date. You can check for updates by going to the Microsoft Store, navigating to the Library, and clicking ‘Update’ next to the Photos app if an update is available.
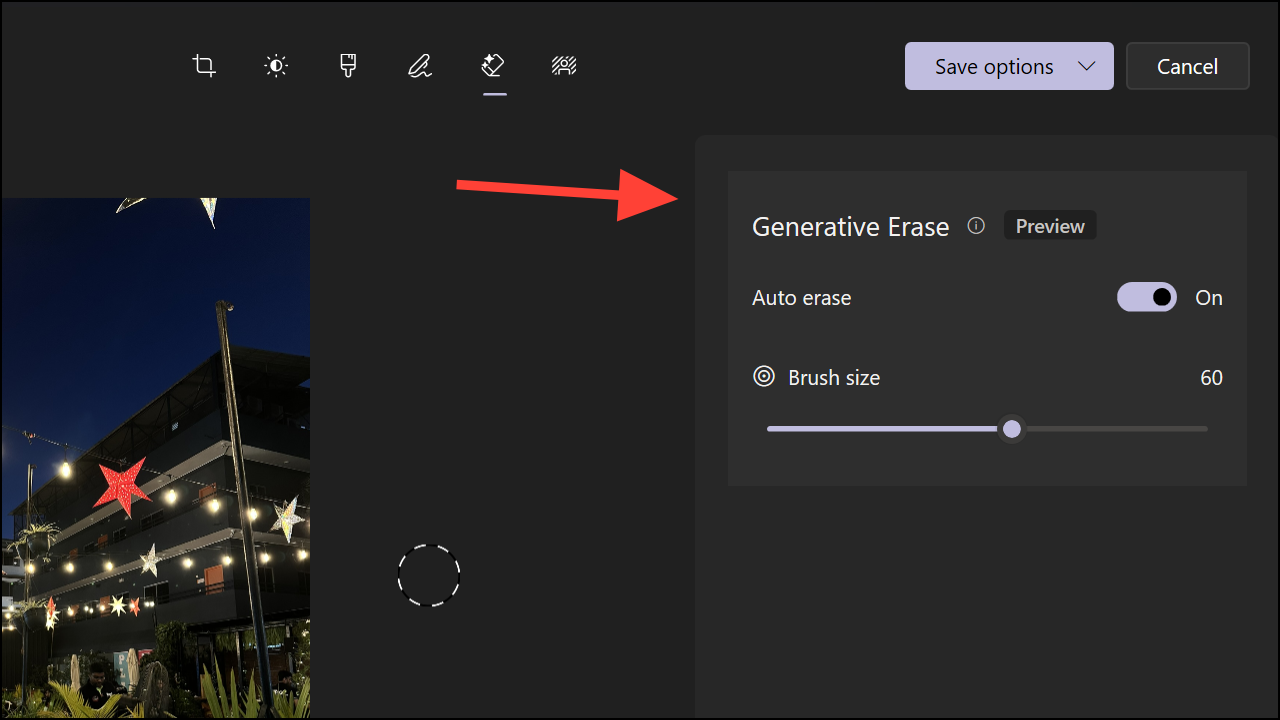
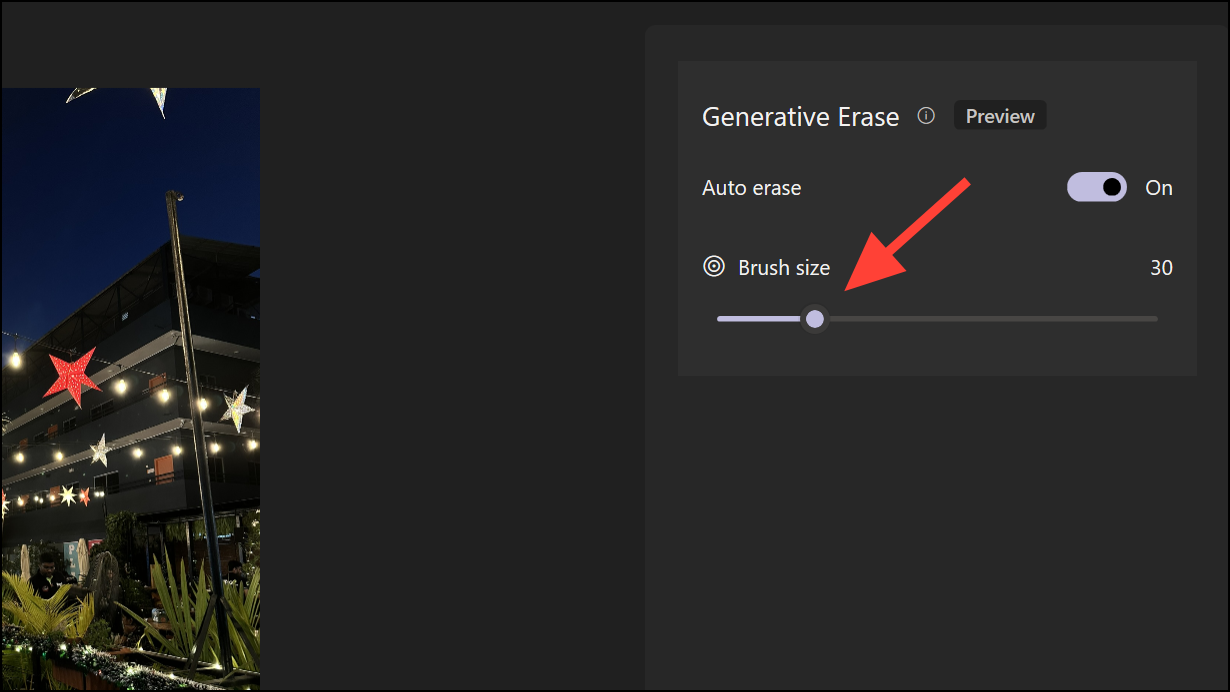
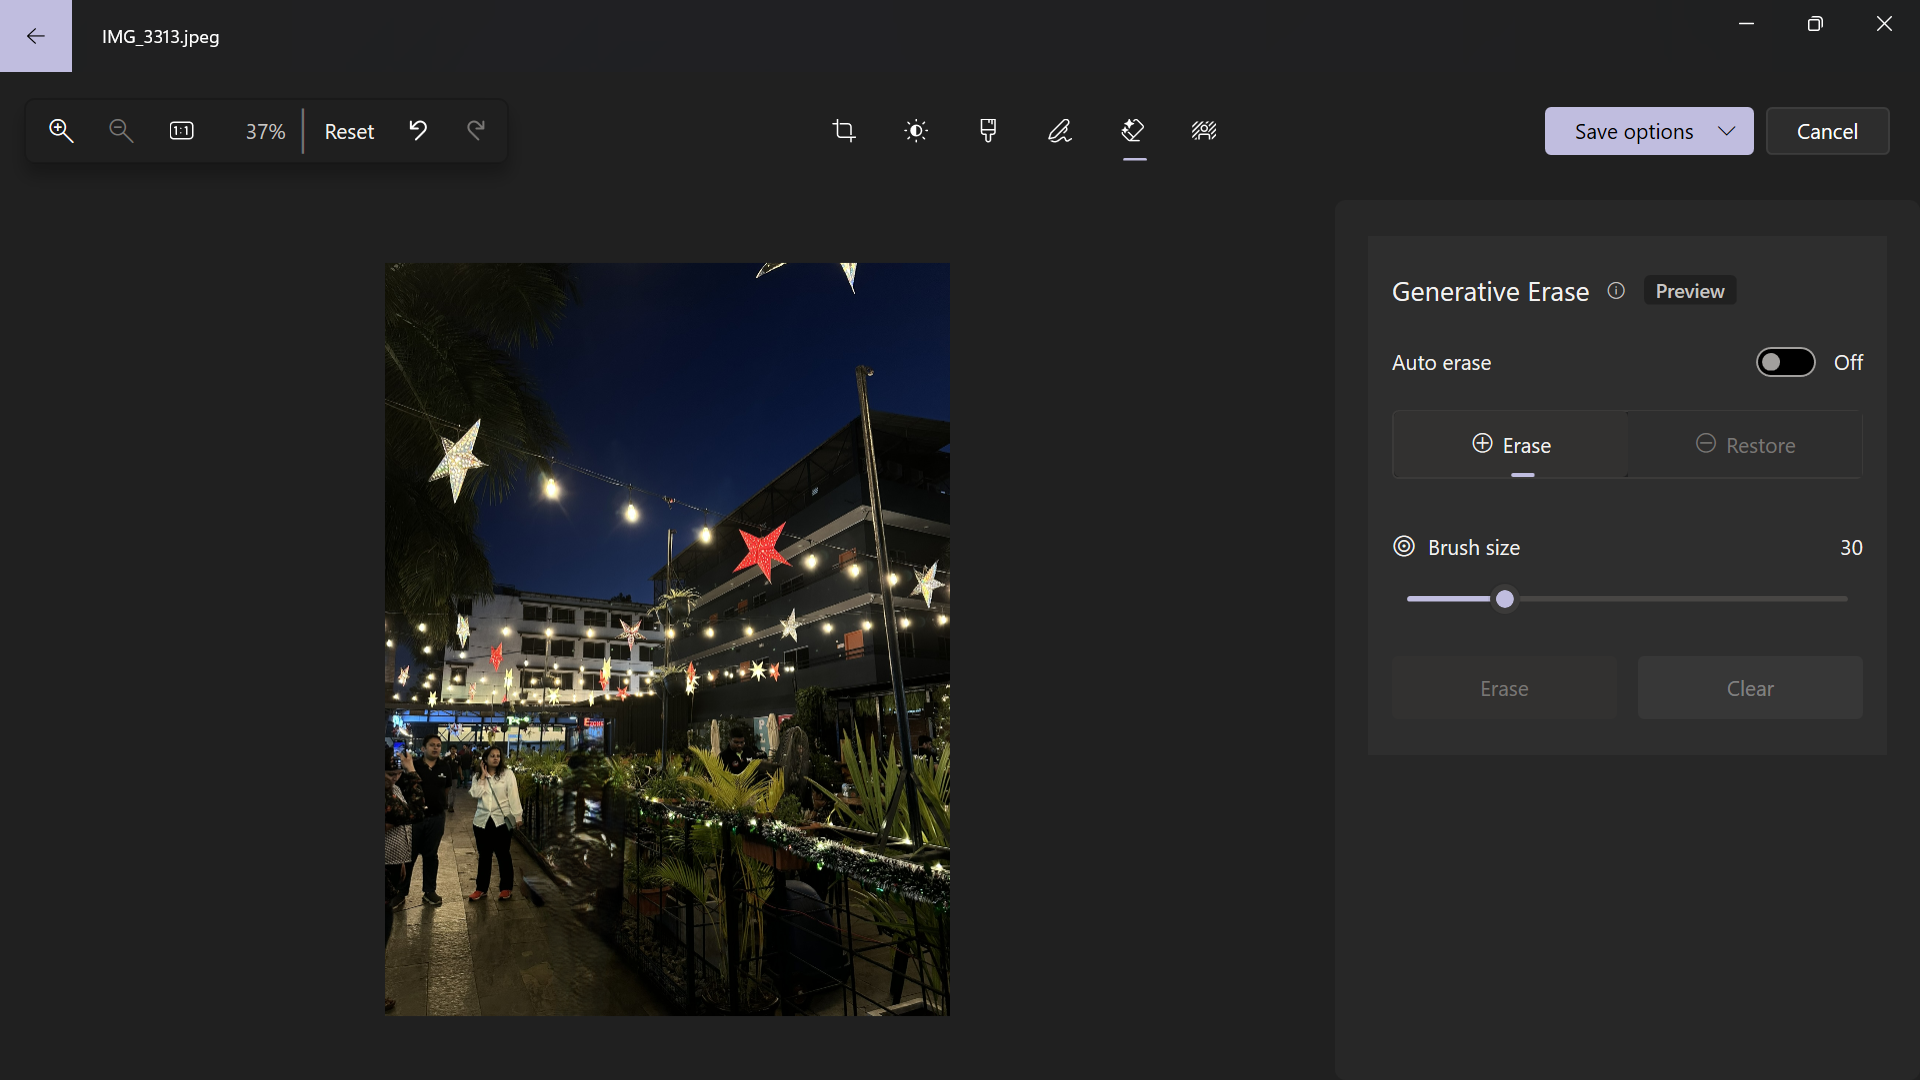
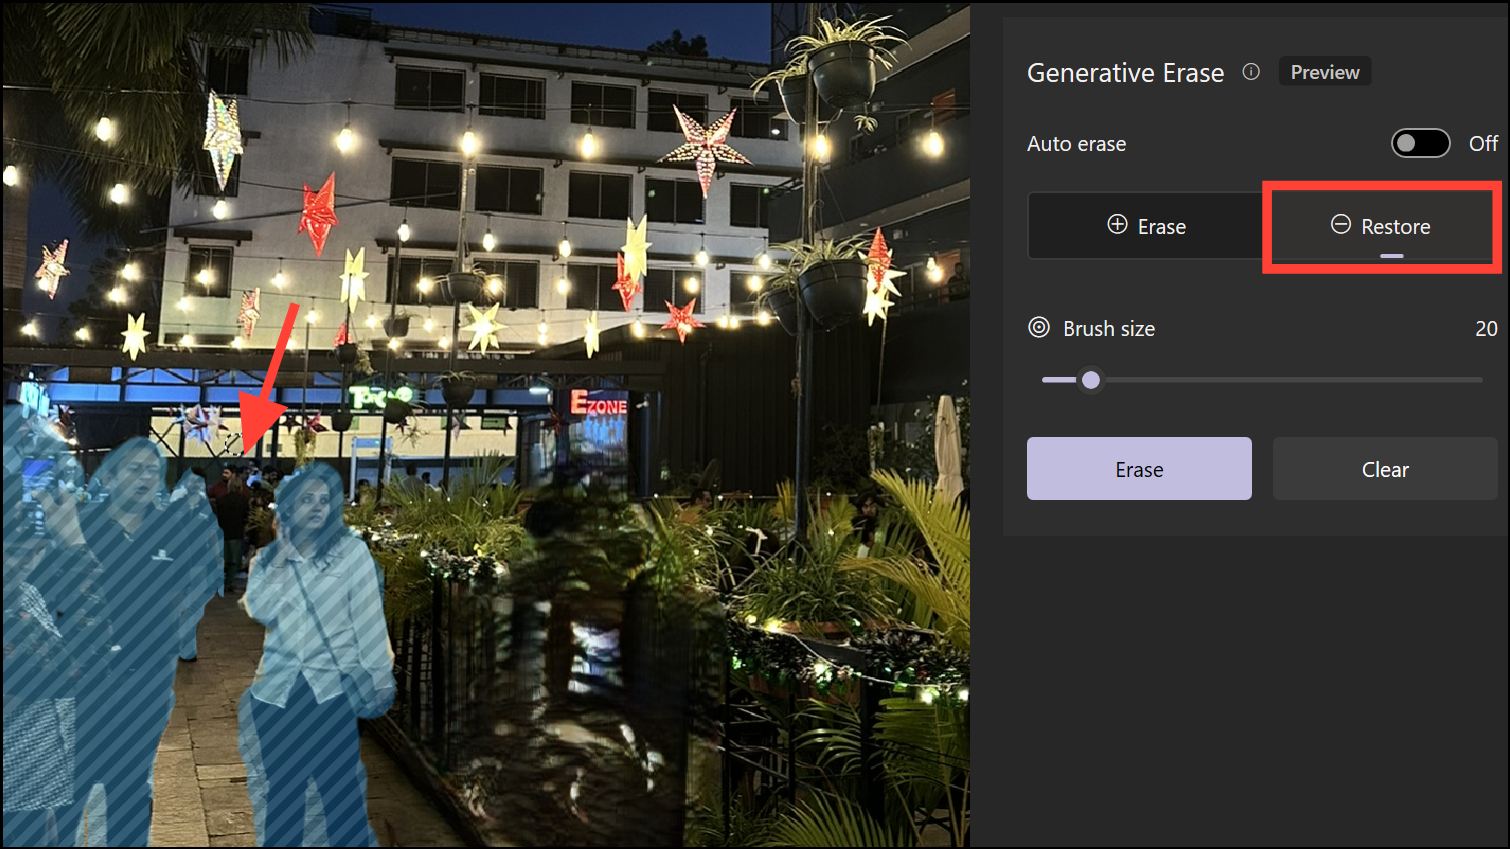
Adjust the brush size using the slider in the right panel to match the size of the object you want to remove. For optimal results, brush precisely over the unwanted object.
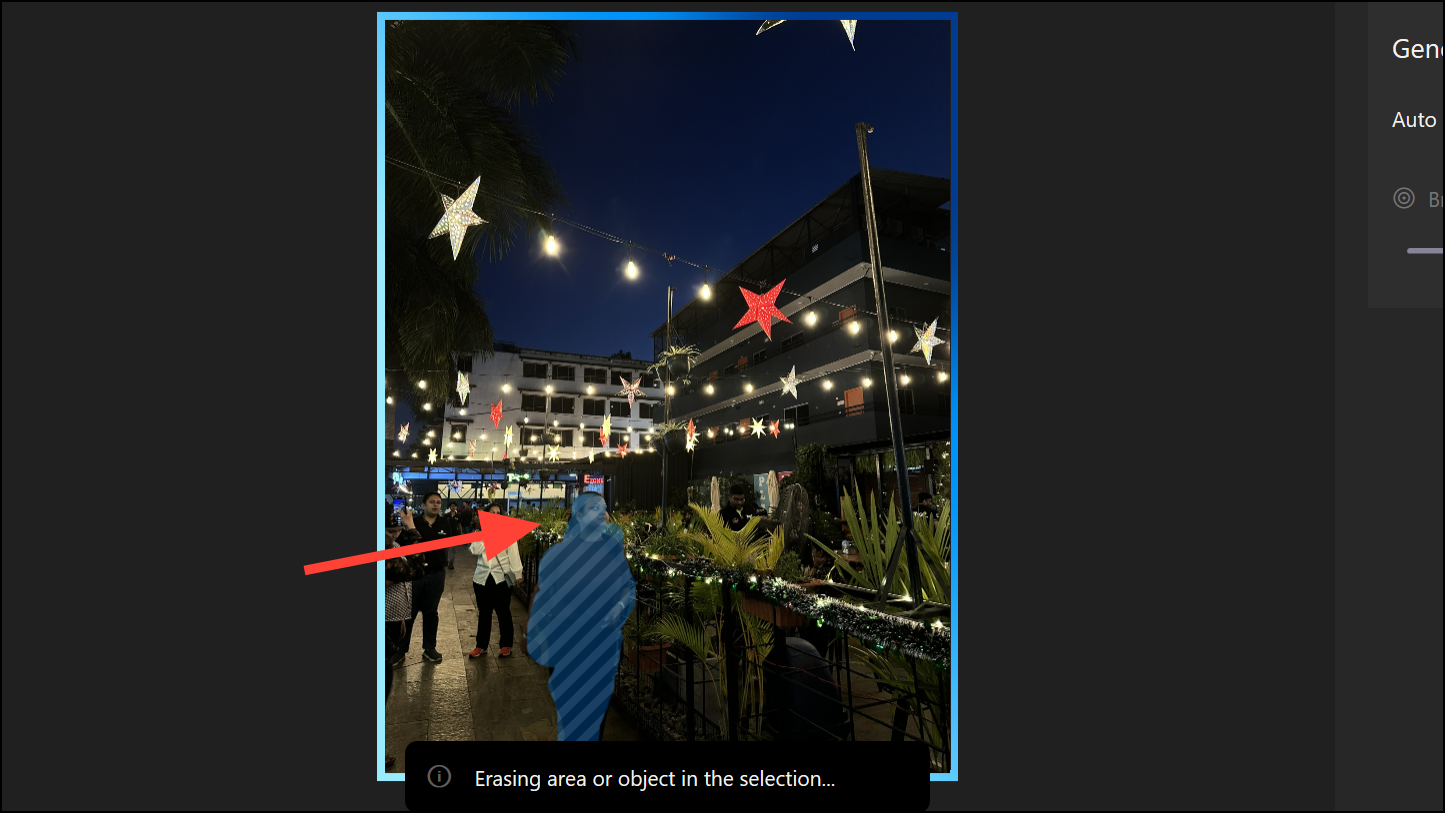
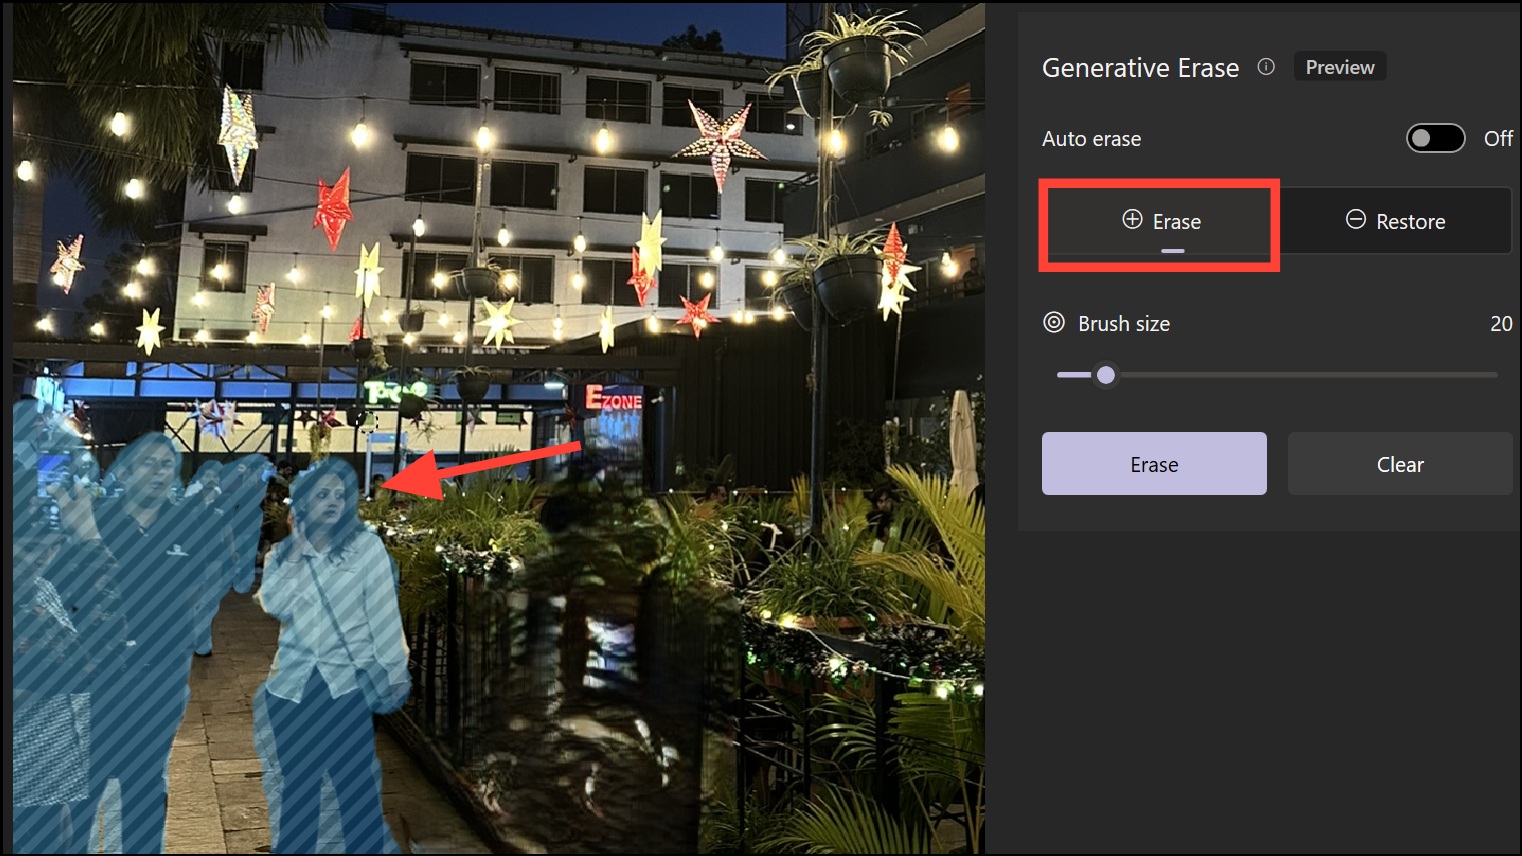
Begin brushing over the object you wish to erase. Zooming in can help with accuracy when working on smaller details. Once you release the mouse button, the AI will process the area.
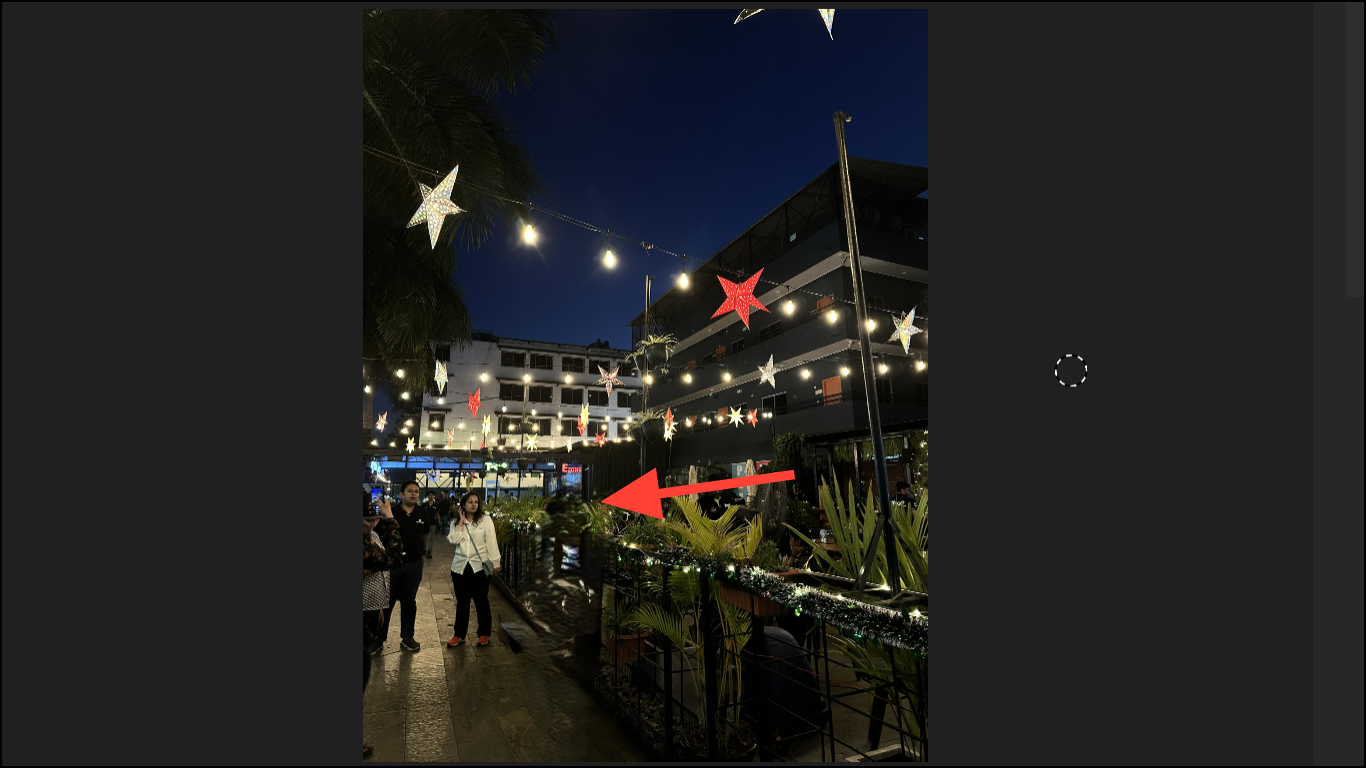
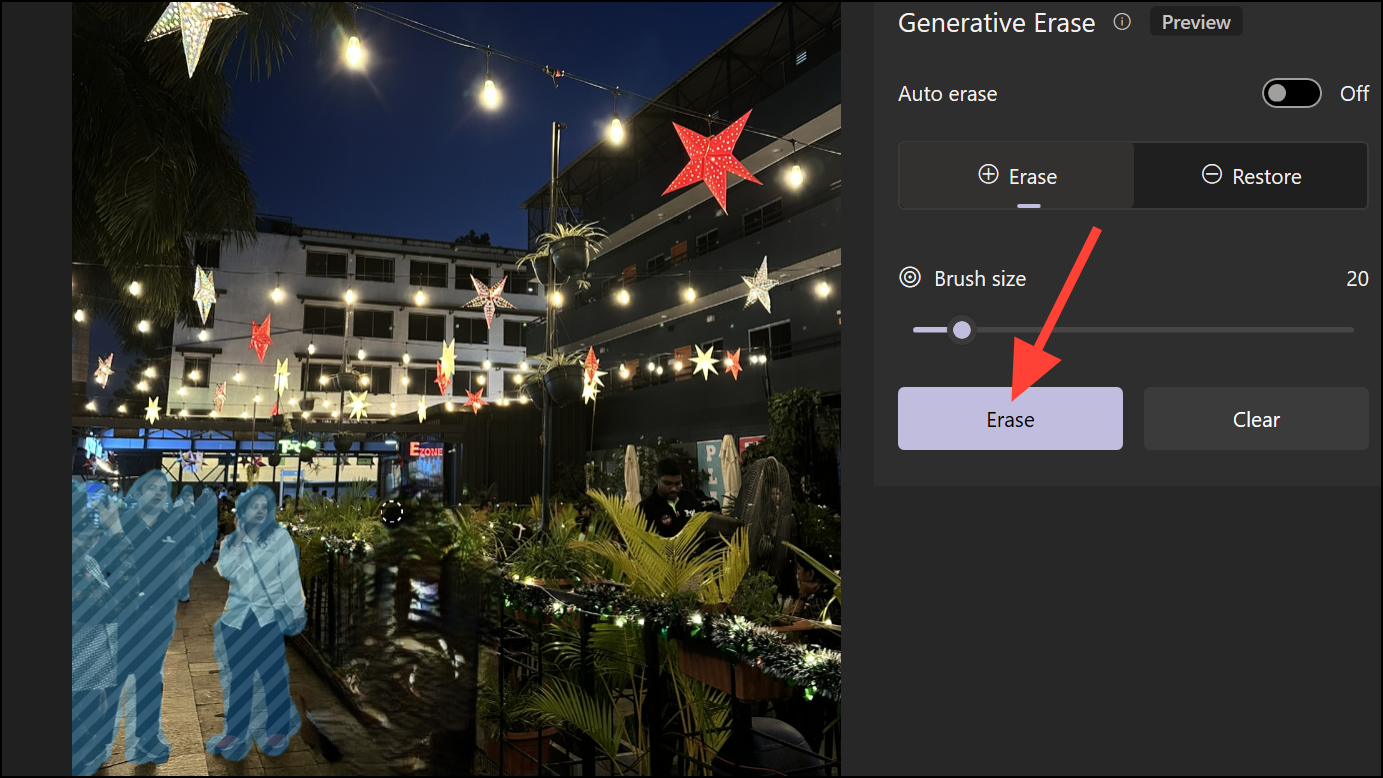
After processing, the tool will remove the selected object and seamlessly fill in the area with a generated background that matches the surrounding content.
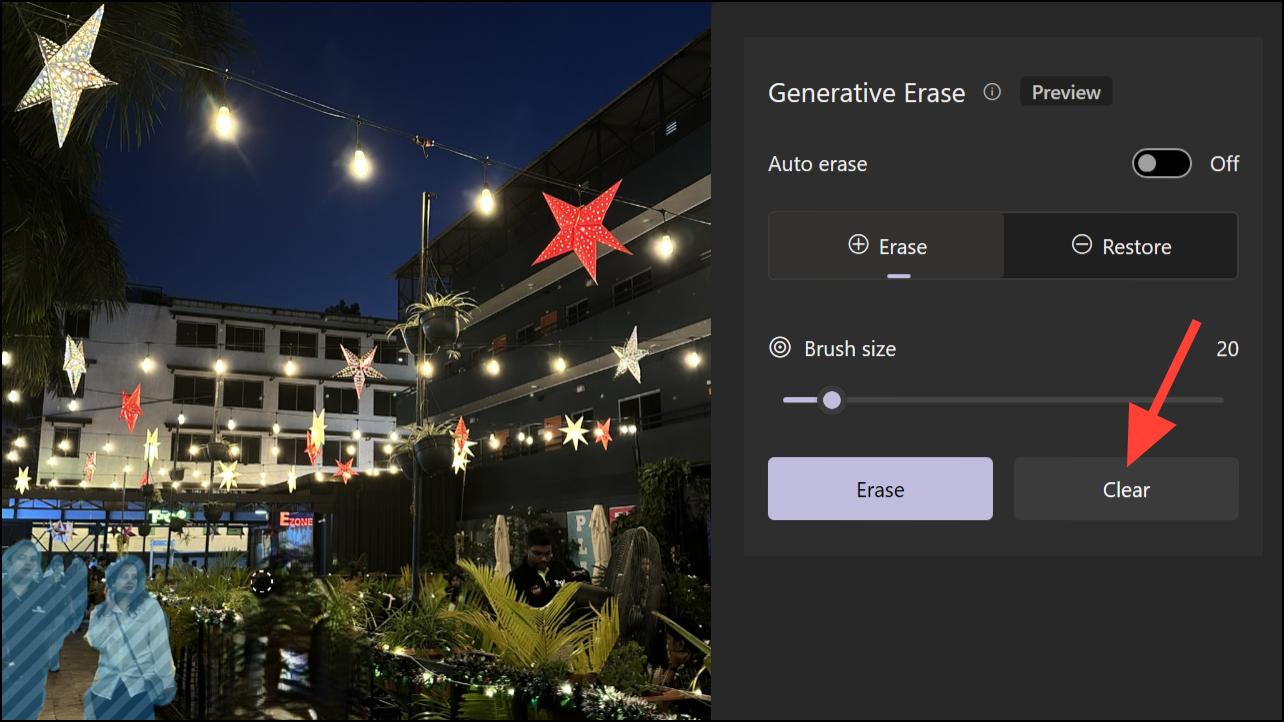
Tip: If you’re not satisfied with the result, you can brush over the area again to let the AI reprocess the erasure for potentially better outcomes.
With the ‘Erase’ option selected in the left panel, carefully brush over the object or areas you want to remove. You can select multiple areas in this mode.
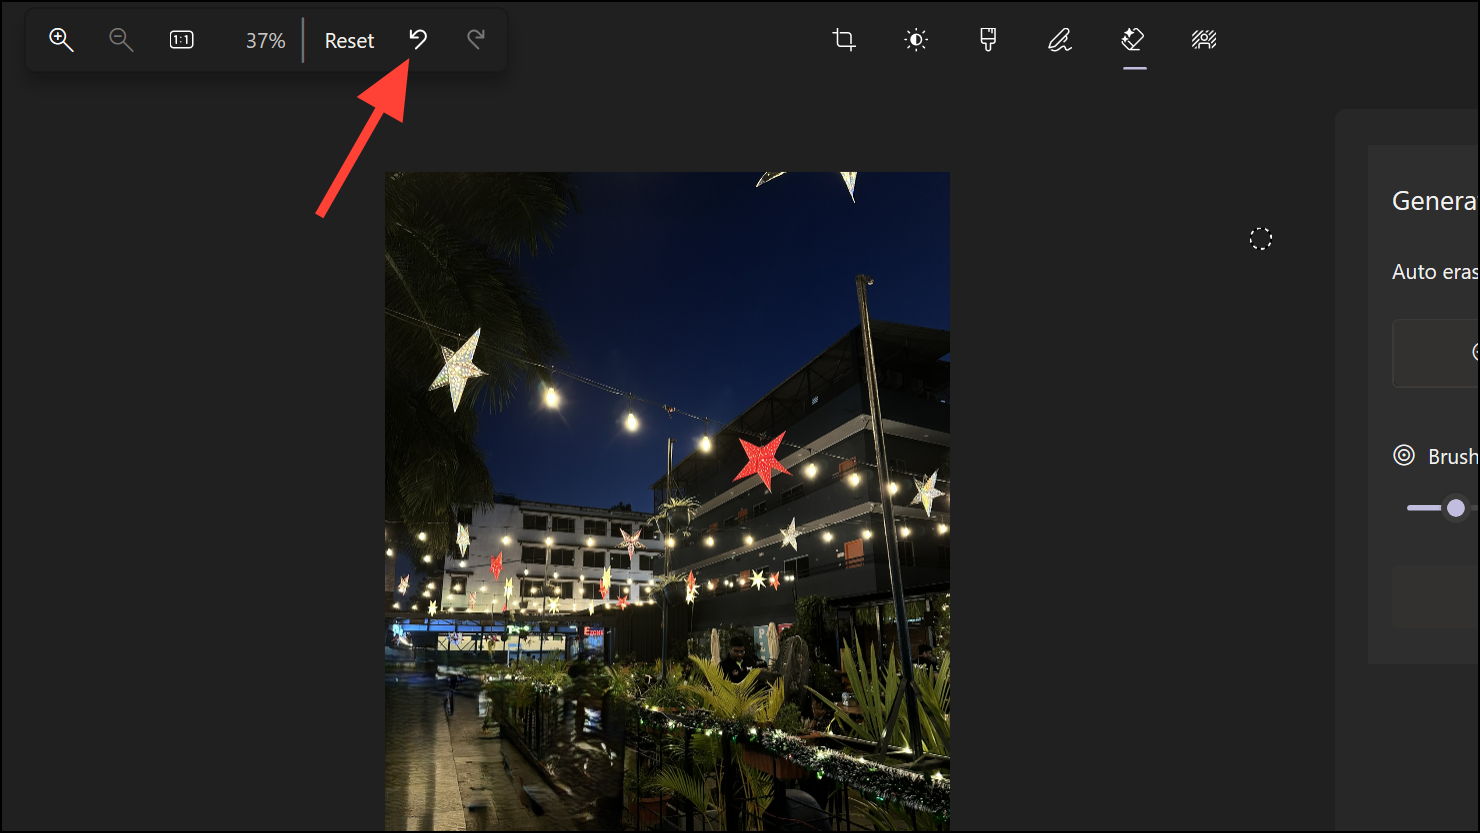
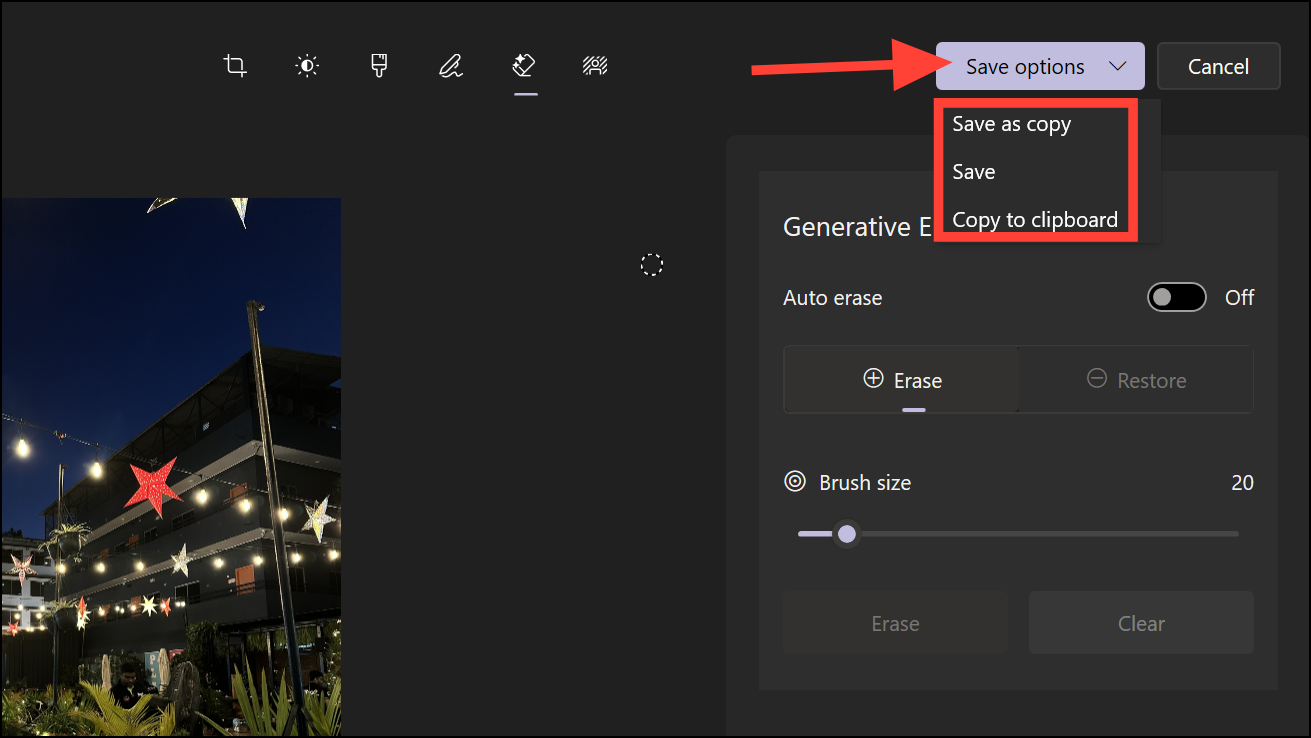
To save your edited photo, click the ‘Save options’ button in the top-right corner and choose one of the options: ‘Save as copy’, ‘Save’, or ‘Copy to clipboard’.
The Generative AI Eraser in the Windows Photos app provides a powerful tool for enhancing your images by removing unwanted elements effortlessly. Alongside other AI-driven features, it makes photo editing more accessible and efficient, all within a free application that continues to improve over time.