Install BlueStacks on your Windows 11 PC and use Android apps for productivity or play your favorite mobile game on your PC.
Install BlueStacks on your Windows 11 PC and use Android apps for productivity or play your favorite mobile game on your PC.
by Parth Sawhney
BlueStacks is a powerful Android emulator that enables you to run Android applications on your Windows PC with ease. It’s a popular choice among users who want to enjoy mobile games on a larger screen or access their favorite apps without a mobile device.
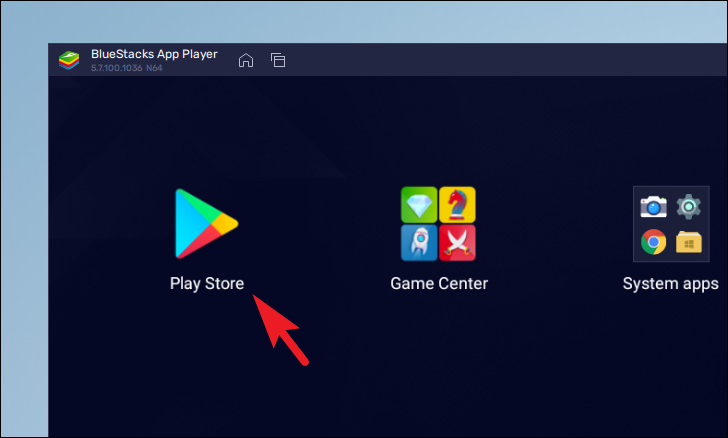
By installing BlueStacks, you gain the ability to use Android apps on your computer, offering a seamless experience by syncing with your Google Play Store account. This allows you to access your apps just as you would on your Android device.
System requirements for BlueStacks
Before installing BlueStacks on your Windows 11 PC, it’s important to ensure that your system meets the necessary requirements. While it can run on systems that meet the minimum requirements, for optimal performance, it’s recommended that your PC meets the suggested specifications.
Minimum requirements
If your computer meets these basic requirements, BlueStacks will function, but performance may not be optimal.
Processor: Intel or AMD Processor
RAM: At least 4 GB
Storage: 5 GB of free disk space
Administrator privileges or access to an administrator account
Latest stable graphics driver from Microsoft or the manufacturer
Recommended requirements
For a smoother and more responsive experience, your system should meet these recommended specifications.
Processor: Intel or AMD Multi-Core Processor with a single-thread benchmark score of more than 1000
Graphics: Intel/Nvidia/ATI, dedicated or integrated controller with a benchmark score of 750 or higher
Virtualization enabled on your PC
RAM: 8 GB or more
Storage: SSD or Hybrid/Fusion Drive
Active internet connection for games and account access
Latest graphics card driver from Microsoft or the manufacturer
With the requirements understood, let’s proceed to download and install BlueStacks on your PC.
Download and install BlueStacks on your PC
To run BlueStacks on Windows 11, you need to download and install the latest version, known as ‘BlueStacks 5’, from the official website.
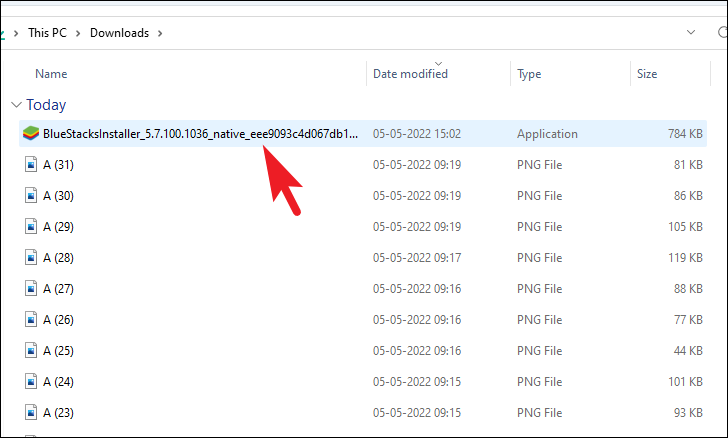
Open your preferred web browser and navigate to www.bluestacks.com/download. Once the webpage loads, click on the ‘Download BlueStacks 5’ button to start downloading the installer.
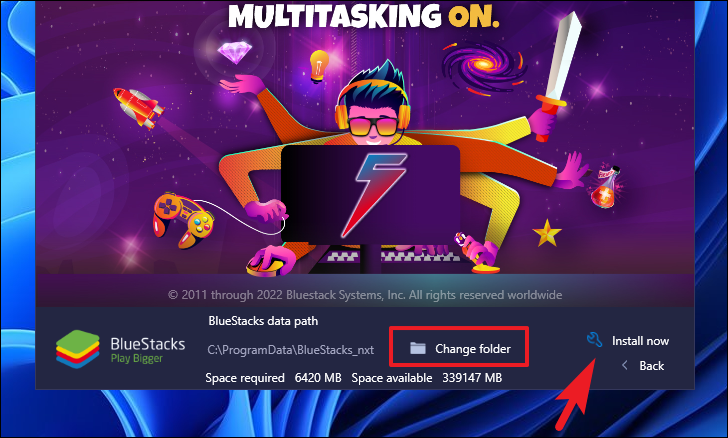
In the installer window, click on the ‘Install now’ button to begin the installation. If you prefer to choose a custom installation directory, click on ‘Customize installation’.
Note: Ensure the installation directory has sufficient space for the Android apps and related files.
If you chose ‘Customize installation’, click on ‘Change folder’ to select your desired installation location. After selecting the folder, click ‘Install Now’ to proceed.
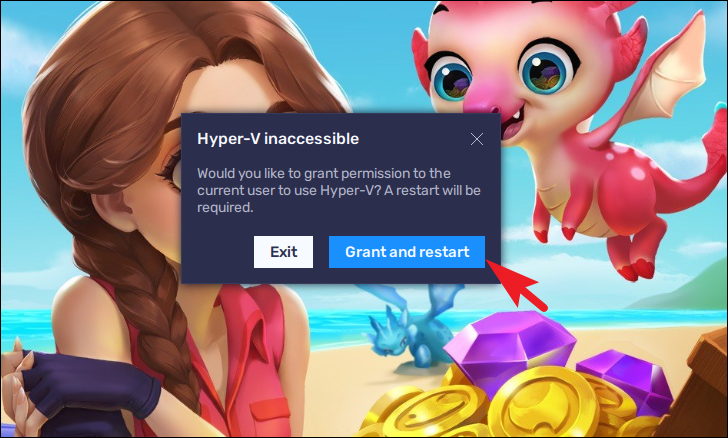
If you receive a ‘Hyper-V inaccessible’ alert during installation, click on the ‘Grant and restart’ button. This will enable necessary settings and restart your PC.
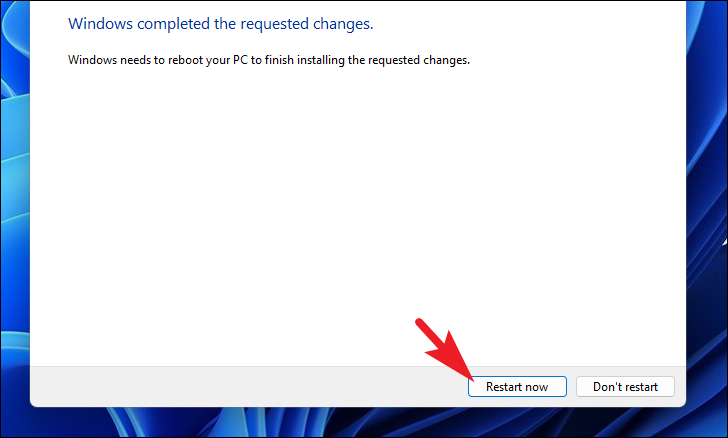
A User Account Control (UAC) prompt may appear. If you’re not logged in as an administrator, enter the admin credentials. Otherwise, click ‘Yes’ to proceed. Your computer will restart to apply the changes.
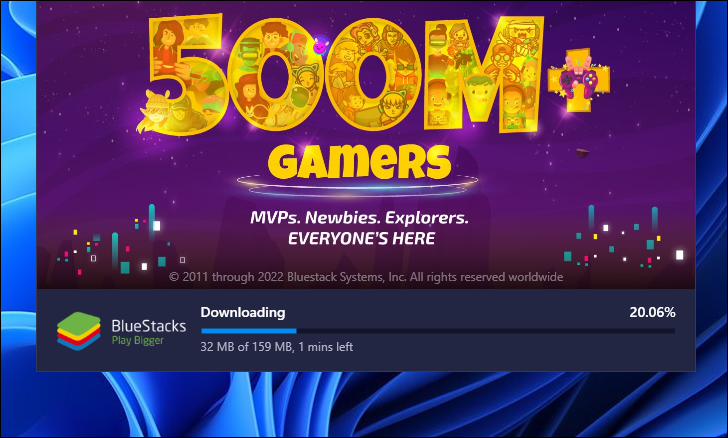
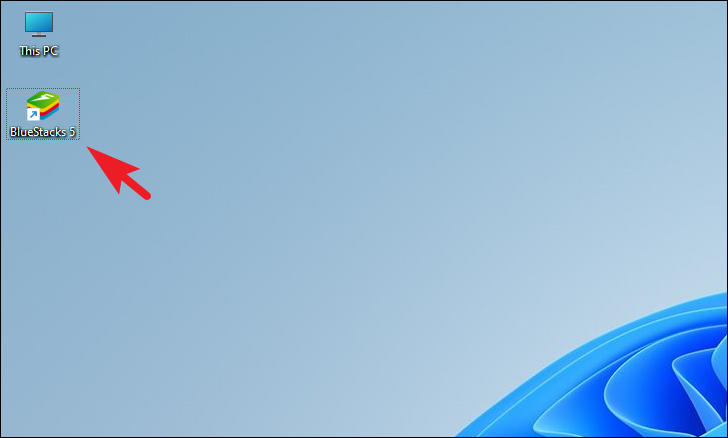
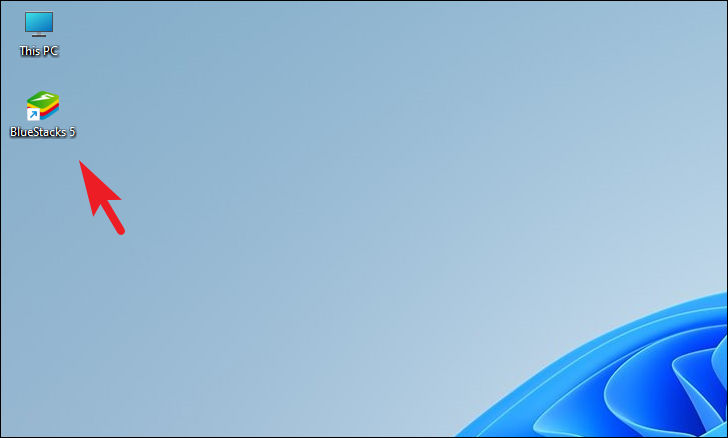
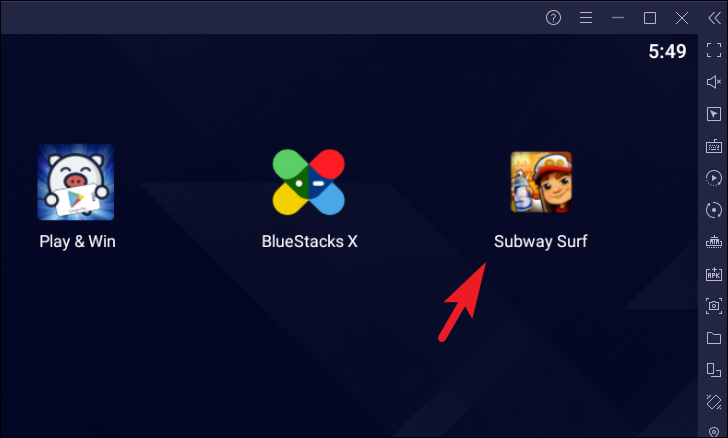
After the restart, BlueStacks will be installed on your system. You can launch it by double-clicking the BlueStacks icon on your desktop.
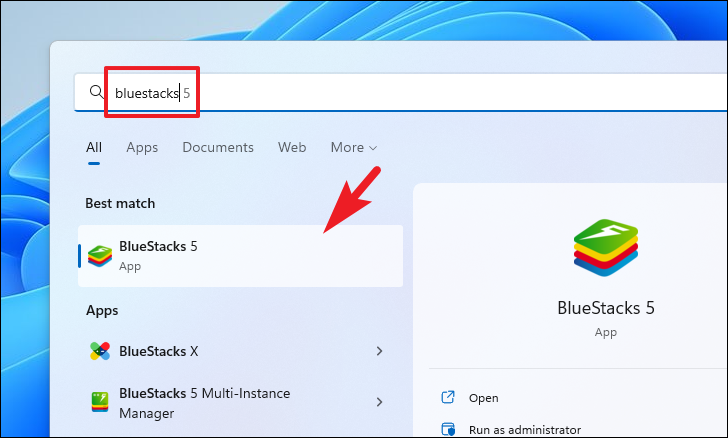
If you prefer, you can also search for BlueStacks in the Start Menu. Click on the ‘BlueStacks’ app to open it.
Enable Hyper-V manually
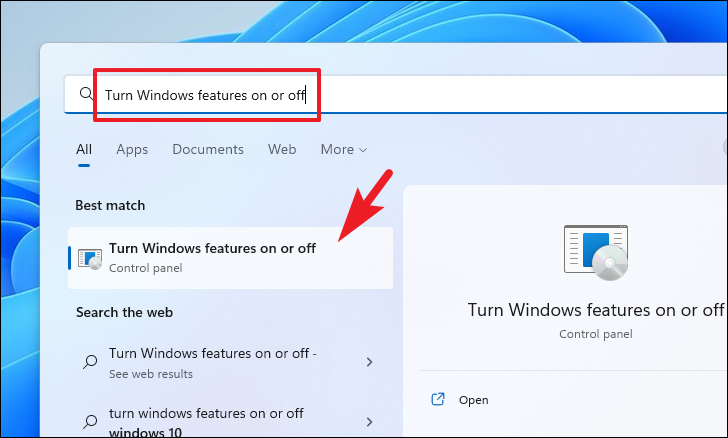
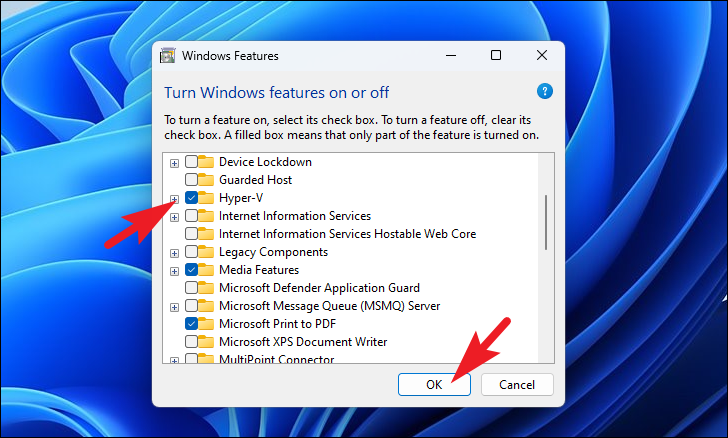
In some cases, BlueStacks may not be able to enable Hyper-V automatically and will display a warning upon launch. If this happens, you need to enable Hyper-V manually on your PC.
In the Windows Features window, scroll down and check the boxes next to ‘Hyper-V’, ‘Virtual Machine Platform’, ‘Windows Hypervisor Platform’, ‘Windows Sandbox’, and ‘Windows Subsystem for Linux’. Then click ‘OK’.
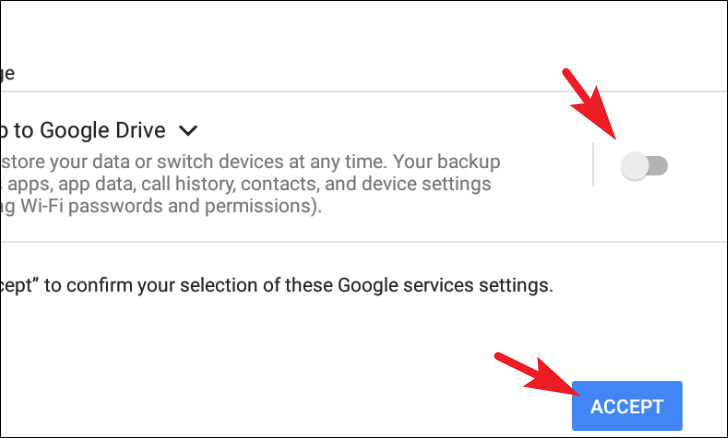
You will be asked whether you want to back up your apps and data to Google Drive. If you do not want to, toggle off the option. Then click ‘Accept’ to proceed.
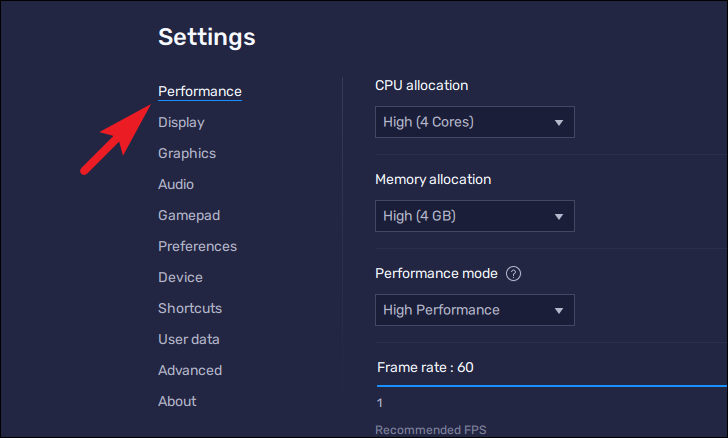
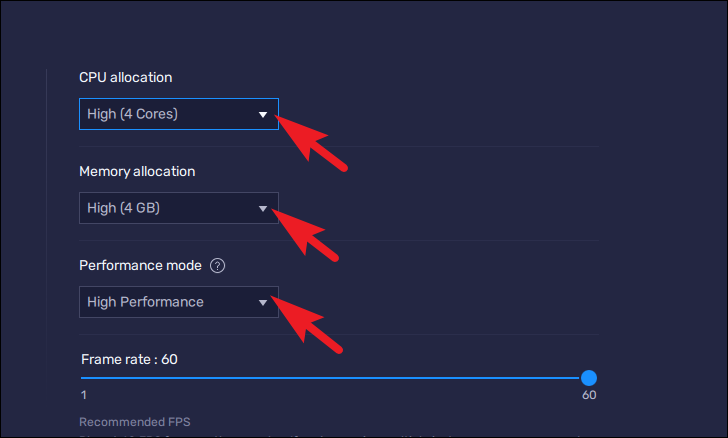
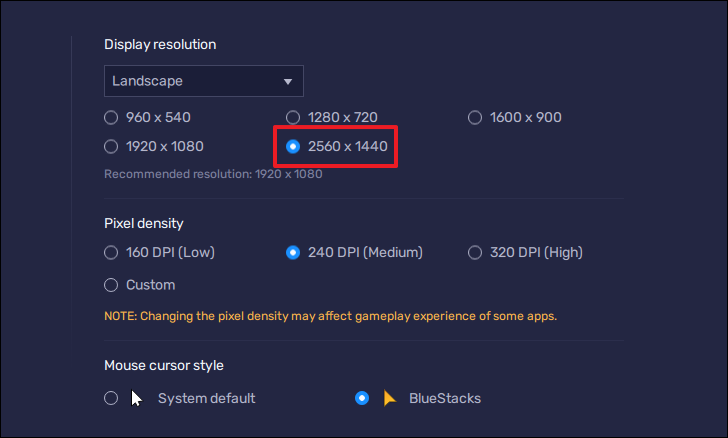
On the right, set ‘CPU allocation’ to ‘High’ by selecting it from the dropdown menu. Do the same for ‘Memory allocation’. Under ‘Performance mode’, select ‘High performance’.
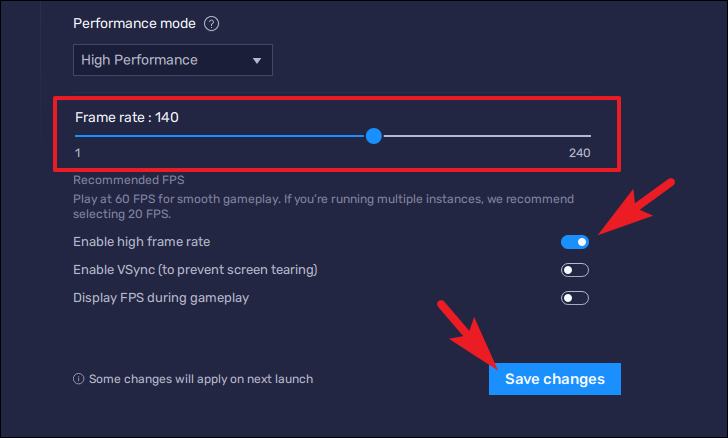
If you have a high-refresh-rate display, enable ‘Enable high frame rate’ by toggling the switch. Then, adjust the ‘Frame rate’ slider to match your monitor’s refresh rate. Click ‘Save changes’ to apply.
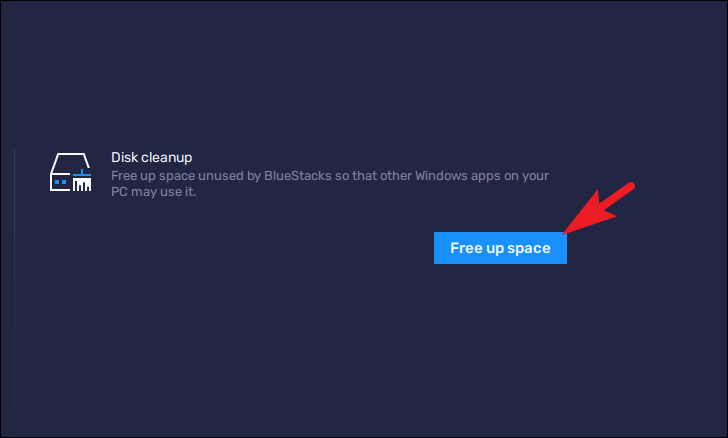
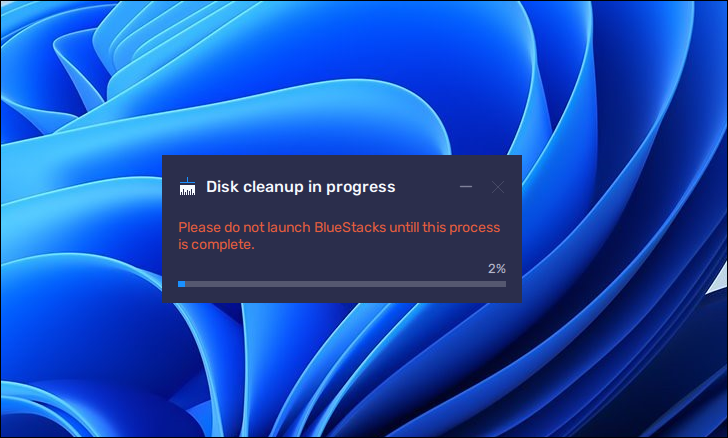
Wait for the cleanup process to finish. Once completed, BlueStacks will reopen automatically.
Can you update from a previous version of BlueStacks?
If you’re currently using BlueStacks 4 and are considering upgrading to BlueStacks 5, it’s important to note that you cannot directly update to the new version. BlueStacks 5 is a complete overhaul of the Android emulator, and requires a fresh installation as described above.
You can, however, have both BlueStacks 4 and BlueStacks 5 installed on the same computer. This allows you to continue using BlueStacks 4 for any games or apps that may not yet be optimized for the new version.
This guide provides comprehensive instructions on installing and optimizing BlueStacks on your Windows 11 PC, allowing you to enjoy Android apps and games seamlessly on your computer.